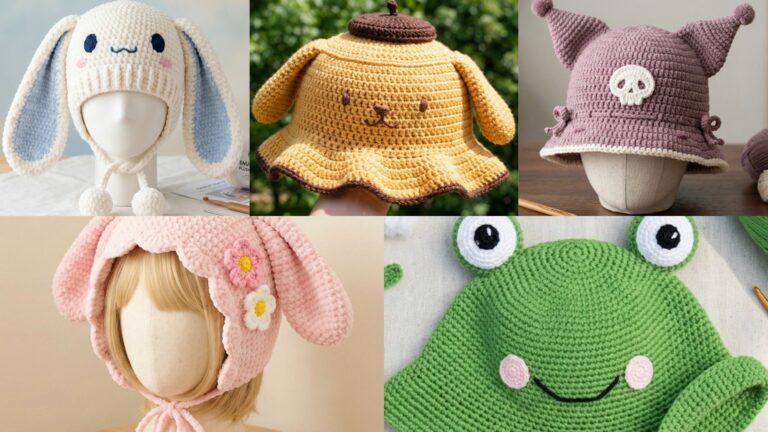
Crochet scrunchies are one of those small handmade projects that feel instantly satisfying to make. They are quick, practical, and easy to customize, which makes them perfect for beginners, gift makers, and anyone who loves adding a soft handmade touch to everyday style. Unlike many hair accessories, crochet scrunchies can feel both decorative and functional at the same time. They hold hair gently, they add charm to a simple hairstyle, and they let you play with color, texture, and stitch detail without needing a huge time commitment.
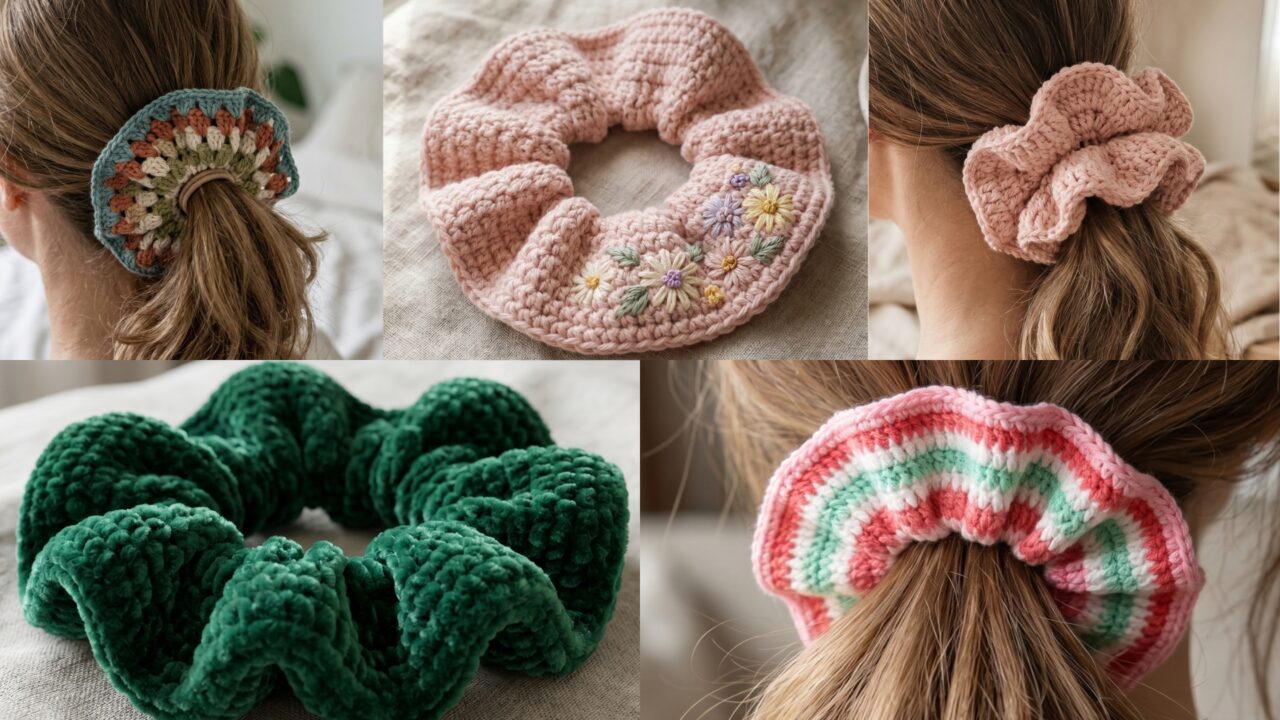
What makes crochet scrunchies especially lovely is how much personality you can fit into such a small piece. A flower embroidered scrunchie feels sweet and delicate. A granny stitch scrunchie has a classic handmade look. Candy stripes bring in a playful and cheerful feel. A flower inspired puffy scrunchie feels soft and romantic. A velvet scrunchie gives a plush, cozy finish. Each one has its own mood, but all of them are wearable, easy to gift, and fun to make.
In this post, you will find five soft crochet scrunchie patterns with detailed step-by-step guidance, helpful notes, and finishing tips. These designs are written to be easy to follow while still giving you enough detail to create scrunchies that look polished and feel comfortable in all hair types.
Quick Notes
Project type: Crochet scrunchies
Best for: Everyday hair styling, gifts, craft fairs, and handmade accessories
Skill level: Beginner to intermediate
Hook size: Usually 2.0 mm to 4.0 mm depending on yarn weight and elastic size
Yarn weight: Cotton, acrylic, velvet, or lightweight yarn depending on the style
Best yarn choice: Soft cotton, velvet, or smooth acrylic for comfort and stretch
Finished size: Standard scrunchie size, customizable for thicker or thinner hair
Time to complete: About 20 minutes to 1 hour per scrunchie
Helpful stitches: Chain, slip stitch, single crochet, half double crochet, double crochet, shell stitch, puff stitch, embroidery, color changes, and elastic covering
Common Materials
Most crochet scrunchies can be made with the same basic supplies.
- Yarn in your chosen colors
- Hair elastic
- Crochet hook suited to the yarn
- Yarn needle
- Scissors
- Optional embroidery thread or beads
- Optional stitch markers
- Optional decorative appliqués
For scrunchies, yarn choice matters a lot because the accessory should feel soft against the hair and not pull too tightly. Cotton yarn is excellent for everyday wear, while velvet yarn gives a plush, cozy finish. A comfortable elastic base is also important because it determines how well the scrunchie holds the hair.
1. Crochet Flower Embroidered Scrunchie Pattern
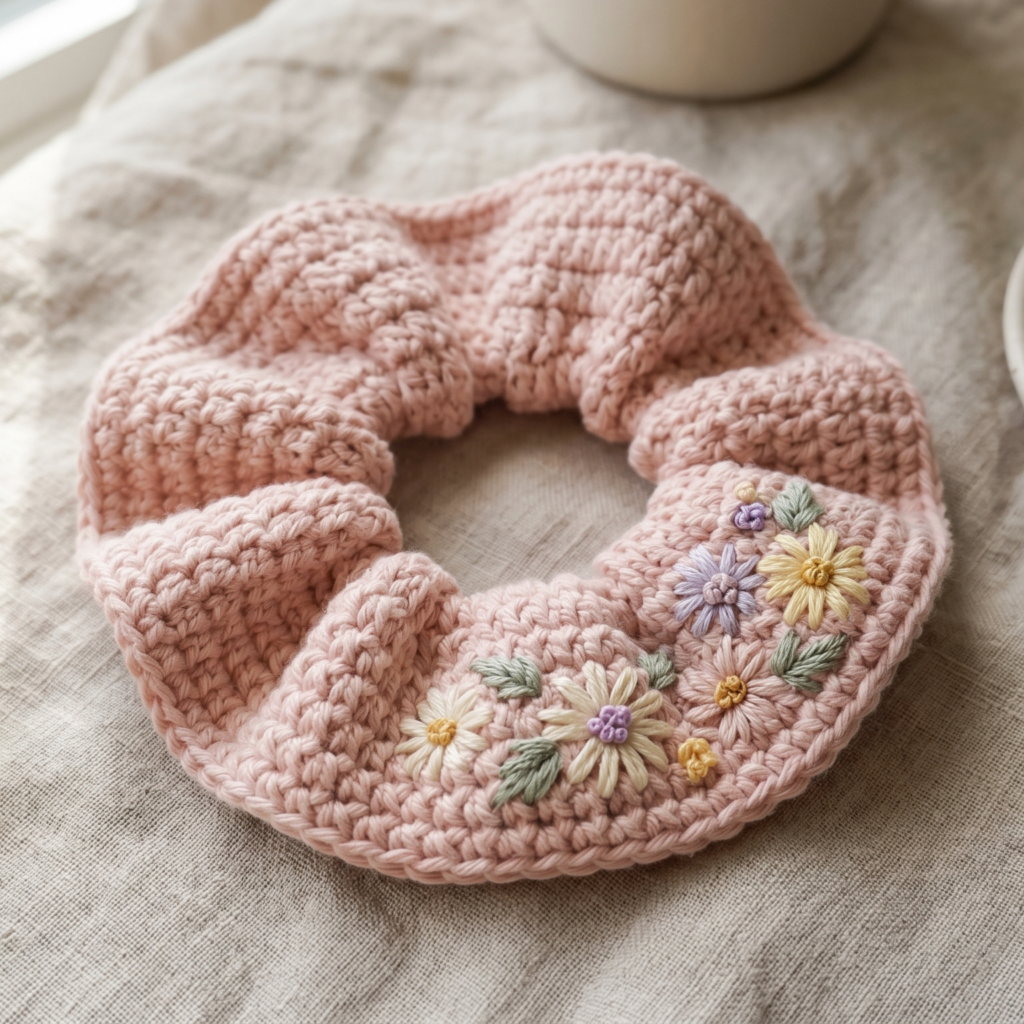
A flower embroidered scrunchie feels soft, sweet, and slightly romantic. The embroidered detail adds a delicate handmade touch, while the scrunchie itself remains practical and wearable. It is a lovely choice if you want something feminine without being too elaborate.
Step-by-step guide
Step 1: Choose a soft yarn color
Pick a yarn color that feels gentle and pretty. Blush, cream, lavender, soft pink, or pastel yellow all work beautifully. Since the embroidery will be the focus, a solid base color is often the best option.
Step 2: Attach the yarn to the elastic
Tie your yarn securely to a hair elastic. This elastic will form the base of the scrunchie and keep it functional. Make sure it is strong enough to stretch around hair comfortably.
Step 3: Crochet around the elastic
Work single crochet stitches around the elastic until it is fully covered. Keep the stitches even and close together so the elastic is hidden. This creates a neat foundation for the embroidered flowers.
Step 4: Build the scrunchie body
After covering the elastic, continue crocheting a few rounds or rows to create a fuller scrunchie body. Depending on the look you want, you can keep it slim or add more volume. A slightly fuller body gives the embroidery more space.
Step 5: Plan the flower placement
Decide where you want the embroidered flowers to sit. You can place them evenly around the scrunchie, cluster them on one side, or create a tiny floral section at the front. Thoughtful placement helps the design feel balanced.
Step 6: Embroider the flowers
Use embroidery thread or a fine yarn to stitch tiny flowers onto the scrunchie. Keep the flowers small and simple so they remain delicate. A few petals and a tiny center are enough to create a lovely floral effect.
Step 7: Add leaf details if desired
If you want a more botanical look, add tiny leaves around the flowers. Small green stitches can make the design feel more complete and fresh. Keep the leaf shapes minimal so they do not overwhelm the scrunchie.
Step 8: Finish and secure all ends
Weave in all loose threads carefully so the embroidery feels smooth and secure. Check that the flowers are attached firmly and that the scrunchie stretches comfortably without distorting the design.
Helpful tips
This scrunchie looks especially lovely in pastel colors with white or green embroidery. If you want a more modern version, use one flower motif placed on the side instead of covering the whole scrunchie. It is a beautiful choice for gifting or everyday wear.
2. Crochet Granny Stitch Scrunchie Pattern
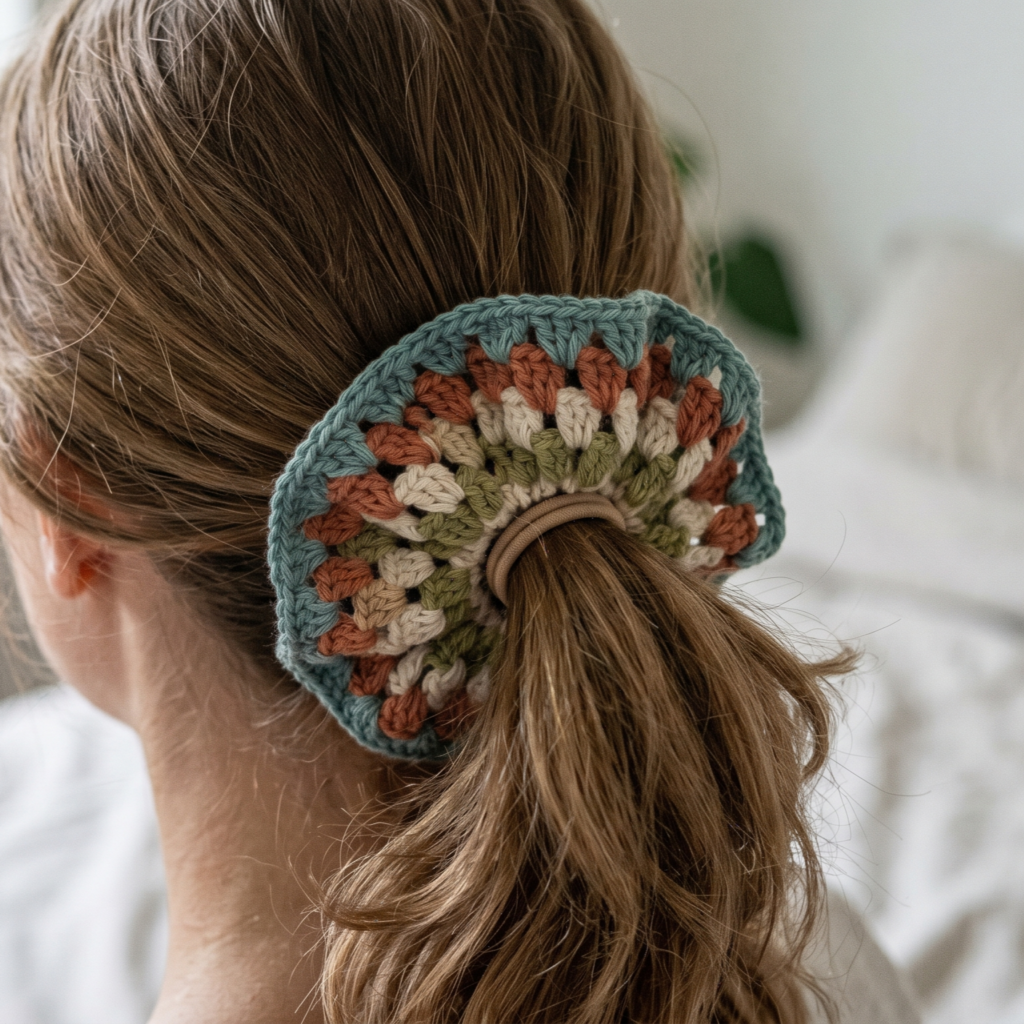
A granny stitch scrunchie has a classic handmade look that feels cheerful and nostalgic. The soft cluster texture gives it charm without making it too bulky, which makes it a great option for people who love a slightly vintage aesthetic.
Step-by-step guide
Step 1: Pick a color palette
Choose one color for a simple look or multiple colors for a playful version. Granny stitch scrunchies are lovely in soft rainbow tones, pastels, or earthy shades. A coordinated palette will help the stitch pattern shine.
Step 2: Start with the elastic base
Secure your yarn to an elastic and begin crocheting around it. Use tight stitches to cover the elastic fully. Make sure the wrap feels secure so the elastic does not show through.
Step 3: Work the granny stitch rounds
Crochet granny stitch clusters around the scrunchie body. Keep the clusters even so the texture looks balanced. The open pattern creates a soft, airy look that is still sturdy enough for everyday use.
Step 4: Keep the shape even
Because the stitch pattern adds texture, it is important to keep the rounds or rows consistent. Watch the width so the scrunchie does not get too flat or too bulky. A balanced shape makes it more comfortable in the hair.
Step 5: Change colors if desired
If you want a striped or multicolor look, switch colors at the end of a round or row. Make the transitions neat so the color blocks feel intentional. This is a great way to use leftover yarn scraps too.
Step 6: Add a final decorative edge
You can finish with a small border or a final round of clusters to make the scrunchie look fuller. Keep the edge soft and flexible so it still wraps easily around the hair.
Step 7: Secure all ends
Weave in all loose yarn ends carefully, especially where the color changes happened. This keeps the scrunchie comfortable and durable.
Step 8: Check the stretch
Once finished, test the scrunchie to make sure it stretches comfortably. It should hold the hair without feeling too tight or too loose. If needed, adjust the fullness next time by adding or reducing rounds.
Helpful tips
This scrunchie works beautifully in classic cream, rainbow pastels, or muted retro tones. If you want a more subtle look, keep it in one solid color. If you want a playful handmade style, try several soft stripes.
3. Crochet Candy Stripes Scrunchie Pattern
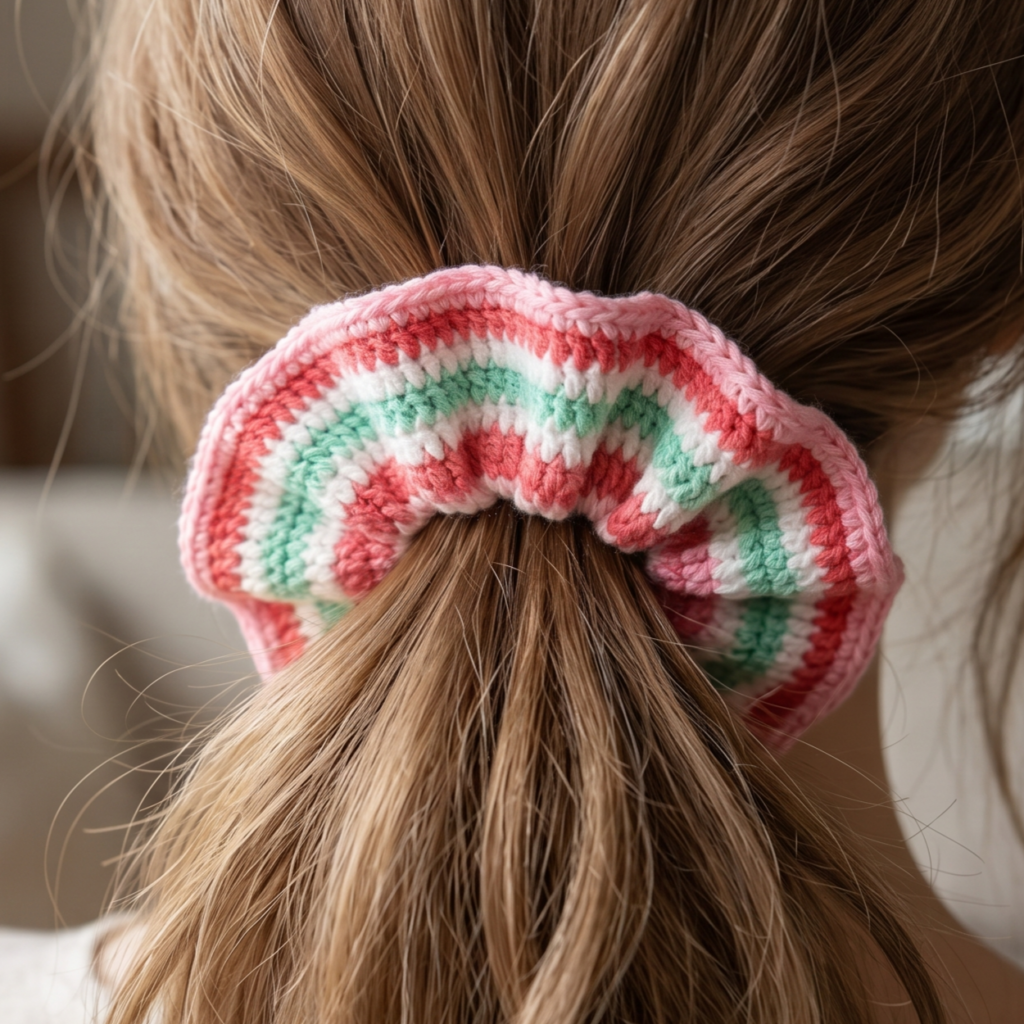
A candy stripes scrunchie feels bright, playful, and full of personality. The striping adds visual interest, while the soft shape keeps it practical and easy to wear. It is a great choice if you want something cheerful and colorful for everyday hairstyles.
Step-by-step guide
Step 1: Choose your stripe colors
Pick two or more colors that look good together. Candy stripes are especially cute in pink and white, red and cream, mint and blush, or pastel rainbow shades. The colors should feel fun and balanced.
Step 2: Attach the yarn to the elastic
Begin by covering the hair elastic with crocheted stitches. Keep the stitches snug and even so the elastic is fully hidden. This will give the scrunchie a tidy base.
Step 3: Start the striped body
Once the elastic is covered, begin alternating your chosen colors in rows or rounds. Keep the stripe width consistent so the pattern feels neat and intentional. Wide stripes feel bold, while thin stripes feel more delicate.
Step 4: Keep color changes neat
Switch colors cleanly at the end of each stripe. This is important because sloppy transitions can make the scrunchie look uneven. Take your time with each color change to keep the finish polished.
Step 5: Build fullness
Add enough rows or rounds to give the scrunchie a soft, gathered look. The more fullness you add, the puffier it will look in the hair. Keep the body balanced so it doesn’t become too heavy.
Step 6: Finish the edges
You can leave the edges simple or add one final border in a coordinating color. A neat edge frames the stripes nicely and helps the scrunchie feel complete.
Step 7: Secure all ends
Weave in every yarn end carefully, especially where the stripe changes happened. This keeps the scrunchie comfortable and durable.
Step 8: Test the stretch
Wrap the scrunchie around your hand or hair elastic to check how it feels. It should stretch easily and keep its shape without feeling stiff.
Helpful tips
Candy stripes look especially cute in soft pastel combinations. If you want a more playful style, try rainbow colors. If you want something more subtle, keep the stripes in two soft tones. This is a great beginner-friendly pattern because the color changes do most of the work.
4. Crochet Flower Inspired Puffy Scrunchie Pattern
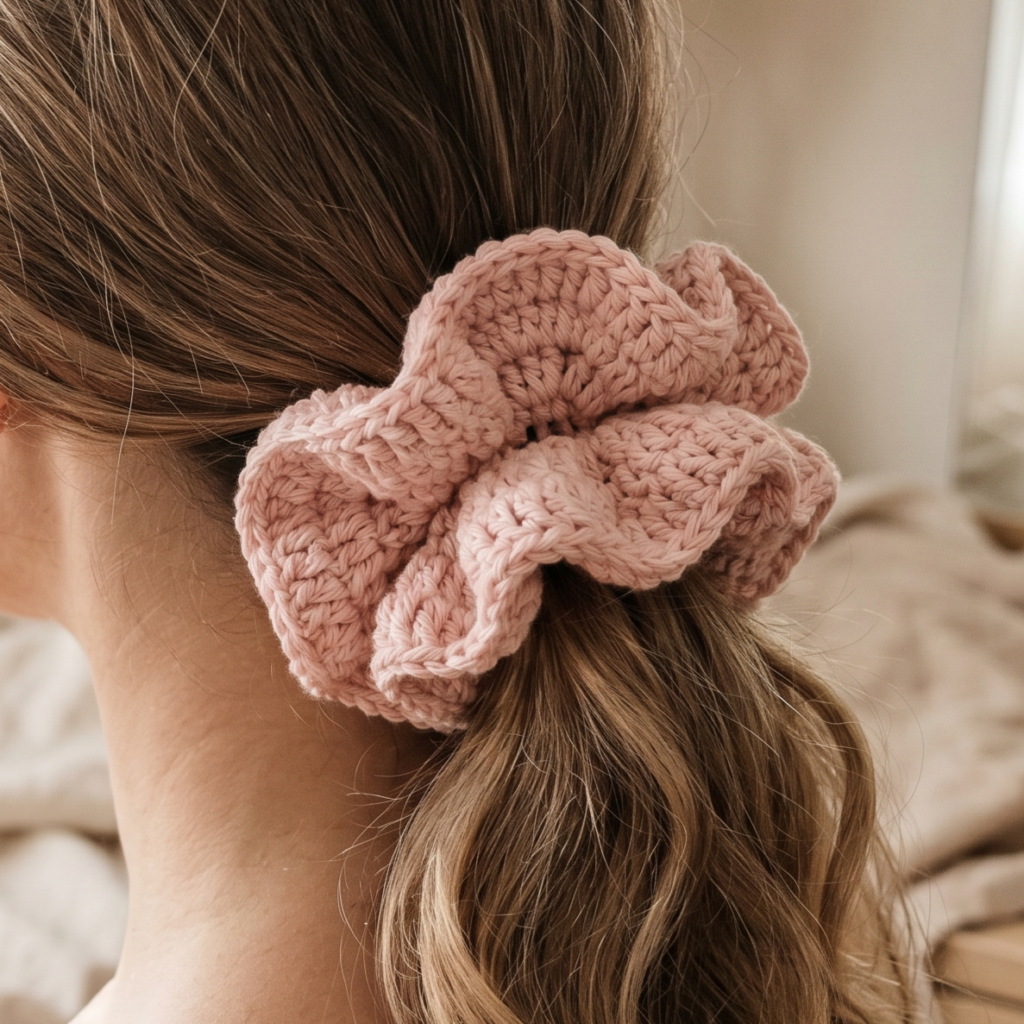
A flower inspired puffy scrunchie feels soft, romantic, and full of volume. The puffy shape gives it a pretty, cloud-like look, while the floral inspiration adds a feminine handmade feel. It is a lovely choice if you want a scrunchie that looks decorative and stylish.
Step-by-step guide
Step 1: Pick a soft, floral color
Choose a color that feels gentle and lovely. Pink, cream, lavender, peach, or soft yellow all work beautifully. Since the scrunchie is puffy, a pastel color often enhances the soft flower-like appearance.
Step 2: Cover the elastic
Start by attaching the yarn to a hair elastic and crocheting around it. Keep the stitches close together so the elastic is fully hidden. This creates the base for the puffy design.
Step 3: Build extra fullness
Unlike slimmer scrunchies, this design needs a little extra volume. Continue crocheting more rounds or rows to build a fuller body. The fullness is what makes it feel flower-inspired and soft.
Step 4: Add petal-like shaping
Use stitch repeats or slight increase sections to create a petal-like effect around the scrunchie. This can make the edge feel more floral and rounded. Keep the shaping soft so it does not become too stiff.
Step 5: Keep the shape balanced
Make sure the fullness is even all the way around. If one side becomes too bulky, adjust the stitch count or tension. A balanced shape will help the scrunchie sit nicely in the hair.
Step 6: Add a decorative border
You can finish with a simple border or a small scalloped edge to make the floral look more visible. Keep the edge soft so it still feels comfortable to wear.
Step 7: Secure all loose ends
Weave in your ends carefully and check the scrunchie’s stretch. Because the shape is puffy, it should still be easy to wrap around hair without losing structure.
Step 8: Shape with your hands
Gently fluff the scrunchie after finishing so the puff looks even and full. This helps the flower-inspired style stand out beautifully.
Helpful tips
This scrunchie looks especially lovely in blush, rose, or soft cream. If you want a more statement-making piece, use a brighter floral color like coral or violet. It is a beautiful accessory for anyone who loves soft romantic styling.
5. Crochet Velvet Scrunchie Pattern
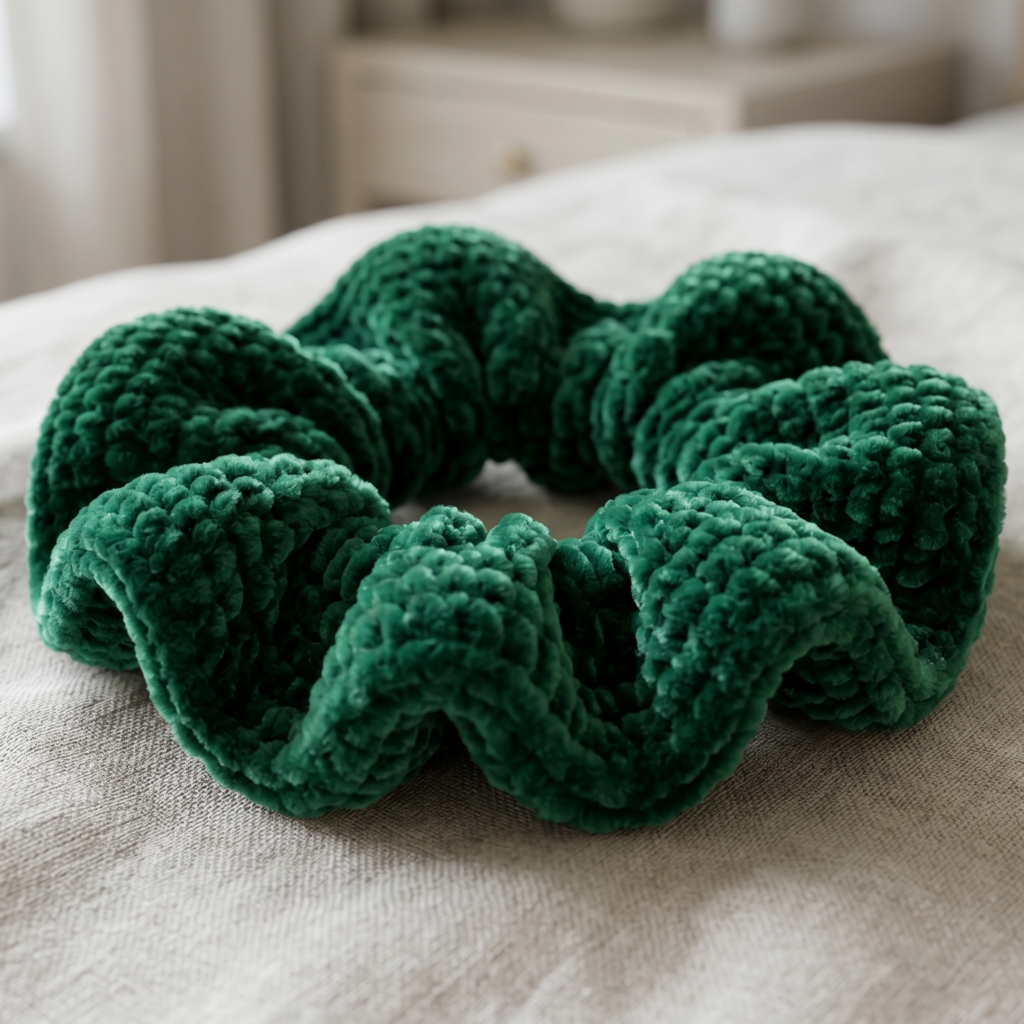
A velvet scrunchie feels plush, luxurious, and soft against the hair. The velvet yarn gives it a rich texture that looks elegant even in a very simple shape. It is a wonderful choice if you want a scrunchie that feels cozy, stylish, and a little more polished.
Step-by-step guide
Step 1: Choose your velvet yarn
Pick a soft velvet or chenille yarn in a color you love. Deep jewel tones, blush, cream, and neutral shades all look beautiful in velvet. Because the yarn already has lots of texture, you do not need many extra details.
Step 2: Prepare the elastic
Attach the yarn to a strong hair elastic. Velvet yarn can be slightly slippery, so make sure the yarn is secured tightly before beginning. The elastic should be comfortable and sturdy enough for daily use.
Step 3: Cover the elastic fully
Crochet carefully around the elastic with tight, even stitches. Velvet yarn can be tricky to see, so work slowly and make sure the elastic is hidden completely. Keep the stitches consistent so the finish looks smooth.
Step 4: Build the soft body
Continue crocheting until the scrunchie has the fullness you want. Velvet yarn often looks best with a slightly plush body rather than too many detailed stitches. The softness of the yarn should be the star.
Step 5: Keep the shape simple
Because velvet already creates a luxurious look, the design does not need much decoration. A clean, simple shape is often the prettiest choice. Let the yarn texture do the work.
Step 6: Finish the edge neatly
Add a clean final round or edge to help the scrunchie hold its shape. Keep the finish soft and even so it feels smooth when worn.
Step 7: Weave in ends carefully
Velvet yarn can hide stitches well, but it still needs secure finishing. Tuck in all ends carefully so the scrunchie stays durable and comfortable.
Step 8: Fluff and shape
Gently smooth the scrunchie with your hands so the plush texture looks full and even. Velvet scrunchies often look best when they have a soft, rounded shape.
Helpful tips
Velvet scrunchies are beautiful in rich colors like burgundy, forest green, navy, and dusty rose. If you want a very elegant accessory, choose a deep solid shade. This is a lovely pattern for gifts because it feels soft, luxurious, and easy to wear.
Conclusion
Crochet scrunchies are proof that small projects can still feel special. They are quick enough for a fun afternoon make, but stylish enough to become everyday accessories or meaningful handmade gifts. Each design in this collection offers a different mood, from soft floral charm to playful stripes and luxurious velvet, so there is something here for every style and hair type.
What makes these scrunchies especially rewarding is how easy they are to adapt. You can change the colors, adjust the fullness, add small details like flowers or beads, or keep the design simple and minimal. That flexibility makes them perfect for beginners learning new stitches and for experienced makers who enjoy quick, satisfying projects.
Whether you are making them for yourself, for gifts, or for a craft fair table, these crochet scrunchie patterns are a reliable go-to. With just a bit of yarn and creativity, you can turn a simple elastic into something soft, stylish, and wearable again and again.