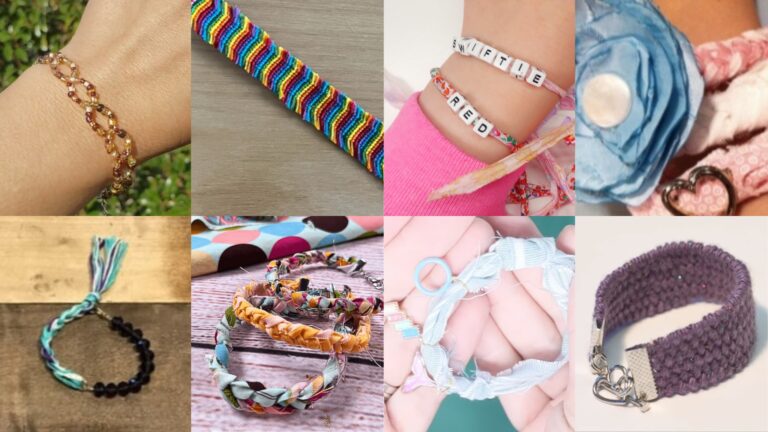
Crochet bracelets are such a lovely way to turn a few yards of yarn into something wearable, pretty, and personal. Unlike larger crochet projects, bracelets are quick to finish, easy to customize, and fun to gift. They are the kind of small project that lets you play with lace, color, beads, flowers, and texture without needing a huge time commitment. That makes them perfect for handmade jewelry lovers who enjoy pieces that feel delicate but still stand out.
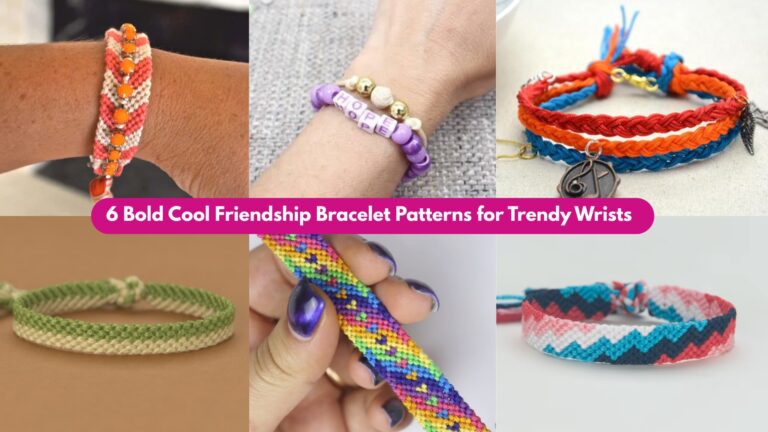
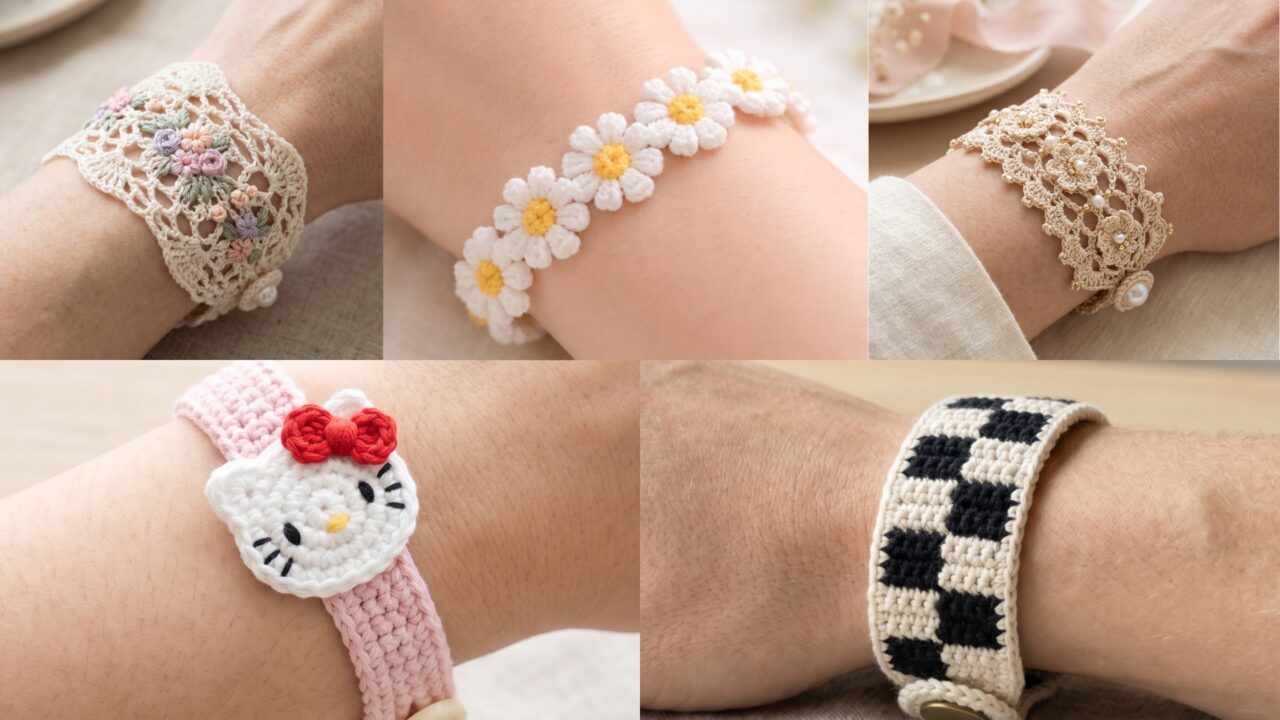
What makes crochet bracelets especially charming is how many different moods you can create from a simple band. A lacy embroidered cuff can feel soft and romantic. A checkered bracelet gives you a playful modern look. A beaded floral cuff feels elegant and detailed. A Hello Kitty bracelet adds a cute and nostalgic touch. A daisy flower bracelet feels fresh and sweet. Each one is small, wearable, and fun to make, but all of them can become favorite accessories or thoughtful handmade gifts.
In this post, you will find five cute crochet bracelet patterns with detailed step-by-step guidance, practical notes, and finishing tips. These designs are written to be easy to follow while still helping you create bracelets that look polished and feel comfortable to wear. If you enjoy small handmade accessories that are pretty, personal, and quick to make, these bracelet ideas are a wonderful place to start.
Quick Notes
Project type: Crochet bracelets
Best for: Handmade jewelry, gifts, spring and summer outfits, craft fairs, and small accessories
Skill level: Beginner to intermediate, depending on detail and embellishment
Hook size: Usually 1.5 mm to 3.5 mm depending on yarn weight and desired delicacy
Yarn weight: Crochet thread, lace weight, fingering, or lightweight cotton yarn
Best yarn choice: Cotton thread or fine cotton yarn for crisp detail and comfort
Finished size: Adjustable to wrist circumference, usually slim cuff size
Time to complete: About 20 minutes to 1 hour per bracelet
Helpful stitches: Chain, slip stitch, single crochet, double crochet, half double crochet, shell stitch, lace stitches, appliqué, bead attachment, picot, simple shaping, and closure finishing
Common Materials
Most crochet bracelets can be made with a similar set of supplies.
- Fine yarn or crochet thread
- Small crochet hook
- Yarn needle
- Scissors
- Small beads, pearls, or buttons
- Hook-and-loop or button closure, optional
- Embroidery thread, optional
- Small appliqués such as flowers or character motifs
- Measuring tape
For bracelets, yarn choice matters a lot because the piece should feel light, soft, and comfortable on the wrist. Thin yarn or thread usually works best because it creates a more refined look and does not feel bulky. A snug but not tight fit is important, especially if the bracelet includes beads or decorative motifs.
1. Crochet Flower Embroidered Lacy Bracelet Cuff Pattern
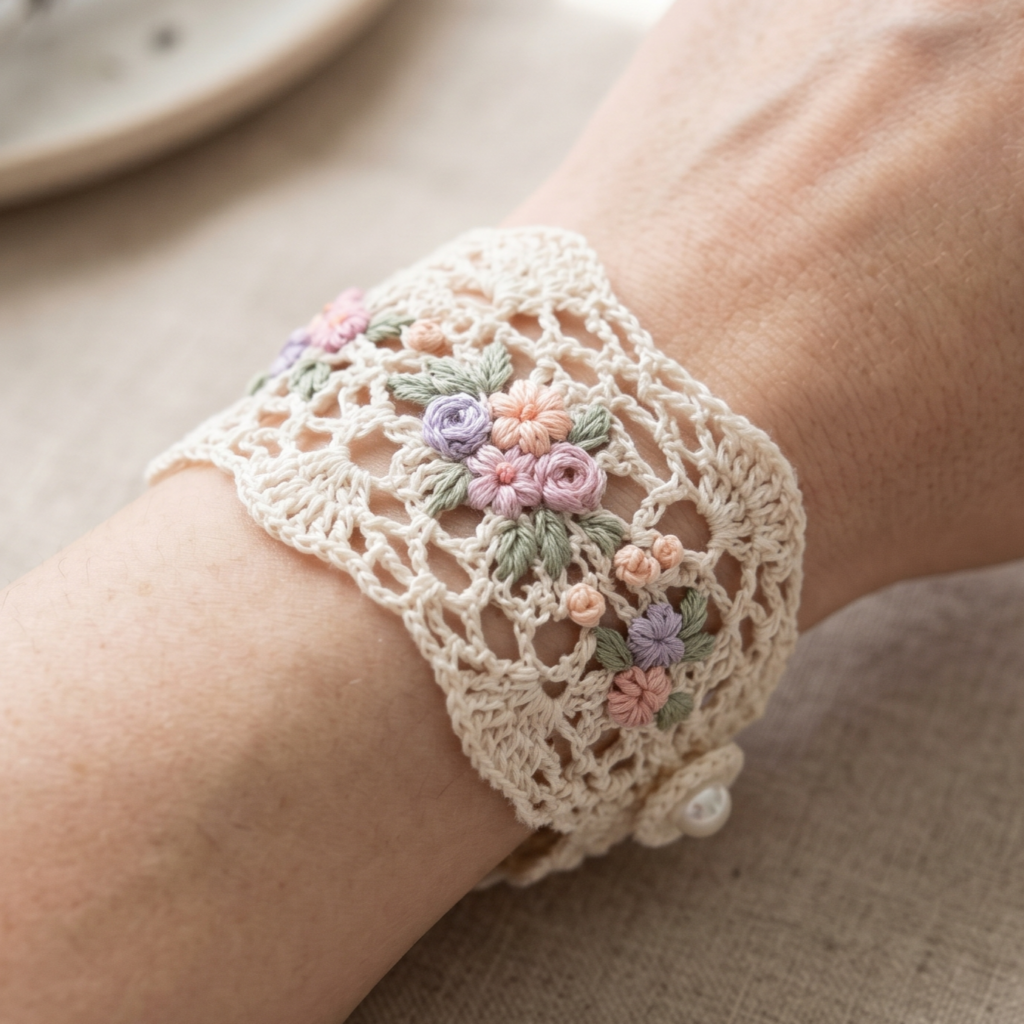
A flower embroidered lacy bracelet cuff feels soft, elegant, and slightly romantic. The lace gives it a delicate foundation, while the embroidered flowers add a pretty handmade touch. It is a beautiful choice if you want a bracelet that feels more like wearable art than a simple band.
Step-by-step guide
Step 1: Choose your lace yarn
Start with a fine cotton or lace-weight yarn in a soft color. White, cream, blush, pale pink, or lavender all work beautifully. Since this bracelet is lace-based, a light color often makes the texture and embroidery more visible.
The yarn sets the delicate mood of the cuff.
Step 2: Measure the wrist
Before beginning, measure the wrist circumference where you want the bracelet to sit. Lace bracelets should fit comfortably and lightly, without being too loose. Keep the fit snug enough so the cuff stays in place but still feels soft.
A good fit makes the bracelet wearable.
Step 3: Crochet the lace band
Begin with a foundation chain and work a lace stitch pattern along the band. Shell stitches, chain spaces, or small openwork rows work especially well. Keep the lace even so the bracelet feels elegant and balanced.
The lace band is the base of the design.
Step 4: Keep the cuff slim
A bracelet cuff should not become too wide or bulky. Make sure the lace rows stay narrow enough to fit comfortably on the wrist. The bracelet should feel light and decorative, not heavy.
A slim cuff makes it easier to wear every day.
Step 5: Embroider the flowers
Use embroidery thread or a fine contrasting yarn to stitch small flowers onto the lace. Tiny blossoms, petals, or simple floral outlines can make the bracelet feel soft and feminine. Keep the flowers small and evenly spaced so the design looks tidy.
The flowers are the main decorative detail.
Step 6: Choose flower placement carefully
Place the flowers along the top edge, center, or in a repeating line depending on the look you want. A centered floral cluster gives a romantic feel, while scattered tiny flowers feel playful and airy.
Placement changes the whole mood of the bracelet.
Step 7: Add a closure
Finish the bracelet with a button and loop, hook, or small tie. A button closure works especially well for cuff-style bracelets because it keeps the piece secure and gives a polished finish.
A clean closure makes the bracelet practical.
Step 8: Weave in ends and lightly block
Tuck in all loose ends and lightly block the bracelet if needed so the lace opens evenly and the flowers sit nicely. A small amount of blocking can make a big difference in how refined the cuff looks.
Helpful tips
This bracelet looks especially lovely in cream or blush with tiny pastel flowers. If you want a more elegant version, use a pearl button or a small bead at the closure. It is a beautiful choice for spring outfits or handmade gift sets.
2. Crochet Checkered Bracelet Pattern
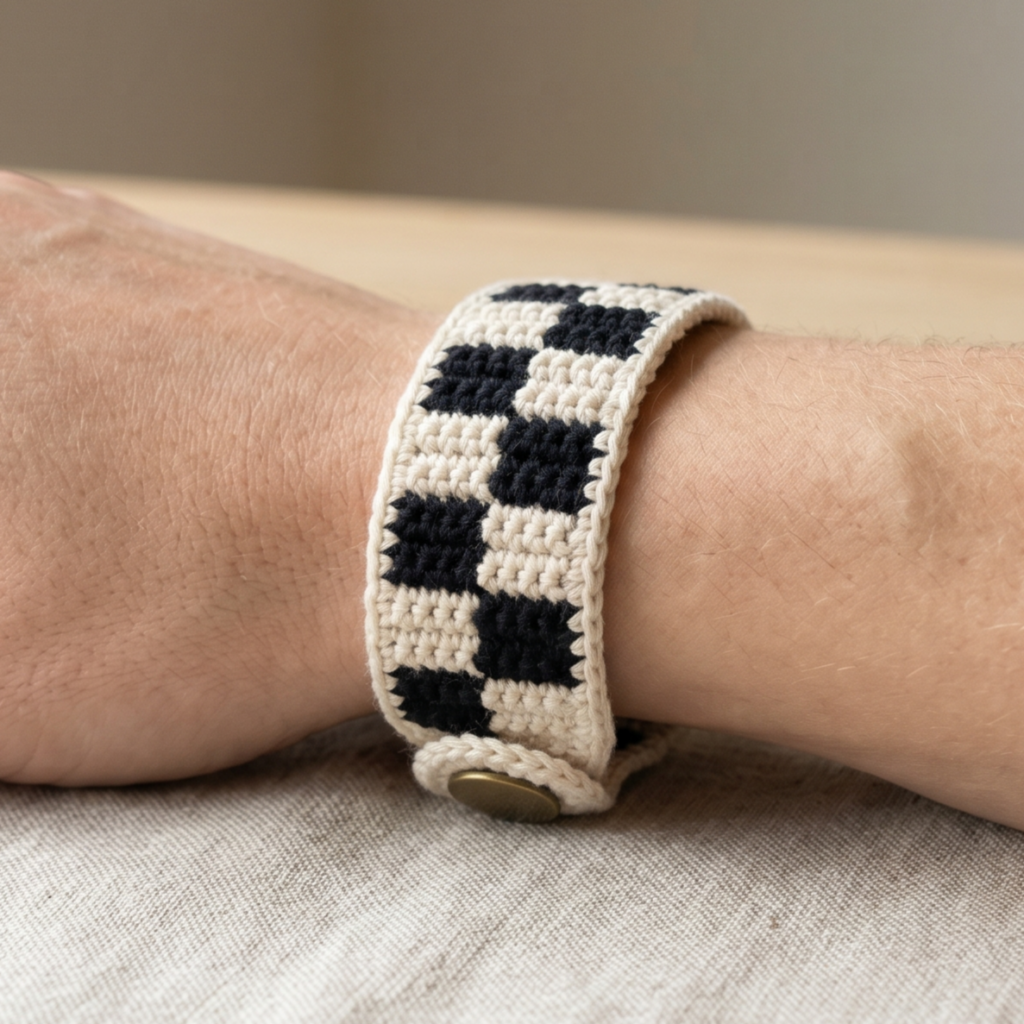
A checkered crochet bracelet feels modern, playful, and trendy. The small check pattern gives it a graphic look that is perfect for anyone who likes accessories with a little edge. Because the bracelet is small, the check design feels fun without becoming overwhelming.
Step-by-step guide
Step 1: Pick two contrasting colors
Choose two yarn colors that stand out clearly against each other. Classic combinations like pink and white, black and cream, or blue and ivory all work well. A strong contrast helps the checkered design show up clearly.
The colors create the check pattern.
Step 2: Decide the bracelet width
Before starting, think about how wide you want the bracelet to be. A narrow bracelet feels delicate, while a slightly wider one lets the check pattern stand out more. Keep the size balanced so it still feels comfortable on the wrist.
Width affects the bracelet’s style.
Step 3: Crochet the foundation band
Start with a chain and work a simple band using single crochet or half double crochet. Keep the fabric neat and even so the checkered pattern will stay clean. A firm base is important for this design.
The base gives the bracelet structure.
Step 4: Work the checkered stitches
Begin alternating the colors in a checkered pattern. Keep the blocks small and consistent so the design looks crisp. Since the bracelet is small, even a simple two-row or two-stitch block pattern can create a strong visual effect.
The checks are the signature feature.
Step 5: Keep the edges straight
Checkered designs look best when the edges stay neat and tidy. Make sure the sides are straight and the row counts stay even. If one side starts to pull, adjust your tension so the bracelet remains balanced.
Straight edges make the pattern more polished.
Step 6: Repeat until the length is right
Continue the pattern until the bracelet fits your wrist measurement. If you want a snug cuff style, add just enough length to wrap comfortably. If you prefer a looser bracelet, add a little extra room.
Step 7: Add a closure
Use a button and loop, clasp, or a small tie to close the bracelet. Choose a closure that complements the modern design. A simple matte button can look especially nice with the checkered pattern.
The closure finishes the bracelet cleanly.
Step 8: Secure the ends
Weave in all loose yarn ends carefully so the bracelet feels smooth on the wrist. Because this design uses color changes, neat finishing is especially important.
Helpful tips
This bracelet looks cute in bold color combinations, but it can also feel sophisticated in muted tones. If you want a more fashion-forward look, keep the checks small and the color palette simple. It is a great accessory for casual outfits or layered jewelry styling.
3. Crochet Flower Beaded Lacy Bracelet Cuff Pattern
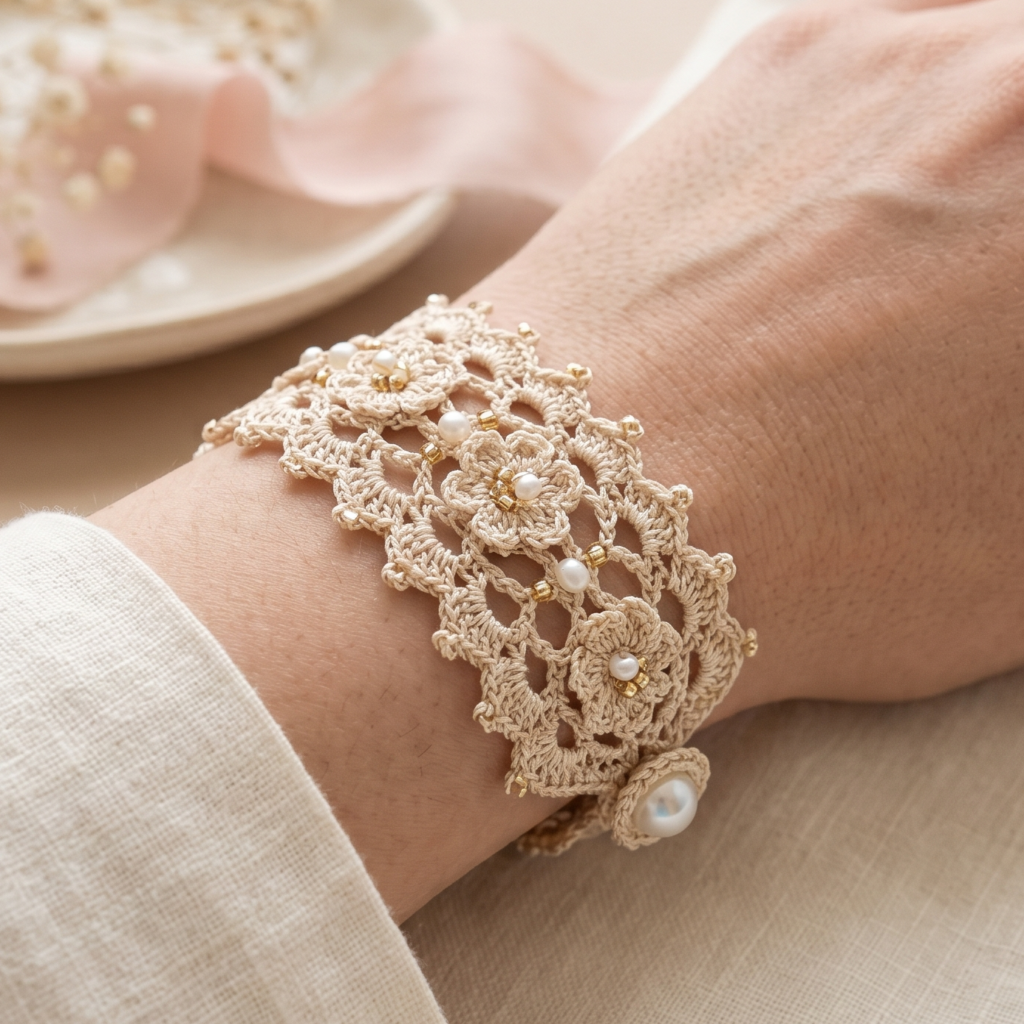
A flower beaded lacy bracelet cuff feels elegant, detailed, and a little luxurious. The lace gives it a delicate foundation, while the beads and flowers add texture and sparkle. It is a beautiful pattern if you want something that feels more special and decorative.
Step-by-step guide
Step 1: Choose your lace and bead colors
Pick a light lace yarn and matching or contrasting beads. Pearls, tiny glass beads, or small seed beads all work beautifully. Soft pink, cream, ivory, or pale gold tones create a lovely refined look.
The colors and beads set the elegant style.
Step 2: Measure the wrist
Take your wrist measurement so the cuff fits comfortably. Because beads can add a little weight, it is important that the bracelet fits properly and does not slide around too much.
Good sizing helps the bracelet stay elegant.
Step 3: Crochet the lace foundation
Begin with a narrow lace band using shell stitches, picots, or chain-space rows. Keep the pattern light and open so the beads and flowers can stand out. The lace should feel soft and airy.
The lace provides the background texture.
Step 4: Add the flower motifs
Crochet small flowers separately or create floral accents directly into the band. Keep them small enough to stay delicate. Tiny petal shapes or simple blossoms work especially well for bracelet-scale designs.
The flowers are the focal point.
Step 5: Attach the beads
Sew beads into the flower centers or along the lace band. Keep them evenly placed so the bracelet feels balanced and not too crowded. A few well-placed beads usually look more elegant than too many.
The beads add shine and detail.
Step 6: Check the weight
Because beads can make the bracelet slightly heavier, make sure it still feels comfortable on the wrist. If needed, use smaller beads or fewer of them. The bracelet should feel refined and light.
Comfort is just as important as appearance.
Step 7: Add the closure
Finish with a button, clasp, or loop closure. A pearl-style button works especially well because it ties the flower and bead theme together beautifully.
The closure gives the bracelet a finished look.
Step 8: Block and refine
Lightly block the bracelet so the lace opens nicely and the flowers sit flat. Once dry, adjust the beads and trim any loose threads. A careful finish will make the cuff feel polished and gift-worthy.
Helpful tips
This bracelet is lovely in soft bridal or spring-inspired colors. If you want a more luxurious version, use tiny pearl beads and a cream lace band. It is a wonderful piece for gifts or special handmade jewelry sets.
4. Crochet Hello Kitty Bracelet Pattern
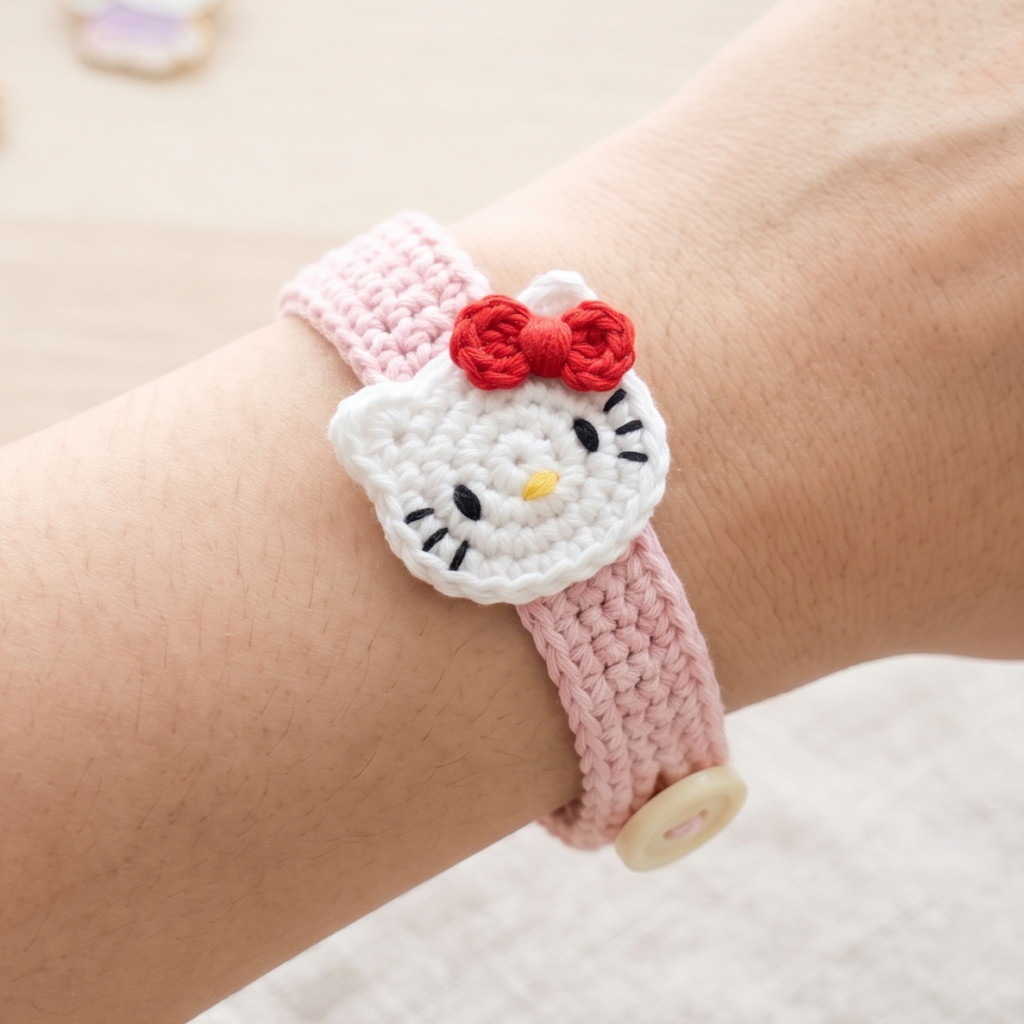
A Hello Kitty crochet bracelet feels cute, nostalgic, and full of personality. It is a fun pattern for anyone who loves character-inspired accessories and wants a bracelet that feels playful and easy to recognize. Because the motif is small, it is perfect for a quick and cheerful handmade project.
Step-by-step guide
Step 1: Pick your Hello Kitty colors
Choose classic white for the character face, pink or red for accents, and black for the tiny facial features. You can also use pastel variations if you want a softer, more modern version. The colors should make the character instantly recognizable.
The colors create the character style.
Step 2: Crochet the bracelet band
Start with a slim band that will sit comfortably on the wrist. Use a stitch that feels neat and slightly firm, such as single crochet or half double crochet. The band should be simple so the character motif remains the focus.
The band gives the bracelet structure.
Step 3: Crochet the Hello Kitty motif
Make a small character face motif separately. Keep it compact so it fits nicely on the bracelet. The face should be smooth and round, with tiny ears and a simple outline.
The motif is the bracelet’s focal point.
Step 4: Add the face details
Use embroidery or tiny appliqué pieces to create the eyes, nose, and bow. Keep the features small and neat. Hello Kitty looks best when the details are clean and balanced.
The face details make it recognizable.
Step 5: Attach the motif to the band
Sew the Hello Kitty face onto the center or side of the band, depending on the look you want. Make sure the placement is secure and symmetrical. The bracelet should feel polished and wearable.
Placement changes the bracelet’s style.
Step 6: Add a small bow or accent
If desired, add a tiny bow in the signature spot. This detail makes the bracelet extra cute and helps the character feel complete. A little bow can also add a nice pop of color.
The bow is the finishing charm.
Step 7: Add the closure
Finish the bracelet with a button, loop, or clasp. The closure should be simple so it does not distract from the character motif. A soft pink or red button works especially well.
The closure keeps it practical.
Step 8: Secure all ends
Weave in all loose yarn ends and make sure the motif is sewn on tightly. Because character bracelets are decorative, clean finishing is especially important for a professional look.
Helpful tips
This bracelet is especially fun for gifts, themed jewelry sets, or kawaii-style accessories. If you want a more subtle version, make the motif smaller and keep the band simple. It is a charming piece that feels playful and cute.
5. Crochet Daisies Flower Bracelet Pattern
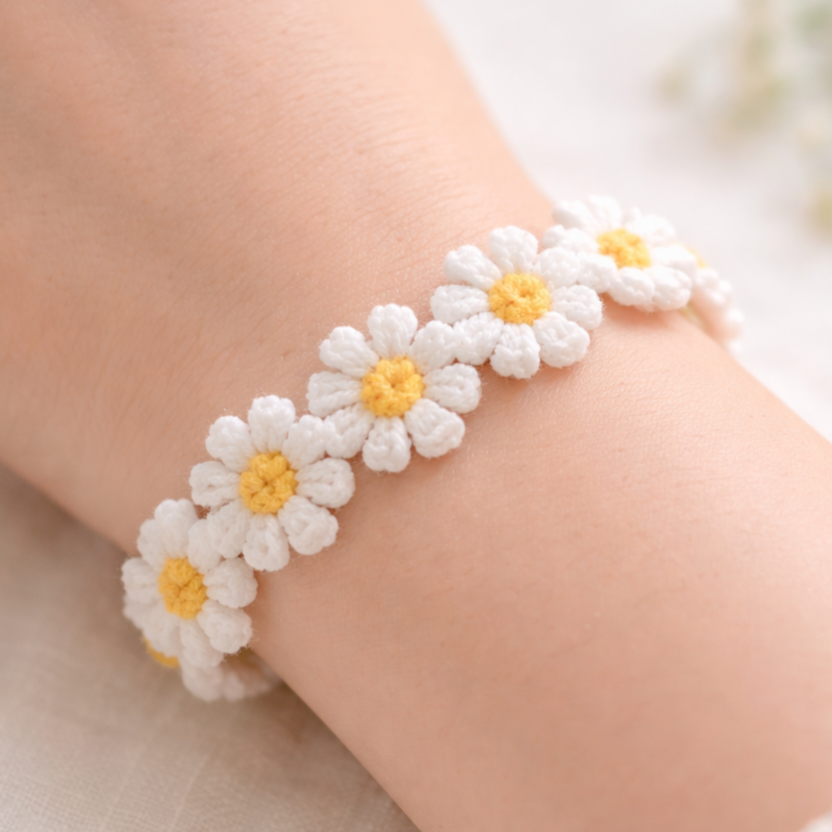
A daisies flower bracelet feels fresh, cheerful, and easy to wear. The daisy motif gives the bracelet a soft springtime look, and the design is simple enough to be beginner-friendly while still feeling special. It is a lovely accessory if you like sweet floral details.
Step-by-step guide
Step 1: Choose daisy colors
Pick a white or cream for the petals and a yellow, gold, or pale center. You can also use pastel petals for a softer look. The daisy colors should feel bright and friendly.
The colors make the flower motif clear.
Step 2: Crochet the bracelet band
Start with a slim band using single crochet or half double crochet. Keep the band neat and comfortable so it sits nicely on the wrist. A thin band works especially well for floral bracelets.
The band supports the flower detail.
Step 3: Make the daisy flowers
Crochet small daisy motifs separately. Keep each flower compact and even, with petals that are the same size. The flowers should feel cute and balanced rather than too large for the bracelet.
The flowers are the highlight of the design.
Step 4: Arrange the flowers
Place the daisies along the band in a row, cluster, or centered motif arrangement. Decide whether you want one focal flower or a chain of tiny blooms. The arrangement changes the whole mood of the bracelet.
Placement helps create the final look.
Step 5: Attach the flowers securely
Sew each daisy onto the bracelet band with matching yarn or thread. Make sure they are attached firmly and evenly spaced. Since bracelets are worn often, the flowers should be secure.
The attachment makes the bracelet durable.
Step 6: Add a small center detail
If desired, use a bead or small embroidered knot in the center of each daisy. This can make the flowers look more polished and slightly dimensional. Keep the centers small so they do not overpower the petals.
The centers add detail and charm.
Step 7: Finish with a closure
Add a button, loop, or clasp so the bracelet fits snugly around the wrist. A tiny floral-style button can be especially pretty with this design.
The closure keeps the bracelet wearable.
Step 8: Shape and block
Lightly block the bracelet if needed so the flowers lie flat and the band stays even. Once finished, adjust any petals that curl or twist.
Helpful tips
Daisy bracelets look lovely in classic white and yellow, but pastel versions can be very sweet too. If you want a more modern version, use a single flower on a slim band. It is a simple design that feels fresh and joyful.
Conclusion
Crochet bracelets are one of the best small projects for handmade jewelry lovers because they are quick to make, easy to personalize, and charming to wear. They let you explore texture, color, lace, and decorative details in a small format that feels fun rather than overwhelming. That balance of creativity and simplicity is what makes them so satisfying.
These five bracelet patterns each bring a different mood. The flower embroidered lacy cuff feels soft and romantic. The checkered bracelet is modern and playful. The flower beaded lacy cuff feels elegant and detailed. The Hello Kitty bracelet is cute and nostalgic. The daisy bracelet is fresh and cheerful. Together, they show how much style you can create with just a little yarn and a thoughtful design.
If you love small handmade accessories that feel personal and wearable, these crochet bracelet patterns are a beautiful place to start. With the right yarn, careful stitching, and neat finishing, each one can become a lovely piece of handmade jewelry that adds charm to any outfit.