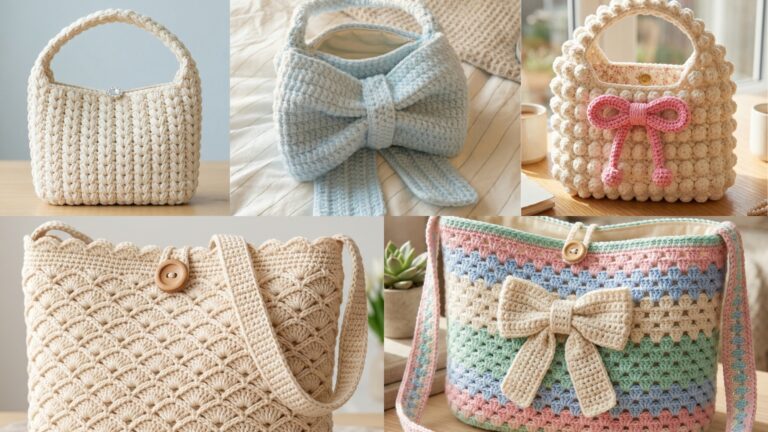
Crochet dresses have a special kind of appeal that goes beyond simple handmade fashion. They are creative, expressive, and completely unique, which makes them feel more personal than most store-bought pieces. A well-made crochet dress can be soft and romantic, bold and modern, relaxed and beachy, or polished enough for an evening out. That flexibility is exactly why crochet dresses continue to stay relevant in modern wardrobes: they can be styled in so many ways, and they always feel a little more special because they were made by hand.
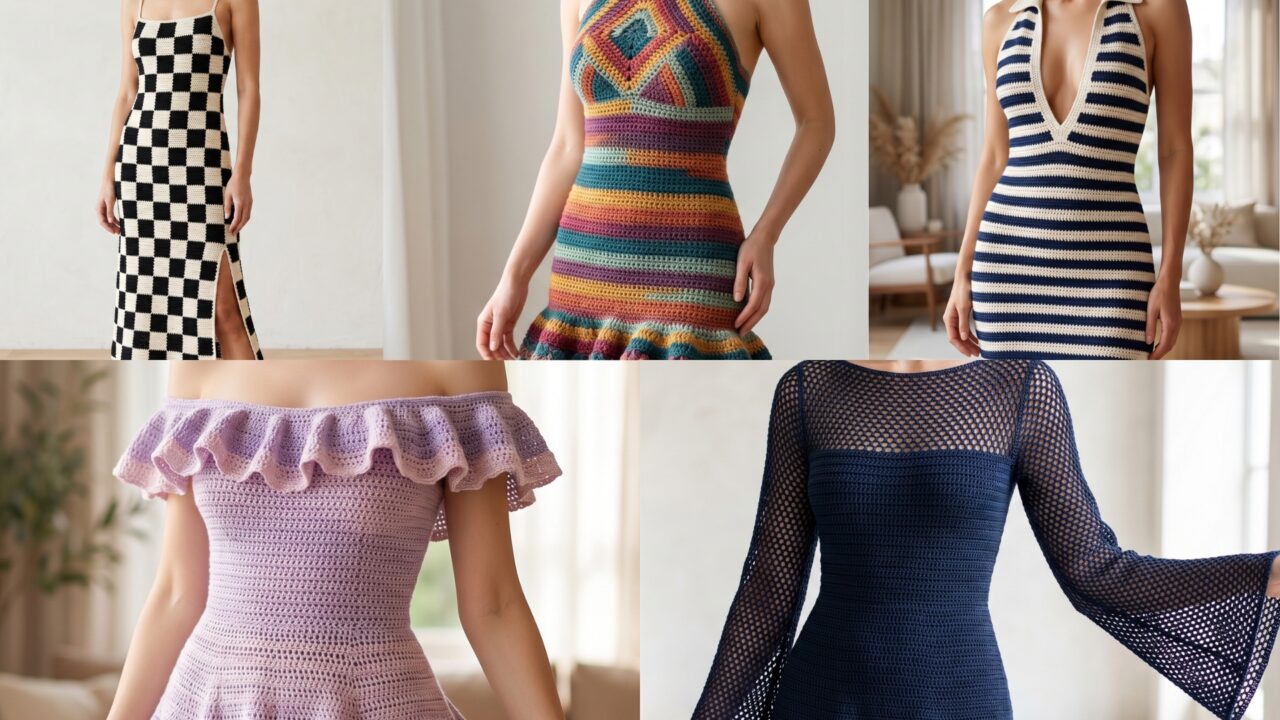
What makes crochet dresses especially exciting is how much room they leave for texture, shape, and personality. A mesh sleeve dress can feel sleek and dramatic. A checkered slit dress brings in a trendy, graphic edge. A halter mini dress made from scrap yarn is playful and resourceful. A collared striped dress feels structured and chic. An off-the-shoulder ruffle dress adds softness and movement. Each design has its own mood, but all of them can become wardrobe favorites when made with the right yarn, fit, and finishing details.
In this post, you will find five crochet dress patterns that feel modern, wearable, and stylish. Each one includes detailed step-by-step guidance, practical notes, and helpful finishing tips to make the process easier and more enjoyable. Whether you are making a summer statement piece, a layered dress for events, or a handmade garment that feels boutique-worthy, these designs are a beautiful place to start.
1. Crochet Flared Meshy Sleeves Midnight Dress Pattern
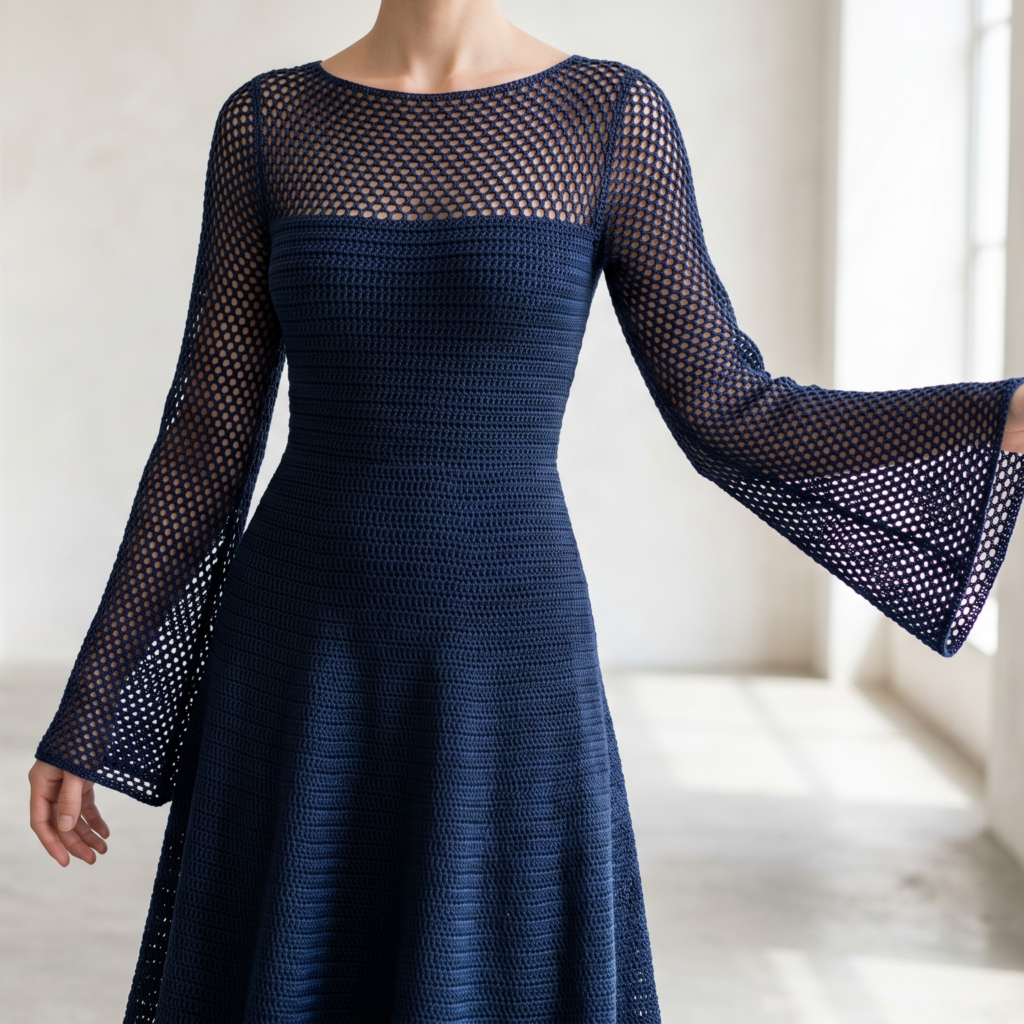
A flared meshy sleeves midnight dress feels elegant, dramatic, and a little mysterious. The “midnight” look gives it a rich evening feel, while the mesh sleeves keep it light and modern. This is a great dress if you want something that feels stylish enough for special occasions but still wearable and comfortable.
Step-by-step guide
Step 1: Choose a deep color palette
Start with a dark and rich yarn color such as midnight blue, black, charcoal, or deep plum. These colors help give the dress its moody, elegant feel. If you want a more striking look, choose a yarn with a slight sheen or a very smooth finish.
The color sets the whole atmosphere of the dress.
Step 2: Measure for a fitted silhouette
Before you begin, take bust, waist, hip, sleeve, and dress-length measurements. This style works best when it gently follows the body without feeling too tight. A flattering fit is especially important for a dress with mesh details, because the openwork will naturally draw attention.
A well-measured dress feels more polished and wearable.
Step 3: Crochet the bodice
Begin with the bodice section using a stitch that creates structure and coverage. The top should feel secure enough to support the mesh sleeves later. Keep the stitches even and the shaping smooth so the dress can flow into the rest of the garment naturally.
The bodice is the foundation of the dress.
Step 4: Shape the neckline and waist
As you continue, shape the neckline and waist carefully. A slightly fitted waistline helps the dress feel elegant and balanced. Keep the shaping gradual so the garment remains comfortable and easy to wear.
Good shaping gives the dress its tailored appearance.
Step 5: Work the flared mesh sleeves
Crochet the sleeves using an open mesh stitch that widens gradually toward the wrists. The flare should feel soft and graceful, not overly bulky. The mesh adds movement and lightness, making the sleeves one of the most beautiful features of the design.
The sleeves create the dress’s standout silhouette.
Step 6: Add the skirt section
Once the bodice is complete, begin the skirt. This can be fitted at the hips and slightly flared at the hem, or gently straight depending on the style you want. Keep the skirt balanced so it works well with the airy sleeves.
The skirt helps anchor the dramatic sleeves.
Step 7: Finish the edges
Add a clean border around the neckline, sleeves, and hem. A simple finish often works best here because the mesh sleeves already bring a lot of visual interest. Neat edging will make the dress feel more refined.
Step 8: Block and shape
Blocking is especially helpful for mesh and flared sleeves. Shape the sleeves and dress gently while they dry so the openwork settles into a polished form.
Helpful tips
This dress looks especially beautiful in midnight blue, black, or deep plum. If you want a softer evening look, choose a dark yarn with a subtle shine. This is a great piece for dinners, special outings, or elegant layered styling.
2. Crochet Checkered Slip Slit Dress Pattern
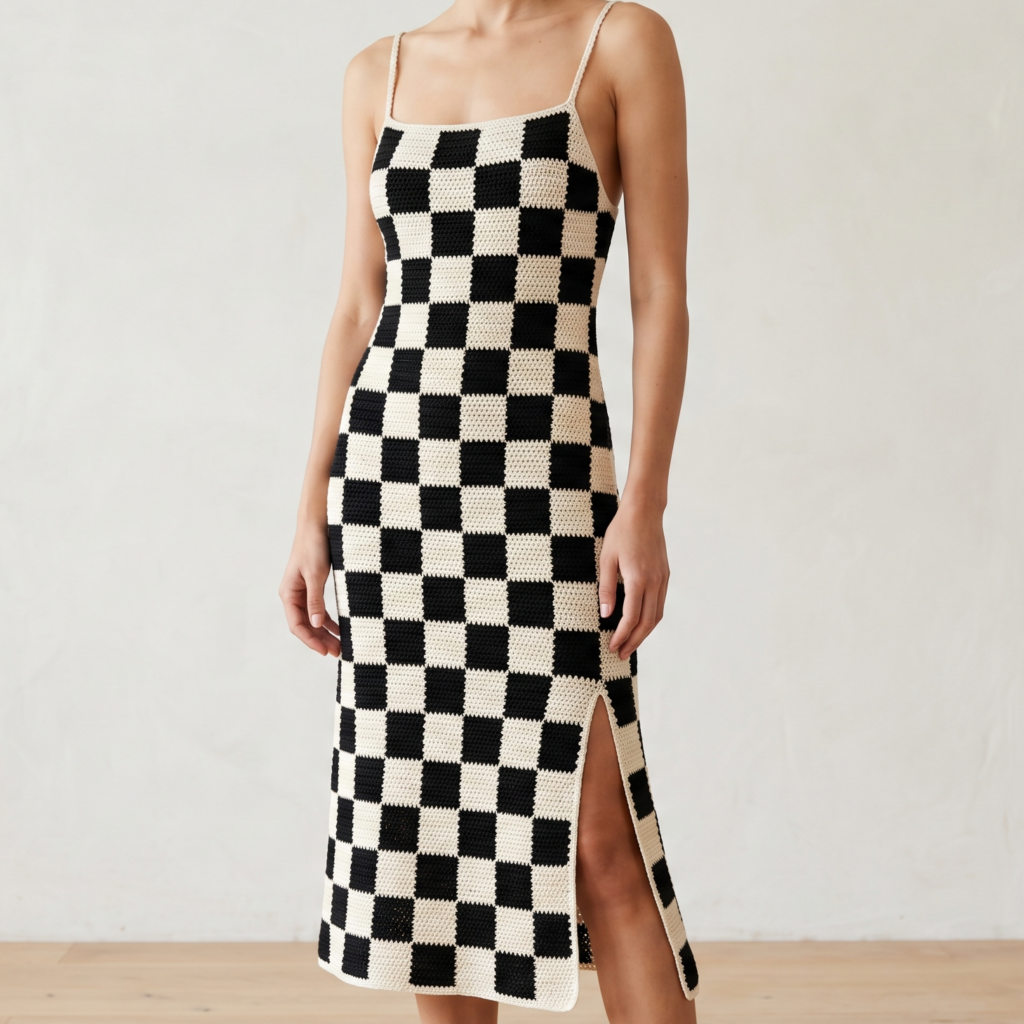
The checkered slip slit dress feels bold, trendy, and very modern. The checkered texture gives it a graphic, fashion-forward look, while the slit detail adds movement and a little edge. It is a perfect choice if you want a dress that feels current and eye-catching.
Step-by-step guide
Step 1: Pick your checkered colors
Choose two colors that contrast well. Classic black and cream, brown and beige, or pastel combinations can all work beautifully. The stronger the contrast, the more visible the checkered pattern will be.
The color pair gives the dress its modern style.
Step 2: Measure the body
Because this is a slip-style dress, you will want to measure the bust, waist, hips, and length carefully. The dress should skim the body comfortably and sit smoothly when worn. A good fit is especially important if you want the slit to fall at the right place.
A careful fit makes the dress feel intentional and flattering.
Step 3: Crochet the bodice
Start with a fitted bodice that supports the shape of the dress. Keep the upper section smooth and balanced so the checkered pattern can transition into the rest of the garment. The bodice should feel secure but not restrictive.
The bodice sets the foundation for the slip style.
Step 4: Add the checkered pattern
Work the checkered sections row by row or in blocks, depending on the design you prefer. Keep the squares or sections even so the pattern stays crisp. This is the feature that gives the dress its striking visual identity.
The checkered pattern is the centerpiece of the design.
Step 5: Shape the skirt
As you move downward, continue the checkered pattern through the skirt. You can keep the skirt straight or lightly flared, depending on the look you want. Make sure the fabric remains comfortable and drapey.
The skirt helps the dress move naturally.
Step 6: Add the slit
Create the slit at the side or front by stopping the stitches at a certain point and continuing each side separately. The slit should be high enough to create movement but not so high that the dress feels uncomfortable. Keep the edges neat so the slit looks intentional.
The slit adds a stylish, fashion-forward detail.
Step 7: Finish the top edges and straps
If your dress has straps, make them sturdy and balanced. Finish the neckline and armholes with clean borders if needed. The top of a slip dress should feel secure and smooth against the body.
Step 8: Block and test the drape
Blocking will help the checkered sections settle and improve the way the skirt hangs. Try the dress on and make sure the slit falls where you want it to.
Helpful tips
This dress looks especially chic in black and cream or muted neutral tones. If you want a more playful version, try soft pastels or retro-inspired colors. Keep the checkered layout neat so the dress looks boutique-made rather than overly busy.
3. Crochet Scrap Yarn Halter Ruffle Hem Mini Dress Pattern
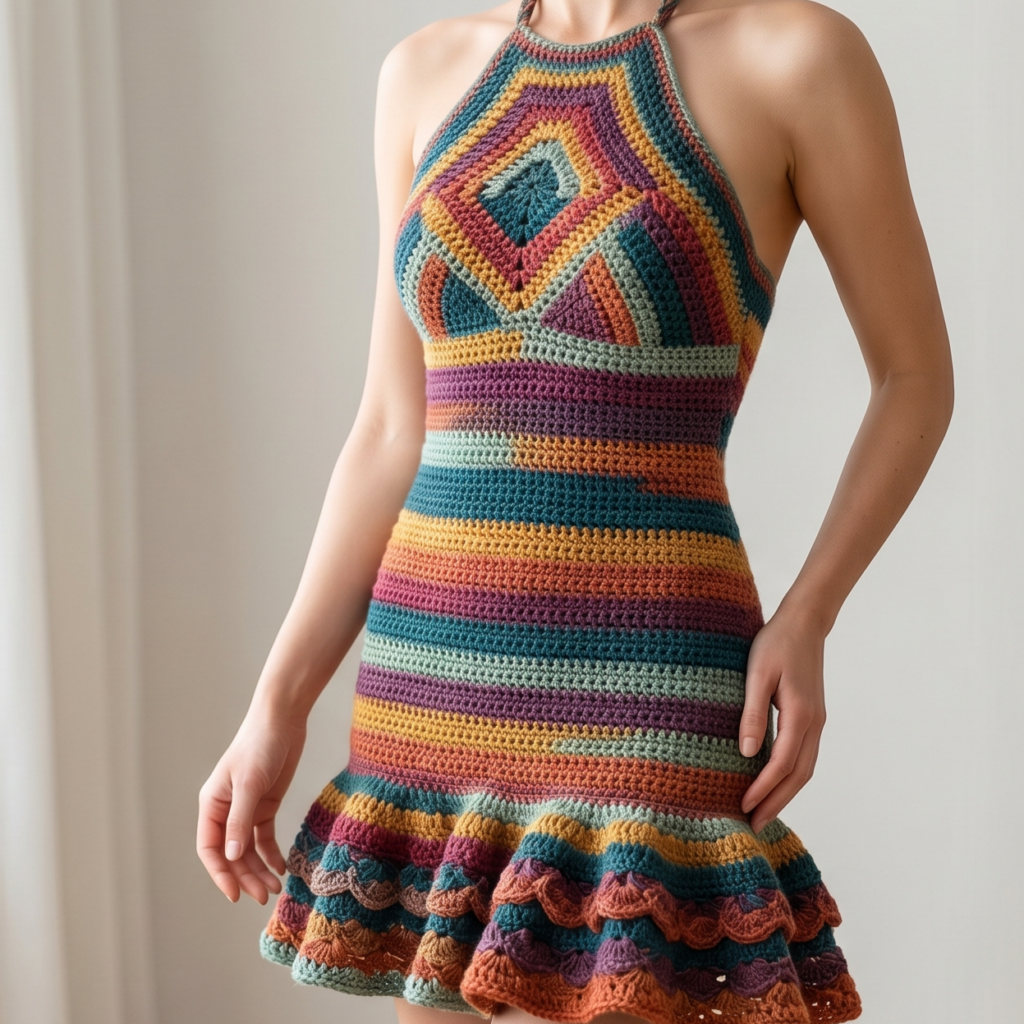
A scrap yarn halter ruffle hem mini dress is playful, colorful, and wonderfully creative. It is a perfect project if you want to use leftover yarn in a way that feels fashionable instead of random. The halter neckline gives it a summery look, while the ruffle hem adds movement and fun.
Step-by-step guide
Step 1: Sort your scrap yarn
Gather yarn scraps that have a similar weight, or group them into color families. Since this dress uses many small pieces, planning the colors helps the final look feel cohesive. You can go bright and rainbow-like or stick to a softer palette.
A thoughtful color mix makes scrap yarn look intentional.
Step 2: Measure your body
Take bust, waist, hip, and desired dress-length measurements. Halter mini dresses rely on fit through the bust and neckline, so the measurements should be accurate. Keep the dress close enough to hold its shape while still allowing movement.
Good measurements make the halter neckline fit properly.
Step 3: Crochet the halter bodice
Begin with the halter top section. This should fit securely around the bust and neck while feeling comfortable to wear. The bodice can be worked in rows or joined shaping, depending on your style. Keep the stitches even and stable.
The bodice provides structure.
Step 4: Add scrap yarn color sections
Use your leftover yarn to create color blocks, stripes, or textured sections through the body of the dress. This is where the scrap yarn really shines. Keep the color changes balanced so the dress feels lively but not chaotic.
The color sections give the dress its personality.
Step 5: Shape the mini dress body
Continue the dress downward until it reaches mini length. Keep the sides smooth and the fabric drapey enough to move comfortably. If you want a slightly more fitted shape, add shaping at the waist or hips.
Step 6: Create the ruffle hem
At the bottom, add a ruffled edge using increases or a shell-style border. The hem should feel full and bouncy, creating contrast with the fitted bodice. The ruffle is what gives the dress its playful finish.
The ruffle hem adds motion and charm.
Step 7: Finish the halter ties
Create sturdy halter ties that feel comfortable around the neck. They should be long enough to adjust easily but not so long that they distract from the dress. Reinforce the join well so the top stays secure.
Step 8: Weave in and block
Carefully weave in all ends, especially where color changes happen. Block lightly if needed so the ruffle hem opens nicely and the dress sits smoothly.
Helpful tips
This dress is perfect for summer festivals, beach outfits, or playful handmade fashion. You can make it bold with bright scraps or softer with pastel leftovers. Since it uses scrap yarn, every dress will have its own unique look.
4. Crochet Collared V Neck Halted Striped Dress Pattern
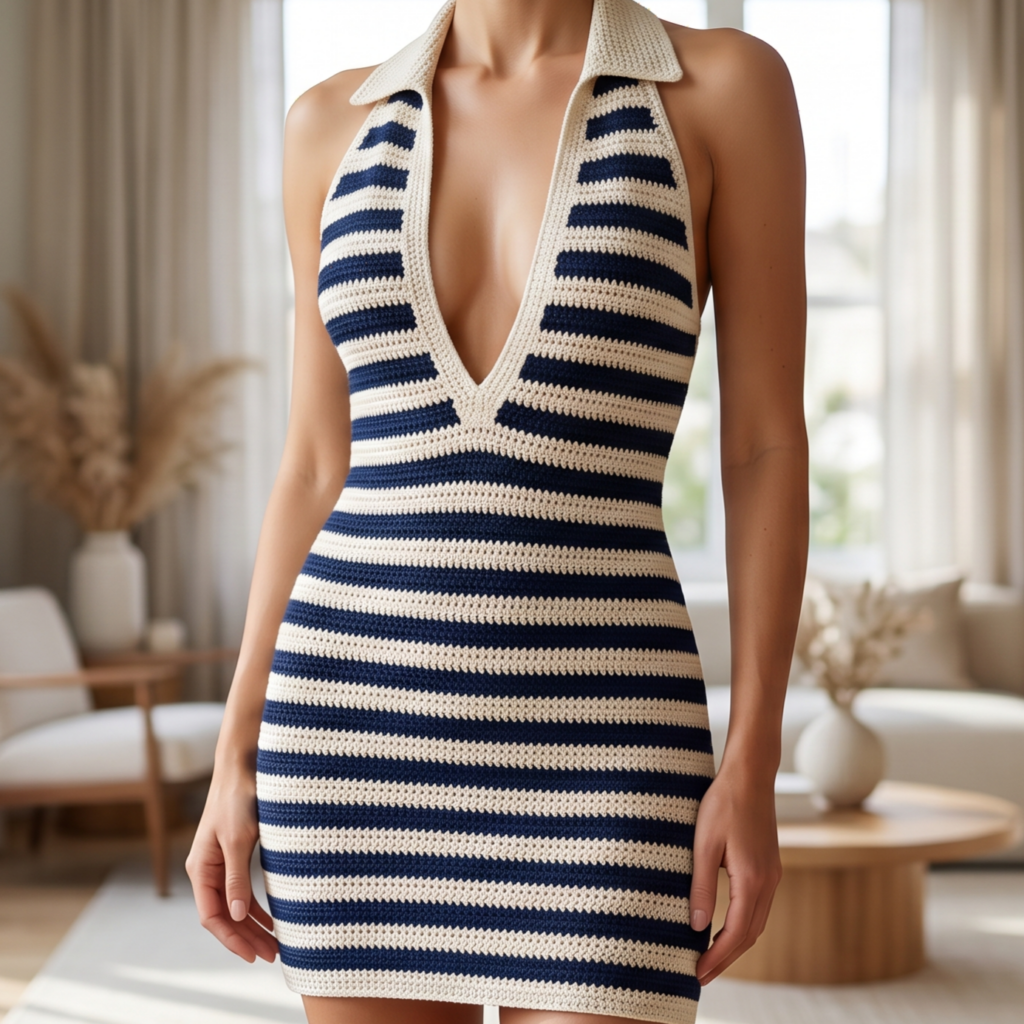
A collared V neck haltered striped dress feels polished, structured, and very wearable. The striped design gives it a clean visual rhythm, while the collar and V-neck add a little sophistication. It is ideal if you want a dress that feels chic enough for everyday wear and special outings alike.
Step-by-step guide
Step 1: Choose your stripe palette
Select two or more colors that work well together. Stripes look especially lovely when they are balanced and not too busy. You can choose soft neutrals for a minimalist look or bold contrasts for a more modern feel.
The stripes create the dress’s structure and rhythm.
Step 2: Measure the fit
Take measurements for the bust, waist, hips, and torso length. A haltered striped dress should fit securely around the top while allowing the skirt to drape comfortably. The V-neck should feel flattering and not too open unless that is the style you want.
A good fit helps the stripes sit evenly.
Step 3: Crochet the halter bodice
Begin with the halter top section and shape it so it supports the bust well. The bodice should feel fitted and comfortable. Keep the stitches neat because the collar will frame this section and draw attention to it.
The halter bodice defines the top line.
Step 4: Add the V-neck
Shape the neckline into a clean V. This will give the dress a polished, boutique-like appearance. Make sure both sides of the V are symmetrical and that the neckline feels comfortable on the body.
The V-neck is one of the dress’s most flattering features.
Step 5: Crochet the collar
Add a collar around the neckline to give the dress a more tailored and elevated feel. The collar should sit neatly and frame the face without feeling stiff. A soft structured collar works especially well with stripes because it helps the design feel more finished.
The collar adds sophistication.
Step 6: Continue the striped body
Work the rest of the dress in your chosen stripe sequence. Keep the stripes consistent in width so the visual effect stays clean. The body can be fitted or slightly flared depending on the silhouette you prefer.
Step 7: Shape the skirt
Continue downward until the dress reaches your desired length. If needed, add gentle shaping at the waist or hips for a smoother silhouette. The skirt should feel balanced with the structured neckline.
Step 8: Finish edges and support points
Add neat finishing edges around the armholes, collar, and hem. Reinforce the halter ties or top support areas so the dress stays comfortable and secure. Light blocking can help the collar and stripes lay flat.
Helpful tips
This dress looks especially stylish in classic neutrals, navy and cream, or a clean two-tone palette. If you want a more playful version, try softer stripes in faded summer shades. Keep the collar neat and the stripes aligned to get that boutique-made look.
5. Crochet Wisteria Off-The-Shoulder Ruffle Dress Pattern
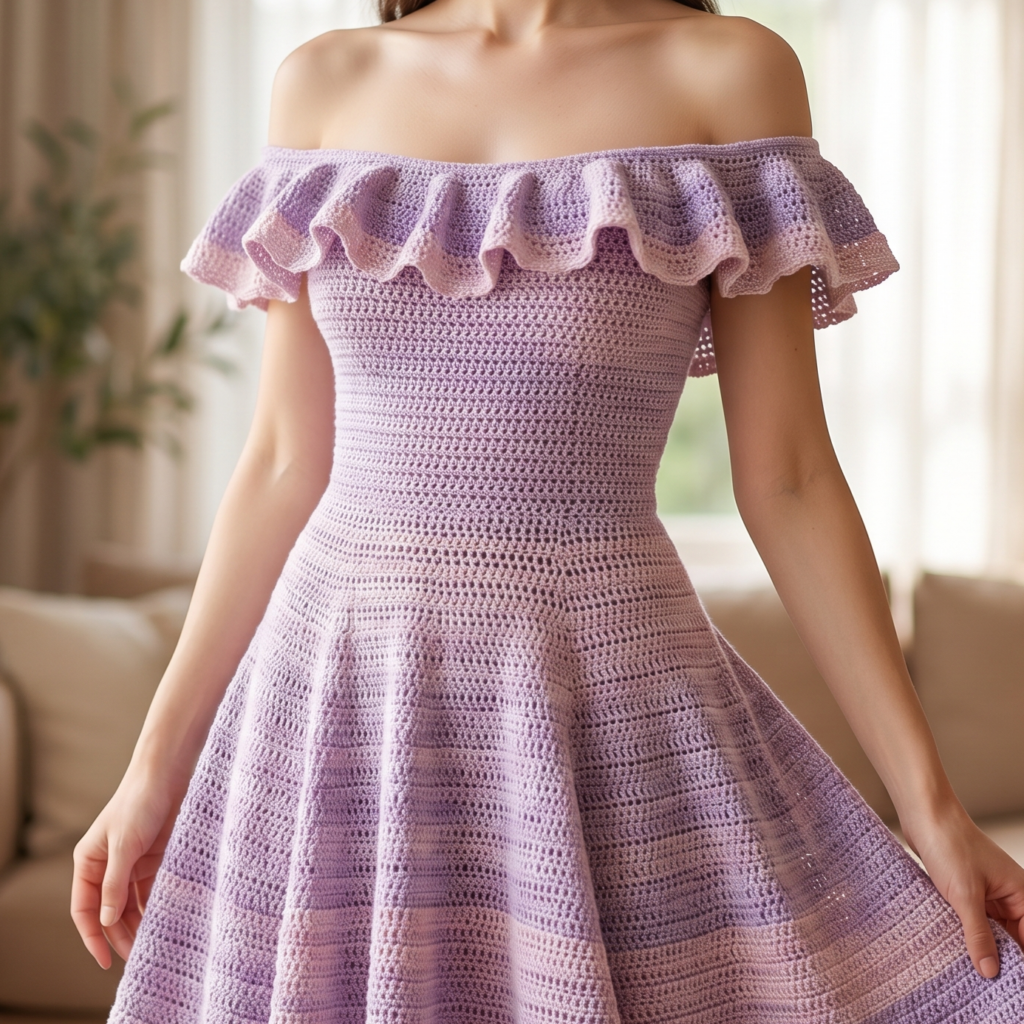
The wisteria off-the-shoulder ruffle dress is soft, romantic, and beautifully feminine. The off-the-shoulder neckline gives it an elegant shape, while the ruffle details make it feel light and flowing. It is a lovely choice if you want a dress that feels dreamy and graceful.
Step-by-step guide
Step 1: Choose a soft floral-inspired color
Pick a color that feels dreamy and delicate, such as wisteria purple, lavender, pale lilac, blush, or cream. A soft color helps the ruffles feel romantic and keeps the dress elegant.
The color sets the mood of the dress.
Step 2: Measure your bust and shoulders
Because the neckline sits off the shoulders, accurate measurements are important. The top of the dress should fit securely enough to stay in place without slipping too much. Make sure the neckline feels comfortable when worn.
A proper fit keeps the neckline elegant.
Step 3: Crochet the fitted top section
Begin with a fitted bodice that holds the upper part of the dress in place. The top should be snug enough to support the off-the-shoulder style while still feeling soft. Keep the shaping smooth and balanced.
The bodice supports the ruffle neckline.
Step 4: Shape the off-the-shoulder neckline
Create the neckline so it rests softly below the shoulders. This can be done by shaping the top edge and leaving room for the fabric to drape naturally. The neckline should feel feminine and comfortable.
The neckline is the signature detail.
Step 5: Add the ruffle trim
Crochet a ruffle along the neckline, sleeves, or hem depending on the look you want. The ruffle should feel soft and full but not too heavy. It adds movement and gives the dress a romantic feel.
The ruffle makes the dress feel dreamy.
Step 6: Work the skirt
Continue the dress into a flowing skirt that matches the softness of the top. You can keep it fitted and slightly flared or let it open more at the hem. The skirt should move gracefully and complement the ruffle detail.
Step 7: Finish the sleeves or upper edges
If your design includes short sleeves or upper arm bands, finish them neatly so they support the off-the-shoulder shape. Keep the finishing soft and balanced with the rest of the dress.
Step 8: Block and refine
Blocking helps the ruffles open nicely and lets the neckline settle into shape. This can make a big difference in how graceful the final dress looks. Make sure the neckline sits evenly across both shoulders.
Helpful tips
This dress looks beautiful in lavender, lilac, wisteria purple, or blush. If you want it to feel more elegant, use a soft solid color and keep the ruffle trim delicate. It is a perfect choice for special events, garden gatherings, or romantic handmade wardrobes.
Conclusion
Crochet dresses are one of the most rewarding garments to make because they combine creativity, fit, and style in a single project. They can feel casual or elegant, playful or refined, and that flexibility makes them a joy to design and wear. A handmade dress has a way of feeling more personal because every stitch reflects your choices in color, shape, and detail.
These five dress patterns each offer a different modern look. The flared meshy sleeves midnight dress feels dramatic and elegant. The checkered slip slit dress is bold and trendy. The scrap yarn halter ruffle hem mini dress is playful and resourceful. The collared V neck haltered striped dress feels polished and chic. The wisteria off-the-shoulder ruffle dress is soft and romantic. Together, they show how crochet can create dresses that feel fresh, wearable, and boutique-inspired.
Whether you are making a dress for a special event, a summer outing, or simply because you love handmade fashion, these patterns are a beautiful place to start. With the right yarn, careful shaping, and neat finishing, your crochet dress can become a piece you will be proud to wear again and again.