Crochet coasters are one of the best small projects to make when you want something quick, useful, and fun. They work up fast, use very little yarn, and let you turn simple stitches into something that feels thoughtful and handmade. Whether you are making coasters for your own table, for a kitchen gift set, or for a craft fair, these little projects are always a good idea.
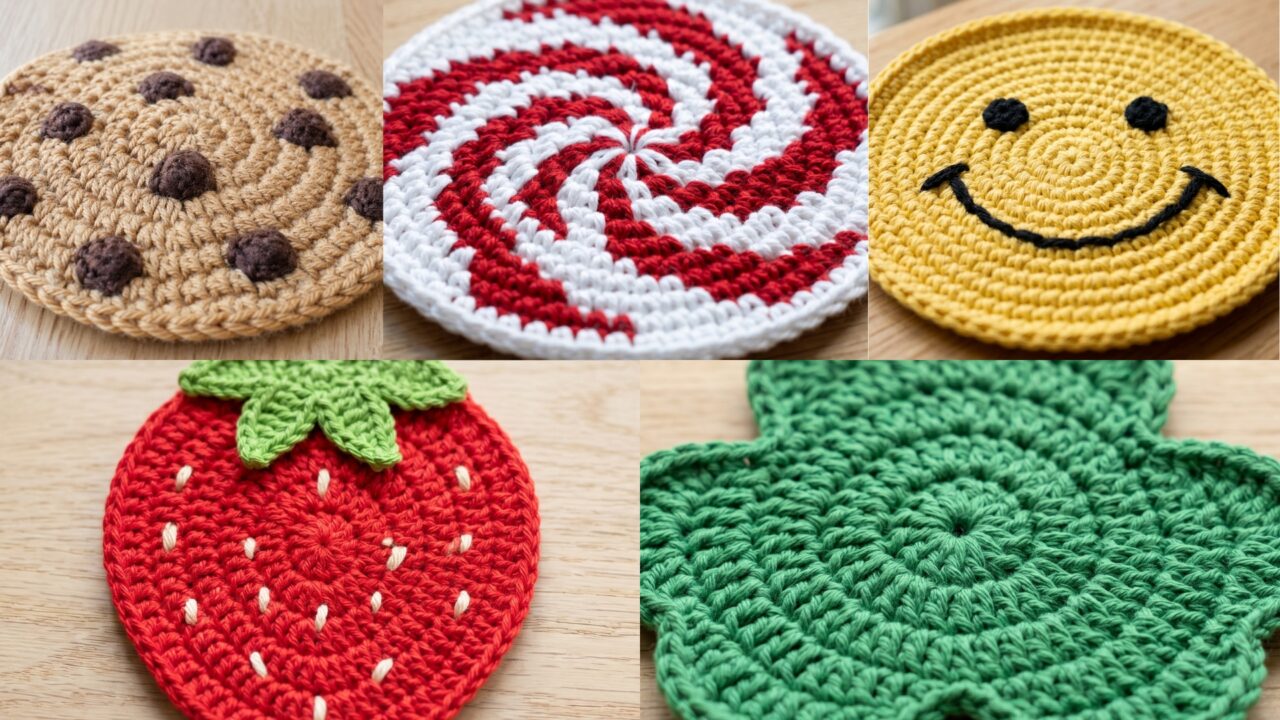
What makes crochet coasters so appealing is how creative they can be. A coaster does not have to be plain and basic. It can look like a cookie, a strawberry, a smiley face, a shamrock, or a peppermint swirl. That means you can make something practical while still adding a cute decorative touch to your home.
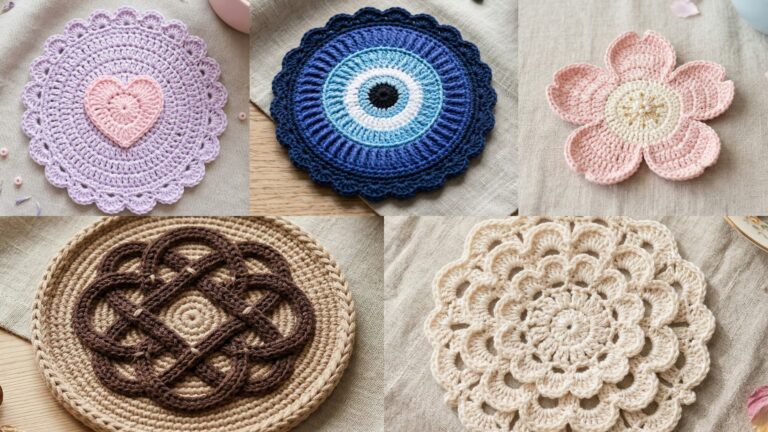
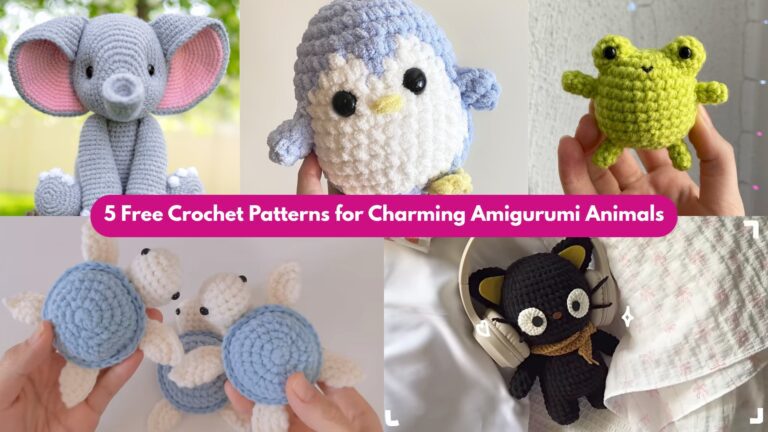
In this post, you will find five adorable crochet coaster patterns that are perfect for coffee, tea, hot chocolate, and everyday use. Each one includes a detailed step-by-step guide, materials, size guidance, and helpful tips so you can make them with confidence. These projects are especially great if you want something quick but still satisfying to finish.
Common Materials
Most crochet coaster patterns can be made with a few basic supplies:
- Cotton yarn or cotton blend yarn
- Crochet hook sized to match your yarn
- Yarn needle
- Scissors
- Stitch marker, optional
- Measuring tape, optional
Best Yarn for Coasters
Cotton yarn is the best choice for coasters because it absorbs moisture well, holds its shape, and can handle heat better than many synthetic yarns. Acrylic yarn can be used for decorative coasters, but cotton is usually the most practical option for everyday use.
Useful Tips Before You Start
- Keep your stitches firm so the coaster lies flat.
- Make a small test swatch if you want a specific size.
- Use a smaller hook if your stitches look loose.
- Block your coasters lightly if they curl at the edges.
- Always weave in ends securely since coasters get handled often.
1. Crochet Choco Cookie Inspired Coaster Pattern
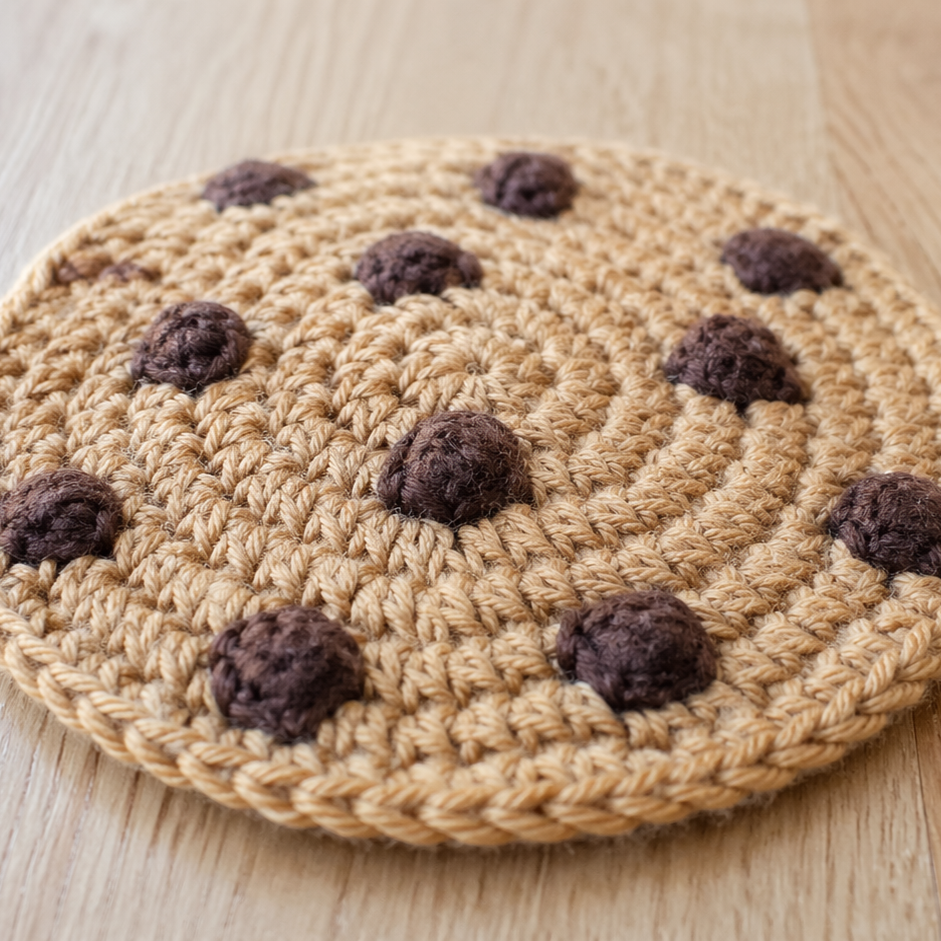
The crochet choco cookie inspired coaster is a playful and cozy design that looks like a sweet chocolate chip cookie. It is perfect for kitchens, coffee tables, gift baskets, and dessert-themed decor. This coaster style feels warm, cheerful, and fun without being too complicated to make. It is a wonderful project for beginners who want something cute and practical.
Skill Level
Beginner to intermediate
Suggested Size
About 4 to 5 inches wide
Materials
- Light brown cotton yarn for the cookie base
- Dark brown or chocolate-colored yarn for the chips
- Crochet hook suitable for your yarn
- Yarn needle
- Scissors
Stitch Ideas Used
- Magic ring or chain ring
- Single crochet
- Half double crochet
- Double crochet
- Slip stitch
- Surface stitching or small stitched circles for chips
Step-by-Step Guide
1. Start with the cookie base
Begin with a magic ring or chain ring to form the center of the coaster. This creates a round base that resembles the shape of a cookie. A round coaster works especially well for this theme because cookies are usually circular and soft-looking.
2. Work the first round
Crochet several stitches into the center ring to create a flat circle. Keep the stitches even so the coaster lies smoothly on a table. If the center pulls too tightly, loosen your tension slightly.
3. Expand the circle
Continue adding rounds, increasing evenly so the coaster stays flat. The goal is to create a round shape that is large enough to look like a cookie but not so large that it becomes too bulky for daily use.
4. Add the cookie texture
To make the coaster look more like a cookie, you can use a stitch pattern with a slightly textured surface. Half double crochet works well because it gives a soft, dense finish. You can also work some stitches in the back loop only to create a subtle cookie-like effect.
5. Add chocolate chips
Use dark brown yarn to create small chip details. You can make the chips in a few different ways:
- Tiny embroidered dots
- Small stitched circles
- Surface crochet spots
- Mini puff stitches
Place them randomly across the coaster so they look like natural chocolate chips.
6. Shape the edges neatly
If the circle starts to ripple, reduce your increases slightly. If it curls inward, add more increases. A flat coaster is important because it needs to sit firmly under cups and mugs.
7. Finish and weave in ends
Once the coaster reaches the right size, fasten off and weave in all ends carefully. Since this coaster is meant for everyday use, secure finishing is very important.
Helpful Tips
- Use a soft tan, beige, or light brown yarn for a realistic cookie look.
- Make the chocolate chips slightly uneven for a more natural appearance.
- Use cotton yarn so the coaster is durable and washable.
- If you want a thicker coaster, add one extra round without increasing too much.
Why This Pattern Works So Well
This coaster is adorable, practical, and easy to customize. It makes a great gift for coffee lovers, bakers, and anyone who enjoys cute kitchen accessories.
2. Crochet Strawberry Inspired Coaster Pattern
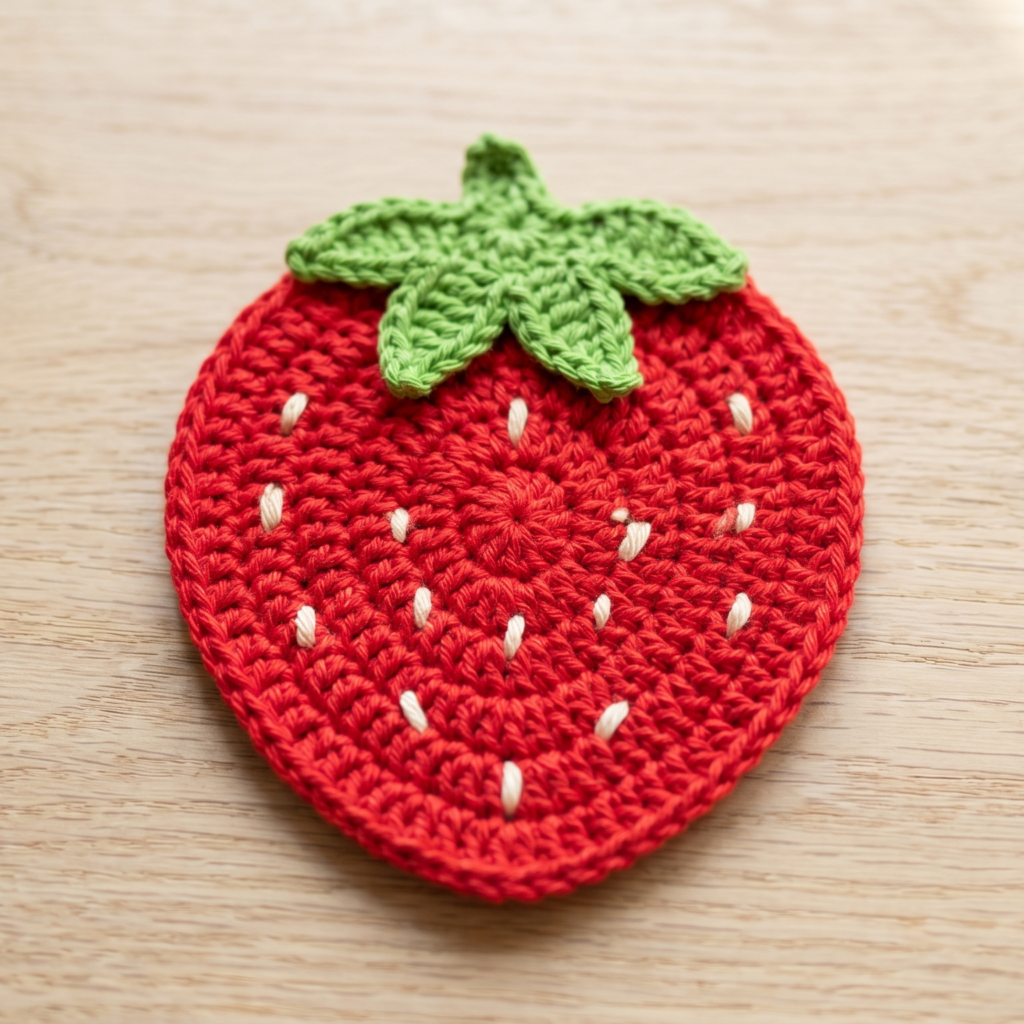
The crochet strawberry inspired coaster is bright, cheerful, and perfect for adding a fresh pop of color to your table. Its rounded shape and little seed details make it look playful and charming. This coaster is especially lovely for spring and summer decor, but it can be used all year round if you love fruity designs.
Skill Level
Beginner to intermediate
Suggested Size
About 4 to 5 inches wide
Materials
- Red cotton yarn for the strawberry body
- Green yarn for the leafy top
- Yellow or cream yarn for the seeds, optional
- Crochet hook suited to your yarn
- Yarn needle
- Scissors
Stitch Ideas Used
- Magic ring or chain ring
- Single crochet
- Half double crochet
- Double crochet
- Slip stitch
- Small embroidered seed stitches
- Leaf stitches for the top
Step-by-Step Guide
1. Make the strawberry base
Start with a round or slightly heart-like base. A strawberry coaster usually begins as a flat circle or a rounded oval shape. Use red yarn to create the main body of the strawberry.
2. Build the shape evenly
Work rounds with increases so the base grows smoothly. If you want a more strawberry-like look, you can slightly taper the top and widen the bottom to mimic the natural fruit shape.
3. Add the seed details
Use yellow or cream yarn to add tiny seed shapes across the surface. These can be made with small straight stitches, French knots, or tiny surface crochet spots. Spread them randomly but evenly across the coaster.
4. Create the leafy top
Switch to green yarn and make a leafy crown at the top of the strawberry. You can create small pointed leaf shapes using chain loops and double crochet stitches. The leafy edge helps the coaster feel instantly recognizable.
5. Check the shape
Make sure the coaster lies flat on a table. If it begins to cup or wave, adjust your stitch count or tension. A coaster should be decorative but still practical.
6. Finish cleanly
Fasten off and weave in ends carefully, especially where the color changes occur. Neat finishing helps the strawberry shape stand out more clearly.
Helpful Tips
- Bright red makes the coaster feel fun and lively.
- A darker red or pink version gives a softer, more realistic fruit look.
- Keep the green top small so it does not overpower the strawberry body.
- Cotton yarn works best for crisp shaping and easy washing.
Why This Pattern Works So Well
This strawberry coaster is colorful, cute, and easy to love. It adds a fresh, happy feel to any table and makes a delightful handmade gift.
3. Crochet Smiley Coaster Pattern
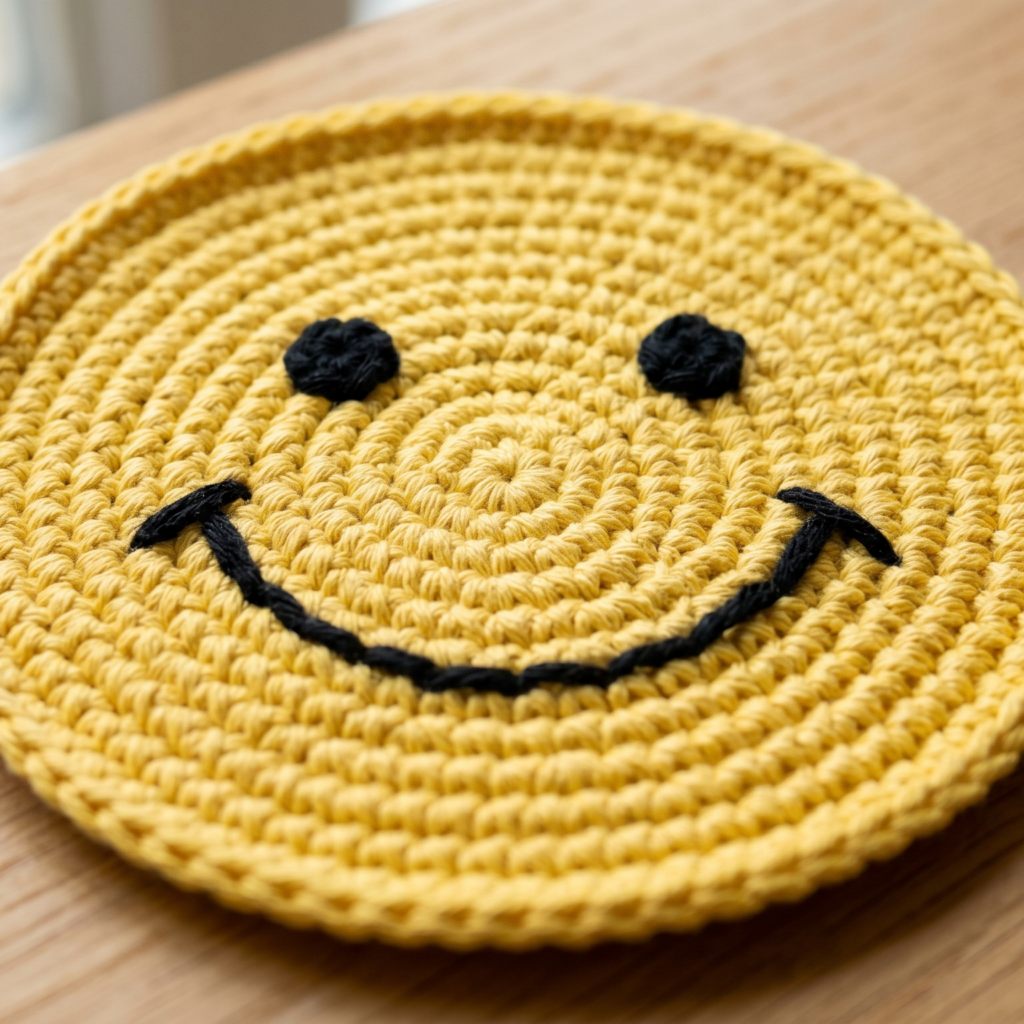
The crochet smiley coaster is a cheerful project that instantly brightens up any room. It is simple, modern, and full of personality. This coaster is a great choice if you want something fun and minimal that still feels playful. It works especially well in bright yellow, but you can also make it in pastel or neutral colors for a softer style.
Skill Level
Beginner
Suggested Size
About 4.5 to 5 inches wide
Materials
- Yellow cotton yarn for the face
- Black yarn for the eyes and smile
- Crochet hook suited to your yarn
- Yarn needle
- Scissors
Stitch Ideas Used
- Magic ring or chain ring
- Single crochet
- Half double crochet
- Double crochet
- Slip stitch
- Embroidery for facial details
Step-by-Step Guide
1. Start the round face
Make a flat circle using yellow yarn. This will become the base of the smiley face. Keep your increases even so the coaster remains round and flat.
2. Work enough rounds to reach coaster size
Continue building the circle until it is large enough for a standard cup or mug. A coaster should be sturdy, but it should also remain light and easy to place under drinks.
3. Add the eyes
Use black yarn to make the eyes. You can embroider small circles or oval shapes, or use tiny felt pieces if you prefer a different crafting method. Place them evenly across the top half of the coaster.
4. Add the smile
The smile can be stitched with a curved line using black yarn. A simple upward curve creates a friendly expression. Keep the line balanced so the face looks neat and clear.
5. Check the spacing
Before securing the face details, step back and check their placement. The eyes should be evenly spaced and the smile should sit naturally below them.
6. Finish the edge
If desired, add a simple border around the coaster to give it a more polished look. A round edge in the same yellow yarn usually works best because it keeps the design clean.
Helpful Tips
- Use bright yellow for the classic smiley look.
- Pastel yellow or cream makes the coaster softer and more modern.
- Make the face simple so it stays easy to read at a glance.
- Embroidered features are usually more secure than glued embellishments for daily use.
Why This Pattern Works So Well
This coaster is happy, simple, and instantly recognizable. It is perfect for desks, kitchens, gift sets, or anyone who enjoys cheerful handmade items.
4. Crochet Shamrock Inspired Coaster Pattern
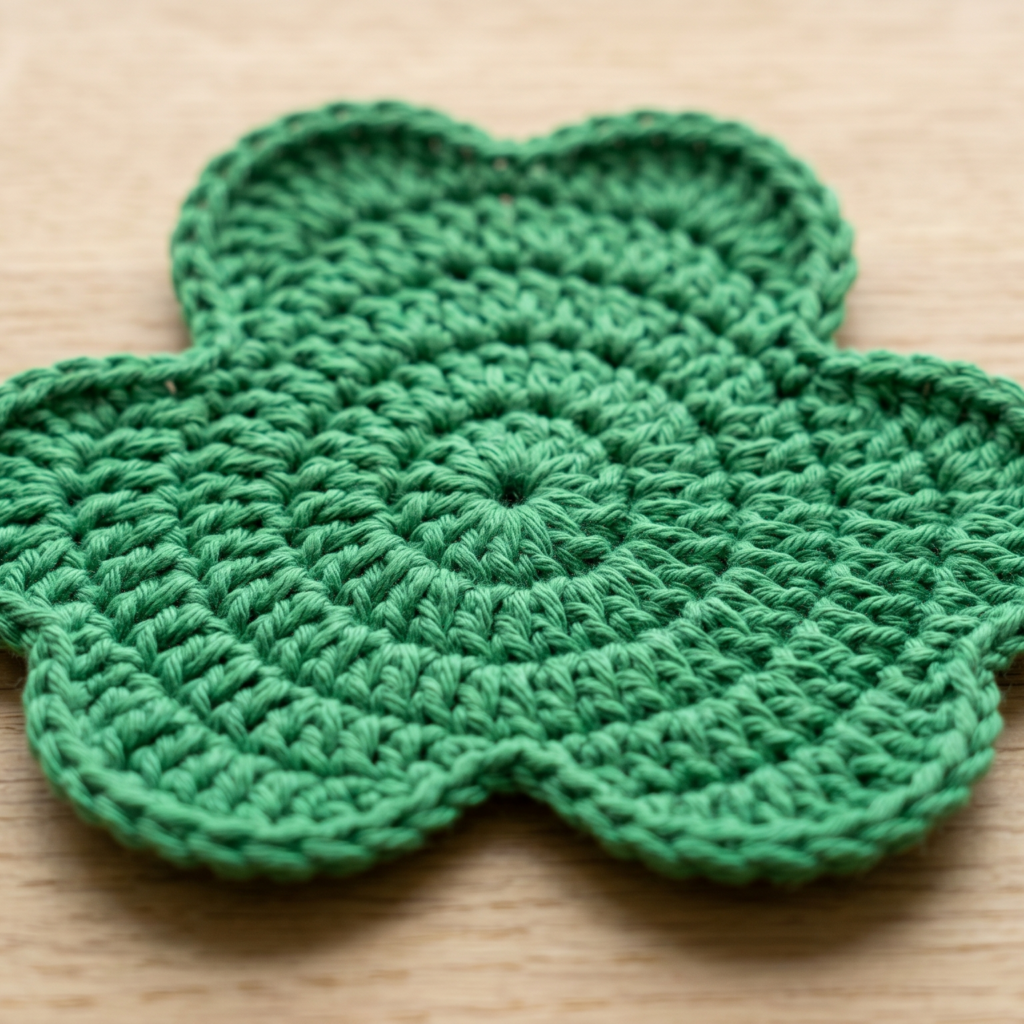
The crochet shamrock inspired coaster is a lovely seasonal design that brings a fresh and lucky feel to your table. It is especially popular for spring decor, St. Patrick’s Day, or anyone who enjoys clover-inspired handmade items. Even if you do not want a holiday-specific piece, the shamrock shape still makes a charming and decorative coaster for everyday use.
Skill Level
Beginner to intermediate
Suggested Size
About 4 to 5 inches wide
Materials
- Green cotton yarn
- Crochet hook suited to your yarn
- Yarn needle
- Scissors
Stitch Ideas Used
- Magic ring or chain ring
- Single crochet
- Half double crochet
- Double crochet
- Chain spaces
- Slip stitch
Step-by-Step Guide
1. Begin with the center
Start with a magic ring or chain ring. This is the center point where the shamrock shape will grow. The center should be neat and secure so the coaster holds its shape well.
2. Form the three leaves
A shamrock has three rounded or heart-like leaves. Use chain spaces, cluster stitches, or shell-like stitches to build each leaf. Keep the leaves balanced so the shape is easy to recognize.
3. Build around the shape
Once the three leaves are formed, work around the edges to help the coaster become more circular or slightly clover-shaped. This helps it function better as a coaster while keeping the shamrock theme clear.
4. Keep the coaster flat
Because the shamrock has curved shapes, it may want to ripple. Check often to make sure the coaster lies flat. If needed, adjust your stitch count or use a smaller hook.
5. Add a simple border
A simple green border can help define the shamrock and make the coaster look more finished. Keep the edging subtle so the leaf shape remains the main focus.
6. Secure the finishing details
Weave in all ends carefully. A neat finish is especially important for themed coasters because the shape should stay crisp and attractive.
Helpful Tips
- Use a rich green for a traditional shamrock look.
- Lighter greens can make the coaster feel fresh and springlike.
- Cotton yarn is ideal for durability and clean shaping.
- This pattern also works beautifully as part of a seasonal gift set.
Why This Pattern Works So Well
The shamrock coaster is cute, meaningful, and useful. It brings a little festive charm to your home while still being practical enough for everyday use.
5. Crochet Peppermint Swirl Coaster Pattern
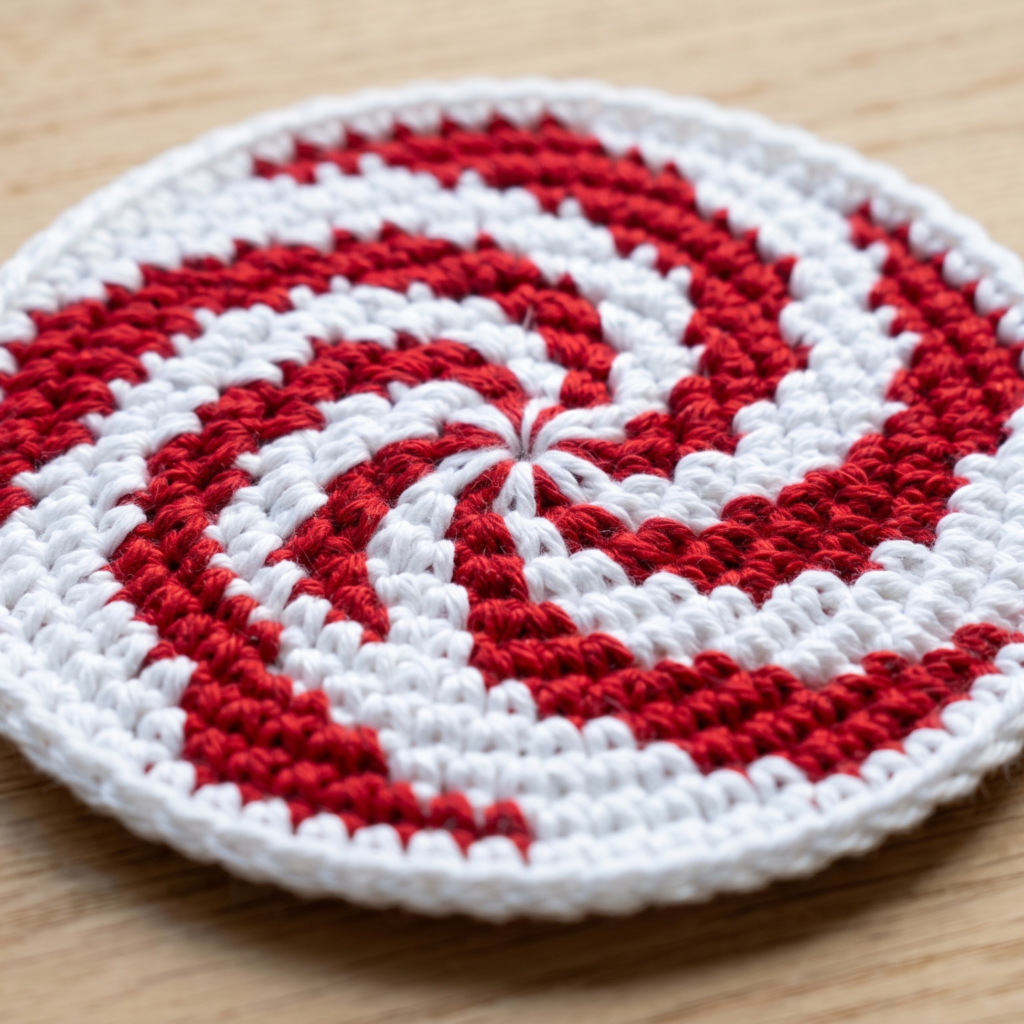
The crochet peppermint swirl coaster is bold, colorful, and perfect for holiday decorating or winter-themed table settings. It has a candy-inspired look that feels festive and eye-catching. Even though it looks impressive, the design is often simple to create once you understand the color changes and shaping. It is a great project if you want something fun and seasonal.
Skill Level
Beginner to intermediate
Suggested Size
About 4.5 to 5.5 inches wide
Materials
- Red and white cotton yarn
- Crochet hook suited to your yarn
- Yarn needle
- Scissors
Stitch Ideas Used
- Magic ring or chain ring
- Single crochet
- Half double crochet
- Double crochet
- Color changes
- Slip stitch
Step-by-Step Guide
1. Start with the swirl center
Begin in the middle with a magic ring or chain ring. This center will become the starting point of the peppermint swirl.
2. Work alternating color sections
Use red and white yarn in alternating sections to create the swirl effect. The colors should gradually spiral outward so the coaster resembles a peppermint candy.
3. Maintain even increases
To keep the swirl flat, add increases evenly around the circle. A coaster that is too tight may curl, while a coaster with too many increases may ripple.
4. Keep the color changes neat
When switching colors, join the new yarn cleanly so the lines stay sharp. Neat color changes are important for a swirl pattern because the design depends on visual contrast.
5. Shape the swirl
As the rounds grow, the alternating colors should create the feeling of spinning around the center. Continue the pattern carefully so the swirl remains balanced and attractive.
6. Finish with a clean edge
A tidy outer edge helps frame the peppermint design. Keep the border simple so the swirl remains the main visual feature.
7. Weave in ends securely
Because this pattern uses multiple color changes, take extra care when weaving in the ends. Secure finishing keeps the coaster looking polished and durable.
Helpful Tips
- Use bright red and clean white for a classic peppermint look.
- A slightly thicker cotton yarn gives the coaster more structure.
- Keep your tension even so the swirl does not twist too much.
- This design is especially cute in holiday gift bundles.
Why This Pattern Works So Well
The peppermint swirl coaster is cheerful, festive, and full of personality. It is a fun way to bring a little holiday spirit to your table.
Conclusion
Crochet coasters are some of the most enjoyable small projects you can make because they are quick, useful, and full of creative possibilities. With just a little yarn and a few simple stitches, you can turn an everyday item into something charming and handmade. Whether you like sweet food-inspired designs, cheerful faces, seasonal shapes, or festive swirls, there is a coaster style here for every mood and every home.
These five patterns are especially great because they are practical enough for daily use but cute enough to display proudly. You can make them in matching sets, use them as gifts, or create different styles for different seasons. They are also perfect for using leftover yarn in a way that feels fun and rewarding.
The best part about crochet coasters is that they do not need to be perfect to be beautiful. A handmade coaster carries warmth, personality, and care in every stitch. So whether you start with the choco cookie, strawberry, smiley face, shamrock, or peppermint swirl, you will end up with something both useful and lovely to keep.