Crochet amigurumi is one of the most rewarding kinds of crochet because it turns simple stitches into something full of personality, softness, and charm. Tiny handmade animals and plushies are especially meaningful as gifts because they feel thoughtful in a way store-bought items often do not. A little amigurumi can become a keepsake, a nursery decoration, a desk companion, or a sweet surprise for someone who loves handmade items. Best of all, these projects are usually small enough to finish without a huge time commitment, which makes them very satisfying to make.
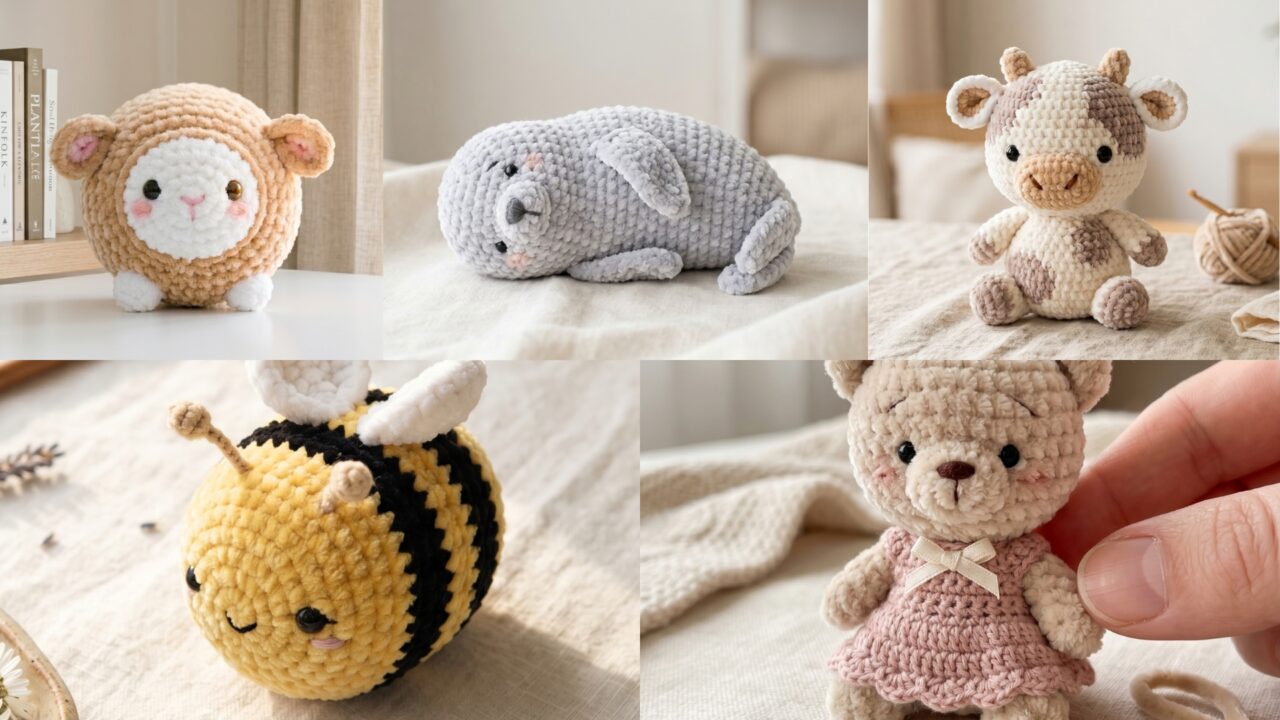
What makes amigurumi especially fun is how much character you can create from very simple shapes. A round velvet sheep can feel cozy and dreamy. A baby seal can look soft and calm. A tiny teddy in a dress is sweet and classic. A mini cow plush has that adorable farm-inspired charm people love. A chubby bee feels cheerful and playful. Each of these patterns has its own mood, but all of them are perfect for gifts because they feel personal, cute, and full of handmade warmth.
In this post, you will find five crochet amigurumi patterns with detailed step-by-step guidance, practical notes, and finishing tips. These designs are written to be easy to follow while still giving you enough detail to make a polished plush that looks thoughtful and gift-ready. If you enjoy making small crochet projects that bring joy to the person receiving them, these amigurumi ideas are a beautiful place to start.
Quick Notes
Project type: Crochet amigurumi
Best for: Handmade gifts, nursery decor, collectibles, desk buddies, and keepsakes
Skill level: Beginner to intermediate, depending on shaping and assembly
Hook size: Usually 2.0 mm to 3.5 mm, depending on yarn weight and desired firmness
Yarn weight: Cotton, sport weight, DK, or plush chenille yarn
Best yarn choice: Cotton for crisp shape or plush yarn for a soft cuddly finish
Finished size: Small to medium plush size, customizable by yarn and hook
Time to complete: A few hours to a couple of days per project
Helpful stitches: Magic ring, single crochet, increase, decrease, slip stitch, color changes, stuffing, sewing pieces together, embroidery, and shaping
Common Materials
Most amigurumi projects use a similar set of supplies.
- Yarn in your chosen colors
- Crochet hook suited to the yarn
- Yarn needle
- Scissors
- Polyester fiberfill stuffing
- Stitch markers
- Safety eyes or embroidery thread
- Optional felt details or blush accents
- Optional small accessories like bows, dresses, or tiny embellishments
For amigurumi, yarn choice matters because the shape needs to stay firm and the stuffing should not show through. Smaller hooks and tighter stitches usually create a neater finish. Plush yarn gives a soft toy-like feel, while cotton gives you cleaner details and a more defined shape.
1. Crochet Roundish Velvet Sheep Amigurumi Pattern
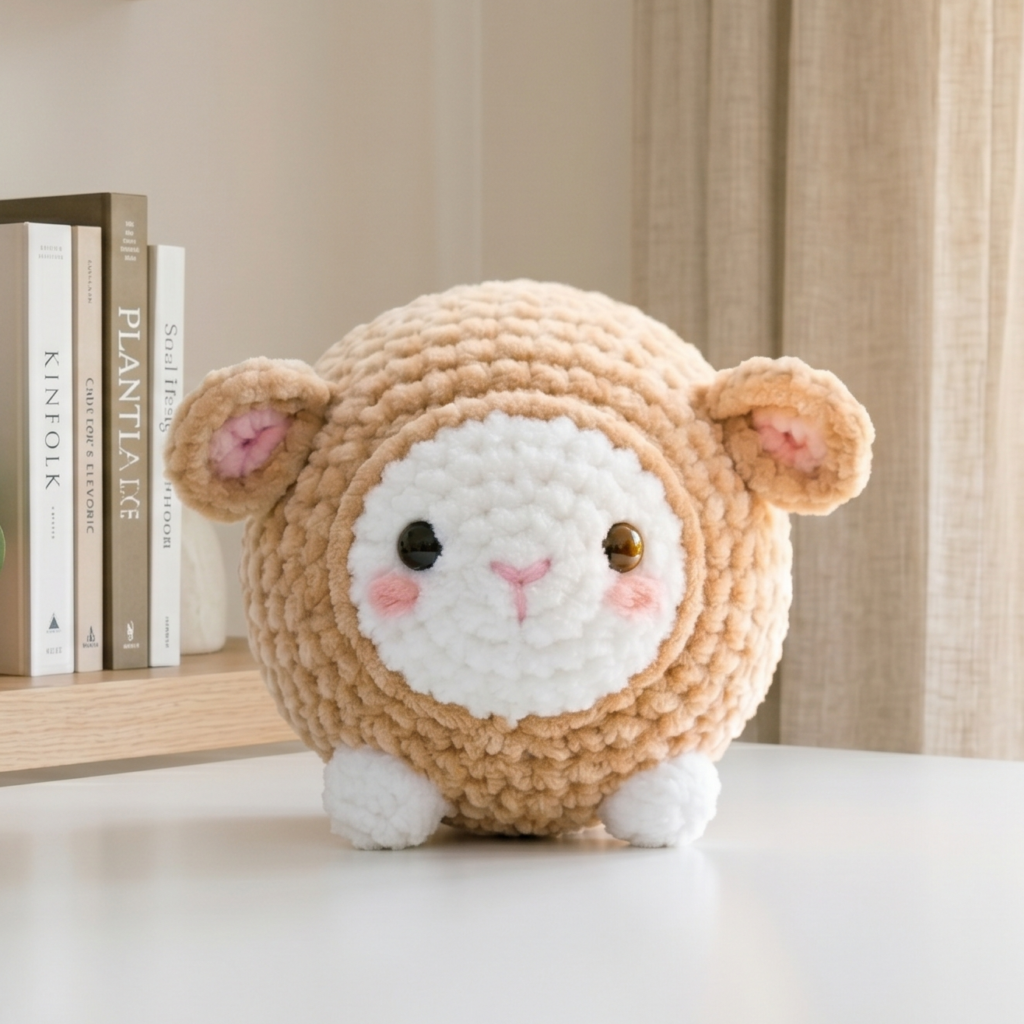
A roundish velvet sheep amigurumi is soft, cozy, and full of charm. The rounded shape gives it a sweet plush look, and velvet or chenille yarn makes it feel extra cuddly. This is a beautiful gift idea for baby showers, nursery decor, or anyone who loves soft handmade animals.
Step-by-step guide
Step 1: Choose your sheep yarn
Pick a fluffy velvet or chenille yarn for the sheep body. Soft white, cream, or very pale gray work beautifully for the fleece. For the face and legs, choose a slightly contrasting color so the features stand out clearly.
The yarn gives the sheep its cozy plush feel.
Step 2: Crochet the round body
Start with a magic ring and work a small round or oval body. Keep the increases even so the body stays smooth and round. The sheep should look plump and soft rather than narrow or pointed.
The body gives the sheep its sweet shape.
Step 3: Shape the head
Make a small rounded head in a slightly contrasting yarn or the same body color. The head should be proportionate to the body and sit naturally at the front. Keep the stitches tight so it stays neat and firm.
A round head gives the sheep its gentle look.
Step 4: Crochet the ears
Create two small floppy or rounded ears. Sheep ears should feel soft and a little curved, not too stiff or pointed. Sew them near the top sides of the head so the sheep feels friendly and calm.
The ears help define the sheep character.
Step 5: Make the legs
Crochet four tiny legs or short rounded tubes. Keep them simple and sturdy. Since the plush is roundish, the legs do not need to be long. They should just give the sheep a stable and charming look.
The legs add balance to the body.
Step 6: Stuff lightly
Add stuffing to the body and head gradually. The sheep should feel firm enough to hold shape but still soft to squeeze. Avoid overstuffing because velvet yarn can stretch if packed too tightly.
Light stuffing keeps the plush neat.
Step 7: Assemble all parts
Sew the head, ears, and legs onto the body carefully. The placement should be balanced so the sheep looks centered and symmetrical. Take your time with the sewing because clean assembly makes a big difference in amigurumi.
Assembly is what brings the sheep to life.
Step 8: Add the face
Use small safety eyes or embroidery to make the eyes. Add a tiny nose and maybe a small smile if you want the sheep to feel extra sweet. A simple face usually works best for plush sheep.
A tiny face makes the sheep feel lovable.
Step 9: Refine the fluff
Once everything is attached, gently fluff the plush with your hands and adjust the ears and legs. The round shape should look soft and balanced. If needed, lightly shape the body so it sits nicely.
Helpful tips
This pattern looks especially lovely in cream or soft white velvet yarn. If you want it to feel even more giftable, add a tiny ribbon or bow around the neck. The round shape makes it especially cute for nursery shelves or baby gift sets.
2. Crochet Seal Baby Amigurumi Pattern
A seal baby amigurumi is calm, adorable, and very easy to make feel cuddly. The sleek shape and tiny flippers give it a soft ocean-inspired charm. It is a perfect project if you want something sweet and minimal that still has lots of personality.
Step-by-step guide
Step 1: Pick soft ocean colors
Choose a shade like pale gray, white, soft blue-gray, or cream. Seal babies often look lovely in cool neutral tones. If you want a more whimsical version, pastel blue or lilac can work too.
The color choice sets the gentle mood.
Step 2: Crochet the main body
Start with a rounded oval or teardrop body using a magic ring and increases. The body should be smooth and slightly tapered so it resembles a seal’s natural form. Keep the stitches tight and even.
The body gives the seal its sleek shape.
Step 3: Shape the head area
Make the front slightly rounded and the back softly tapered. A seal baby usually has a smooth, rounded profile, so avoid overly sharp curves. Keep the shape simple and compact for a cute result.
The head shape gives the plush its character.
Step 4: Add the flippers
Crochet two small front flippers and optional back flippers if desired. Keep them short and rounded rather than long. Sew them onto the sides so the seal looks relaxed and resting.
The flippers make the seal instantly recognizable.
Step 5: Stuff the body lightly
Add stuffing just enough to create a soft but defined shape. The seal should feel plush but not too firm. A slightly squishy body works especially well for this design.
A gentle shape makes the toy feel calm.
Step 6: Crochet or embroider the face
Use safety eyes or embroidery for two tiny eyes and a little nose. The face should be very simple and sweet. Seal babies often look best with minimal features, because that makes them feel peaceful and soft.
A tiny face gives the seal its calm expression.
Step 7: Sew the pieces together
Attach the flippers to the body securely. Make sure they are placed evenly so the seal looks balanced from the front and sides. The overall effect should feel like a tiny seal resting happily.
Careful placement keeps the seal symmetrical.
Step 8: Add small details
If desired, add a tiny smile or soft blush cheeks. Keep all extra details subtle so the plush remains soothing and simple. Less is often more with baby seal designs.
Step 9: Final shaping
Smooth the body and make sure the flippers sit naturally. The plush should have a soft, rounded silhouette that feels good to hold and display.
Helpful tips
This seal looks especially adorable in soft gray plush yarn. If you want a more dreamy look, use a light pastel and pair it with embroidered features. It is a lovely gift for ocean lovers or baby-themed collections.
3. Crochet Tiny Teddy in a Dress Amigurumi Pattern
A tiny teddy in a dress amigurumi is sweet, classic, and wonderfully giftable. The dress adds a playful, charming touch that makes the teddy feel extra special. This is a lovely pattern for baby gifts, handmade toys, or decorative shelf pieces.
Step-by-step guide
Step 1: Choose teddy colors
Select a teddy body color such as brown, beige, cream, or soft pink. Then choose a contrasting dress color that looks cheerful and balanced. Pastels and floral shades work beautifully for the dress.
The colors help the teddy feel personalized.
Step 2: Crochet the teddy body
Begin with a rounded head and body shape, or make them as separate pieces if your pattern prefers. Keep the body small and compact so the teddy feels tiny and adorable. Tight stitching is important so the stuffing stays hidden.
The body is the foundation of the teddy.
Step 3: Add the ears
Crochet two small round ears and sew them to the top sides of the head. Teddy ears should be soft and simple, not too pointed. Keep them even so the teddy feels balanced and friendly.
The ears give the teddy its classic look.
Step 4: Crochet the arms and legs
Make four small limbs that are short and rounded. The teddy should look cuddly rather than stiff. Keep the pieces proportionate so the dress can fit over the body nicely.
The limbs help define the toy’s shape.
Step 5: Make the dress
Crochet a tiny dress separately using a color that contrasts with the teddy body. You can make it simple and flared or slightly ruffled at the hem. Keep it small and neat so it fits the teddy without overwhelming the plush.
The dress adds personality and charm.
Step 6: Stuff and assemble the teddy
Add stuffing to the head and body, and attach the ears, arms, and legs securely. The teddy should feel stable and easy to hold. Once the main body is finished, slide or sew the dress in place.
Assembly brings the teddy together.
Step 7: Add the face
Use safety eyes or embroidery for the eyes, and create a tiny nose and mouth. A gentle, sweet expression works best. If you want an extra cute detail, add embroidered blush or a tiny bow.
The face gives the teddy its softness.
Step 8: Refine the dress fit
Make sure the dress sits evenly and does not twist. Adjust the hem if needed so it looks neat from all angles. A polished dress makes the whole plush look more finished.
Step 9: Final shaping
Smooth the ears, dress, and body so the teddy stands or sits well. The final plush should feel adorable, balanced, and ready to gift.
Helpful tips
This teddy is especially lovely in soft neutrals with a pastel dress. If you want to make it even more giftable, you can add a tiny ribbon or flower to the dress. It is a beautiful keepsake-style toy.
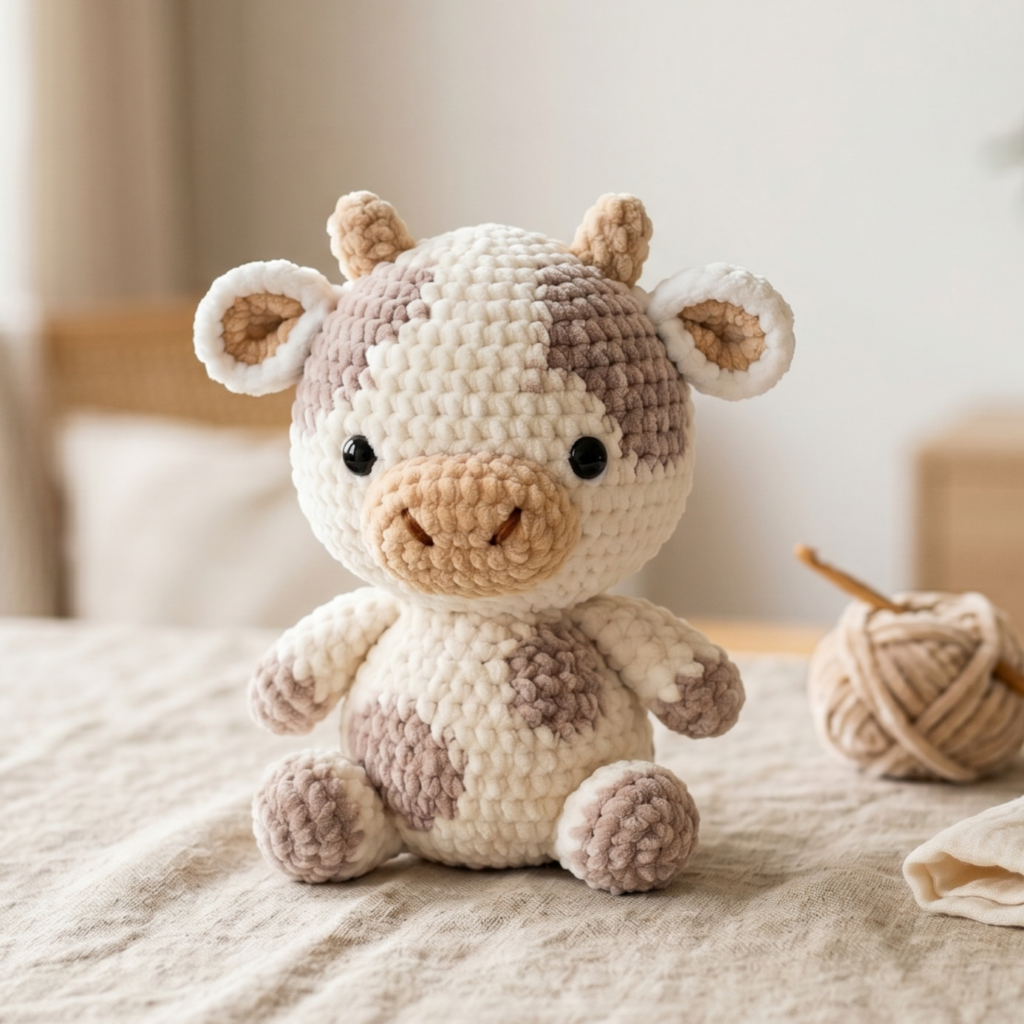
4. Crochet Mini Cow Amigurumi Plush Pattern
A mini cow amigurumi plush is a beloved classic because cows are instantly cute and easy to personalize. The black-and-white look is iconic, but you can also make pastel or brown versions for a softer, more whimsical style. This little plush makes a great gift for animal lovers and farmhouse-inspired decor fans.
Step-by-step guide
Step 1: Choose your cow colors
Pick a body color such as white, cream, or light brown, then add contrasting patch colors. Black is classic, but soft gray or tan patches can also look lovely if you want a gentler version.
The colors create the cow’s signature look.
Step 2: Crochet the body
Start with a rounded body shape using a magic ring and even increases. The cow should be plump and compact, with a smooth silhouette that feels cuddly. Keep the stitches tight and the shape balanced.
The body is the foundation of the plush.
Step 3: Add the head
Crochet a small rounded head or continue shaping from the body if your pattern uses a single-piece structure. Make sure the head is proportionate and sits comfortably at the front. The cow should feel soft and friendly.
A rounded head gives the plush its charm.
Step 4: Crochet the ears and horns
Make two small ears and, if desired, tiny horns. The ears should be rounded and soft, while the horns can be tiny and simple. Keep these parts small so the plush stays cute and manageable.
The ears and horns help define the cow.
Step 5: Create the patches
Crochet or appliqué small patches in a contrasting color. Place them on the head and body to give the cow its signature farm-inspired pattern. Make sure the patches are evenly positioned so the design looks intentional.
The patches are what make it feel like a cow.
Step 6: Make the legs
Crochet four little legs and keep them short and sturdy. Since the plush is mini, the legs do not need to be highly detailed. They should just support the body and give it a sweet standing or sitting shape.
The legs add balance and personality.
Step 7: Stuff and sew
Add stuffing to the body and head, and sew all parts securely in place. Make sure the patches are attached neatly, and check that the cow looks even from both sides.
Careful sewing keeps the plush polished.
Step 8: Add the face
Use safety eyes or embroidery to create the eyes, nose, and mouth. A tiny smile or rosy cheeks can make the cow feel extra cute. Keep the face simple and centered.
The face makes the cow come alive.
Step 9: Final shape and touch-up
Adjust the ears, patches, and legs as needed. The cow should feel balanced, soft, and ready to gift or display.
Helpful tips
Mini cows look especially adorable in classic black and white, but pastel cows are also very popular and sweet. If you want a softer nursery-style piece, try tan and cream. This plush is a lovely craft fair item because it appeals to so many people.
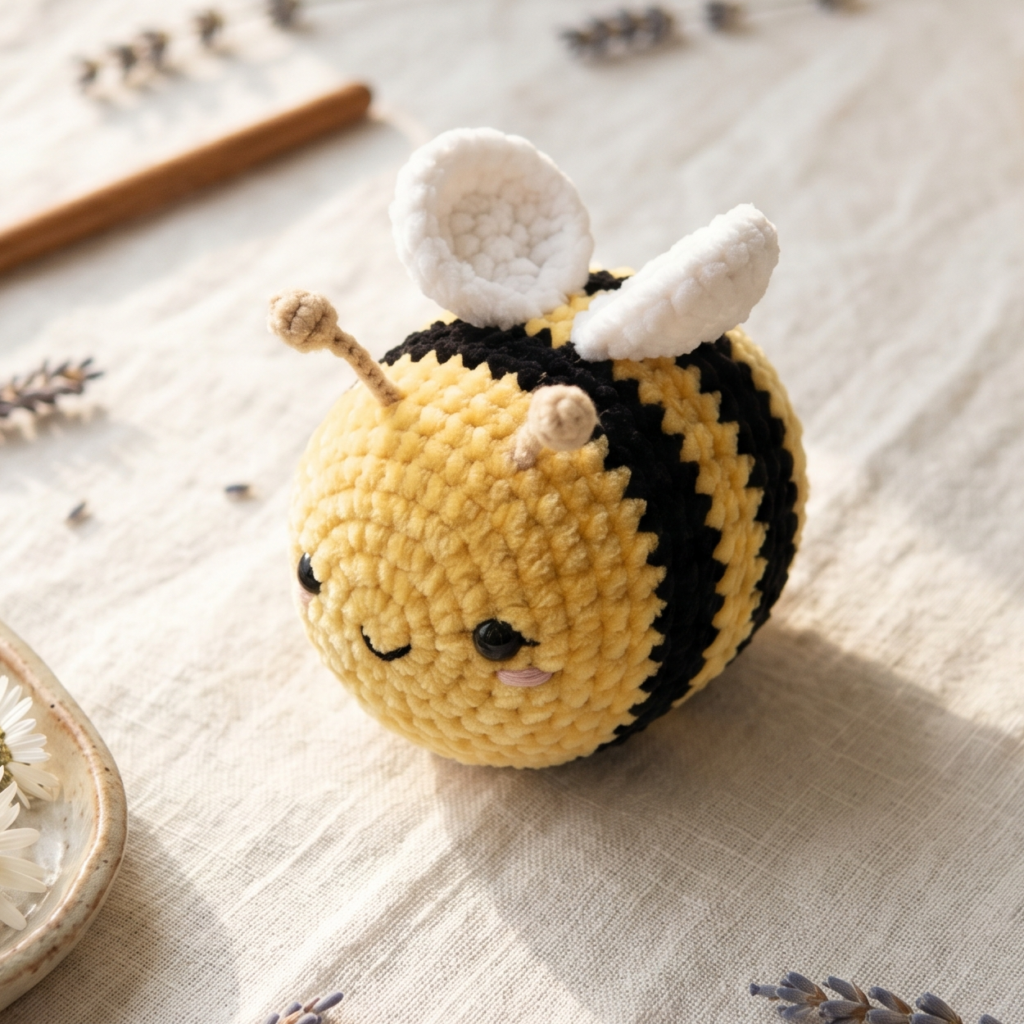
5. Crochet Chubby Bee Amigurumi Pattern
A chubby bee amigurumi is cheerful, playful, and impossible not to smile at. Its round body and tiny wings make it a quick and satisfying project, and it is especially fun because the design is small and simple while still being full of personality. It makes a wonderful gift for spring and summer.
Step-by-step guide
Step 1: Choose bright bee colors
Pick yellow and black for the body, and white or pale gray for the wings. The classic bee colors are always a favorite, but you can also make pastel bees if you want a softer and more whimsical look.
The colors make the bee instantly recognizable.
Step 2: Crochet the chubby body
Start with a rounded oval body and work even increases until it looks plump and cheerful. A chubby shape is perfect because bees look cutest when they are small and round. Keep the stitches tight so the stripes stay neat.
The body gives the bee its adorable shape.
Step 3: Add stripes
Use black yarn to create stripe sections around the yellow body. Keep the stripes even and balanced so the bee looks clean and friendly. The contrast should be clear but not too busy.
The stripes are the bee’s signature detail.
Step 4: Crochet the wings
Make two tiny wings in white or pale yarn. Keep them small and slightly curved so they look soft and light. Sew them onto the top or back of the body where they can be seen clearly.
The wings help the bee feel lively.
Step 5: Add the antennae
Crochet or embroider two tiny antennae. These should be short and simple so they do not overpower the small plush. Place them evenly on top of the head.
The antennae add playful character.
Step 6: Stuff the body
Add stuffing gradually until the bee feels nicely rounded. A chubby bee should be soft and plump, but not overstuffed. The body should keep a smooth and cheerful shape.
Light stuffing keeps the plush cuddly.
Step 7: Add the face
Use safety eyes or embroidery to make a tiny face. A small smile or blush cheeks can make the bee even sweeter. Keep the expression light and happy.
The face gives the bee its charm.
Step 8: Attach all pieces securely
Sew the wings and antennae onto the body carefully, checking that both sides are even. Small plush toys look best when the details are placed neatly and symmetrically.
Step 9: Final shaping
Smooth the stripes, adjust the wings, and make sure the bee sits or stands well. The finished plush should feel bright, cheerful, and full of personality.
Helpful tips
Chubby bees are perfect in classic yellow and black, but pastel bees are very popular too. If you want to make a small gift set, bees pair beautifully with flowers, tiny hearts, or spring-themed packaging.
Conclusion
Crochet amigurumi is one of the most satisfying ways to turn yarn into something memorable. These little plush gifts are charming because they feel handmade in the best possible way: soft, thoughtful, and full of personality. They do not need to be large or complicated to feel special. In fact, the smallest plushes often become the most treasured because they are easy to gift, collect, and display.
These five amigurumi patterns each offer a different kind of charm. The roundish velvet sheep feels cozy and dreamy. The seal baby is calm and sweet. The tiny teddy in a dress is classic and giftable. The mini cow is playful and familiar. The chubby bee is bright and cheerful. Together, they show how versatile and fun amigurumi can be when you want to make a handmade gift that feels personal and delightful.
Whether you are making one plush for a baby shower, a desk buddy for a friend, or a sweet little keepsake for yourself, these patterns give you a beautiful place to start. With the right yarn, neat stitching, and careful finishing, each one can become a tiny handmade treasure that brings joy long after the last stitch is done.