Crochet keychains are one of the smartest small items you can make if you want something quick, cute, and highly giftable. They are fast to finish, use very little yarn, and are easy to personalize, which makes them ideal for craft fairs, online shops, stocking stuffers, party favors, and last-minute handmade gifts. Because they are small, buyers often see them as affordable impulse purchases, and that makes them a strong seller when displayed well.
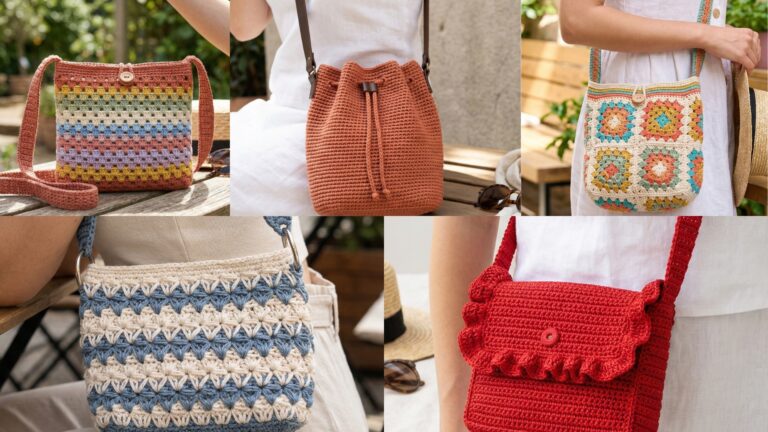
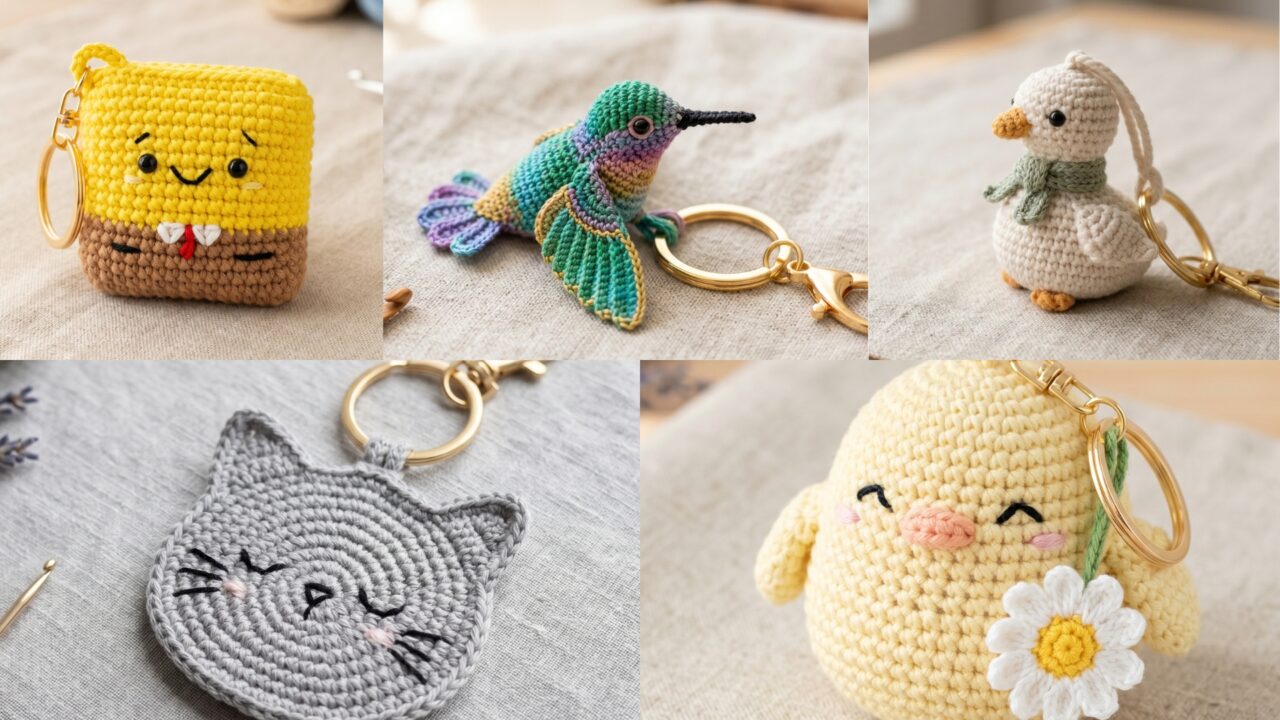
What makes crochet keychains especially appealing is how much personality you can pack into such a tiny project. A hummingbird keychain feels delicate and whimsical. A cat appliqué keychain is simple and universally loved. A tiny goose keychain brings a playful cottage feel. A chick holding a daisy is adorable and seasonal. A sponge-inspired keychain adds a fun novelty touch that stands out in a display. Each one has a different vibe, but all of them are compact, beginner-friendly, and easy to sell.
In this post, you will find five crochet keychain patterns with detailed step-by-step guidance, practical notes, and helpful finishing tips. Each section is written to be easy to follow while still giving you enough detail to create keychains that look polished, sturdy, and ready for market tables or online listings. If you want small handmade items that are quick to make and likely to catch attention, these ideas are a great place to start.
Quick Notes
Project type: Crochet keychains
Best for: Craft fairs, online shops, gifts, bag charms, and impulse buys
Skill level: Beginner to intermediate, depending on shaping and detailing
Hook size: Usually 1.75 mm to 3.25 mm, depending on yarn and desired firmness
Yarn weight: Fine cotton, fingering, sport weight, or lightweight acrylic yarn
Best yarn choice: Cotton yarn for clean stitch definition and durable finish
Finished size: Usually 2 to 5 inches depending on the design
Time to complete: About 20 minutes to 2 hours per keychain
Helpful stitches: Magic ring, chain, single crochet, increase, decrease, slip stitch, embroidery, appliqué, small stuffing, joining, attaching hardware
Common Materials
Most crochet keychains can be made with the same basic supplies.
- Yarn in your chosen colors
- Small crochet hook
- Yarn needle
- Scissors
- Keychain rings, lobster clasps, or swivel hooks
- Small amount of stuffing for 3D plush styles
- Safety eyes or embroidery thread
- Stitch markers
- Optional felt backing or fabric glue for appliqué styles
- Optional beads, ribbons, or tiny embellishments
For keychains, stitch tension matters a lot. Small items are more likely to look messy if the stitches are loose, so a smaller hook and firm tension usually work best. Cotton yarn is especially helpful because it makes the shape crisp and keeps the finished piece looking clean in photos and in person.
1. Crochet Tiny Hummingbird Keychain Pattern
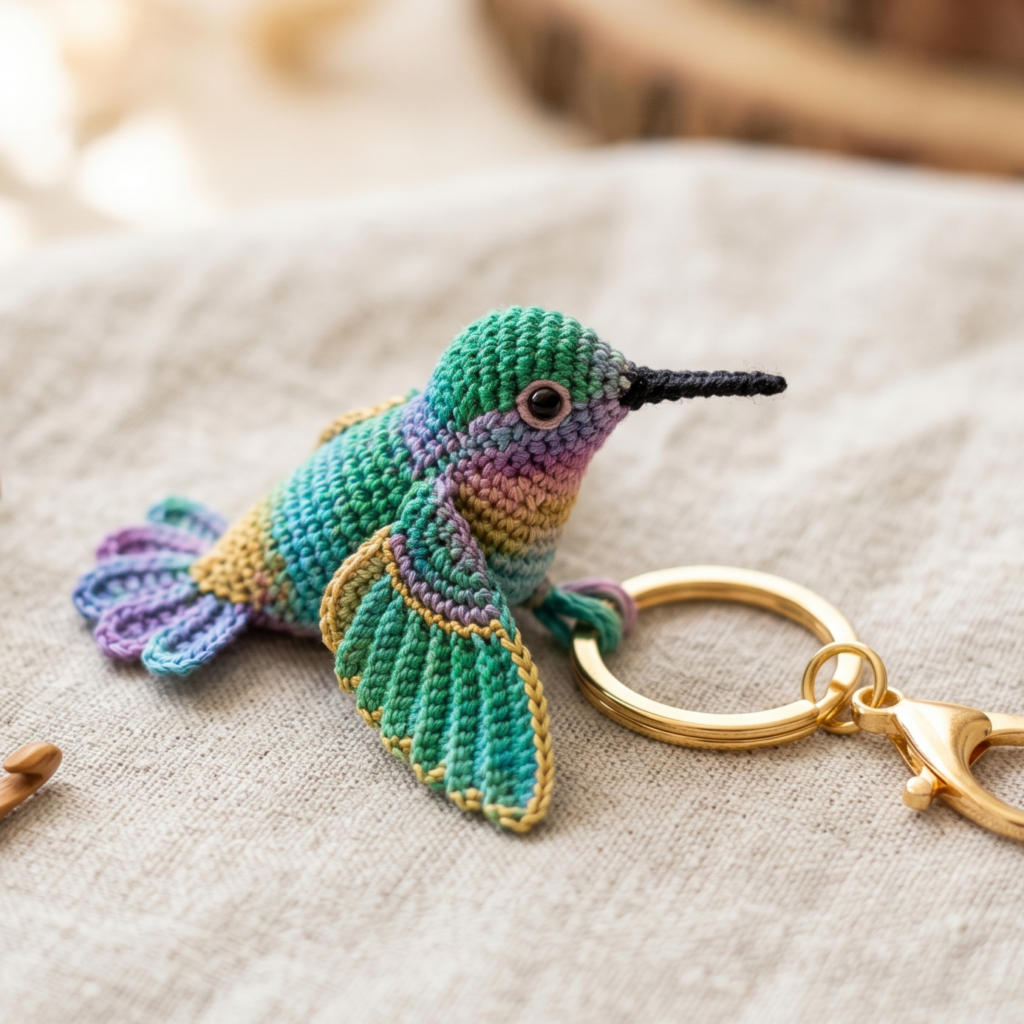
A tiny hummingbird keychain is delicate, colorful, and full of charm. It is the kind of piece that can stand out in a craft fair booth because it feels light, elegant, and a little unusual. Hummingbirds are a lovely subject for crochet because their shape can be simplified into a sweet little bird with wings, a beak, and a small body.
Step-by-step guide
Step 1: Choose your hummingbird colors
Start by selecting a bright or soft color palette. Hummingbirds look beautiful in greens, blues, purples, pinks, and golds, but you can also make them in more natural bird tones. Since this is a tiny project, strong color contrast can help the shape stand out clearly.
The colors create the hummingbird’s personality.
Step 2: Crochet the body
Begin with a small oval or teardrop-shaped body using single crochet in the round. Keep the stitches tight and even so the body stays compact. A slightly tapered front can help suggest the bird’s beak area.
The body is the base of the keychain.
Step 3: Shape the head and beak
Use a few rounds of shaping or a small cone-like extension to form the hummingbird’s head and beak. The beak should be very small and pointed. If you prefer a softer look, keep the beak short and simple so the bird feels more cute than realistic.
The beak is the most recognizable detail.
Step 4: Crochet the wings
Make two small wings separately, using a leaf-like or teardrop shape. Hummingbird wings can be slightly curved or pointed, depending on the style you want. Keep them lightweight so they do not overpower the tiny body.
The wings give the keychain movement and charm.
Step 5: Stuff lightly if needed
If you want a slightly puffier hummingbird, add a tiny amount of stuffing to the body. Keep it minimal so the keychain stays light and does not become bulky. Hummingbirds usually look best when they are small, neat, and slim.
Light stuffing keeps the shape clean.
Step 6: Attach the wings and beak
Sew the wings onto the sides of the body and attach the beak securely to the front. Take care to align the wings evenly so the bird looks balanced. This step makes the tiny bird instantly recognizable.
Good placement gives the bird its polished look.
Step 7: Add the face
Use embroidery thread or tiny safety eyes if desired. A very small eye or two can help the bird come to life without making it too busy. Since hummingbirds are so tiny, subtle facial details usually look best.
A tiny face keeps the design delicate.
Step 8: Attach the keychain hardware
Use a strong loop or small yarn attachment to connect the bird to the keyring. Make sure it is reinforced so it can handle daily use. The hardware should not pull on the bird’s head or wings.
Strong attachment is important for selling.
Step 9: Shape and finish
Adjust the wings and body so the bird sits nicely. Weave in all ends carefully and trim any loose threads. The final hummingbird should feel neat, colorful, and lightweight.
Helpful tips
Hummingbird keychains tend to sell well because they look elegant and unique. Bright jewel tones are eye-catching at craft fairs, while softer pastel versions can appeal to buyers looking for something gentle and sweet. If you want a more polished product, make each bird slightly different in color so your display feels varied and attractive.
2. Crochet Cat Appliqué Keychain Pattern
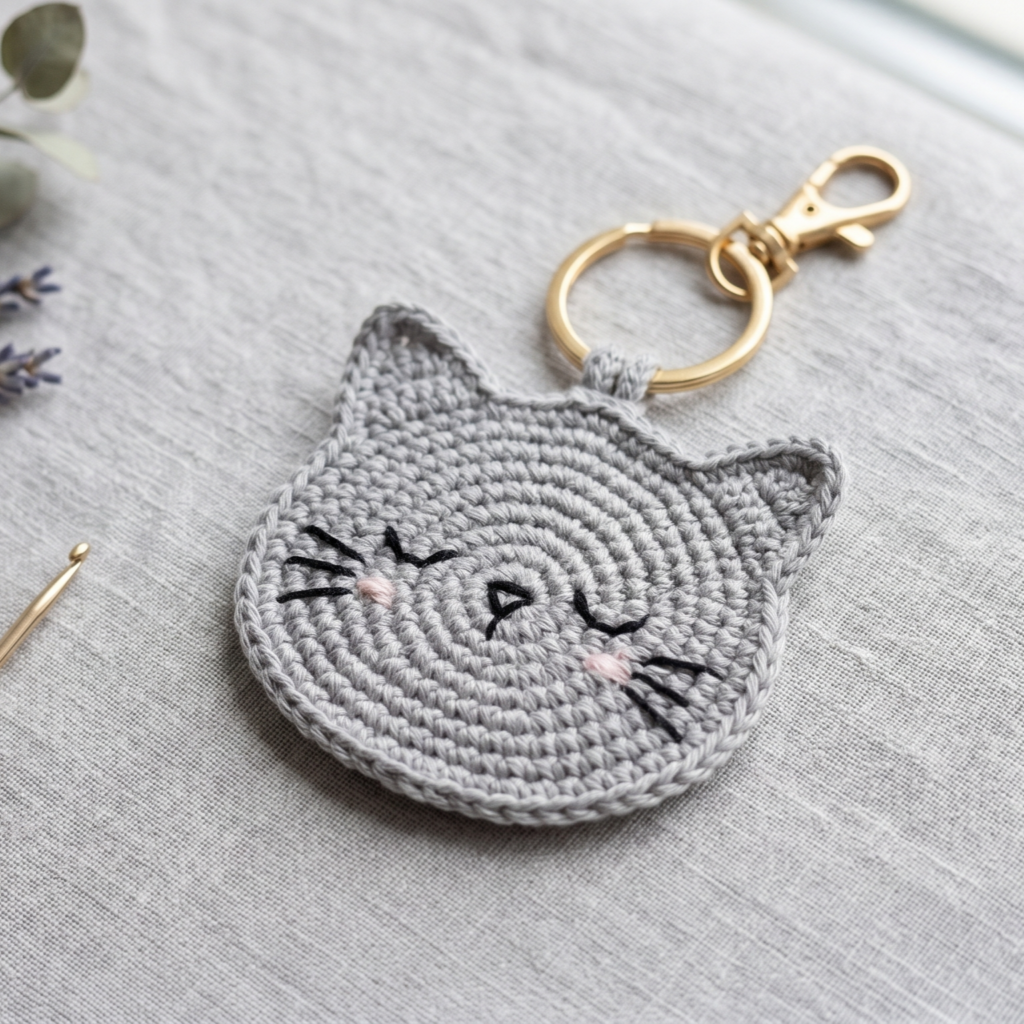
A cat appliqué keychain is simple, lovable, and extremely versatile. Cats are a universally popular subject, which makes this a strong seller for both craft fairs and online listings. Because it is an appliqué rather than a full plush, it is quick to make and easy to customize with colors, faces, and accessories.
Step-by-step guide
Step 1: Decide on the cat shape
Choose whether you want a full cat silhouette, a cat face, or a sitting cat shape. A face appliqué is the easiest for beginners, while a full silhouette gives a more complete design. Keep the shape simple so it remains recognizable at small size.
The shape determines the style of the keychain.
Step 2: Crochet the main appliqué
Start with a small circle, oval, or body silhouette depending on your chosen style. Use a tight stitch so the piece holds its shape well. Since this is an appliqué, you do not need stuffing unless you want a slight puff effect.
A neat base gives the cat a clean outline.
Step 3: Add ears
Crochet two tiny triangles or pointed ear shapes and sew them to the top of the head. Make sure they are even and secure. The ears are what make the piece read instantly as a cat.
The ears are the defining feature.
Step 4: Embroider the face
Use embroidery thread to create eyes, whiskers, and a tiny nose. This is where the character really comes alive. You can keep the face minimal for a more modern style or add blush and a smile for a sweeter appearance.
A simple face often sells very well.
Step 5: Add optional details
You can add a bow, collar, heart, or tiny yarn accent to make each cat slightly different. These small variations help your shop inventory feel more personalized and appealing to different customers.
Tiny details can increase buyer interest.
Step 6: Back the appliqué if needed
If the appliqué feels thin or too flexible, add a felt backing or a second crochet layer to strengthen it. This helps the keychain hold up to wear and handling.
A firmer shape gives it a more finished look.
Step 7: Attach the ring
Sew the cat appliqué onto a small loop or directly to the keychain hardware. Reinforce the connection with several stitches so the piece does not tear with use.
A secure join is essential for a sellable item.
Step 8: Finish the edges
Weave in all threads carefully and trim any stray fibers. Shape the ears and face lightly with your fingers so the cat sits neatly.
Helpful tips
Cat keychains are easy to make in many colors, which makes them excellent for inventory. Black cats, white cats, tabby-inspired tones, and pastel cats all have their own appeal. If you want to offer variety, make a set with different expressions or little bow colors.
3. Crochet Tiny Goose Keychain Pattern
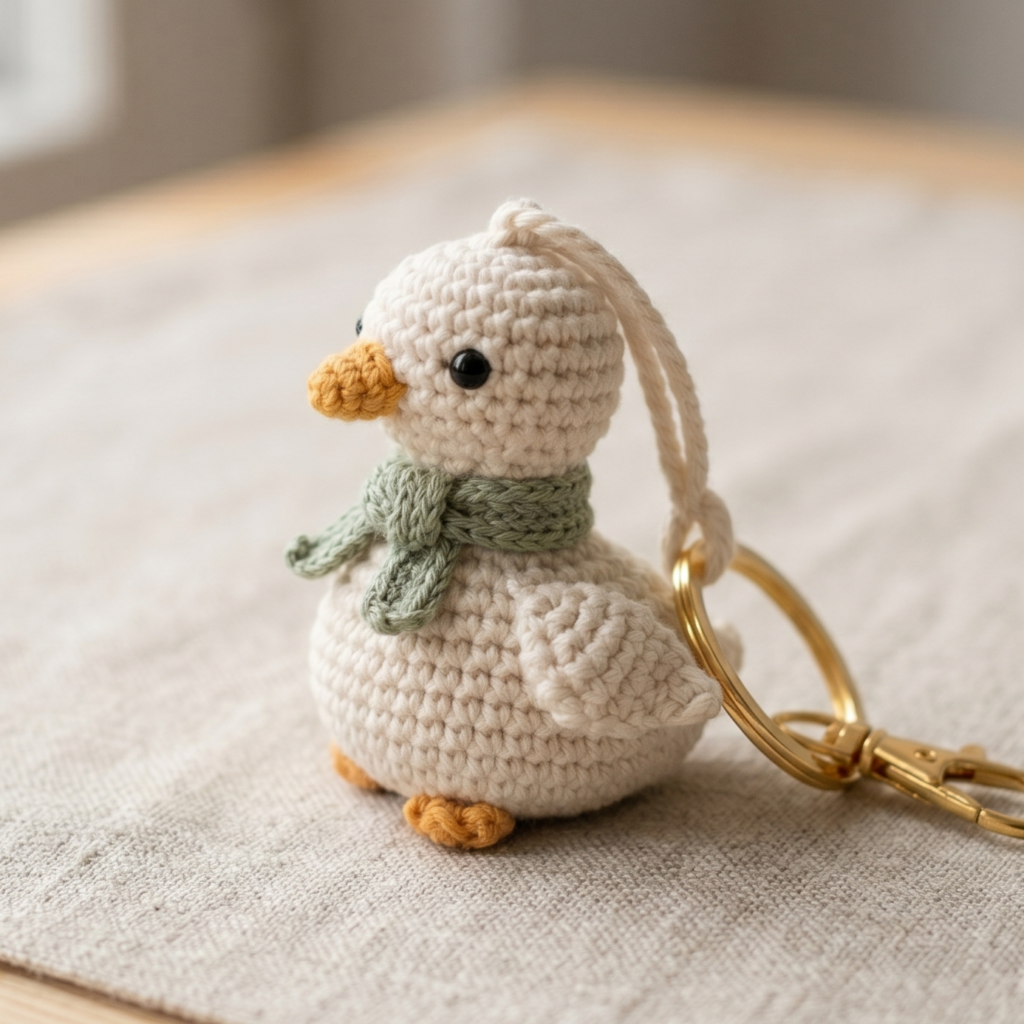
A tiny goose keychain is adorable, trendy, and a little whimsical. Goose-themed items have been especially popular in handmade markets because they feel cottage-inspired, playful, and instantly memorable. This makes the tiny goose a strong candidate for craft fairs and online shops.
Step-by-step guide
Step 1: Pick your goose colors
Classic white, cream, gray, or soft beige work beautifully for the goose body. Add orange, yellow, or peach for the beak and feet. You can also make the goose in pastel tones for a softer and more modern aesthetic.
The colors help the goose feel charming.
Step 2: Crochet the body
Start with a small rounded or oval body using single crochet in the round. Keep it compact and smooth so the goose feels soft and manageable. A slightly plump body works especially well for a tiny keychain.
The body gives the goose its shape.
Step 3: Crochet the neck and head
Make a gently curved neck with a small rounded head at the top. This is what gives the goose its familiar silhouette. Keep the neck sturdy enough to hold shape without becoming too thin or floppy.
The neck makes the goose instantly recognizable.
Step 4: Add the beak
Crochet a small beak in a contrasting color and attach it to the face. The beak should be short and neat, not oversized. A simple orange or peach beak often looks best on small plush styles.
The beak is the cutest little detail.
Step 5: Make the wings and feet
Crochet tiny wings and feet separately. The wings can be small rounded shapes, while the feet can be simple flat pieces. Keep them compact so they do not overwhelm the bird’s body.
These features complete the goose look.
Step 6: Add a scarf, bow, or hat
One reason goose keychains sell well is that they can be dressed up. Add a tiny scarf, bow, or hat to make each goose feel special. Small seasonal accessories can increase their appeal during holidays and craft fairs.
Accessory details make the goose stand out.
Step 7: Stuff and assemble
Add a small amount of stuffing to the body and neck if needed. Attach the head, wings, and feet securely. The goose should feel balanced and able to hang neatly from the keyring.
Strong assembly keeps the toy durable.
Step 8: Add the face
Use embroidery or safety eyes to finish the expression. A tiny dot eye or small sleepy face can make the goose feel especially sweet. Keep the face simple so it matches the small size.
A subtle face keeps the goose charming.
Step 9: Attach the keychain ring
Reinforce the top of the neck or body so it can support the hardware. Since the keychain will be used often, secure attachment is essential for a professional finish.
Helpful tips
Tiny goose keychains are especially appealing in soft neutrals and cottagecore-inspired styles. If you want to sell them, make a few with different accessories so buyers can choose their favorite. This variety makes your table or online listing look more interesting.
4. Crochet Chubby Chick Holding a Daisy Keychain Pattern
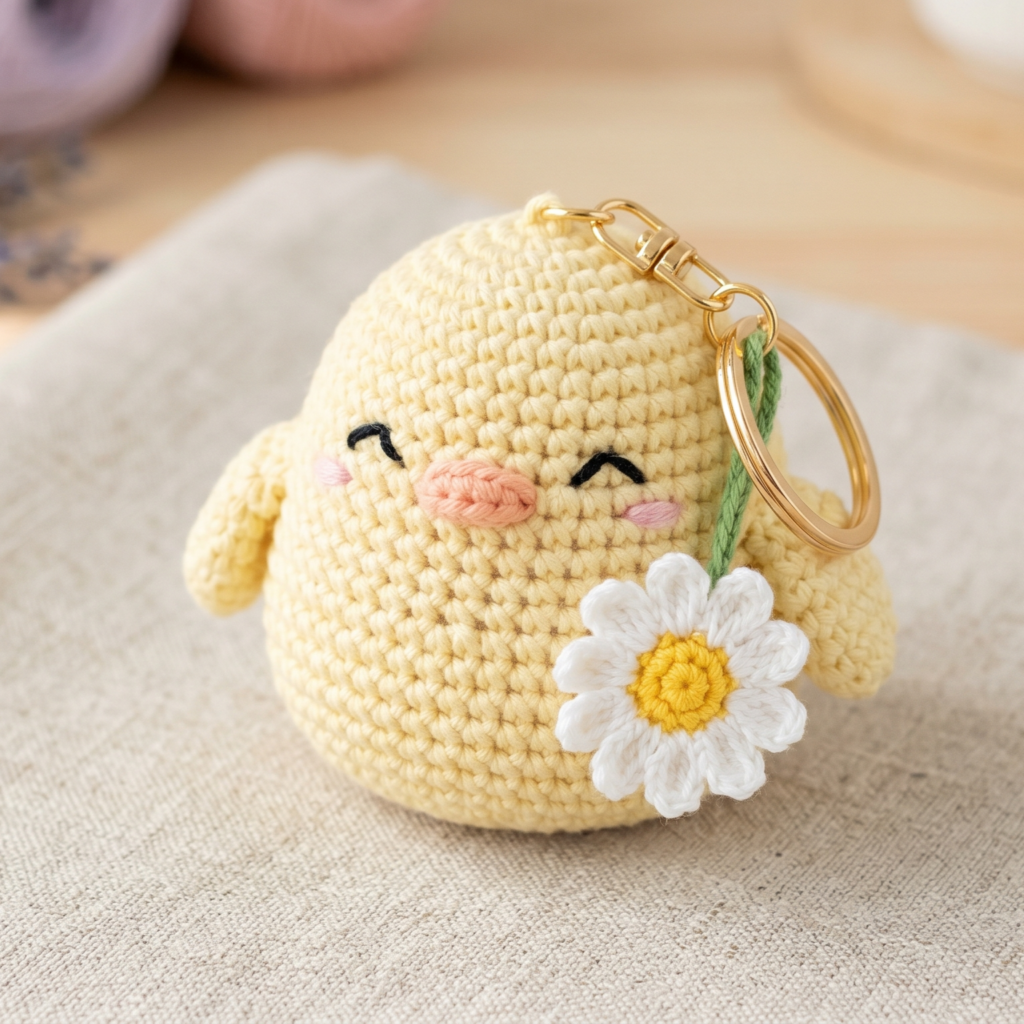
A chubby chick holding a daisy is one of those keychains that instantly makes people smile. It is cute, seasonal, and full of personality, which makes it perfect for spring collections, Easter markets, or cheerful year-round displays. The daisy detail adds a sweet handmade touch that helps the design stand out.
Step-by-step guide
Step 1: Choose soft spring colors
Start with yellow, cream, pale orange, or pastel pink for the chick body. Add white and yellow for the daisy, and green for the stem if needed. Spring colors tend to sell well because they feel fresh and happy.
The color palette gives it seasonal appeal.
Step 2: Crochet the chick body
Begin with a round, slightly chubby body using single crochet in the round. The body should be compact and plush-looking. A soft oval or egg-like shape works especially well for a chick.
The round body is what makes it cute.
Step 3: Add the head and body shaping
Shape the top gently so it feels like a chick’s head rather than a plain ball. If you want, you can make the top slightly flatter or narrower. Keep the shape smooth and proportionate.
The shape helps the bird read as a chick.
Step 4: Make the beak
Crochet a tiny orange or peach beak and sew it to the front center. The beak should be small and triangular or slightly rounded. This tiny detail immediately gives the chick personality.
The beak is a key visual marker.
Step 5: Crochet the daisy
Make a small daisy flower with a yellow center and white petals. Keep it tiny enough to sit comfortably in the chick’s hands or beside it. The daisy adds a sweet springtime story to the design.
The daisy is the charming extra detail.
Step 6: Attach the daisy
Position the flower so the chick appears to be holding it or leaning against it. Use a few secure stitches to keep the flower in place. The placement should feel playful and balanced.
The pose makes the keychain more expressive.
Step 7: Add eyes and finish the face
Use safety eyes or embroidery to create a simple sweet face. A tiny smile or blush can make the chick even more appealing. Keep the expression light and cheerful.
The face gives the chick its personality.
Step 8: Stuff and assemble
Add a little stuffing to keep the chick plump but not overfilled. Then check all attachments to make sure the daisy and body feel sturdy enough for daily use. Since keychains are handled often, durability matters.
A sturdy finish helps it sell better.
Step 9: Attach the ring
Add the keychain hardware securely at the top. A small loop behind the head or top of the body usually works well. Make sure the ring attachment does not interfere with the flower detail.
Helpful tips
This pattern is especially good for spring craft fairs and Easter-themed collections. You can offer variations in different flower colors or add small bow accessories to make each chick unique. People often love items that feel cute and seasonal.
5. Crochet Tiny Sponge Bob Keychain Pattern
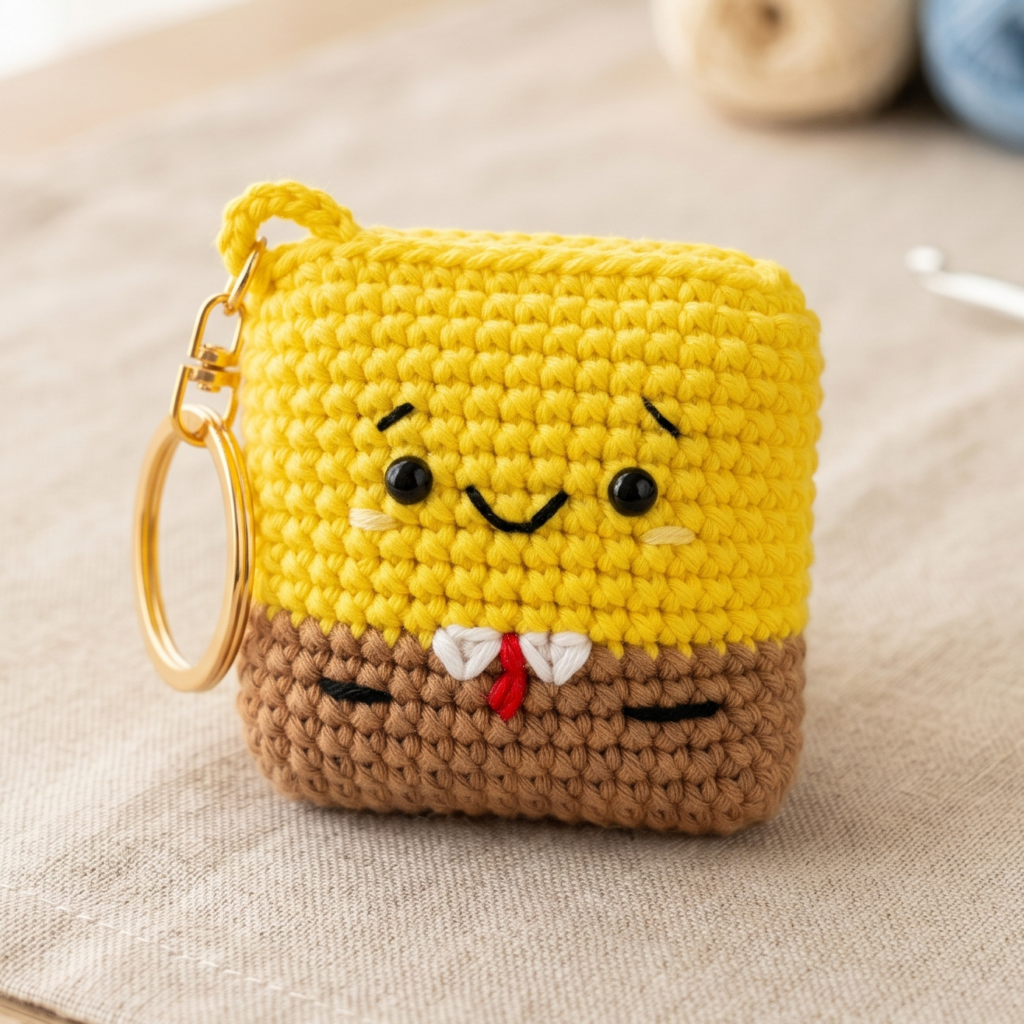
A tiny sponge-inspired keychain is playful, cheerful, and sure to catch attention. Novelty items often do well at craft fairs because they stand out immediately, and a tiny sponge-style design can be a fun addition to your table or shop. To keep things practical for selling, the design should be simplified, clean, and recognizable in a cute handmade style.
Step-by-step guide
Step 1: Decide on the sponge-inspired shape
Keep the shape simple and square or slightly rectangular so it reads clearly. A tiny sponge-inspired character usually works best when the body is blocky and compact. The goal is to create a fun novelty item that is easy to carry and quick to recognize.
The shape is what makes the design readable.
Step 2: Pick bright yellow yarn
Use bright yellow for the body so it feels cheerful and sponge-like. Add white, brown, black, and red accents if you want facial or clothing details. A bold yellow base is what makes the keychain pop visually.
The color creates the playful look.
Step 3: Crochet the main body
Make a small square or rectangle using single crochet or dense rows. Keep the stitches firm so the body holds its shape well. A slightly stuffed piece will look more polished and make the character easier to recognize.
The body is the foundation of the design.
Step 4: Add face details
Use embroidery or small appliqué details for the eyes, mouth, and clothing accents. Keep the face clean and simple so it does not get too crowded at this size. A few well-placed features are enough to suggest the character style.
The face helps the design stand out.
Step 5: Add clothing or accessory elements
If desired, add small simplified outfit details such as a tie, collar, or tiny square pants look. Keep these decorative features compact so the keychain stays light and easy to use. Too much detail can make the item bulky.
The clothing details make the character more recognizable.
Step 6: Lightly stuff if needed
Add just enough stuffing to give the keychain a slight cushion and shape. The piece should stay flat enough for a keychain but not completely limp. A little fullness will make it look more finished in photos.
A small amount of stuffing improves the shape.
Step 7: Attach the keychain ring
Reinforce the top and secure the keyring attachment carefully. Since novelty keychains often get a lot of handling, the attachment should be very sturdy. Use several tight stitches to support the ring.
Strength is important for products that sell well.
Step 8: Finish the edges
Trim and hide any loose ends, and make sure the face details are centered. The tiny sponge-inspired keychain should feel neat, bright, and fun. If you plan to sell it, make several with consistent sizing and detail placement.
Helpful tips
Novelty keychains can sell very well when they are cleanly made and easy to recognize. Keep the design compact, cheerful, and durable. Because this style is a little more character-based, consistency and neat stitching will make it more appealing in a shop display.
Conclusion
Crochet keychains are some of the best small items to make if you want something quick, affordable, and easy to sell. They use very little yarn, take much less time than larger projects, and allow you to experiment with different themes and styles without a big commitment. That makes them especially useful for craft fair tables, online listings, gift sets, and small handmade collections.
These five keychain patterns each bring something different to the table. The hummingbird keychain feels delicate and colorful. The cat appliqué keychain is classic and widely loved. The tiny goose keychain brings a cozy cottage charm. The chick holding a daisy is sweet and seasonal. The tiny sponge-inspired keychain adds bold novelty appeal. Together, they show how much personality and market potential you can pack into a tiny handmade item.
If you want crochet pieces that are quick to make, fun to customize, and likely to catch a buyer’s eye, these keychain patterns are an excellent place to start. With a little yarn, a sturdy keyring, and neat finishing, each one can become a small but memorable product that people will love to carry, gift, and collect.