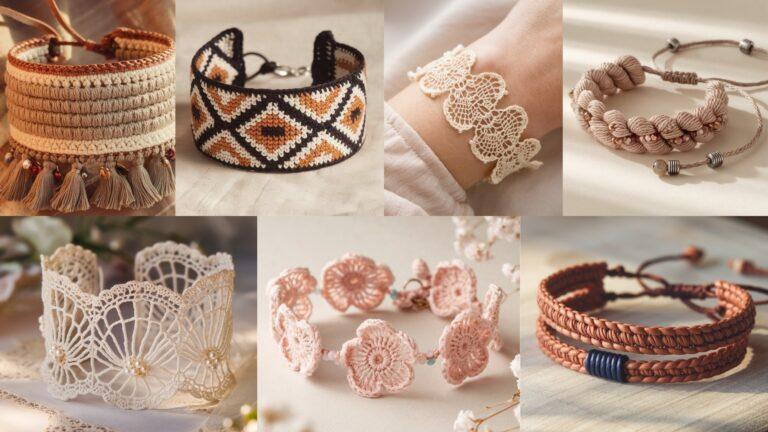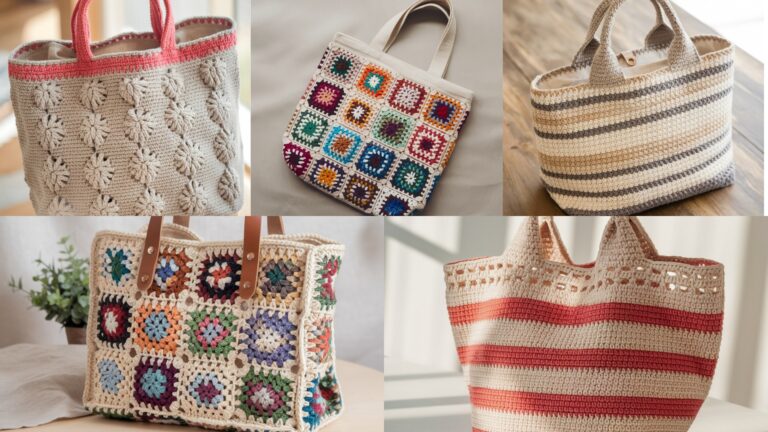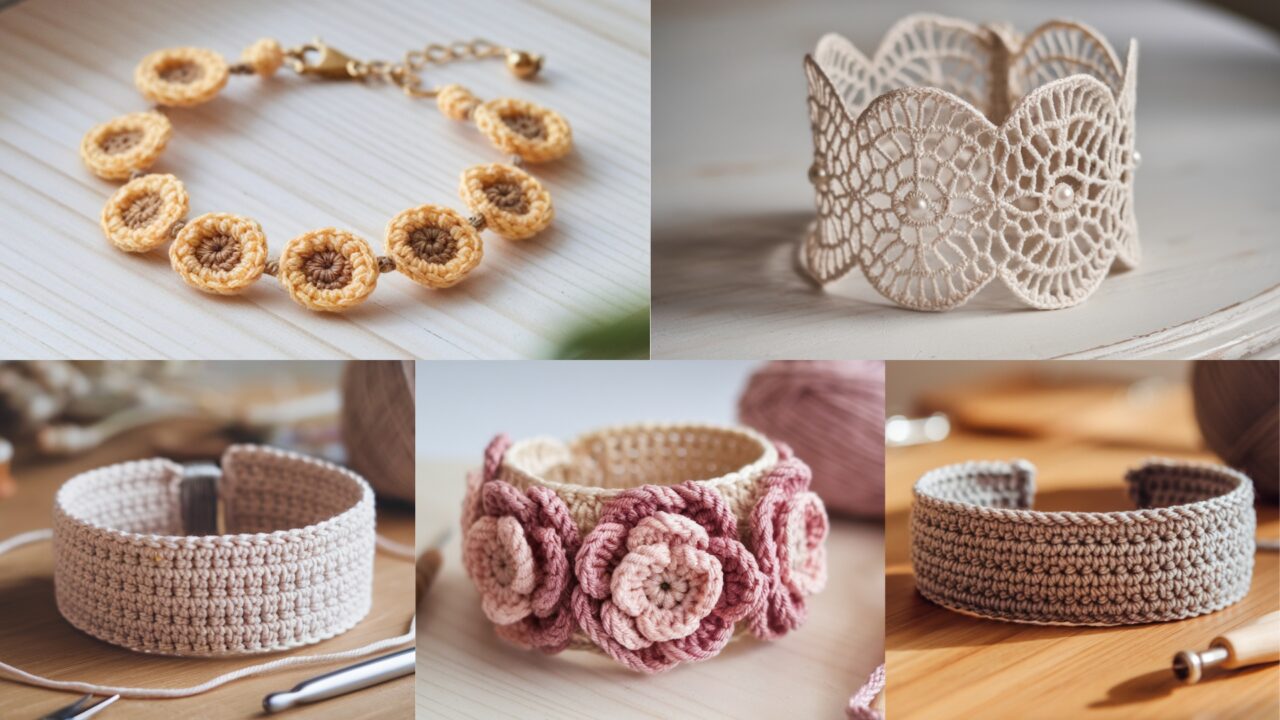
Stylish, handmade bracelets are one of the fastest, most satisfying accessories you can make — they’re small, quick to produce, perfect for gifts or craft-fair tables, and extremely customizable. Below are five modern crochet bracelet patterns that range from bold texture to delicate lace. Each pattern includes: materials, abbreviations, finished measurements and sizing tips, a very detailed step-by-step pattern, finishing instructions, variations, and styling/selling ideas. All patterns use US crochet terms.
Quick notes that apply to all patterns
- Standard bracelet circumference: 6.5–7.5 inches (16.5–19 cm) for women; measure your wrist and add 0.5–1 inch (1.25–2.5 cm) for comfort. I include instructions for making adjustable sizes.
- Most patterns can be worked over an elastic band (hidden inside) or finished with jump rings + button/snap/clasp.
- When changing yarn weight/hook, adjust size and stitches accordingly. Make a small sample strip to confirm fit.
- Finish by weaving ends securely and blocking delicate lace pieces lightly (if the fiber allows).
- For wearable comfort, avoid bulky knots on the inside of the bracelet where it rests against skin.
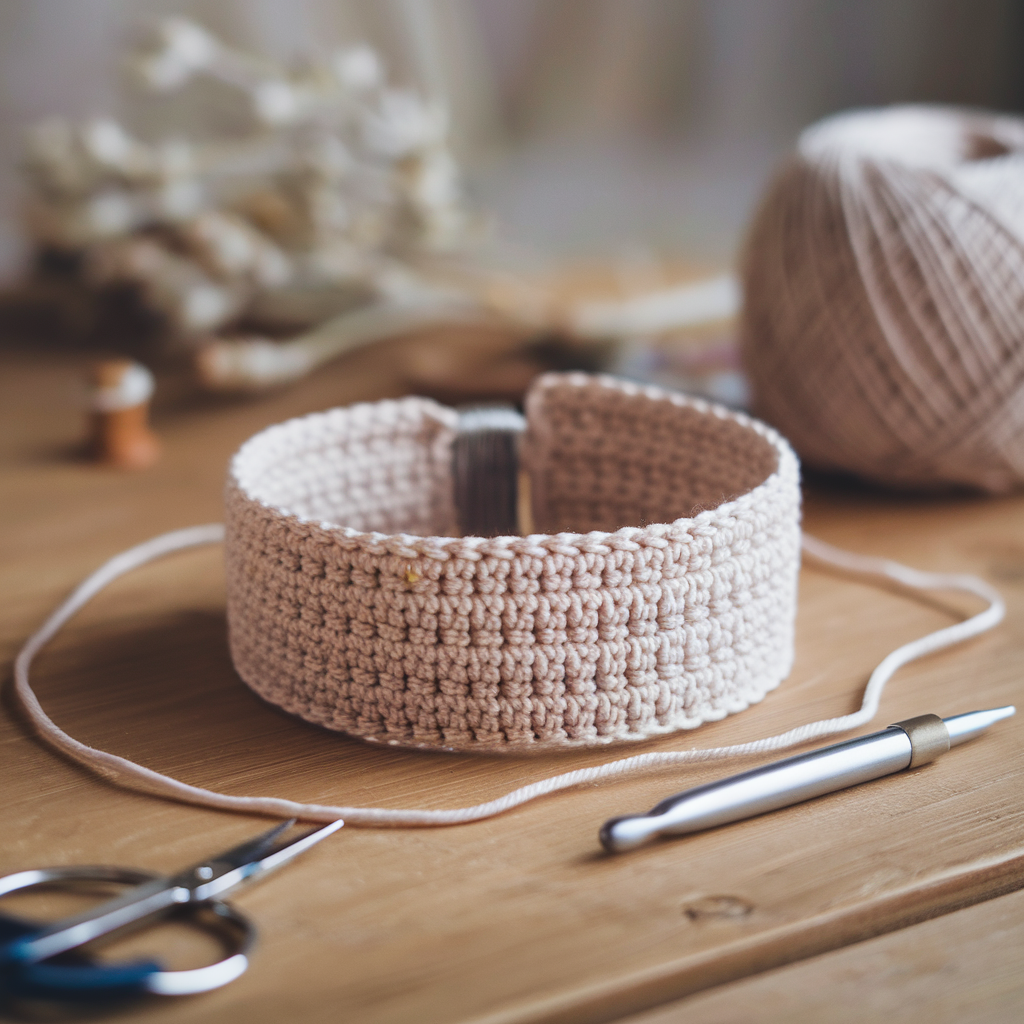
1. Crochet Slanted Puffs Bracelet Pattern
Style: Modern textured cuff with diagonal puff-stitch stripes — bold but wearable.
Skill level: Intermediate (puff stitches + shaping)
Materials
- Fingering or sport weight cotton or cotton blend — ~25–40 yards.
- Crochet hook: US F/5 (3.75 mm) for sport, or G/6 (4.0 mm) for slightly chunkier texture.
- 1 small snap/button or 2 small jump rings + lobster clasp (optional).
- Tapestry needle, scissors, stitch marker.
Abbreviations
- ch = chain
- sc = single crochet
- dc = double crochet
- puff = puff stitch (see below)
- st(s) = stitch(es)
- sl st = slip stitch
- BLO = back loop only
Puff stitch (US) — small puff for this bracelet: yo, insert hook into stitch, yo and draw up a loop (3 loops on hook); repeat yo, insert, draw up loop twice more (7 loops on hook). Yo and pull through all loops. Ch 1 to close puff (counts as space). Adjust density by making 2 or 3 draws per puff depending on yarn.
Finished size & gauge
- Sample gauge (approx): 18 sc x 12 rows = 2″ in worsted sport on 4 mm hook.
- Bracelet width in sample: approx 1.25″ (3 cm). Adjust stitches to increase width.
Pattern notes
This cuff is worked flat in rows, making diagonal puff-stitch lines by offsetting the puff placement each row. You’ll seam ends together and add a snap or clasp.
Step-by-step (one bracelet — size ~7 inches circumference)
- Foundation chain: Ch 36 (this gives a cuff width ~1.25″; increase or decrease by multiples of 3 for wider/narrower cuffs). Add 1 for turning if you prefer tighter edge.
- Row 1 (base row): Sc in 2nd ch from hook and across (35 sc). Turn.
- Row 2 (establish pattern): Ch 1, sc in first 2 sts, puff in next st, ch 1, skip next st, sc in next st — repeat across until last 2 sts; sc in last 2 sts. Turn.
- This starts a spaced puff every 3 sts with a unit of sc between puffs and a ch-space for definition.
- Row 3 (shift to create slant): Ch 1, sc in first st, sc in next st, puff in next st, ch 1, skip next st — repeat to last st, sc in last st. Turn.
- This shifts the puff one stitch to the right to create a diagonal.
- Row 4: Repeat Row 2 to keep alternating the slanted alignment. Continue Rows 2–3 (alternating) until piece measures the length needed to wrap once comfortably around the wrist plus 0.5″ for overlap — usually ~6.5–7″ measured across the flat rectangle. (You can measure around wrist and subtract seam allowance.)
- Final Row (edge tidy): Ch 1, sc in each stitch across for a neat edge. Fasten off leaving a 10–12″ tail for seaming/finishing.
Seaming & closure
- Fold the cuff so the short ends meet with right sides facing out. Use mattress stitch or whipstitch to seam ends, leaving ~½” unseamed if using a snap so the snap sits neatly.
- Attach snap or sew on a small decorative button and create a loop (a short chain of 6–8 ch anchored with sl st) for button closure. Or sew small jump rings and attach a lobster clasp.
- Weave in ends. If using an elastic inside, before seaming, slide the elastic into the cuff, overlap and stitch elastic ends securely, then seam fabric around it.
Variations & styling
- Use variegated yarn for slanted color streaks.
- Add a contrasting single crochet border in a metallic or neon color for a statement.
- Make the cuff wider (use 54 ch) as an arm cuff/bracelet combo.
Tips
- Puff density: if puffs are too loose, reduce number of yarn-overs or draws. If too dense and stiff, make fewer draws or use a larger hook.
- For a softer cuff, try bamboo/cotton blend.
2. Crochet Dalia Bracelet Pattern
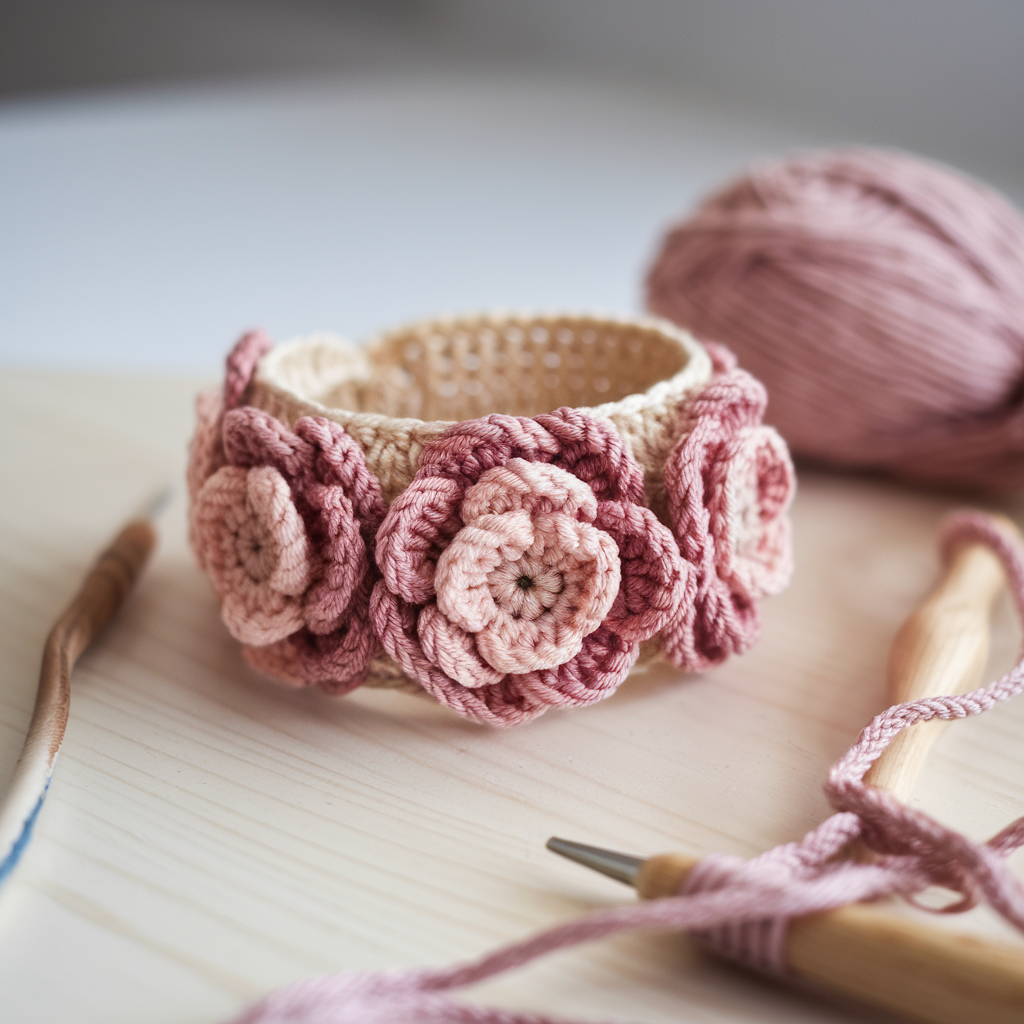
Style: Raised petal cluster bracelet inspired by Dahlia petals — feminine, sculptural.
Skill level: Intermediate (cluster stitches & shaping petals)
Materials
- Sport to DK cotton yarn (soft body-friendly fiber) — 30–45 yards.
- Hook: G/6 (4.0 mm) or H/8 (5.0 mm) depending on yarn.
- Small snap or button, optional 6–8″ hair elastic if making stretch version.
- Yarn needle.
Abbreviations
- ch, sc, hdc (half double crochet), dc, tr (treble), cluster (cl) — worked as described.
- cl3 = cluster of 3 dc together (yo, insert, draw up loop; repeat 3 times; yo pull through all loops)
Finished size
- Petal bracelet width: ~1.25–1.75″ depending on petal size. Adjust foundation chain to match.
Pattern overview
This bracelet uses a base of sc rows, then a round of petal clusters that flare out; petals are sculpted with short post-stitches for height. Work a band and either make petals on-top (sewn) or integrate by working petals across the band edge.
Step-by-step (integrated petal band — flatten and seam)
- Foundation chain: Ch 40 (or measure wrist circumference in sc and work to fit; multiple of 5 recommended for petal repeat).
- Row 1 (base): Sc in 2nd ch from hook and across. Turn. (39 sc)
- Rows 2–4: Ch 1, sc in each st across. Turn. (This builds a firm base band; add or reduce rows to desired band thickness.)
- Petal row (setup): Ch 1, sc in next 3 sts, skip next 2 sts — repeat across. Turn. This creates spaces for petals.
- Petal formation: Join flower color in first ch-2 space (or the position you skipped):
- Ch 2, (hdc, dc, tr, dc, hdc) all worked into the ch-2 space, sl st into next sc to anchor. Repeat across each petal space. Each petal will sit between bands of sc.
- For taller dahlia petals, increase center stitches (e.g., use dtr) or add front-post trebles to sculpt.
- Second petal layer (optional): If you want a fuller dahlia, add a back layer of smaller petals worked at the base row before seaming: join color, ch 1, sc in next skipped space, ch 1, sl st — then work tiny petals into those spaces (sc, hdc, dc, hdc, sc).
- Finish band: Work one more sc row over the base row to anchor petal bases: Ch 1, sc across, catching petal bases. Fasten off leaving long tail.
Seaming & closure
- Fold and seam short ends using an invisible mattress stitch. Hide seam inside a small petal or behind a decorative button.
- For elastic method, before final seaming, insert elastic and overlap ½” and stitch elastic ends together securely, then sew band around.
Variations & selling ideas
- Make petals in shades of the same color (ombre) for a dahlia gradient.
- Add a tiny bead or pearl at the center of each petal cluster on the exterior for bridal markets.
- Pair with matching hair tie or pendant for a set.
Tips
- Work petals loosely — too tight stitches make petals curl inward.
- Block petals lightly with steam (if yarn permits) to shape.
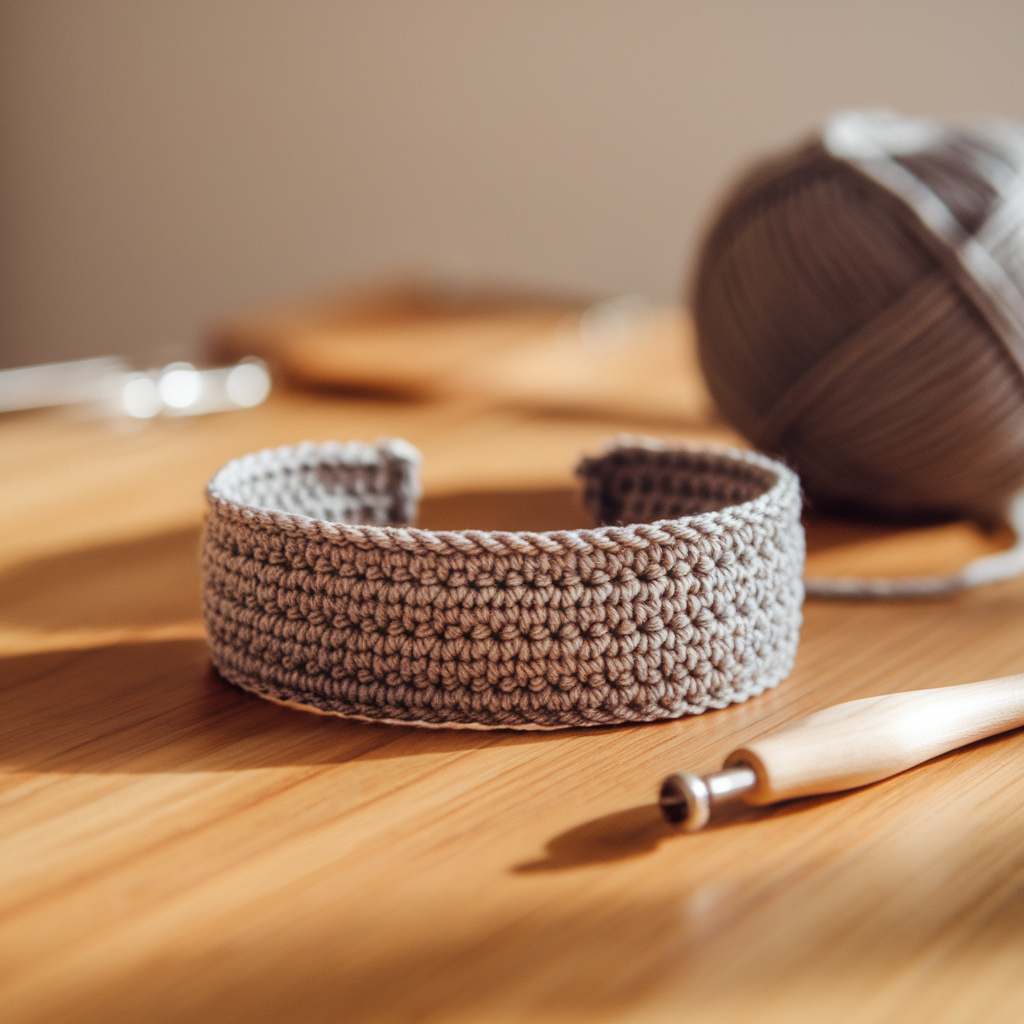
3. Crochet Suzette Stitch Bracelet Pattern
Style: Suzette stitch (alternating sc & hdc) creates a clean, tiny-textured fabric that reads as modern and neat — great for minimalist lovers.
Skill level: Beginner-Intermediate (easy stitches but requires even tension)
Materials
- Fingering or sport weight yarn for a delicate bracelet; worsted for chunkier look — 20–30 yards.
- Hook: US F/5 (3.75 mm) for fingering or G/6 (4.0 mm) for sport.
- Small magnetic clasp, snap, or button.
- Tapestry needle.
Abbreviations
- ch, sc, hdc, st(s), sl st
Suzette stitch refresher
- Suzette = (sc, hdc) worked into the same stitch then skip next stitch and repeat — creates an even, popcorn-like texture that is very flexible.
Finished size & gauge
- Suzette creates a slightly squishy, cushioned fabric. For a 7″ circumference and 3/4″ wide cuff, chain ~36–42 stitches depending on your gauge.
Step-by-step (flat cuff with optional piping)
- Foundation chain: Ch 38 (or measure desired width x gauge; choose an even number). Turn.
- Row 1: Sc in 2nd ch from hook, hdc in same st, skip next ch, sc in next ch, hdc in same ch (sc+hdc pair) — repeat across ending with sc+hdc in last ch. Turn. (This establishes the Suzette texture.)
- Row 2+: Ch 1, sc in top of previous sc+hdc pair (work both stitches into the same st), hdc in same st (so sc+hdc in each pair), skip next st — continue across. Repeat Row 2 until the strip reaches the length needed to wrap wrist plus overlap (measure against wrist).
- Edge tidy (optional): Work an even round of sc around the entire rectangle, placing 3 sc in each corner if you make wide cuffs — for bracelets, just sc along short ends to tidy.
- Optional piping or braid: For a modern finish, add a contrasting color slip-stitch line along both long edges: join color and sl st evenly along long edges; fasten off.
Closure
- Add small magnetic clasp at ends (sew into stitches with tapestry needle) for easy on/off. Or use snap buttons.
Variations
- Work two thin Suzette strips and braid them together before seaming for a braided cuff effect.
- Add a tiny metal charm by sewing it to the strip before seaming for personalization.
Tips
- Keep tension even — Suzette shows inconsistency easily.
- For stretchiness that snugs the wrist, use a slightly smaller hook on the foundation chain to tighten base row.
4. Crochet Summer Flower Bracelet Pattern

Style: Delicate row of tiny sun-flowers or multi-flower chain — light, stackable bracelets perfect for summer markets.
Skill level: Easy (motif-based, simple joining)
Materials
- Fingering or sport cotton in 2–3 colors (petal color, center color, band color) — ~15–30 yards total.
- Hook: US E/4 (3.5 mm) or F/5 (3.75 mm).
- Small adjustable chain/clasp or tie-style closure.
- Yarn needle, small beads (optional for centers).
Abbreviations
- ch, sc, hdc, dc, sl st, picot (optional), st
Pattern overview
Make small flower motifs (flower cluster with center) joined by short chains or sewn onto a base band. You can make a full ring of flowers or attach flowers onto a narrow strap.
Step-by-step — small sunflower motif & join (make 8–10 for one bracelet)
Single flower motif
- Center ring: Ch 4, sl st to first ch to form ring. Ch 1.
- Round 1 (center): Work 8 sc into ring. Join with sl st to first sc. (8 sc)
- Round 2 (petals): Ch 2, (dc, dc, dc) into next sc, sl st in next sc — repeat around for 8 tiny petals. Fasten off center color.
- Optional bead: Sew a tiny bead into the center for sparkle (secure knot on underside).
Joining method (chain connector)
- Make 8–10 flowers then chain-join: After finishing Round 2 of first flower, ch 6, attach next flower by sl st to a sc of the second flower, ch 6, sl st to next flower, etc., until you have a strand long enough to wrap wrist with slight overlap.
- Alternatively, sew flowers onto a thin base strap: make a base strap by ch 40, work sc across for 4 rows for a firm strip; sew flowers evenly spaced on top.
Finish
- Add a small ring + lobster clasp, or make a chain extension to allow size adjustment. You can also make a small chain on one end and a loop on the other for sliding closure.
Variations & styling
- Alternate flowers with small picot loops for a boho look.
- Make tiny multi-color daisies for bright, playful bracelets for kids.
Tips
- Work flowers tightly or they will flop; blocking can help petals set.
- Use mercerized cotton for brightness and durability.
5. Crochet Lace Cuffs Bracelet Pattern
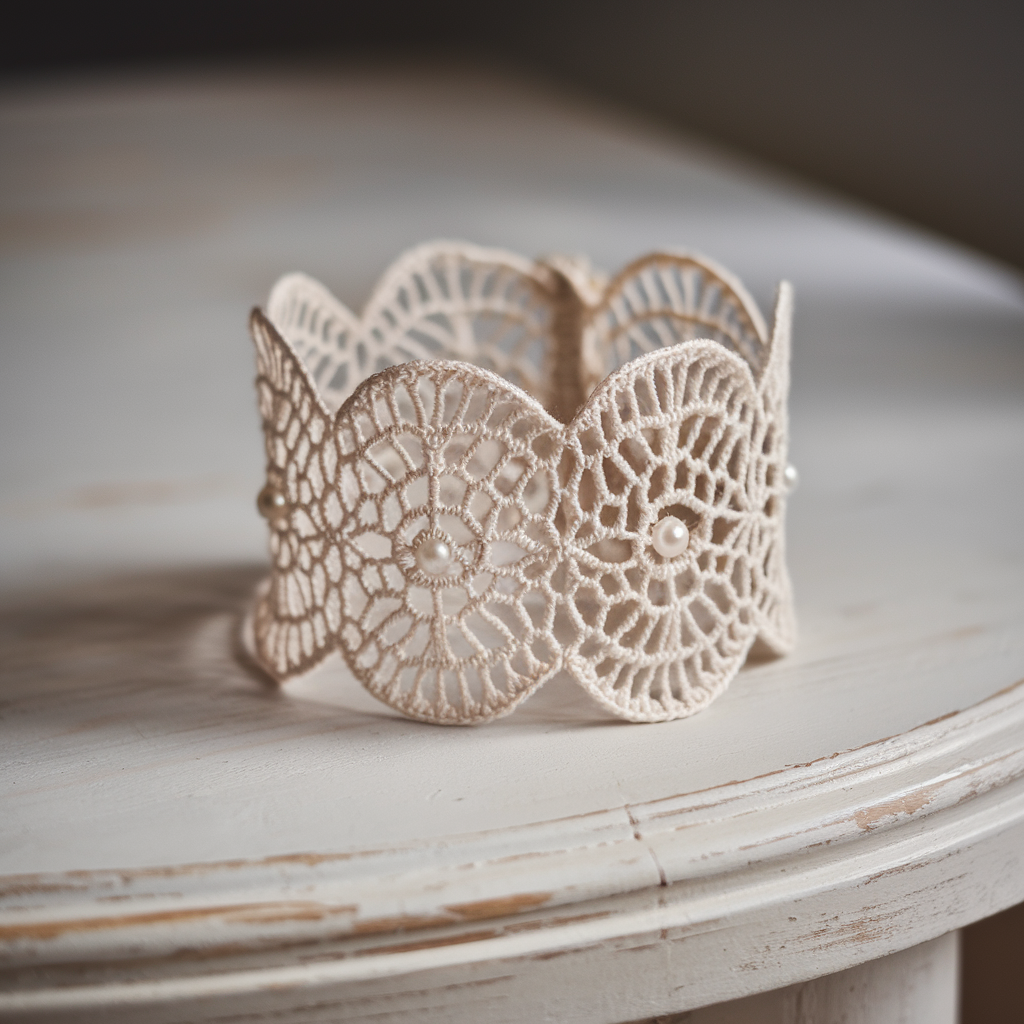
Style: Elegant, openwork lace cuff — perfect for bridal, vintage, or romantic styles.
Skill level: Intermediate (lace charts/pattern repeats)
Materials
- Fingering weight cotton, bamboo, or silk blend — ~25–40 yards.
- Hook: E/4 (3.5 mm) or smaller for crisp lace.
- Small snap/button or toggle clasp, optional lining fabric strip for comfort if wearer dislikes lace against skin.
- Tapestry needle, blocking pins.
Abbreviations
- ch, sc, dc, tr, sk = skip, st(s), picot (ch 3, sl st in 1st ch), sk2tog = skip 2 together (for lace decreases), shell (5 dc in same st), V st (dc, ch1, dc).
Pattern concept
A narrow strip of lace built from V-stitches, shells and picots; worked flat, blocked to set the lace, and seamed with elegant closure. If you want a more fitted cuff, add a lining strip of soft fabric glued/sewn inside.
Step-by-step (lace sample — 3/4″–1.25″ wide)
- Foundation chain: Ch 42 + 1 (this gives a repeat of 7 for V-st and shells; adjust per gauge). Turn.
- Row 1 (base): Sc in 2nd ch from hook and across. Turn. (41 sc)
- Row 2 (begin lace): Ch 3 (counts as dc), sk 1, V-st in next st (dc, ch1, dc), sk 1, picot in next st, sk 1, shell in next st (5 dc) — repeat across finishing with dc in last st. Turn.
- Row 3 (open rows): Ch 1, sc into top of each shell and V-st as required to anchor (work sc in each ch-1 space, sc in shell centers). Turn. This evens the lace.
- Row 4: Repeat Row 2 but offset the motifs to create interlocking lace. Continue Rows 2–4 as a 3-row repeat until piece reaches wrist circumference minus seam allowance (measure). Lace requires more length because it’s not stretchy; target 6.75–7.25″ for a 7″ finished cuff.
- Final edge: Work a delicate picot or scallop round: sc, ch 3, sl st in base around long edges for a delicate finish. Fasten off.
Blocking & finishing
- Soak the strip lightly in lukewarm water, gently squeeze out excess (don’t wring), pin to a flat surface and shape the scallops with pins. Allow to dry fully. Blocking opens lace and sets size.
- Seam short ends with invisible mattress stitch and attach snap or sew on a small decorative button and loop.
Optional lining
- Cut a fabric strip slightly smaller than bracelet circumference and stitch into the inside to make the cuff comfortable for sensitive skin or to stabilize stretch.
Variations & styling
- Use metallic or shimmer yarn for evening/bridal cuffs.
- Add beadwork along the picot edge for sparkle.
Tips
- Work with good lighting; lace shows missed stitches easily.
- If you’re making several for sale, pre-block all pieces before attaching closures for uniformity.
Conclusion
Each of these five bracelet styles offers a different aesthetic and production rhythm — from the sculptural Dalia petals and slanted puff texture to the minimalist Suzette band, sunny Summer Flower chains, and delicate Lace Cuffs. Small projects like bracelets are ideal for experimenting with yarns, colorways, and finishes with low material cost and quick turnaround.
A few final production and selling tips:
- Batch smart: Make bases in sets (e.g., 10 bands) then add embellishments in a second pass to speed production.
- Offer sets: Stackable sets (2–3 bracelets sold together) increase average sale and let customers mix textures.
- Finish professionally: Use small branded tags, tuck care instructions into kraft cards (“hand wash cold, reshape, lay flat to dry”), and offer a matching or coordinating ear-to-wrist display in your photos.
- Price thoughtfully: Factor material cost, time (count minutes), overhead, and desired profit. Handcrafted uniqueness commands a premium — justify with attractive packaging and clear product photos.