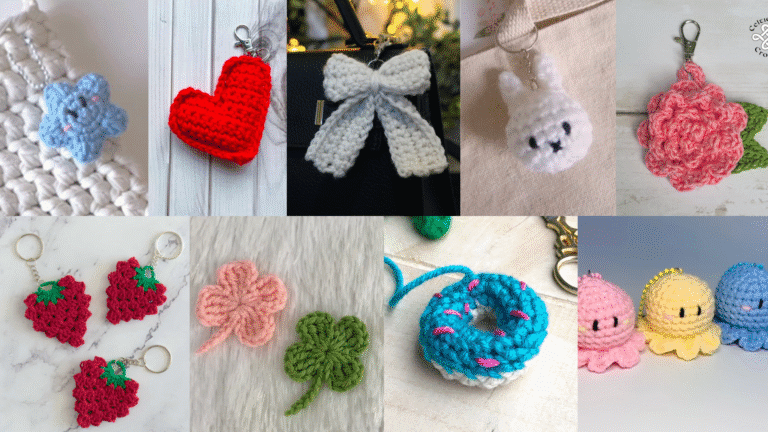
Crochet bows are tiny, satisfying projects that add personality to headbands, gift wrap, accessories, toys, and home decor. Whether you’re a beginner who wants a quick, gratifying make or an experienced crocheter looking for pretty variations, this collection has something for you. Each pattern below is written in clear, step-by-step format using US crochet terms and includes skill level, materials, detailed instructions, finishing/variations, and practical tips so you can make a perfect bow every time.
1. Crochet a Decorative Bow Pattern
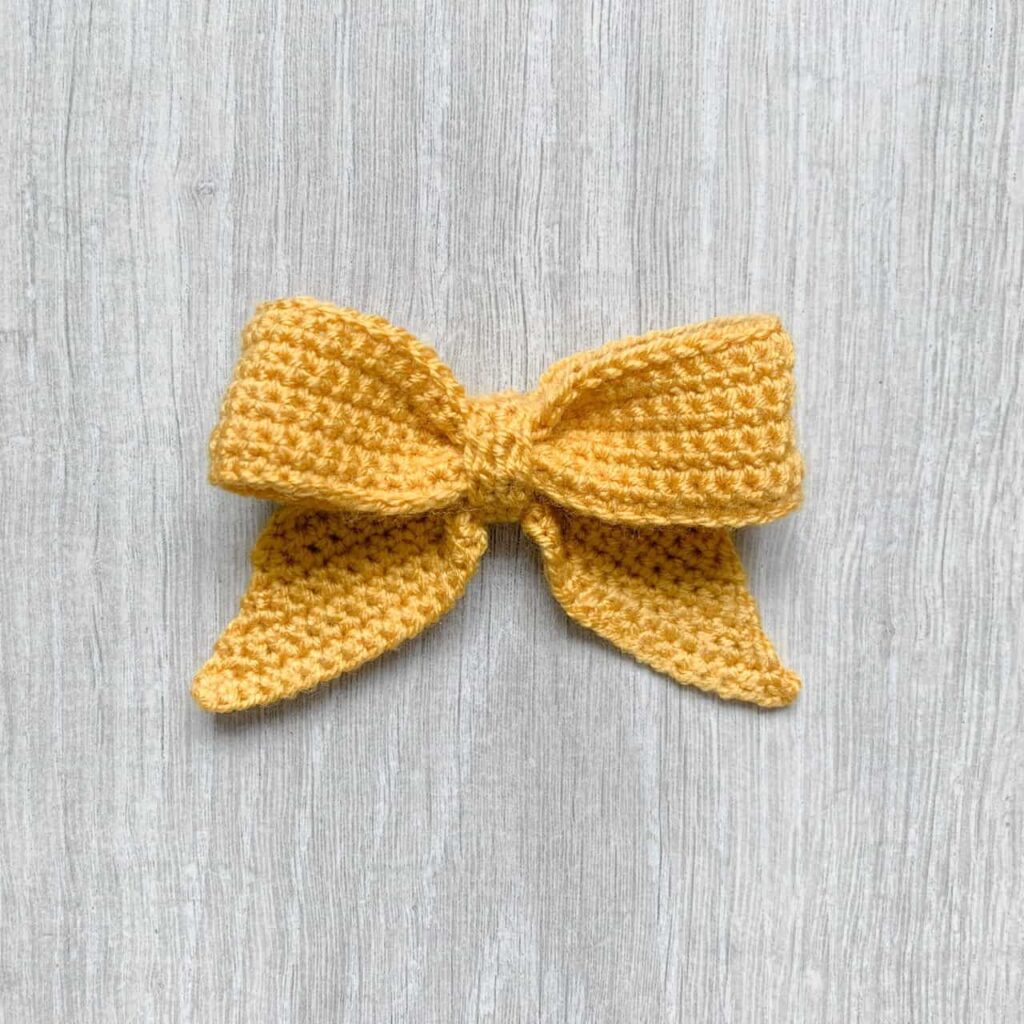
Skill level: Beginner — great first bow for new crocheters.
Materials:
- Worsted weight (Aran/medium, #4) yarn — small amount (≈ 20–30 yards)
- Crochet hook: 4.0 mm (G/6) or size to match yarn and tension
- Yarn needle for weaving ends
- Small piece of cardboard (optional, for shaping)
- Scissors
Instructions (step-by-step):
- Chain (ch) 21. This is the base length — change to make your bow wider/narrower (odd numbers are fine).
- Row 1: Starting in 2nd ch from hook, single crochet (sc) across. You should have 20 sc. Turn.
- Rows 2–6: Ch 1, sc in each stitch across. Turn. (Adjust rows for desired thickness — 5 rows is a nice dense bow.)
- Fasten off leaving a tail of about 12 inches (30 cm) for wrapping the center. Weave in any short ends except the long tail.
- Pinch the rectangle in the center to create the bow pleats (pinching widthwise). Wrap the long tail tightly several times around the middle to secure the pleats, then run the tail through the back with a yarn needle and tie a knot or weave it in on the reverse side. Trim the tail.
- Optional: Slide a small piece of cardboard inside to keep a crisp center shape, or add a felt backing for sturdiness.
Finishing & Variations:
- Sew onto a hair clip, headband, or use as a decorative applique.
- For a floppy bow, use a lighter yarn like DK with a larger hook. For a firm bow, use worsted with smaller hook or add interfacing/felt.
Tips:
- If the center wrap looks uneven, wrap a scrap of matching yarn around first to get tight pleats, then cover with a decorative band.
- Make two rectangles and stack them offset for a layered bow.
2. Crochet Floral Bow Tutorial
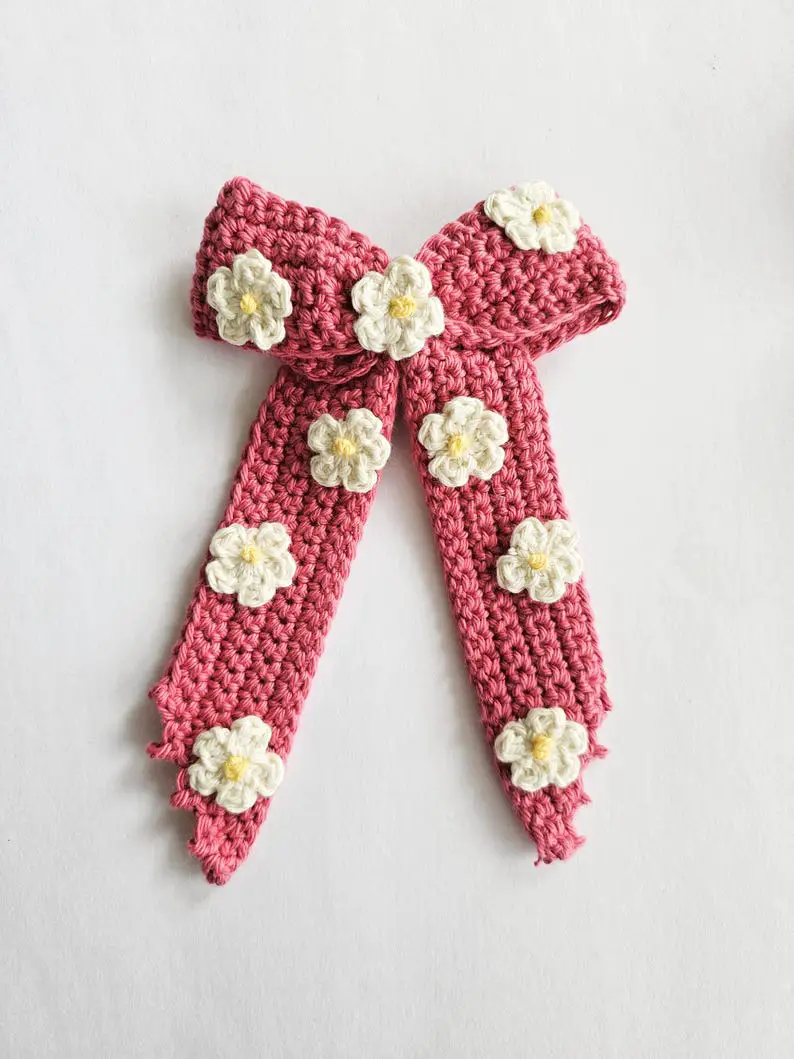
Skill level: Advanced-beginner — requires basic shaping and a small motif.
Materials:
- Sport or DK weight yarn for bow body (≈ 25 yards)
- Contrasting small scrap of fingering weight or embroidery thread for the flower
- Hook: 3.5–4.0 mm for bow; 2.5–3.0 mm for flower
- Tapestry needle, scissors, optional button bead for center
Instructions (bow body):
- Ch 25. Row 1: Sc in 2nd ch from hook and across (24 sc). Turn.
- Rows 2–5: Ch 1, sc across. Turn. (Adjust height to your taste.)
- Fasten off leaving a 12–14″ tail for gathering the center.
Flower motif (small 5-petal flower):
- With contrasting thread, make a magic ring. Ch 1.
- Round 1: Ch 2, 3 double crochets (dc) into ring, ch 2, slip stitch (sl st) into ring — repeat 5 times to make 5 petals. Pull ring tight and sl st to secure. Fasten off leaving a tail for sewing.
- Flatten the flower and stitch the center to the bow’s front where the center wrap will be.
Assemble:
- Gather the bow rectangle tightly in the center and wrap with the long tail to secure. Before finishing, sew the flower over the gathered area so it covers the wrap. Add a bead or button in the flower center for polish.
Finishing & Variations:
- Make the flower larger (use thicker thread or more petals) for a more statement look.
- Use multiple tiny flowers for a clustered look.
Tips:
- Use a small fabric glue dot to hold the flower while stitching to avoid it slipping.
- If you want a vintage look, use linen or cotton yarn and a wooden button.
3. Candy Corn Bow Crochet Pattern
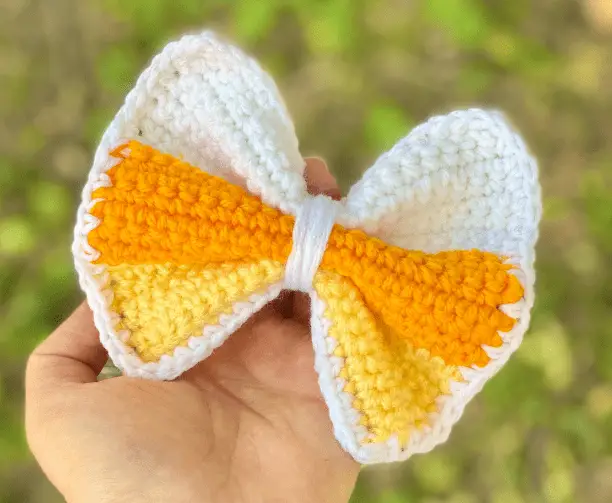
Skill level: Beginner–intermediate — color changes required.
Materials:
- Three colors of worsted weight yarn: white, orange, and yellow (small scraps of each)
- Hook: 4.0 mm (G/6)
- Yarn needle, scissors
Instructions:
- Hold yarn as Color A (yellow). Ch 15. Row 1: Sc across (14 sc). Turn.
- Rows 2–3: Ch 1, sc across with Color A to create the yellow base (2 rows). Fasten off, weave in ends on the wrong side.
- Join Color B (orange) at the next row. Rows 4–6: Ch 1, sc across (3 rows). Fasten off.
- Join Color C (white) for the tip. Rows 7–8: Ch 1, sc across (2 rows). Fasten off leaving a 12″ tail for wrapping.
- Press or block lightly to square edges. Pinch in the middle and wrap with tail to create the bow shape. Secure and weave in ends.
Finishing & Variations:
- Make a set of three candy-corn bows in different sizes and stitch them together for a garland.
- Use festive orange ribbon as the center wrap instead of yarn.
Tips:
- To make clean color changes: join new color in the last loop of the final stitch of previous color to avoid a visible jog.
- Keep tension even across color changes to prevent rippling.
4. Ribbon Bow for Gifting Crochet Tutorial
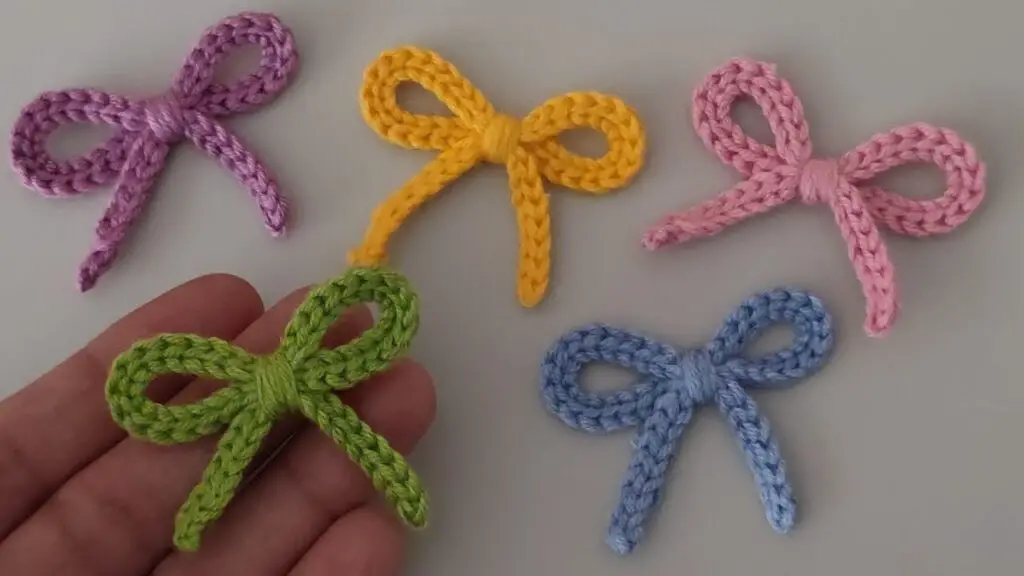
Skill level: Intermediate — neater finish and optional added ribbon.
Materials:
- Smooth worsted or cotton yarn (for clean look) — small amount
- Crochet hook: 4.0 mm (G/6)
- Satin ribbon (⅜”–¾”) about 12–18″ for tying the center (or crocheted band)
- Yarn needle, scissors
Instructions (crochet bow base):
- Ch 30. Row 1: Sc in 2nd ch from hook and across (29 sc). Turn.
- Rows 2–4: Ch 1, sc across. Turn. (Longer rectangle for fuller loops.)
- Fasten off leaving a long tail for wrapping. Fold the rectangle in half widthwise and use the tail to create a tight center wrap. Tie off on the back and weave in end.
Ribbon finishing:
- Thread satin ribbon under the center wrap and tie a neat bow on top (or tie a small bow and stitch it to the crocheted base).
- Trim ribbon ends into angles for a professional finish.
Finishing & Variations:
- Sew the crocheted bow to a small gift box lid with a few hidden stitches to keep it from sliding.
- Make a double-looped bow by making two rectangles and stitching them in an X shape before wrapping the center.
Tips:
- Use a non-slip knot or dab of fabric glue under the ribbon bow to prevent movement.
- For a polished gift look, trim ribbon ends at an angle and lightly singe synthetic ribbon tips to prevent fraying (careful — do this over a flame and away from yarn).
5. Loveland Lace Bow Crochet Pattern
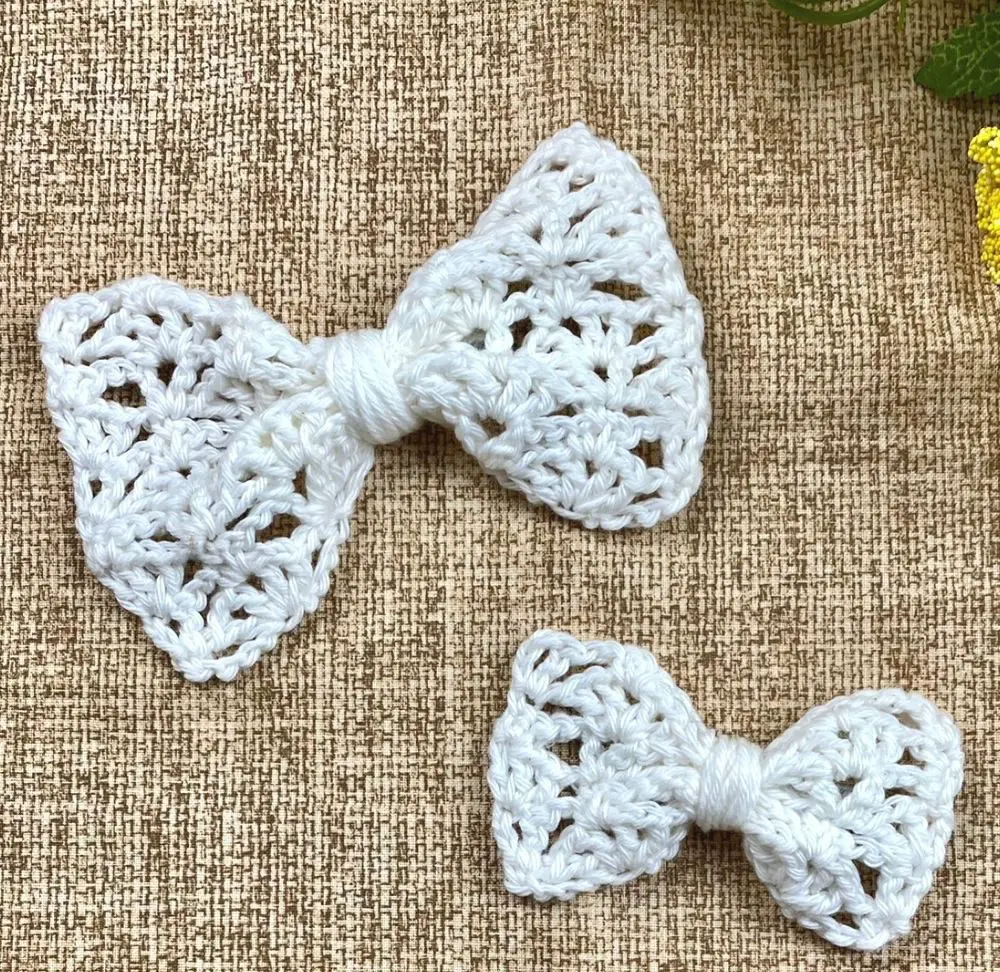
Skill level: Intermediate — uses lace stitches and small hooks.
Materials:
- Fingering or light sport weight yarn for delicate lace (≈ 30–40 yards)
- Crochet hook: 2.5–3.5 mm depending on yarn
- Yarn needle, optional small wire for shaping
Stitches used: ch, sc, double crochet (dc), chain spaces (ch-sp)
Instructions (lace rectangle):
- Ch 33. Row 1: Sc in 2nd ch from hook, ch 2, skip 2 ch, sc in next ch across — this creates chain-space lace base. Turn.
- Row 2: Ch 3 (counts as dc), dc in next sc, ch 2, dc in next sc across. Turn.
- Row 3: Ch 1, sc in first dc, ch 2, sc in next dc across. Turn.
- Repeat Rows 2–3 until you have 6–8 lace rows (or desired height for bow). Fasten off leaving a long tail.
- Block the rectangle gently to open the lace pattern. Pinch the middle and wrap tightly with the tail. Optionally weave a short length of thin wire inside the center bun to allow the bow to be shaped and hold a curve.
Finishing & Variations:
- Pair with a satin ribbon band for contrast.
- Use a small bead cluster in the center for vintage charm.
Tips:
- Blocking is key for lace — it opens up the pattern and makes the bow look delicate and intentional.
- Use matching thread to wrap center neatly; small stitches will be less visible on lace.
6. Long Tail Crochet Bow Tutorial
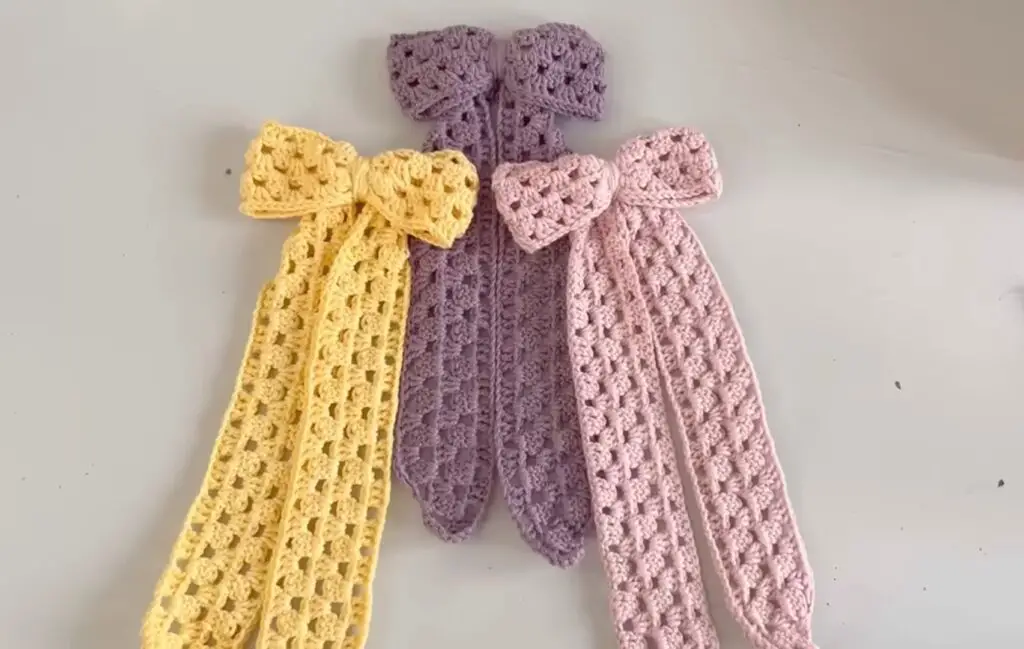
Skill level: Beginner–intermediate — this style has longer tails that drape.
Materials:
- Worsted weight yarn, about 30–40 yards
- Hook: 4.0 mm (G/6)
- Yarn needle, optional hair elastic or barrette base
Instructions:
- Chain 15. Row 1: Sc in 2nd ch from hook and across (14 sc). Turn.
- Rows 2–8: Ch 1, sc across (7 rows) — longer height so bow has fullness. Fasten off leaving a 20–24″ tail on each short end (or make tails separately).
- Fold rectangle in the center and wrap tightly with a separate 6–8″ length of yarn to make the gathered bow center. Secure and weave in the wrap ends on the back.
- For long tails: either leave the long attached tails and braid/twist them loosely, or attach two long strips crocheted separately (ch 40, sc across, fasten off) and sew to back center to create flowing tails.
Finishing & Variations:
- Tie the long tails into a knot or leave flowing for a romantic look.
- Add thin ribbon piping down the tails for contrast.
Tips:
- If you want especially graceful drape, use a yarn with good drape (alpaca blend, cotton).
- Curl ends lightly by crocheting a short shell along the tail edge (sc, 3 dc in one stitch pattern) for decorative trim.
7. Crochet Simple 3D Bow Pattern
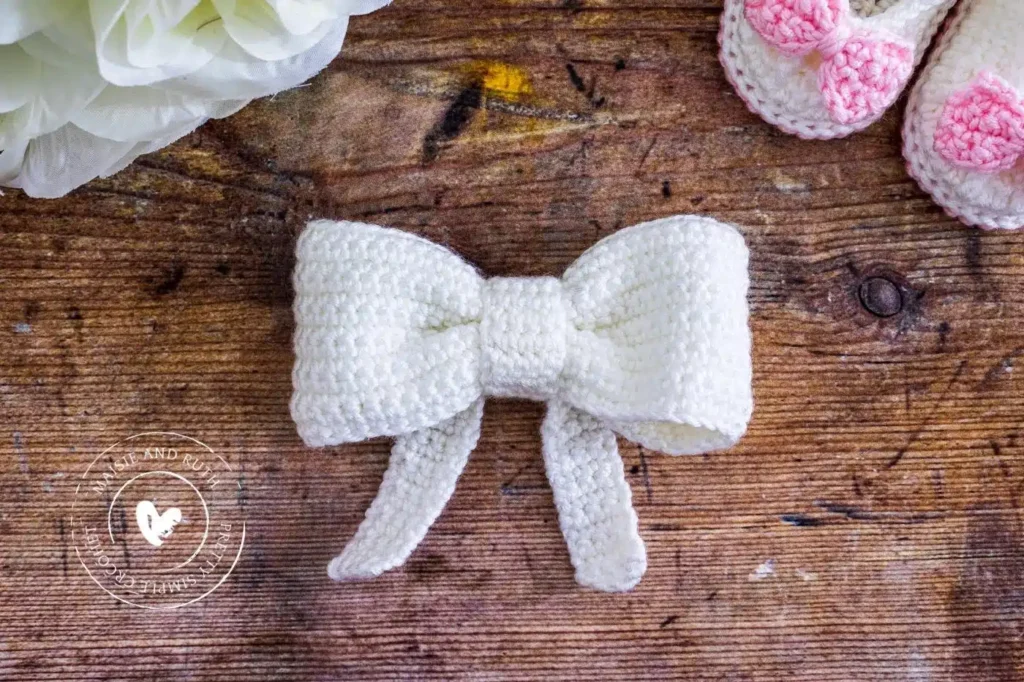
Skill level: Intermediate — shaping to create pronounced loops.
Materials:
- Medium-weight yarn (worsted) — small amount
- Hook: 4.0–4.5 mm
- Yarn needle, stitch markers (optional)
Instructions (create two loops and a center band):
- Make Loop A: Ch 16. Row 1: Sc in 2nd ch from hook and across (15 sc). Turn. Rows 2–6: Ch 1, sc across. Fasten off leaving 8–10″ tail.
- Make Loop B (same as Loop A) to match. You now have two small rectangles.
- To assemble 3D shape: Lay Loop A and Loop B one on top of the other, offset slightly so that when pinched the loops puff. Pinch both in the middle (like clasping a bow). Wrap the longer tail around the center several times for security. Knot and hide ends.
- For extra 3D effect, fold each rectangle lengthwise before wrapping to make thicker loops, or sew a running stitch across the long side and pull to create a gathered loop before wrapping the center.
Finishing & Variations:
- Stuff each loop lightly with polyester fiberfill for an ultra-puffy 3D bow (use a small opening left before final wrap).
- Use velvet yarn for a luxurious plush bow.
Tips:
- Keep tension slightly loose when making loops so they puff easily. If loops look flat, steam-block lightly (if yarn allows) or add a tiny bit of stuffing.
- Use a clear bead or decorative coin in the center for stability and a focal point.
8. Easy Crochet Fishnet Bow Tutorial
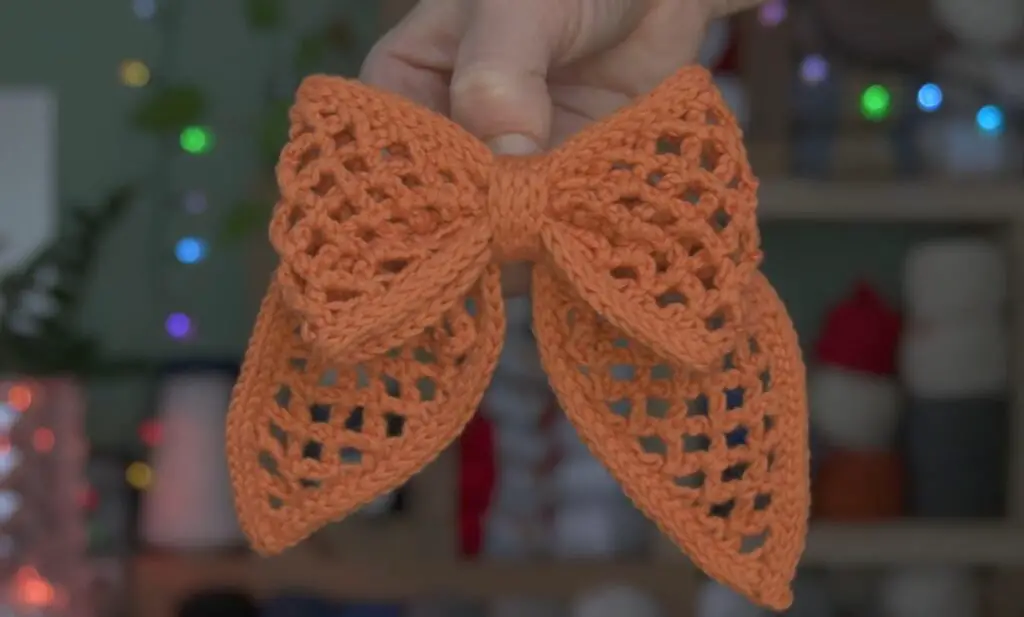
Skill level: Intermediate — uses mesh/fishnet stitches for texture.
Materials:
- Sport or DK weight yarn for airy mesh (≈ 25 yards)
- Crochet hook: 3.5–4.0 mm
- Yarn needle, optional small button for center
Stitches used: ch, sc, chains spaces (ch-sp)
Instructions:
- Ch 29. Row 1: Sc in 2nd ch from hook, ch 3, skip 3 ch, sc in next ch repeat across (creates openwork). End with sc. Turn.
- Row 2: Ch 1, sc in first sc, ch 3, sc in next sc repeat across. Turn.
- Repeat Row 2 until your rectangle is 6–8 rows high, depending on desired bow height. Fasten off leaving long tail.
- Gently block to open mesh if desired. Pinch in the center and wrap tightly with tail to gather. Sew a small contrasting button or crochet a tiny rosette for the center.
Finishing & Variations:
- Use a metallic or glitter thread for a party-ready bow.
- Make a double-layer bow by placing a solid rectangle behind the mesh for contrast.
Tips:
- Because mesh is light, keep the center wrap tight so the bow retains shape.
- If you want more structure, back the mesh with felt or a thin interfacing strip.
Conclusion
Bows are endlessly adaptable — a simple rectangle becomes a polished accessory with a few pleats and a tidy center wrap, and small changes (yarn weight, stitch choice, added motifs) transform the mood from playful to elegant. These eight patterns give you a range of looks: from the quick beginner-friendly decorative bow to delicate lace and 3D statement bows. Try mixing techniques — a lace bow with a candy-corn color palette, or a fishnet overlay on a solid backing — and you’ll quickly discover your favorite go-to bow for gifts, hair, décor, or product accents.


