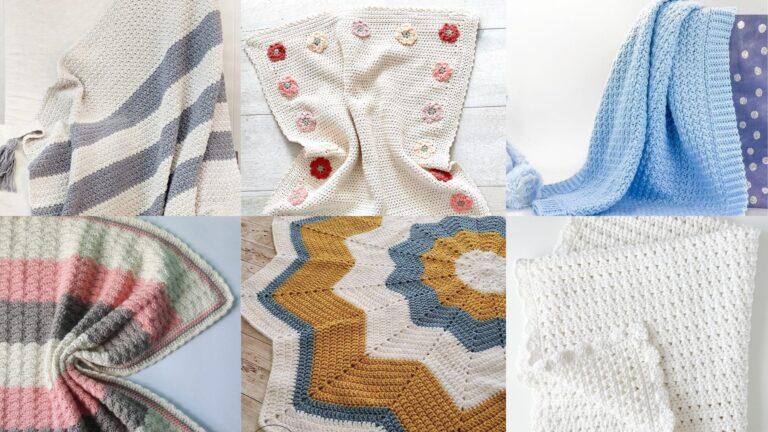
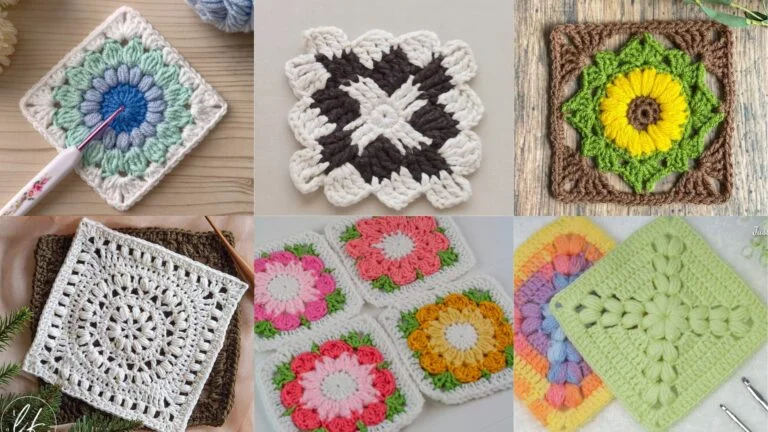
Handmade coasters are a tiny DIY that makes a big difference — they protect surfaces, add texture, and are one of the fastest projects to show off macramé’s lovely knots. Below are five fresh coaster patterns (including hybrid crochet + macramé versions) with clear Skill level, Materials, detailed Step-by-step instructions, Variations, and Final tips so you can make coasters that match any décor.
Quick notes (applies to all patterns)
- Target finished coaster diameter ≈ 4–4.5″ (10–11.5 cm) unless noted.
- When counting cord lengths, add about 25–40 cm extra per cord for working space; for bulky cord add more. If you want exact cut lists for a specific size, tell me the cord thickness and I’ll calculate.
- Helpful knots used: Lark’s head, Square knot (SK), Half knot / Spiral, Double half hitch (DHH), Overhand, and the Turk’s Head (explained in that pattern).
- Tools: tape measure, sharp scissors, clipboard or macramé board with pins, optional crochet hook (hybrid projects).
1. Crochet + Macramé Coaster Pattern
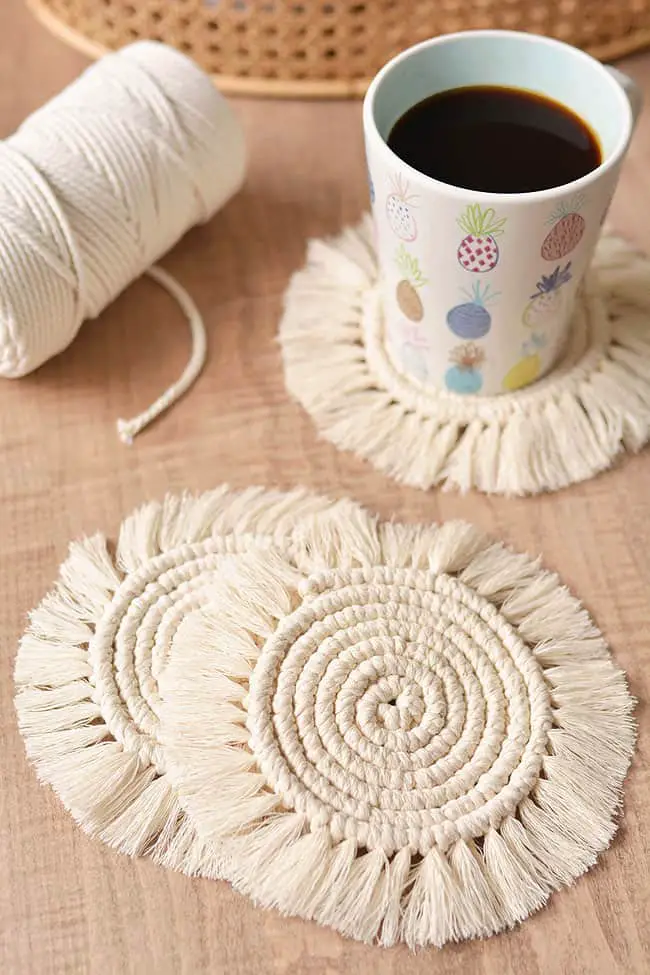
(A hybrid coaster: crochet base for absorbency + macramé decorative border)
Skill level: Beginner → Intermediate
Materials
- Cotton worsted yarn (for crochet base) — small amount (≈25–40 yds)
- Macramé cord 1–2 mm (cotton cord or waxed cord) — ~3–4 m total for border/loops
- Crochet hook appropriate to yarn (4.0 mm)
- Tapestry needle, scissors, blocking pins
Step-by-step
Make the crochet base (flat, absorbent center)
- Magic ring, ch 1. Rnd 1: 8 sc into ring, pull tight; sl st to join. (8 sc)
- Rnd 2: ch 1, inc in next st (2 sc in same st), sc in next st — repeat around. (12 sc)
- Rnd 3: ch 1, inc, sc in next 2 — repeat around. (16 sc)
- Continue increasing rounds (inc then sc in n sts) until diameter ≈ 4″. For worsted yarn and 4.0 mm hook, about 5–6 rounds total is typical. Finish off and weave ends; lightly block the piece flat.
Add macramé border (decorative finishing & anti-slip grip)
5. Cut eight 30–40 cm macramé cords. Fold each in half and attach around the outer edge using lark’s head through the outermost crochet stitches — place cords evenly (8–12 attachment points). Secure the crochet piece to a board with pins so it stays flat.
6. Work a row of square knots around: take pairs of adjacent cords and tie flat square knots across, forming a continuous band. For a narrower border, do one row; for textured fringe, repeat 2–3 rows.
7. Finish with a trim: either clip the tail ends to a short fringe and shape, or tie a round of double half hitch (DHH) around the top of the square-knot band to lock everything in place, then trim evenly.
8. Block lightly and trim any stray yarn or cord.
Variations
- Use a cotton cord border for a soft farmhouse look or a waxed cord for a more modern, crisp edge.
- Replace square knots with alternating spiral half knots for a twisted rope border.
- Add 1–2 wooden beads into the square-knot row for natural accents.
Final tips
- Anchor the crochet base with pins while knotting so the border sits flush.
- Use the same color family for a cohesive look — contrasting cord gives a bold, graphic edge.
2. Square Macramé Coaster Tutorial
youtube.com/@lohos.handmade
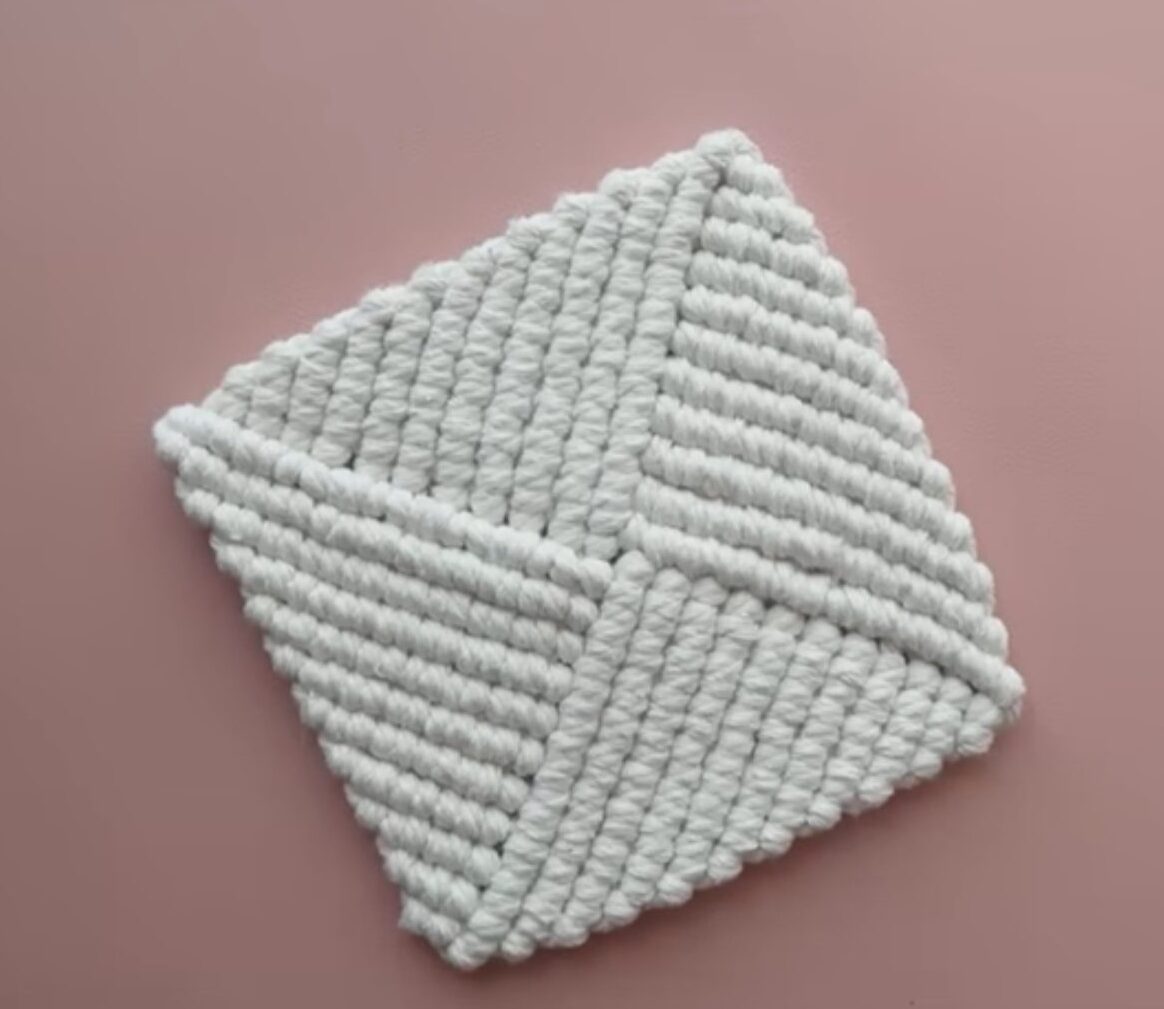
(Crisp geometric coaster made entirely in cord)
Skill level: Beginner → Intermediate
Materials
- 4 mm cotton macramé cord (or two thicknesses for contrast), ~6–8 m total
- Clipboard / macramé board, pins, ruler, scissors
Step-by-step
Prepare the core
- Cut 8 cords at 60 cm each. Fold each in half and secure their loops to a center ring or tape the folded ends to the board spaced in a square pattern (this creates 16 working ends). Spread cords so they form four sides.
Forming square body
2. Create a square frame using double half hitch (DHH) rows: choose an anchor cord running along the edge and wrap adjacent cords with DHHs to build a solid edge — work across one side until its width ≈ 4″. Rotate and repeat for each side to form a boxy square.
3. Fill the interior with decorative macramé: use alternating square knots arranged in a 4×4 grid. To do that, group cords into fours, tie a square knot; skip one group, then make another, forming a mesh. Repeat rows until the interior is filled.
4. Neaten edges by adding a final row of DHHs or by binding with an overhand wrap under the bottom layer. Trim cord tails to 1–1.5 cm or leave a short fringe and comb out for texture.
Variations
- Create a concentric square effect by working narrower DHH borders inside the square.
- Make coasters in two-tone by swapping anchor cords and working DHHs in a contrasting color for the frame.
Final tips
- Use a macramé board and pins to keep edges square and tension even — it makes the grid neat.
- For drink protection, keep cords tight and close the mesh so liquids don’t travel through quickly — cotton is best.
3. Crochet Macramé Heart Coaster Pattern
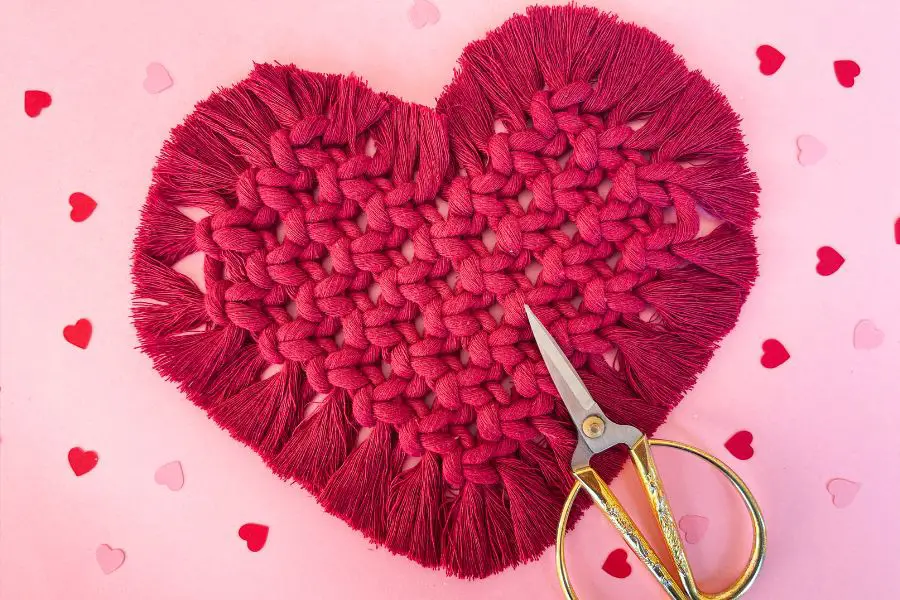
(Cute heart coaster with crochet center + macramé heart-shaped edging)
Skill level: Beginner
Materials
- Cotton yarn for heart center (worsted)
- Thin macramé cord 1–1.5 mm for decorative heart edging (~2–3 m)
- Crochet hook 4.0 mm, tapestry needle, pins
Step-by-step
Crochet heart center
- MR, ch 2, work 6 hdc into ring; pull tight and join (6).
- Row 2: ch 2, 2 hdc in first st, hdc in next 2, 2 hdc in next st, hdc in next 2 — shape begins. (approx 10–12 sts; adjust by stitch count to get heart width).
- Work a round of shells along the top lobes: shell (5 dc) in top stitches to make two lobes. Finish and weave in ends; block into heart shape.
Macramé heart edging
4. Pin crochet heart on board. Cut 6 cords of macramé cord at 40 cm each. Attach across the heart top edge with lark’s head and follow the heart contour.
5. Use DHH to form a continuous outline following the heart shape: choose a border cord as anchor and wrap successive cords around it, moving around the heart to create a woven rope outline.
6. At the bottom point, make a small square-knot cluster to reinforce the point and form a decorative tassel or small loop if you want to hang the coaster. Trim neatly.
Variations
- Use colored cord to outline the heart in contrast to the crochet center.
- Make a mini set of hearts for holiday place settings.
Final tips
- Pin the crochet heart firmly so the macramé outline sits snug; loose pinning makes the outline uneven.
- Keep the macramé tension consistent to maintain a symmetrical heart.
4. Macramé Turk’s Head Knot Coaster Tutorial
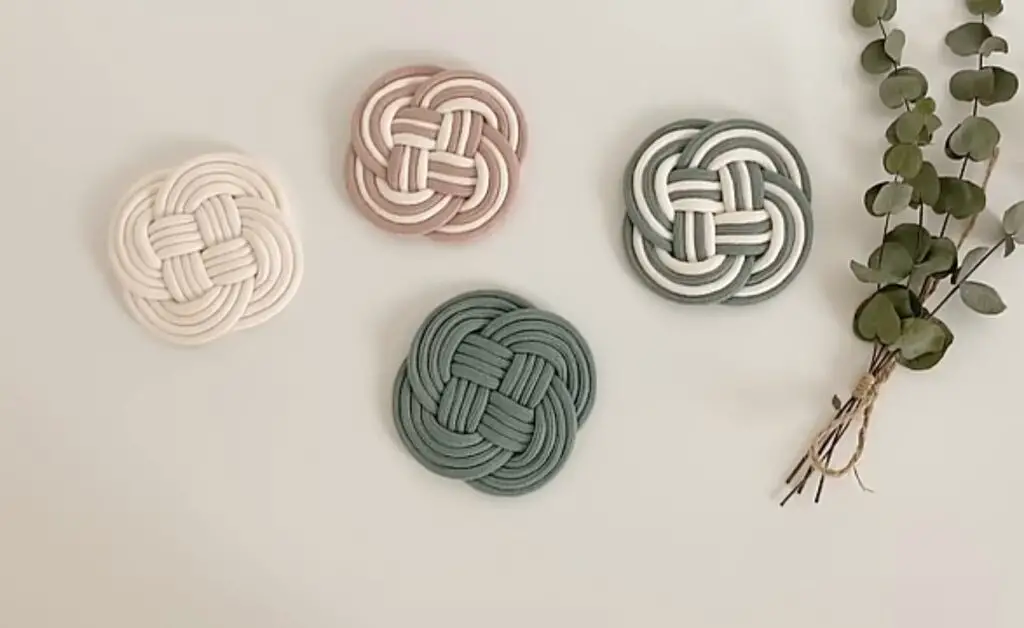
(A show-stopping coaster that uses a braided Turk’s Head knot for texture and grip)
Skill level: Intermediate
Materials
- Smooth cotton or rayon cord 2–3 mm (for clean braids), ~6–10 m depending on size and wraps
- Small foam ring or 3–4 mm thick cardboard circle to serve as temporary template (≈4″ diameter)
- Pins, scissors, tapestry needle
What is a Turk’s Head?
A Turk’s Head is a woven braid knot that creates a thick, rope-like round pattern — perfect as a dense, absorbent coaster.
Step-by-step
Build the base / template
- Use a round template (cardboard or foam) about 4″ diameter. Secure it to your board. We’ll weave cords around this to create the Turk’s Head.
Start the Turk’s Head braid
2. Cut one continuous cord approx 4–6 m (longer for more passes) — you can splice if needed. Anchor one end to the template with tape.
3. Follow a simple Turk’s Head path: wrap the cord around the template in an over-under circular weaving pattern (classic 3-under/3-over braid for a 3-lead Turk’s Head). The knot is formed by laying the cord in a predictable wrapping sequence — start by making three evenly spaced loops around the template, then weave the working end alternately over and under the existing wraps, running parallel to them until you’ve filled the surface. This step is easier to learn by watching a short demo, but written: place three base loops, then follow the path so each new wrap traces the cord path established three wraps earlier (creates the braid).
4. Continue weaving around until the braided disc is dense and thick enough (typical 6–10 passes depending on cord thickness). Tuck the working end under nearby wraps and secure with a few hidden stitches using a tapestry needle. Remove template (if foam, cut away) and flatten the coaster.
Finishing
5. Trim and tuck ends; if you used natural cord, a tiny dab of clear glue at hidden ends stops fraying. Optionally, stitch a backing circle of felt to hide ends and add non-slip grip.
Variations
- Make a double-thick Turk’s Head by adding a second braided layer for heavy-duty coasters.
- Use two contrasting cord colors and alternate wraps to create striped braided patterns.
Final tips
- Turk’s Head requires patience the first time — take it slow and keep loops evenly spaced.
- A small foam template helps tremendously: it maintains shape while you weave.
5. Crochet Hexagon + Macramé Accent Coaster Pattern
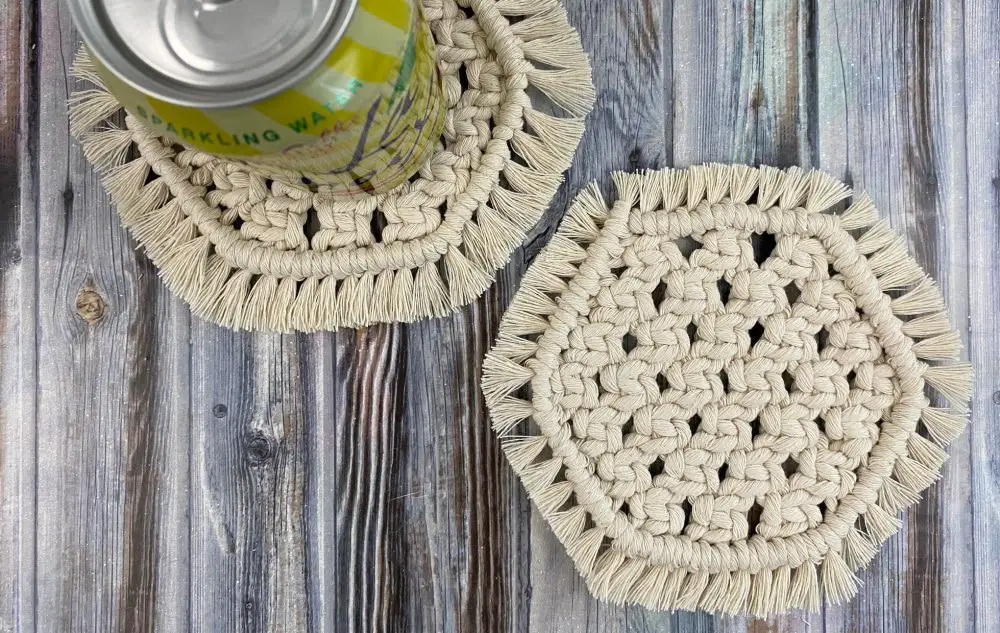
(Hexagon base crocheted, with macramé lacing or halo for modern geometric style)
Skill level: Beginner → Intermediate
Materials
- Cotton yarn for hexagon base (DK or worsted), ~20–30 yds
- Thin macramé cord for halo accents, ~2–3 m
- Crochet hook 4.0 mm, tapestry needle, pins
Step-by-step
Crochet hexagon base
- MR, ch 1. Rnd 1: 6 sc in ring; join. (6)
- Rnd 2: ch 2, (2 dc, ch 1, 2 dc) in next st (forms corner), dc in next 2 sts — repeat around to form six corners. Join.
- Rnd 3: Continue increasing along corners: (2 dc, ch 1, 2 dc) in corner, dc in each side stitch — repeat until hexagon measures ≈ 4–4.5″ across flat. Fasten off and block flat.
Macramé halo (accent lacing)
4. Cut 12 cords 30–40 cm. Fold and attach around hexagon perimeter with lark’s head in each corner and mid-side stitch — aim for 12 attachment points. Pin hexagon.
5. Use double half hitch rows to create a geometric halo: choose an anchor cord that follows hexagon edge and wrap DHHs from cord to cord creating triangular accents pointing inward or outward (make little chevrons that echo the hexagon geometry). Continue around until you have a balanced halo.
6. Finish by trimming macramé ends to a short fringe or by tucking and securing behind the hexagon with hidden stitches. Optionally glue a felt backing.
Variations
- Work the hexagon in color blocks (center one color, sides another) for a modern graphic look.
- Use metallic cord for halo for a luxe accent.
Final tips
- Pin the hexagon during macramé so the halo sits symmetrical.
- A small felt backing makes the coaster more stable and hides knot ends — great if you’ll gift a set.
Conclusion
These five macramé (and hybrid) coaster patterns give you a lot of creative room — from textile-soft crochet centers to rope-dense Turk’s Head braids and crisp macramé squares. Small projects like these are ideal for practicing knot tension, trying new stitches, and producing beautiful, useful items you’ll use every day or gift with pride.


