Crochet coasters are the perfect mix of practicality and charm. Not only do they protect your tables from pesky cup rings, but they also add a cozy, handmade touch to your home. The best part? Coasters are quick projects, making them ideal for beginners and experienced crocheters alike. You can finish one in a single sitting, experiment with colors, and even turn them into thoughtful handmade gifts.
In this guide, we’ll explore 6 crochet coaster patterns, ranging from sweet hearts to vintage-inspired designs. Each pattern includes a skill level, step-by-step instructions, fun variations, and helpful tips to make your coasters come out beautifully. Grab your yarn, hook, and a cup of tea—let’s dive in!
1. Crochet Heart Coaster Pattern
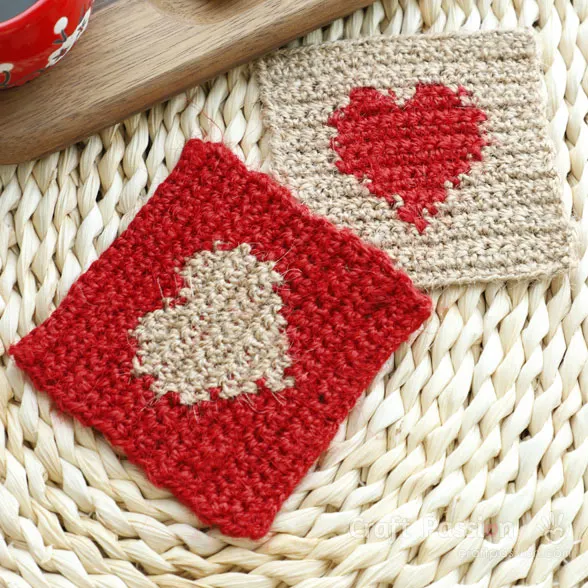
Skill Level: Beginner
Materials Needed:
- Worsted weight cotton yarn (any color you love)
- Crochet hook size H/5.0 mm
- Scissors
- Yarn needle
Step-by-Step Instructions:
- Start with a magic ring and chain 3 (counts as first double crochet).
- Inside the ring, crochet: 3 treble crochets, 3 double crochets, 1 treble crochet, 3 double crochets, 3 treble crochets, and finally 2 double crochets.
- Pull the ring tight to form the base heart shape.
- Slip stitch into the starting chain to close the round.
- To shape the heart more clearly, add a round of single crochet stitches around the edge.
Variations:
- Use variegated yarn to make rainbow hearts.
- Make a set of heart coasters in pastel shades for Valentine’s Day.
- Join multiple hearts together to create a heart-shaped placemat.
Final Tips:
Keep your stitches tight so the coaster lies flat. Cotton yarn works best for durability and easy washing.
2. Flat Circle Crochet Coaster Tutorial
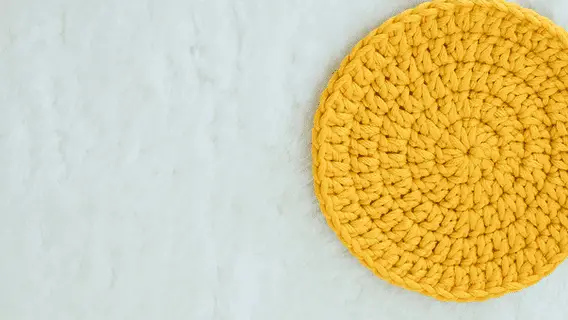
Skill Level: Beginner
Materials Needed:
- Worsted weight cotton yarn
- Crochet hook size G/4.0 mm
- Yarn needle
- Scissors
Step-by-Step Instructions:
- Begin with a magic circle and chain 2.
- Work 10 double crochets into the circle, then pull tight.
- Round 2: Chain 2, work 2 double crochets into each stitch around (20 total).
- Round 3: Chain 2, 1 double crochet in the first stitch, 2 double crochets in the next—repeat around (30 total).
- Round 4: Chain 2, 1 double crochet in the next 2 stitches, 2 double crochets in the next—repeat around (40 total).
- Continue until your coaster reaches your desired size.
Variations:
- Alternate two colors every round for a striped look.
- Add a scalloped edge with single and double crochets for extra flair.
Final Tips:
If your circle starts curling, you’re adding too few stitches; if it’s wavy, you’re adding too many. Adjust as you go.
3. Easy Beginner Crochet Coaster Pattern
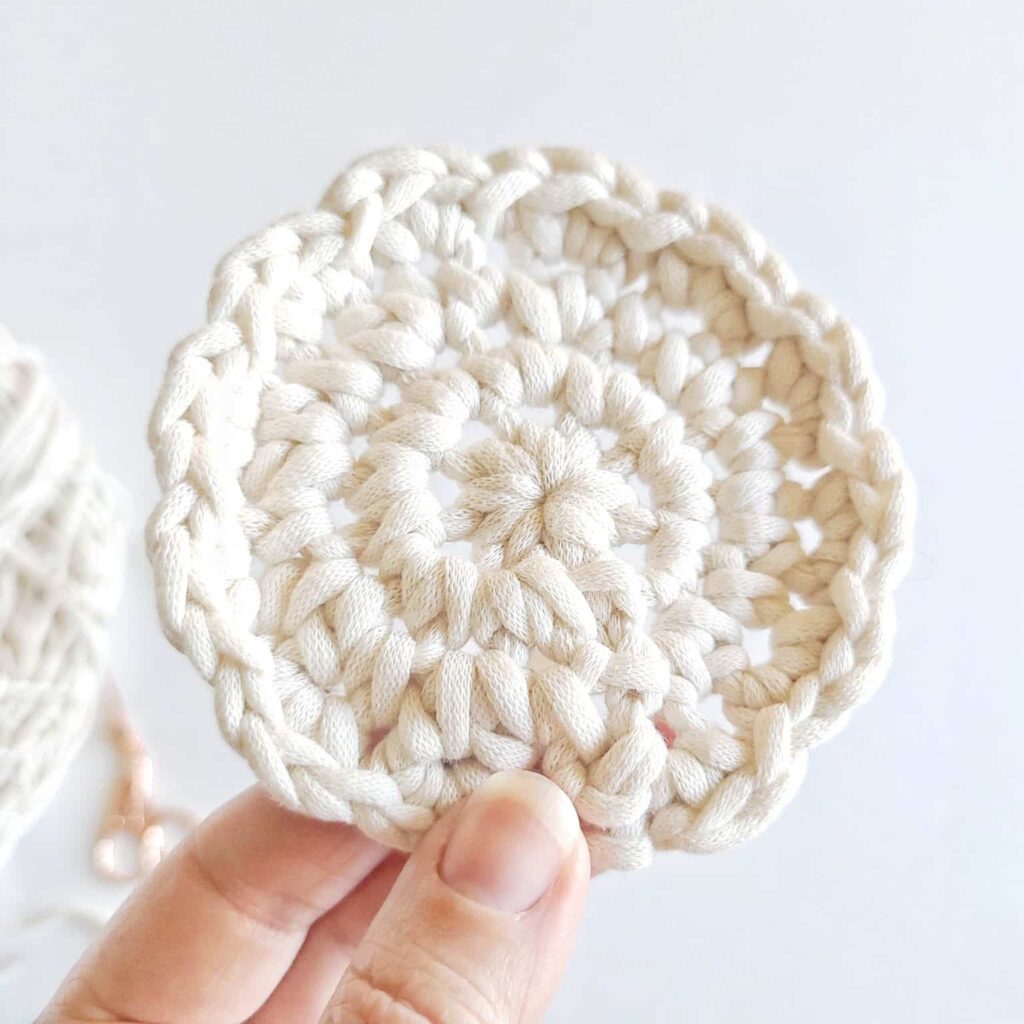
Skill Level: Beginner
Materials Needed:
- Medium weight cotton yarn
- Crochet hook size H/5.0 mm
- Yarn needle
- Scissors
Step-by-Step Instructions:
- Chain 16 (this will be the width of your coaster).
- Row 1: Single crochet into the second chain from the hook and across.
- Row 2–15: Chain 1, turn, single crochet across each row.
- Fasten off and weave in the ends.
- For a neater finish, single crochet evenly around the edges.
Variations:
- Use two colors and alternate every row for a striped rectangle.
- Make larger squares and join them to create matching trivets.
Final Tips:
Block your coasters after finishing to make them perfectly square and even.
4. Crochet 3D Daisy Coaster Tutorial
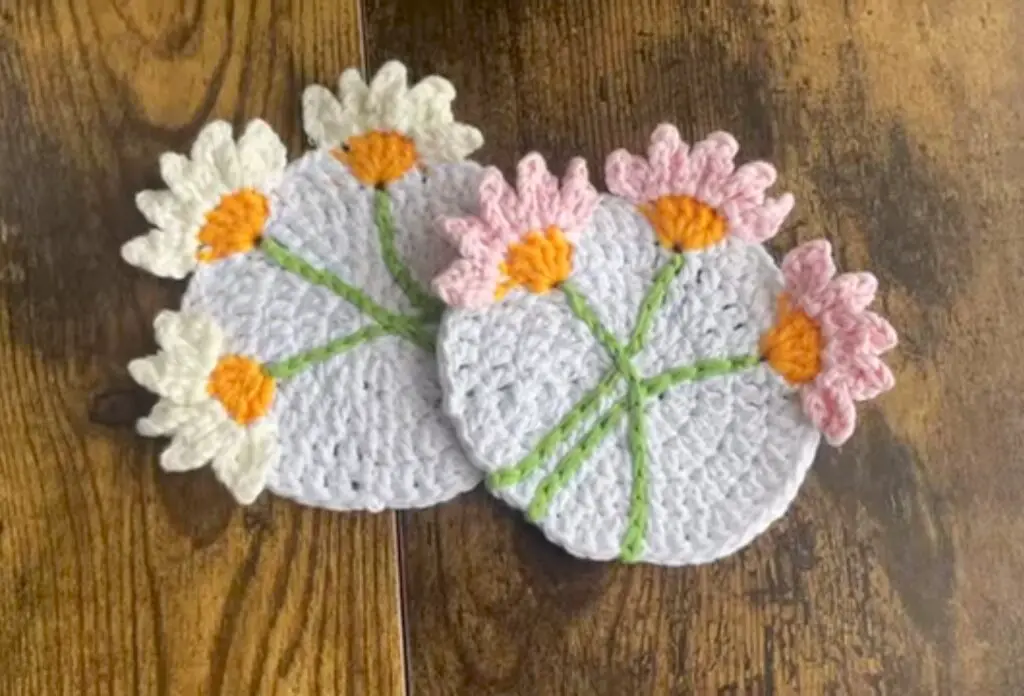
Skill Level: Beginner
Materials Needed:
- White and yellow cotton yarn
- Crochet hook size G/4.0 mm
- Yarn needle
- Scissors
Step-by-Step Instructions:
- With yellow yarn, make a magic circle and chain 2. Work 12 double crochets into the ring and pull tight.
- Switch to white yarn for petals. Chain 6, slip stitch in the next stitch—repeat around to create 12 petals.
- For a 3D effect, add another round of petals behind the first layer by working into the back loops only.
- Fasten off and weave in the ends.
Variations:
- Try different flower colors: pink petals, blue petals, or even rainbow petals.
- Use thicker yarn to create a larger daisy that doubles as a potholder.
Final Tips:
Keep your tension even when making petals so they don’t curl inward.
5. Vintage Crochet Coaster Pattern
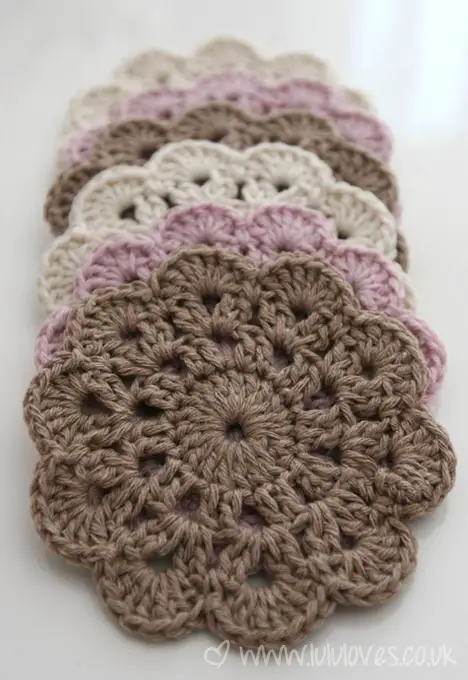
Skill Level: Beginner
Materials Needed:
- Neutral or lace-style cotton yarn
- Crochet hook size 3.5 mm
- Yarn needle
- Scissors
Step-by-Step Instructions:
- Start with a magic circle and work 12 double crochets.
- Round 2: Chain 3, skip a stitch, slip stitch into the next (this creates little gaps).
- Round 3: In each gap, work 3 double crochets to form shells.
- Round 4: Chain 5, slip stitch between shells for a lacy edge.
- Continue rounds until your coaster is the desired size.
Variations:
- Use white thread for a delicate lace look.
- Try earth tones for a rustic farmhouse vibe.
Final Tips:
Block your coasters after finishing to highlight the lace details.
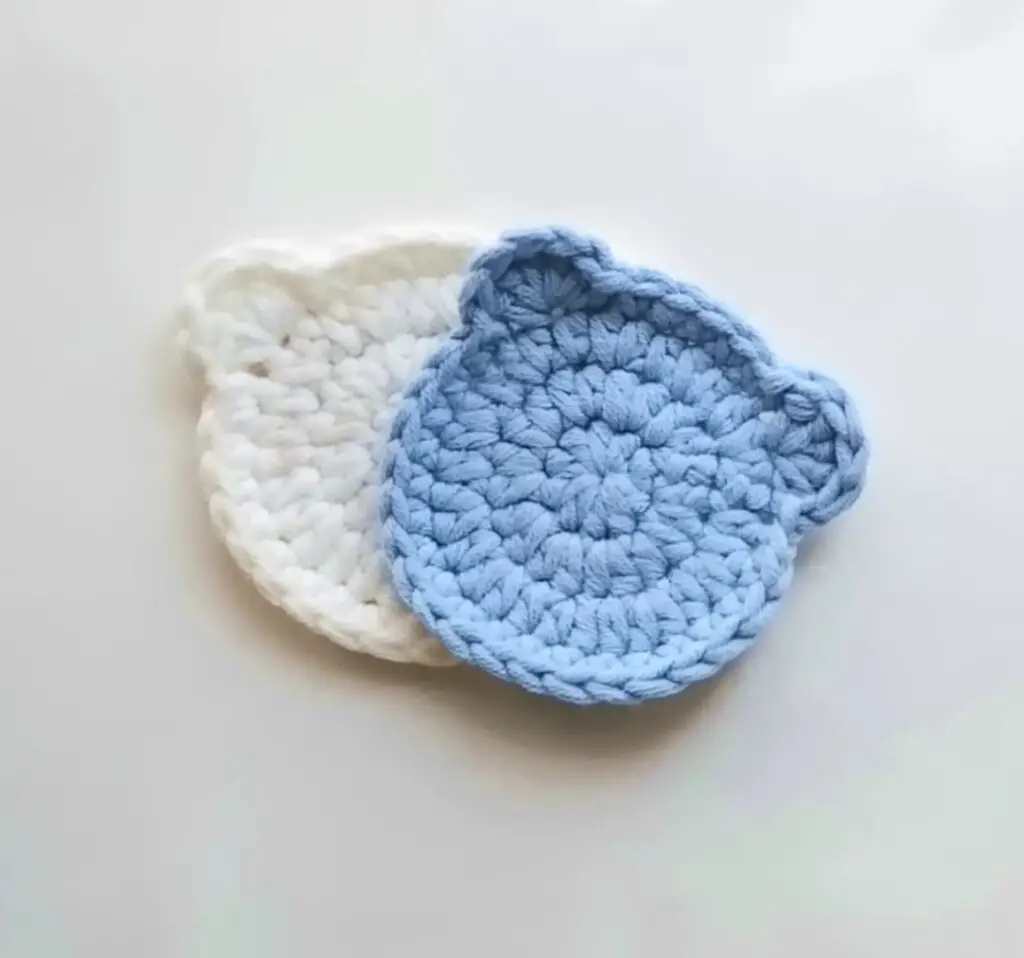
6. Crochet Bear Coaster Tutorial
Skill Level: Beginner
Materials Needed:
- Brown, beige, and black cotton yarn
- Crochet hook size H/5.0 mm
- Yarn needle
- Scissors
Step-by-Step Instructions:
- With brown yarn, make a flat circle base (as in the circle coaster pattern).
- For ears: Chain 3, work 3 double crochets in the same stitch, chain 3, slip stitch down—repeat for the second ear.
- With beige yarn, crochet a small circle for the snout and sew it onto the base.
- Add safety eyes or stitch eyes with black yarn.
- Embroider a nose and smile on the snout.
Variations:
- Try making other animals—cats, pandas, or even bunnies—using the same base.
- Add a bow or flower applique for a cute touch.
Final Tips:
Make sure to weave in ends securely since this coaster will be washed often.
Conclusion
Crochet coasters are a fun, practical, and creative way to bring personality into your home. Whether you’re crafting a sweet heart coaster for a loved one, a vintage lace coaster for timeless elegance, or a playful bear coaster for kids, these patterns are simple yet rewarding. With just a little yarn and time, you can create sets that brighten up your table and make every sip of coffee or tea feel a bit more special.


