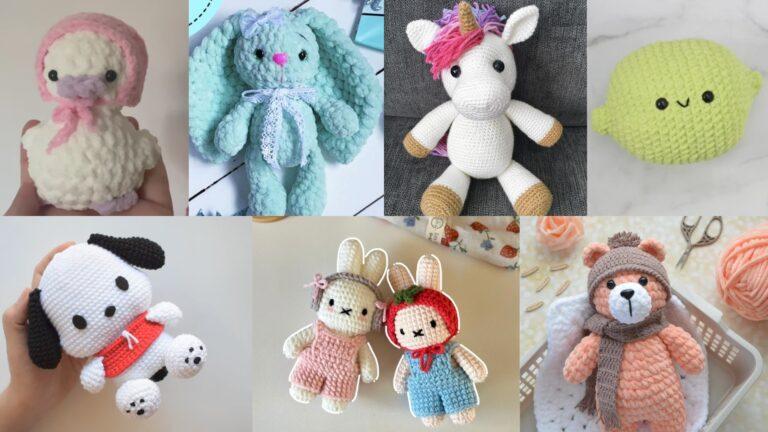
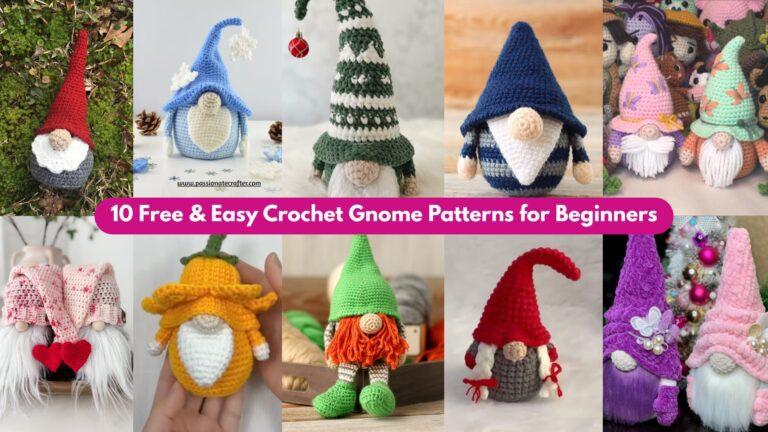
Crochet amigurumi toys are a wonderful way to bring cute, handcrafted characters to life. From tiny animals to playful emoji balls, these toys are not only fun to make but also make fantastic gifts or collectible decor. Working with fine yarns and a small hook gives your toys a neat, professional finish, while simple stitch patterns keep them beginner-friendly. In this post, you’ll find seven charming amigurumi designs with complete materials, stitch methods, step-by-step construction, plus variations and finishing tips so your toys turn out adorable every time.
1. No Sew Crochet Turtle Amigurumi Plush Pattern
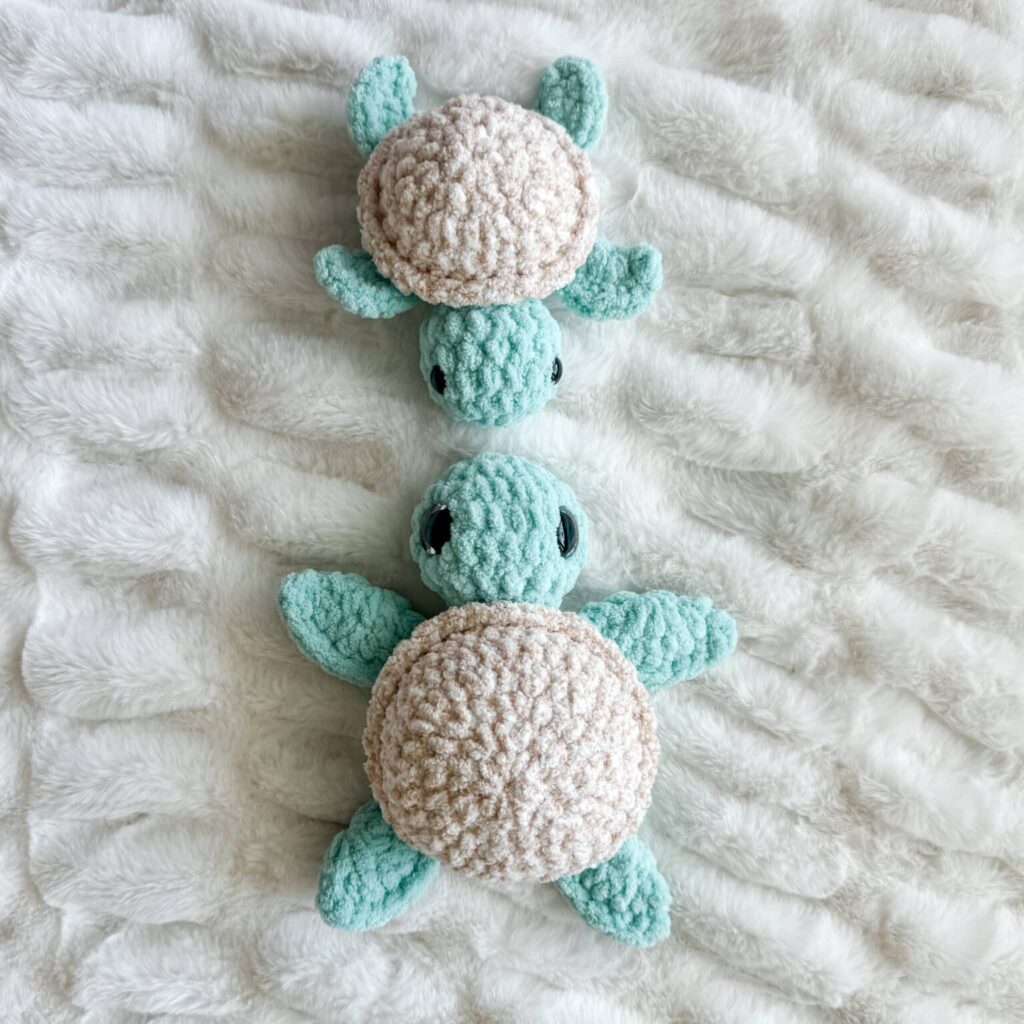
Skill level: Beginner → Intermediate
Finished size: ~10 cm
Materials
- Worsted weight cotton yarn in green, brown, and cream
- Hook 3.5–4 mm
- Safety eyes or black embroidery thread
- Polyester fiberfill
- Tapestry needle
Stitch method
Magic ring → single crochet in rounds → increases and decreases for shaping
Step-by-step
- Shell base: MR, ch 1, 6 sc in ring, pull tight; join.
- Rounds 2–6: Increase evenly each round until base diameter ~5 cm; join.
- Body & head: Use green yarn, work sc rounds with gradual increases for head; attach eyes before closing.
- Limbs & tail: Crochet 4 small legs and a tail using sc in rounds; lightly stuff.
- Attach pieces: Sew limbs and tail to shell with tapestry needle.
Variations
- Add a tiny embroidered smile.
- Use variegated yarn for a playful shell effect.
Finishing & Tips
- Light stuffing keeps limbs flexible.
- Position safety eyes carefully for safe play.
2. Chubby Bunny Crochet Tutorial
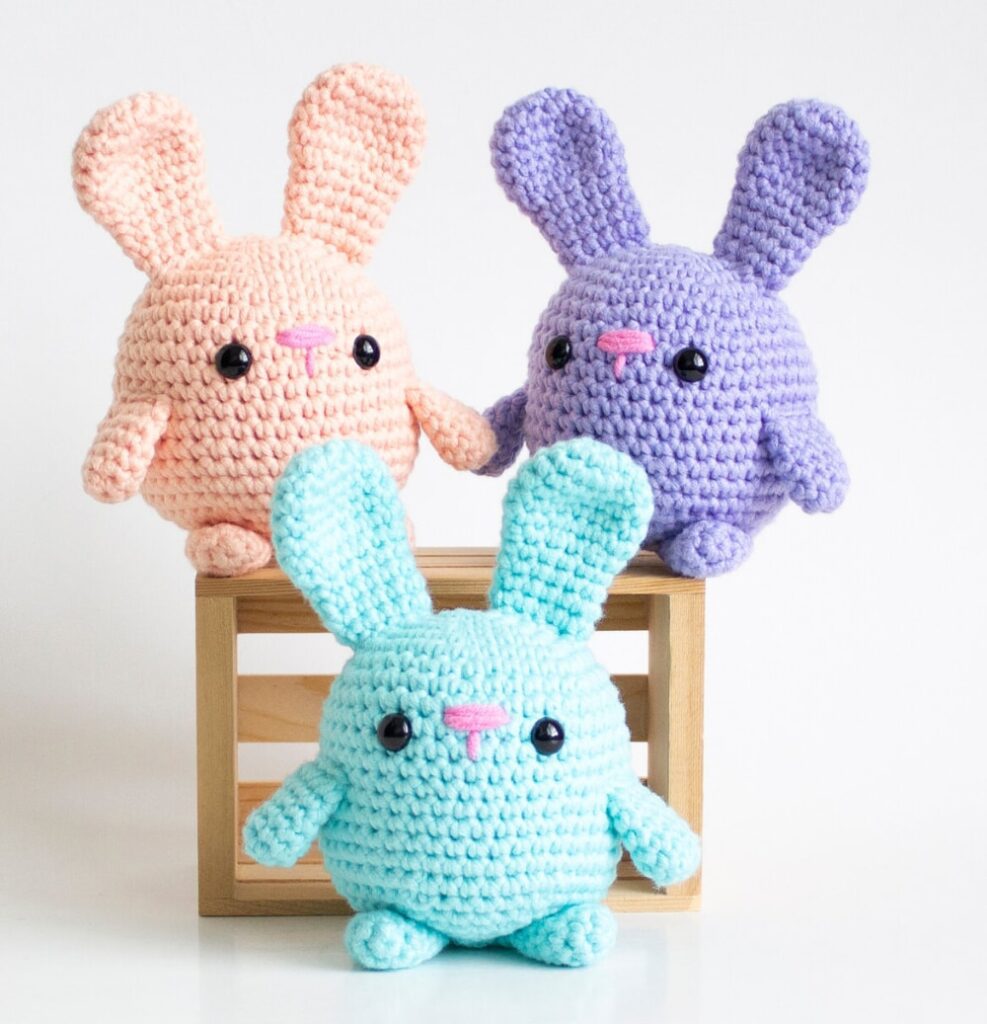
Skill level: Beginner
Finished size: ~12 cm
Materials
- Soft acrylic or cotton yarn in white/pink
- Hook 3.5 mm
- Fiberfill, safety eyes, tapestry needle
Step-by-step
- Body: MR, 6 sc; increase in rounds to form a plump oval; continue sc for length.
- Head: Similar sc oval; lightly stuff.
- Ears: Ch 10, sc back along chain, join to head.
- Arms & legs: Small sc tubes, lightly stuffed.
- Assembly: Attach limbs and ears; embroider nose/mouth.
Variations
- Make mini bunnies for keychains.
- Use pastel shades for Easter-themed toys.
Finishing & Tips
- Slightly flatten base for stability.
- Embroider facial features securely for durability.
3. Leggy Frog Fidget Toy Pattern
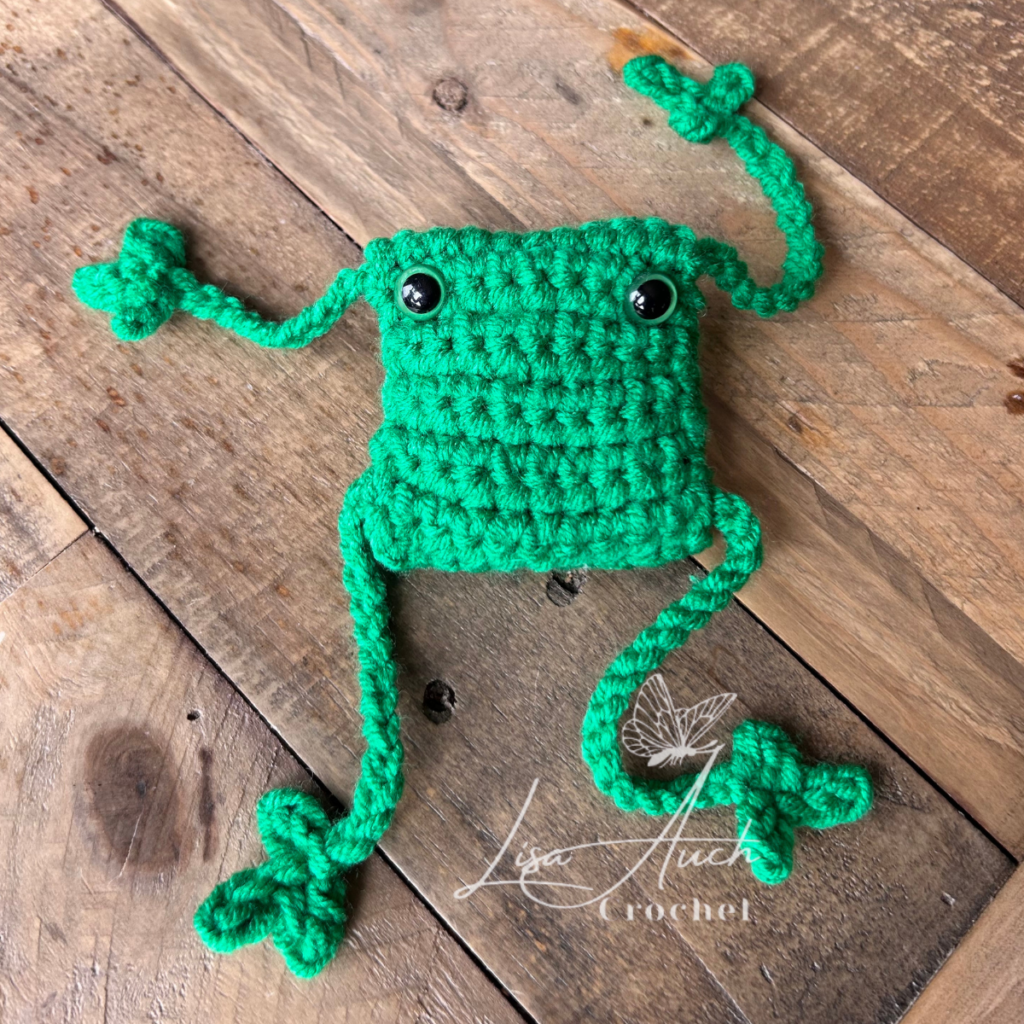
Skill level: Beginner → Intermediate
Finished size: ~15 cm
Materials
- Green and cream yarn, hook 3.5–4 mm
- Safety eyes, fiberfill, tapestry needle
Step-by-step
- Body: MR, 6 sc; increase rounds to create oval body; stuff.
- Head: Separate sc rounds, attach safety eyes before closing.
- Legs: Work 4 long, thin tubes using sc; add small webbing with chains.
- Assembly: Sew legs to body corners.
Variations
- Add a tiny red tongue using felt.
- Make “squishy” version with slightly firmer stuffing for stress relief.
Finishing & Tips
- Position limbs evenly for balanced look.
- Use tighter stitches for a smooth, firm finish.
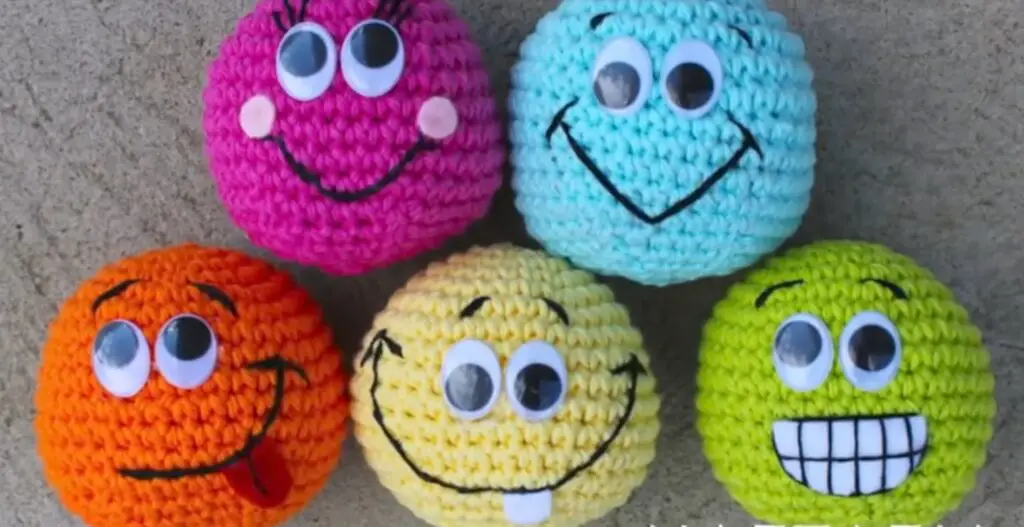
4. Crochet Emoji Ball Tutorial
Skill level: Beginner
Finished size: 8–10 cm
Materials
- Yellow yarn for face, black and red for details
- Hook 3.5 mm
- Fiberfill, tapestry needle
Step-by-step
- Base: MR, 6 sc; increase each round to form a sphere ~10 cm diameter; stuff as you go.
- Facial features: Use surface embroidery for eyes, mouth, and blush marks.
- Finish: Ensure stitches are tight to hold stuffing securely.
Variations
- Make multiple emoji expressions for a fun set.
- Add tiny loops to convert into keychains.
Finishing & Tips
- Embroider features carefully for symmetry.
- Stuff lightly for plush, squeezable ball.
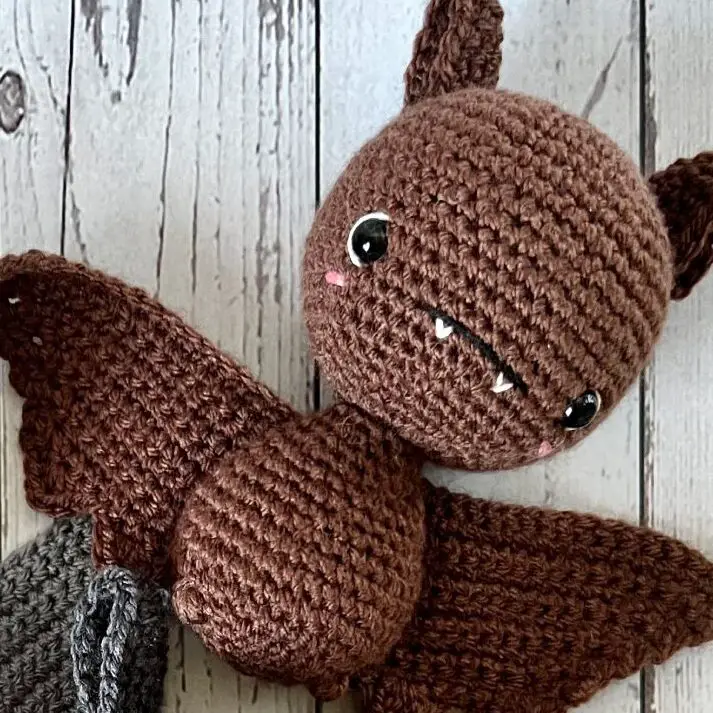
5. Crochet Bat Amigurumi Pattern
Skill level: Intermediate
Finished size: ~15 cm wingspan
Materials
- Black or dark gray yarn, hook 3.5–4 mm
- Safety eyes, fiberfill, tapestry needle
Step-by-step
- Body: MR, sc in rounds, increasing for base; stuff lightly.
- Head: Smaller MR oval; attach eyes before closing.
- Wings: Flat sc fan shapes; attach to body sides.
- Legs & ears: Small sc tubes; attach securely.
Variations
- Add tiny embroidered fangs.
- Mini version for charms or Halloween décor.
Finishing & Tips
- Block wings lightly for a natural spread.
- Reinforce wing attachments for durability.
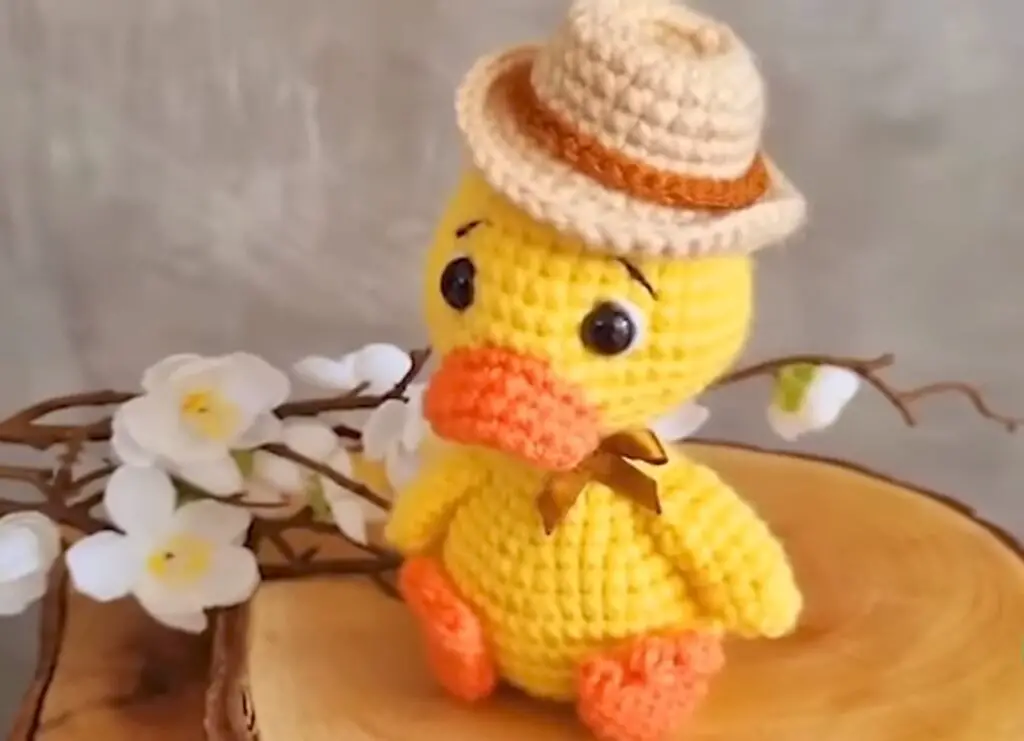
6. Amigurumi Crochet Duck with a Hat Tutorial
Skill level: Beginner → Intermediate
Finished size: ~12–14 cm
Materials
- Yellow, orange, and optional hat color yarn
- Hook 3.5 mm
- Fiberfill, safety eyes, tapestry needle
Step-by-step
- Body: MR, sc in rounds, increasing for oval shape; stuff.
- Head: Smaller oval; attach eyes.
- Beak & legs: Small orange sc tubes; attach.
- Hat: Ch chain to fit head, work sc in rounds for mini cap; attach.
Variations
- Make winter hat in contrasting color.
- Add tiny scarf for extra cuteness.
Finishing & Tips
- Securely stitch small pieces.
- Keep stuffing moderate for soft, huggable feel.
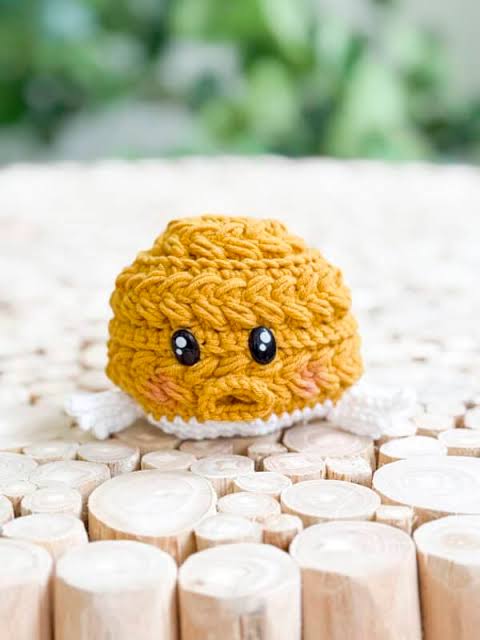
7. Pufferfish Amigurumi Crochet Pattern
Skill level: Intermediate
Finished size: ~10–12 cm
Materials
- Orange, white, and black yarn
- Hook 3.5 mm, fiberfill, safety eyes, tapestry needle
Step-by-step
- Body: MR, sc in rounds with increases to form sphere; stuff firmly.
- Spikes: Ch 2–3, sc in next st; repeat over body for spikes.
- Fins & tail: Flat sc shapes; attach.
- Face: Embroider or attach safety eyes; add tiny smile with black yarn.
Variations
- Make tiny keychain version.
- Use glitter thread for underwater sparkle.
Finishing & Tips
- Space spikes evenly for uniform look.
- Stuff firmly to maintain shape but leave slightly soft for squish factor.
Conclusion
Crochet amigurumi toys are a perfect weekend project, combining creativity, handcrafting, and charm in small, satisfying shapes. Whether it’s a tiny turtle, a chubby bunny, or a playful emoji ball, these designs allow you to experiment with color, stitch technique, and small embellishments. Begin with simple forms like the emoji ball or granny square-inspired toys, then gradually explore detailed patterns like the pufferfish or bat.
Pro tips: keep stitch tension consistent, stuff evenly, and secure small pieces carefully. Experiment with mini versions or add accessories to personalize your toys. These amigurumi creations make perfect gifts, decorations, or stress-relief fidgets, and every completed piece is a delightful testament to your crochet skills.
Bring your favorite pattern to life this weekend and watch these little characters brighten your home and heart!


