Bucket hats are the ultimate blend of function and fashion—perfect for sunny days, festival vibes, or just a chic accessory. Whether you’re a confident crocheter or still mastering your stitches, these six weekend‐friendly bucket hat patterns offer everything from playful florals to classic granny stitch. Each tutorial includes Skill Level, Materials, Instructions, and Tips so you can create your next favorite hat in no time. Let’s get stitching!
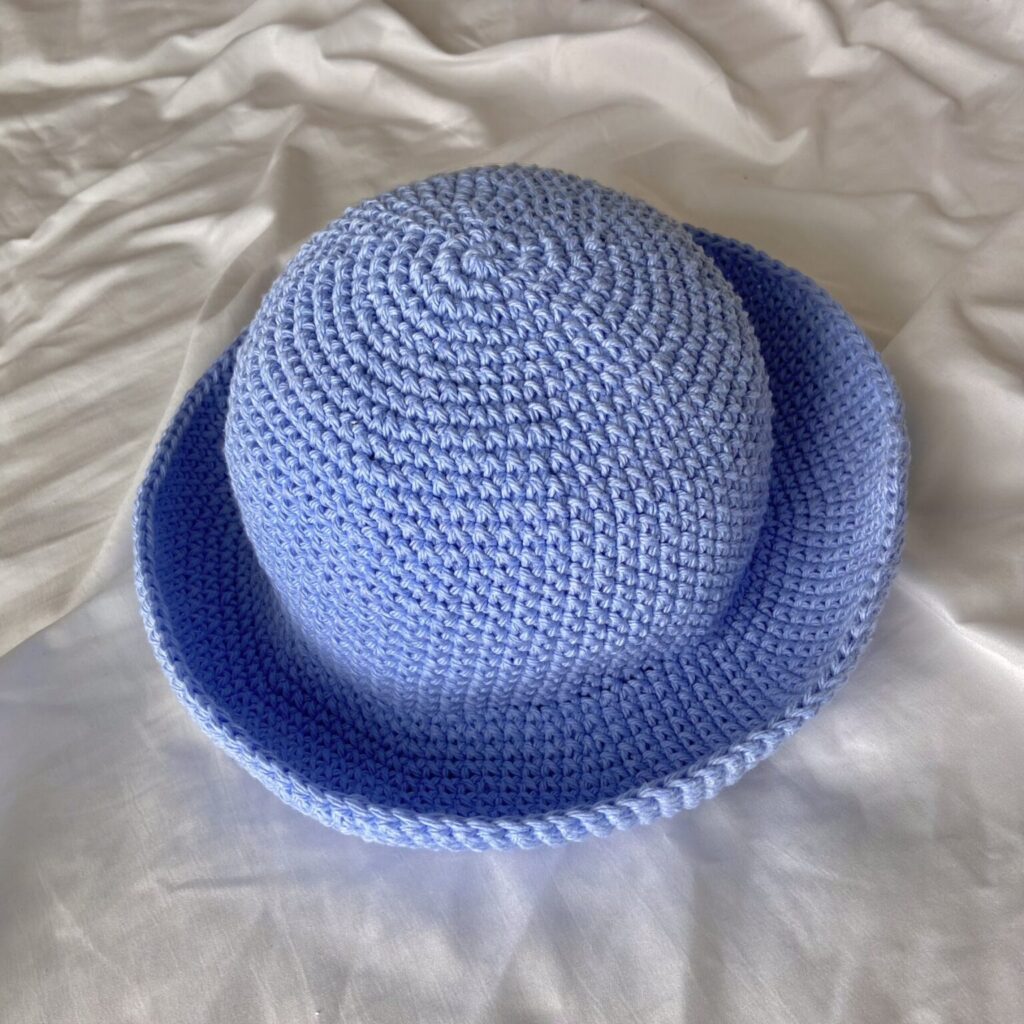
1. Crochet Elise Bucket Hat Pattern
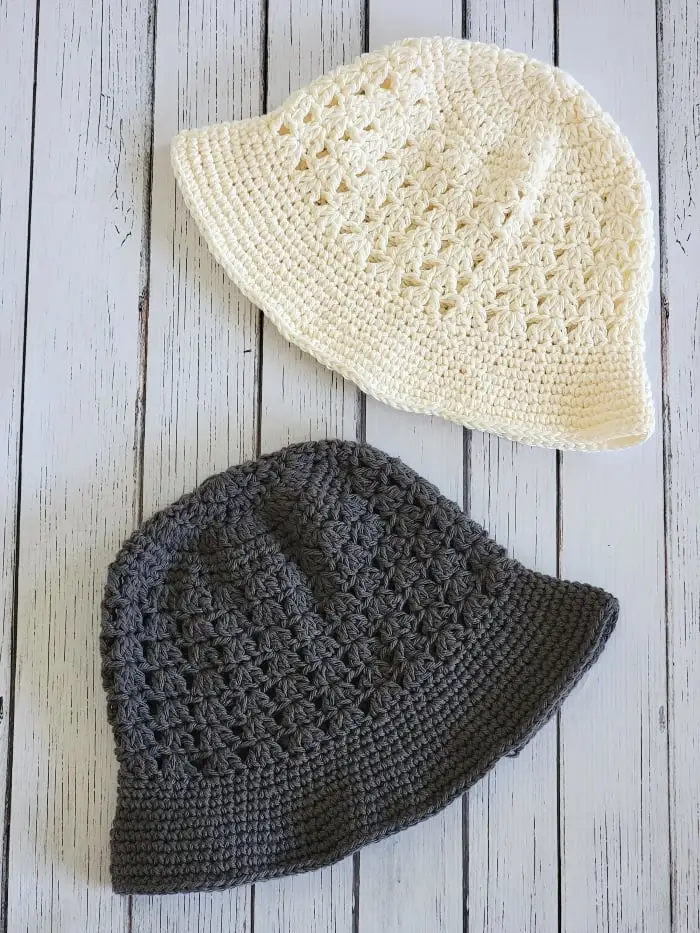
Skill Level: Beginner–Plus
Materials:
- Worsted‐weight cotton or acrylic yarn (approx. 200–250 yds)
- 5.0 mm (H) crochet hook
- Yarn needle, scissors
Instructions:
- Crown: Magic ring, chain 2 (counts as DC). Round 1: 10 DC in ring; join.
- Increase Rounds:
- Rnd 2: Chain 2, 2 DC in each st (20 DC); join.
- Rnd 3: 2 DC in first stitch, DC in next around (30 DC); join.
- Rnd 4: 2 DC in first stitch, DC in next 2 around (40 DC); join.
- Continue increasing by spacing increases evenly until crown measures ~7 inches across.
- Body Rounds: Chain 2, DC in each st around for 4–6 rounds (hat height).
- Brim Rounds:
- Rnd 1: Chain 1, SC in each st.
- Rnd 2: Chain 2, DC in each st around. Repeat for 3–4 rounds to flare brim.
- Finish: Fasten off, weave in ends.
Tips:
- Place stitch markers at increases to keep count.
- Block lightly on a round surface (bowl) to shape the brim.
2. Crochet Daisy Granny Square Bucket Hat Tutorial
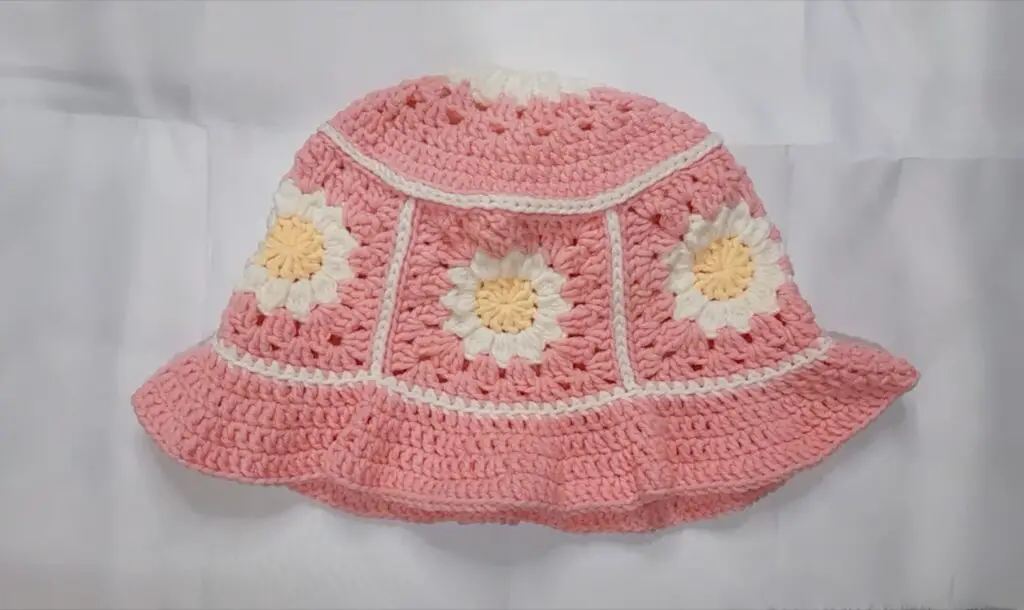
Skill Level: Intermediate
Materials:
- DK‐weight cotton in 2–3 colors (150 yds total)
- 4.0 mm (G) hook
- Yarn needle, scissors
Instructions:
- Make Daisy Granny Squares:
- Rnd 1: Magic ring, chain 3 (counts as DC), chain 2, 3 DC, chain 2 repeat 3 more times, join—4 petal clusters.
- Rnd 2: In each chain-2 corner space work (3 DC, chain 2, 3 DC); SL ST between clusters to form square.
- Make 6 squares.
- Join Squares into Hat Crown: Sew or slip-stitch squares edge to edge in a circular arrangement.
- Body & Brim: Continue with DC rounds on joined piece:
- Body: DC rounds until brim placement.
- Brim: SC round, then DC rounds for desired width.
- Finish: Weave in ends and gently block.
Tips:
- Use contrast for center vs. petals to make daisies pop.
- Whip-stitch join gives a cleaner finish than slip-stitch.
3. Crochet Bear Bucket Hat Pattern
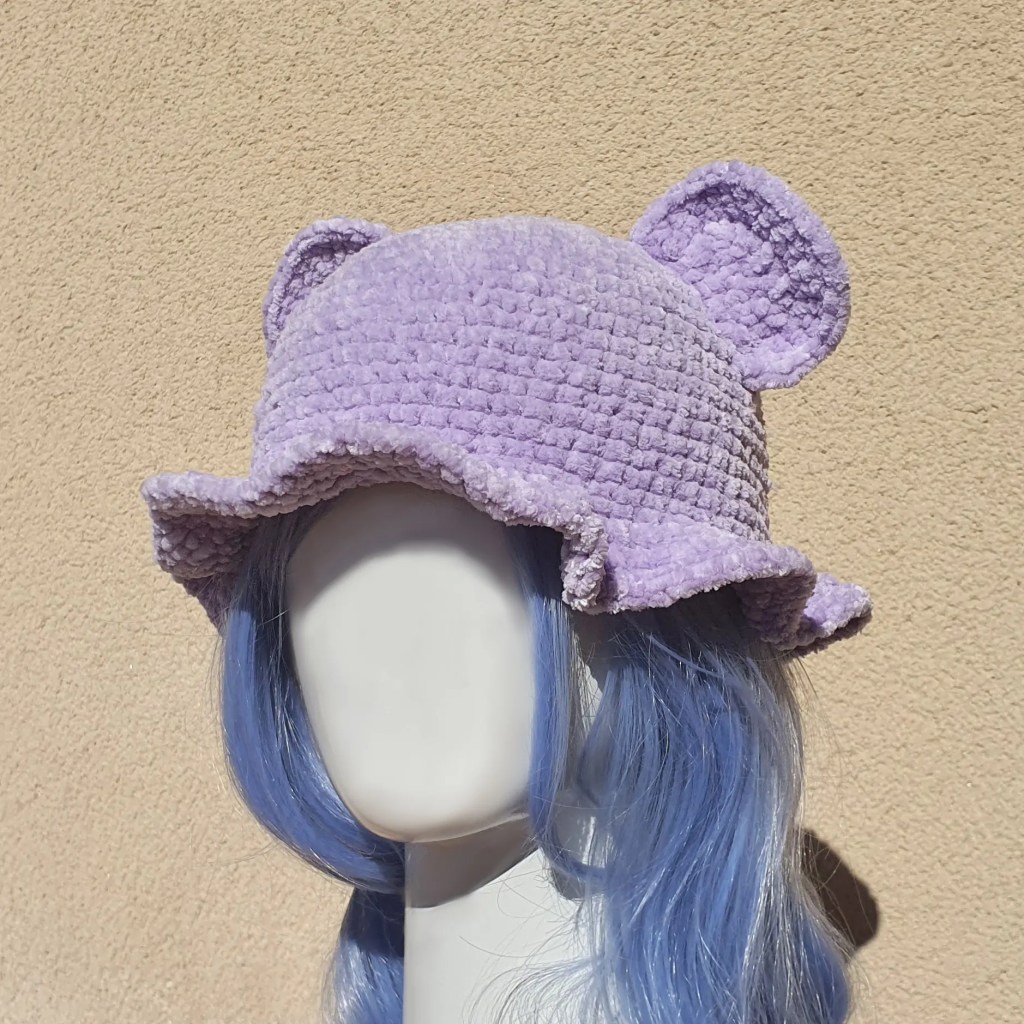
Skill Level: Beginner–Plus
Materials:
- Bulky‐weight yarn (200 yds)
- 6.0 mm (J) hook
- Stitch markers, yarn needle
- Optional: faux-fur pompom for nose
Instructions:
- Basic Hat Base: Follow the Elise pattern crown and body steps using bulkier yarn and larger hook.
- Bear Ears (Make 2):
- Magic ring, chain 2, 6 SC in ring; join.
- Rnd 2: SC in next st around; join; fasten off leaving tail.
- Attach Ears: Sew ears evenly spaced on body’s top edge.
- Optional Snout: Sew small pompom or crocheted circle at center front.
Tips:
- Increase ear size by adding one more round of SC.
- Use tapestry needle to ensure ears are securely anchored.
4. Crochet Easy Sun Hat Tutorial
Skill Level: Beginner
Materials:
- Lightweight cotton yarn (200 yds)
- 4.5 mm (7) hook
- Yarn needle, scissors
Instructions:
- Crown Increases: Magic ring → 6 HDC; then increase rounds like in Elise but using HDC for sunhat feel.
- Body: HDC rounds for ~2 inches.
- Wide Brim:
- Rnd 1: Chain 3, DC in each st.
- Rnd 2: 2 DC in first stitch, DC in next 2 around to widen.
- Repeat to achieve brim width (~4 inches).
- Finish: Fasten off, weave ends. Block brim under slight weight to achieve sunshade curve.
Tips:
- Use lighter yarn for a breathable summer hat.
- Wet-block brim while laying over a bowl to shape.
5. Crochet Simple Sun Bucket Hat Pattern
Skill Level: Beginner
Materials:
- Worst-weight cotton (150 yds)
- 5.0 mm (H) hook
- Yarn needle, scissors
Instructions:
- Crown & Body: Follow Elise pattern but switch to HDC for a tighter stitch that holds shape.
- Shallow Brim:
- One SC round, then two DC rounds without increasing (straight brim).
- Finish: Weave in ends.
Tips:
- Straight brim gives more casual look.
- Adjust brim height by adding DC rounds.
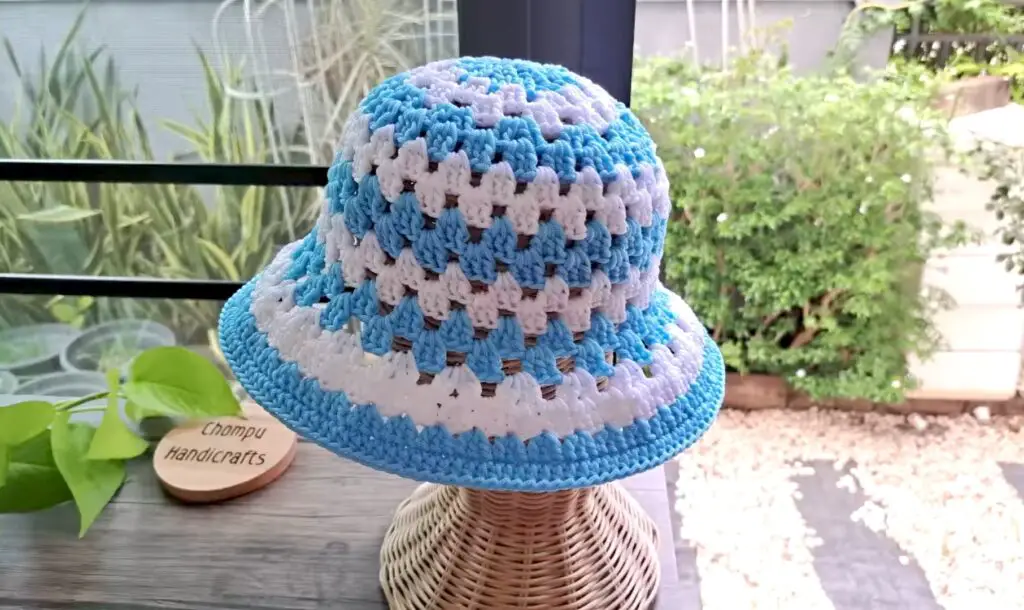
6. Crochet Granny Stitch Bucket Hat Tutorial
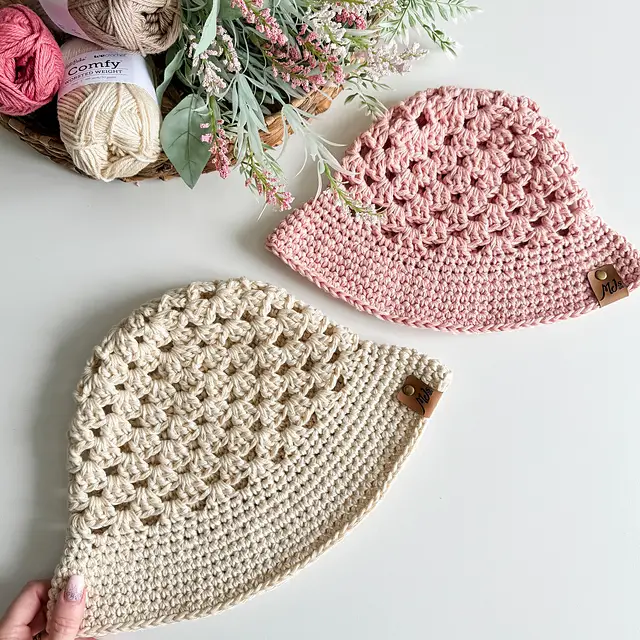
Skill Level: Intermediate
Materials:
- DK cotton yarn (200 yds)
- 4.0 mm (G) hook
- Stitch markers, yarn needle
Instructions:
- Crown Foundation: Magic ring → 6 DC; increase rounds to desired crown size.
- Granny Stitch Body:
- Join yarn, chain 3, (DC, chain 1, 2 DC) in next space, repeat around—classic granny clusters.
- Continue granny rounds until body height is ~3 inches.
- Granny Brim: Work two more granny rounds, flaring outward slightly by adding an extra DC cluster every few spaces.
- Finish: Tie off, weave in ends, and block to open up granny stitch texture.
Tips:
- Use stitch marker to mark start of each granny cluster.
- For a tighter brim, finish with a round of SC.
Conclusion
These 6 stylish crochet bucket hat patterns—from the classic Elise to whimsical bears and granny-stitch textures—are perfect for refreshing your weekend wardrobe or creating thoughtful handmade gifts. With clear steps and friendly guidance, you’ll master each style in no time. So grab your yarn and hook, pick your favorite design, and enjoy stitching a hat you can wear (and share!) all season long. Happy crafting!