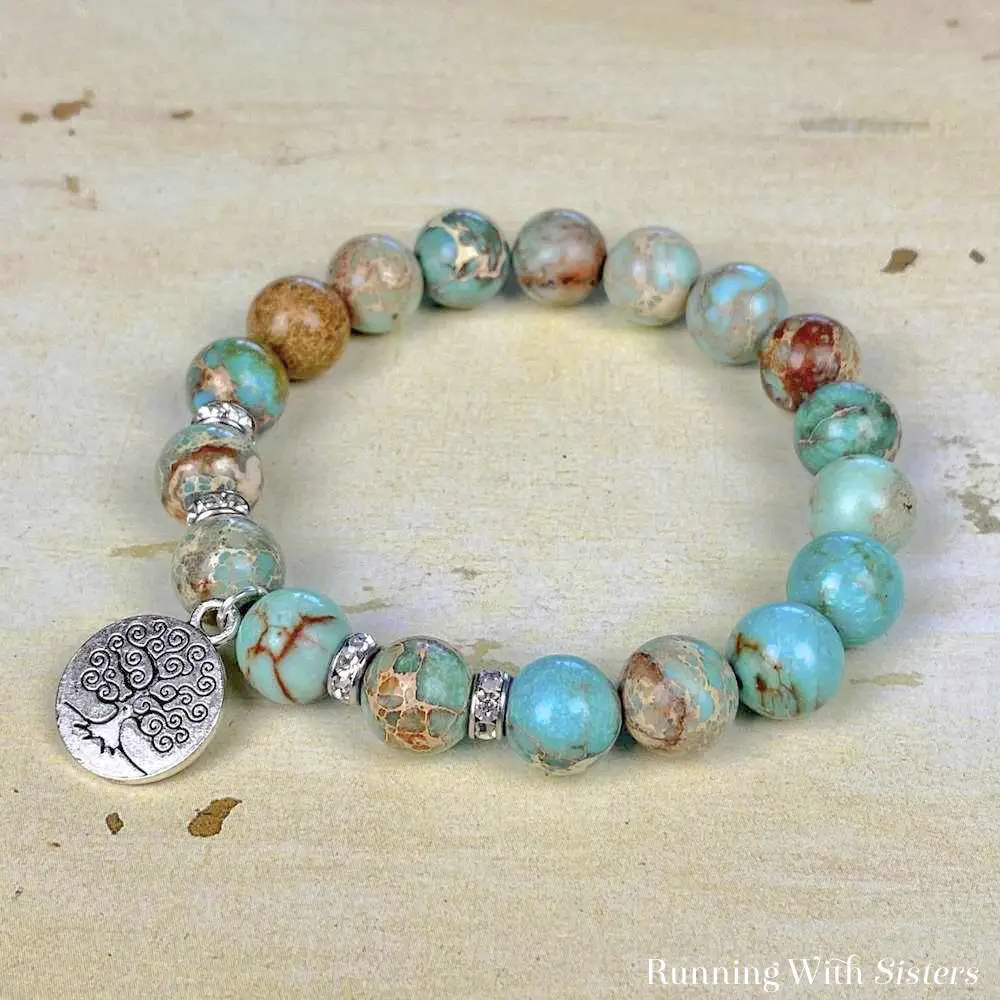
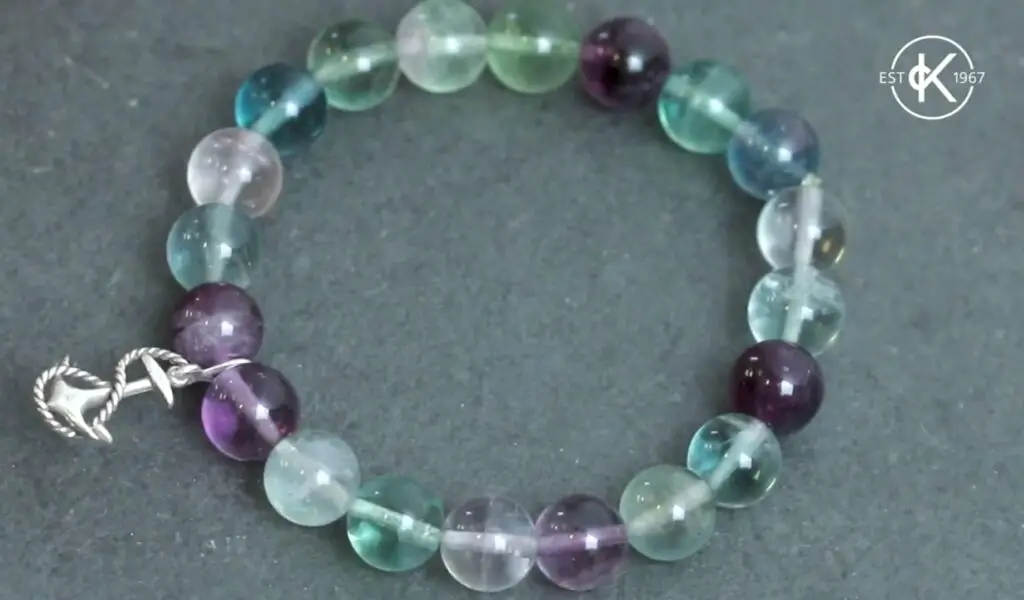
Gemstone bracelets are a beautiful way to carry the earth’s natural energy with you—and they make thoughtful, personalized gifts. Whether you prefer stretchy designs, wire-wrapped accents, or multi-strand twists, these seven beginner-friendly patterns will guide you step-by-step. Each tutorial includes Skill Level, Materials, Instructions, and Tips for clarity. Let’s get started!
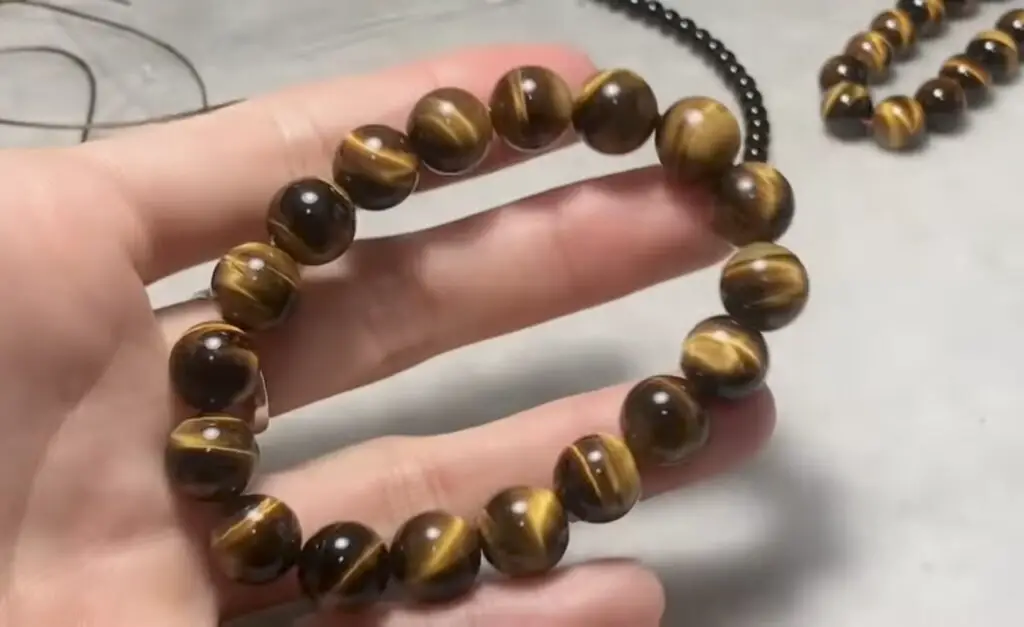
1. Gemstone Stretch Bracelet Pattern
Skill Level: Beginner
Materials:
- 8 mm gemstone beads (16–18 pcs)
- 0.8 mm clear stretch cord (approx. 12″)
- Scissors
- Clear jewelry glue (optional)
Instructions:
- Measure & Cut: Wrap the cord around your wrist, add 2″, and cut.
- String Beads: Slide on your gemstone beads until only 2″ of cord remains on each side.
- Tie Knot: Use a surgeon’s knot (double overhand knot) to join ends.
- Secure: Add a drop of clear glue to the knot for extra hold. Trim close.
Tips:
- Pre-stretch the cord by pulling firmly to reduce future sag.
- Knot inside one of the beads if the hole is large enough for a discrete finish.
2. Wire Wrap Gemstone Beaded Bracelet Tutorial
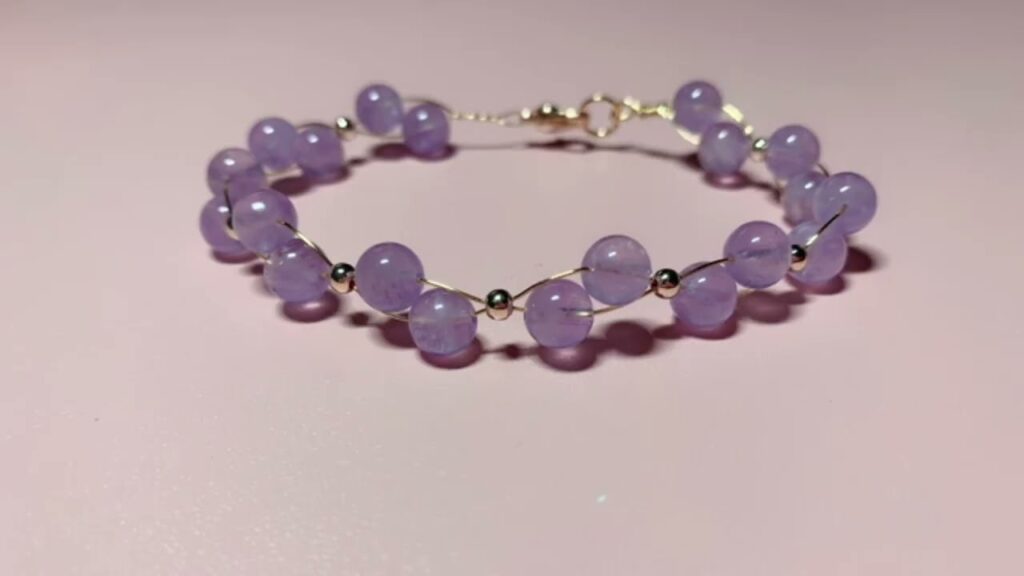
Skill Level: Beginner+
Materials:
- 6 mm gemstone beads (20 pcs)
- 20 gauge craft wire (24 ″)
- 2 mm elastic cord (optional for beaded sections)
- Jewelry pliers, wire cutters
- Lobster clasp & jump rings
Instructions:
- Wire Sections: Cut wire in 4 ″ pieces. Thread one bead onto a piece, wrap each wire end around the bead 2 – 3 times, leaving tails for attachment. Repeat for all beads.
- Connect Beads: Use pliers to twist adjacent wire tails together, forming a chain of wire-wrapped beads.
- Finish Ends: At each end of the bead chain, form a loop with wire, trim excess, and attach jump ring + clasp.
Tips:
- Keep wire wraps snug to avoid catch points.
- Use round-nose pliers to make consistent, neat loops.
3. Small Semi-precious Gemstone Beaded Bracelet Pattern

Skill Level: Beginner
Materials:
- 4 mm semi-precious gemstone beads (30–35 pcs)
- 11/0 seed beads (60–70 pcs)
- Beading thread (FireLine) and needle
- Lobster clasp, crimp beads, pliers
Instructions:
- Attach Clasp: Crimp one end of beading thread to the clasp with a crimp bead.
- String Pattern: 3 seed beads, 1 gemstone bead and repeat until strand measures ~6″.
- Finish: Crimp at other end to attach second clasp half, weave in thread tails.
Tips:
- FireLine thread resists abrasion from gemstone edges.
- Alternate gemstone colors every few beads for variety.
4. Elastic Stretch Clear Magic Bracelet Tutorial
Skill Level: Beginner
Materials:
- Clear “magic” elastic cord (0.5 mm)
- 6 mm gemstone beads (20 pcs)
- 4 mm spacer beads (optional, 10 pcs)
- Scissors
Instructions:
- Cut Cord: Measure wrist + 2″ for tying; cut elastic.
- String Beads: Alternate gemstone, spacer until desired length.
- Knot & Hide: Tie a square knot, then a surgeon’s knot.
- Secure & Trim: Dab clear nail polish on knot, let dry, tuck knot inside nearest bead hole, trim.
Tips:
- Clear cord gives the illusion of floating beads.
- Use small spacer beads to highlight each gemstone.
5. DIY Colored Gemstone Bead Bracelet Double Twist Pattern
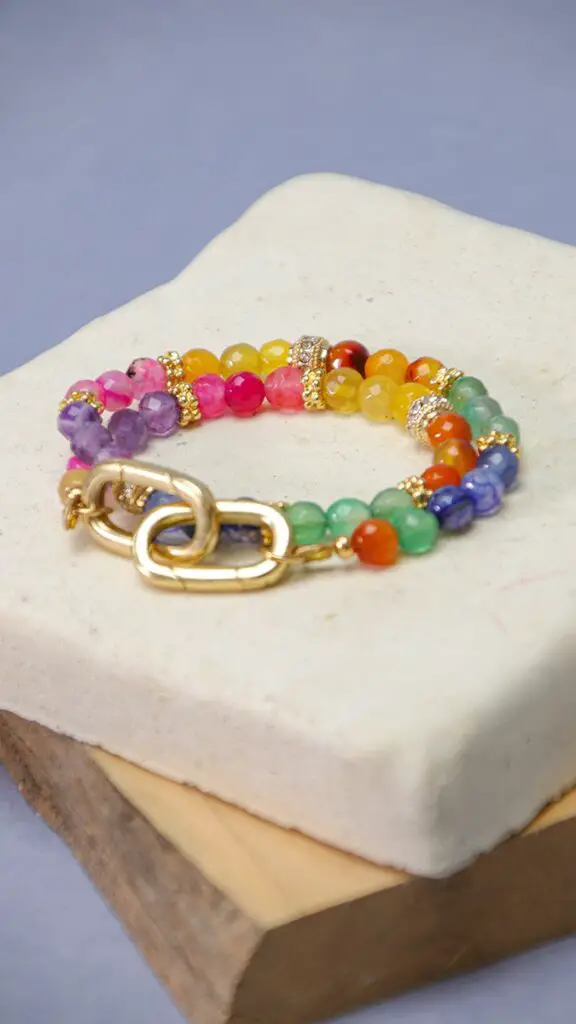
Skill Level: Intermediate
Materials:
- 4 mm gemstone beads in two colors (40 pcs total)
- 0.6 mm beading wire (2 strands, 18″ each)
- Crimp beads, crimping pliers, lobster clasp
Instructions:
- Prepare Wires: Fold each wire in half and attach both to one clasp ring via crimp bead—now you have four ends.
- Twist Pattern: String beads onto two adjacent strands in alternating colors for 9″. Repeat on the other two strands.
- Double Twist: Gently twist both beaded strands together.
- Finish: Gather all four wire ends, crimp to second clasp half, trim.
Tips:
- Twist loosely to avoid kinking the wire.
- Use locking crimp pliers for a secure finish.
6. Bracelet with Elastic Cord String Tutorial
Skill Level: Beginner
Materials:
- Elastic cord (0.8 mm)
- 8 mm gemstone beads (12 pcs)
- 11/0 seed beads (60 pcs)
- Scissors
Instructions:
- Measure & Cut: Allow wrist + 2″ cord.
- Pattern: 5 seed beads, 1 gemstone around.
- Knot: Secure with multiple overhand knots, add a dab of glue, tuck knot into a seed bead.
Tips:
- This basic pattern is perfect for mixing multiple bracelet sets.
- Combine with metal spacer beads for contrast.
7. Rhodonite & Lava Gemstone Wrap Bracelet Pattern
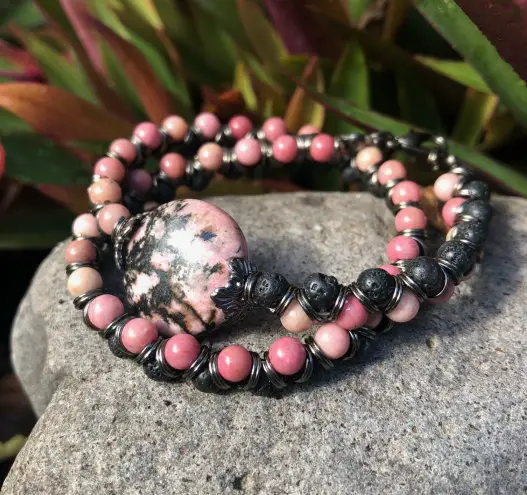
Skill Level: Beginner+
Materials:
- Rhodonite beads (6 mm, 15 pcs)
- Lava beads (8 mm, 8 pcs)
- 3 mm elastic cord (24″)
- Essential oil drops (for lava beads)
Instructions:
- String Round 1: Slide all rhodonite beads onto cord and tie a secure knot—this is the inner first wrap.
- Round 2: String 2 lava, 4 rhodonite around the existing strand, wrap again.
- Repeat: Continue alternating bead sequences for a double-wrap look.
- Finish: Tie elastic securely, tuck knot inside a bead.
Tips:
- Lava beads make great essential oil diffusers—add a drop before wearing.
- Adjust bead counts to fit snugly.
Conclusion
These 7 gemstone beaded bracelet patterns offer a range of styles—from stretchy, fuss-free designs to wire-wrapped elegance and double-twist sophistication. Each project uses simple materials and clear steps, making them perfect for beginners or anyone looking to expand their beading skills. Gather your favorite stones, pick a pattern, and create jewelry that’s both meaningful and beautiful. Happy crafting!