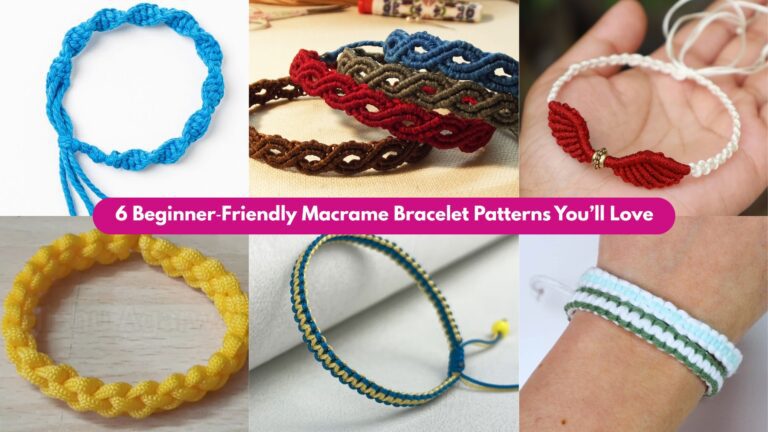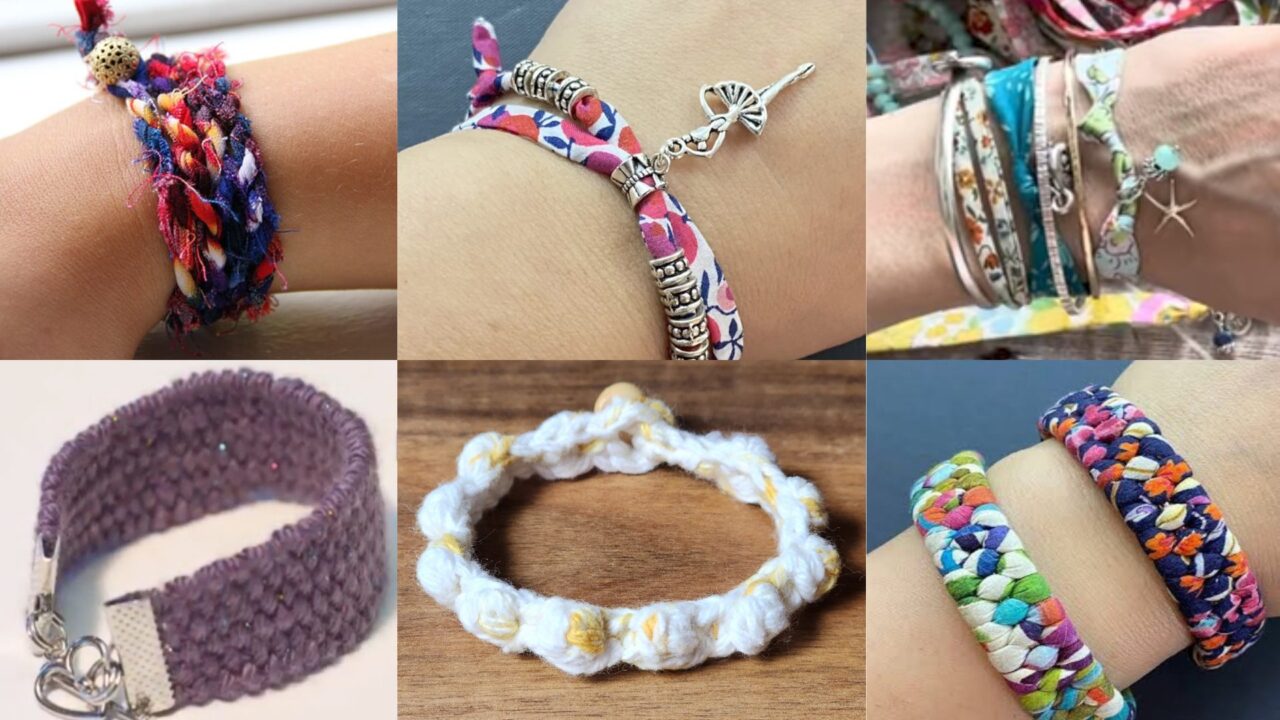
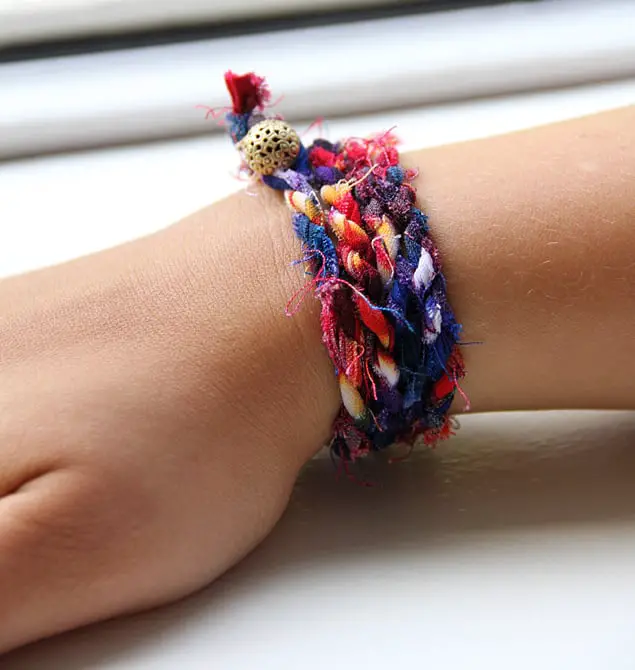
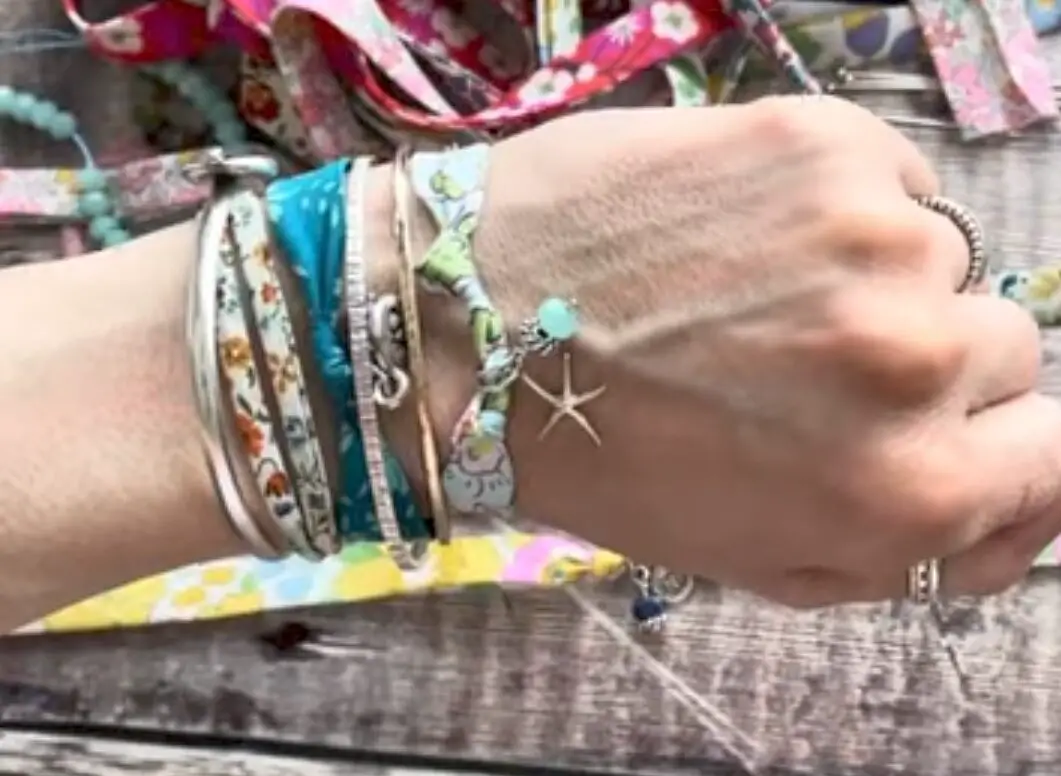
Turn leftover fabric and yarn into stylish wrist candy with these six scrap bracelet patterns. Perfect for upcycling scraps, last-minute gifts, or a fun afternoon project, each design uses simple techniques—wrapping, braiding, weaving—to transform your stash into wearable art. All are beginner-friendly, quick to make, and endlessly customizable. Grab your scraps and let’s get crafting!
1. Cloth Scrap Wrap Bracelet Pattern
Skill Level: Beginner
Materials:
- Fabric scraps (cotton quilting prints work great)
- Scissors
- Jewelry clasp & jump rings (optional)
- Needle & thread or hot glue
Instructions:
- Cut Strips: Slice scraps into 1″–1.5″ wide strips, about 12″ long.
- Layer & Wrap: Stack two or three strips, tie a knot at one end, and wrap them tightly around your wrist, overlapping slightly.
- Secure Ends: Once you reach the end, tuck the loose ends under the wrapped layers. Secure with a few stitches or a dot of hot glue.
- Add Clasp (Optional): Attach small jump rings and a clasp to the ends for easy on/off.
Tips:
- Mix prints and solids for contrast.
- For a chunkier look, stack more strips or use wider bands.
2. Charm Liberty Fabric Adjustable Bracelet Tutorial
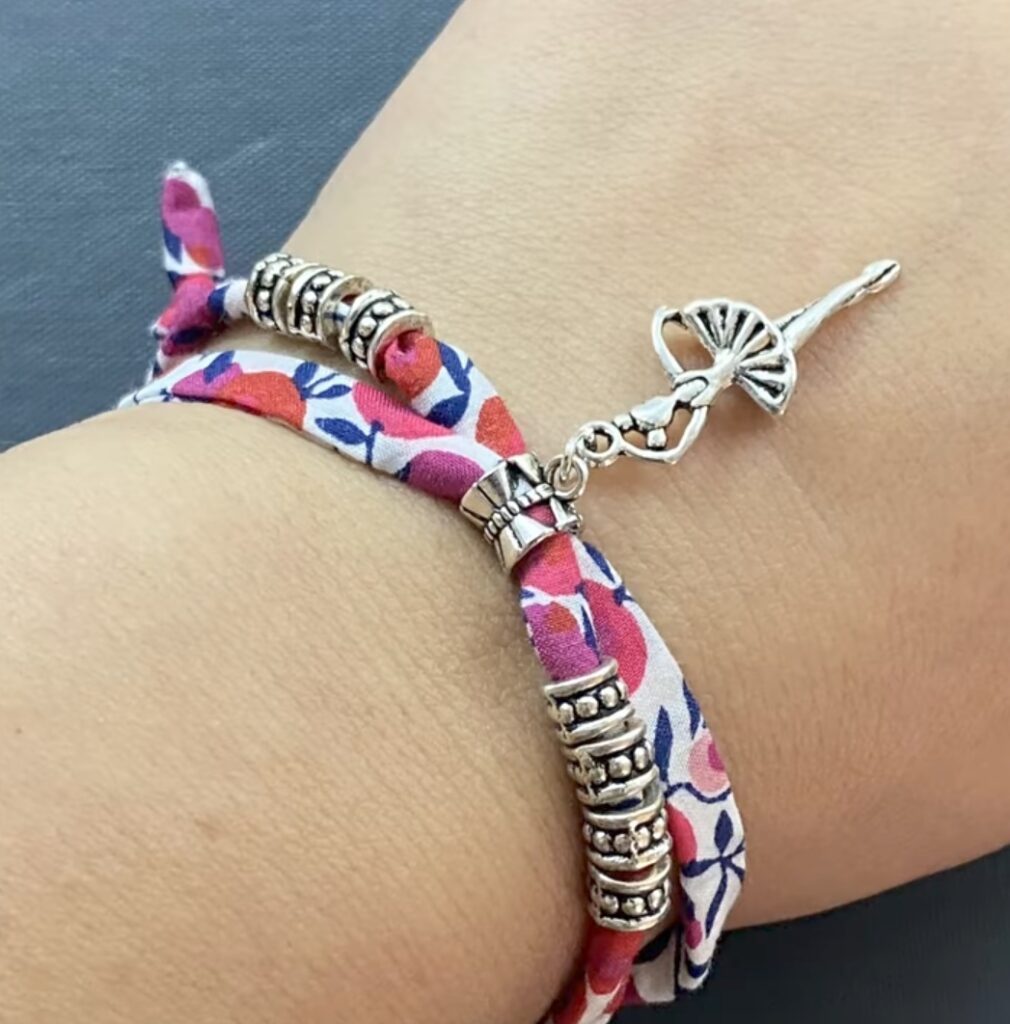
Skill Level: Beginner-Plus
Materials:
- Liberty-style cotton scraps
- Thin nylon cord or waxed cotton (18″)
- Small charm or bead
- Sliding knot hardware or fine clasp
- Scissors
Instructions:
- Cut Fabric Base: Cut two strips, 1″ wide and 8″ long.
- Wrap Cord: Knot the cord’s center around the fabric strips, then wrap both cord ends around the fabric tightly for 4″.
- Slide on Charm: Thread your charm onto both cord ends and slide it to the center.
- Finish Wrapping: Wrap the remaining cord for another 4″.
- Create Adjustable Closure: Tie sliding knots on both cords or attach clasps.
Tips:
- Use lightweight charms so the bracelet drapes comfortably.
- Pre-iron fabric strips for smoother wraps.
3. 10-Minutes Yarn Scrap Bracelet Pattern
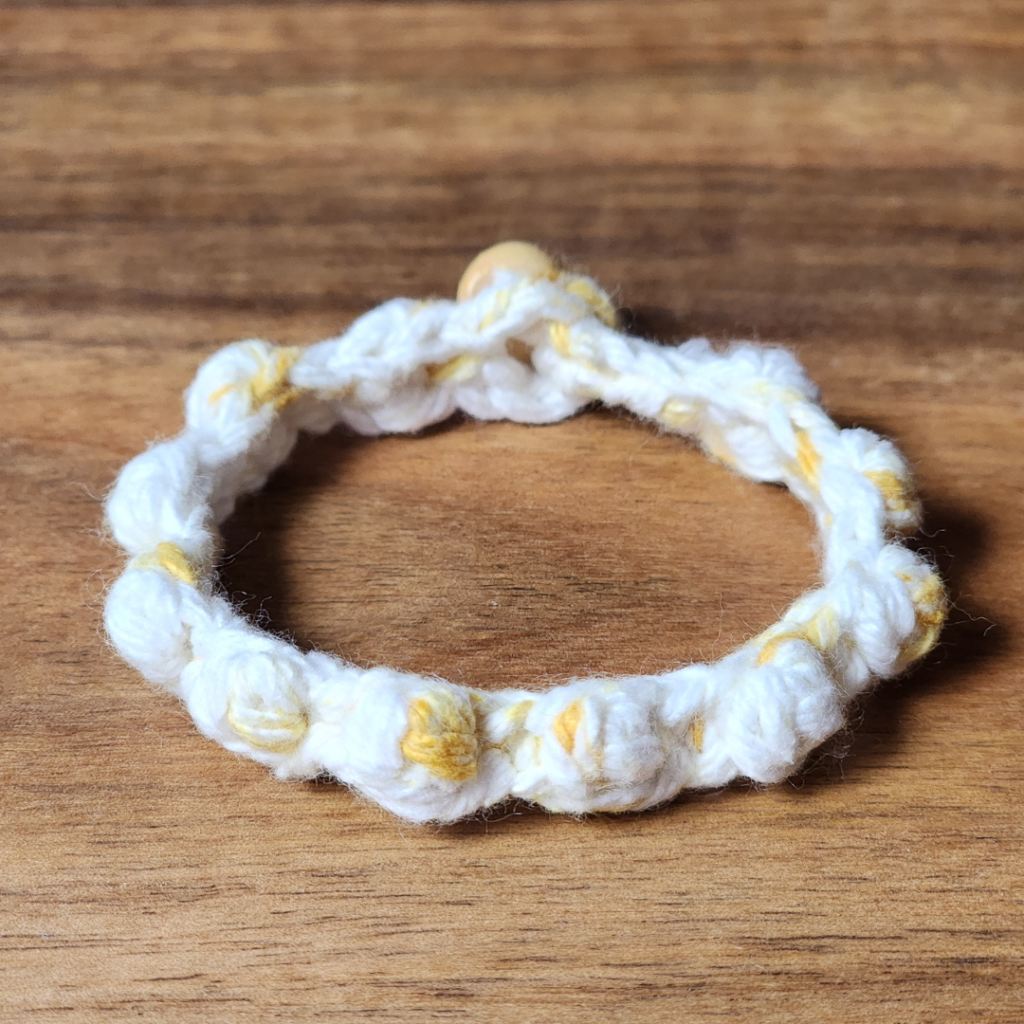
Skill Level: Beginner
Materials:
- Yarn scraps (worsted or bulky)
- 8″ piece of elastic cord
- Scissors
Instructions:
- Braid Yarn: Cut three equal lengths of yarn (about 20″ each). Tie them at one end around the elastic cord. Braid the three yarn strands together over the elastic.
- Finish Braid: When you reach the end, tie a knot to secure.
- Hide Elastic: Slide the elastic loop inside the braid for a neat look. The elastic makes it slip-on.
Tips:
- Use variegated yarn for an instant color blend.
- Keep braid tight for a polished finish.
4. Summer Fabric Bracelet Tutorial
Skill Level: Intermediate
Materials:
- Lightweight cotton or linen scraps
- 3 mm ribbon or twill tape
- Small embroidery stitches materials (thread & needle)
- Button for closure
Instructions:
- Weave Strips: Cut three ½″ strips of fabric and one longer ribbon. Braid or plait them together for a 7″–8″ length.
- Embellish: Use tiny running stitches in contrasting embroidery floss along the edges.
- Add Button: Sew a small button at one end. On the other end, fold the braid to form a loop that fits the button.
Tips:
- Choose summery prints like florals or ginghams.
- Lightly starch fabric strips before cutting to reduce fraying.
5. DIY Braided Fabric Scrap Bracelet Pattern
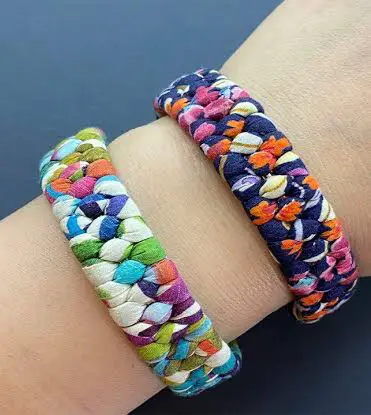
Skill Level: Beginner
Materials:
- Three fabric scrap strips (1″ × 12″ each)
- Needle & thread or fabric glue
- Clasp or tie ends
Instructions:
- Knot Start: Gather and knot the three strips together at one end.
- Braid: Braid the strips tightly until you have about 7″–8″ of braid.
- Secure End: Knot the other end. Either attach a clasp by sewing or simply tie the ends in a bow for an adjustable fit.
Tips:
- Use strips from contrasting fabrics for a bold, graphic braid.
- Press strips flat for easier braiding.
6. Scrap Yarn Woven Bracelet Tutorial
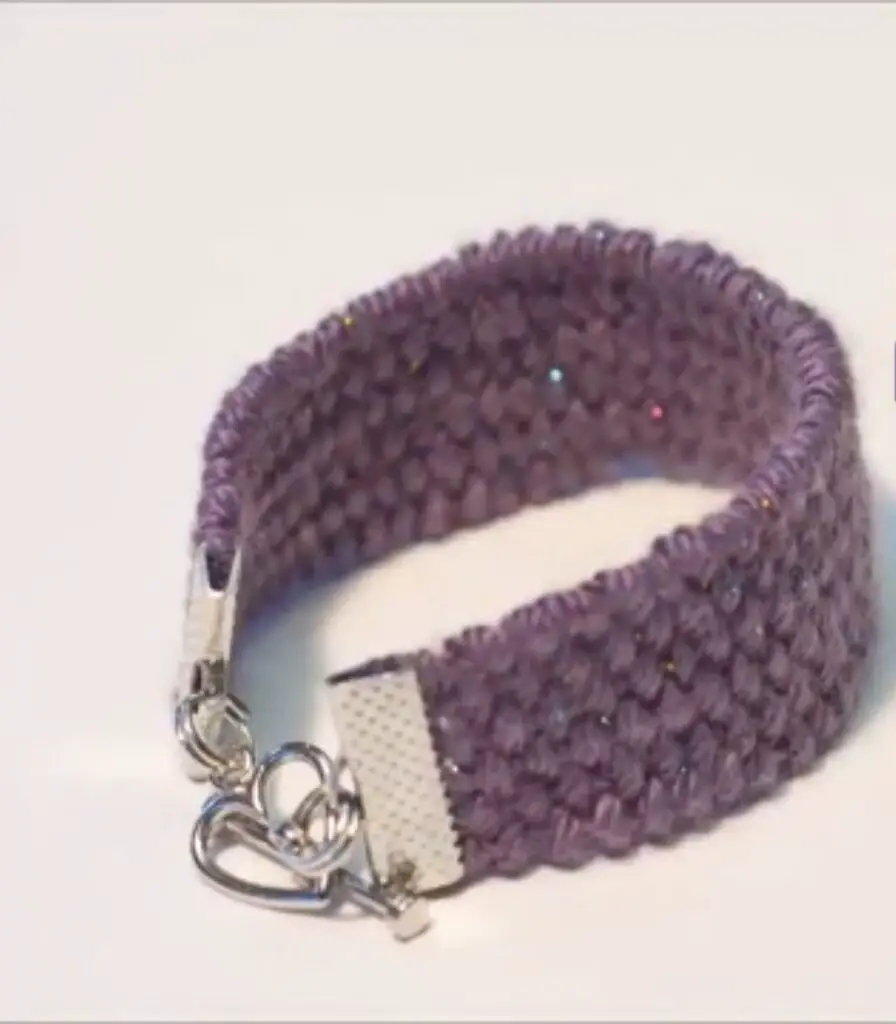
Skill Level: Intermediate
Materials:
- Small wooden loom or DIY cardboard loom (4″ wide)
- Yarn scraps in various colors
- Tapestry needle
- Jump rings & clasp
Instructions:
- Warp Setup: Stretch a base warp of strong thread across the loom every ¼″.
- Weft Weaving: Using leftover yarn, weave under-over through the warp threads in rows until the piece is 1″–1.5″ wide.
- Finish Weaving: Tie off yarn ends and gently slide the woven strip off the loom.
- Attach Findings: Fold each end to the back, sew or glue in place, and add jump rings and a clasp.
Tips:
- Alternate yarn thickness for texture.
- Trim fringe edges for a boho vibe.
Conclusion
Upcycling scraps into gorgeous bracelets is a fun, eco-friendly way to flex your creativity. These 6 quick scrap bracelet patterns prove that you don’t need fancy supplies—just a few minutes and your stash of leftovers. From simple wraps and braids to woven masterpieces, there’s a style here for everyone. Gather your scraps, pick a pattern, and start crafting beautiful, one-of-a-kind accessories today!