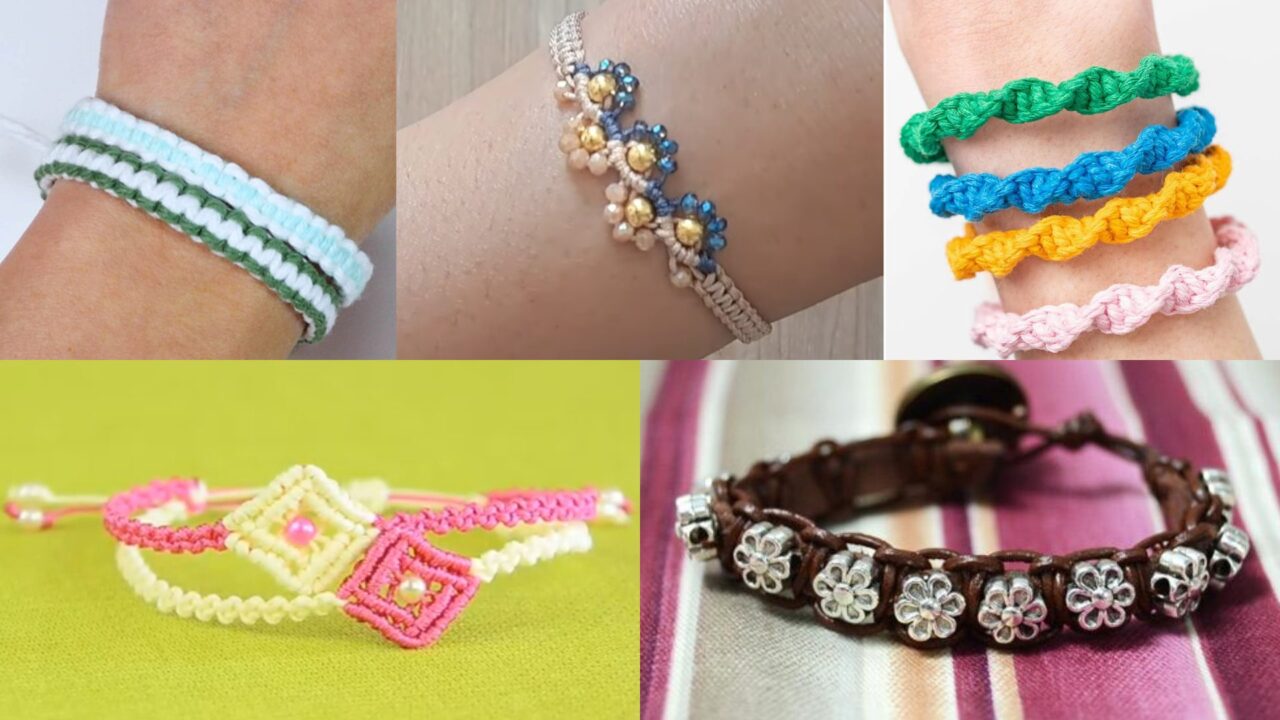
Macrame bracelets add a handcrafted, boho-chic accent to any outfit—and with today’s trendy patterns, you can elevate your everyday look in just an afternoon. Whether you’re drawn to bold color contrasts, sparkling accents, or intricate micro-knotting, these five macrame bracelet tutorials cover a range of styles and skill levels. Each pattern includes Skill Level, Materials, Instructions, and Tips so you can jump right in and create wearable art you’ll love. Let’s knot!
1. Two-Color Macrame Square Knot Bracelet Pattern
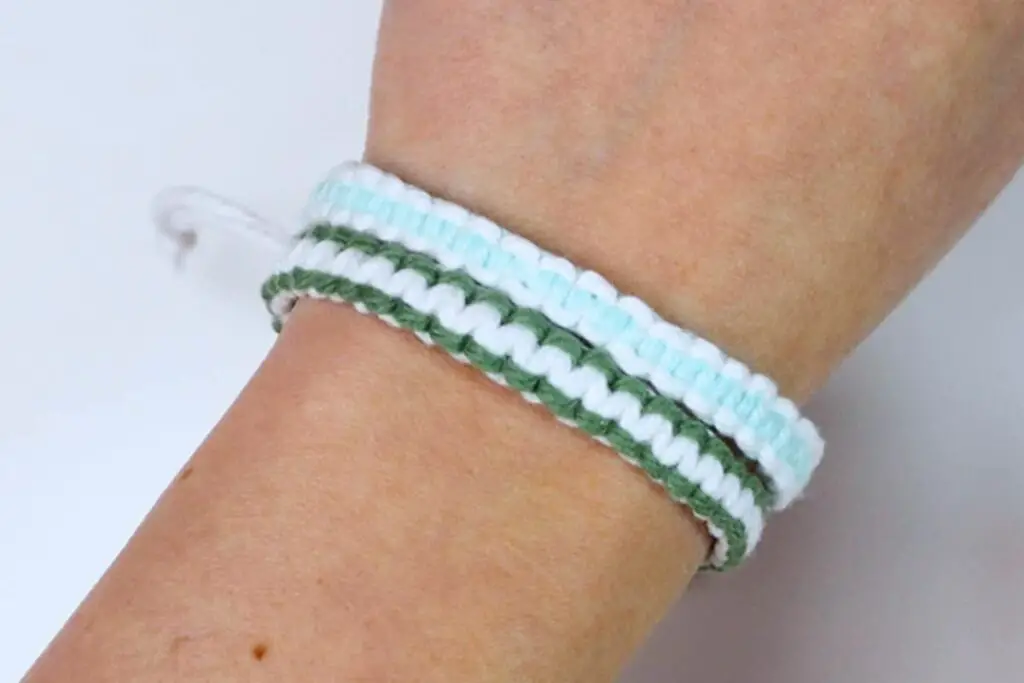
Skill Level: Beginner–Plus
Materials:
- Two colors of 1.5 mm nylon macrame cord (2 × 1 m lengths)
- Clipboard or tape for anchoring
- Scissors
- Button or bead for closure
Instructions:
- Anchor & Set Up: Fold both cords in half, knot at the fold to create a loop for your button closure. Secure under tape or clipboard. You now have four working ends.
- Create Base Cords: The two center strands act as “core” cords; the two outer strands are your working cords.
- Square Knot Sequence:
- Left Half: Cross left working cord over the cores, then cross right working cord behind the cores and up through the left loop. Tighten.
- Right Half: Reverse: cross right over cores, left behind, through loop. Tighten to finish one square knot.
- Alternate Colors: Use one color for the first few square knots, then switch to the second color by swapping which cords you knot with. Continue alternating every 4–6 knots for a striped effect.
- Finish: Tie an overhand knot to secure, trim ends, and use the initial loop to fasten over the closure bead or button.
Tips:
- Keep even tension so your stripes stay uniform.
- Use contrasting cords (e.g., black and white) for maximum visual impact.
2. DIY Square Macrame Bracelet Tutorial
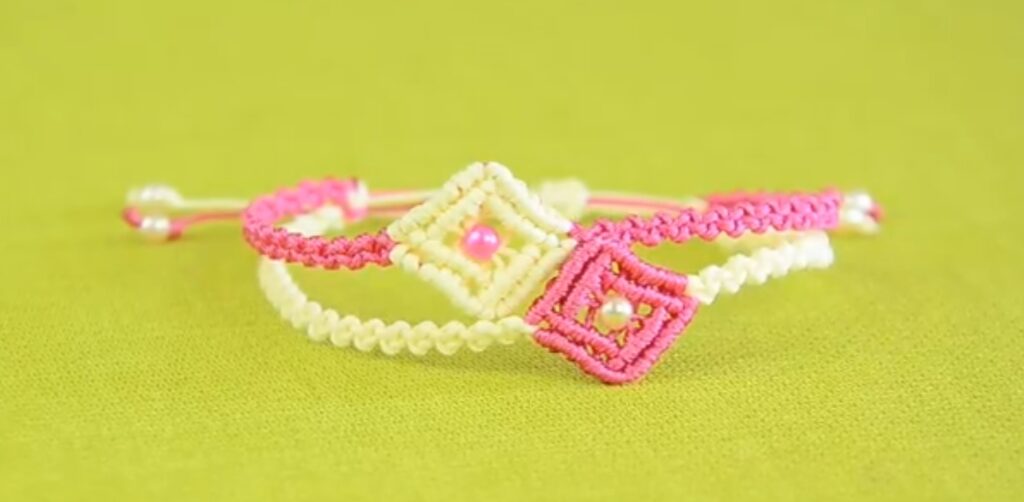
Skill Level: Beginner
Materials:
- 2 mm cotton macrame cord (1 × 2 m)
- Wooden or metal beads (optional, for accent)
- Tape or clipboard
- Scissors
Instructions:
- Fold & Anchor: Fold cord in half and secure the midpoint. You’ll have two working strands and the loop end.
- Bead Option: Slide a bead onto both working ends and push up to the loop.
- Square Knots: Use both working ends to tie standard square knots around the two center cords for about 5 cm.
- Repeat & Accent: If using beads, knot one square knot, slide a bead into place, then knot another square knot. Alternate until you reach your desired length.
- Closure: Tie a simple overhand knot at the end. Create an adjustable sliding knot by wrapping one end around the other twice and threading back through.
Tips:
- Beads add weight and a focal point—experiment with sizes.
- For a flat bracelet, always maintain consistent knot spacing.
3. Easy Spiral Knot Bracelet Pattern
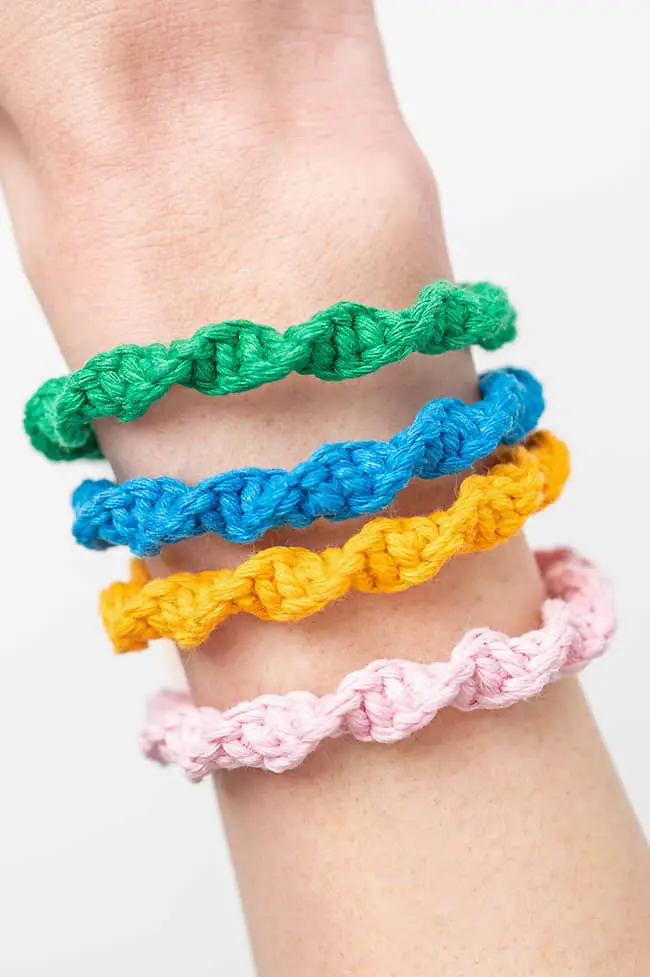
Skill Level: Beginner
Materials:
- 3 mm paracord or macrame cord (2 × 1 m)
- Scissors and lighter (for paracord)
Instructions:
- Anchor & Measure: Secure both cords side-by-side.
- Half-Knot Spiral: Always use the same cord as working strand (Cord A) to tie half square knots over the other (Cord B). Each half knot rotates the knotting forward, creating a spiral.
- Continue Spiraling: Repeat the same half-knot (never switch sides) until the bracelet measures about 15 cm.
- Finish: Tie a final full square knot (two half-knots) to lock the spiral, trim tails, and melt paracord ends to prevent fraying.
Tips:
- A continuous half-knot creates the spiral effect; don’t switch to full square knots until the end.
- Use two contrasting paracord colors for a candy-cane look.
4. Charming Macrame Bracelet with Crystal Flowers Tutorial
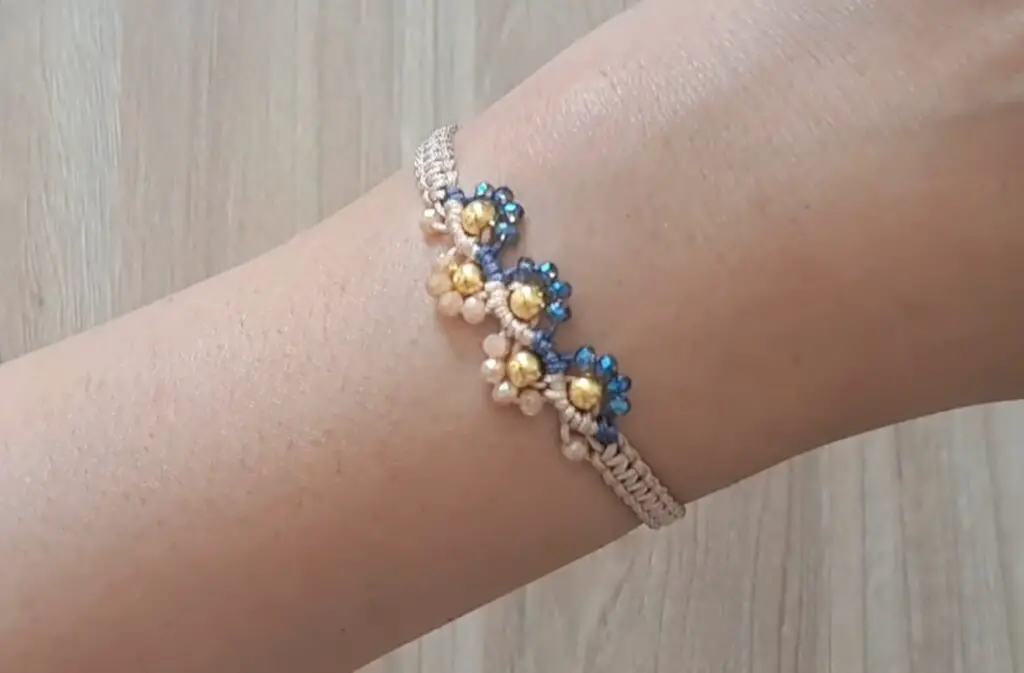
Skill Level: Intermediate
Materials:
- 1 mm waxed polyester cord (3 × 1 m)
- Small crystal flower beads (6–8 pcs)
- Jump rings and lobster clasp
- Clipboard and scissors
Instructions:
- Base Cord Setup: Secure three cords in the center with a lark’s head knot on a clipboard—six working ends total.
- Flower Positioning: Slide a crystal flower bead onto two middle cords; center it beneath your working area.
- Square Knots around Bead: Use the outer two cords to tie square knots around the central bead-holding cords, sandwiching the crystal bead between knot rows.
- Repeat Flower Motifs: After 4 knots, slide on the next crystal flower and repeat. Continue until all beads are in place.
- Finish & Hardware: Separate cords into pairs, braid short tails, then attach jump rings and a clasp with crimp beads for a polished look.
Tips:
- Use a beading needle to help thread the flower beads onto the cords.
- Keep your macrame board angled so gravity helps hold beads in place as you knot.
5. Leather Micro-Macrame Bracelet with Tibetan Flower Beads Pattern
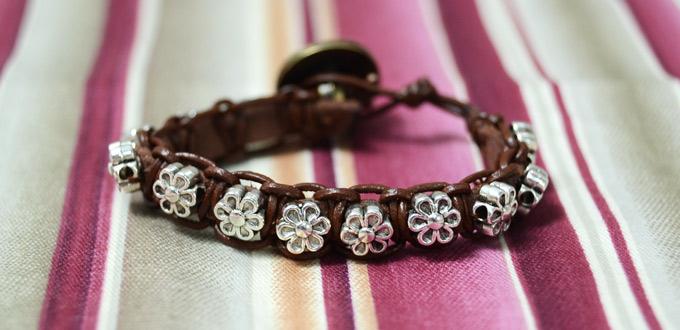
Skill Level: Advanced Beginner
Materials:
- 0.8 mm waxed polyester cord (2 × 1 m)
- 1 mm leather cord (center base)
- Tibetan flower beads (8 pcs)
- Magnetic clasp and jump rings
- Clipboard, scissors
Instructions:
- Leather Core: Cut a length of leather cord to your wrist size + 4 cm. Anchor it horizontally on your clipboard.
- Micro Knots: Using two polyester cords for each side, tie microscopic double half-hitch knots around the leather base, creating a neat spiral sleeve.
- Bead Incorporation: Before three knots, slide a Tibetan flower bead onto the leather, then continue micro-knots to lock it in place. Repeat for all beads.
- End Finishing: Braid the remaining polyester cord tails into small braids and knot. Secure ends by gluing and trimming.
- Attach Clasp: Use jump rings to connect the leather ends to the magnetic clasp.
Tips:
- Maintain tight micro-knots for uniform coverage.
- Waxed cord helps knots stay firm against the smooth leather.
Conclusion
These five macrame bracelet patterns—from bold two-color stripes to delicate micro-knots with Tibetan flower beads—offer stylish, handmade accessories for every day. Whether you’re just learning square knots or ready for advanced micro-macrame, there’s a design here to expand your skills and brighten your wrist. Grab your cords, beads, and clipboard, and let your creativity knot its way into wearable art!