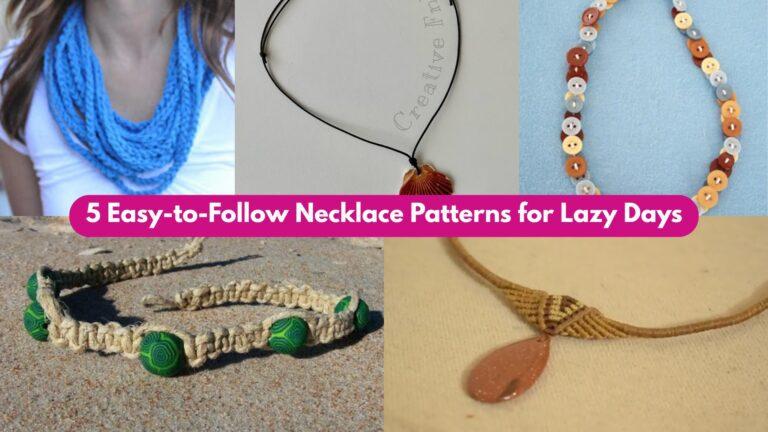
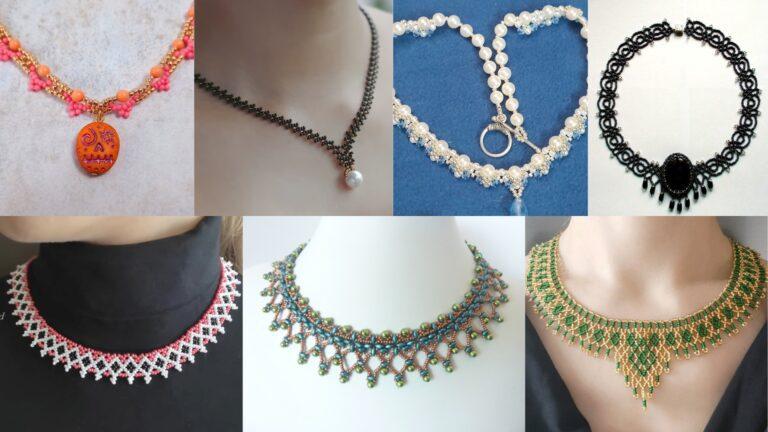
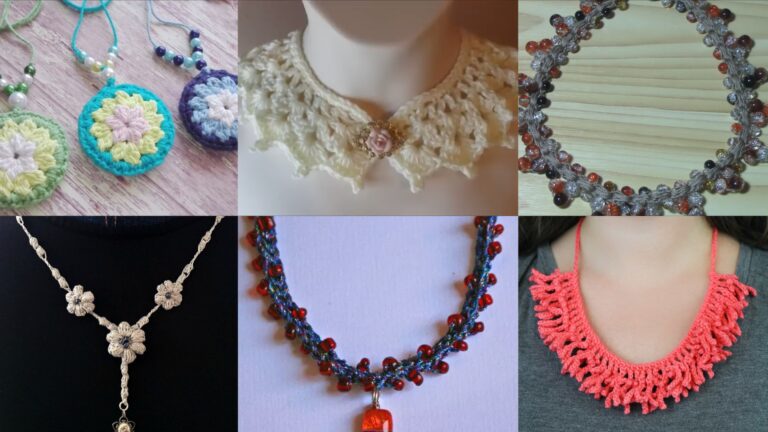
Handcrafted beaded necklaces are among the most satisfying beginner jewelry projects: you need only a handful of materials, simple stringing or basic bead-weaving stitches, and a dash of creativity. Whether you’re looking for a sparkling statement piece or a whimsical everyday accessory, these six patterns will guide you through clear, step-by-step instructions. Gather your beads, thread, and basic findings, and let’s create beautiful necklaces you’ll be proud to wear—or gift—to friends and family.
1. Rhinestone Brooch and Bead Necklace Pattern
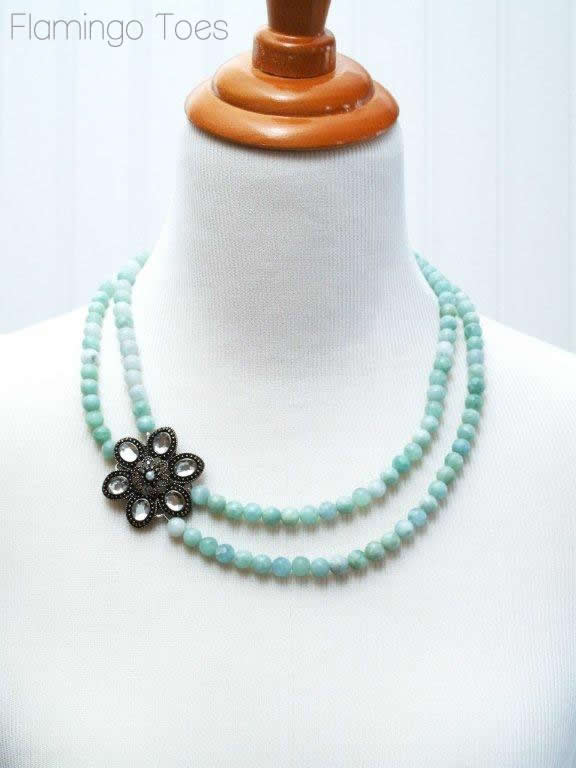
Why You’ll Love It: Instantly glam, this design combines the sparkle of a rhinestone brooch with a simple string of beads for a dramatic focal point.
Materials
- Rhinestone brooch (flat-back style)
- 4 mm glass crystal beads (30 pcs)
- 6 mm round glass beads (20 pcs)
- Beading wire (0.014″) and crimp beads
- Lobster clasp, jump rings, split ring
- Wire cutters, crimping pliers
Instructions
- Attach Brooch Bail: Open a small split ring and slide it through the pin shank on the back of your brooch. This creates a loop for your necklace.
- String Beads: Cut a 22 inch piece of wire. Slide on a crimp bead, then one half of your clasp. Loop wire back through the crimp and flatten it. String 6 mm beads and alternating crystal beads in the order: (2 crystals, 1 6 mm) until you’re about 2 inches from the end.
- Center the Brooch: Before continuing, slide the split ring (with brooch) onto the wire and position it at center.
- Finish Beading: Continue stringing beads to match the other side. Add a final crimp bead, loop through the second clasp half, and crimp securely. Trim excess wire.
Tips
- Use the same crimp technique on both ends for a neat finish.
- Position the brooch so that it sits just below your collarbone.
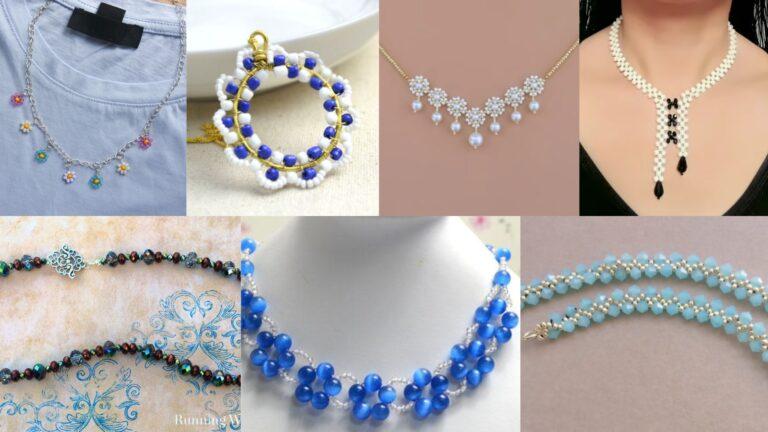
2. Elegant Pearl Necklace Tutorial
Why You’ll Love It: Pearls add instant sophistication. This pattern alternates pearls and seed beads for a classic look.
Materials
- 6 mm glass pearls (25 pcs)
- 11/0 seed beads (150 pcs)
- Nylon-coated beading wire and crimps
- Pearl tips or wire guardians (optional)
- Lobster clasp, jump rings
Instructions
- Set Up: Cut a 24 inch length of wire. Attach one end to your clasp with a crimp bead (and pearl tip if using).
- Alternate Beads: String 3 seed beads, 1 pearl, 3 seed beads. Repeat until you have a full 16 inch strand of alternating beads.
- Reinforce: Pass your wire back through every pearl and seed-bead cluster once more for strength.
- Finish: Add a final crimp bead, attach the other clasp half, and trim wire.
Tips
- Keep tension even so the strand doesn’t droop.
- Use a soft-cloth jewelry cleaner to maintain pearl luster.
3. Blue Rhombic Bugle Bead Necklace Pattern
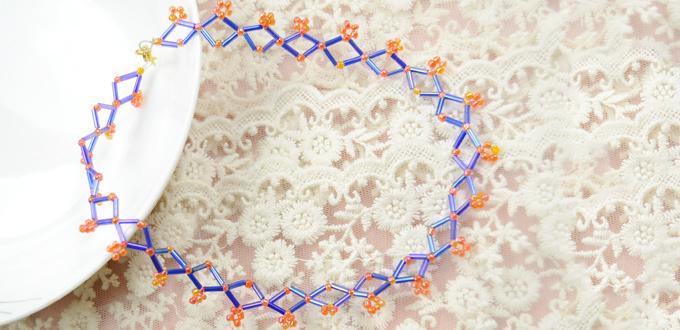
Why You’ll Love It: Bugle beads create a bold geometric look; the rhombic stitch is surprisingly easy once you get the hang of it.
Materials
- 3 × 10 mm bugle beads (rhombus shape) – 60 pcs
- 11/0 seed beads in coordinating blue – 200 pcs
- Beading thread (FireLine) and size 10 needle
- Clasp of choice
Instructions
- Foundation Row: String 1 bugle, 3 seed beads repeatedly until you reach desired neck length. Tie the ends with a surgeon’s knot and trim.
- Rhombic Stitch (Pick-Up Row): Reinforce the pattern by weaving through the bugles and seed beads: pick up 1 seed, pass through next bugle hole, pick up 1 seed, pass through next seed bead—this creates diamond shapes.
- Finish: Weave thread back through the strand, knot securely, and attach clasp.
Tips
- Work on a bead mat to prevent rolling bugles.
- Practice the rhombic pick-up motion on a small sample before tackling the full length.
4. Easy Cowrie Shell Necklace Tutorial
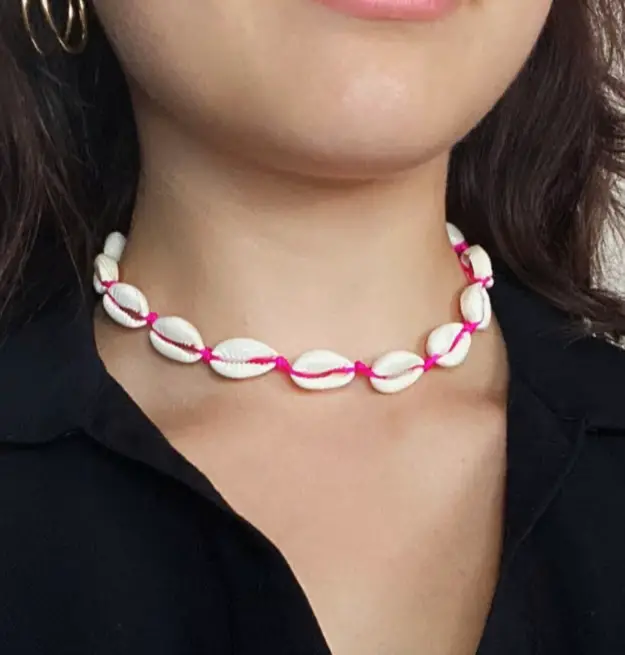
Why You’ll Love It: Natural cowrie shells give a laid-back, beachy vibe. Strung simply, they make a breezy summer accessory.
Materials
- Small cowrie shells with holes (8–10 pcs)
- 4 mm wooden or glass beads (20 pcs)
- 11/0 seed beads (100 pcs)
- Nylon cord or waxed cotton cord
- Cord ends and lobster clasp (or sliding knot)
Instructions
- Measure & Cut Cord: Cut an 18 inch length of cord.
- String in Pattern: String 5 seed beads, 1 4 mm bead, 5 seed beads, 1 shell. Repeat until you’ve used all shells. End with seed beads and 4 mm beads to balance.
- Knot & Finish: If using cord ends, crimp them on each end and attach clasp. For sliding-knot, tie simple adjustable knots.
Tips
- Seal cord ends with a drop of clear nail polish to prevent fraying.
- Alternate bead colors for contrast between shells.
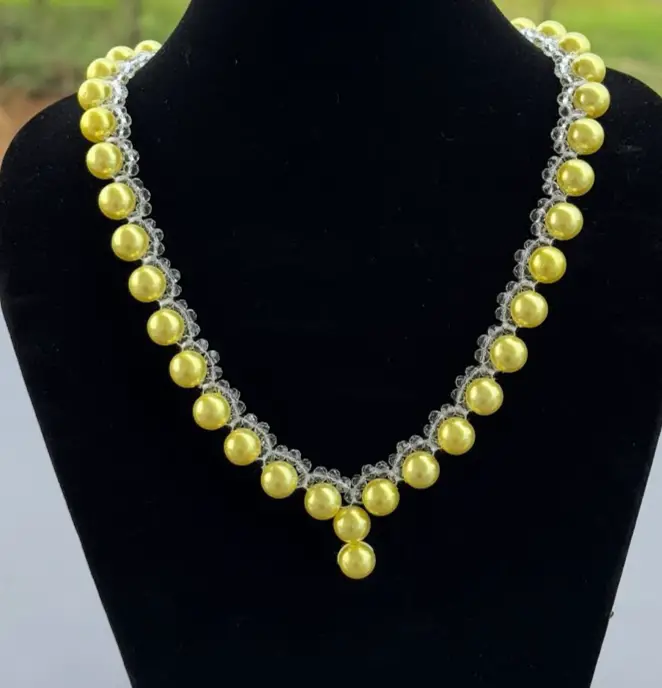
5. Simple Beaded Necklace Pattern
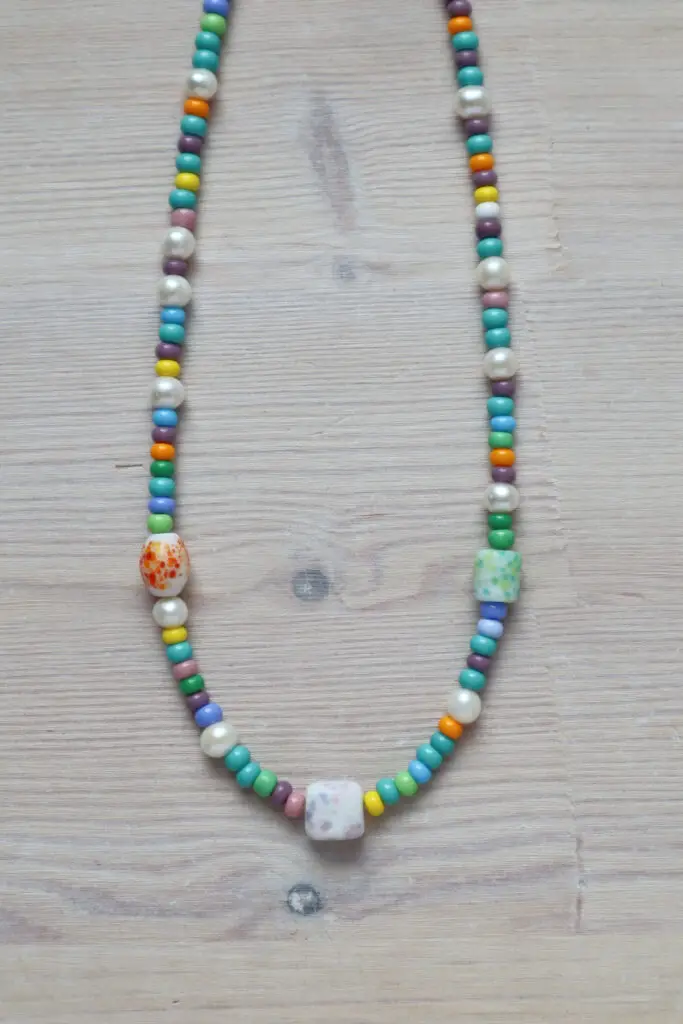
makeandfable.com
Why You’ll Love It: A straightforward “string-and-go” project that highlights beautiful focal beads.
Materials
- 8 × 12 mm focal beads (10 pcs)
- 11/0 seed beads (enough to fill gaps)
- Beading wire and crimp beads
- Lobster clasp
Instructions
- Attach Clasp: Crimp one end of the wire to the clasp.
- String Focals & Spacers: String 1 focal bead, 8 seed beads until you reach the last focal.
- Mirror & Finish: After the last focal, reverse the sequence and string back toward the clasp. Crimp to secure and trim.
Tips
- Choose focal beads with large holes to speed up stringing.
- Use a soft bead board to lay out your pattern before stringing.
6. Easy Daisy Beaded Necklace Tutorial
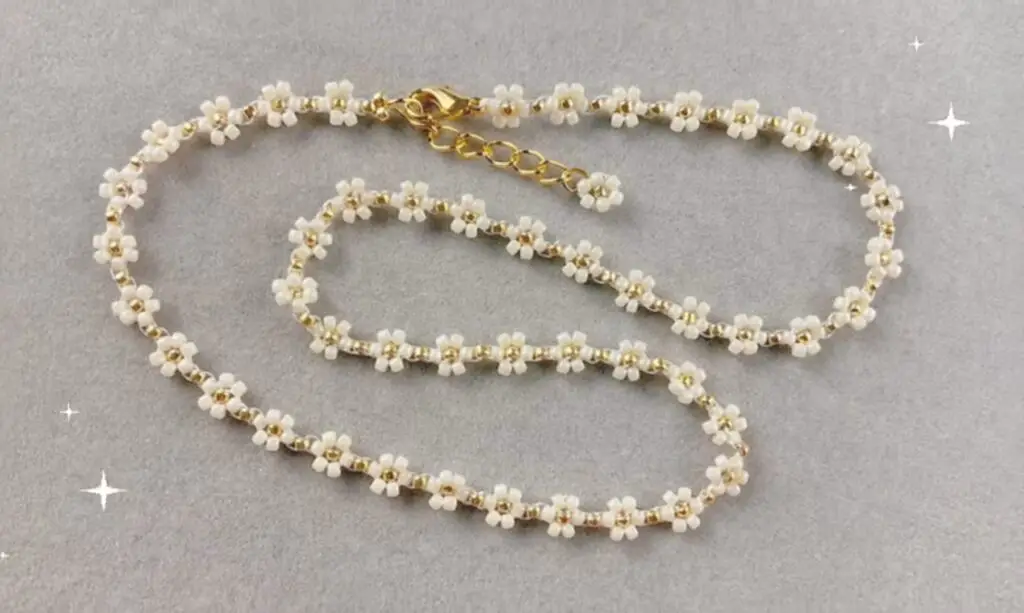
Why You’ll Love It: Playful and floral, the daisy motif uses just two bead sizes to form tiny flower clusters.
Materials
- 4 mm round beads for centers (10 pcs)
- 11/0 seed beads for petals (200 pcs)
- Beading thread and needle
- Clasp
Instructions
- Make a Daisy (Repeat for Each Flower):
- Pick up 1 center bead + 6 seed beads + pass back through the center bead. This forms a six-petal daisy.
- Link Flowers: After each daisy, pick up 3 seed beads, then start the next flower on those 3 beads (slip-stitch through the 3rd bead). Continue until you have 8–10 daisies.
- Finish Chain: After your last daisy, string extra seed beads to reach desired length, then attach clasp with crimp beads.
Tips
- Keep daisies snugly linked so gaps don’t appear.
- Experiment with contrasting center and petal colors for extra pop.
Conclusion
These six beaded necklace patterns demonstrate that elegant—and fun—pieces can be achieved with beginner-friendly materials and techniques. From the sparkle of a rhinestone brooch to the whimsy of cowrie shells and daisies, each tutorial provides detailed steps to ensure success. Pick your favorite, gather your beads, and in just a few hours you’ll have a beautiful, handcrafted necklace ready to wear or gift. Happy beading!