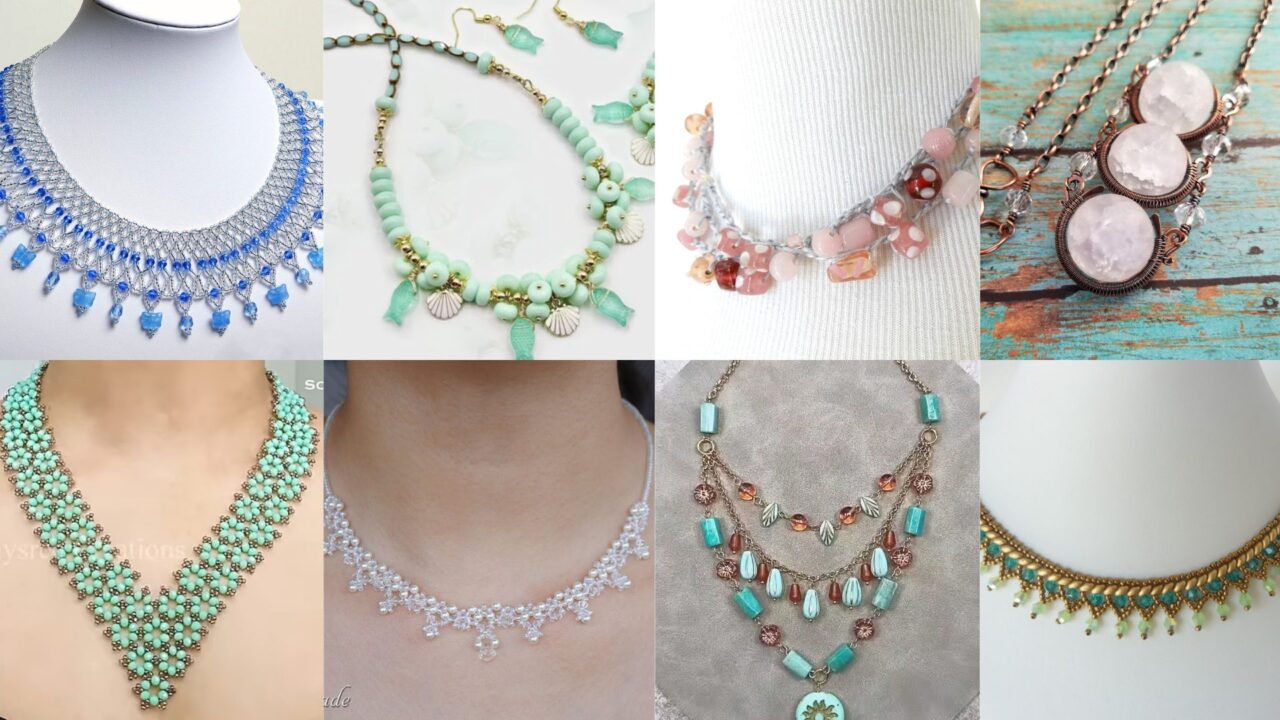
There’s nothing quite like a handmade necklace to elevate your outfit and showcase your creativity. Whether you’re gifting one to a friend or treating yourself, these eight stunning necklace patterns are designed for weekend makers. From cozy winter-inspired designs to sparkling glass baubles, each tutorial walks you through materials, techniques, and step-by-step instructions—no advanced skills required. Gather your beads, chains, and findings, and get ready to craft jewelry that’s as unique as you are!
1. Winter Tale Necklace Pattern
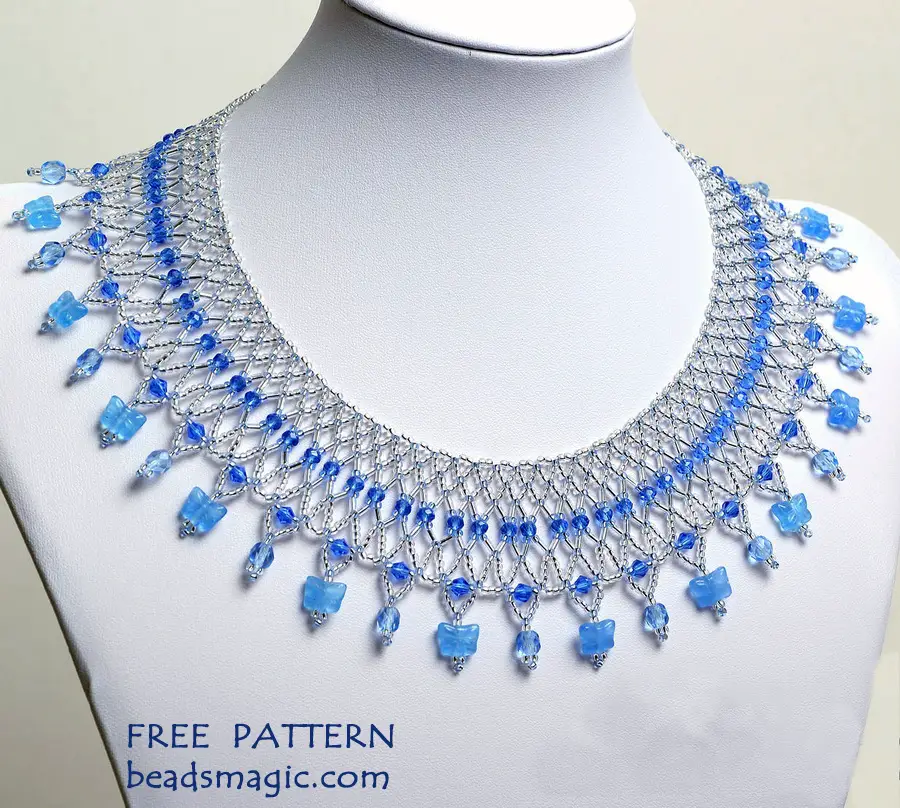
Why You’ll Love It:
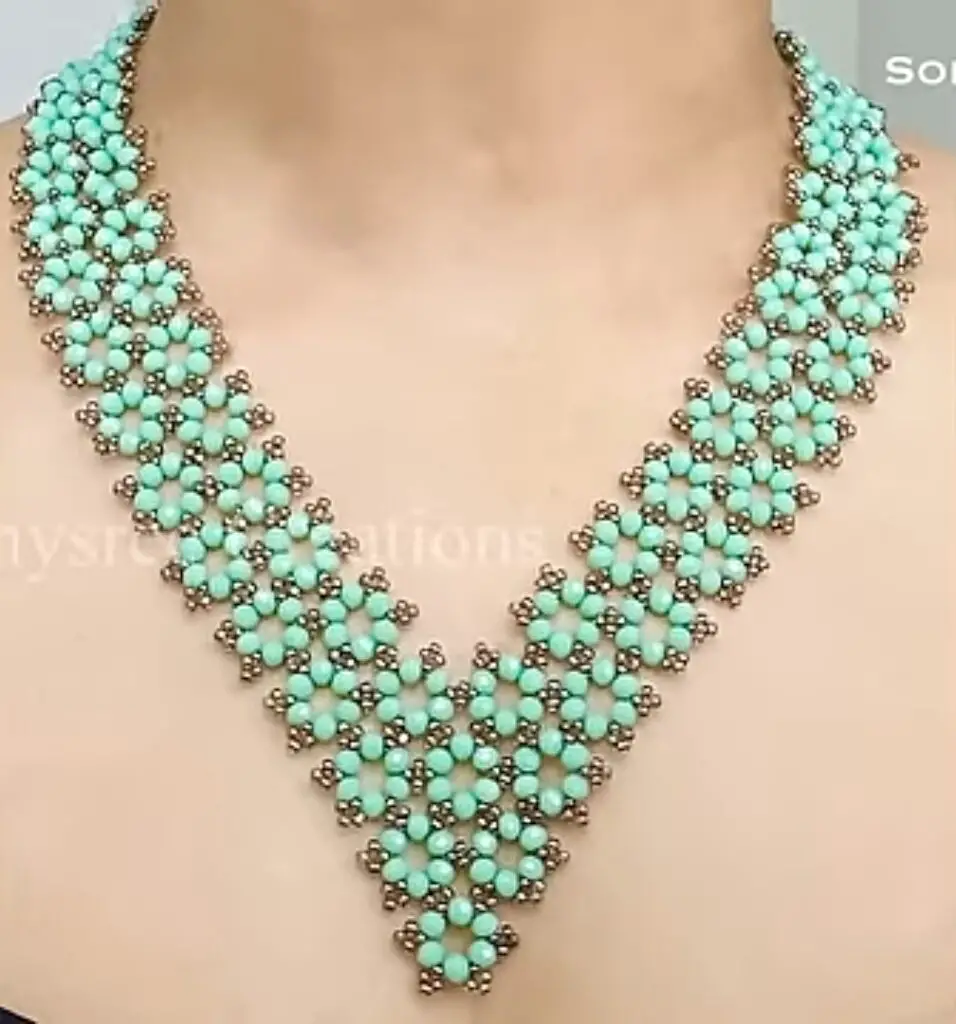
Evoking frosty mornings and snow-covered pines, this pattern combines cool-toned beads with delicate metal accents for a seasonal statement.
Materials:
- 4 mm and 6 mm glass crystal beads in icy blues and clear
- 2 mm silver spacer beads
- 18″ silver-plated chain
- Lobster clasp and jump rings
- Beading wire (0.014″) and crimp beads
- Beading needle, wire cutters, round-nose pliers
Instructions:
- Plan Your Layout: Lay out a center focal of a 6 mm crystal flanked by silver spacers, then mirror with 4 mm crystals and spacers for a graduated look.
- Stringing the Beads: Cut a 22″ length of wire. Slide on a crimp bead, then one half of your chain. Loop back through the crimp and clamp. String your bead sequence until you reach the opposite chain end.
- Finishing the Strand: Add another crimp bead, loop through the free end of chain, and clamp. Trim excess wire. Attach lobster clasp with jump rings.
- Optional Dangle: Before trimming, thread one extra 4 mm crystal on a short wire pin, make a wrapped loop, and attach at the clasp for a little sparkle.
Tips: Keep your chain sections short (1–2 inches) so beads drape gracefully and don’t bunch.
2. DIY Stunning Beaded Necklace Tutorial
Why You’ll Love It:
Bold yet refined, this pattern uses mixed-sized round beads to catch the light and create a luxurious, layered effect.
Materials:
- 8 mm round gemstone beads (20 pcs)
- 4 mm faceted glass beads (40 pcs)
- 11/0 seed beads (100 pcs)
- 20 mm toggle clasp
- Beading thread (Nymo or FireLine) and size 10 needle
Instructions:
- Anchor the Clasp: Thread about 3 feet of beading thread. Pick up a crimp bead, one toggle bar, and another crimp bead. Loop back through both crimps and snug against the toggle, then clamp both crimps.
- Bead Sequence: Pick up 1 seed bead, 1 glass bead, 1 seed bead, 1 gemstone bead, and repeat. This sequence alternates sparkle and substance. Continue until the strand reaches about 16 inches.
- Attach Opposite Clasp Half: Add a final crimp bead, loop through the toggle ring, and clamp. Weave thread back through several beads to secure, then trim.
- Fluff & Shape: Lay the finished necklace flat, gently coax beads into position for a smooth drape.
Tips: Working with FireLine reduces tangling and gives extra strength for heavier gemstone beads.
3. Beaded Marquessa Necklace Pattern
Why You’ll Love It:
Inspired by vintage cocktail rings, this pattern features teardrop-shaped “marquessa” beads set in a halo of seed beads for dramatic flair.
Materials:
- 18 × 6 mm teardrop glass beads (6 pcs)
- 11/0 seed beads in contrasting color (200 pcs)
- 15/0 seed beads for edging (200 pcs)
- Beading thread and size 12 needle
- 16″ chain for connectors
- Clasp of your choice
Instructions:
- Create the Halo Units: For each teardrop bead, string 4 seed beads, 1 teardrop, 4 seed beads. Pass back through the teardrop and first two seed beads, then tighten to form a petal-like halo. Repeat six times around to encircle the teardrop.
- Join Units: Use seed beads to connect adjacent halos—pick up 2 beads, pass through the next halo’s edge bead, repeat. This creates a continuous band of marquessas.
- Edge Finishing: Weave a row of 15/0 beads along both top and bottom edges of the band to stabilize.
- Add Chain Ends: Use small jump rings to attach short chain segments at each end, then add your clasp.
Tips: Keep tension even so each halo sits flat; block units under a light weight if needed before joining.
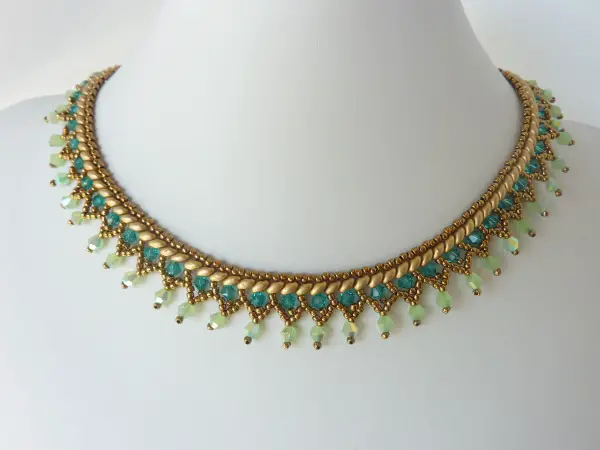
4. Elegant Beaded Necklace Tutorial
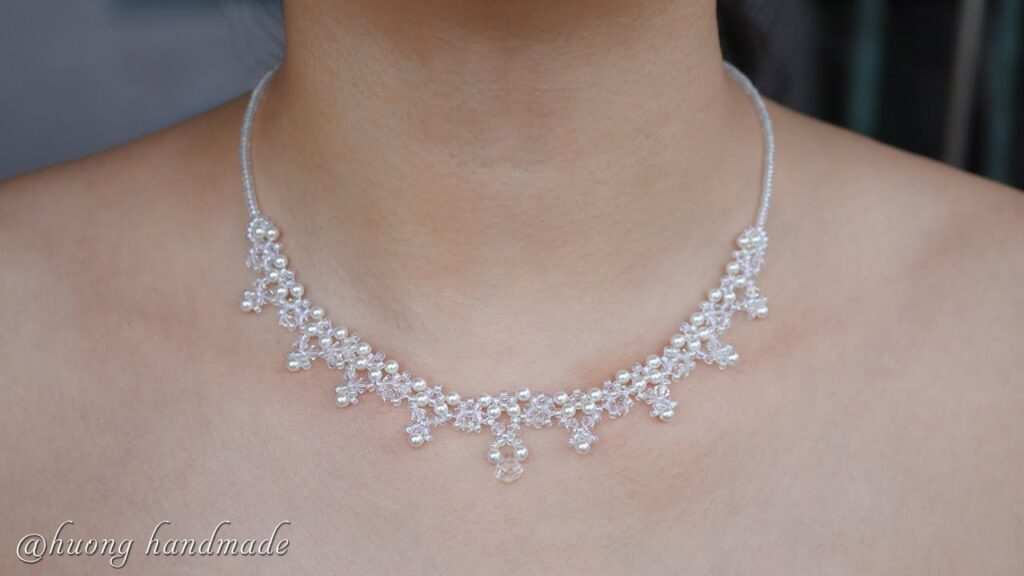
Why You’ll Love It:
A refined mix of metallic beads and pearls gives a classic look that transitions seamlessly from office to evening.
Materials:
- 6 mm glass pearls (24 pcs)
- 4 mm hematite beads (48 pcs)
- Gold spacer beads (50 pcs)
- 18″ gold-filled chain (2 sections of 1.5 inches each)
- Gold-filled lobster clasp and jump rings
- Beading wire and crimps
Instructions:
- String the Center Section: After attaching one chain section with a crimp, string pearl, spacer, two hematite, spacer and repeat until about 14 inches of beaded strand.
- Finish with Chain: Crimp to secure the final bead, then attach the second chain section. Ensure chain lengths match for symmetry.
- Polish & Wear: Check crimps and chain junctions for secure closure, then give your necklace a gentle wipe with a soft cloth.
Tips: Hematite’s subtle shine contrasts beautifully with soft pearls—consider matte spacers for extra texture.
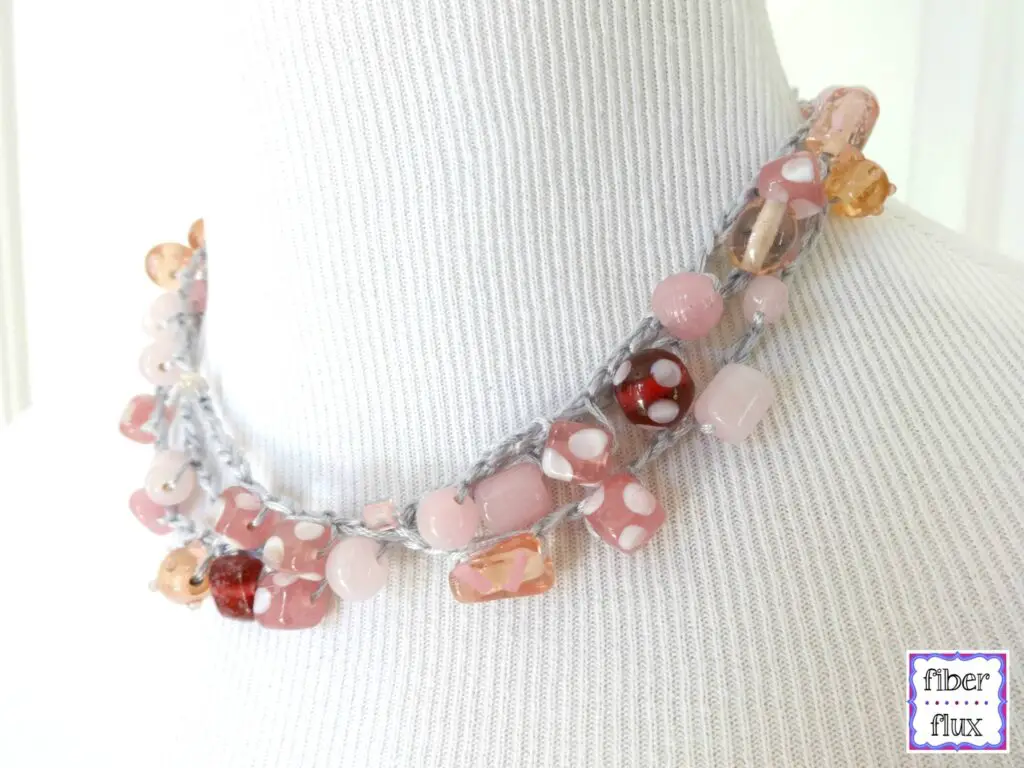
5. Weave a Stunning Chalice Necklace Pattern
Why You’ll Love It:
This eye-catching design mimics the elegance of a goblet with its dramatic beaded “cup” suspended from a woven collar.
Materials:
- 4 mm Czech glass beads (60 pcs)
- 11/0 seed beads (300 pcs)
- 2 mm Leather cord (16 inches)
- Beading thread and size 12 needle
- End caps and ribbon clamps
- Lobster clasp
Instructions:
- Form the Chalice Pendant: Using thread, bead a circular base of seed beads, then work subsequent rounds of stacked glass beads, decreasing slightly each row to form a shallow cup. Finish with a ring of seed beads.
- Attach to Collar: Thread leather cord through the pendant’s top seed‑bead row, leaving equal cord tails on both sides.
- Simple Woven Collar: Braid the three strands (beaded cord + two leather cords) into a tight braid for 4 inches, then switch to plain leather for the remaining length.
- Finish Ends: Secure braid ends in clamps, attach clasp and jump rings.
Tips: Use a small drop of jewelry glue inside clamps for extra hold on leather.
6. Sea Treasure Necklace Tutorial
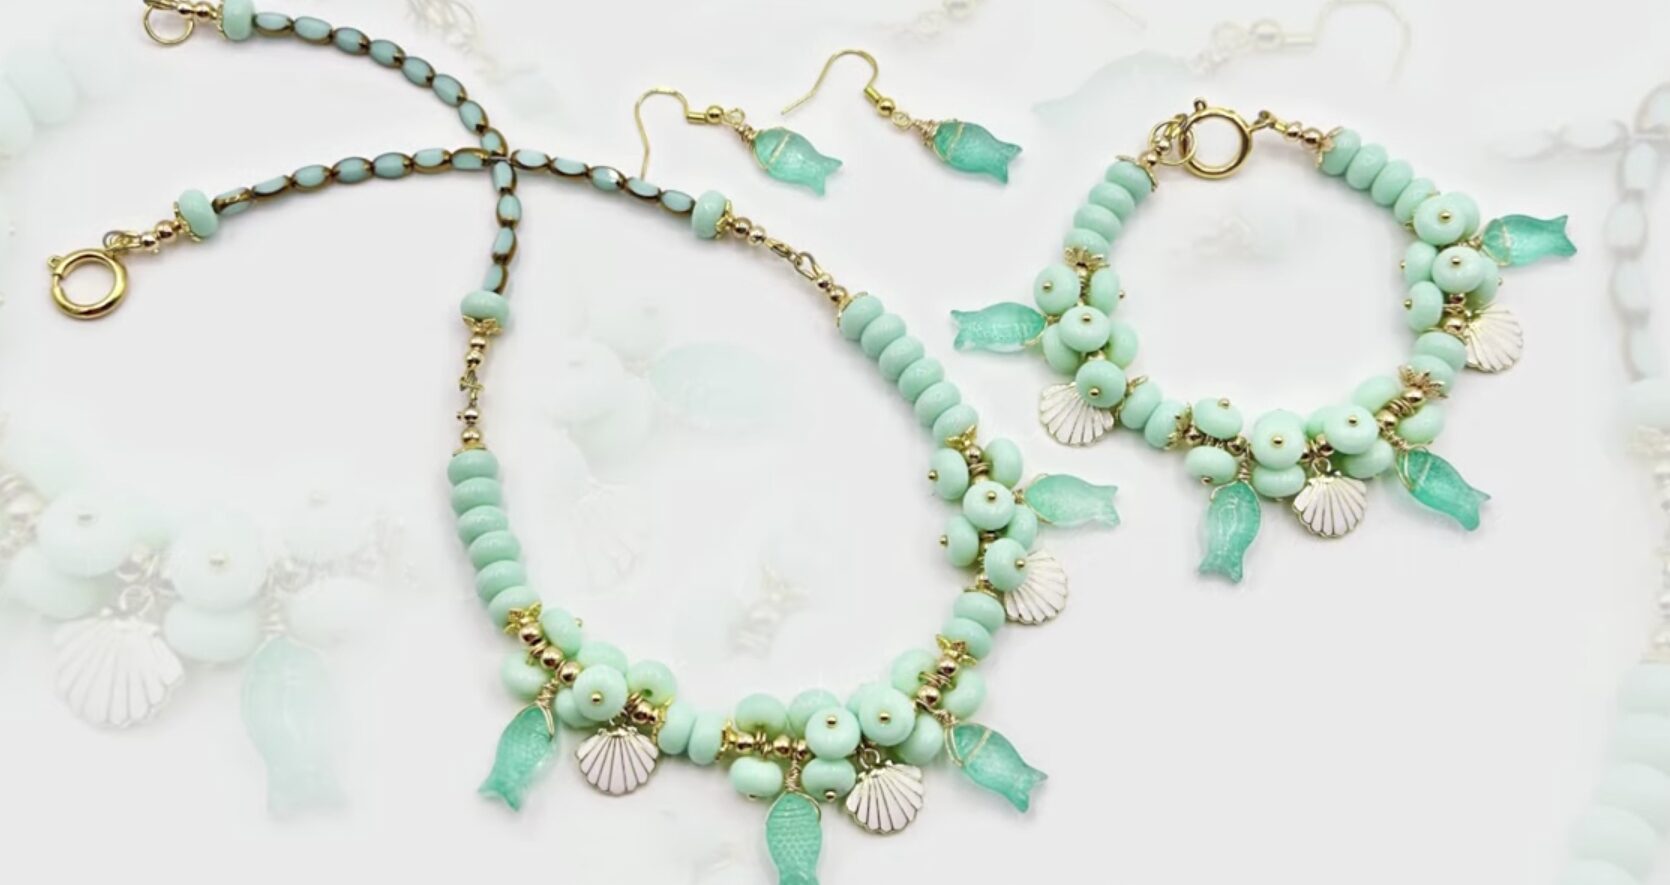
Why You’ll Love It:
Channel ocean vibes with aquamarine beads, tiny shell charms, and a light, airy netting technique.
Materials:
- 6 mm aquamarine-colored beads (30 pcs)
- 11/0 seed beads (150 pcs)
- Small shell charms (6 pcs)
- 2 mm nylon cord or beading thread
- 3 mm hook for netting
- Lobster clasp
Instructions:
- Create the Beaded Net: With cord, chain a base of 50. Work net stitches: chain 3, single crochet (SC) into the 3rd chain from hook, chain 3, skip 2 chains, SC—repeat to end.
- Incorporate Beads and Charms: On returning row, slide on 1 seed bead before each SC, and every 10 loops, slide on 1 aquamarine bead. After net is 2 inches tall, attach charms in random loops by slip‑stitching.
- Form Neck Band: Switch to a single-strand cord and braid or chain-stitch for 14 inches.
- Attach and Finish: Sew net edges to each end of the band, add clasp with jump rings, and trim.
Tips: Stretch your net gently after beading to ensure even spacing and a fluid drape.
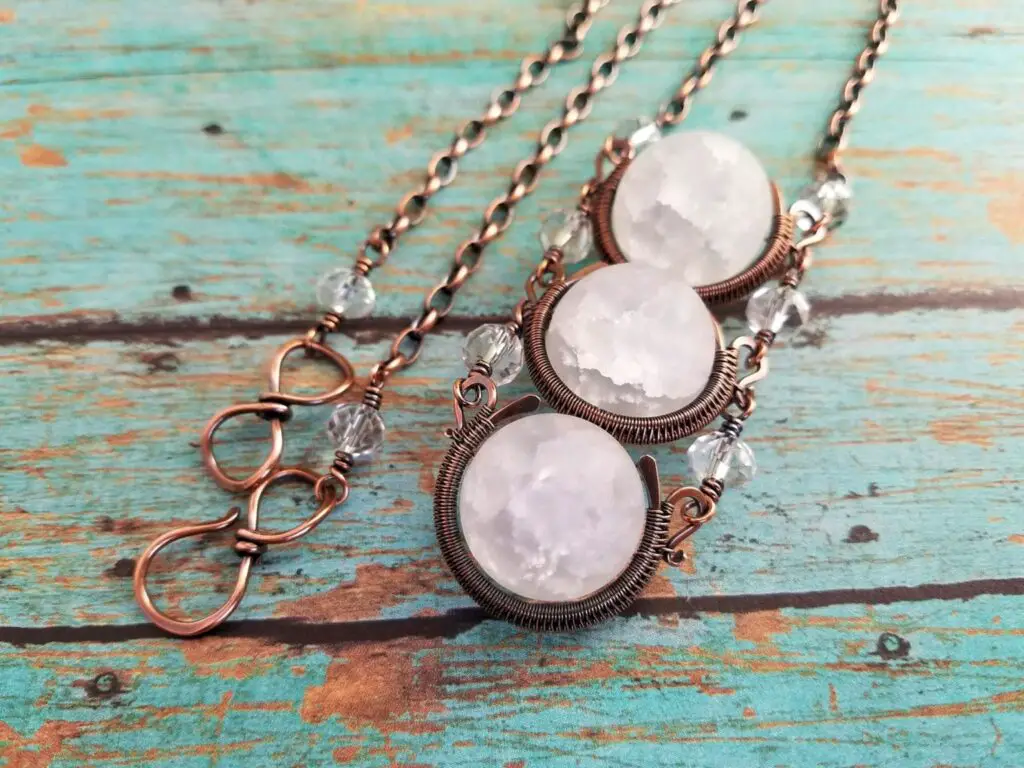
7. Glass Bauble Necklace Pattern
Why You’ll Love It:
Playful and modern, this necklace suspends delicate glass baubles inside beaded “cages” for a floating effect.
Materials:
- Small glass orb beads (6 pcs)
- 11/0 matte seed beads (200 pcs)
- 2 mm elastic cord or soft beading wire
- 18″ waxed cotton cord
- Crimp beads or knot covers
Instructions:
- Build the Cages: For each bauble, thread 6 seed beads, pass through the bauble’s neck, then pull tight. Continue adding seed bead, pass through bauble for two more rounds to cover.
- Space the Baubles: On the cord, knot or crimp bead spacers every 2 inches, then slide a caged bauble onto the cord. Repeat for all orbs.
- Finish with Cord Ends: Tie cord ends securely and cover knots with cord ends or bead cones.
Tips: Elastic cord lets the baubles move freely—use soft wire if you prefer a stiffer presentation.
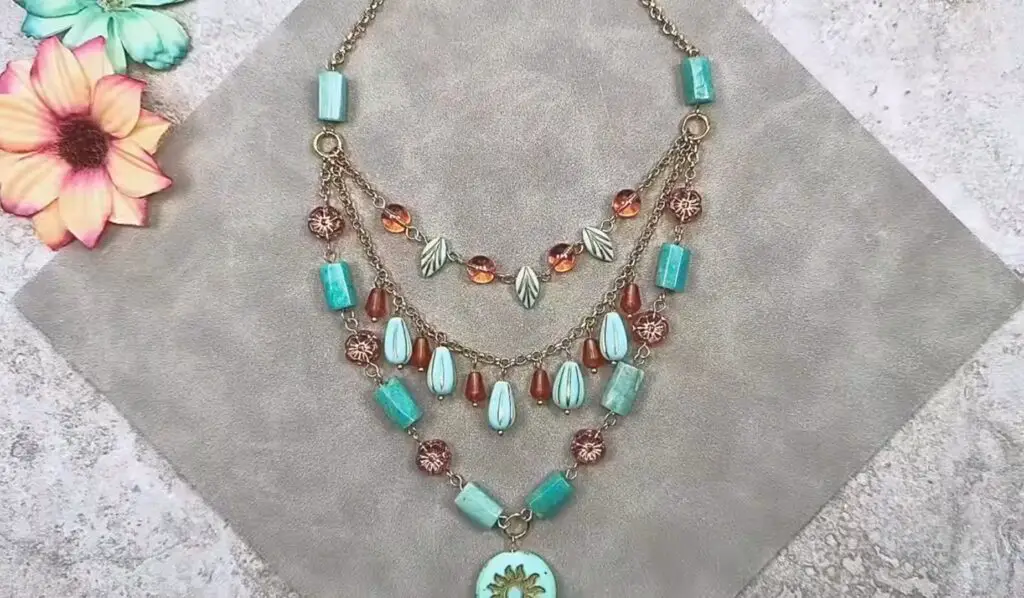
8. Party Wear Necklace Tutorial
Why You’ll Love It:
Dazzling and dramatic, this multi-strand necklace mixes metallic links with sparkling beads for evening glam.
Materials:
- 3 strands of 2 mm curb chain (each 16 inches)
- 4 mm faceted crystal beads (60 pcs)
- 12 mm large jump rings (6 pcs)
- 8 mm bead cones (3 pcs)
- Lobster clasp and extender chain
Instructions:
- Attach Bead Strands to Cones: Thread 20 crystal beads onto fine wire, make a wrapped loop, and secure under each cone. Make three beaded dangles per cone.
- Connect Chains and Cones: Open a large jump ring, loop through the bottom of a cone and one curb chain, then close. Repeat for each chain and cone.
- Assemble Multi-Strand Layout: Attach all three chains to one side of the clasp with jump rings, then repeat on the opposite clasp half.
- Adjust and Layer: Use the extender chain to wear the necklace at different lengths for maximum impact.
Tips: Mix bead colors or chain finishes (gold, silver, rose gold) for a personalized palette.
Conclusion
From frosty winter motifs to ocean-inspired nets and metallic party designs, these eight necklace patterns offer endless possibilities for weekend creativity. Each tutorial provides clear, step-by-step guidance—whether you’re new to beading, wire work, or crochet-inspired netting. Choose your favorite style, gather your materials, and in just two afternoons, you’ll have a stunning, handcrafted piece to wear or gift. Happy making!