

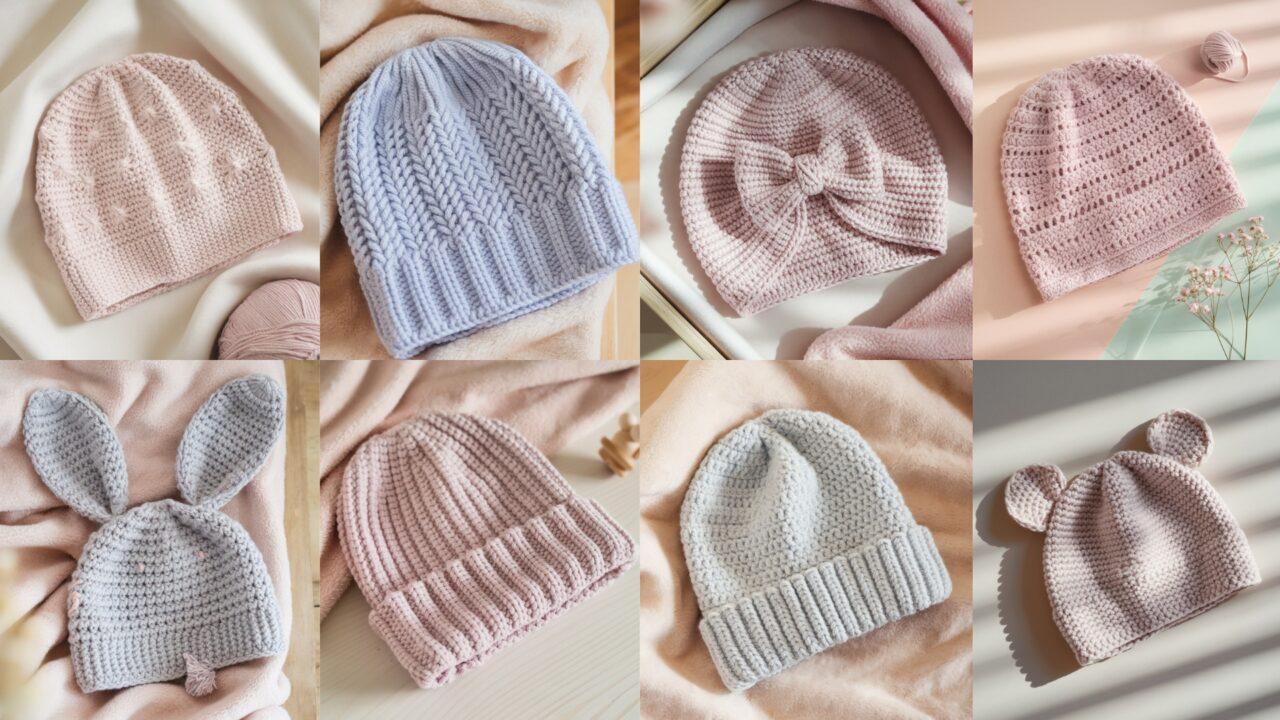
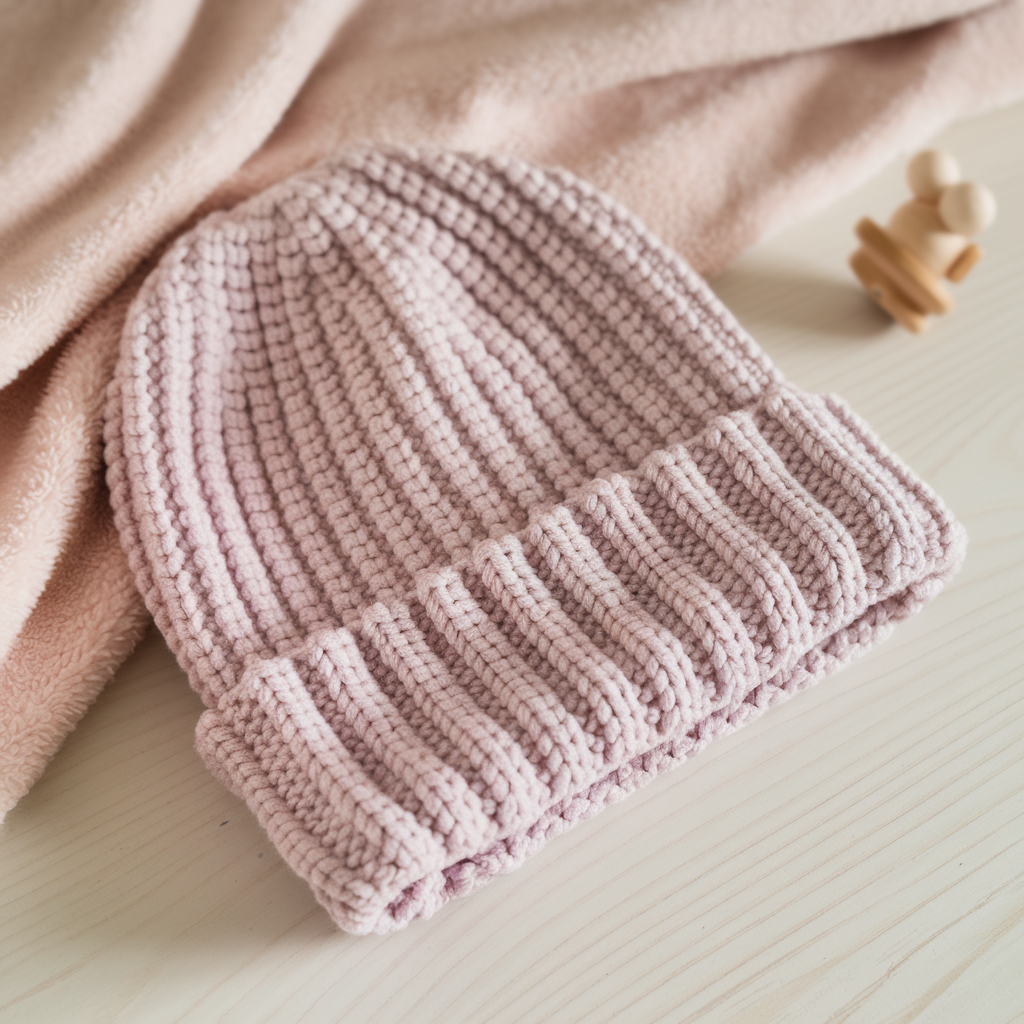
A handmade baby beanie is one of the most thoughtful, useful gifts you can make: small, quick, and full of charm. The right beanie is soft against delicate skin, stays put through wiggles and naps, and can be personalized with color, texture or a tiny applique. In this collection you’ll find eight baby beanie patterns — from lacy spring styles and knit-look classics to playful animal hats — each written for baby sizes and designed to be easy to follow.
Every pattern below uses US crochet terms, lists materials and gauge, and gives step-by-step instructions for three common baby sizes:
- Newborn (0–3 months) — head circumference ≈ 13–14 in (33–36 cm)
- Infant (3–6 months) — head circumference ≈ 15–16 in (38–41 cm)
- Baby/Toddler (6–12 months) — head circumference ≈ 17–18 in (43–46 cm)
Before you start: make a small gauge swatch with your yarn and hook. I use a standard reference gauge below (for worsted/medium weight yarn) and include notes to adjust if your gauge differs. Where exact stitch counts matter I give counts based on the reference gauge and show how to modify by measuring the crown diameter as you work.
Quick gauge & stitch-to-size reference (useful for all patterns)
Reference yarn & hook (unless otherwise stated): worsted weight (Category 4), 4.5 mm (US 7) hook.
Reference gauge: 12 double crochet (DC) = 4 in (10 cm) worked in the round.
From that gauge we get 3 DC per inch (12 ÷ 4 = 3). Use this to calculate final stitch counts for each head circumference:
- Newborn 13.5 in × 3 = ≈ 40 stitches around
- Infant 15.5 in × 3 = ≈ 46 stitches around
- Baby 17 in × 3 = ≈ 51 stitches around
Common crown increase progression when working flat-from-center with DC increases:
- Round 1: 6 DC in magic ring → 6 sts
- Round 2: 2 DC in each = 12 sts
- Round 3: 1 DC, 2 DC in next → 18 sts
- Round 4: DC in next 2, 2 DC in next → 24 sts
- Round 5: DC in next 3, 2 DC in next → 30 sts
- Round 6: DC in next 4, 2 DC in next → 36 sts
- Round 7: DC in next 5, 2 DC in next → 42 sts
- Round 8: DC in next 6, 2 DC in next → 48 sts
- Round 9: DC in next 7, 2 DC in next → 54 sts
Use these rounds to choose when to stop increasing: Round 6/7/8 commonly suit newborn/infant/baby sizes depending on gauge and desired fit. Always measure crown diameter as you go.
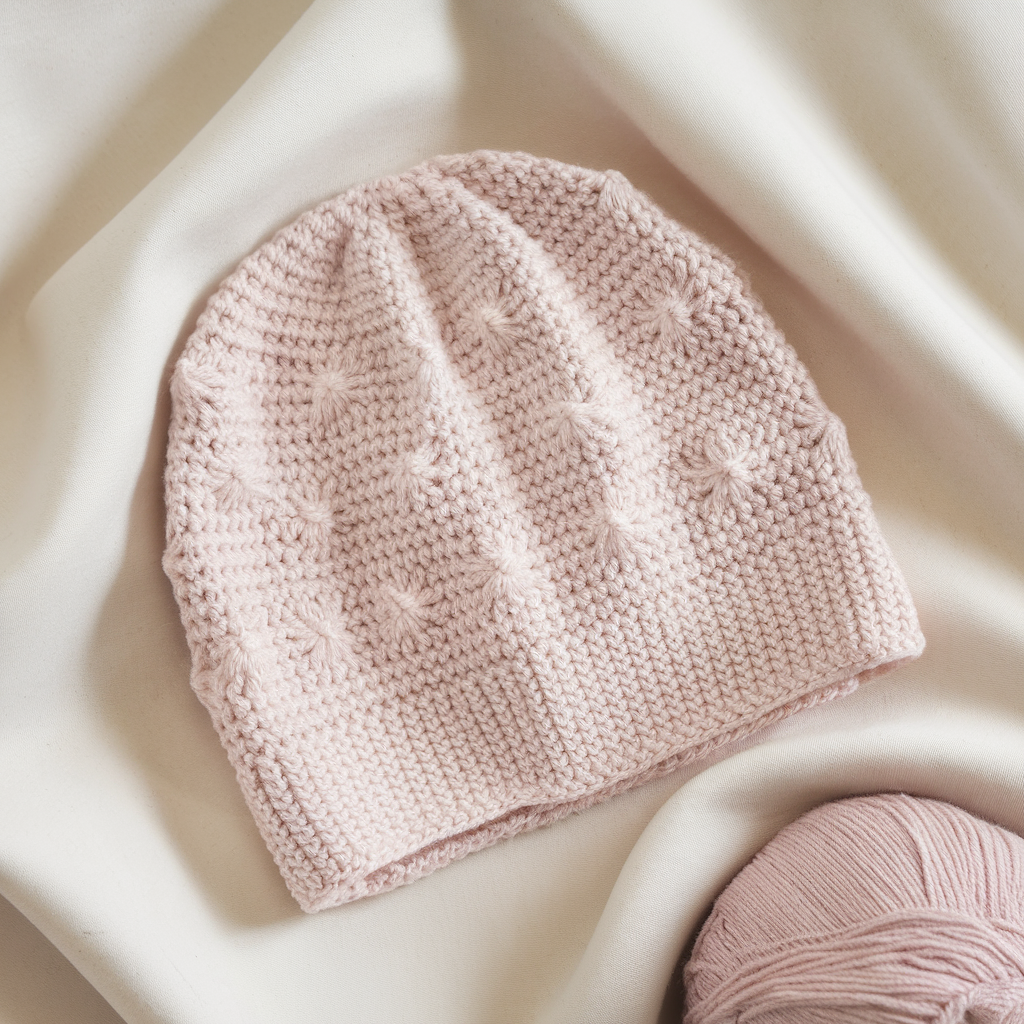
1. Crochet Star Stitch Baby Beanie Pattern
Skill level: Confident beginner (star stitch requires attention but is beginner-friendly)
Estimated time: 2–4 hours
Materials
- Worsted weight baby-soft yarn (acrylic, acrylic/bamboo or baby wool) — approx 50–75 g
- 4.5 mm (US 7) crochet hook
- Yarn needle, scissors, measuring tape
Gauge & sizes
- Reference gauge: 12 DC = 4 in (10 cm)
- Crown stitch counts to aim for (worked in DC-based crown then switch to star stitch): Newborn ≈ 40 sts, Infant ≈ 46 sts, Baby ≈ 51 sts
Notes about star stitch
The star stitch (also called the marguerite stitch) creates a lovely textured fabric that looks like tiny stars—soft and slightly dense, very warm. Working it in rounds can create a slightly snug fabric; it’s perfect for baby hats.
Step-by-step
Crown (magic ring increases — medium size example):
- Make a magic ring. Rnd 1: CH 2 (counts as first DC), work 5 DC into ring. Pull ring closed. (6 DC)
- Rnd 2: 2 DC in each st around. Join with SL ST to top of CH 2. (12 DC)
- Rnd 3: DC in next st, 2 DC in next st repeat around. (18 DC)
- Rnd 4: DC in next 2, 2 DC in next repeat around. (24 DC)
- Rnd 5: DC in next 3, 2 DC in next repeat around. (30 DC)
- Rnd 6: DC in next 4, 2 DC in next repeat around. (36 DC)
- Rnd 7: DC in next 5, 2 DC in next repeat around. (42 DC) — stop here for newborn/choose round 8 for larger sizes.
Measure: Lay the work flat and measure across the crown (diameter). Multiply by π (3.14) to check circumference, or simply place the crown on your swatch or a measuring board—if it seems slightly smaller than desired circumference, continue increase round one more time.
Body (switch to star stitch): Once you have reached approximate stitch count to match size (for Medium we stopped at 42 or 48), proceed in rounds as follows:
- Star stitch round (worked over 2 or 3 base stitches depending on tutorial): Insert hook in next stitch, draw up a long loop, insert in next stitch, draw up long loop; repeat for 4–6 loops then yarn over and pull through two loops repeatedly to form star; chain 1 to close star; SL ST into next stitch to secure.
(Exact star instructions vary — follow your preferred star-stitch technique; consistent loop counts produce even stars.) - Work star stitch rounds until hat height from crown = Newborn 4.5–5 in / Infant 5–5.5 in / Baby 5.5–6 in (measure from crown peak to intended brim).
Brim: Work 2–3 rounds of SC or HDC to tidy the edge. Optionally work 1–2 rows of ribbing in BLO using HDC for a snug fit: HDC in BLO around for 6 rounds.
Finish: Fasten off, weave in ends. Lightly steam/block if desired.
Variations & tips
- Use a sport or DK yarn and a smaller hook for daintier stars (good for newborn).
- To make a folded brim, add 1–2 in extra length and fold up before finishing.
- For a tie-on look, add two 12-in cords at brim sides.
2. Crochet Bear Baby Beanie Pattern
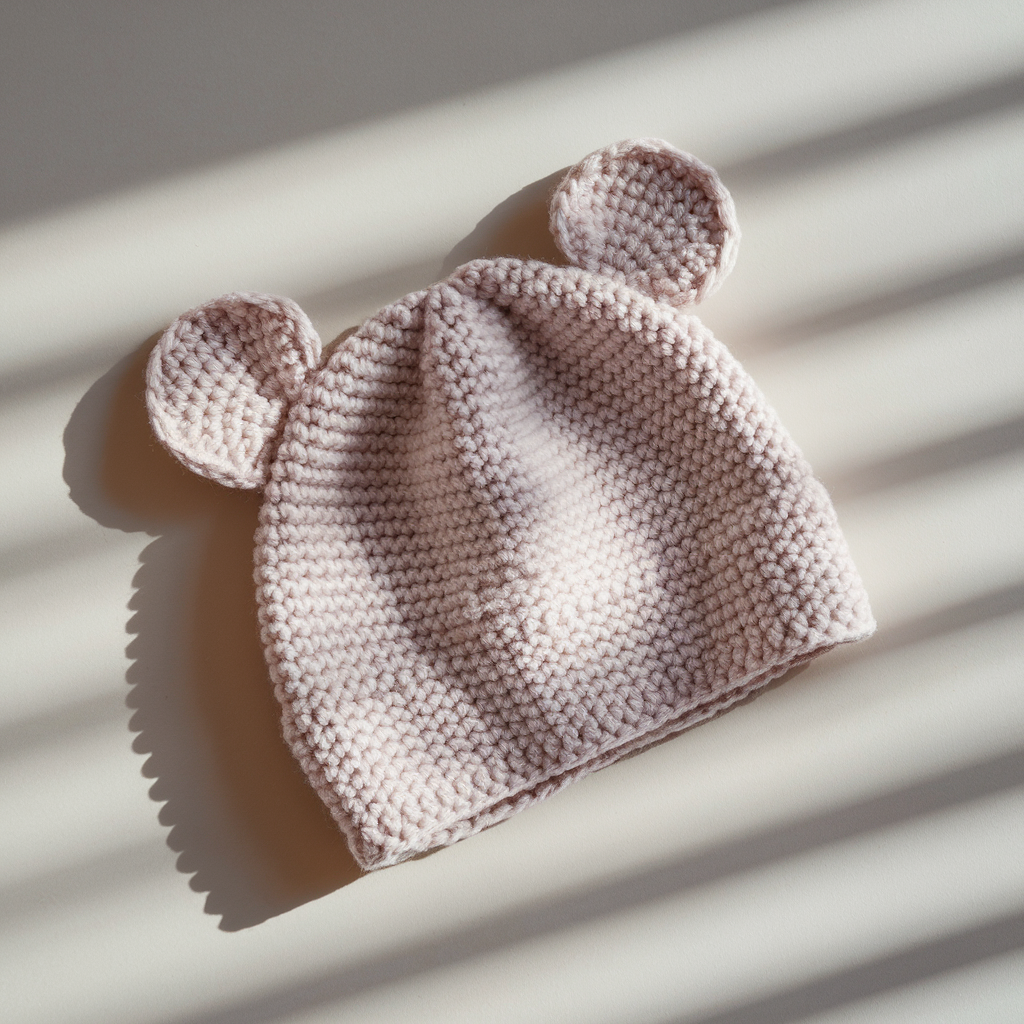
Skill level: Beginner–Intermediate (basic shaping + applique ears)
Estimated time: 2–3 hours
Materials
- Soft worsted or DK yarn (main color for bear) — 50 g
- 4.5 mm (US 7) hook for worsted or 4.0 mm for DK
- Yarn needle, small amount of contrasting yarn for nose/face details, optional safety eyes (for decorative gifts only — avoid for very young infants)
Gauge & sizes
- Same reference gauge and size targets as above.
Step-by-step
Crown (magic ring increases — example for Infant size):
- Magic ring, CH 2. Rnd 1: 6 DC in ring. (6)
- Rnd 2: 2 DC in each st (12).
- Rnd 3: DC 1, 2 DC in next → 18.
- Rnd 4: DC 2, 2 DC in next → 24.
- Rnd 5: DC 3, 2 DC in next → 30.
- Rnd 6: DC 4, 2 DC in next → 36.
- Rnd 7: DC 5, 2 DC in next → 42 (this is often a good base for newborn to small infant — use R8 for larger babies).
Body: Work DC or HDC rounds (HDC gives denser fabric) without increases until hat reaches 4.5–6 in from crown (depending on size).
Ears (make 2):
- CH 5. Rnd 1: SC in 2nd CH from hook and across (4 SC). Turn.
- Rnd 2: SC2TOG, SC, turn (3).
- Rnd 3: SC2TOG, turn (2).
- Rnd 4: SC2TOG, fasten off leaving tail. Slightly curve and sew base to hood top using tail, spacing ears about 3–4 in apart (centered over crown).
Face details: Embroider a small nose and mouth with contrasting yarn. If you prefer sewn-on felt nose or embroidered blush, add that before finishing.
Brim: Work 2 rounds of SC or 4 rounds of HDC in BLO for a stretchy cuff.
Finish: Weave ends, reinforce ear attachment.
Safety note
For babies under 1 year, avoid using small safety eyes or buttons that could be chewed off; embroider facial features instead.
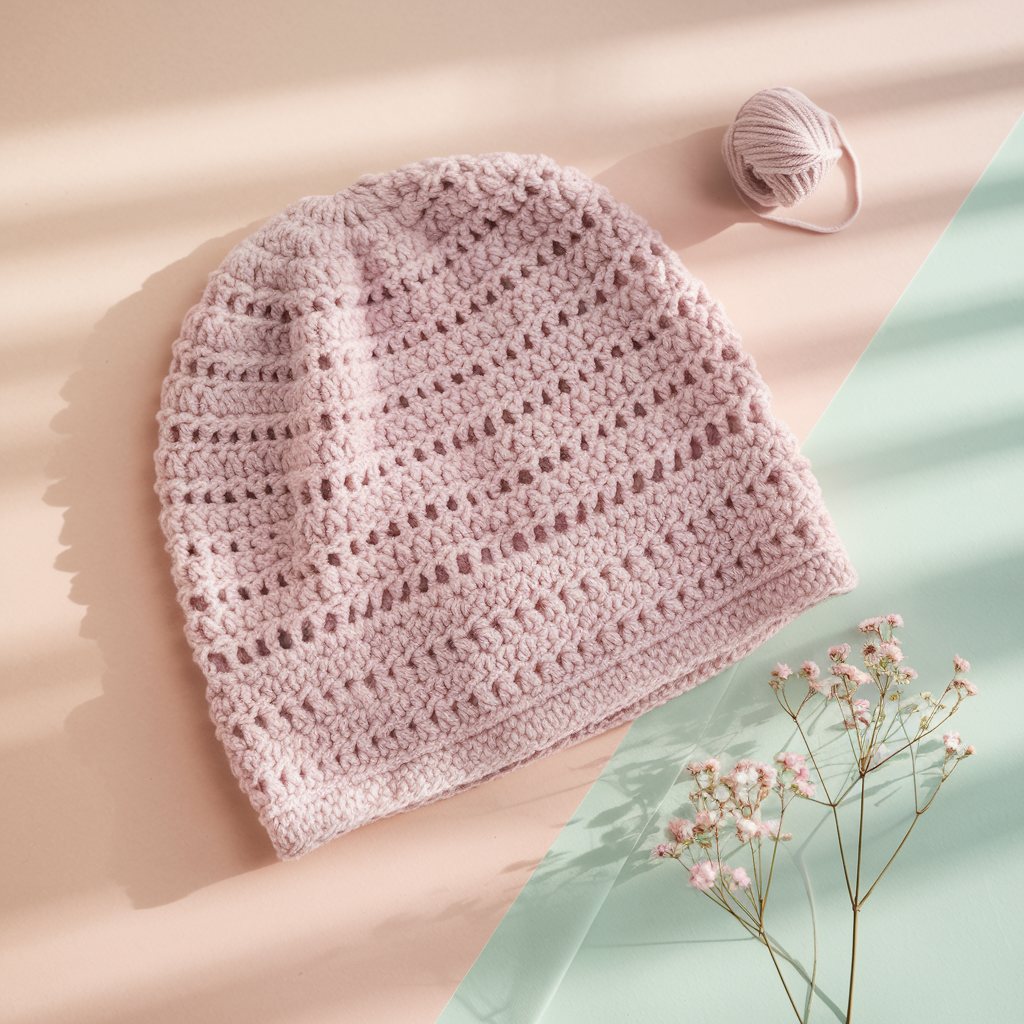
3. Crochet Lacy Springtime Baby Beanie Pattern
Skill level: Intermediate (lace stitch sequences)
Estimated time: 2–4 hours
Materials
- DK weight cotton or cotton blend (soft for spring) — 50–75 g
- 4.0 mm (US G) hook
- Yarn needle
Gauge & sizes
- Slightly different gauge if using DK — swatch to determine stitches/inch. Aim for a delicate fabric with proper coverage (lace patterns can be open — line it if making for very young infants).
Stitch pattern concept
A repeating lace motif (e.g., shell and chain mesh) gives airy spring charm. Because the fabric is open, this hat works best for cooler spring days or layered over a close-fitting cotton beanie.
Step-by-step (example lace shell beanie)
Crown increases (use dc or hdc to create base):
- Magic ring, 6 DC into ring. Rnd 1 = 6.
- Rnd 2: 2 DC in each st → 12.
- Rnd 3: DC 1, 2 DC in next → 18.
- Continue increasing as needed until you reach a round whose stitch count suits your target size (see reference table earlier — R6–R8). Use R7 ~42 for newborn/infant small.
Switch to lace shell mesh:
- Round A (setup): CH 1, SC around for one round to set base for lace.
- Round B (shell row): (CH 3, skip 2 sts, 5 DC in next st, skip 2 sts, CH 3, SL ST) Repeat around so shells are centered on top of former stitches.
- Round C (mesh row): SL ST into center of each 5-DC shell, CH 4, SL ST into center of next shell to form chain arches between shells. Repeat alternating shell and mesh rows.
Work sequence: Repeat shell + mesh rows until hat height ~4.5–6 in depending on size. If the pattern produces larger open spaces, you may want to add a lining later.
Edging: Work 1–2 rounds of SC in BLO to create a subtle folded brim, or add picot edge for a delicate finish: (SC, CH 3, SL ST in same SC) around.
Finishing & lining: For newborns, consider lining the hat with a soft cotton beanie cut to size and sewn inside to keep it cozy and safe.
Variations & tips
- Use variegated cotton for soft color shifts.
- Add a small flat bow or single flower applique at side.
4. Crochet Ribbed Baby Turban Beanie with Bow

Skill level: Beginner–Intermediate (working in the round and front loop ribbing)
Estimated time: 2–3 hours
Materials
- DK or worsted baby yarn — 50–75 g
- 4.0–4.5 mm hook depending on yarn
- Yarn needle, optional small safety pin to hold twist while seaming
Concept
This style is a fitted turban/beanie with a stretchy ribbed band (worked in back loop or front post) and a decorative bow at the front. It’s very on-trend and snug without being tight.
Step-by-step
Crown: Work standard magic ring increases in DC until you reach the stitch count you want for the size (R6–R8 based on earlier chart). For a turban you’ll want it slightly narrower so the ribbing stretches around the head.
Ribbed band (worked in the round):
- After crown increases stop, work HDC in BLO around for 6–8 rounds to create ribbing. HDC in BLO creates horizontal ridges that behave like knit ribbing. For extra elasticity, work a second round in BLO using smaller hook.
- Continue ribbing until band height = about 2–2.5 in (for baby sizes). For a turban style, you may want the band taller (2.5–3 in).
Create front twist and bow:
- Option A (knotted band): Cut the ribbed band off after desired height and fold the band in half; stitch the side seam but leave a small opening in front, twist the front portion once and sew the twist in place, then cover twist with a small crocheted bow.
- Option B (sewn bow): Make a separate small rectangle (CH 12, SC rows 6–8) and wrap it around the front center, cinch and sew the ends behind to create a bow look.
Finish and secure: Weave ends, block lightly.
Fit & finishing tips
- Because it’s ribbed, this beanie has a lot of stretch—measure the baby’s head and err on the tighter side (it will stretch).
- For newborns, reduce crown increases one round to keep fit snug.
5. Crochet Bunny Baby Beanie Pattern

Skill level: Beginner–Intermediate
Estimated time: 2–4 hours
Materials
- Super soft baby yarn (DK or worsted) — 50–75 g (main)
- 4.0 mm hook (DK) or 4.5 mm (worsted)
- Small amount of pink or cream yarn for inner ear detail
- Yarn needle, small safety eyes are optional (avoid for very young infants)
Step-by-step
Crown increases: As shown in previous patterns—work magic ring increases until your working stitch count reaches the row matching target size (R6–R8).
Body: Continue DC or HDC rounds until the hat measures ~4.5–6 in from crown to brim.
Bunny ears (make 2):
- With main yarn CH 6. Rnd 1: SC in 2nd CH from hook and across (5 SC). Turn.
- Row 2: SC across, turn. Row 3: SC2TOG, SC across, shape ears by decreasing as needed to get a tapered look (3–4 rows). Fasten but do not overstuff.
- Inner ear: make a smaller oval or use pink yarn to embroider inner ear shapes and sew into ear center before attaching.
Attach ears: Sew ears to the top of the hat, spaced about 3 in apart (center-to-center). Make sure attachments are secure and stitched through the lining/stitches.
Tail (optional): Add a small pompom as a tail and stitch to back crown.
Brim: 2–3 rounds SC or a folded 1 in cuff made from BLO HDC.
Finish: Fasten off and weave in ends.
Safety
Embroider facial features (if any) rather than adding small plastic pieces for infants under 1.
6. Crochet Herringbone Baby Beanie Pattern

Skill level: Intermediate (herringbone half double crochet technique)
Estimated time: 2–4 hours
Materials
- Worsted weight soft yarn — 50–75 g
- 5.0 mm (US 8) hook (herringbone HDC uses slightly different tension)
- Yarn needle
About herringbone HDC
The herringbone half double crochet (hbHDC) creates a dense, squishy fabric that mimics a knit herringbone texture—warm and stretchy, excellent for beanies.
Stitch reminder (hbHDC): Yarn over, insert hook in stitch, yarn over and pull up a loop (two loops on hook), yarn over and pull through one loop (now two loops remain), yarn over and pull through both loops. This creates a slightly taller, slanted stitch.
Step-by-step
Crown: Start with magic ring and increase in DC to desired base count as before; you will switch to hbHDC for body rounds.
Body — herringbone rounds:
- After crown increases, change to hbHDC and work in continuous rounds (no join) or joined rounds if you prefer visible joins.
- Work hbHDC evenly around until hat length from crown = Newborn 4.5 in / Infant 5 in / Baby 5.5–6 in.
Top shaping if necessary: Because hbHDC is a bit taller, you may reach desired height with fewer rounds. Fasten off leaving tail; weave top closed by running tail through remaining stitches and cinching.
Brim: Work 4–6 rounds HDC in BLO for a ribbed cuff that hugs baby’s head.
Finish: Weave ends. This beanie has a nice plush hand and is machine-washable if yarn allows.
7. Crochet Knit-Look Baby Beanie pattern
Skill level: Intermediate (technique to simulate knit)
Estimated time: 2–4 hours
Materials
- Worsted weight yarn — 50–75 g
- 5.0 mm (US 8) crochet hook
- Yarn needle
Concept
A knit-look fabric is commonly achieved with HDC worked in back loop only (BLO) or by using front-post/ back-post stitches to mimic ribbing. The result resembles knit stitches while remaining crochet-fast.
Step-by-step
Crown: Use the magic ring DC increase progression until you reach a round with stitch counts appropriate for size (R6–R8).
Switch to knit-look body (HDC BLO method):
- Rnd 1: CH 2, HDC in BLO around. Join.
- Rnds 2–n: Continue HDC in BLO for several rounds until hat measures desired height. BLO HDC creates vertical ridges similar to knitted stitch columns.
- For a folded brim: work extra rounds and fold up to create a ribbed cuff. Alternatively, work 6–8 rounds of HDC in BLO with a smaller hook to create a tight cuff.
Alternative knit look (herringbone or post stitch rib): Use FPDC/BPDC columns alternating for wider ribbing.
Finish: Weave in ends, block lightly to encourage knitted appearance.
Styling
- This style photographs beautifully for “miniature knit” looks on newborn photo props.
8. Crochet Soft Simple Baby Beanie Pattern (Quick & Classic)

Skill level: Beginner (fast, straightforward)
Estimated time: 1–2 hours
Materials
- Super soft worsted yarn (acrylic/bamboo blend or baby acrylic) — 50 g
- 4.5 mm (US 7) hook
- Yarn needle
Why choose this pattern
This is the “go-to” beanie: quick, squishy, very forgiving. It’s ideal when you want to make multiples for gift sets.
Step-by-step (one-size template with easy adjustments)
Crown (magic circle method):
- Magic loop, CH 2. Rnd 1: 6 DC in ring (6).
- Rnd 2: 2 DC in each st (12).
- Rnd 3: DC 1, 2 DC in next (18).
- Rnd 4: DC 2, 2 DC in next (24).
- Rnd 5: DC 3, 2 DC in next (30).
- Rnd 6: DC 4, 2 DC in next (36).
- Rnd 7: DC 5, 2 DC in next (42). Stop when you reach a round near the target stitch count (see reference table). For newborn you might stop at R6 (36) and work even rounds to brim; for 3–6 months choose R7 (42), etc.
Body: Work DC rounds evenly until hat measures approx:
- Newborn: 4.5 in
- Infant: 5 in
- Baby: 5.5–6 in
Brim: Option A — fold-up cuff: Work HDC in BLO for 6–8 rounds, fold and seam. Option B — simple SC finishing: 2 rounds of SC for a neat edge.
Finish: Fasten off and weave in ends.
Variations & extras
- Add a removable pompom, tiny applique (star, heart), or embroidery for personalization.
- Make matching mittens or booties for a baby gift set.
Finishing, blocking & care (applies to all beanies)
- Weave ends securely. Babies handle hats roughly; bury tails through multiple stitches and knot where appropriate.
- Blocking: Most baby hats made of acrylic don’t need blocking. For natural fibers (cotton, wool) wet-block to even stitches and set shape. Fuzzy yarns should not be aggressively blocked.
- Lining: If using lacy stitches, line beanies with thin cotton knit for warmth and to prevent gaps letting cold through. Sew lining neatly to the inside brim.
- Washing: Use machine gentle/warm or hand wash depending on yarn type. Always follow yarn manufacturer’s care instructions—label the gift with washing directions if you give the hat away.
- Safety: Avoid beads, buttons or small attachments for infants under 12 months. Embroidered or crocheted features are safest.
Conclusion
These eight baby beanie designs give you a broad toolkit: textured stitchwork (star, herringbone), charming animals (bear, bunny), delicate spring lace, modern knit-look finishes, and a fast, classic beanie when you need to churn out gifts. Each pattern is adaptable — switch yarn weights, adjust crown rounds per your gauge, and add decorative touches to suit your style.


Thanks for sharing. I read many of your blog posts, cool, your blog is very good. https://accounts.binance.com/register-person?ref=IHJUI7TF
Thanks for sharing. I read many of your blog posts, cool, your blog is very good.
Thank you for your sharing. I am worried that I lack creative ideas. It is your article that makes me full of hope. Thank you. But, I have a question, can you help me?
Your point of view caught my eye and was very interesting. Thanks. I have a question for you.
Thanks for sharing. I read many of your blog posts, cool, your blog is very good. https://accounts.binance.com/en-ZA/register-person?ref=B4EPR6J0
Thanks for sharing. I read many of your blog posts, cool, your blog is very good.
Can you be more specific about the content of your article? After reading it, I still have some doubts. Hope you can help me. https://accounts.binance.com/sl/register-person?ref=I3OM7SCZ
Can you be more specific about the content of your article? After reading it, I still have some doubts. Hope you can help me.
Your point of view caught my eye and was very interesting. Thanks. I have a question for you.
Thanks for sharing. I read many of your blog posts, cool, your blog is very good.
Thank you for your sharing. I am worried that I lack creative ideas. It is your article that makes me full of hope. Thank you. But, I have a question, can you help me? https://www.binance.info/register?ref=JW3W4Y3A
Thank you for your sharing. I am worried that I lack creative ideas. It is your article that makes me full of hope. Thank you. But, I have a question, can you help me?
Thanks for sharing. I read many of your blog posts, cool, your blog is very good. https://www.binance.com/si-LK/register?ref=LBF8F65G
Your article helped me a lot, is there any more related content? Thanks!
Your article helped me a lot, is there any more related content? Thanks! https://accounts.binance.info/lv/register-person?ref=SMUBFN5I
Thank you for your sharing. I am worried that I lack creative ideas. It is your article that makes me full of hope. Thank you. But, I have a question, can you help me?