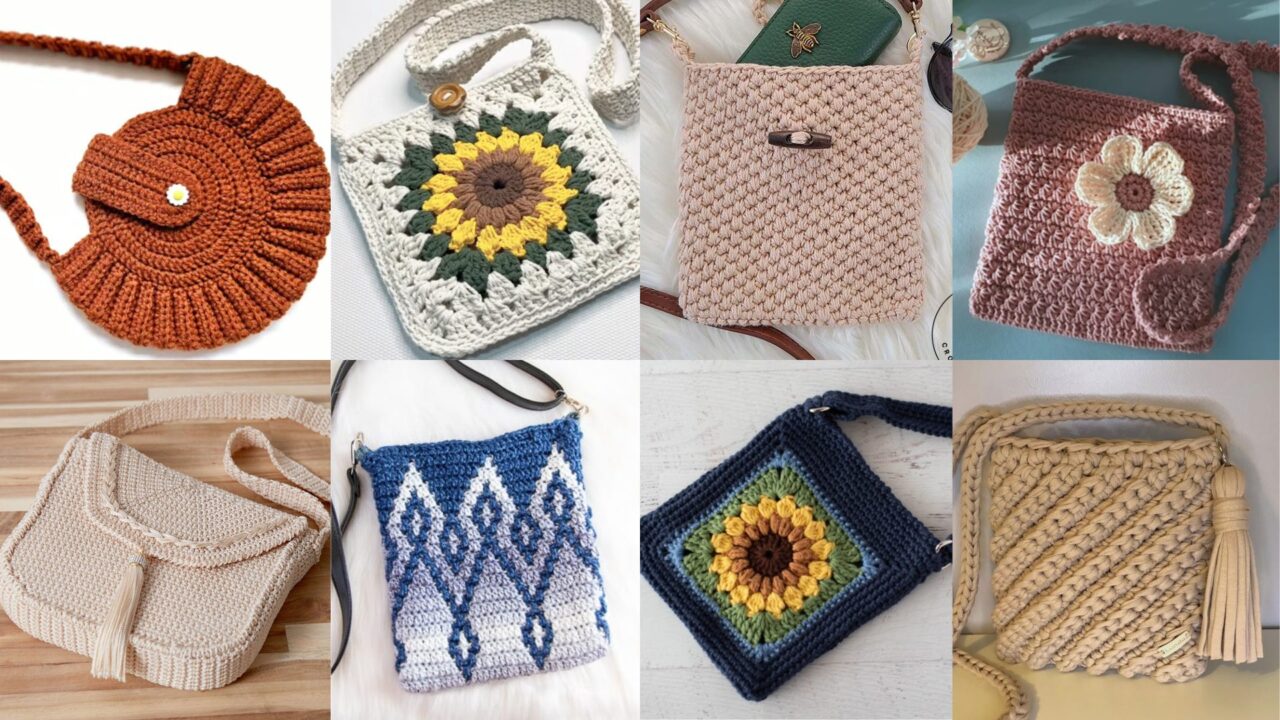
Crossbody bags are one of the most satisfying crochet projects: small enough to finish in a weekend, practical for daily life, and the perfect place to show off colorwork, texture and finishing skills. Below are eight modern crossbody bag patterns — each written with a clear Skill level, a concise Materials list, a thorough Step-by-step construction guide (including sizing and finishing), plus Variations and Final tips so you can adapt the design to your yarn stash and style.
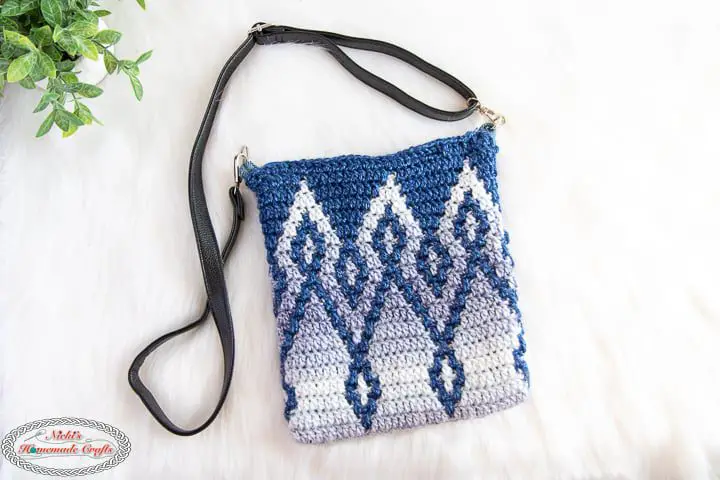
1. Mosaic Crochet Shoulder Bag Pattern
nickishomemadecrafts.com
Skill level: Intermediate
Materials
- DK or light worsted cotton (2 colors for mosaic contrast), ~350–500 yds total
- Hook: 4.0 mm (adjust for gauge)
- Lining fabric & needle (optional), fusible interfacing for structure, magnetic snap or zipper
- Strap hardware (D-rings) or a long crocheted strap, tapestry needle, scissors
Step-by-step
- Concept & size: Mosaic crochet uses slipped stitches and single/double crochet combinations to create geometric colorwork without floats. Aim for a bag front panel ~10–11″ wide × 8–9″ high for a medium crossbody. Make a gauge swatch: typical mosaic repeat works at ~18–20 sc = 4″.
- Front panel (worked flat): Chain enough to reach target width plus 1 ch (for example ch 48). Row 1: sc across. For mosaic pattern, work rows of sc in color A, then rows where you slip designated stitches in color B following a 2-row mosaic chart (row of color B slipped stitches read left-to-right; next row in A works sc over them). Repeat chart until height reached. Keep color changes tidy — carry yarn for short gaps or cut and weave in.
- Back panel & base: Make a matching back panel (same size). Optionally work a narrow base strip (foundation chain length = bag width minus seam allowances) and join to front/back later for a boxed bottom.
- Assembly: With RS together, single crochet or whipstitch sides and bottom, leaving top open. For a boxed bottom, seam front to base to back for neat corners. Insert fusible interfacing to lining and stitch lining to bag top, leaving a small seam allowance; attach magnetic snap to lining + bag fabric for secure closure.
- Strap: Make a sturdy crocheted strap (e.g., 6–8 sc wide, worked to desired length ~45–55″ for crossbody) or use leather strap hardware attached with D-rings. Sew or rivet strap ends to bag sides.
- Finishing: Weave in ends, topstitch if desired, press lining.
Variations
- Use three or more colors on a larger mosaic chart for a bold graphic look.
- Make a mini version (phone pouch) by halving the stitch/row counts.
- Add a flap: work an extra panel and attach as a folded flap with decorative button.
Final tips
- Mosaic looks best when your tension is consistent — practice the slipped stitch rows on a swatch.
- Lining makes the bag sturdier and hides floats; interfacing prevents sagging under weight.
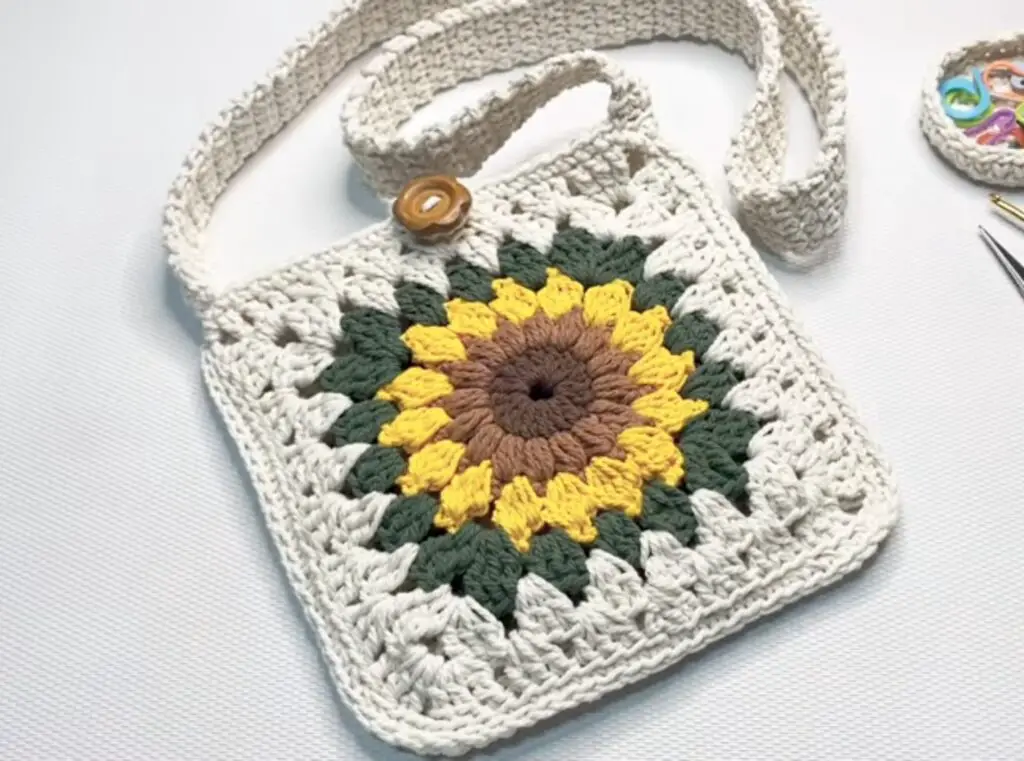
2. Granny Square Sunflower Crochet Bag Tutorial
Skill level: Beginner → Intermediate
Materials
- Worsted cotton in sunflower yellow, brown (center), green (leaves) and background color (e.g., cream), ~400–500 yds
- Hook: 4.5 mm (G) for worsted yarn
- Button or magnetic snap, optional leather strap, tapestry needle, scissors
Step-by-step
- Motif design: Each panel is built from large granny square motifs where the centre is a raised sunflower (petal rounds) surrounded by classic granny rounds to square off. Aim for 4–6 motifs per side depending on motif size (e.g., 5″ motifs × 6 across = 10–12″ bag width).
- Make sunflower motif: MR, work brown center (8 sc). Join yellow, work petal round: in each petal placement do (ch3, 3 dc, ch3) into center to form a petal cluster or use puff stitches for texture (5-dc puff). Continue with granny rounds in background color until square size reached. Block squares for consistency.
- Panels: Join motifs into a rectangle for the front and back using join-as-you-go or whipstitch. Make a matching strip for the base or create a solid strip worked in sc to get a flat bottom.
- Assembly: Seam sides and base, leaving top open. Add lining for durability and to stabilize motifs, then add a snap/button for closure. Attach strap: either crochet a dense strap (5–8 sc wide) and sew to side seams, or secure D-rings and attach leather strap.
- Finishing: Weave in ends, lightly block finished bag.
Variations
- Make a tote version by increasing motif count.
- Use puff stitch petals for a sculptural sunflower; add embroidered seed details in the center.
Final tips
- Use cotton for structure and to show stitch definition.
- If you prefer a softer bag, skip the interfacing and use a fabric lining only.
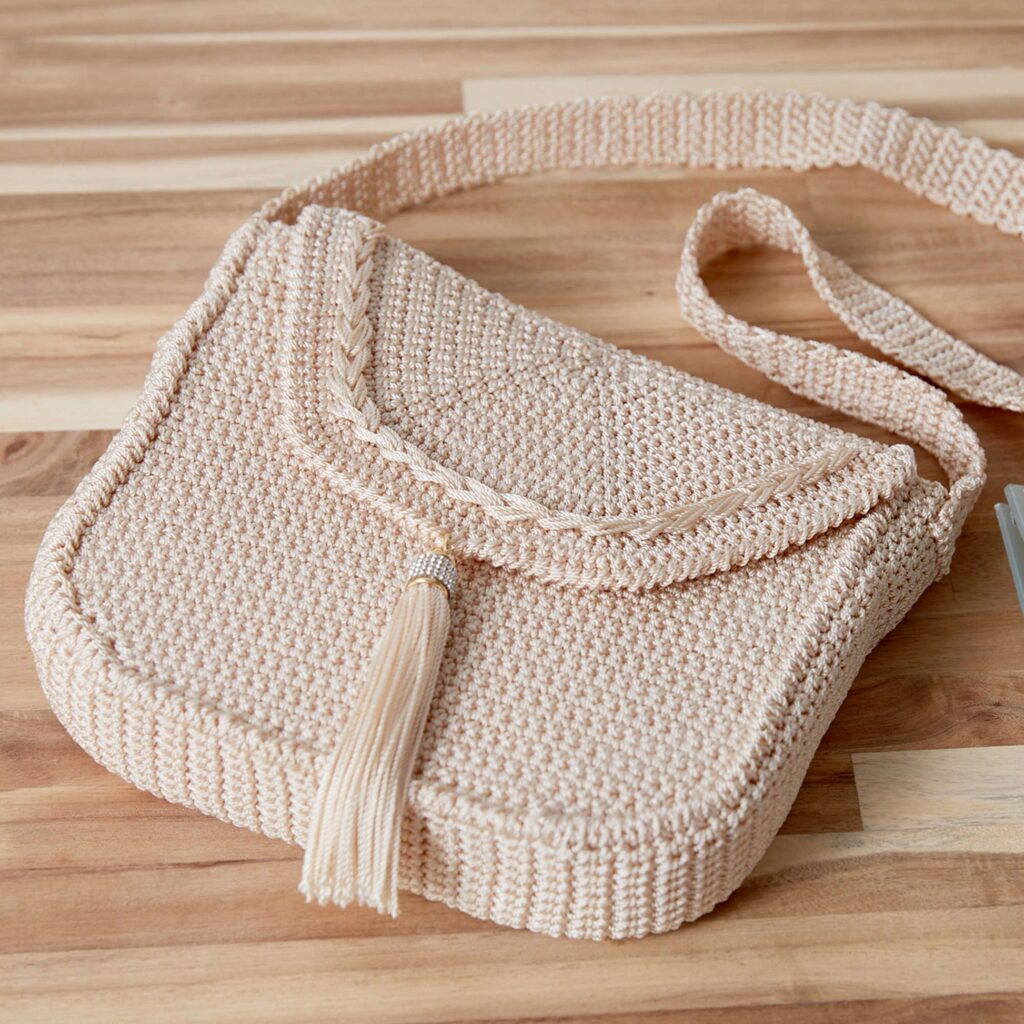
3. Sturdy Nylon Crochet Crossbody Bag Pattern
Skill level: Intermediate
Materials
- Nylon or polypropylene cord/twine (water-resistant, sturdy) or recycled plastic yarn (e.g., Ruff-N-Red, T-shirt yarn alternative), ~100–200 yds depending on size
- Hook: large (8–10 mm) or hook recommended for cord thickness
- Strong hardware (metal D-rings, swivel clasp), sewing needle for heavy duty, optional fabric lining
Step-by-step
- Why nylon: Nylon cord makes a durable, structured crossbody perfect for everyday use or wet weather. Gauge is critical; this material doesn’t stretch like fiber yarns.
- Bottom & base: Work a firm oval base in sc (or dc for speed) — chain foundation then increase evenly at ends until base measures approx 9–10″ long × 4–5″ wide (adjust to desired bag size).
- Walls: Work sc in continuous rounds (or joined rounds) up from base to create sturdy sides; maintain consistent tension. After ~7–9″ height, add an optional inner pocket by making a rectangular panel, sewing it to the inside wall before finishing top edge.
- Top edge & closure: For a secure top, work 2–3 rounds of hdc or ribbing (FPDC/BPDC) and add a zipper or flap with magnetic snap for closure. Because nylon is bulky, install zipper carefully with upholstery needle or sew lining with zipper stitched to lining, then attach lining to bag.
- Strap & hardware: Use adjustable webbing strap attached to D-rings with swivel clasps, or crochet a reinforced strap (use core with braided nylon and sc around). Metal hardware is recommended to handle the weight and abrasion.
- Finishing: Hide raw cord ends into the top stitches; reinforce stress points with extra stitches and a dab of clear glue if desired.
Variations
- Make a two-tone nylon bag with color blocked panels.
- Add a decorative crochet overlay (mosaic or filet) worked in lighter yarn over the nylon base for contrast.
Final tips
- Work slowly with bulky cord — tensions change quickly.
- If you want a very clean zipper installation, sew the lining with zipper first, then insert the lining into the crocheted shell and whipstitch together.
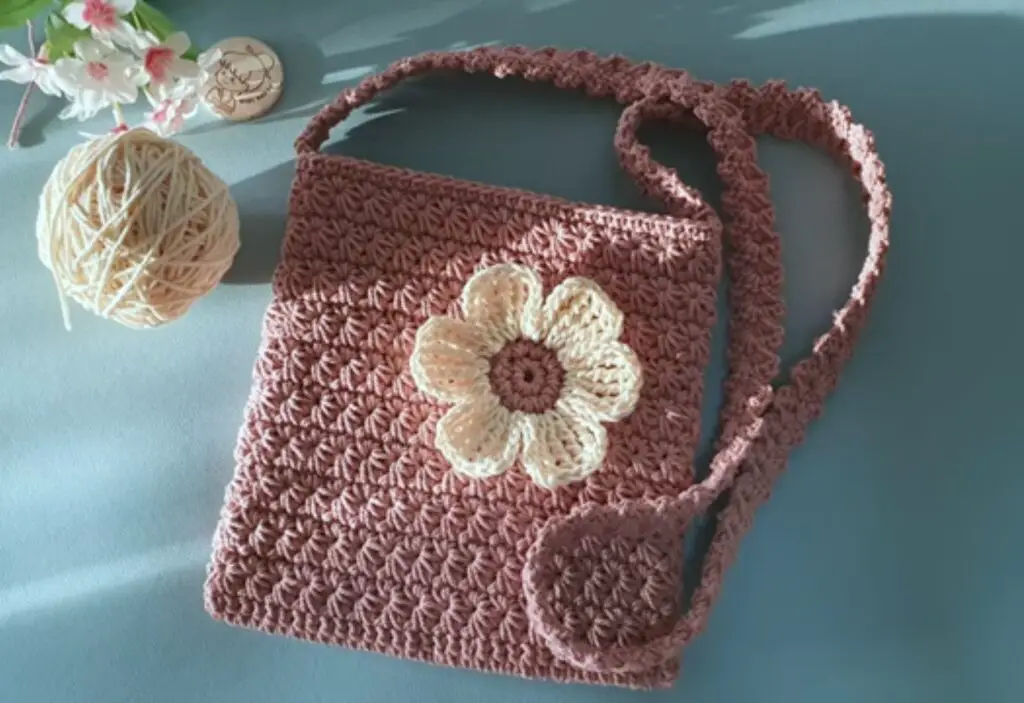
4. Crochet Crossbody Bag with a Flower
Skill level: Beginner → Intermediate
Materials
- Cotton or cotton-blend worsted yarn (main color for bag, contrast for flower), ~350–450 yds
- Hook: 4.0–5.0 mm
- Button, snap or toggle for closure; optional lining, tapestry needle, scissors
Step-by-step
- Base & body: Work a rectangular or oval base (see the nylon bag base method) and build walls to desired height (~8–10″). Keep the body in sc or hdc for durability.
- Flower applique: Make a layered flower: small MR center, round of sc, petal round (e.g., ch4, sl st into same st × 6), then larger petals using 5 dc shells. Fasten off leaving long tail to sew to bag front. Position the flower slightly off-centre or grouped with smaller leaves/appliqués.
- Flap option: For a flap closure, work a narrow panel the width of bag and attach at back top; stitch flower to flap. Add button or toggle on front body to secure flap.
- Strap: Crochet a band strap or use leather; attach securely. Lining is optional but recommended if the flower has openings (to prevent catching).
- Finishing: Sew flower firmly with many small stitches through petals and base so it stays flat and attached during use.
Variations
- Make removable flowers by attaching with a snap so you can swap designs.
- Use popcorn or bobble stitch for a dimensional flower center.
Final tips
- For a neat applique, block the flower before sewing so petals lie flat.
- Reinforce the flap base if it will bear weight from frequent opening.
5. Brivet Crochet Crossbody Bag Pattern
Skill level: Intermediate
Materials
- Worsted cotton or blend for structure, ~400–500 yds
- Hook: 4.0–5.0 mm
- Lining fabric & interfacing, magnetic snap or zipper, strap hardware, tapestry needle
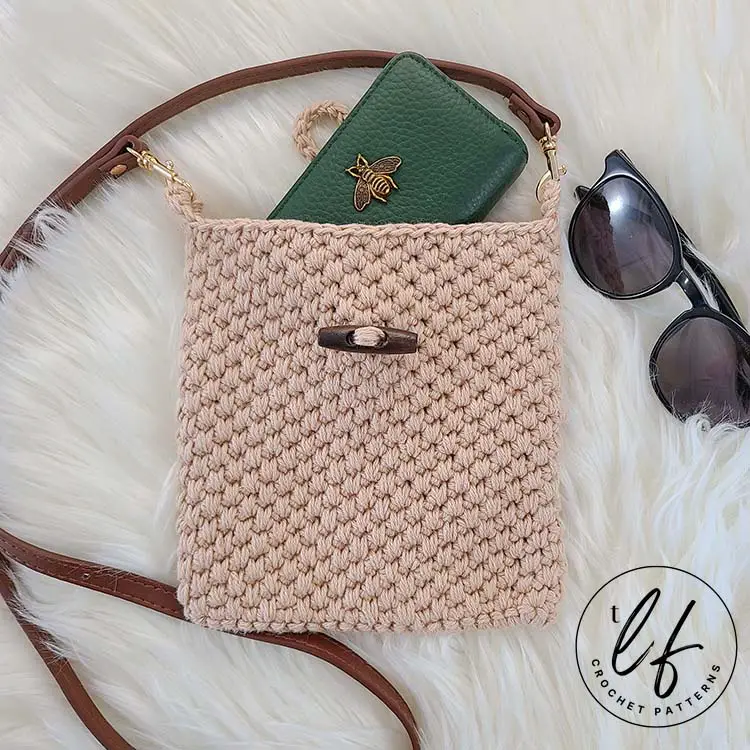
Note: “Brivet” appears as a named bag design in pattern collections — treat it as a structured boxy crossbody with compact textured panels and a clean flap closure. The Loophole FoxThe Bargain Boutique
Step-by-step
- Design overview: Brivet-style bags are usually neat, compact, and boxy — built as front/back panels, a base, and a flap; they rely on dense stitches (sc or brick/linen stitch) for crisp edges. Plan for a finished width ~9–10″ and depth ~2.5–3″ for a standard crossbody.
- Panel stitch choice: Use a brick stitch (aka linen/moss stitch) or sc in BLO to create a tight, woven texture. For brick stitch: ch even; Row 1: sc across; Row 2: ch1, sc in next ch-1 space, ch1, skip next st — creates a brick look. Work panels until desired height.
- Base & sides: Work a narrow base panel or crochet the base in the round and join panels to it for boxed corners. Brivet bags favor precise seaming—use mattress stitch or sc seam to create crisp joins.
- Flap & closure: Create a flap slightly wider than the bag front; add topstitching or a decorative row of surface slip-stitch for detail. Attach magnetic snap, or use a leather tab.
- Strap & finish: Make a slim strap (i-cord or rope stitch) and attach with D-rings hidden in side seams. Line the bag and sew the lining to the inner seam for tidy edges.
- Optional: Add inner pockets (zip or slip) to lining before installing.
Variations
- Make a mini Brivet as an evening pouch by reducing panel sizes.
- Add contrast piping around flap edge using a thin cord or bright yarn.
Final tips
- The Brivet style rewards precise finishing: block panels, measure twice before seaming.
- Strong lining and interfacing make the shape hold up beautifully.
6. Crochet Shell Cross Bag Tutorial
Skill level: Beginner → Intermediate
Materials
- DK or worsted cotton yarn (good stitch definition), ~350 yds
- Hook: 4.0–4.5 mm
- Button or magnetic snap, strap hardware or crocheted strap, tapestry needle
Step-by-step
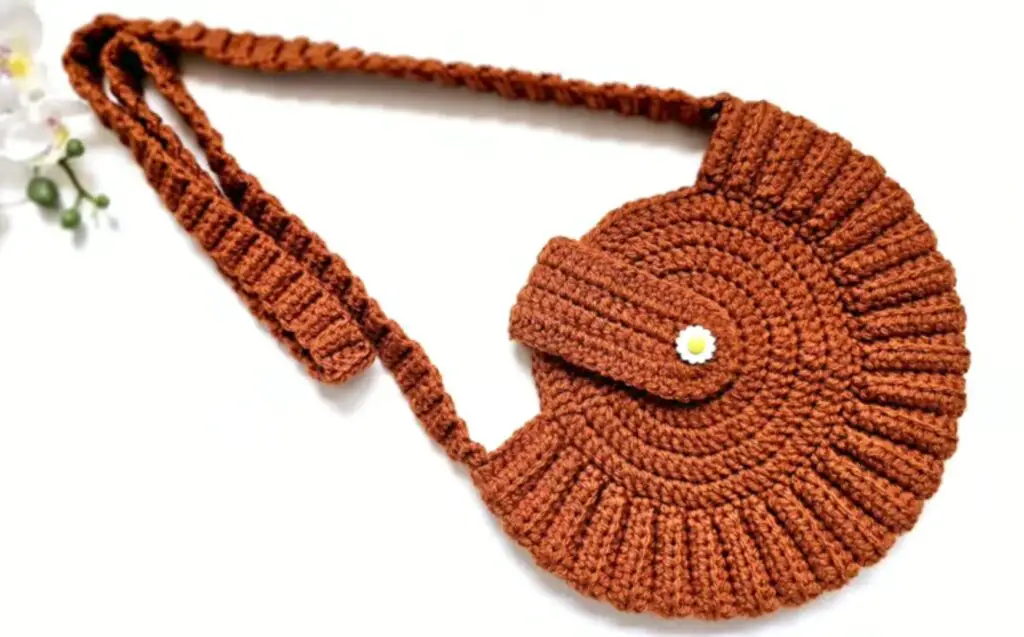
- Shell stitch pattern: Shells are built from clusters (e.g., 5 dc in one st). Work a base row in sc. Row 1 (shell row): skip 2 sts, (5 dc) in next st, skip 2 sts, sc in next st — repeat. Row 2 (anchor): sc across placing sc in shell centers to secure. Repeat shell/anchor to build an attractive band.
- Body construction: Work a front and back panel sized to ~10″×8″. If you want a flap, make a flap panel in the same shell pattern and shape it to a rounded or pointed end.
- Assembly: Seam sides and base, or make a base strip and join. Add lining if shells create gaps; lining also prevents items catching on shell edges. Add closure (button through a snap loop or magnetic snap under flap).
- Strap: Use a dense strap for support; if using shell stitch for strap, consider doubling the yarn for strength.
- Finishing: Add edging: a round of sc along shell peaks gives a tidy look.
Variations
- Alternate shell sizes for a graduated look (3-dc small shells vs 5-dc large shells).
- Add beads to shell centers for sparkle.
Final tips
- Shells can create slightly scalloped edges — add a round of sc around raw edges for a cleaner silhouette.
- Consider lining to protect thinner shell stitches and to keep small items safe.
7. Sassy Sunflower Crochet Crossbody Bag
Skill level: Intermediate
Materials
- Cotton worsted in sunflower colors (bright yellow, brown, green, and a background color), ~450–550 yds
- Hook: 4.5–5.0 mm
- Lining, magnetic snap, strap hardware, tapestry needle, interfacing
Step-by-step
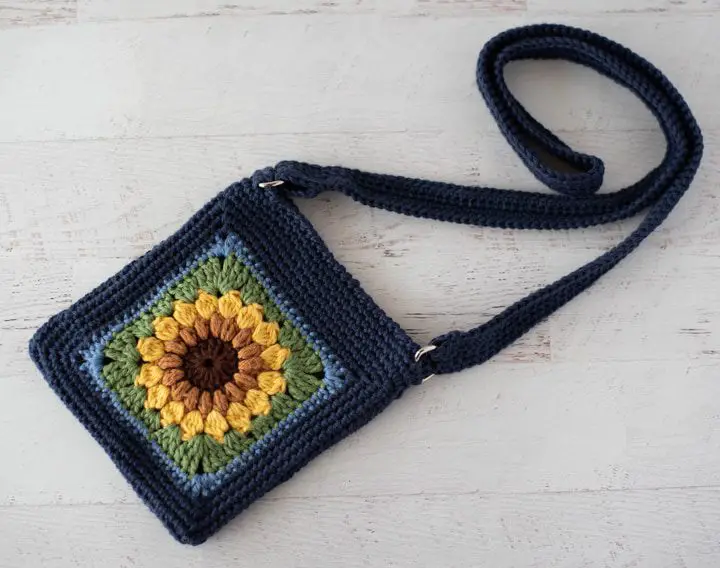
- Central motif: Work a large sunflower mandala (center brown puff round → petal rounds in yellow using elongated puff or cluster stitches). Continue into a background round to square off into a motif (or join multiple motifs). Create a front panel featuring one large sunflower as focal point.
- Panel building: Make a complementary back panel in sc or a simple granny square grid. Join front and back, adding a base or box corners for depth.
- Flap: If you prefer a flap, shape a rounded flap and position it over the sunflower for dramatic effect. Install magnetic snap hidden under flap.
- Strap & pockets: Add a crossbody strap (crocheted rope or leather) and optionally stitch a flat inner pocket to lining.
- Finishing: Block the sunflower motif before assembly so petals sit nicely.
Variations
- Make a cluster of small sunflowers for an allover floral tote.
- Embellish centers with seed bead “seeds” for a sassy finish.
Final tips
- Use tightly spun cotton to keep petals crisp.
- Reinforce the flap attachment since it will get frequent use.
8. Diagonal Crochet Crossbody Bag Tutorial
Skill level: Intermediate
Materials
- DK yarn (for drape) or worsted (for structure), ~350–450 yds
- Hook: 4.0–4.5 mm
- Lining & interfacing, zipper or button, strap hardware, tapestry needle
Step-by-step
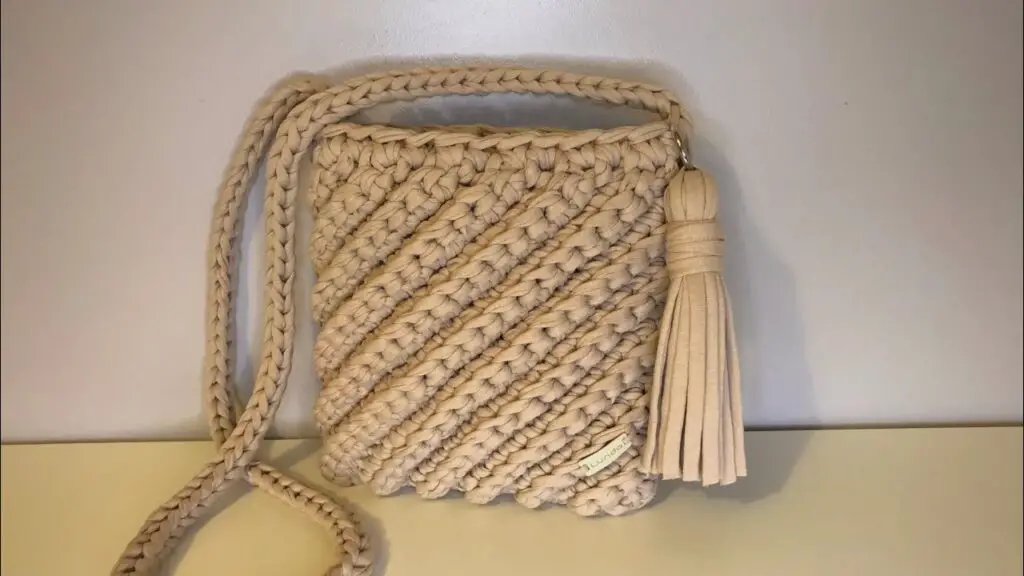
- Diagonal construction idea: This bag is worked diagonally to create a slanted, contemporary silhouette — often started as a rectangle worked on the bias or by joining a long strip folded in half on the diagonal.
- Method A (bias rectangle): Chain foundation long (e.g., ch 80). Work rows of sc or hdc. To trade square into a diagonal bag, increase at one end and decrease at the other every few rows to build a parallelogram that, when folded, forms the diagonal flap. Aim for finished folded size ~10″×9″.
- Method B (strip join): Crochet a long narrow rectangle in sc, fold it diagonally and seam two sides leaving an opening; this creates a clean diagonal face. Add a flap by folding an extra rectangle and seaming it across the top.
- Assembly & closure: Line the bag, install zipper or magnetic snap. Topstitch the diagonal edges for a crisp modern finish. Attach a slender strap; diagonal shapes look great with a thin leather strap.
- Finishing: Press edges gently and trim stray fibers.
Variations
- Work diagonal color blocks or stripes across the bias for striking visual movement.
- Add a decorative diagonal welt pocket on the front.
Final tips
- When working on the bias, stitch counts change; keep a simple written plan of increases/decreases.
- Use a firm lining to preserve the diagonal geometry.
Conclusion
Each of these eight modern crossbody patterns lets you tailor the final bag to your tastes: use durable nylon for an everyday workhorse, cotton for clean stitch definition, or textured motifs for statement pieces. The construction approaches vary — panel assembly, motif joining, bias shaping — but the result is the same: a handmade crossbody that’s practical, stylish, and uniquely yours. Choose a pattern, pick your yarn, and enjoy making a bag that matches your style.


