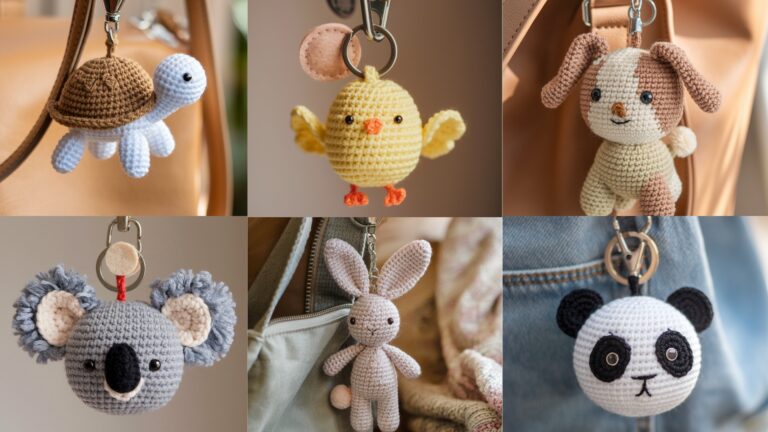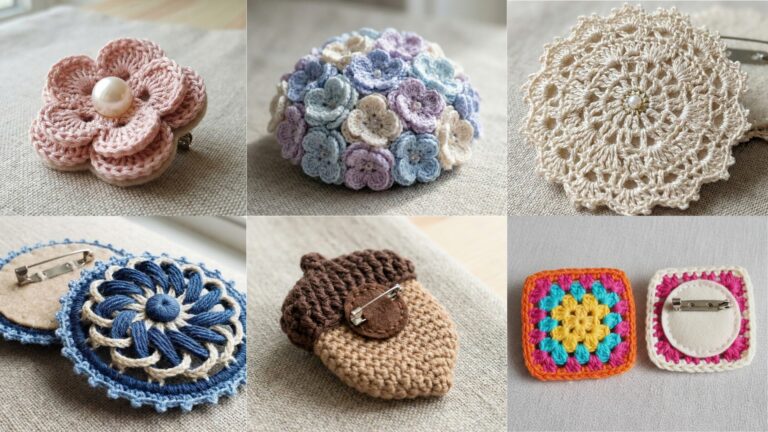
Small, handmade amigurumi keychains are addictive to make: they’re fast, use up yarn scraps, and sell well or delight as little gifts. Below you’ll find a helpful introduction followed by eight complete, blog-ready patterns — each with materials, finished size, stitch-by-stitch instructions, assembly notes, variations, and finishing tips.
Safety reminder: keychains include small parts and hardware that can be choking hazards. For items intended for children under 3, do not use safety eyes, loose beads, or detachable hardware — embroider faces and securely sew hardware through a felt reinforcement. Always advise buyers/giftees of age suitability.
Quick essentials — yarn, hooks, hardware & small-amigurumi tips
Yarn & hooks
- For medium charms: DK/light worsted yarn + 3.0–3.5 mm hook.
- For tiny charms: fingering or crochet thread + 1.75–2.5 mm hook.
- Use a smaller hook than label suggests for tight stitches (prevents stuffing showing).
Stuffing & shaping
- Polyester stuffing (polyfil) is standard. Stuff lightly for tiny charms; overstuffing shows gaps.
Hardware
- Split rings (10–15 mm), small lobster/claw swivels, short chain links (1 cm) for movement.
- Use a jump ring or small metal eye and stitch through felt reinforcement for durability.
Eyes & details
- For adult gifts: 4–6 mm safety eyes OK. For child-safe, embroider faces.
- Sew beads on—don’t glue—if they may be handled frequently.
Work style
- Use continuous rounds (place a marker at round start). Back-loop stitches or surface crochet can be used for decoration.
1. Crochet 10-Minute Chick Keychain Patter
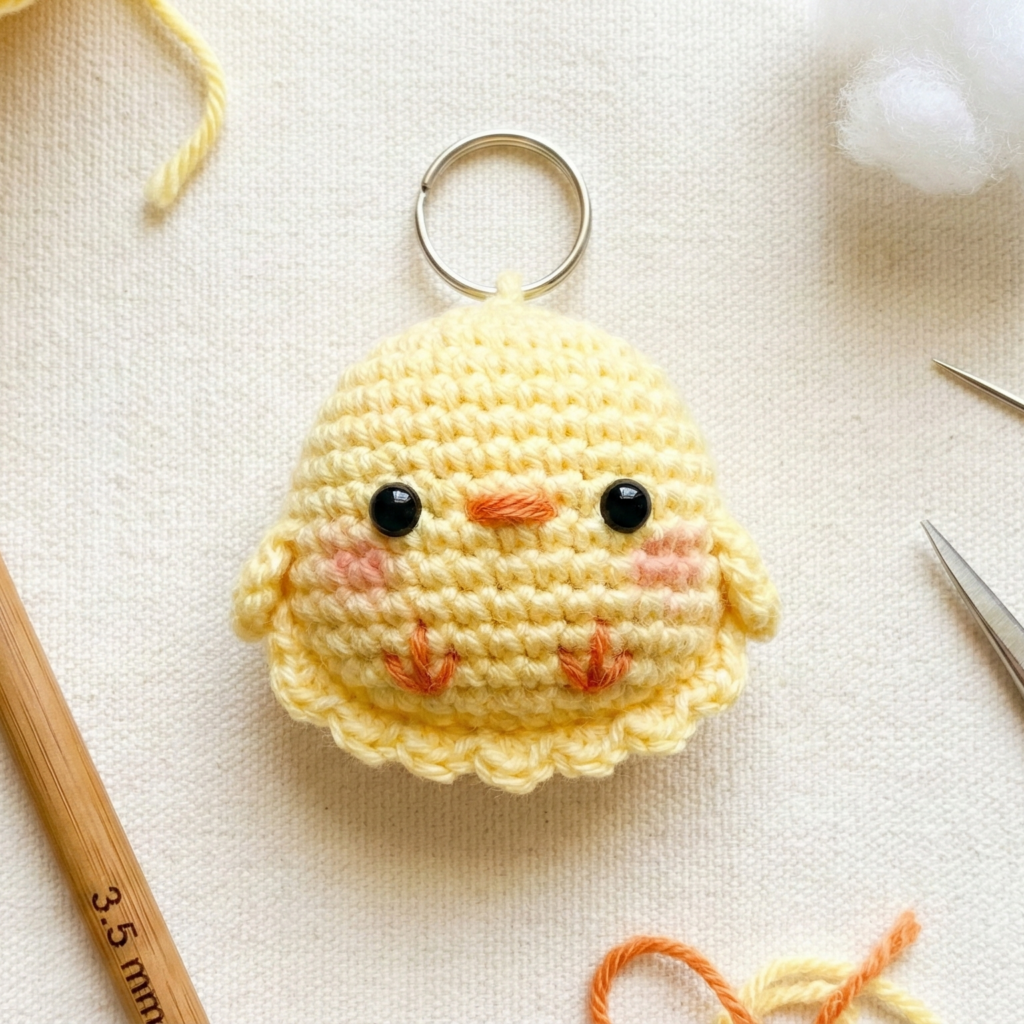
Tiny, sunny, and super fast — made from a folded disc. Beginner-friendly and perfect for quick gift packs.
Finished size: ~1.0–1.5″ tall (with DK yarn & 3.5 mm hook)
Materials
- DK yarn — small yellow scrap (~10 yd)
- Orange scrap for beak (~2 yd)
- 3.5 mm hook, small amount stuffing, tapestry needle, 10–12 mm split ring, (optional) 1 small felt circle
Instructions (fast folded-disc method)
Make the disc (worked in joined rounds — makes a flat circle)
- MR, ch1, 6 sc in ring. (6)
- [inc] ×6 → 12.
- [sc1, inc] ×6 → 18.
- [sc2, inc] ×6 → 24.
- [sc3, inc] ×6 → 30. (Stop at round 5 for about 1.25″; you can stop one round earlier for a smaller chick.) Fasten off leaving a 6–8″ tail.
Assemble body
6. Fold disc in half (right sides out). With long tail, whipstitch the curved edge closed leaving a small gap for stuffing. Add a tiny bit of stuffing — not firm, just shaped — then finish closing and knot securely.
Beak
7. With orange: ch3, turn, sc2 in 2nd ch and next (2 sc). Fasten off leaving tail. Fold triangle and sew with a few stitches onto the front center of the chick.
Feet (optional)
8. Use orange to embroider two small V-shaped feet under the beak.
Attach hardware
9. Sew a tiny felt circle into the back seam to reinforce. Through the felt, stitch a short loop of yarn or small metal eye and attach the split ring/jump ring. Secure with many passes of the needle.
Variations
- Add a cracked eggshell “hat”: crochet a narrow scalloped ring and stitch over top.
- Make a pair (one yellow, one white) and sell as “peep pair” gift set.
2. Crochet Rainbow and Clouds Keychain Pattern
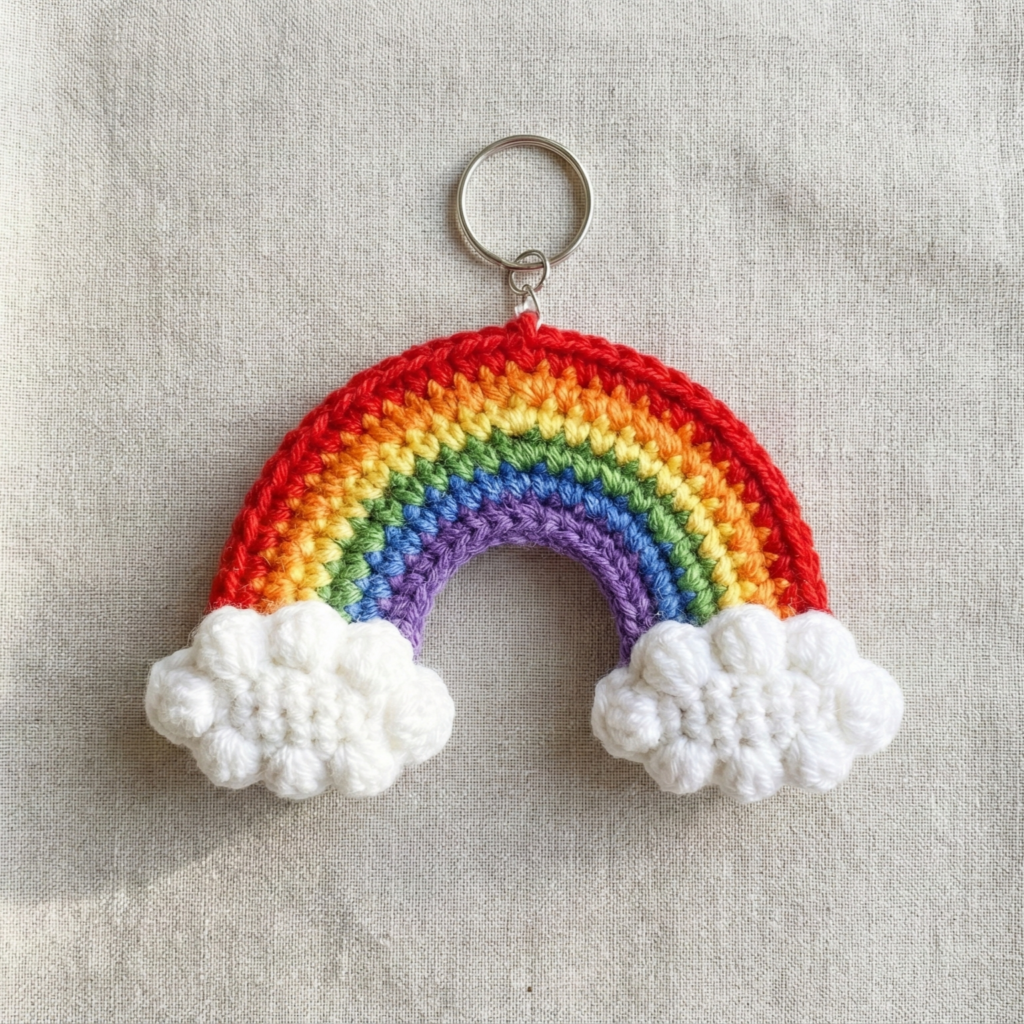
Bright, joyful rainbow with two puffy clouds. Great for scrap-busting!
Finished size: rainbow ~1.5–2.5″ wide; clouds ~0.75–1″ each
Materials
- Small scraps DK in red, orange, yellow, green, blue, purple
- White yarn for clouds
- 3.0–3.5 mm hook, small stuffing, split ring, tapestry needle
Rainbow bands (make 6 strips)
- For each color: ch16 (adjust to make desired width), Row 1: sc in 2nd ch and across (15 sc). Row 2: sc across. Fasten off. (Each strip will be a thin band — you can make them longer/wider for a bigger rainbow.)
- Lay strips in rainbow order (red outer -> purple inner). Stack them and seam along long edge with a running stitch through the back ridges to create one layered band. Gently curve while sewing so the stack forms an arc — ease the inner strips slightly shorter if needed to make a graceful arc.
Clouds (make 2)
- MR, ch1, 6 sc in MR. (6)
- inc around (12), sc around 1 round, [sc1, inc] ×4 → 16 (optional), sc around 1 round. Stuff lightly, then dec rounds to close or simply sew a second small disc to the back and close the seam. Fluff.
Assembly
- Sew one cloud to each end of the rainbow arc, catching the rainbow seams through the cloud back for a secure join.
- Sew a small loop at the top center of the rainbow (through the inner band), attach a jump ring, then the split ring or swivel clasp.
Styling tips
- Add tiny embroidered raindrops or a metallic star bead for sparkle.
- Make mini and midi sizes for bundles.
3. Crochet Lacy Bucket Hat Keychain Pattern
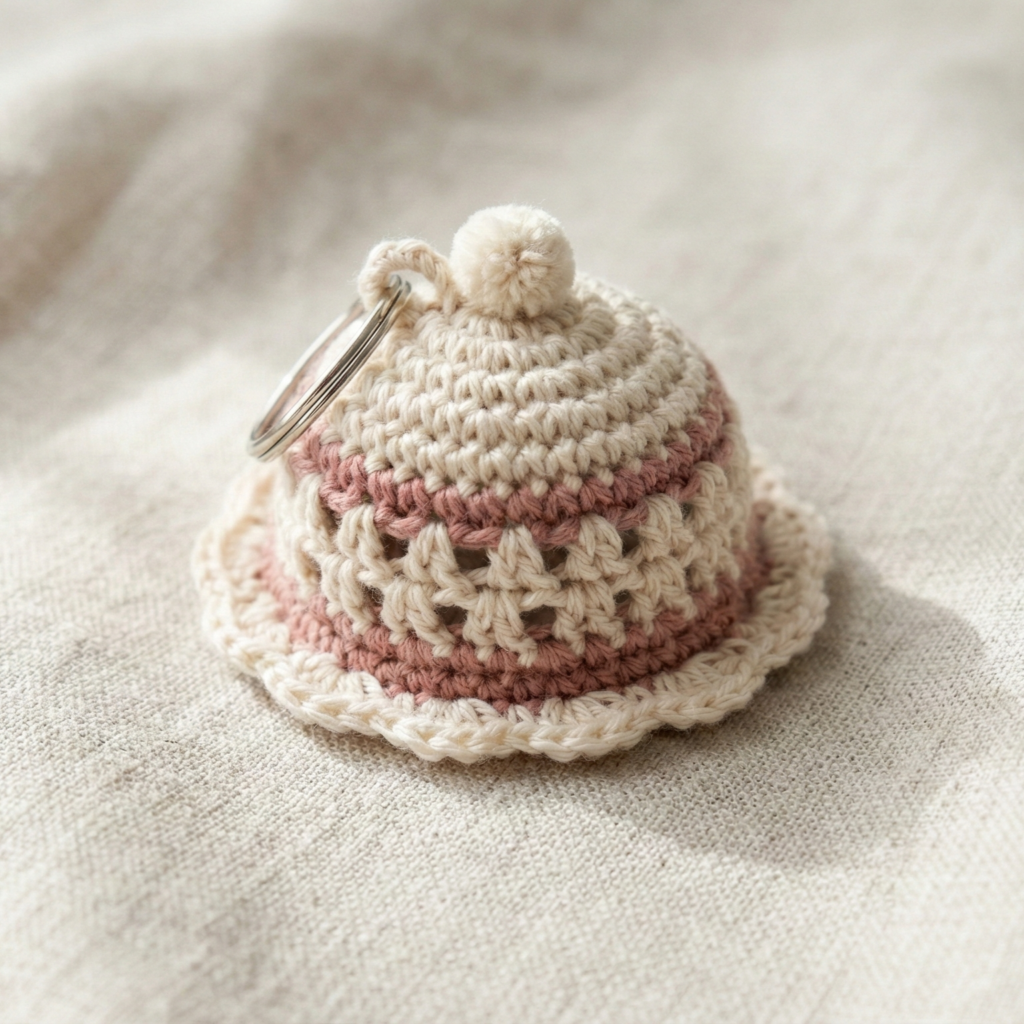
A trendy micro bucket hat — perfect for fashion-y keychains or matching bag charms.
Finished size: crown diameter ~1.5–2″, brim ~0.5–0.75″ (DK yarn + 3.5 mm)
Materials
- DK yarn, 3.0–3.5 mm hook, (optional) tiny pom, split ring
Crown and brim (worked in continuous rounds)
Crown
- MR, ch1, 6 sc in ring. (6)
- inc around → 12
- (sc1, inc) ×6 → 18
- (sc2, inc) ×6 → 24 — this is a small crown diameter. If you want slightly larger, do (sc3, inc) ×6 → 30.
Sides
5. Work 2 rounds sc (24 sc per round) to build height.
Lace row (optional)
6. ch3, skip 1 st, sc in next st around for airy effect (adjust spacing to keep round counts consistent).
Brim
7. Increase: work sc1, inc around to widen (if 24 → 36). Work 1–2 rounds sc to create a tiny brim. Then do a scallop round if desired: sc in next 2, 5 dc in next, sc in next 2.
Finish
- Fasten off and weave ends. Add a tiny pom or a contrast band if you like.
- Attach a reinforced loop at top of crown or sew a felt circle inside and stitch through it to add the jump ring.
Variation
- Make hat in plush yarn for a fuzzy micro bucket;
- Make a “reverse brim” by using BLO on the last round to make the brim fold inward.
4. Crochet Kawaii Little Frog Keychain Pattern
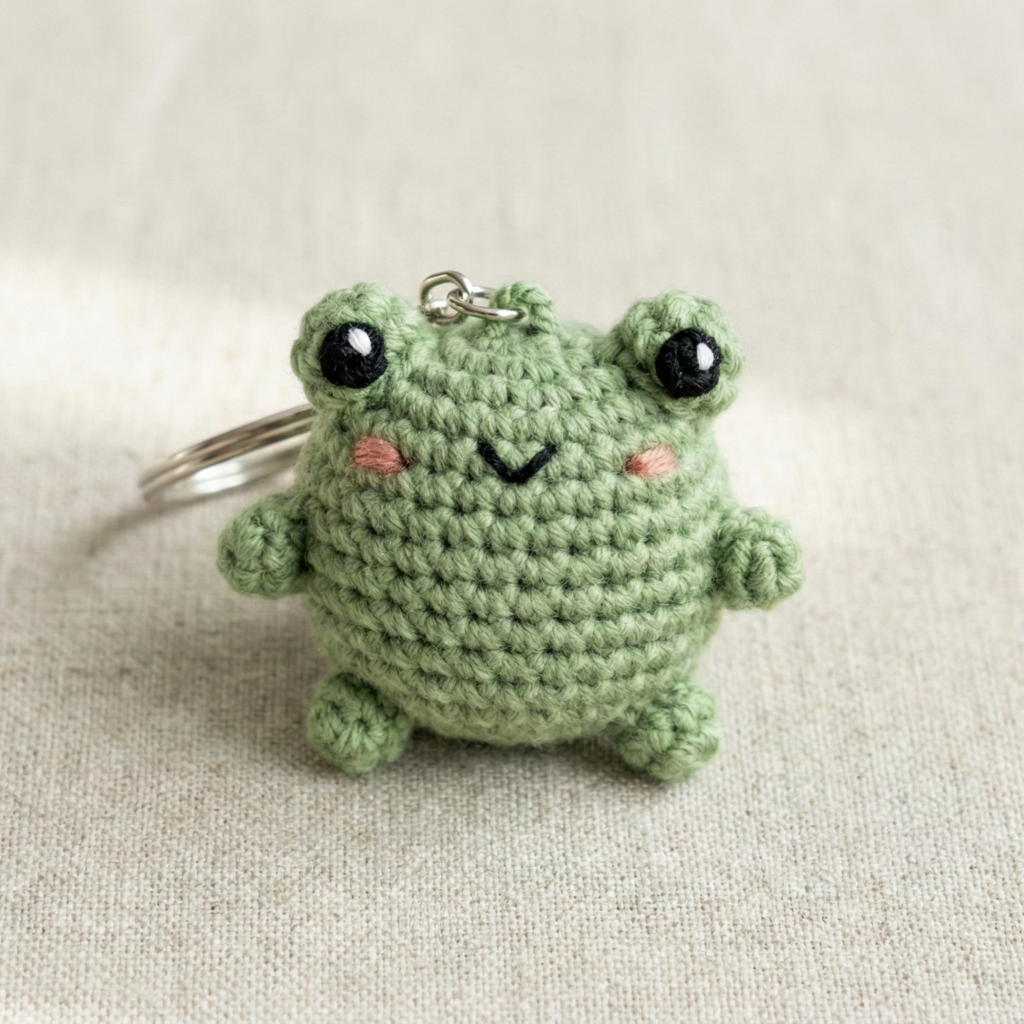
A small, adorable frog with tiny limbs and embroidered cheeks.
Finished size: ~1.25–1.5″ tall (DK yarn + 3.0–3.5 mm hook)
Materials
- Green DK yarn, small white/black for eye highlights, 3.0–3.5 mm hook, stuffing, split ring
Body (worked in continuous rounds)
- MR, ch1, 6 sc in ring. (6)
- inc ×6 → 12
- (sc1, inc) ×6 → 18
- (sc2, inc) ×6 → 24
5–7. sc around 3 rounds (24 ×3) — build height. - (sc2, dec) ×6 → 18
- (sc1, dec) ×6 → 12 — stuff firmly during last rounds.
- dec around to close (6). Fasten off and weave in tail.
Eyes (make 2 — sew on)
- Option A (3D eyes): MR, ch1, 6 sc in ring (6). Fasten off leaving tail. Sew to top of head. Add tiny white embroidered highlight.
- Option B (embroidered): simply stitch small white dots and black pupils.
Limbs (make 4 small nubs)
- Arms/legs: ch5, sc4 back to base (4 sc), leave tail. Sew two to the sides and two to bottom.
Face
- Embroider two small rosy cheeks with pink yarn under the eyes and a tiny upward smile with darker green or black.
Attachment
- Sew a felt reinforcement to top rear head. Make a few strong stitches through felt and crochet to attach the jump ring or small chain.
5. Crochet Chocolate Chip Cookie Keychain Pattern

A cute cookie charm with scattered chips — perfect as a novelty gift.
Finished size: ~1.5–2″ diameter (DK yarn + 3.0–3.5 mm hook)
Materials
- Light brown DK for cookie, dark brown for chips, 3.0–3.5 mm hook, stuffing, split ring
Cookie (worked in joined rounds for flat shape)
- MR, ch1, 8 sc in ring (or start with ch8, join). (8)
- inc around → 16
- (sc1, inc) ×8 → 24
- (sc2, inc) ×8 → 32 — stop when disc is cookie-sized (~1.5–2″).
- Work 1–2 rounds even (32 sc) to make a flat disc.
Make a second disc the same size. Lightly stuff between discs, then seam edges with sc or whipstitch. Alternatively make a puffier cookie: work a few rounds of sc to build thickness, stuff, then dec to close.
Chocolate chips
- With dark brown yarn, use small French knots (with embroidery thread) or tiny 1–2 sc surface stitches in random spots to simulate chips. Sew them on securely.
Attachment
- Stitch a small loop of yarn at top edge through all layers, reinforce with felt if desired, and attach ring.
6. Crochet Batman Keychain Pattern
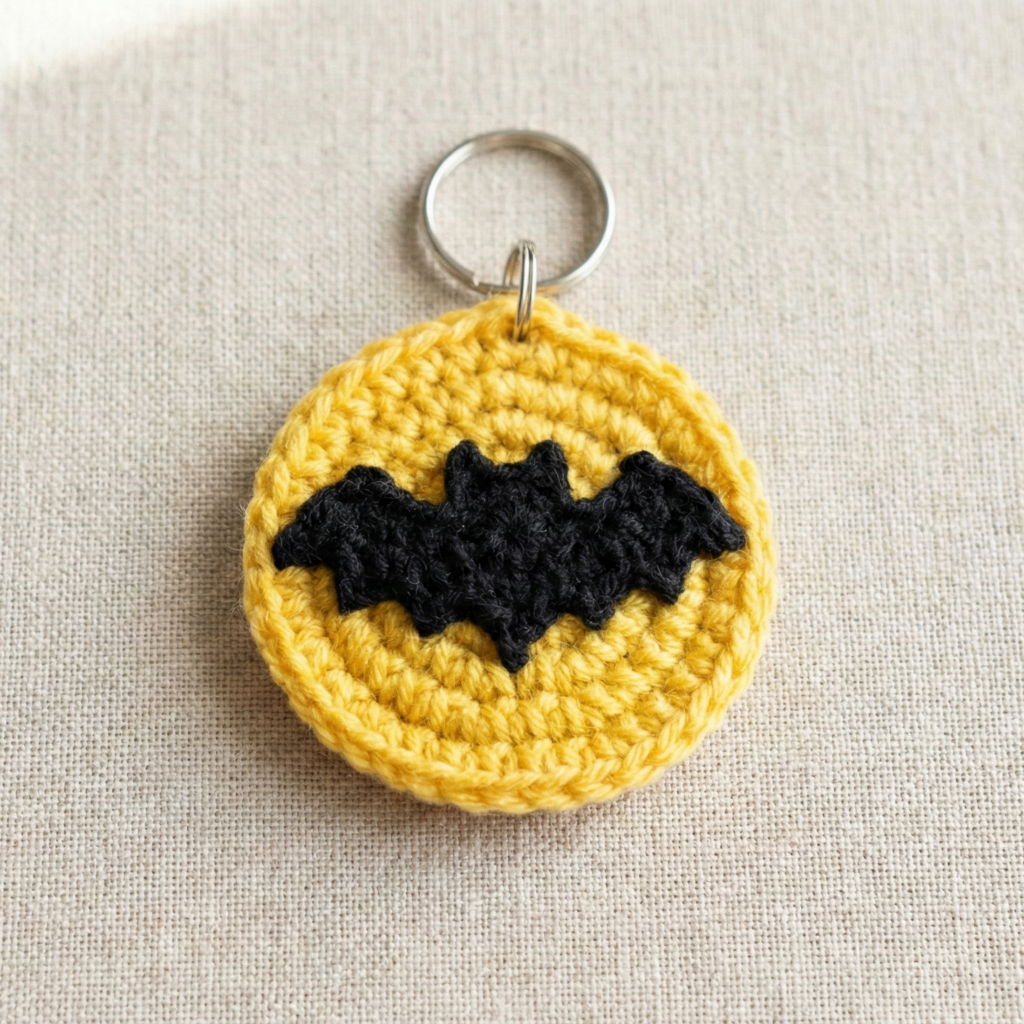
A stylized bat emblem — keep it generic to avoid trademark issues if selling — “bat motif” shield.
Finished size: ~1.25–1.75″ wide
Materials
- Yellow and black (or colors you prefer), 3.0–3.5 mm hook, split ring
Shield base (flat, joined rounds)
- MR, ch1, 6 sc in ring. (6)
- inc around → 12
- (sc1, inc) ×6 → 18
- (sc2, inc) ×6 → 24 — this makes a small disc; add one more increase round if you want a bigger oval.
Bat applique (surface crochet or tiny silhouette)
Option A — Surface crochet silhouette
- Using black yarn, with a yarn needle, embroider a simplified bat silhouette directly onto the yellow disc: outline and fill small wing shapes with neat satin stitches or surface slip-stitch.
Option B — Small crochet bat
- Chain 8. Work short scallops: 3 dc in targeted stitches, sl st to shape wings and head. This is freerform — pin the shape on the yellow disc and stitch it down.
Finish
- Back with a second disc if you want a sturdier charm, sandwiching the filling (or leave flat). Add loop and ring.
Note: If you plan to sell, describe it as a “bat emblem” rather than using trademarked names.
7. Crochet Dragonfly Keychain Pattern
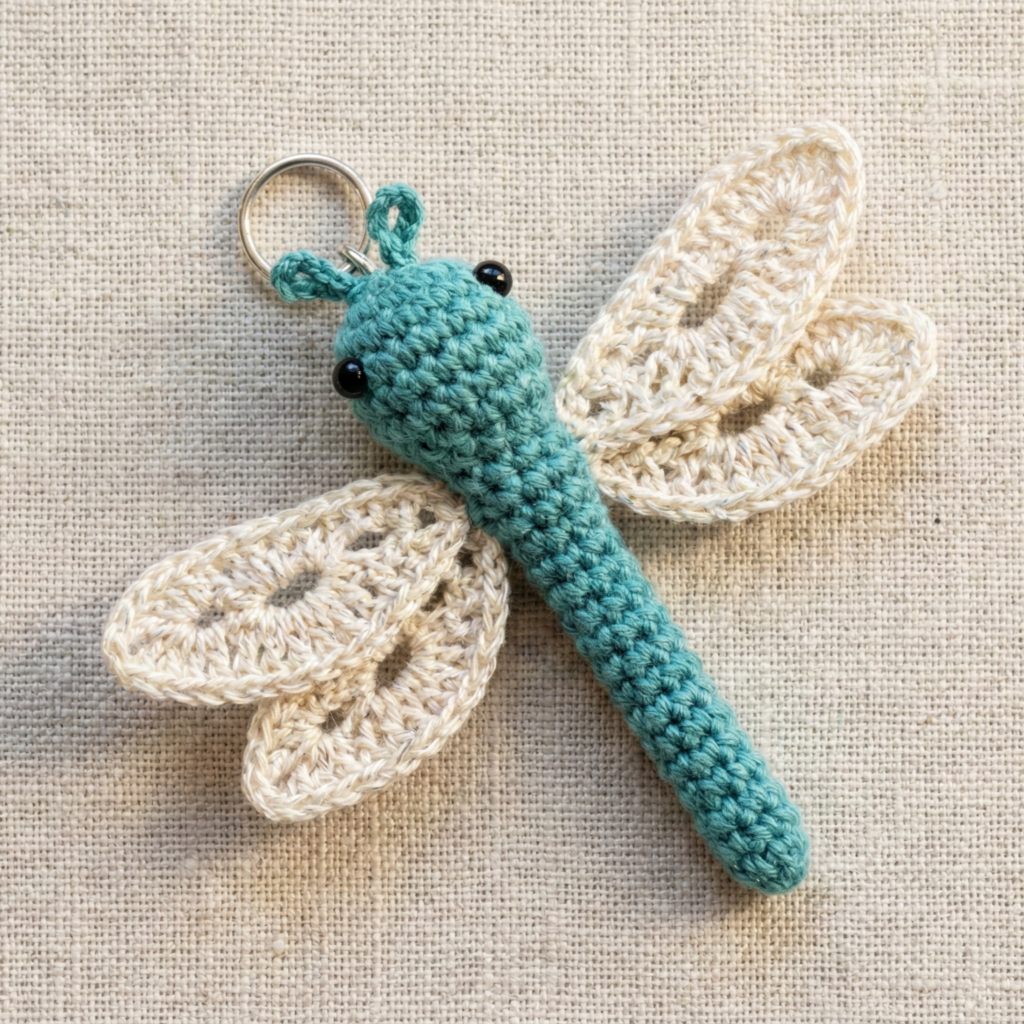
Delicate body with lacy wings—elegant and slightly more advanced.
Finished size: body ~1–1.5″; wingspan ~2–2.5″
Materials
- Fingering or DK yarn, 3.0 mm hook, small amount stuffing, optional thin craft wire for wing shaping, jump ring
Body (tube)
- MR, ch1, 6 sc in ring. (6)
2–6. sc in each st around for 5 rounds (6). Stuff lightly as you work. Fasten off leaving tail.
Head
- MR, 6 sc in ring. (6) — attach to one end of body.
Wings (make 2 pairs; upper/lower)
Option A — crocheted lace wings
- ch10, sc in 2nd ch from hook and in next 8 ch (9 sc). Turn and work a shell border along one long edge: sc1, ch3, 3 dc in next st spaced to create a lacy filigree. Mirror for other wing.
Option B — wire-wrapped wings
- Make a small teardrop shape from thin wire, wrap tightly with yarn to give structure and shine.
Sew wings to the top of the body (between head and body).
Antennae
- ch6, sl st back along chain; place on top of head.
Finish
- Embroider tiny eyes (or sew tiny seed beads if adult gift). Attach loop on top of head and add jump ring.
8. Crochet Mini Bouquet Keychain Pattern
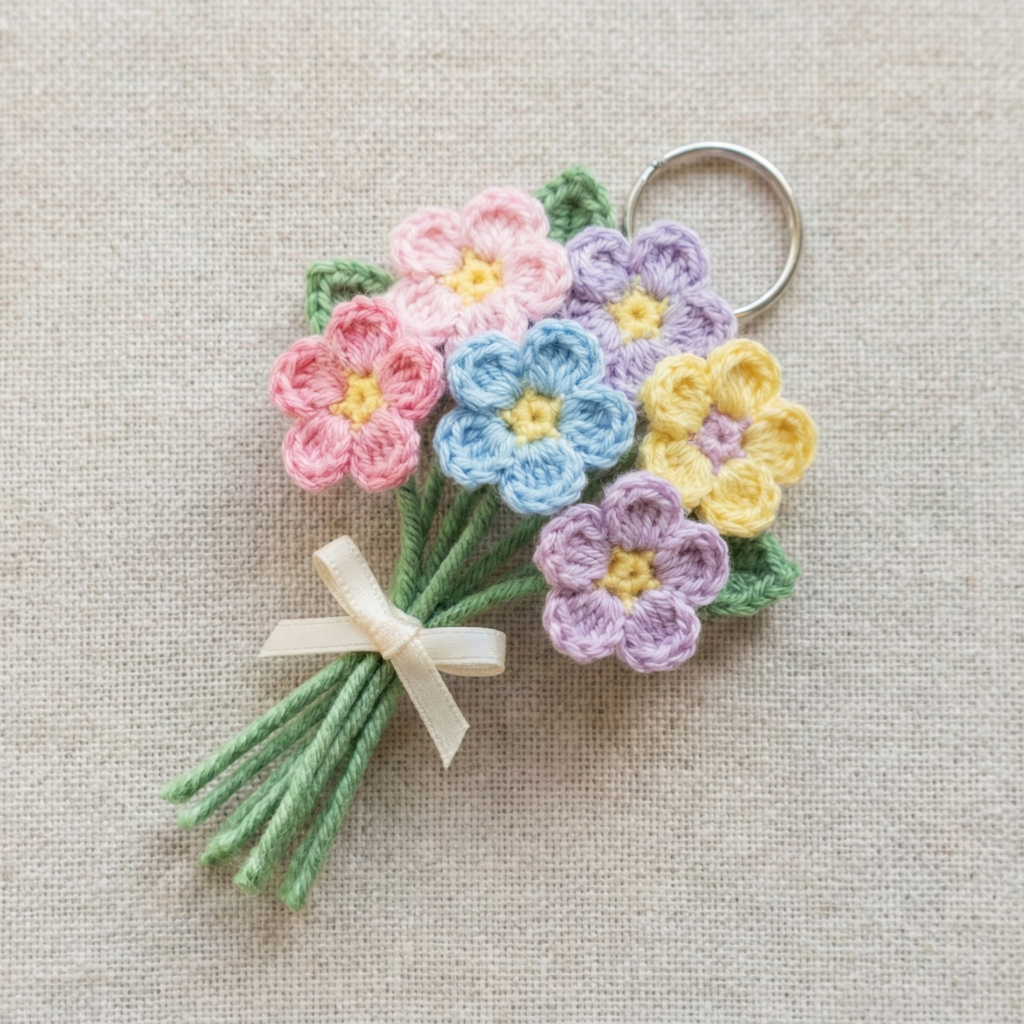
Tiny posy of little flowers bundled as a keychain — sweet, giftable, and excellent for small-scrap use.
Finished size: ~1.5–2″ high (flowers + stems)
Materials
- Several colors of small-scrap DK or fingering, green for stems, 3.0 mm hook, split ring, small ribbon, (optional) floral wire if you want sturdy stems
Tiny flower motif (make 6–8)
- MR, ch1, 6 sc in ring, sl st to join.
- ch3, sl st in next st around to make 6 loops.
- In each loop: (sc, hdc, 3 dc, hdc, sc) — one petal. Fasten off leaving tail to sew.
Stems
- For each flower, make a stem by tightly wrapping green yarn around a 2–3″ length of floral wire (optional). If not using wire, ch12 and sc back along chain to form a tiny tube stem. Attach stem to flower back with secure stitches.
Assembly
- Cluster stems, tie together with a small ribbon bow. Secure the bundle with a few stitches so it won’t shift. Make a small loop of yarn or wire through the ribbon knot and attach jump ring + split ring.
Variation
- Add tiny leaf motifs between flowers for more texture.
Final finishing & pro tips
Reinforce attachment points
- Always add a felt or small fabric patch behind the spot where the hardware attaches and stitch through both the patch and the crochet fabric several times. For extremely handled keychains (keys), sew with strong upholstery thread before finishing.
Weave & hide ends
- Weave all tails into the body across several stitches and hide ends inside stuffing to prevent unraveling.
Cleaning
- Most cotton/acrylic charms are spot-cleanable. Avoid machine washing charms with metal hardware unless it’s removable.
Packaging & photography
- Photograph charms on a neutral background with a coin or ruler for scale. Package single charms in a clear cello bag with a little branded card or a small kraft tag with care instructions — great for selling.
conclusion
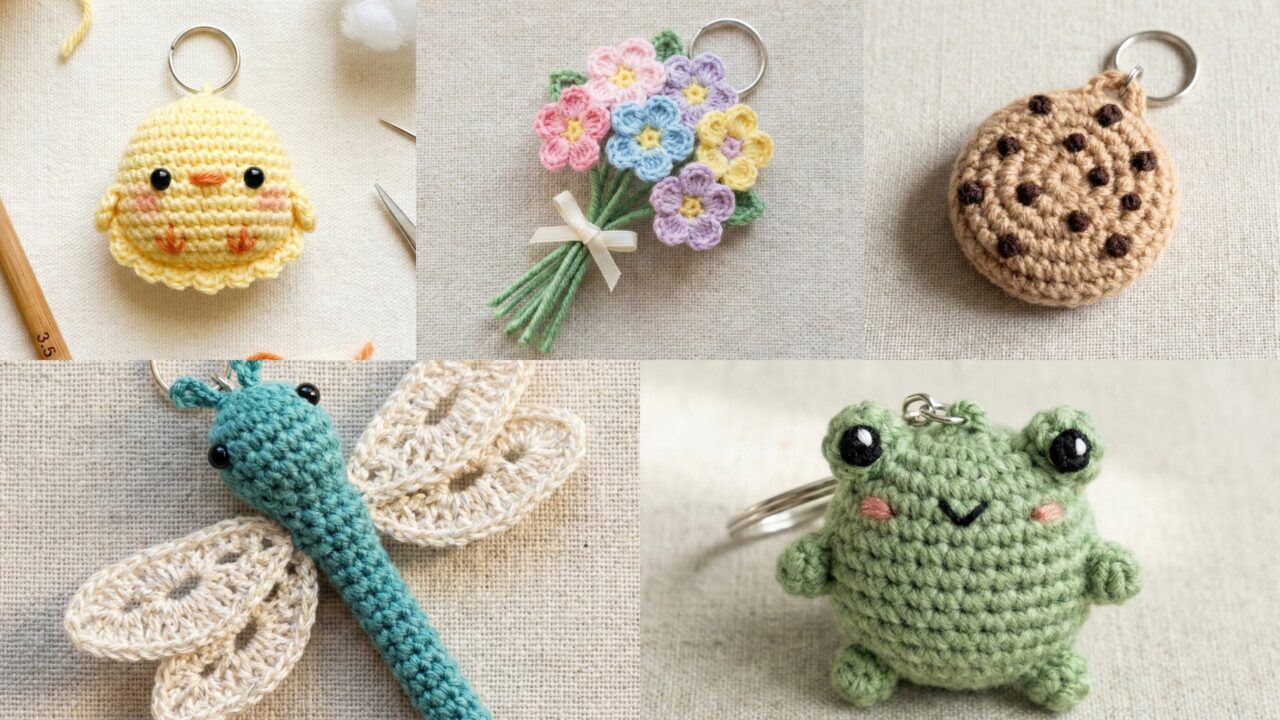
There you have it — eight complete, polished amigurumi keychain patterns that cover quick makes (the 10-Minute Chick), playful motifs (Rainbow & Clouds, Cookie), tiny fashion items (Lacy Bucket Hat), character and creature charms (Kawaii Frog, Dragonfly, Batman/Bat Emblem), and the lovely Mini Bouquet for gift bundles.
Each pattern is intentionally compact and tested-friendly: tight stitches, small stuffing, and secure hardware attachment advice so your readers can make them quickly and confidently. They’re ideal for quick market inventory, teacher/student gifts, craft fair bundles, or adding a handmade touch to a present.