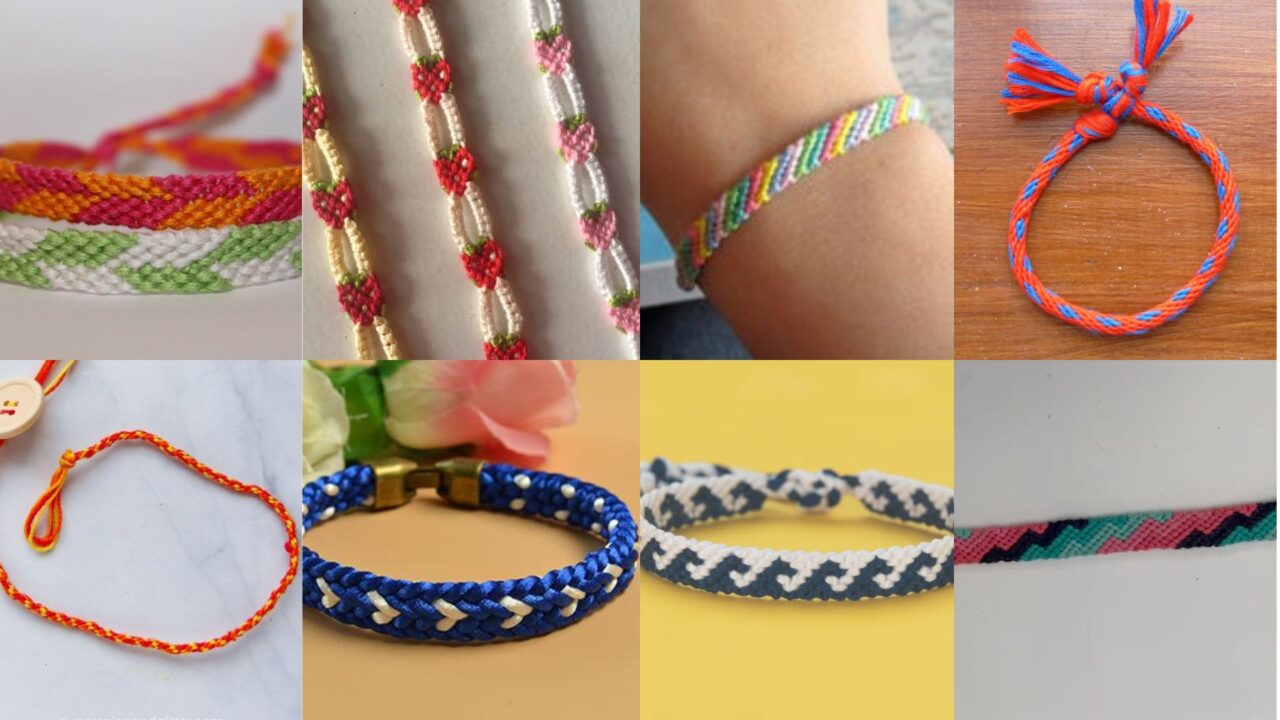
Friendship bracelets are tiny handmade time capsules: colorful, affordable, and full of meaning. They’re perfect party favors, summer-camp crafts, or thoughtful gifts you can personalize to someone’s favorite colors. Below are eight different bracelet patterns — from classic knotted styles to braided and loom-made designs — with clear materials lists, skill levels, step-by-step instructions, helpful finishing notes, and variation ideas so you can make a stack of bracelets in one sitting.
Quick tools & glossary (useful for most patterns)
- Materials: embroidery/floss (6-strand), scissors, tape or clipboard, ruler, safety pin (for pinning to cushion or jeans), small beads/charms (optional).
- Knots used in knotted bracelets:
- Forward knot (FK): make a “4” over the neighbor string, pull the working string through twice.
- Backward knot (BK): mirror of FK (working string makes a reverse “4”), pull through twice.
- Forward-backward (FB) and Backward-forward (BF): directional knots used to change the working string’s side; each is two half-knots that hold position.
- Tension: keep knots consistent but not so tight the bracelet puckers.
- Sizing: measure wrist + 4–8 cm for tying/closures.
1. Kumihimo Braided Friendship Bracelet Pattern
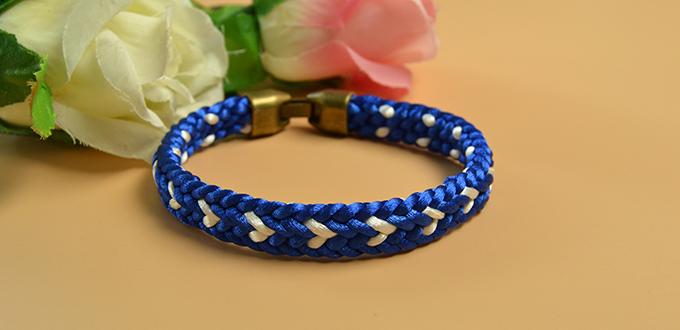
Skill level: Beginner → Intermediate | Time: 30–60 min | Width: 6–12 mm depending on strands
Materials
- 8 strands embroidery floss (2–4 colors), each ~60–80 cm long
- Kumihimo disk (foam/plastic) or braiding plate + bobbin/card for weights
- Scissors, tape/clip, optional bead(s)
Stitch method
Japanese kumihimo round-braid technique — move strands in a repeatable disk pattern to form a smooth tubular braid.
Step-by-step
- Fold each strand in half and tie a temporary knot 5–8 cm from fold to create a loop (this becomes your fastening loop). You’ll have 16 working ends.
- Feed the loop through the center of the kumihimo disk and arrange the 8 pairs evenly around the disk slots (opposite colors across from each other for stripes).
- Basic braid move for 8-strand kumihimo: take the strand at 3 o’clock, move it to 12 o’clock; take the strand at 9 o’clock, move it to 6 o’clock; rotate the disk 90° and repeat. Keep an even rhythm and steady tension.
- Continue braiding until the cord length ≈ wrist circumference + 6 cm (for tying).
- Remove strands, tie a secure knot right after the braid, and trim ends. Finish by tucking ends into a crimp or wrapping with decorative thread and a drop of glue. Use the start loop + end knot as a button-and-loop closure, or add a metal clasp.
Variations
- Mix metallic bullion thread with floss for shimmer.
- Slide a focal bead onto the center pair while braiding for a beaded accent.
Finishing
- Secure the starting loop under tape or a clip while you work.
- Flatten slightly with your fingers as you braid for a more oval bracelet.
- For an adjustable finish, create two small loops and a sliding knot.
2. Waves Ocean Beach Friendship Bracelet Tutorial
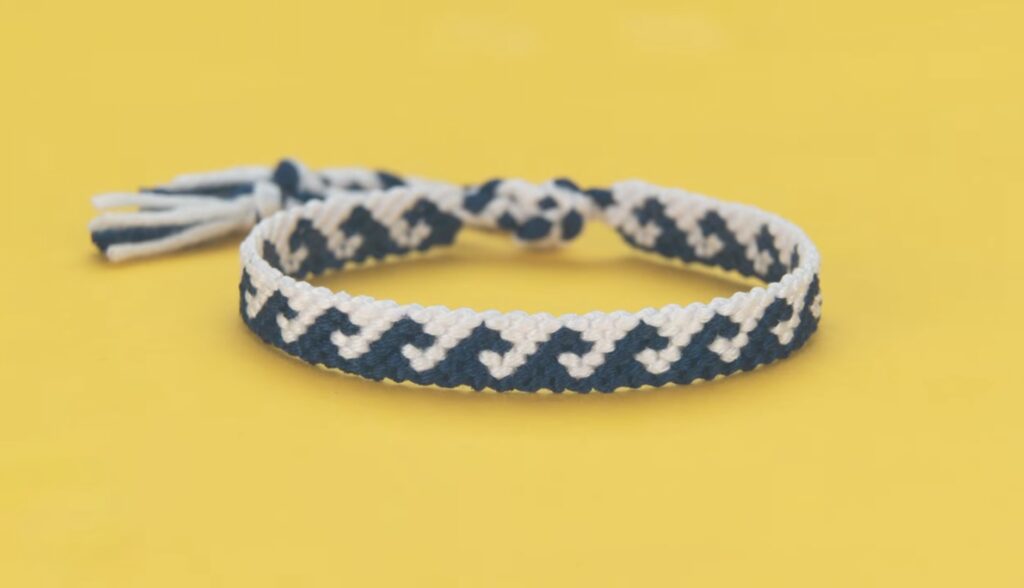
Skill level: Intermediate | Time: 60–90 min | Width: medium (V-wave / crest pattern)
Materials
- 6–8 strands in wave colors (navy, aqua, seafoam, white), ~70 cm each
- Tape/clipboard, ruler, scissors
Stitch method
Chevron (V) base with deliberate strand swaps and FB/BF directional knots to make flowing wave crests.
Step-by-step
- Arrange 6 strands mirrored across center for symmetry: dark → light → white → light → dark (left to right). Secure with a top knot and tape/clipboard.
- Build a chevron base: with the far left strand, make FK across each consecutive strand toward the center (two half-knots per crossing). Mirror on the right using BK to meet at center; tie a center knot (FK or BK pair) to join. This creates the V.
- After 4–6 chevron rows, shift color emphasis: swap the 2nd and 3rd strands (or use FB/BF knots) to nudge the color band one column over — visually this creates a crest or slant.
- Alternate chevron rows with shifted rows so the V’s look like undulating waves. Keep counting your rows so the pattern stays even.
- Finish with a tidy braid or wrapped ends for tying when you reach wrist length + allowance.
Variations
- Add a thin metallic strand for foamy highlights at crests.
- Sew a tiny shell charm at a wave peak.
Finishing
- Slightly looser tension on crest rows gives softer wave arcs.
- Preplan color swaps on paper before knotting to avoid mistakes.
3. Candy Stripe Friendship Bracelet Pattern
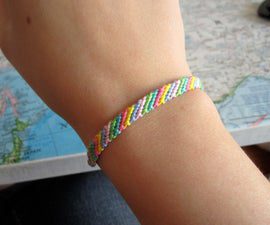
Skill level: Beginner | Time: 20–40 min | Width: narrow, diagonal stripes
Materials
- 4–6 floss strands, each ~70 cm
- Tape or clipboard
Stitch method
Diagonal stripes formed entirely of forward knots (FK) using the leftmost working strand across the row.
Step-by-step
- Line your colors left to right in the desired order, tie a top knot and tape the knot down.
- Take the leftmost strand (color A) and make FK twice over each successive strand until it reaches the end — this creates one diagonal stripe across the bracelet.
- Continue using the leftmost strand after each row; as you cycle through, each color will create its diagonal band. For continuous stripes, repeat the process moving left→right.
- When length is reached, braid the remaining strands into a 3-strand braid and tie a secure knot.
Variations
- Use 8 colors for a rainbow candy effect or 3 colors for bold, wide bands.
- Slide small beads onto the working strand and knot occasionally for a dotted stripe.
Finishing
- Keep forward-knot tension consistent (two half-knots = one full knot).
- A clipboard makes knotting portable.
4. Alternating Chevron Friendship Bracelet Tutorial
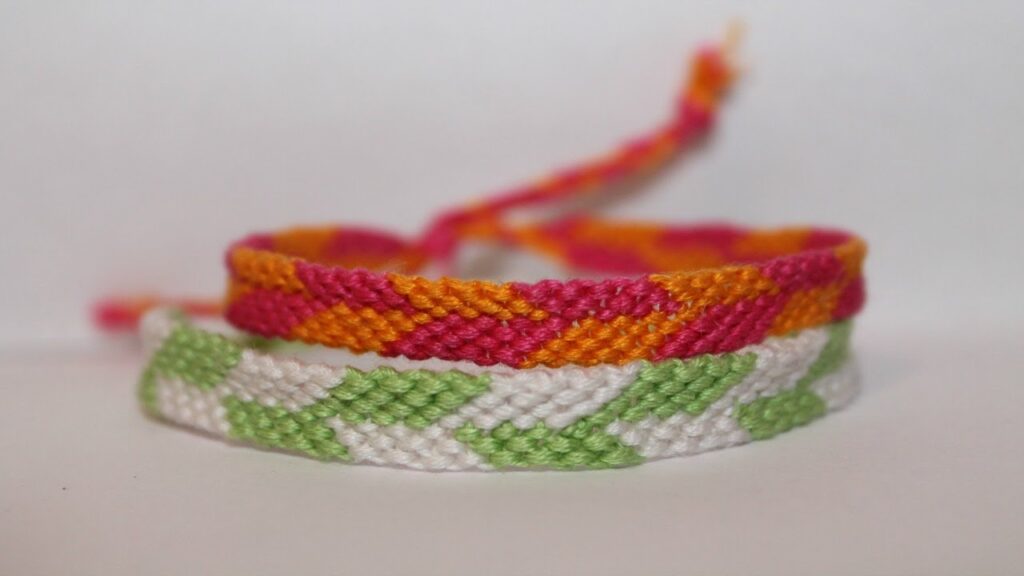
Skill level: Intermediate | Time: 45–75 min | Width: medium to wide
Materials
- 8 strands (4 colors mirrored), 70–80 cm each
- Tape/clipboard, scissors
Stitch method
Classic mirrored chevron (V) using FK on the left and BK on the right, joining at center.
Step-by-step
- Arrange strands A B C D D C B A (left to right) and secure.
- Left half: take leftmost A and FK across toward center, making two half-knots on each strand. Right half: take rightmost A and BK toward center. When the two A strands meet, tie a center knot to join.
- Repeat for B, then C, then D — that completes the full chevron row. Continue rows until desired length.
- Finish by braiding or wrapping the tails.
Variations
- Alternate chevrons by staggering the start row so Vs flip direction every other repeat.
- Use only two colors for a bold geometric chevron.
Finishing
- Count knots and rows to maintain symmetry.
- Ensure center joins sit tidy and centered.
5. Round Friendship Bracelet Pattern
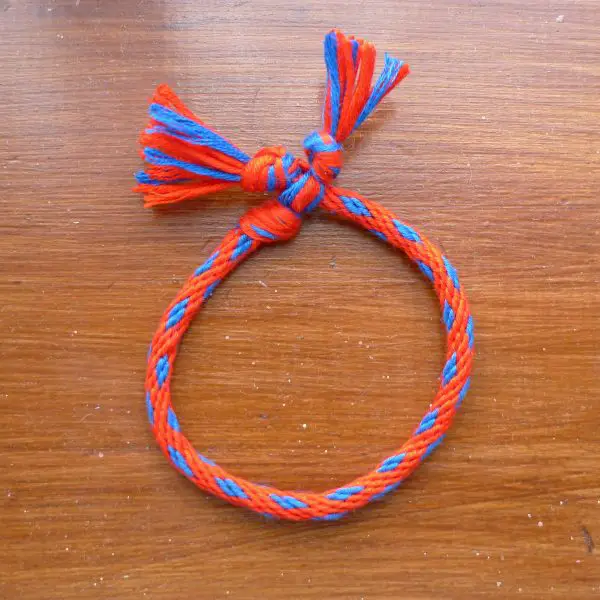
Skill level: Intermediate | Time: 60–90 min | Width: tubular cord
Materials
- 8–12 strands embroidery floss (~80 cm each)
- Kumihimo disk, or tape/clipboard and fingers for freeform round braiding
- Beads optional
Stitch method
Tubular braid/round cord made by either kumihimo disk or systematic FK/BK sequences around a circle.
Step-by-step (disk method)
- Tie strands together, feed loop through the disk center, and arrange strands evenly around the disk.
- Use the disk pattern (e.g., pull 3 o’clock to 12, 9 to 6, rotate) to form a round braid; keep even tension.
- For FK/BK finger method: organize strands in a loose circle and perform FK/BK sequences that move each working strand around the group — the cord will spiral and close into a tube.
- Add beads by threading small beads onto individual strands and pulling them into the braid at desired intervals.
- Finish by knotting and neatly securing ends; cover ends with small crimps or decorative thread wraps.
Variations
- Use contrasting color runs to create spirals or bars.
- Make a thicker rope using perle cotton or doubled strands.
Finishing
- Keep tension even for a smooth tube.
- Make a small sample to practice before full length.
6. Strawberry Chain Bracelet Tutorial
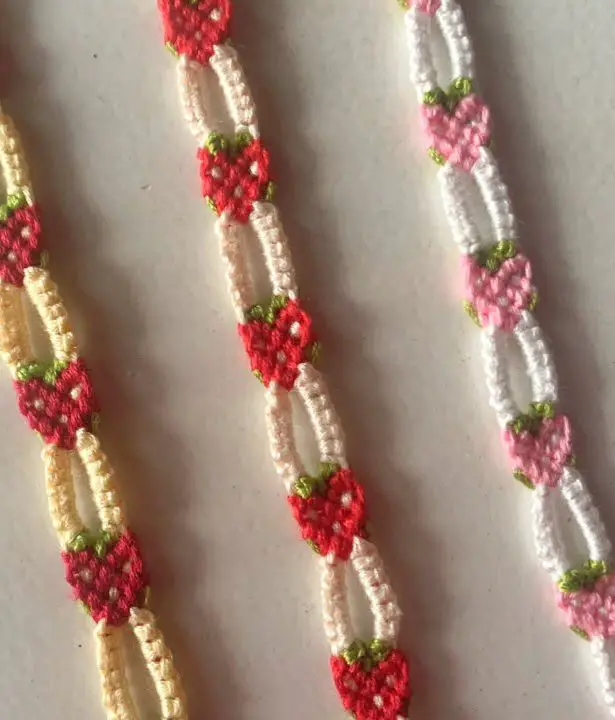
Skill level: Beginner | Time: 30–50 min | Width: small textured chain
Materials
- Embroidery floss or thin yarn, hook 2.5–3.5 mm (for crocheted chain) or just floss for knotted version
- Small green floss for leaves (optional)
Stitch method
Crocheted picot/puff “berries” along a chain (or knotted bumps for a no-crochet version).
Step-by-step (crocheted)
- Make a slip knot and chain the bracelet length minus 4 cm for tying.
- Ch 3, sl st into base (little loop), ch 4, sl st into same base — this creates a tiny raised bump that resembles a berry. Repeat across chain.
- Optionally work a row of sc across the back of the foundation chain to tidy the underside. Fasten off.
- For leaves: attach green thread at intervals and ch 4, sl st into base to form micro-leaf clusters.
Knotted version (no crochet)
- Tie small overhand knots spaced evenly along a cord; add tiny green thread tassels between knot groups to indicate leaves.
Variations
- Use red floss for berries and add yellow seed beads for “seeds.”
- Make a cluster bracelet grouping several strawberry bumps as a charm cluster.
Finishing
- Add a small bead at the end as a button for a neat closure.
- Crocheted version is sturdier for daily wear.
7. Circle Loom Friendship Bracelet Pattern
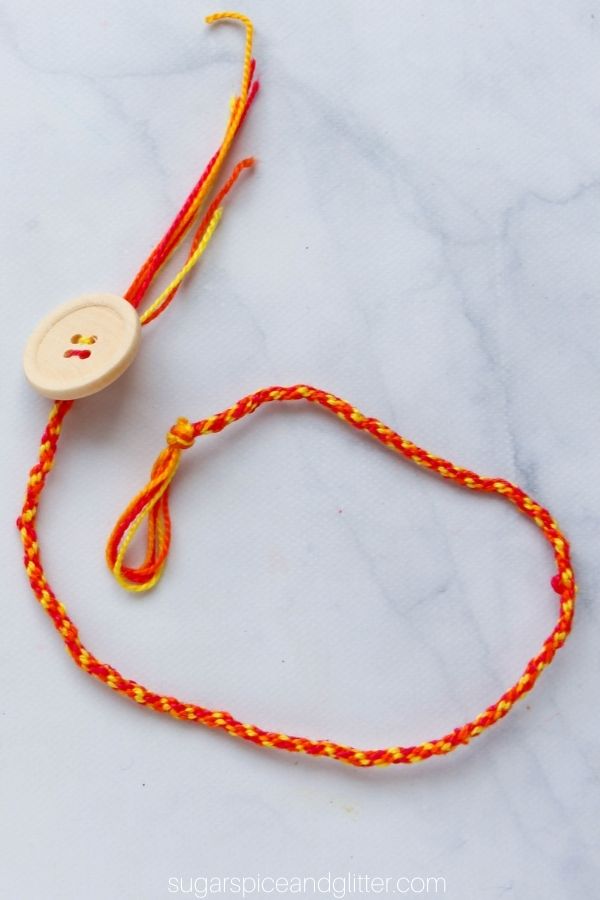
Skill level: Beginner → Intermediate | Time: 30–60 min | Width: depends on peg count
Materials
- Mini circle loom or small peg loom, embroidery floss, hook or needle, scissors
Stitch method
Loom wrap + picking/knitting off loops to form a tubular/woven band.
Step-by-step
- Wrap the floss around the chosen number of pegs in a simple over pattern: peg1→peg2→…→pegN and back as needed to build height.
- Using the hook, lift the lower loop over the top loop on each peg in sequence to create knit-like rounds. Repeat until the tube reaches wrist length.
- Slide off carefully, tie a secure knot at the end, and stitch or knot the ends into a neat closure (loop + button or braid ties).
Variations
- Alternate colors on adjacent pegs for stripes.
- Thread beads onto yarn before wrapping for embedded beadwork.
Finishing
- Don’t wrap the yarn too tightly — removal will be difficult.
- Looms are excellent for consistent, batchable bracelets.
8. Zig Zag Friendship Bracelet Tutorial
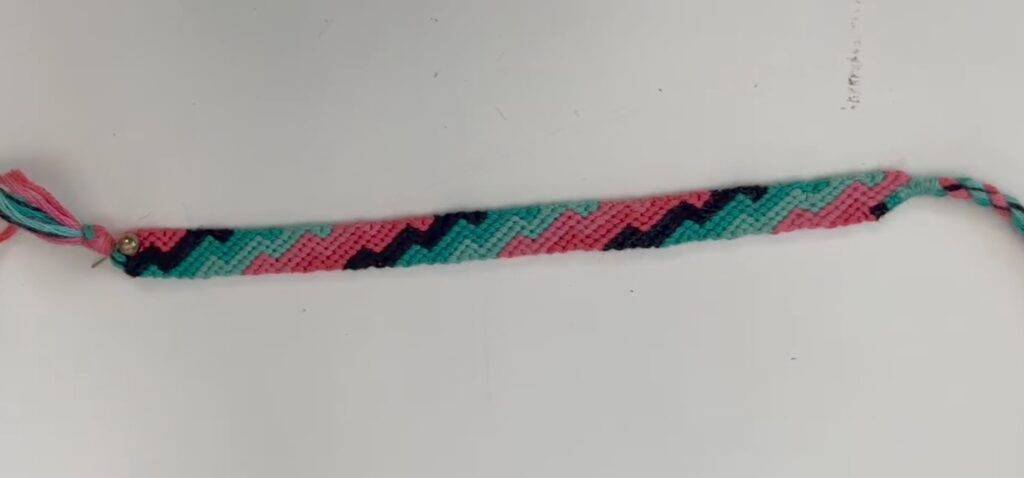
Skill level: Intermediate | Time: 45–75 min | Width: medium (angled bands)
Materials
- 6–8 strands in 3–4 colors, 70–80 cm each, tape/clipboard
Stitch method
Alternating angled chevrons with planned partial rows (FB/BF) to shift the band horizontally, creating zig-zag movement.
Step-by-step
- Arrange colors mirrored: A B C D C B A. Secure top knot.
- Make mirrored Vs by working FK with leftmost and BK with rightmost to center, join center as usual. That forms one V.
- After 3–4 V rows, start a partial row: stop one or two stitches before center and use FB or BF to lock the strand in place — this shifts the starting point and produces the zig.
- Continue the sequence of full Vs and offset partial rows to form a repeating zig pattern across the bracelet.
- Finish with braided tails or a wrap closure.
Variations
- Tight zig-zags for geometric designs or wide ones for gentler movement.
- Pair contrasting zig-zags next to each other for a striking stack.
Finishing
- Use a row counter or written plan for complex offset sequences.
- Fix miscounts by unpicking one row at a time rather than the whole bracelet.
Conclusion
Friendship bracelets are the perfect handmade gift—personal, colorful, and full of meaning. Whether you gravitate toward the rhythmic motion of Kumihimo, the relaxing repeat of candy stripes, or the playful texture of a strawberry chain, each technique gives you a new way to express creativity and friendship. Make a few to give away and keep one (or two) as a colorful reminder of the hands that made them.
Happy knotting — enjoy every colorful strand.


