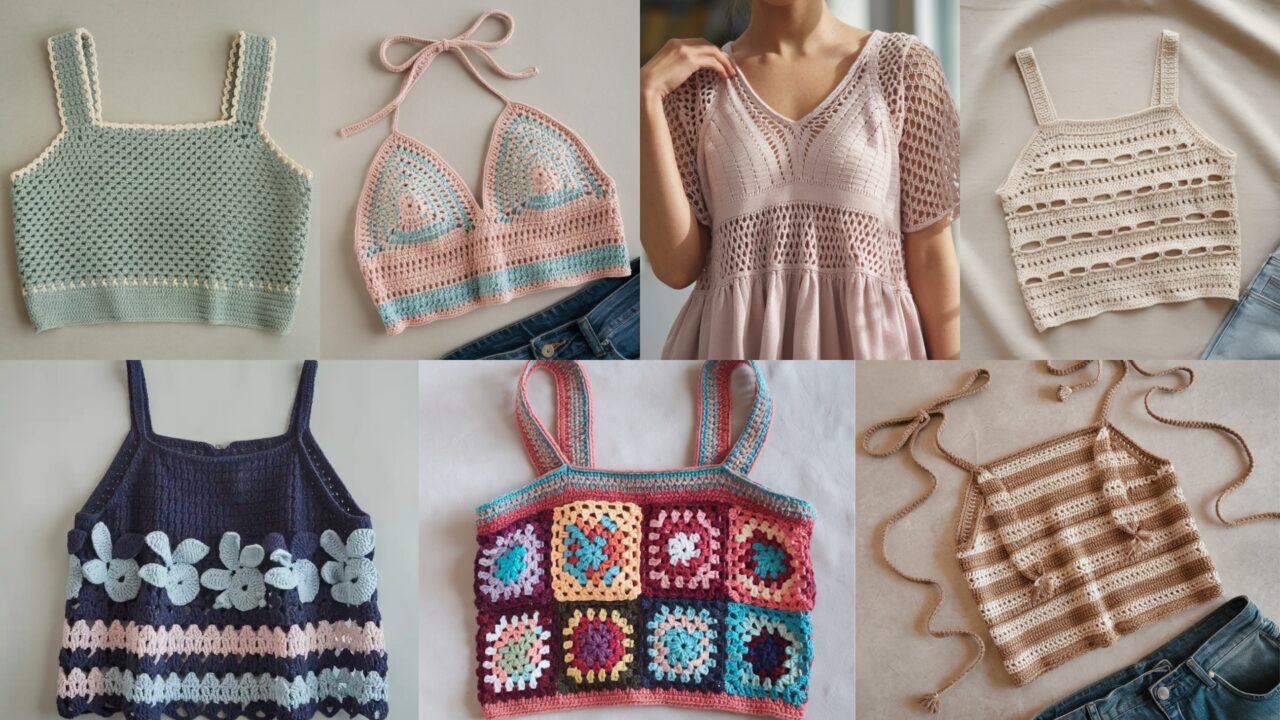
Crochet tops you’ll actually wear — not delicate showpieces that live in a drawer. These seven patterns give you real, wearable options: from a breezy honeycomb crop and a flattering halter to a granny-square festival top and an adjustable tie tank. Each design includes yarn recommendations, sizing math from a quick 4″ swatch, and finishing tips that stop straps from stretching out after the second wash.
Whether you’re making something for beach days, festivals, or everyday outfits, this post walks you through practical construction choices (seamless tube vs. seamed panels), support options (shelf-bra or elastic), and simple customizations so every top fits like you meant it to. Swatch once, do the math, and pick a pattern — these tops are designed to be worn, washed, and repeated.
Quick common notes (read this before you start)
- Terms & abbreviations (US): ch, sc, hdc, dc, tr, sl st, st(s), rep, BLO/FLO, fpdc/bpdc, MR = magic ring.
- Recommended fibers: cotton or cotton-blend for breathability and washability; linen blends for drape. Avoid slippery yarns unless you plan to line or reinforce.
- Hooks & gauge: I usually recommend 3.5–5.0 mm depending on yarn. Make a 4″ swatch in the stitch you’ll use and compute stitches-per-inch: (stitches across swatch ÷ 4) = stitches/inch. Multiply by target measurement to get stitch counts.
- Ease recommendations: Fitted = 0–2″ positive ease; semi-fitted = 2–4″; relaxed/boho = 4–6″.
- Construction choices: Tube (seamless) — faster and fewer ends; Panels (flat & seamed) — easier shaping and alterability; Modular (granny squares) — beginner-friendly and customizable.
- Finishing: Reinforce straps and stress points (backstitch multiple times). Block cotton tops to shape. Add elastic/shelf-bra for support when needed.
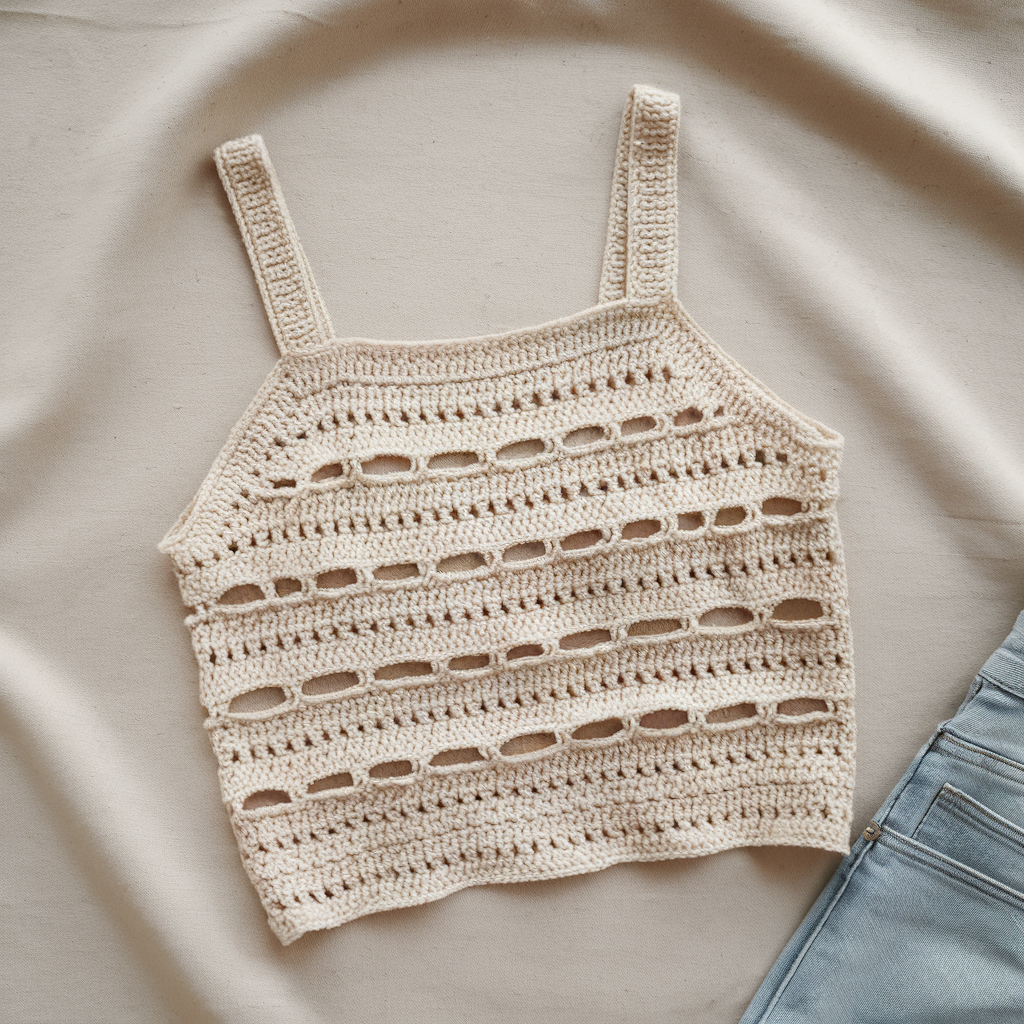
1. Crochet Ripped Tank Top Pattern
Skill level: Confident Beginner
Yarn & tools: DK/light worsted cotton or cotton-linen blend; 4.0 mm hook; tapestry needle.
Sample sizing example: Target bust 36″ with 2″ ease → finished bust 38″. Example gauge 4″ = 12 dc → 3.0 sts/in → 38 × 3 = 114 stitches around → 57 sts per panel if split front/back.
Design concept
A modern tank with intentional ladder gaps that read “ripped” without being sloppy. Built from two panels (front / back) worked flat, seamed at the sides, with a neat single-crochet edging at neck and armholes.
How to size (quick math)
- Swatch 4″ and measure stitches/inch.
- Finished bust (including ease) × stitches per inch = stitches around. Divide by two for each panel if making front/back.
Step-by-step (panel method)
- Foundation: Chain your panel stitch count (e.g., 57 for medium). Row1: dc across (counts as foundation).
- Solid band: Work 4–6 rows dc for a stable yoke.
- Ripped band repeat: Example repeat block — Work 4 solid rows (dc) then 1 ladder row: ch3, sk2, dc in next 2, ch3, sk2, dc in next 2 across. Next row anchor ch-3 spaces with dc or sc so ladder remains visible. Repeat block down panel.
- Shaping: Shape armholes by stopping seaming upper 5–6″ or add decreases for a closer fit.
- Seam: With right sides together, seam side edges from hem up to armhole opening.
- Straps: Chain for strap length, attach, and reinforce.
- Finish: 1–2 rounds sc around neckline and armholes; weave ends; block.
Variations & tips
- Ladder size controls the “ripped” look (bigger = more dramatic).
- Add a shelf-bra inside with tight hdc rows and elastic for support.
- Cropped? Shorten panels and add ribbed hem via BLO hdc rounds.
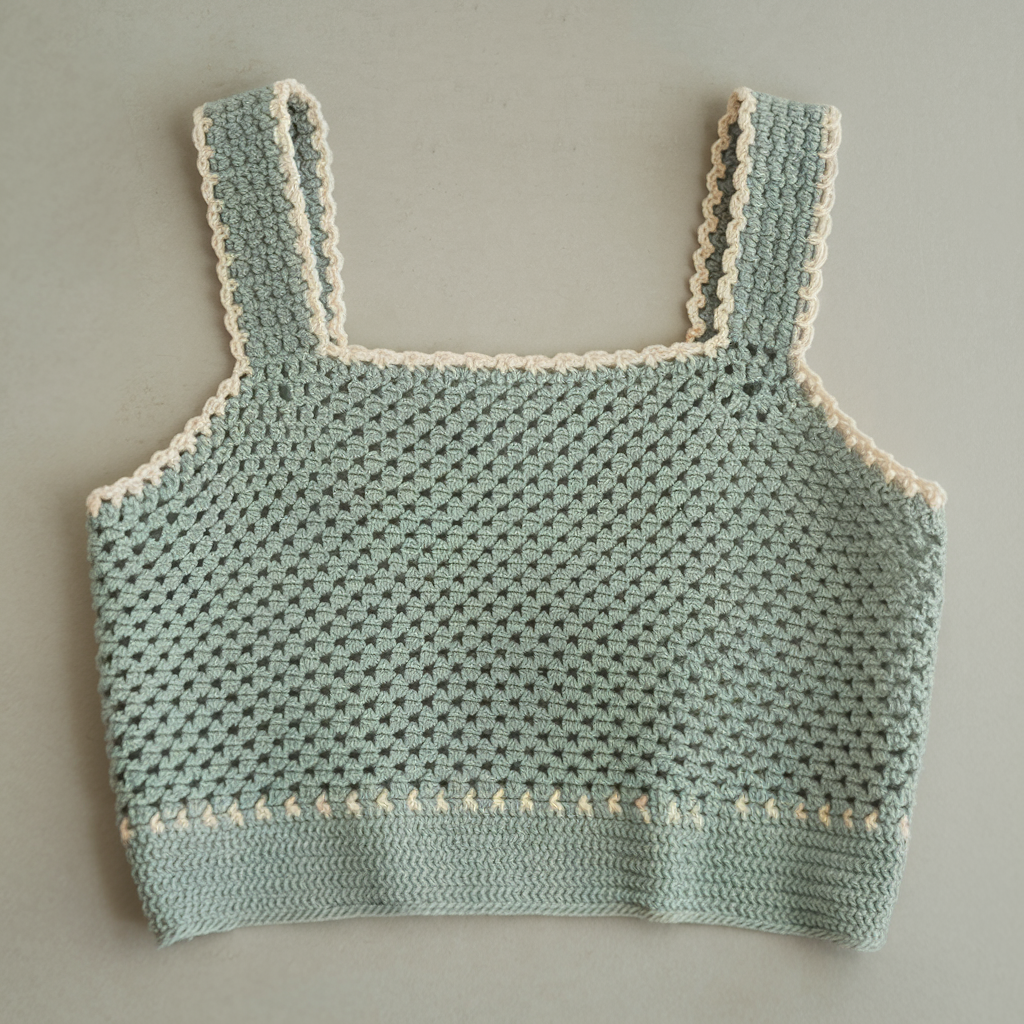
2. Crochet Honeycomb Mesh Crop Top Pattern
Skill level: Intermediate
Yarn & tools: Sport/DK cotton or linen blend; 3.5–4.0 mm hook; blocking pins.
Sizing example: Finished bust 36″ with 3″ ease = 39″. If gauge = 3.0 sts/in → 39 × 3 = 117 → round to motif multiple (e.g., 120).
Design concept
A breathable crop worked as a tube in a honeycomb mesh motif; edges stabilized with tighter bands. Wear over a bralette or add a shelf-bra.
Pattern logic — workable repeat
- Bottom band: 6 rounds sc or hdc.
- Honeycomb repeat (in-the-round):
- Round A (setup): ch3, sk2, (3 dc) in next st, ch3, sk2 — repeat.
- Round B: Anchor clusters into previous ch-3 spaces so clusters stagger and form honeycombs. Continue until needed length.
Step-by-step
- Work bottom band: Join a chain that equals rounded stitch circumference; R1–R6: sc or hdc rounds.
- Mesh body: Begin honeycomb repeat in rounds and keep count of motifs. Continue until crop length (~12–14″ from lower band to underbust).
- Divide or keep tube: For shaped tops, split and work panels; otherwise keep seamless.
- Top band & straps: Add 2–3sc/hdc rounds at top for stability. Make straps by chaining from top edge to fit.
- Optional shelf-bra: Crochet inner tight band with elastic.
Variations & tips
- Add beads on cluster points for festival sparkle.
- Extend length into tunic or shorten for micro-crop.
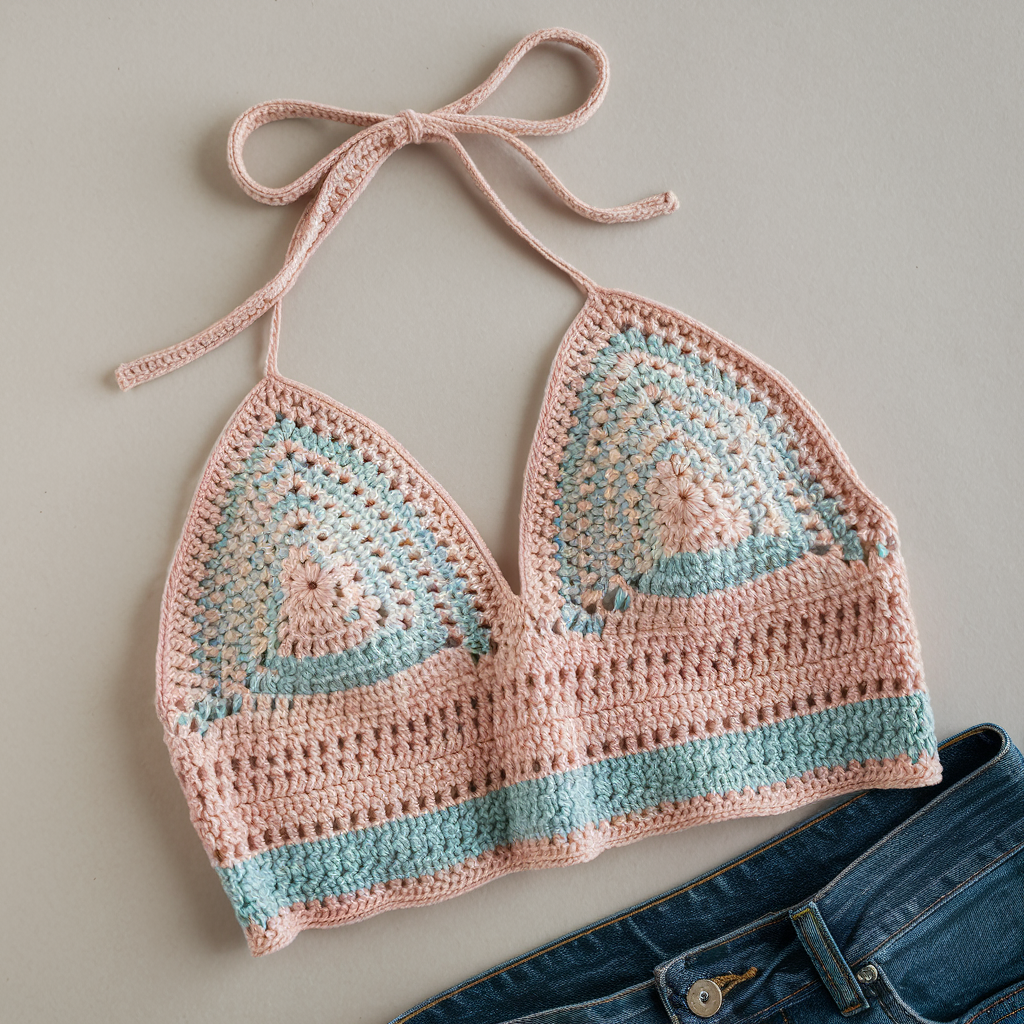
3. Crochet Halter Top Pattern
Skill level: Confident Beginner → Intermediate
Yarn & tools: DK or light worsted cotton; 4.0 mm hook; optional elastic for band.
Sizing example: Finished bust 36″ → half = 18″ → base width ≈ 18 × stitches/inch (e.g., 3) = 54 sts.
Design concept
Two triangular cups joined by an underbust band. Neck ties from apexes and underbust tie or band provide fit.
Step-by-step
- Triangles (make 2): Work centered-increase triangles: ch4, row 1 sc across, then increase one stitch at each edge each row until base equals required width (calculate rows from desired base stitches; each row adds 2 sts).
- Underbust band: Seam bases or pick up along bottoms and work hdc in the round for 2–3″ (insert elastic if desired).
- Neck ties: From each apex, chain required length to tie comfortably (measure). Reinforce anchor points.
- Finish: Sc around edges to tidy; block and weave ends.
Variations & tips
- Add scallops or shells on cup edges for a feminine finish.
- Insert a shelf-bra for extra support.
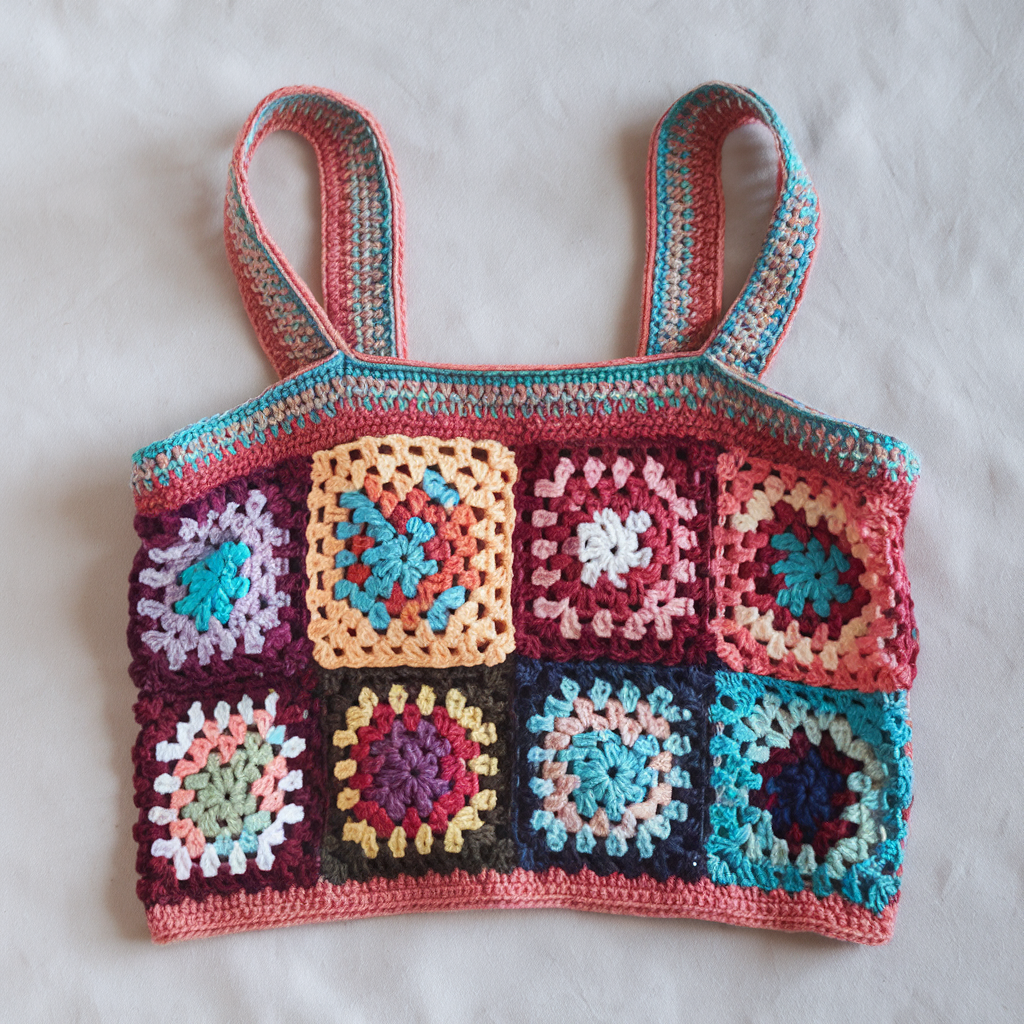
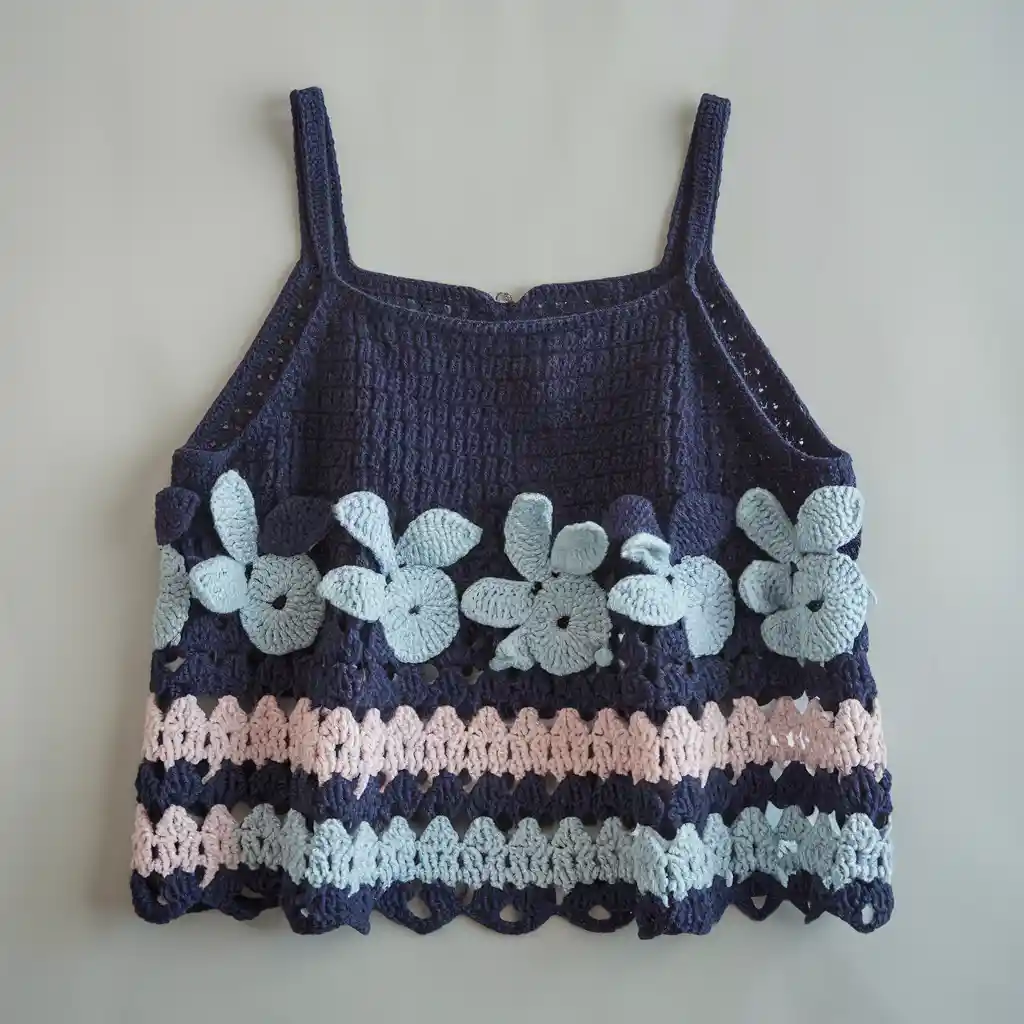
4. Crochet Granny Square Crop Top with Strap Pattern
Skill level: Beginner → Confident Beginner
Yarn & tools: worsted cotton; 4.0–5.0 mm hook.
Design concept
Modular granny squares joined into front and back panels; straps connect shoulders. Great for festival wear and stash busting.
Step-by-step
- Make granny squares: Classic 4–5 round granny until square reaches desired size. Block squares.
- Layout: Arrange squares (e.g., 3 × 2 per panel for a medium crop).
- Join: Join-as-you-go or sew squares together into front/back panels.
- Seam sides: Join front/back at sides leaving top for armholes.
- Straps: Pick up stitches and crochet straps to desired length; reinforce.
- Edge: 1–2 rounds sc around neck/armholes; weave ends.
Variations & tips
- Use lacy granny for softer drape.
- Add lining to reduce openness.
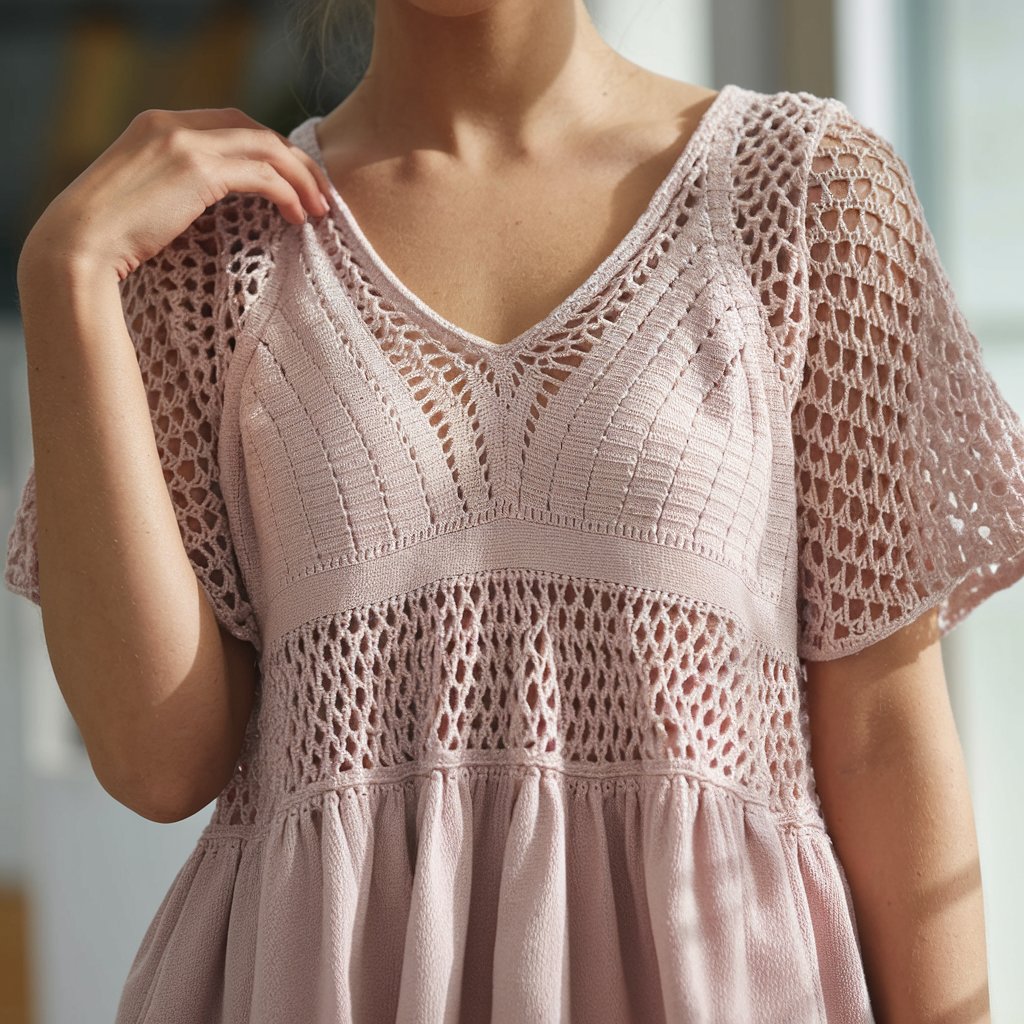
5. Crochet Cecilia Summer Top Pattern
Skill level: Intermediate
Yarn & tools: DK cotton or cotton-linen blend; 4.0 mm hook.
Design concept
A slightly A-line summer top with V-neck front; made in panels for precise shaping.
Step-by-step
- Measure & chain foundation for each panel using stitches/inch × half bust.
- Work mesh body (shell or dc/ch2 patterns) to underbust depth.
- V-neck shaping: Decrease at center on front panel every other row until desired depth. Try on as you go.
- Back panel: Work straight rectangle to same underbust depth.
- Underbust band & sleeves: Add firm hdc band; pick up around armholes for short sleeves if desired.
- Finish: Edge with sc; block.
Variations & tips
- Add internal shelf-bra for support.
- Shell stitch for decorative texture.
6. Crochet Summer Berry Top Pattern
Skill level: Intermediate (bobbles/popcorns)
Yarn & tools: DK cotton; 3.5–4.0 mm hook.
Design concept
Front panel textured with bobble “berries”; back in plain mesh for comfort.
Step-by-step
- Calculate panel width via swatch math and chain foundation.
- Work base rows of dc for foundation.
- Bobbles repeat: Example: dc3, ch2, sk2, bobble in next st, ch2 across. Stagger bobble rows to build clusters. Work 6–8 bobble rows across bust area.
- Plain body below: Continue with plain dc to desired length.
- Seam & finish: Seam sides, add straps, sc edge, and block carefully.
Variations & tips
- Adjust bobble size to yarn weight.
- Add lining if bobbles create gaps.
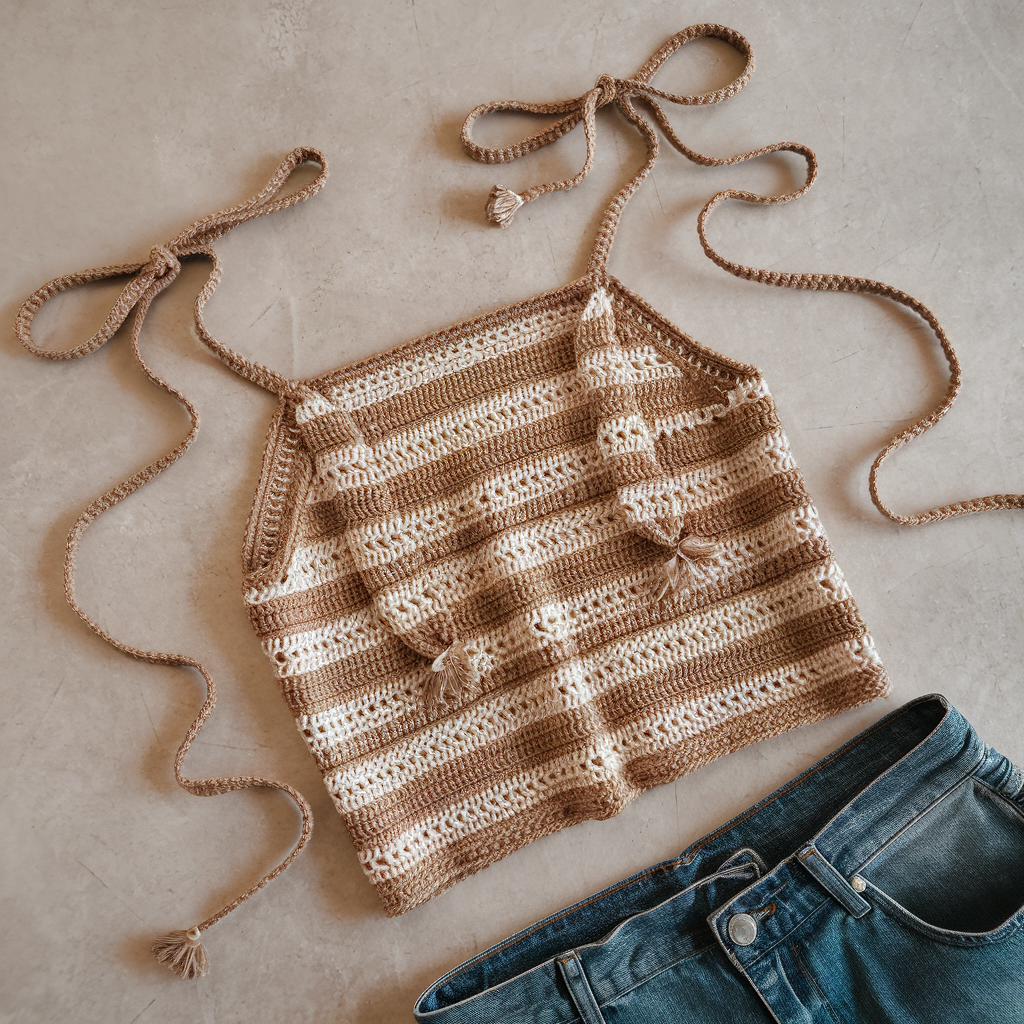
7. Crochet Tie Tank Top Pattern
Skill level: Confident Beginner
Yarn & tools: sport/DK cotton; 3.5–4.5 mm hook.
Design concept
Two rectangular panels with long ties at shoulders or sides for adjustable fit. Simple, quick, and very forgiving.
Step-by-step
- Measure & chain: Chain to half finished bust using stitches/inch math.
- Work panels: Dc rows for a smooth fabric or mesh pattern for breathability; work to desired length. Make second panel identical.
- Seam sides: Leave top portion unseamed for straps or seam partly for side slits.
- Make ties: Chain from top corners or sides and secure; reinforce with multiple stitches.
- Edge & finish: Sc around neck and arms; block.
Variations & tips
- Braid ties or add beads for style.
- Add darts for shaping before seaming.
Finishing, fit & practical tips (so your tops wear well)
- Swatch & calculate before chaining. Example math: swatch 4″ = 12 sts → 12 ÷ 4 = 3 sts/in. Finished bust 38″ × 3 = 114 sts.
- Try on as you go. Test fit at mid-construction before seaming.
- Reinforce stress points. Anchor straps and tie roots with many passes through multiple layers or a felt patch inside.
- Block every cotton piece. Pin to shape and let dry fully for a professional finish.
- Care: Machine wash gentle for cotton tops; reshape and lay flat to dry. Insert shelf-bra or lining for support when needed.
Conclusion
These seven crochet tops are built for real life: flattering shapes, clear sizing math, and finishing details that keep straps from sagging after the first wash. Don’t skip the prep: swatch once, measure carefully, and test fit before you commit to seaming. Small choices (fiber, hook, a single row of hdc in the band) change fit and durability more than clever stitches, so prioritize materials and reinforcement over fancy trims.
Make a sample in inexpensive yarn if you’re unsure about fit, then recreate it in your final yarn once the shape is nailed. Block every cotton piece, reinforce strap anchors, and use a shelf-bra or elastic when you need support — that’s the difference between a top that looks handmade and one you’ll reach for all summer. Now pick a pattern, swatch, and make something you’ll actually wear.