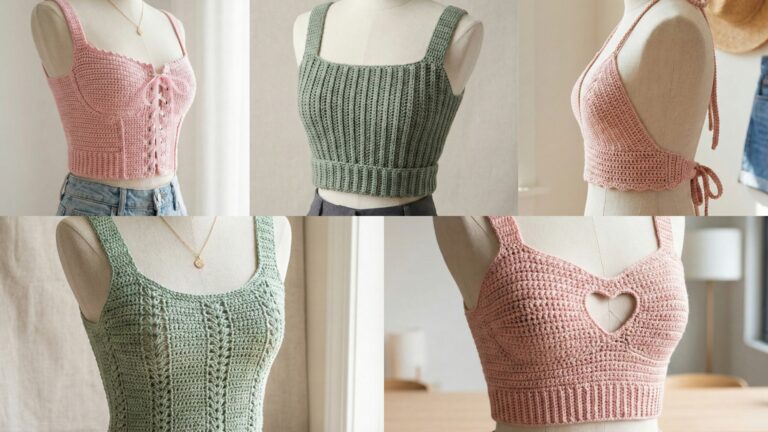
Crop tops are a fantastic way to practice shaping and simple garment construction while making pieces that can be layered, styled, and worn all year round. Below you’ll find a friendly, practical introduction covering materials, measuring and sizing, gauge, and common construction notes — then seven complete crop-top patterns, each with materials, a sample size, step-by-step construction, finishing tips, and variations you can try. The tone is practical and inclusive: these are clothing patterns you can adapt to different body sizes and styles.
Intro — materials, measurements, gauge, and general construction notes
Yarn & hook
- Yarn choice: Cotton and cotton-blends are great for summer crop tops (breathable, stable), while bamboo blends and light acrylics give drape. Use DK/light worsted (Category 3) for lighter fabric, worsted (Category 4) or held double for chunkier textured tops.
- Hook: follow the yarn’s label but usually a 3.5–5.0 mm hook works for crop tops; smaller hook = denser fabric and less stretch.
- Notions: tapestry needle, measuring tape, stitch markers, elastic (optional for waist), small amount of waste yarn for provisional cast-on (if you want to block and join), sewing needle and thread for attaching straps or closures.
Measurements & fit
Before you start, take accurate measurements (relaxed, not sucking in):
- Bust (fullest point) — measure across bust and around back; this is the main width measurement.
- Underbust — measure where band will sit if top ends under bust.
- Length — measure from underbust (or natural waist) up to where you want the top to end.
- Cup/torso ease: Decide how fitted you want the crop top. For fitted styles allow about 0–2 in (0–5 cm) negative or zero ease for snug, and 2–4 in (5–10 cm) positive ease for relaxed fit. For very stretchy fabrics you can use less ease.
Gauge & how to scale
- Make a 4 in (10 cm) square swatch in your main stitch and block to show final drape. Count stitches per inch.
- To compute foundation chain:
(stitches per inch) × (target bust width in inches) = foundation stitches. Round to stitch repeat required by the stitch pattern. - If a pattern gives counts for a sample size, you can scale by changing hook or number of repeats. Always check fit by trying on as you work if the top is worked in the round or by measuring flat.
Construction options
- Worked in the round (seamless): great for tube tops, halters, and ribbed bands. You can try on as you go.
- Two-panel method (front + back): good for shaped yokes, open backs, or tops with straps — sew side seams.
- Top-down raglan or yoke: produces a flattering shoulder shape; length easier to customize.
- Elastic casing: for a secure band, create a foldover hem (BLO rounds) to insert narrow elastic.
Safety & body-positive note
Crochet clothing comes in many shapes. These patterns are written to be easily adapted to a wide range of sizes. Choose the amount of ease and coverage that makes you feel comfortable. Avoid shared or public advice that pressures a particular body type; fashion should be for comfort and expression, not body standards.
1. Crochet Stylish Ribbed Crop Top Pattern
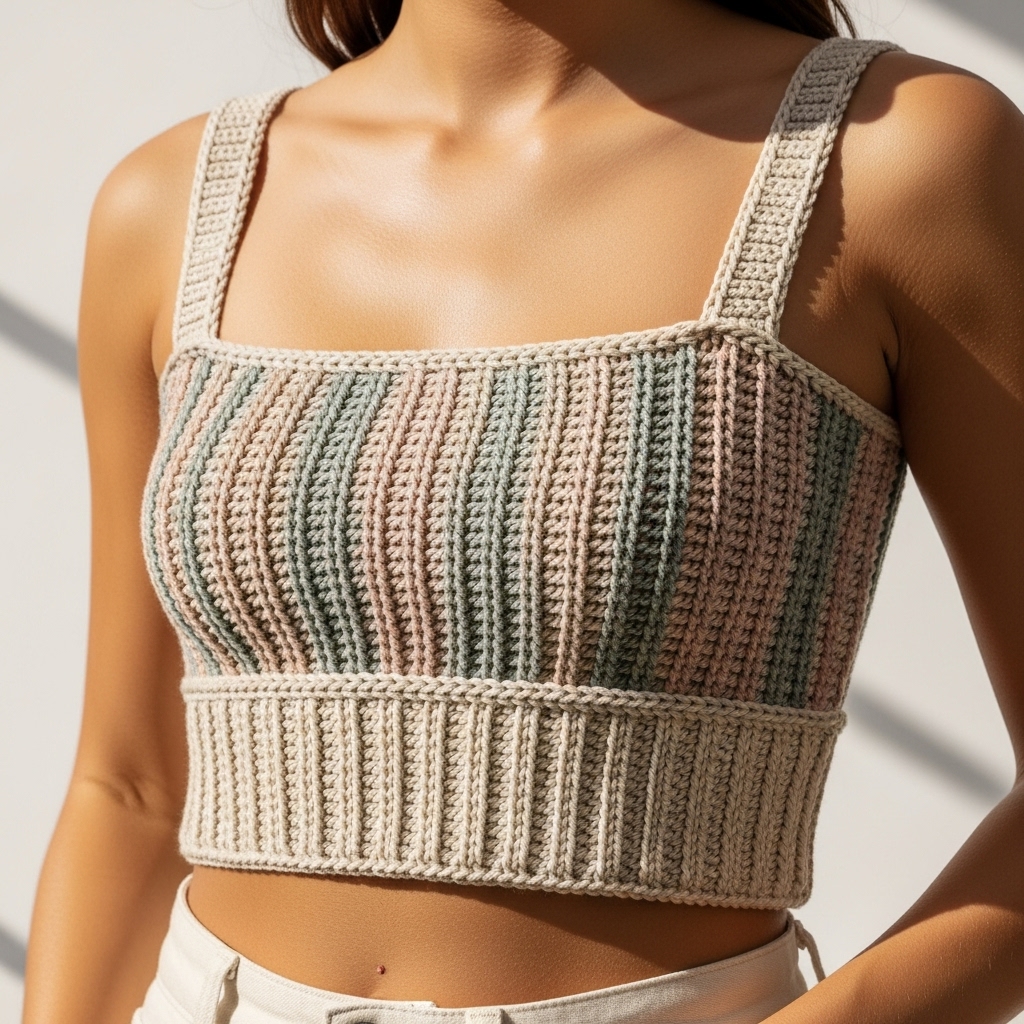
A versatile, fitted ribbed crop top with a clean band — flattering, slightly sporty, and great for layering.
Skill level: confident beginner
Materials (sample for bust 34 in finished with 2 in positive ease → finished band 36 in)
- DK cotton, ~300–400 yd (depends on size and length).
- Hook: 3.5 mm.
- 1 in elastic (optional), 36 in circumference elastic if you’ll insert a casing.
- Stitch marker, tapestry needle.
Gauge (example): 18 hdc = 4 in in hdc in back loop only (BLO). Adjust to your swatch.
Design & idea
Worked in the round from bottom up. Ribband is made with BLO hdc rounds to fold over and form an elastic casing; the body uses vertical ribbing created by alternating front-post and back-post hdc (or hdc BLO worked every row) for a stretchy fit.
Step-by-step (tube method)
A. Measure & compute
- Measure bust at fullest point and add desired ease. Example: bust 34 in + 2 in ease = 36 in finished. If gauge shows 18 hdc = 4 in → 4.5 hdc/in. Multiply: 36 × 4.5 = 162 hdc circumference. If stitch repeat needs a multiple (say 2), make foundation to nearest multiple (162 is even — good).
B. Foundation & band
2. Chain foundation: ch 162, join carefully to avoid twist. Place marker.
3. Work 8 rounds BLO hdc (or hdc BLO in each st) to create a ribbed band that will fold for casing. This makes a firm base ~1.25–1.5 in tall depending on yarn.
C. Optional elastic casing
4. Fold the band inward and whipstitch the lower edge to form a casing leaving a small gap to thread elastic in. Insert elastic, overlap by ~1/2 in and sew securely. Close gap.
D. Body (vertical ribs)
5. Round 1 (RS): fp hdc around next st, bp hdc around next st repeat around — this gives vertical ribbed columns. Repeat this round until body measures desired length from underbust to hem (typically 8–10 in for a crop). For a more fitted look work fewer rounds; for looser, add more.
E. Top edge finishing
6. Work 2 rounds BLO sc across top for tidy finish; if you want extra support add 1 round of crab stitch (reverse sc). Add narrow shoulder straps by chaining 25 (adjust length), attach across front/back with sc to make tank straps, or leave strapless.
F. Finishing
7. Weave ends and block gently folded to shape. Try on and adjust strap length.
Variations
- Make the ribbing deeper by using fpdc/bpdc instead of hdc for chunkier ribs.
- Add a small lace trim at the top using picots for a delicate edge.
2. Crochet Simple Twist Crop Top Pattern
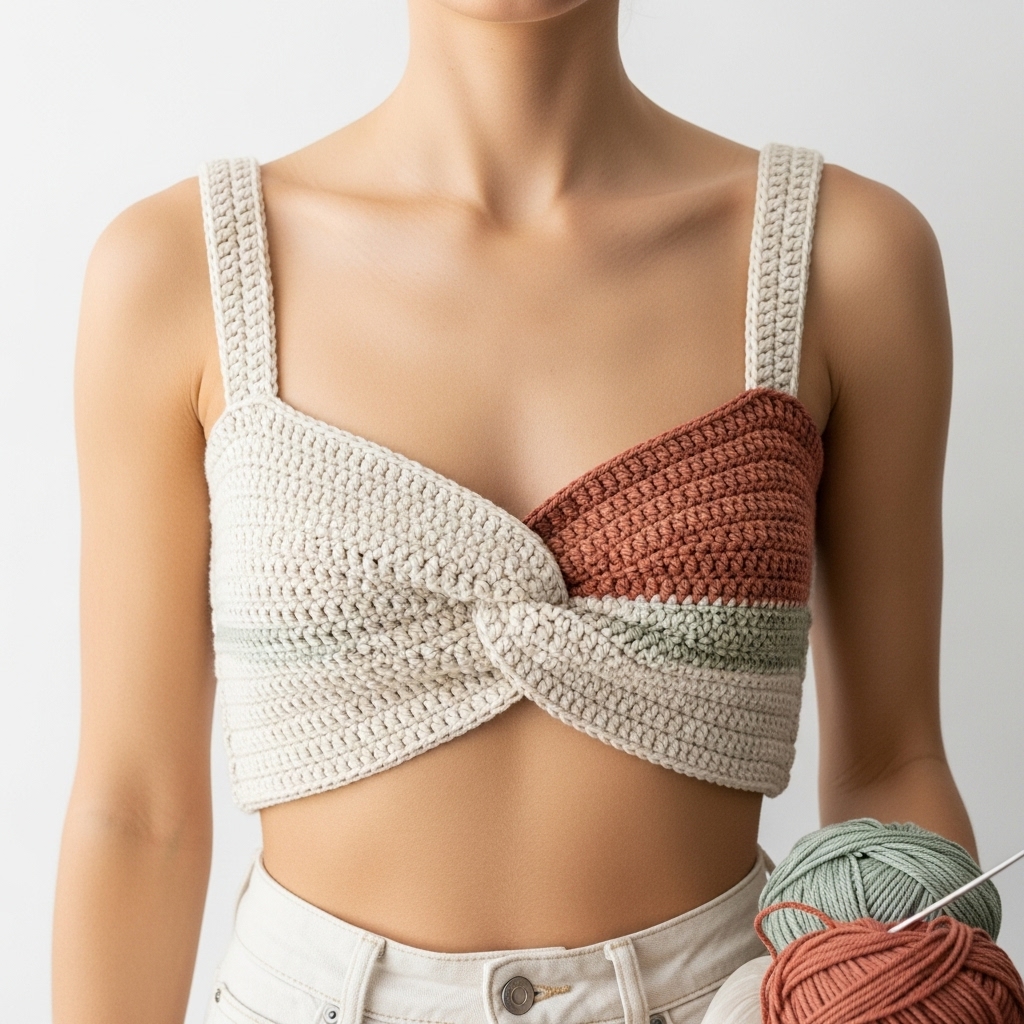
A front-twist crop top (looks like a knotted front) — great as a statement single-piece that pairs well with high-waist bottoms.
Skill level: intermediate (shaping + seam/assembly)
Materials (sample size)
- DK cotton ~300 yd.
- Hook: 3.5–4.0 mm.
- Tapestry needle.
Design idea
Two flat panels (front & back) are worked rectangularly, the front panel is twisted at center and joined to create the knot effect. Side seams and straps finish the top.
Step-by-step
A. Measurements & foundation
- Decide desired finished bust circumference (see measuring advice). For a sample 36 in finished, compute stitches using your stitch gauge: if 5 sc/in, then foundation for half-body panel = (36/2) × 5 = 90 sc across for front or back panel width. But because the twist reduces width at center, make front panel slightly larger horizontally (add 4–8 sc) to compensate.
B. Front panel
2. Ch 92 (or computed width). Work rows in sc, hdc, or linen stitch depending on texture until panel height reaches desired length from underbust to top of twist — usually 6–8 in. Make sure to keep both front and back the same height.
C. Back panel
3. Make identical back panel but without extra width for twist.
D. Create twist
4. Lay front panel RS up. Fold one short edge over the other in a twist: take the right half and place it over the left half so center overlaps creating an X. Tuck edges under and seam the inner layers to form a tidy twisted knot. Alternatively, you can make a small band (ch about 8–10) and wrap it around center once to secure twist and sew underneath for a neat banded knot.
E. Join panels
5. Align front (twisted) and back panels and seam sides with mattress stitch or sc seam leaving armholes open. Try on and adjust.
F. Straps
6. Add straps by chaining desired length and attaching to back; use adjustable-length straps with small buttons if you want versatility.
G. Finish
7. Weave in tails and block lightly.
Variations
- Make the panels in different colors for a color-block twist.
- Use ribbed stitch for more elasticity.
3. Crochet Small Heart Cutout Crop Top Pattern
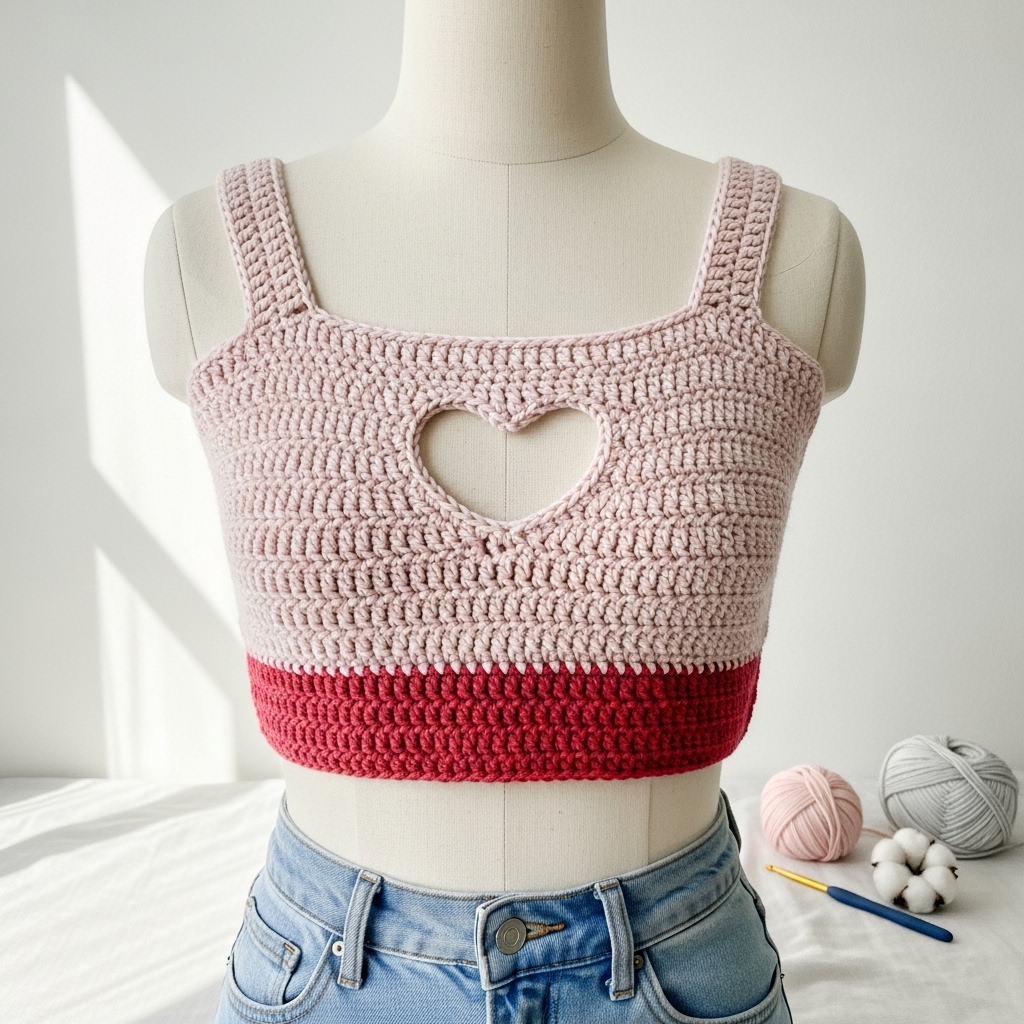
A fun top with a small cutout heart at center chest — playful but still appropriate; adapt cutout size for coverage preference.
Skill level: intermediate (shaping & cutout)
Materials
- Sport or DK cotton ~350 yd depending on size.
- Hook: 3.5 mm.
- Tapestry needle, small button or narrow band for reinforcement around cutout.
Approach
This top is worked in two panels with a heart-shaped negative space worked by skipping and bridging stitches or by cutting and binding an appliqué to create a heart cutout. I describe a safer sewing approach: work a heart appliqué and leave a small opening under it so it reads as a cutout but keeps fabric integrity.
Step-by-step
A. Body panels
- Make front and back rectangles to required widths and heights like in the Twist Top pattern. For a crop that ends under bust measure accordingly (6–10 in height depending on style).
B. Heart placement
2. Decide heart size (e.g., 2.5 in wide) and central placement. Work a small heart appliqué following this mini pattern: MR, ch1, 6 sc; R2: ch 3, 5 dc in next st × 3 to create lobes and shape into a stylized heart, flatten & tighten.
C. Create cutout illusion (safe method)
3. On the front panel, crochet up to the row where you want the bottom of heart to sit. Then continue crocheting but make a small horizontal opening equal to the heart width (work chain across the gap and attach to the next stitch to create an open window of desired width and height — do not over-open). Continue panel. This creates a small window.
- After finishing, sew the heart appliqué so that it is attached to the panel only at its top and side points, leaving the bottom center lightly attached or slightly flared so the opening shows under heart for a “cutout” effect. Reinforce edges with a neat sc border to prevent stretching.
D. Assembly
5. Seam panels as earlier, add straps or short sleeves as desired.
E. Finishing
6. Add a narrow lining if you want the cutout to be modest, or keep it open for a bolder look. Use a small interior strip for reinforcement if you plan to wear without layering.
Variations
- Make heart smaller or use multiple mini hearts across the band.
- Swap the heart for a keyhole ring (metal ring covered by crochet) for a minimalist look.
4. Crochet Off-Shoulder Bardot Crop Top Pattern
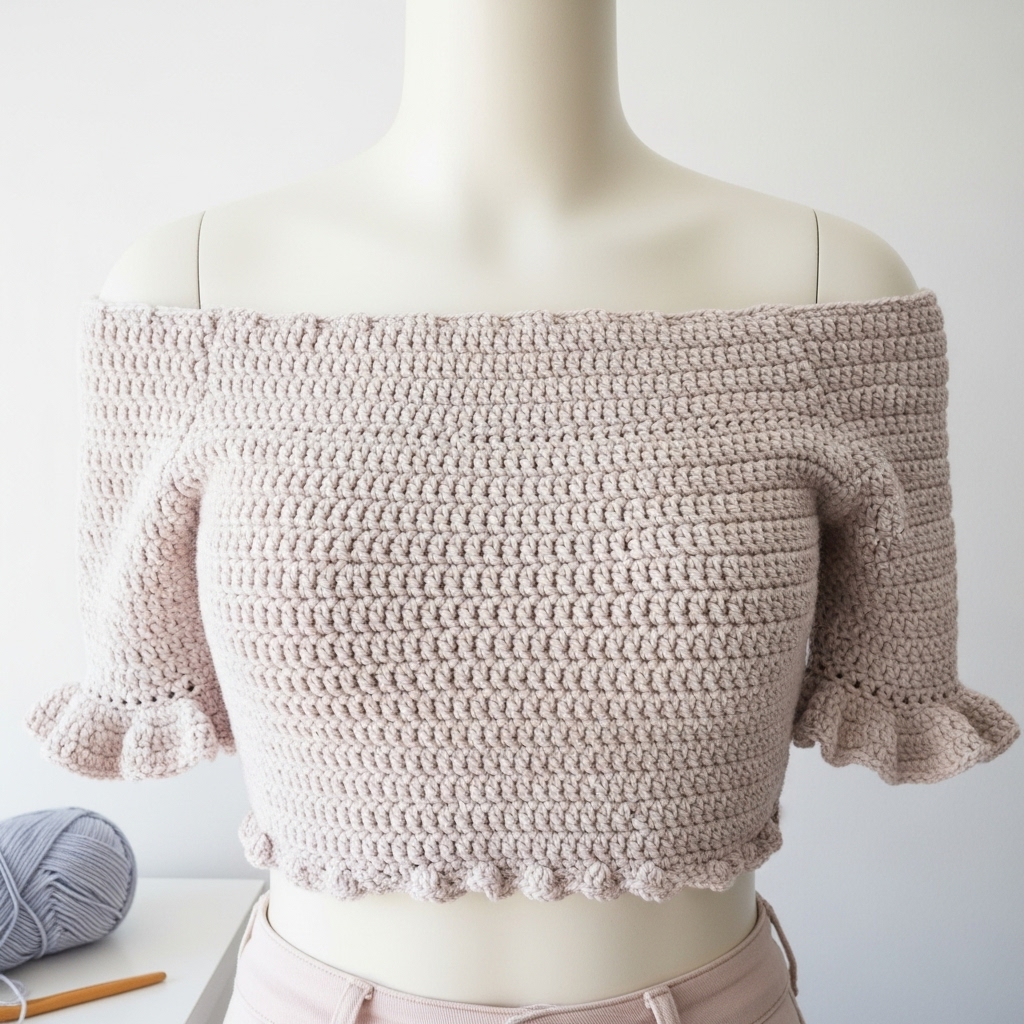
A feminine off-shoulder Bardot top with elasticized neckline for secure fit.
Skill level: intermediate
Materials
- DK cotton ~350–450 yd depending on size and sleeve length.
- Hook: 3.5–4.0 mm.
- Narrow elastic (1/4–3/8 in), small safety needle to thread elastic, tapestry needle.
Design idea
Worked in the round: start with a ribbed neckline casing (BLO hdc or sc) fold and create elastic channel; work tube-style body and optional short sleeves or frill.
Step-by-step
A. Neckline & elastic casing
- Measure around upper chest/shoulder where top will sit (this is typically higher than bust). Choose a finished neckline circumference slightly snug so elastic helps support — e.g., measurement 33 in, leave 0–1 in negative ease depending on comfort. Compute stitches using your stitch gauge.
- Join foundation in the round (ch required sts then join). Work 10 rounds BLO hdc to make a ribbing band ~1.5–2 in tall. Fold band inward and seam or whipstitch to create a narrow elastic casing leaving a small gap. Thread elastic through and sew ends together, leaving band snug but comfortable.
B. Body
3. From the top edge continue in your stitch of choice (dc for drape, hdc for medium fabric). Work even rounds until desired crop length (usually 6–9 in from neckline). If you want a frilly hem, switch to shells or picot edging for final 2–3 rounds.
C. Optional sleeves
4. For short Bardot sleeves, once body is done, determine sleeve opening width and work small flared ruffle rounds attached at body edge: sc around sleeve opening, then shells to flare.
D. Finishing
5. Weave ends and press lightly. Ensure casing elastic is sewn securely and test by raising arms and moving to check stability.
Variations
- Add a small tie at the center front to make a peek-a-boo detail.
- For more support, make a narrow inner shelf bra by crocheting a separate strip with elastic and attaching inside.
5. Crochet Easy Textured Crop Top Pattern
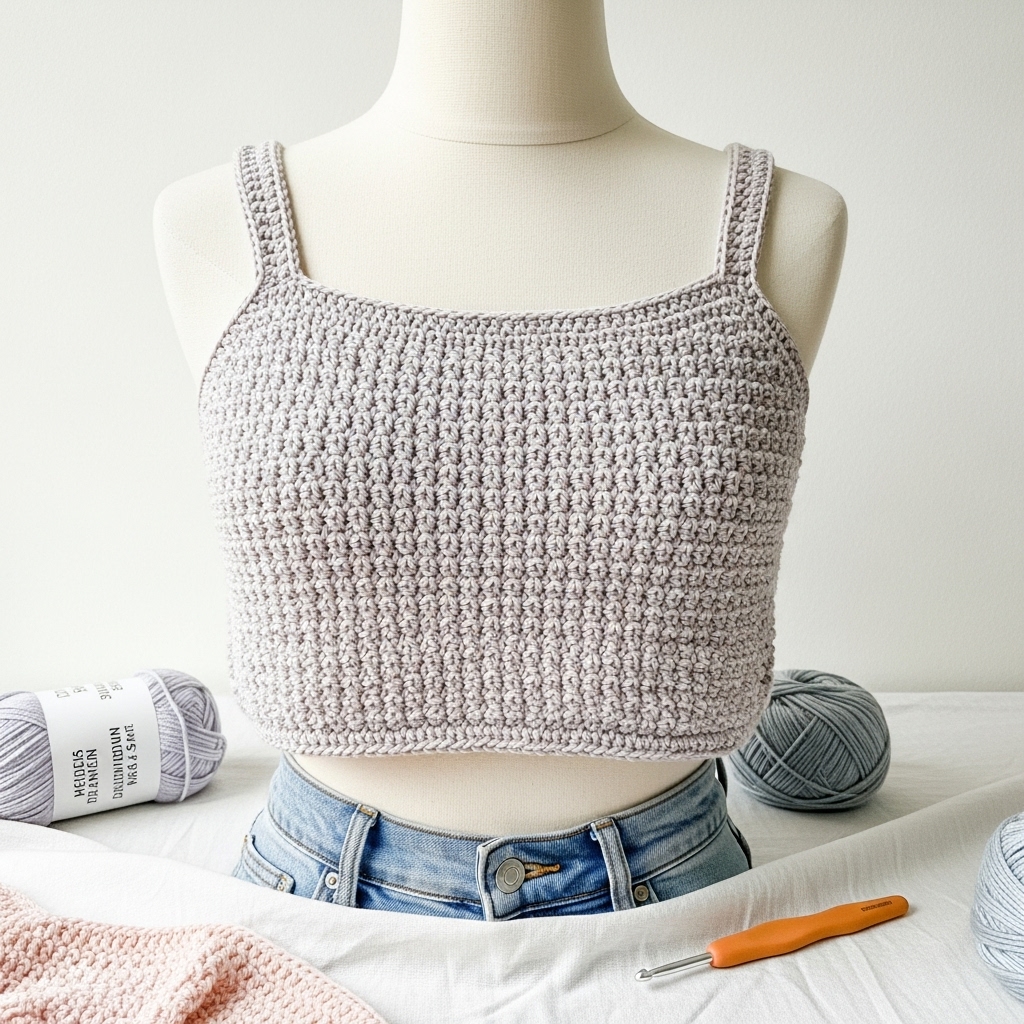
A simple textured stitch (e.g., waffle, crosed double stitch) built into a comfortable crop — very wearable and forgiving.
Skill level: confident beginner → intermediate
Materials
- DK or worsted cotton ~350 yd (sizes vary).
- Hook: 4.0–5.0 mm depending on yarn.
- Stitch marker, tapestry needle.
Concept
Use a repeatable textured stitch (moss/linen, waffle, or crossed double) worked flat into front/back panels (or in the round for a tube top). Texture adds interest and hides small gauge variations.
Step-by-step (moss/linen stitch two-panel method)
A. Compute & chain
- Compute width like earlier. Moss stitch uses odd number of chains for classic version. For 36 in finished with gauge 4 sc/in (approx), you’d chain 72 + 1 turning chain to get odd multiple as needed.
B. Panel
2. Row 1 (RS): sc across.
3. Row 2: ch 2, skip first st, sc in next, ch 1 repeat across, turn.
4. Row 3: ch1, sc in ch-1 spaces and sc in sc from previous row, turn. Repeat rows 2–3 until panel height is desired.
C. Assembly
5. Make both panels same size and seam sides leaving armholes if needed. Add straps or short sleeves.
D. Finishing
6. Work a round of sc around neckline and armholes for neatness.
Variations
- Use waffle stitch (fpdc + dc row) for a puffier textured crop that’s warm and structured.
- Add short racerback detail by shaping back panel with decreases at center top.
6. Crochet Halter Neck Crop Top Pattern
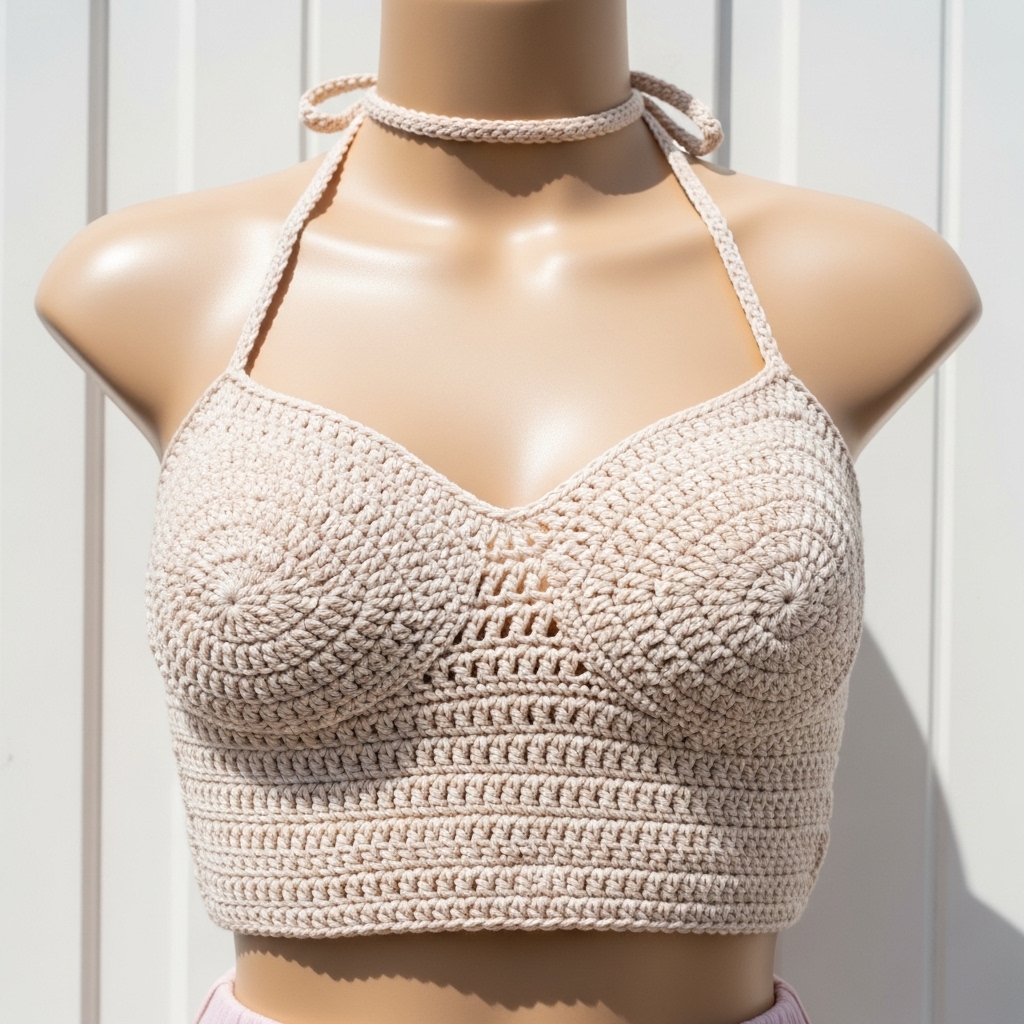
A summery halter with a supportive band and adjustable neck ties.
Skill level: intermediate
Materials
- Sport/DK cotton ~250–350 yd.
- Hook: 3.5–4.0 mm.
- Two long tie cords (either crocheted i-cords or chains reinforced with sc), tapestry needle.
Concept
Worked as a front panel and back band: the front is shaped to cover bust and attach to a neck tie/collar; the back is a band (or halter ties) that ties behind the back.
Step-by-step
A. Front panel
- Measure front width (half bust + ease). Chain that many stitches for foundation. Work in rows shaping the top edges with decreases to form the V of a halter top or shape rounded cups using short rows.
- Example simple V: start wide at bottom; every few rows decrease 1 st at both edges until desired top width.
B. Neck ties
3. At top corners work long ties: ch desired length (30–40 in for ties that wrap around neck and tie). Reinforce by working back along chain with sc or by making an i-cord for roundness and strength.
C. Back band
4. Work a separate rectangular back band approx equal to the bottom width of front panel and desired height (2–3 in) that either fastens with a tie or with snap/button.
D. Assembly
5. Sew side seams, leaving the top open; attach ties to top corners.
E. Finish
6. Edge front and back with a round of sc for stability.
Variations
- Add a lining shelf bra with elastic for extra support.
- Convert to halter with sewn-in ring at center front where straps meet for a halter ring detail.
7. Crochet Wrap Crop Top Pattern
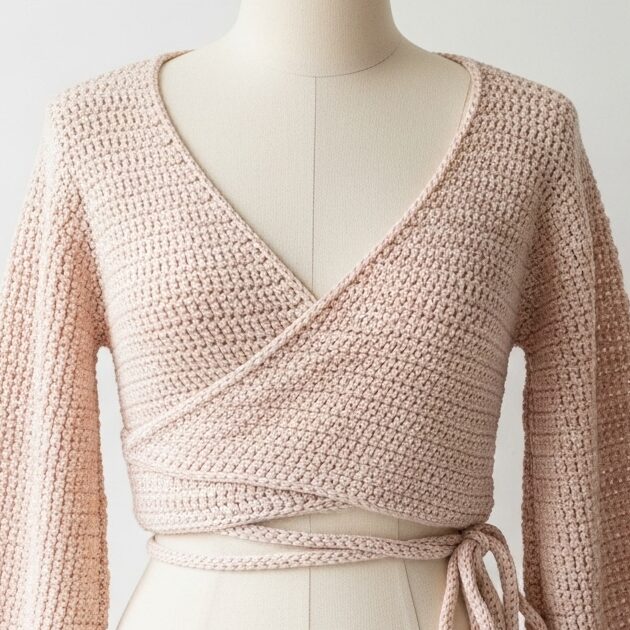
A flattering wrap with ties that cross and tie at side or back — adjustable and great for different body shapes.
Skill level: intermediate (assembly & shaping)
Materials
- DK cotton ~350–450 yd.
- Hook: 3.5–4.0 mm.
- Tapestry needle.
Design idea
Two front panels that overlap (wrap) and a back panel or single band that ties around; can be worked as rectangles and assembled.
Step-by-step
A. Back panel
- Chain foundation to match underbust width. Work rows of sc or ribbing until desired height for band (2–4 in); this forms the back base that sits under breasts.
B. Front wrap panels (make 2 mirror)
2. Each front panel: chain width = (half bust + extra for wrapping, e.g., add 2–4 in). Work rows forming a tapered shape that becomes narrower toward the shoulders (decrease 1 st at shoulder edge every few rows) so the panel wraps nicely.
C. Straps & ties
3. At top of each front panel work long ties to cross over the torso and tie at side or back. For a stronger wrap, make ties as i-cords or double chains reinforced with sc.
D. Assembly
4. Attach front panels to back band at side seams or sew underbust edges to band base. Try on and adjust tie lengths; secure with extra stitches.
E. Finishing
5. Add a small button or hidden snap where panels overlap if you want more security so ties don’t loosen.
Variations
- Make long wrap ties to allow crisscross back.
- Add small eyelet rows along top edge if you want to thread a narrow elastic for adjustable fit.
Final finishing & care notes (applies to all tops)
- Weave ends securely and hide them inside seams or band casings.
- Blocking: some stitches (linen, shell) benefit from light blocking to even edges and set drape. For cotton, wet block then air dry flat.
- Elastic care: if you use elastic inside casings, avoid high heat during washing/drying — tumble dry on low or air dry to prolong elastic life.
- Fit check: always try on during construction if possible. For tops worked in the round, try on after ribband and again before final seam. Adjust length and straps while you can.
- Sizing: when in doubt, make a test band section and try on; it’s easier to rip back 2–3 rounds than a whole panel.
conclusion
These seven crop-top patterns give you a full range of wearable styles — from fitted ribbed basics (great for layering) through twist and cutout details (for a playful look), to Bardot and wrap styles (for date-night or festival outfits). Each pattern is designed to be adaptable: swap yarn weights, adjust lengths, add linings or elastic to suit your comfort and climate. Crochet clothing is forgiving — make a test swatch, check