Small, satisfying, and endlessly wearable — crochet bracelets are the perfect quick project when you want a handmade accessory that doesn’t eat your weekend. They’re ideal for using up yarn scraps, trying a new stitch, or knocking out a last-minute gift. Below you’ll find seven bracelet designs that work up fast: each section includes Skill level, Materials, clear Step-by-step instructions, Variations, and Final tips so your finished bracelet looks polished and wears well.
1. Crochet Chain Bracelet Pattern
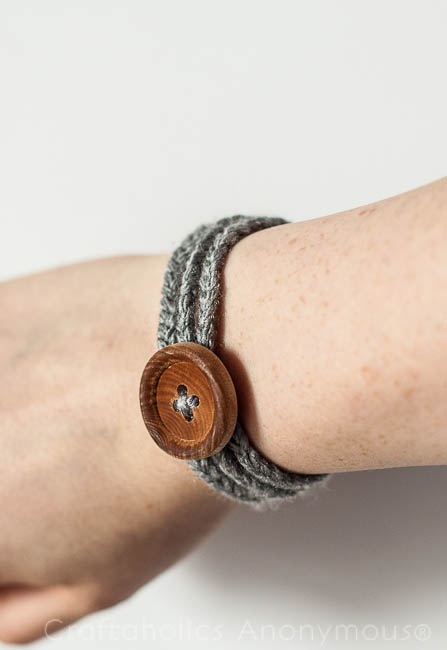
Skill level: Beginner
Materials
- Sport or DK weight cotton yarn (or two strands of floss held together)
- Crochet hook sized for your yarn (e.g., 3.0–3.5 mm for sport/DK; 1.75–2.5 mm for floss)
- Small clasp & jump rings or button, yarn needle, scissors
- Optional: leather end caps
Step-by-step
- Measure wrist circumference (W) and add 4–6 cm for overlap/fastening — this is your target finished chain length (L).
- Make a slip knot and chain to L. Keep tension even so the chain isn’t too tight or too loose. Example: a 16.5 cm wrist in DK often needs ~40–45 chains (test on your gauge).
- For a bolder cord, work a second parallel chain and join both with a round of slip-stitches or single crochets through both chains, or simply chain using two strands held together.
- Fold ends to overlap slightly (0.5–1 cm). Use matching yarn or thread to whipstitch the ends together, capturing a jump ring or sewing on a small button. For a polished finish, add a leather end cap glued and clamped over the join.
- Attach clasp/jump rings and test fit.
Variations
- Beaded chain: Pre-string small seed beads and catch them into the chain as you work for spaced highlights.
- Double-wrap: Chain twice the wrist circumference for a layered wrap bracelet.
- Metallic thread: Use a metallic or silk thread for dressy evening wear.
Final tips
- Test the chain on the wrist before securing ends; chain gauge can change with yarn choice.
- For durability choose cotton or waxed cord if you plan to wear the bracelet daily.
2. 30-Minute Crochet Bracelet Tutorial
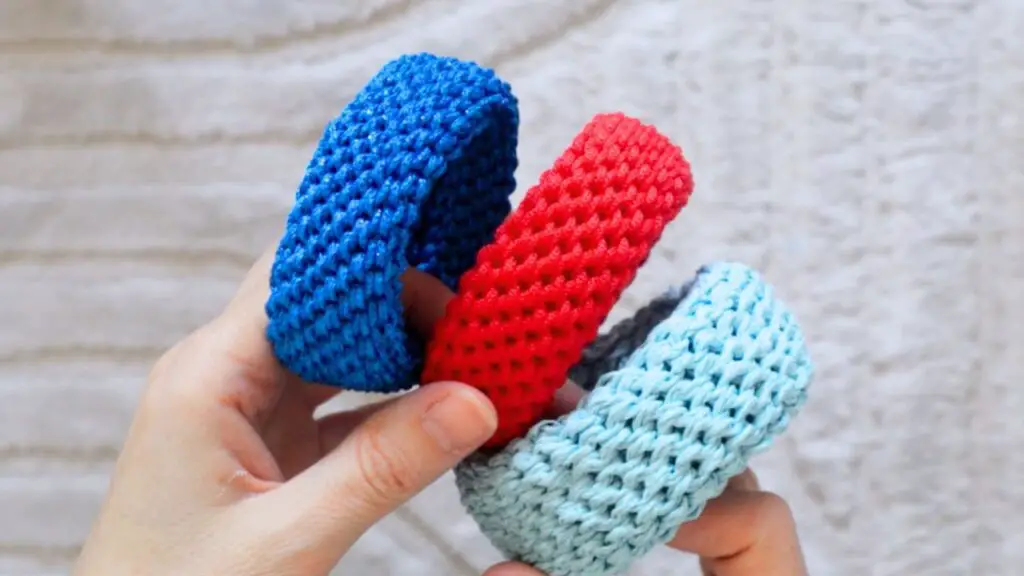
Skill level: Beginner → Intermediate
Materials
- Worsted weight cotton or leatherette-style cord, ~40–80 m depending on single/double wrap
- Crochet hook 4.0–5.0 mm (adjust to yarn)
- Button (10–16 mm), yarn needle, scissors
- Optional: small charm or bead
Step-by-step
- Decide single vs. double (or triple) wrap. For single, target length = wrist + 4–6 cm; for double, target = 2×wrist + 4–6 cm.
- Chain to target length L. (Sample: 16.5 cm wrist → chain ≈ 45 in DK; test your chain gauge.)
- Row 1: sc in 2nd ch from hook and across; turn. Row 2–3: ch 1, sc across. Stop after 3 rows (or add rows for a thicker band). Fasten off leaving a long tail.
- Fold bracelet to check fit. Sew button to one end; make a small chain-loop (ch 6–12 depending on button) on the opposite end and test that it loops snugly around the button.
- Add a bead or charm by sewing it to the band or threading before finishing.
Variations
- Use hdc or dc for a plusher band or a lacy wrap.
- Bead-embellish: thread beads onto yarn and slide into place as you stitch.
- Replace button loop with sliding knot or magnetic clasp for adjustability.
Final tips
- Reinforce the button by stitching through the band multiple times.
- For slippery yarn, dab a tiny drop of clear glue under the sewn button for extra hold.
3. Crochet Knitted Bracelet Pattern
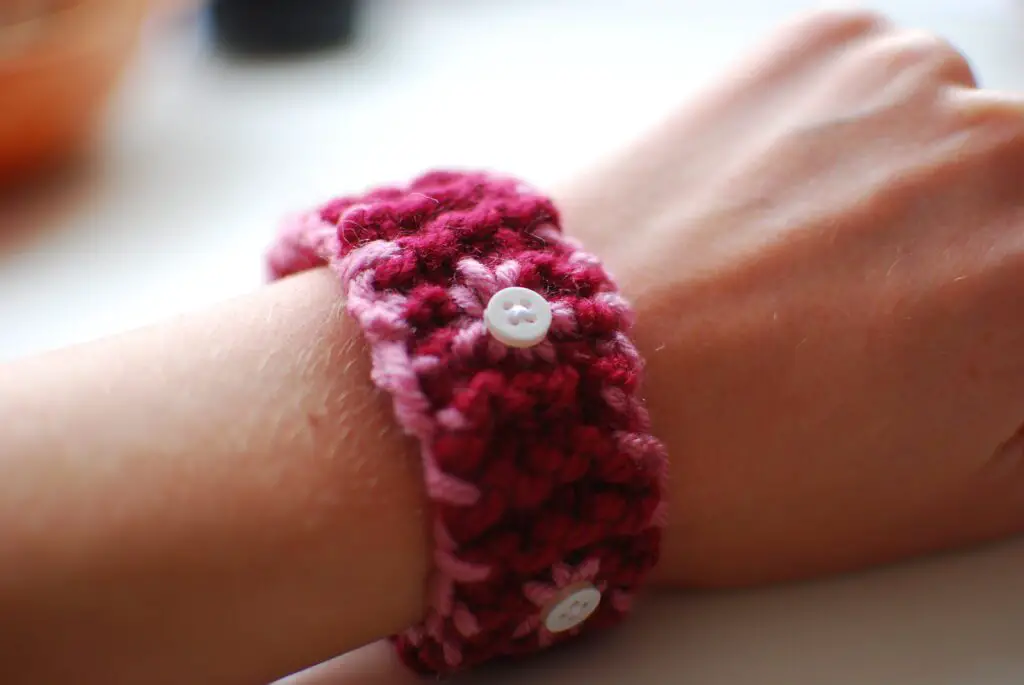
Skill level: Beginner → Intermediate
Materials
- Fingering or sport weight yarn (or worsted held double for chunkier results)
- Small hook to produce tight stitches (2.25–3.5 mm depending on yarn)
- Yarn needle, clasp or button, scissors
Step-by-step
- Chain 8 (or 6–10 depending on desired tube thickness). Join with a slip stitch to form a ring — do not twist.
- Round 1: ch 1, sc in each chain around (work into both loops unless you want a ribby look). Join with sl st.
- Rounds 2–X: Repeat Round 1 until the tube reaches wrist length + closure allowance (e.g., for 16.5 cm wrist allow + 4–6 cm). Working in rounds creates a smooth tubular cord similar to an i-cord.
- Finish by pulling yarn through remaining stitches, closing the hole, and sewing ends to a clasp or forming a button loop.
Variations
- Work sc in the front loop only to create a ribbed effect that reads even more knitted.
- Thread beads on the core chain before closing the first round so beads are embedded in the tube.
Final tips
- Use a slightly smaller hook than recommended for a tighter, neater tube.
- Block or lightly steam the finished cord if you want to coax it rounder.
4. i-Cord Bracelet Crochet Tutorial
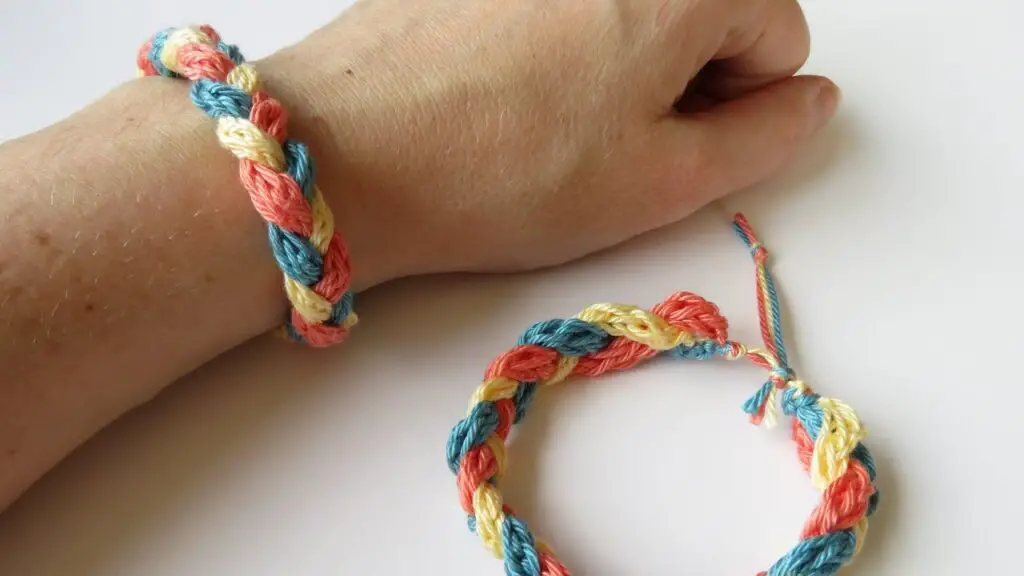
Skill level: Beginner
Materials
- Smooth DK yarn or cotton, small hook (2.5–3.5 mm)
- Optional: beads with large holes, clasp, yarn needle, scissors
Step-by-step
- Chain 6 (use 8 for thicker tube). Turn the chain so you can work along the edge.
- Work around the chain: sc in 2nd ch from hook across, then 3 sc in the last ch to turn, then sc along the underside of the chain back to the start — you’ve formed the first round of a tube. Join/continue in a spiral (no joining necessary) and keep working sc around the tube.
- Continue until length = wrist + allowance. Finish with 3–4 sc decrease rounds if you want tapered ends, or simply fasten off and weave in tail. Add clasp or sew on button/loop.
Variations
- Add beads: thread them on the foundation chain before closing the first round so they sit inside or against the surface.
- Make short i-cord segments separated by beads for a beaded spacer look.
Final tips
- Use slick yarn and a small hook for the neatest tube.
- When joining to hardware, secure ends with tight stitching and a dab of glue for longevity.
5. Crochet Infinite Circles Bracelet Pattern
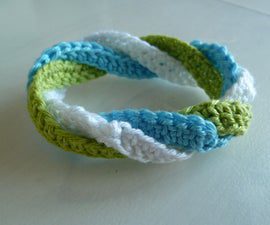
Skill level: Beginner → Intermediate
Materials
- Mercerized cotton or DK yarn (or thread for delicate look)
- Crochet hook appropriate to yarn (1.75–3.5 mm)
- Small jump rings (optional), yarn needle, clasp
Step-by-step
- Make a small ring: ch 5, sl st to first ch to close. Rnd 1: ch 1, 8 sc into the ring; join. Fasten off leaving a long tail for joining. (One small circle motif.)
- Make another motif and join it to the first: when you finish the final sc of the new motif, slip-stitch into one side stitch of the adjacent completed motif to link them. Continue making and linking motifs until the chain length fits wrist + closure allowance.
- For a neat integrated join, work the last few sc of the new ring directly into the connecting stitches of the previous ring (instead of finishing the round separately).
- Finish ends with a clasp or make a button loop from a short chain loop connected to the final motif.
Variations
- Alternate sizes: make some motifs ch 6 (larger) and others ch 5 (smaller) for visual rhythm.
- Add a small bead inside every other ring or sew tiny charm dangles to select motifs.
Final tips
- Block motifs flat before joining so each ring lies even and joins sit neat.
- If you want extra durability, use a tiny jump ring to connect rings rather than slip-stitch joins.
6. Shell Bracelet Crochet Tutorial
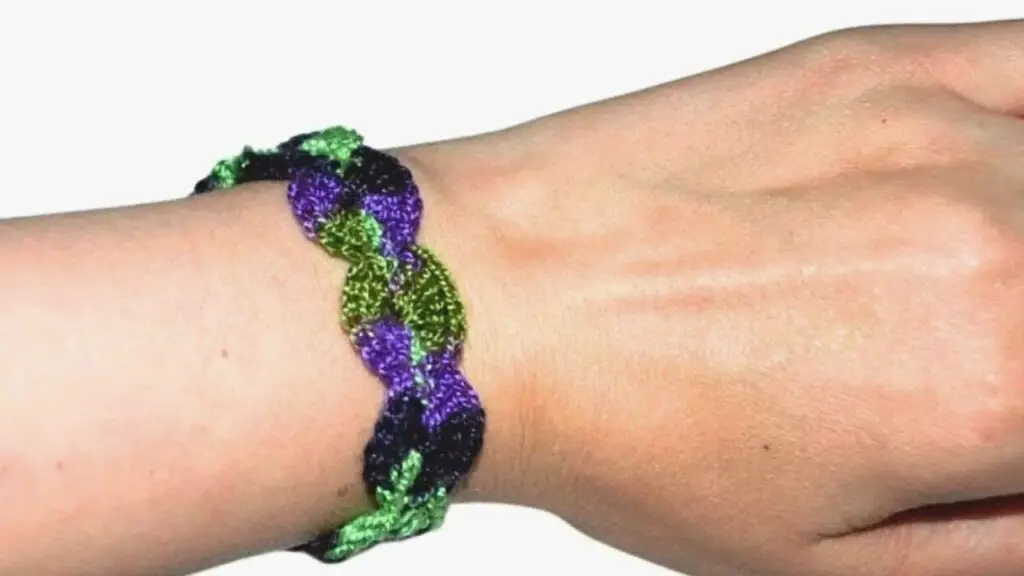
Skill level: Beginner → Intermediate
Materials
- Light DK or fingering cotton (or crochet thread for delicate versions)
- Crochet hook suited to yarn (2.5–4.0 mm)
- Button (or small clasp), yarn needle, scissors
- Optional: tiny seed beads
Step-by-step
- Foundation chain: Chain a length that’s a multiple of 6 (shell repeat) plus 2 turning chains. Example starting chain for DK: ch 44 (which is 7 repeats × 6 + 2) — adjust to your gauge and wrist size.
- Row 1 (Base row): Sc in 2nd ch from hook and in each chain across; turn. This gives a tidy edge to anchor shells.
- Row 2 (Shell row — visible shells): Skip next 2 sts, work (5 dc) in next st (this is your shell), skip next 2 sts, sc in next st — repeat from * to * across. At the end work sc in last stitch to anchor. Turn. Now you have a row of clearly visible 5-dc shells separated by single crochets.
- Row 3 (Anchor row): Ch 1, sc across, placing sc into the center top (3rd dc) of each shell and into the sc between shells from the row below. This locks each shell in place and keeps the band flat. Turn.
- Row 4 (Stacked shell row — optional for taller cuff): To add a second shell row stacked above, skip 2 sts, work (5 dc) in top of the sc that sits between shells (this places a shell staggered above the gaps), skip 2 sts, sc in next st — repeat across. Turn.
- Repeat: Alternate Row 2 and Row 3 (and Row 4 if stacking) until the band reaches the desired width. For a simple bracelet one shell row + anchor row is often enough; for a cuff repeat shell/anchor pairs to build height.
- Border & closure: Work 1 round of sc around all edges to neaten. Sew on a button at one end and make a chain-loop (ch 6–12 depending on button size) at the other end, or attach a small clasp.
Variations
- Beaded shells: Slide tiny seed beads onto the yarn and position one bead in the center of each 5-dc shell as you form it for subtle sparkle.
- Double-shell cuff: Stack shell rows (Row 4) to create a lacey, taller cuff that reads like a scalloped bracelet.
- Chunky statement: Hold two strands together or use heavier yarn and a larger hook for a bold, chunky shell cuff.
Final tips
- Keep stitch tension steady so shells align and the band lies flat.
- If shells flop, try one of: use a slightly smaller hook, add an extra anchor row between shell rows, or block the finished piece to set shape.
- Test the button loop before finishing — it should be snug enough to hold but easy to fasten.
7. Crochet Waves Bracelet Pattern
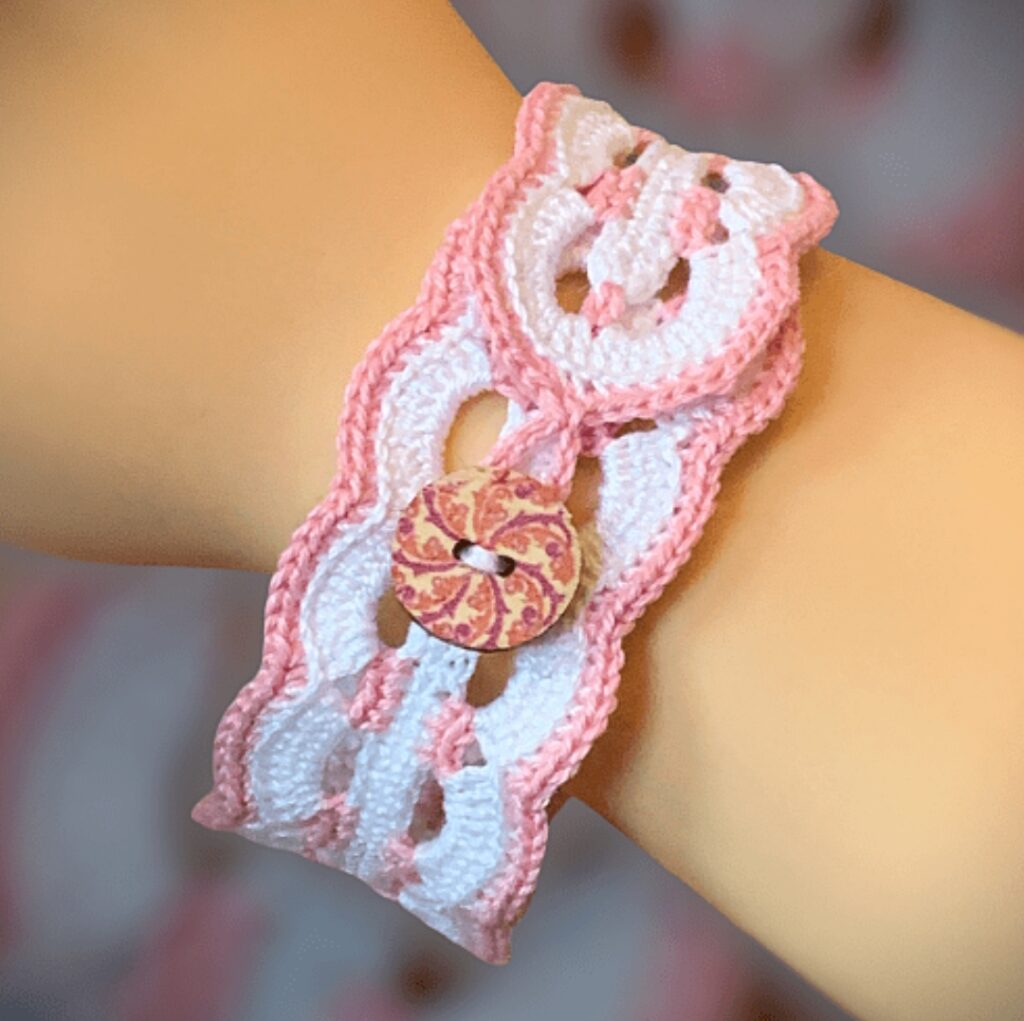
Skill level: Intermediate
Materials
- DK or soft worsted yarn (one or multiple colors)
- Crochet hook 3.5–4.5 mm (depending on yarn)
- Yarn needle, clasp or button, scissors
- Optional: tiny seed beads for peaks
Step-by-step
- Chain a multiple that fits your wave repeat (common ripple repeat = multiple of 12) plus 2 turning chains. For a wrist band in DK, ch 70–90 depending on wrist size and tension.
- Row 1: sc in 2nd ch from hook across; turn.
- Row 2 (Wave row): ch 2 (counts as hdc), 2 hdc in next 2 sts, hdc in next 6 sts, 2 hdc in next 2 sts, skip 2 sts (valley), hdc in next 6 sts — repeat across. The combination of increases and decreases forms the wave. Turn.
- Row 3: ch 1, sc across to create a tidy band and anchor the wave. Turn.
- Repeat Rows 2–3 until band length = wrist + allowance. Fasten off and add preferred closure. For stripes change color at the end of a complete wave repeat for neat transitions.
- Optional: sew tiny seed beads onto peaks for sparkle.
Variations
- Ombre effect: change color every 2–3 wave repeats for a soft gradient.
- Make the waves taller by increasing the numbers in the middle hdc section (wider peaks/valleys).
Final tips
- If band cups or ruffles, adjust increases/decreases by one stitch per repeat and test on a swatch.
- Keep a written note of stitch counts for each repeat so you can reproduce the same bracelet later.
Conclusion
These seven quick crochet bracelets give you a wide range of styles — minimalist chains, fast wrap bands, faux-knit cords, tidy i-cords, linked motif chains, scalloped shell cuffs (now with visible shell motifs), and textured waves. Pick a pattern to match your yarn stash and the time you have: many of these finish in an hour or less and make excellent gifts or craft-market pieces.
Happy crocheting — may your hooks be swift and your stitches even!


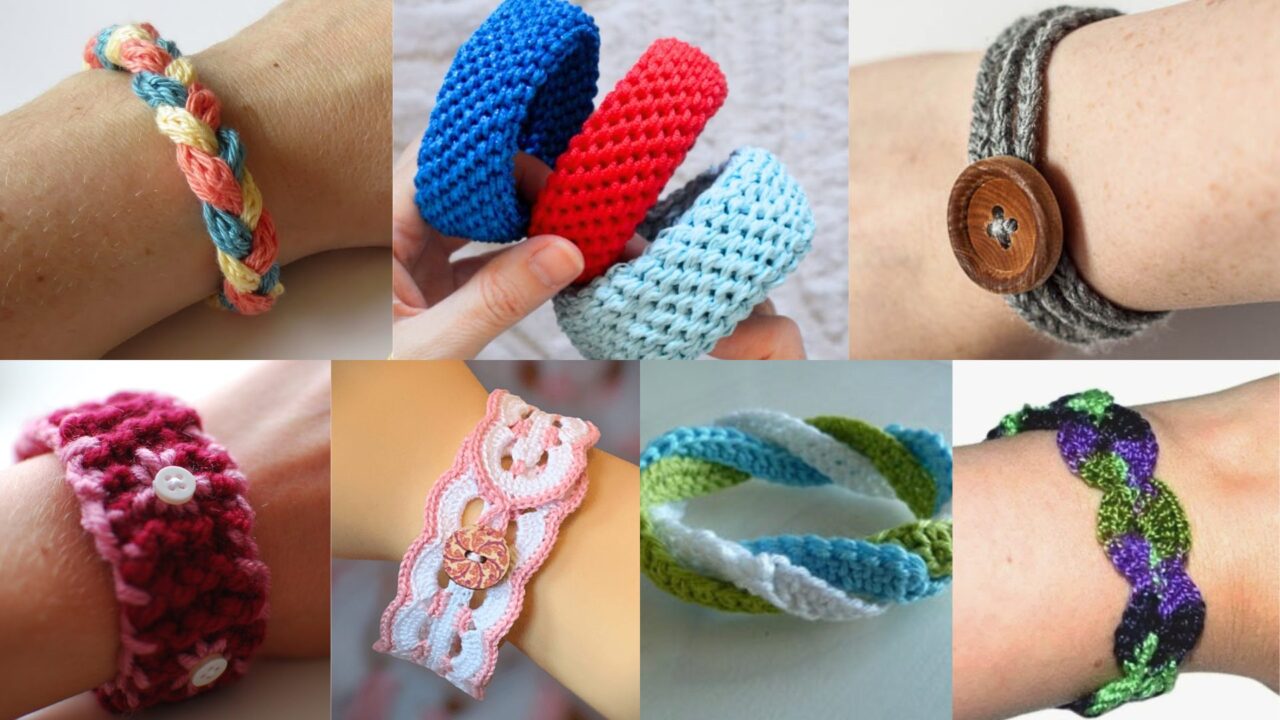
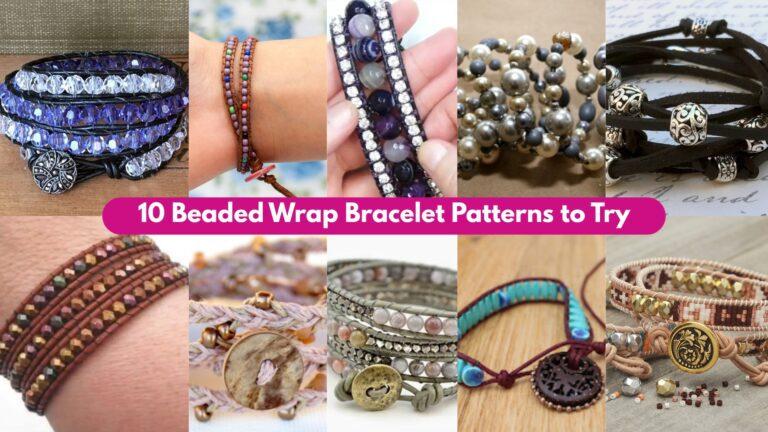
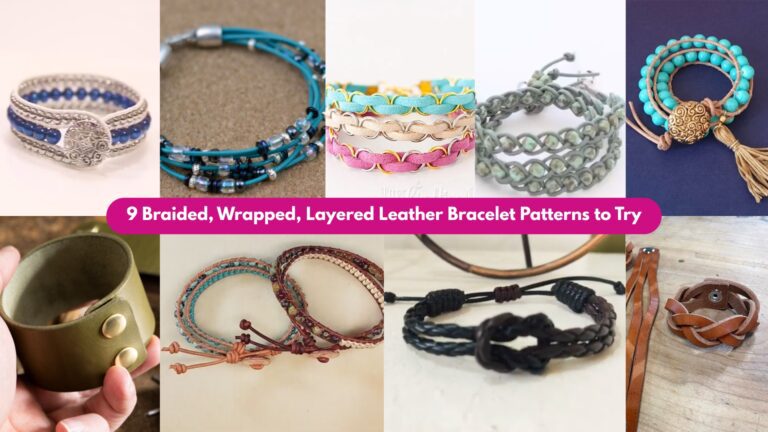
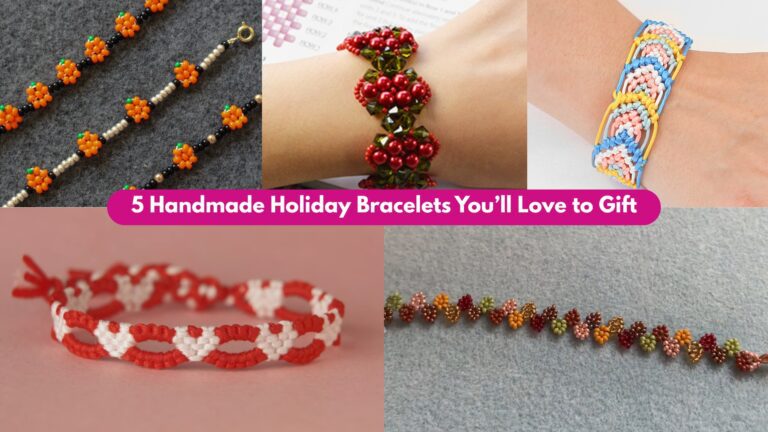
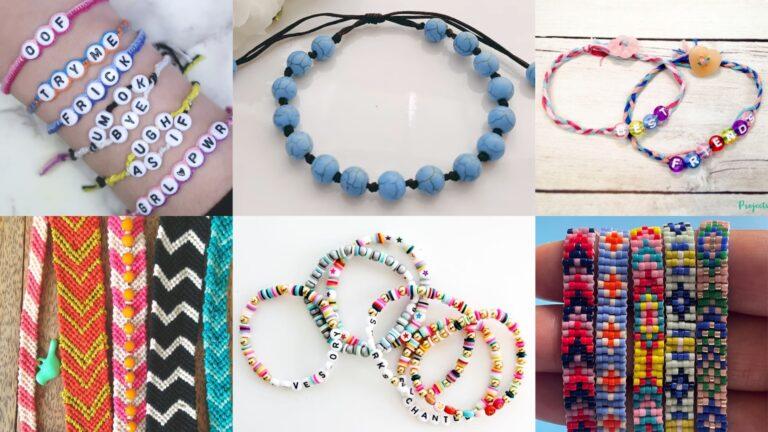

The bracelet that’s on the cover of this Bracelet patterns I really love the pattern and would like to have the tutorial pattern for that bracelet. I don’t see it here on this post..can I get the pattern sent to my email please? Thank you ✌️❤️😁