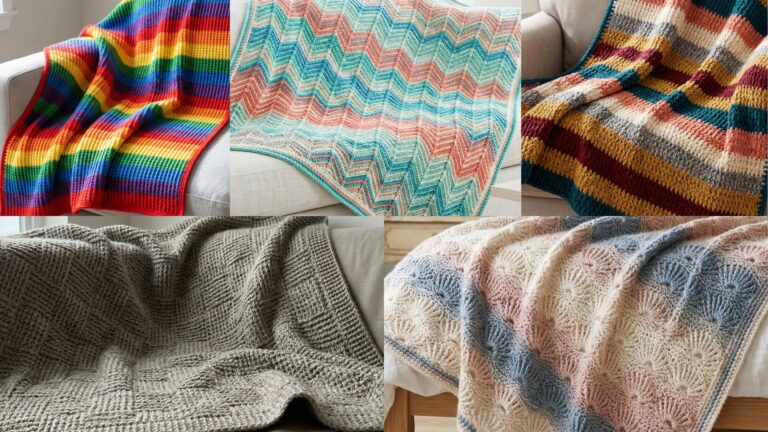
Beautiful crochet is built from good stitches. This post teaches seven high-impact stitch patterns — from dense textures for cozy blankets to open lacy motifs for summer garments — with clear, step-by-step instructions you can use to swatch, memorize, and drop into real projects. Each section includes: what the stitch looks like and why you’d use it, a skill level, a sample swatch recipe, a fully-written repeat (row-by-row), sizing/gauge guidance, variations, troubleshooting tips, and project suggestions.
All instructions use US crochet terms. If you’re following on a phone or tablet, pin or bookmark this page — it’s long but highly practical.
Quick primer — materials, gauge, and abbreviations
Materials for swatching
- Any smooth yarn you like for learning: a DK or light worsted (approx 3–4 mm hook recommendation) is ideal because it shows texture clearly.
- Hook: one appropriate to yarn (for DK usually 3.5–4.5 mm). For bulky swatches you can go larger, for fine lace smaller.
Swatching instructions (always do this first)
- Make a swatch at least 4 in × 4 in (10 × 10 cm) in the stitch pattern. Work extra border rows so edge distortion won’t confuse your measurement.
- Measure stitches per inch (spi) and rows per inch (rpi) in the centre of the swatch where the fabric is most stable.
Digit-by-digit gauge example
If you want a finished piece 20 inches wide and your swatch shows 5 stitches per inch, compute:
- 20 × 5 = (20 × 5). Break 20 into 2 × 10 if you prefer: 20 × 5 = 100 stitches.
Use that number (or round to the nearest pattern multiple) as your target foundation.
Common abbreviations (US)
- ch — chain
- sc — single crochet
- hdc — half double crochet
- dc — double crochet
- tr — treble (UK = treble)
- st(s) — stitch(es)
- sl st — slip stitch
- inc — increase (2 stitches in the same stitch)
- dec — decrease (single crochet 2 together etc.)
- fpdc / bpdc — front-post / back-post double crochet
- sk — skip
- RS / WS — right side / wrong side
- MR — magic ring
1. Crochet Double Waffle Stitch Pattern
What it is & why you’ll love it
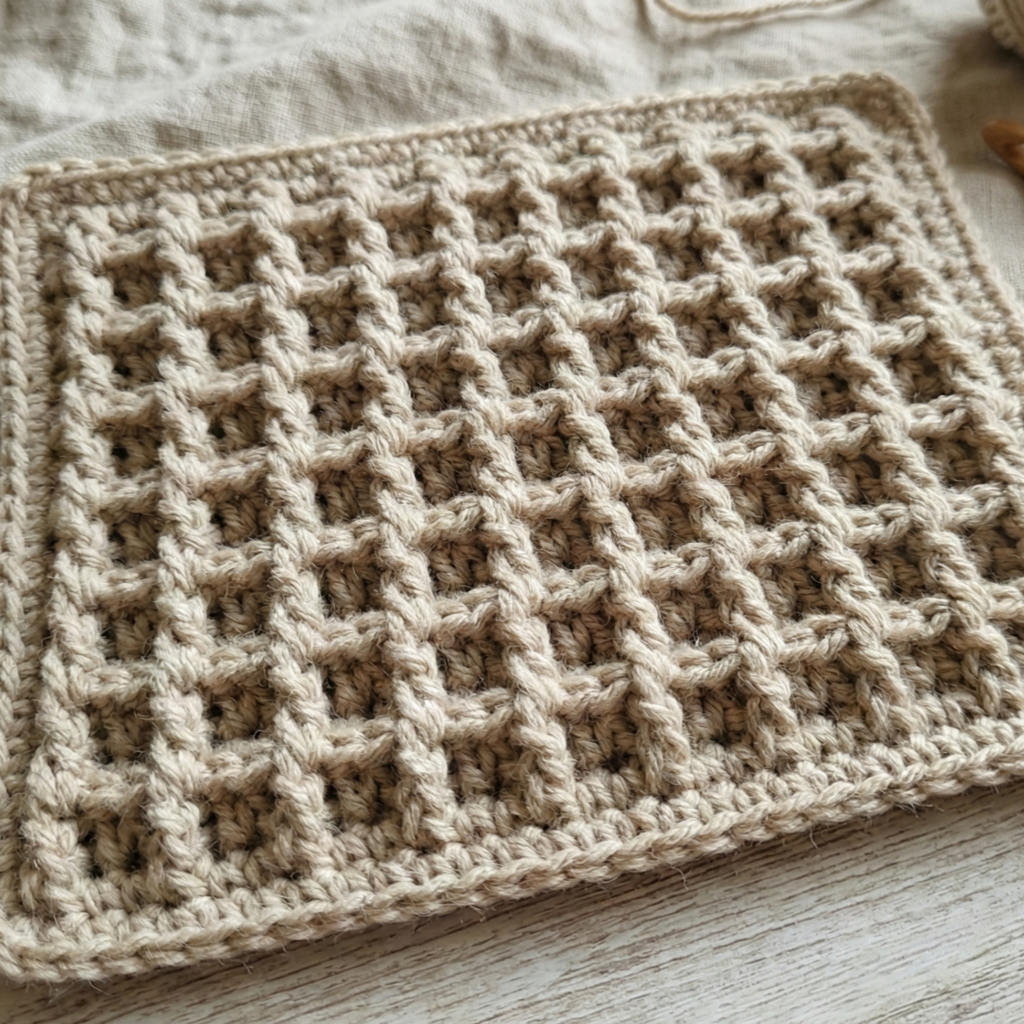
The waffle family creates a rich, squishy, thermal fabric with a grid of raised squares. The double waffle stitch increases that grid density for extra loft and visual interest — excellent for blankets, heavy scarves, cushions, and winter cowls.
Skill level: Intermediate (comfort with front-post stitches)
Yarn & hook for sample swatch
- DK yarn, 3.75 mm hook (or adjust to get the gauge you like)
- Make a swatch at least 5 × 5 in
Structure / multiple
- Multiple: any even number of stitches + 2 turning ch (pattern uses pairs)
- Typical repeat: rows alternate between sc rows and post-stitch rounds that form the waffle.
How to work the Double Waffle — swatch recipe (row-by-row)
Foundation: ch 26 (this gives 24 + 2 turning ch for practice)
Row 1 (RS): sc in 2nd ch from hook and in each ch across. Turn. — 25 sc
Row 2 (WS): ch 2 (does not count as dc), fpdc around next st, bpdc around next st repeat across. When you reach the last stitch, finish with fpdc in last (to maintain edge). Turn.
Row 3: ch 1, sc across in the top of each post and top of dc as appropriate (that is, sc into the top loop of each stitch). Turn.
Row 4: ch 2, fpdc around the next fpdc post (from Row 2), fpdc around the post two rows below to create the double grid effect, bpdc around the next bpdc — this row is the “double” cross-link that deepens the waffle. (If you prefer a simpler version, use: fpdc in next st, bpdc in next st across as Row 2.)
Repeat Rows 2–4 until your swatch reaches the desired height. End with a sc row (Row 3 style) for a tidy top edge.
Notes, gauge & finishing
- The fabric will be thick; use a slightly larger hook if your post stitches pull too tight.
- Blocking: minimal — steam lightly if needed.
- Use a tapestry needle to weave in ends into the post channels so they don’t show.
Variations & uses
- Wider waffle: use multiple of 4 + 2 and add one more post pass to create bigger squares.
- Soft baby blanket: use cotton-blend DK and larger hook for a pillowy effect.
- Edge idea: finish with a round of reverse single crochet (crab stitch) for a neat, rope-like border.
Troubleshooting
- If ridges lean: count post stitches carefully and ensure you are placing fpdc and bpdc around the correct posts. Use stitch markers to mark every 8–12 sts for easier counting.
- If fabric is too stiff: increase hook size by 0.5–1 mm.
Project ideas: winter blanket, seat cushion cover, chunky neckwarmer.
2. Crochet Open Shell Stitch Pattern

What it is & why you’ll love it
A classic lacy shell pattern that’s light, drapey and very forgiving to crochet. Shell motifs create scalloped edges naturally and are perfect for summer tops, scarves, table runners, and baby blankets.
Skill level: Confident beginner
Yarn & hook for sample swatch
- Sport or DK yarn, 3.5 mm hook
- Multiple: usually a multiple of 6 + 1 (depends on shell size)
How to work the Open Shell — swatch recipe
Foundation: ch 31 (sample — 30 + 1 turning ch; adjust for width)
Row 1 (RS): sc in 2nd ch from hook and across. Turn.
Row 2: ch 3 (counts as first dc), skip 2 sts, 5 dc in next st (shell), skip 2 sts, sc in next st — repeat to end, ending with dc in top of turning ch. Turn.
Row 3: ch 1, sc in each dc of the previous row across (so sc into the middle of each 5-dc shell), and sc into each sc. Turn.
Row 4: ch 3, 5 dc in sc from previous row (shell centered over sc), sc in center dc of previous shell repeat across. Turn.
Repeat Rows 3–4 to create a banded shell lace. For a more open effect, make shells of 7 dc instead of 5, or add ch-spacers between shells.
Edge & finishing
- Edging: sc round and then a final shell round (smaller shells) to tidy and add symmetry.
- Blocking: essential — block shells out to create even scallops.
Variations & uses
- Stagger shells across rows for a floral jiggle (offset shells by half a shell every other repeat).
- Use thread or fingering yarn for delicate doily-style projects.
Troubleshooting
- If shells won’t lay flat: check tension — too tight dc makes shells bunched; use a larger hook or add one more dc per shell.
- If the edge is wavy: add a border round of sc in a smaller hook size to pull edges flat.
Project ideas: summer shawl, light cardigan panel, decorative table runner.
3. Crochet Celtic Weave Stitch Pattern
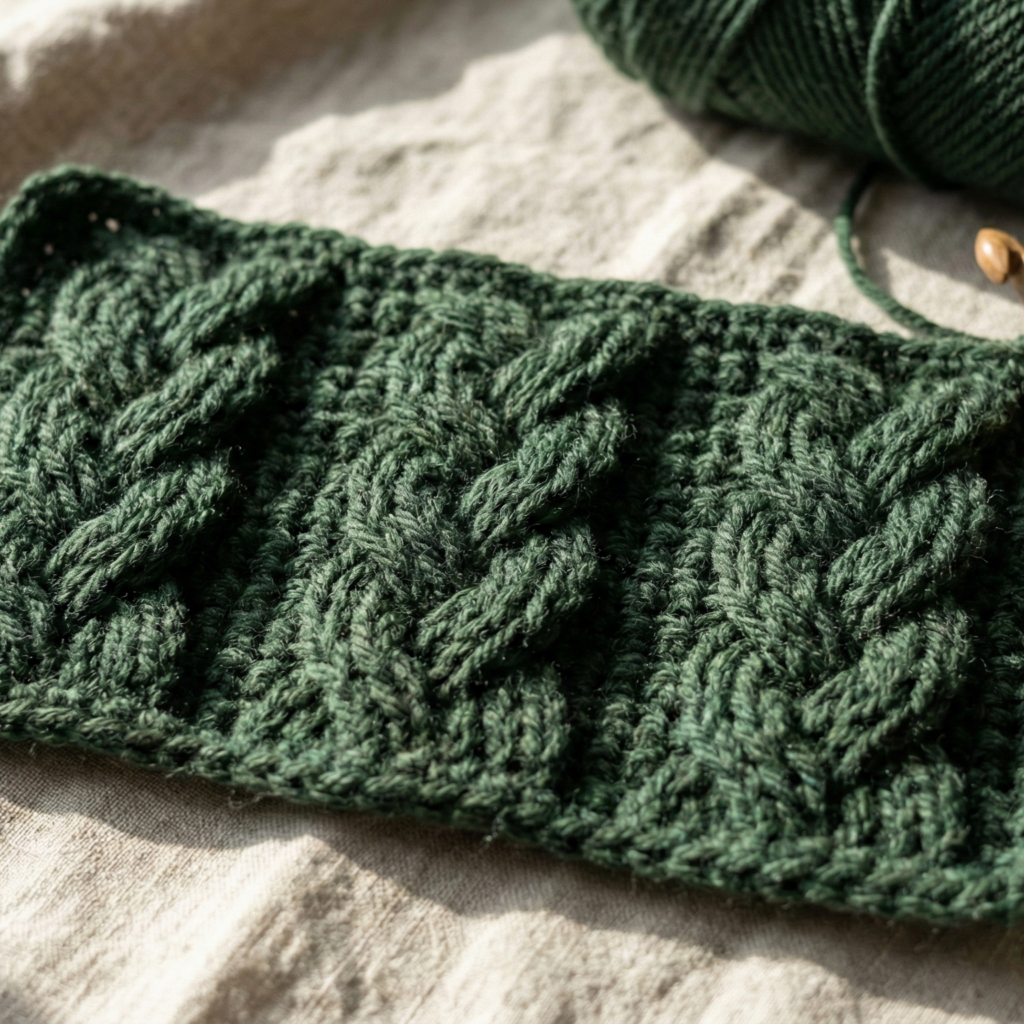
What it is & why you’ll love it
Celtic weave creates an interlaced, braided appearance by using post stitches that cross over and under. The result is dramatic and elegant, ideal for scarves, stunning sweater panels, and textured blankets.
Skill level: Advanced beginner → Intermediate (comfort with crossed post stitches)
Yarn & hook for sample swatch
- DK or worsted (depending on final use), 4.0 mm hook
- Multiple: usually multiple of 8 + 2 for edge stitches
Key technique
- The weave depends on carefully worked post stitch groups that are crossed (worked around previous post groups). You’ll use fpdc and bpdc and work them in a special order to make the braid look like it passes over/under.
How to work the Celtic Weave — swatch recipe
Foundation: ch 34 (multiple of 8 + 2)
Row 1 (RS): sc in 2nd ch and across. Turn.
Row 2: ch 3 (counts as dc), dc in next 2 sts, dc3tog across next 3 sts to begin troughs, continue pattern to end — this row establishes base height.
Row 3 (weave row): ch 1, sc across to first group; now you will start the crossing sequence:
Example crossing sequence for a single 8-st repeat:
- fpdc around the next 3 stitches (working from front), then bpdc around the 3 stitches from the previous row that you want the fpdc to cross in front of; next, fpdc around the 3 stitches behind the previous set. This alternates and creates an under/over effect.
Because text alone can be tricky for interlacing, follow this simplified crossing chart:
- Repeat block (8 sts): bpdc3, fpdc3, sc 2 (edge)
- Next weave row you will reverse the order: fpdc3, bpdc3 to make crossing.
Repeat the weave rows — every two rows will form a full braid crossing.
Notes & finishing
- Use stitch markers to mark the start and end of each 8-st repeat.
- Work slowly the first few passes to ensure you know which post stitches you are wrapping around.
Variations & uses
- Make narrower or wider braids by increasing number of post stitches in each group (eg. 4 instead of 3).
- Pair with plain panels to let the braid be a focal point on a cardigan front.
Troubleshooting
- If crossing looks messy: check that you are consistent about which post stitches are designated to be wrapped front vs back. It helps to trace them with your finger as you work.
Project ideas: statement scarf, textured sweater yoke, cushion fronts.
4. Crochet Bean Stitch Pattern
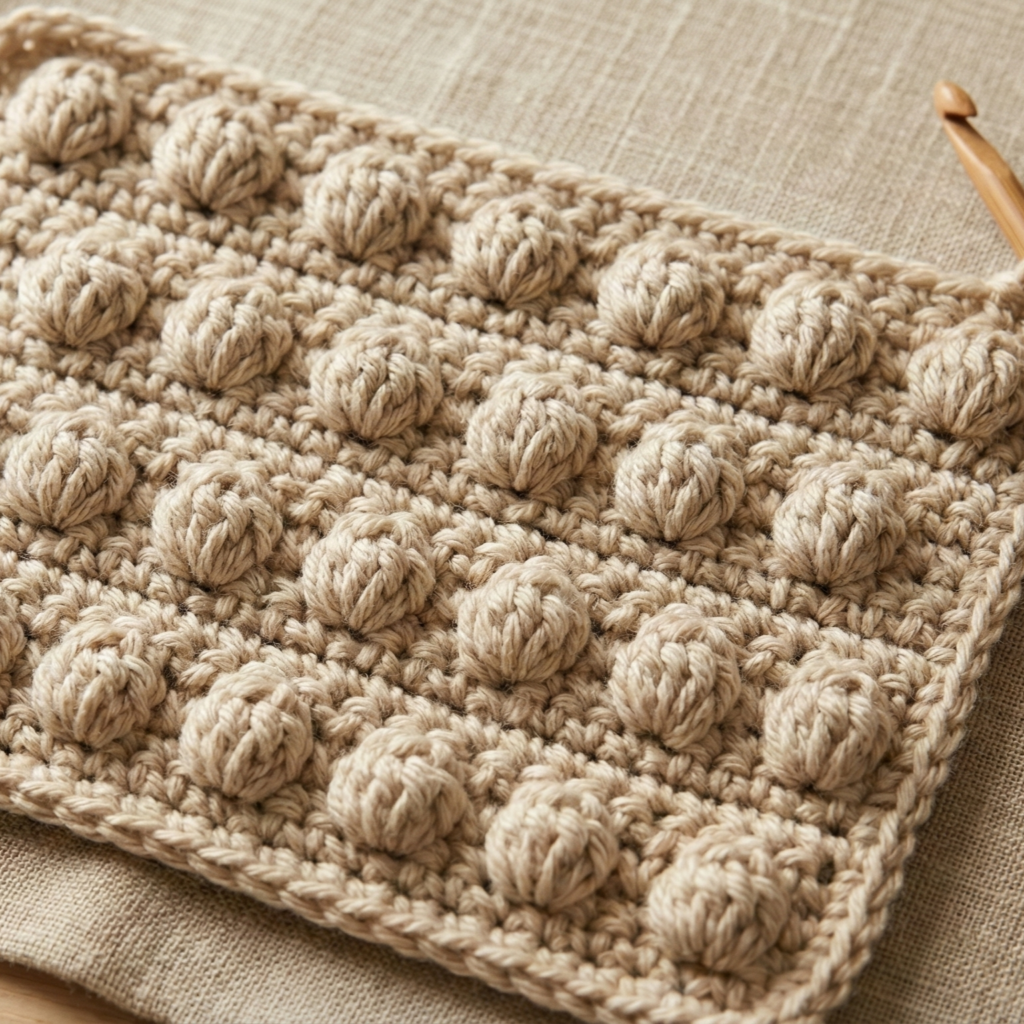
What it is & why you’ll love it
The bean stitch (sometimes called almond or picot cluster in some circles) is a dense raised cluster — not as large as a popcorn, but round and plump like a little bean. It adds delightful pebbly texture and pops in baby blankets, borders, and accent panels.
Skill level: Confident beginner
Yarn & hook for sample swatch
- DK yarn, 3.75 mm hook
How to make a single bean
A typical bean is made as: (sc, hdc, dc, hdc, sc) all worked into the same stitch then close the cluster by pulling the last loop through; secure with a sl st or small sc. That rounded grouping creates the bean bump.
Swatch recipe
Foundation: ch 25
Row 1 (RS): sc in 2nd ch from hook and across. Turn.
Row 2: ch 1, sc in next st, bean in next st repeat to end, sc in last st. Turn.
Row 3: ch 1, sc across (working sc into top of beans carefully — you can work sc into the center of each bean or into the next normal stitch so the bump shows on the RS).
Repeat Rows 2–3 for a pebbled texture.
Notes & variations
- Beans can be placed in a grid (as above), offset (staggered) for brickwork texture, or used as a dotted accent in a stockinette-like ground.
- Change the number of stitches in the bean cluster for a larger/little bean (e.g., sc, dc, tr, dc, sc for a taller bean).
Troubleshooting
- If beans flatten: don’t overstuff the cluster when pulling through; keep the loops snug but not pinched. Use a slightly larger hook for the body rows to allow beans to sit proud.
Project ideas: baby blanket with tactile bumps, bag accent panels, textured cuff trims.
5. Crochet Crossed Double Stitch Pattern

What it is & why you’ll love it
Crossed double stitches (sometimes called crossed DCs or crossed trebles) create a diagonal, cable-like slant across the fabric. When combined in motifs they make lovely diagonal bands or lattice textures without post stitches.
Skill level: Intermediate (careful counting & crossing order)
Yarn & hook for sample swatch
- DK yarn, 4.0 mm hook
How to make crossed doubles
Basic crossed DC pair: skip 1 stitch, dc in next stitch, then dc in skipped stitch (working back into it). This simple crossing leans left or right depending on sequence.
Swatch recipe (diagonal banding)
Foundation: ch 30
Row 1 (RS): dc in 4th ch from hook and across. Turn.
Row 2: ch 3 (counts as dc), skip next st, dc in next st, then dc into the skipped st (crossed pair), repeat across. End with dc in top of turning ch. Turn.
Row 3: Repeat Row 2 or work a plain dc row to set rows. For an alternating diagonal, offset the crosses by starting the Row 2 repeat one stitch later on alternate rows (this creates a crisscross lattice).
Variations & uses
- Make a twisted cable effect by crossing groups of 3 or 4 stitches and anchoring them with sc rows between.
- Work in a 3-row repeat to form chevrons made from crossed stitches.
Troubleshooting
- Crosses can tighten the fabric — if it puckers, use a larger hook or work fewer crosses per width.
- Keep a consistent direction for crosses within a motif unless you want alternation.
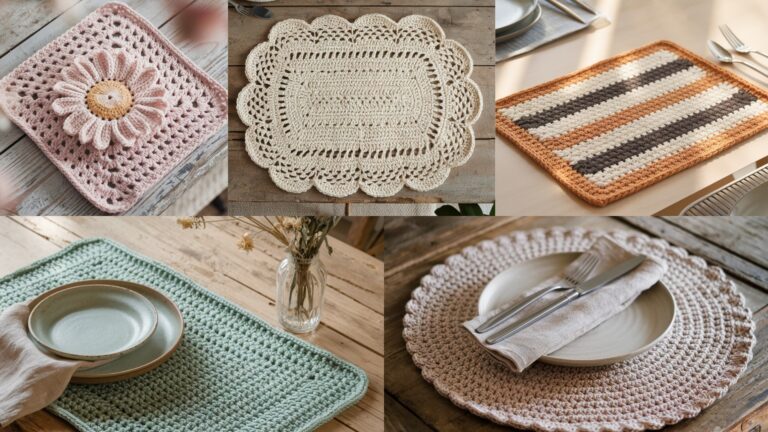
Project ideas: textured scarves, sweater panels, modern placemats.
6. Crochet Diamond Stitch Pattern

What it is & why you’ll love it
Diamond stitch works clusters and chains so that a diamond lattice emerges across the fabric. It’s a classic textured pattern that combines openwork and density — lovely for throws, wraps, and garment yokes.
Skill level: Intermediate
Yarn & hook for sample swatch
- DK yarn, 4.0 mm hook
- Multiple: often a multiple of 10 + 1 (pattern dependent)
General structure
The diamond is typically made from a combination of chain arches and clusters placed so that diamonds of open space form, with a central cluster anchoring each diamond.
Swatch recipe (example diamond grid)
Foundation: ch 41 (40 + 1)
Row 1 (RS): sc in 2nd ch from hook and across. Turn.
Row 2: ch 3 (counts as dc), ch 2, skip 2 sts, dc in next 5 sts forming a block, repeat across. Turn.
Row 3: ch 1; sc in top of each block and ch-space across — this sets the diamonds’ ridges.
Row 4: ch 4, dc cluster (3 dc together) into center sc of the diamond below, ch 4, skip to next diamond center — this row pulls together the diamond apexes.
Repeat the key 4–6 row repeat to build the mesh; adjust chain lengths to change diamond width.
Notes & finishing
- Block aggressively to open the diamonds evenly.
- Use contrasting colors for the clusters to emphasize the diamond grid.
Variations & uses
- Add puff stitch centers for a raised floral diamond.
- Work diamond repeats in a yoke to create a beautiful neckline motif for a sweater.
Project ideas: light wrap, summer poncho, decorative cushion.
7. Crochet Long Wave Stitch Pattern
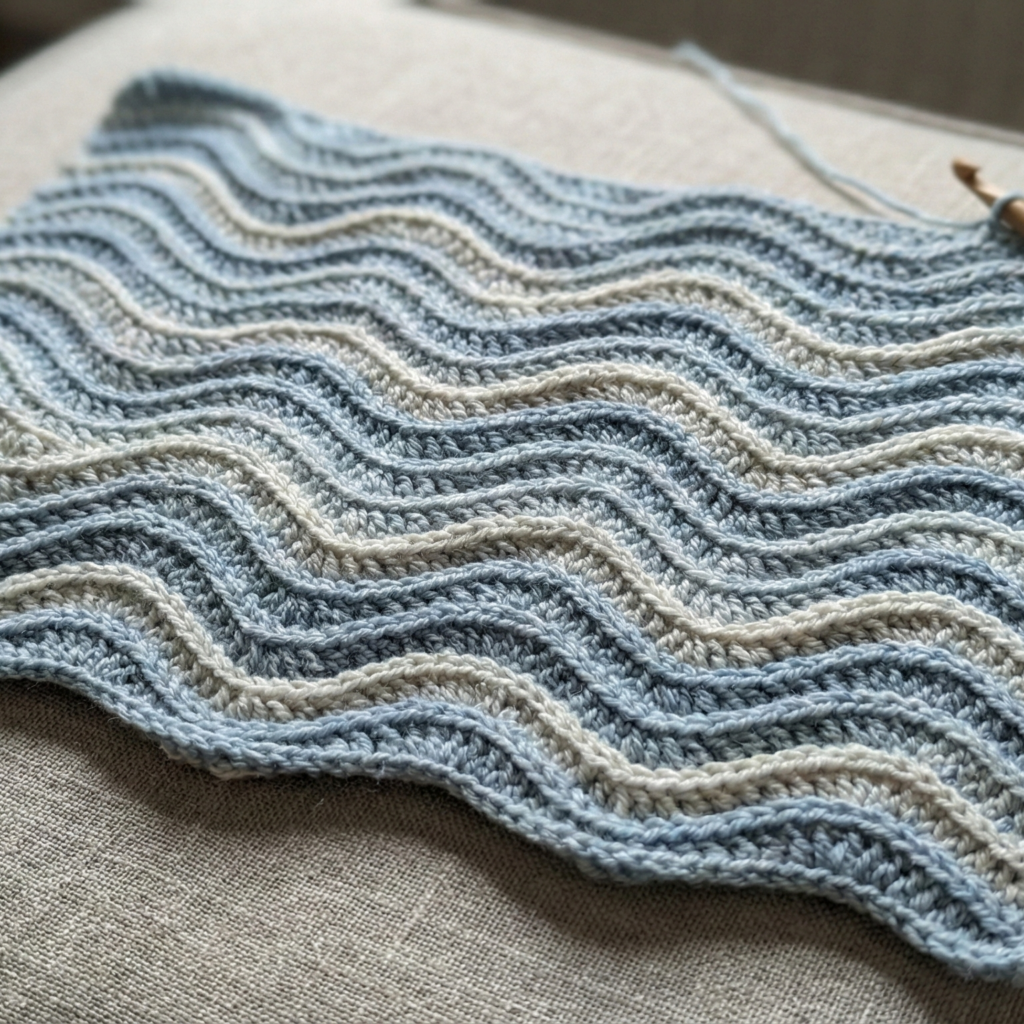
What it is & why you’ll love it
The long wave stitch creates flowing, horizontal undulations that look like elongated ripples. It’s a lovely dramatic stitch for table runners, shawls, or statement blankets where you want a bold linear flow.
Skill level: Confident beginner → Intermediate
Yarn & hook for sample swatch
- Sport / DK yarn, 4.0 mm hook
Multiple
- Pattern commonly uses a multiple of 12 + 1 (depends on wave width)
How the long wave works
The wave is achieved by using long chains and elongated stitches combined with groups of dc to form crest and trough. The effect is a smooth sine-wave across the row.
Swatch recipe
Foundation: ch 49 (48 + 1 for sample)
Row 1 (RS): sc in 2nd ch from hook and across. Turn.
Row 2: ch 3 (counts as dc), dc in next 3 sts (rising slope), tr3tog over next 3 sts (peak collapse), ch5 (long trough), skip 5 sts, dc in next 3 sts repeat. Turn.
Row 3: ch 1, sc across, placing sc into chain arches to anchor troughs. Turn.
Row 4: ch 3, work 5 dc into chain arch from Row 2 to create crest, dc across slope repeat. Turn.
Repeat Rows 2–4 to build long flowing waves. The chain-arches form the long troughs; the clustered dc form the crests.
Notes & finishing
- Adjust ch-length of troughs to lengthen or compress wave period.
- Use variegated yarn carefully: color pooling can disguise the wave; use solid or tonal shades for most dramatic effect.
Variations & uses
- Make a wide runner by repeating the wave in panels or by changing wave amplitude row-by-row.
- Add fringe at troughs for a waterlike motion.
Project ideas: table runner, wrap, bold bed throw.
conclusion
You’ve now got seven excellent stitch patterns — each with a different character:
- Double Waffle: dense and cozy — pick for winter blankets and cushions.
- Open Shell: light and scalloped — ideal for summer garments and lace trims.
- Celtic Weave: braided drama — choose for statement pieces and textured panels.
- Bean Stitch: tactile pebbling — use for baby blankets or sensory surfaces.
- Crossed Double: crisp diagonals — great for modern garments and placemats.
- Diamond Stitch: elegant lattice — perfect for throws, shawls, and yokes.
- Long Wave: flowing lines — ideal for runners, wraps, and bold throws.
Final practical tips:
- Swatch first. Always make a swatch in the actual stitch pattern. That way you’ll know how dense, drapey, or springy the fabric will be. Use the digit-by-digit method I showed earlier to convert desired dimensions into stitch counts.
- Use suitable yarn. Texture and stitch definition depend heavily on yarn choice — cotton and cotton blends show openwork crisply; wool and acrylic give loft for post-stitch textures.
- Block where needed. Lace and shell stitches benefit tremendously from blocking; waffle and bean textures may need minimal blocking but will look better after a gentle steam.
- Combine stitches. Don’t be afraid to mix a textured band (waffle, bean) with a lace edge (open shell) to balance weight and drape.
- Practice slowly. With post-stitches, crossed stitches, and clusters, slow and steady gives the neatest results — remember to use stitch markers to mark repeats.