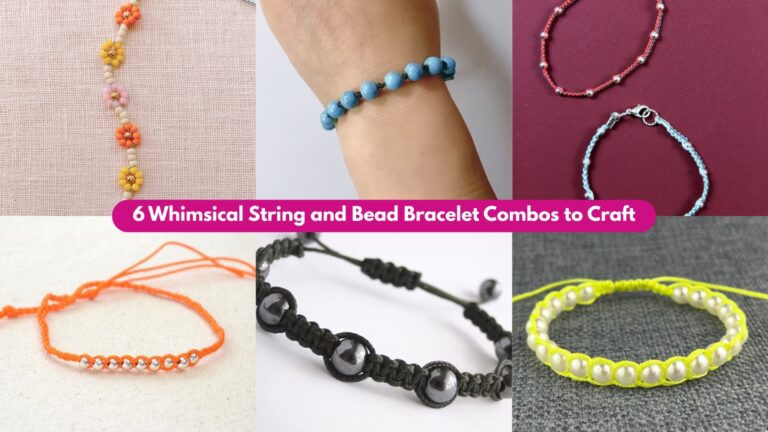
Beaded bracelets are one of the most satisfying DIY accessories: inexpensive supplies, quick results, and unlimited room for color play. They make perfect gifts, craft-fair items, or just a series of small projects you can finish in an afternoon. In this post you’ll find seven approachable patterns — from tiny seed-bead motifs to chunky Decoden-inspired pieces and a macramé hybrid — each written with precise materials, step-by-step instructions, troubleshooting notes, timing, and styling ideas. Pick one and get beading!
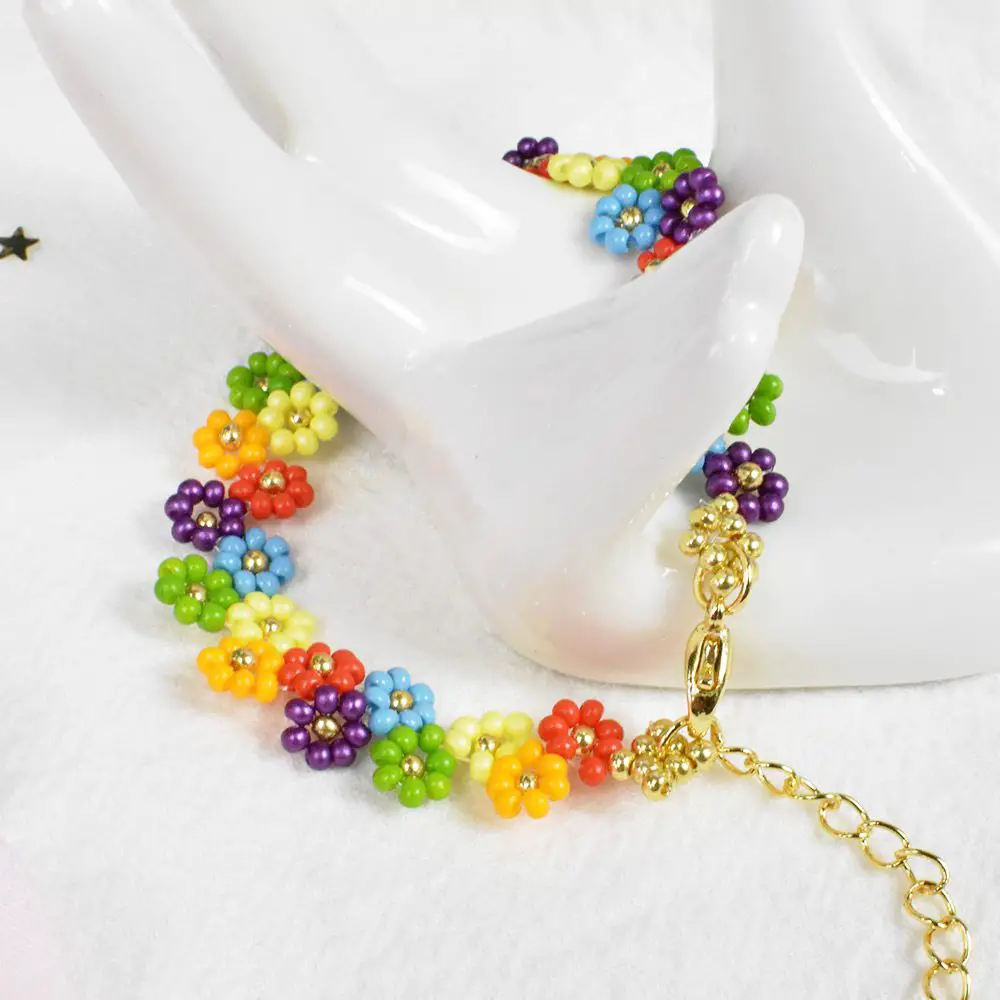
1. Colorful Flower Shaped Beaded Bracelet Pattern
Skill level: Beginner → Intermediate
Time: 45–90 minutes (depending on number of motifs)
Finished size: ~6.5–7.5″ wrist (adjustable)
Materials
- Seed beads 11/0 or 8/0: Petal color A (≈ 60–90), Petal color B (optional for contrast)
- Round seed beads or small 3–4 mm beads for centers (≈ 12–16)
- Beading thread (Nymo/FireLine) OR 0.6 mm stretch cord if making elastic version
- Size 10–12 beading needle (if using thread)
- Small clasp + jump rings (if using thread)
- Scissors, bead mat
Step-by-step (thread version — durable wearable bracelet)
- Prepare your work: Cut a 100 cm length of beading thread. Thread your needle and tie a small overhand knot at the end, or use a bead stopper so beads won’t slip off.
- Make the first flower: String 5 petal beads (A), 1 center bead (C), and 4 more petal beads (A). Pass the needle back through the first 5 petal beads to form a closed ring; pull gently so the center bead sits snugly inside. You now have a 5-petal flower with bead C in the middle. Pass once more through all beads of the motif to reinforce.
- Create a link to the next flower: Slide 1–2 spacer beads, then start the next flower (repeat step 2). To make touching flowers (cluster look), share one petal bead between adjacent flowers: when forming the new flower, string 4 petal beads + center + 4 petal beads, then pass back through the first (shared) petal bead to join.
- Repeat: Continue making flowers and links until bracelet length ≈ wrist circumference − 0.5 cm for clasp allowance.
- Finish: Weave the working thread back through nearby beads in a path that tightens knots but doesn’t show on the front. Tie a small surgeon’s knot around a bead, add two more weaving passes for strength, add a tiny dot of clear jewelry glue on the knot (optional), trim flush. Stitch jump rings to both ends and attach clasp.
Elastic alternative
String pre-made flower beads or small bead components on stretch cord and tie a secure surgeon’s knot, then add a dab of glue and hide knot inside a bead.
Troubleshooting
- Flower collapses: use a slightly larger center bead or pass thread twice through the motif.
- Bracelet twists/feels floppy: add a tiny spacer bead between motifs to give structure.
Variations & Styling
- Use size 15/0 for delicate versions.
- Alternate bright and neutral petals for a modern look.
- Make matching necklace or earrings with same motif.
Finishing & care
- Store flat. Spot clean; avoid soaking if using glued knots.
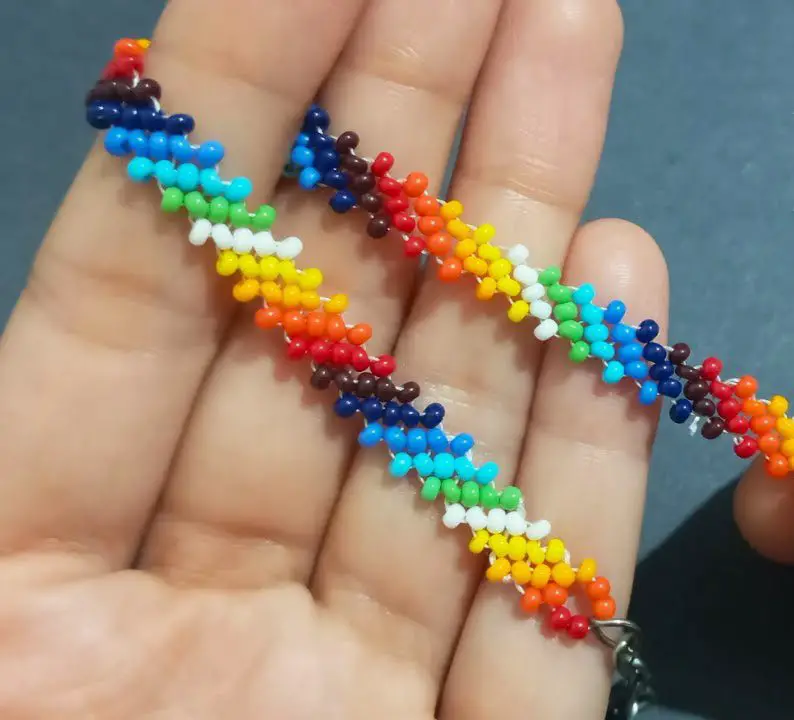
2. Colorful Seed Bead Bracelet Tutorial
Skill level: Beginner
Time: 15–30 minutes
Finished size: Adjustable
Materials
- Seed beads 11/0 (choose a palette of 2–5 colors) — ≈ 200–300 beads
- Stretch cord (0.6–0.8 mm) OR beading thread + clasp if non-stretch
- Scissors, clear jewelry glue (optional), bead tray
Step-by-step (stretch cord method)
- Cut & prep: Measure your wrist, add 4–5 cm for tying. Cut cord ~12–14″ and pre-stretch it gently.
- Plan a pattern: Lay beads on a tray in the color pattern you want (random, stripes, gradient).
- String beads: Thread beads until bracelet reaches your wrist measurement. Recheck on wrist for fit.
- Knot securely: Tie a surgeon’s knot (double overhand), then a square knot on top. Add a small drop of clear glue on the knot; once dry, trim excess and hide knot in a bead hole.
Troubleshooting
- Cord slides: use two or three overhand knots or switch to a thicker cord.
- Bracelet too tight: remove a few beads and re-test.
Variations & Styling
- Make two or three bracelets in coordinating palettes and stack them.
- Add a tiny charm on a jump ring between two beads.
Finishing & care
- Remove before showering; replace the cord if elasticity decreases over time.
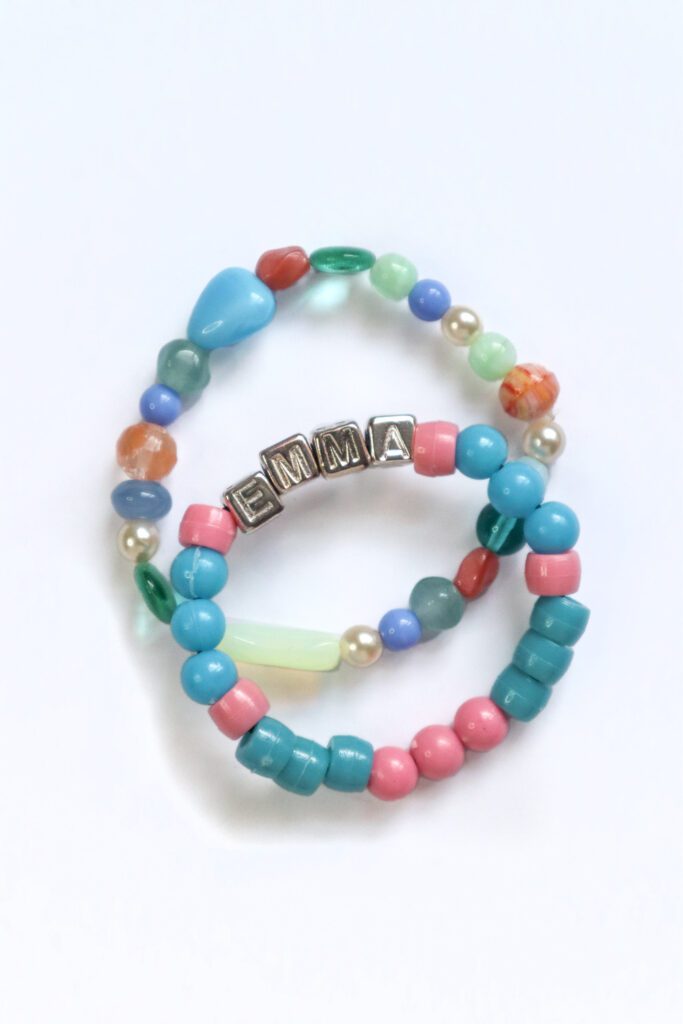
3. Preppy Clay Bead Bracelet Pattern

happinessishomemade.net
Skill level: Beginner
Time: 20–40 minutes
Finished size: ~6.5–7.5″
Materials
- Polymer clay Heishi/flat disc beads 6–8 mm — ≈ 30–36 beads
- Stretch cord 0.8–1.0 mm
- Optional gold spacer beads, letter beads
- Scissors, glue
Step-by-step
- Design layout: Arrange beads in stripes or color blocks on a tray. Prettier if you alternate clay color blocks with metallic spacers (e.g., 3 pastel discs + 1 gold spacer).
- String: Cut stretch cord ~12–15″, pre-stretch and thread beads. Add letter beads if desired (put them at the center).
- Finish: Tie surgeon’s knot + 2 half-hitches, dab glue, tuck knot into adjacent bead, trim.
Tips & Variations
- Personalize with initials.
- Mix matte wooden beads for organic contrast.
Care
- Keep away from hot surfaces; clay can discolor if heated.
4. Macrame Bracelet with Beads Tutorial
Skill level: Beginner → Intermediate
Time: 45–75 minutes
Finished size: Adjustable (sliding closure)
Materials
- Cord: 1.0–1.5 mm waxed or nylon cord — two working cords (≈ 140 cm each) + one core cord (wrist + 12 cm)
- Beads with holes large enough for the core cord (4–6 mm) — 6–10 beads
- Clipboard/tape, scissors
Step-by-step (flat square-knot band)
- Setup: Secure core cord to clipboard; fold so both ends hang. Attach working cords with lark’s head knots (one working cord on each side).
- Square knots: Use the two working cords to tie square knots around the core. A square knot = (left over, right through, tighten) then reverse. Make 10–12 knots for a band.
- Add bead: Slide bead onto core cord and tie 3–4 square knots below to lock bead in place. Repeat beads at even intervals.
- Finish with sliding closure: Overlap end sections and wrap one working cord around both strung ends 8–12 times, tuck the tail and tighten. Repeat on the other side if desired. Trim and melt thread ends (synthetic) or apply glue.
Troubleshooting
- Beads shifting? Place a tiny knot on the core under the bead before knotting.
- Uneven knots: practice tension consistency — pull with same force on every knot.
Variations
- Use half-knots for a spiral look.
- Add charms by threading small jump rings onto the core between knots.
Care
- Waxed cord is water resistant; nylon can be hand-washed.
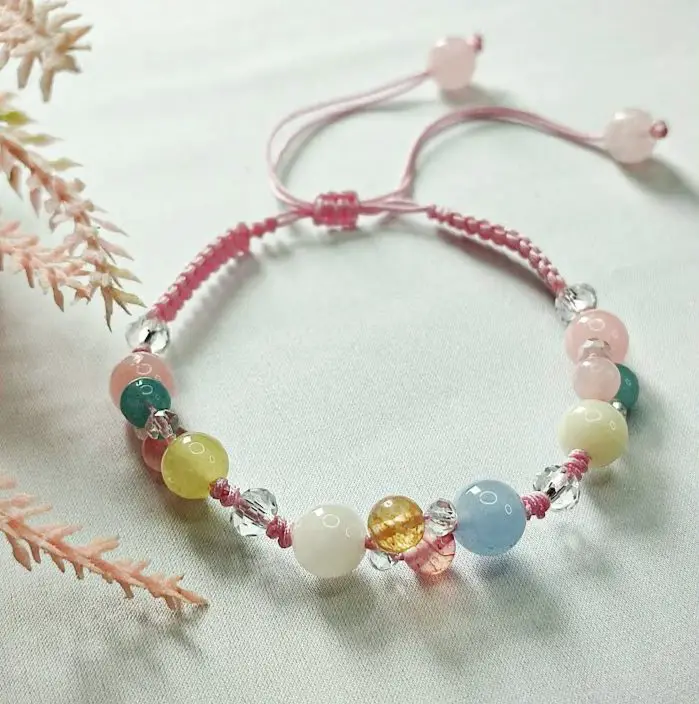
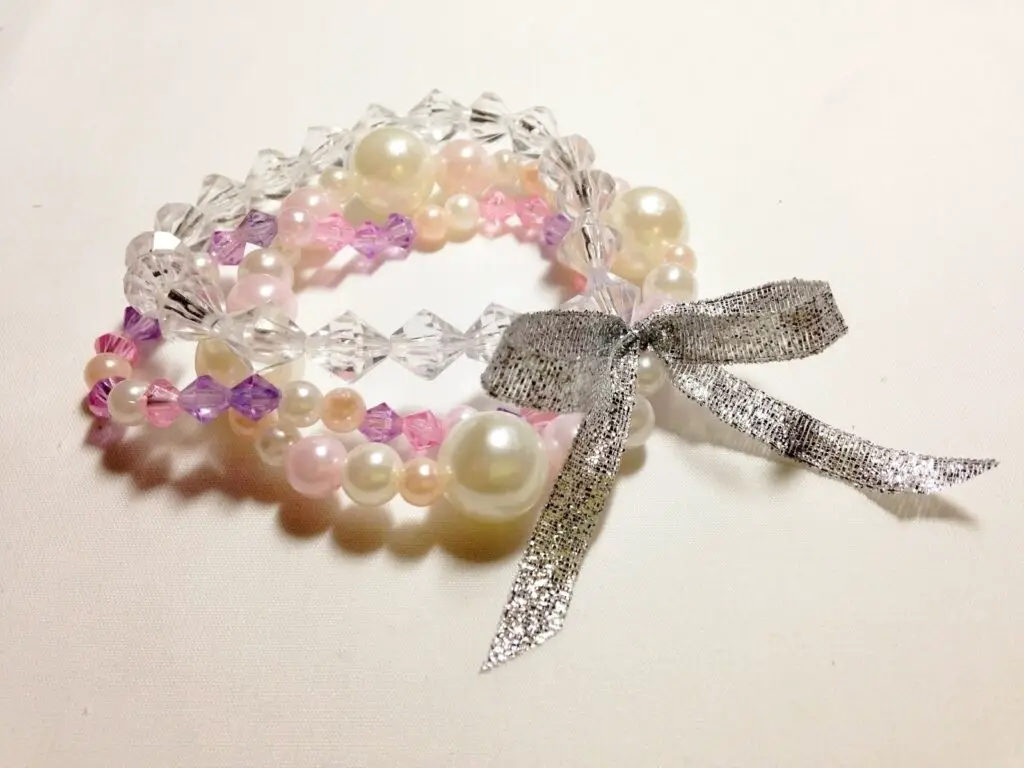
5. Stretchy Beaded Bracelet Pattern
Skill level: Beginner
Time: 10–20 minutes
Finished size: Adjustable
Materials
- High-quality elastic cord (0.6–0.8 mm)
- Assorted beads (20–30 depending on bead size)
- Scissors, glue
Step-by-step
- Measure & cut: Pre-stretch 12–15″ of elastic.
- String beads: Thread beads in chosen order, test on wrist.
- Knot & secure: Surgeon’s knot, two extra half-hitches, dab of glue, trim, hide knot.
Variations
- Make child size by reducing bead count.
- Add a focal charm on a jump ring.
Care
- Avoid wearing while showering or exercising heavily.
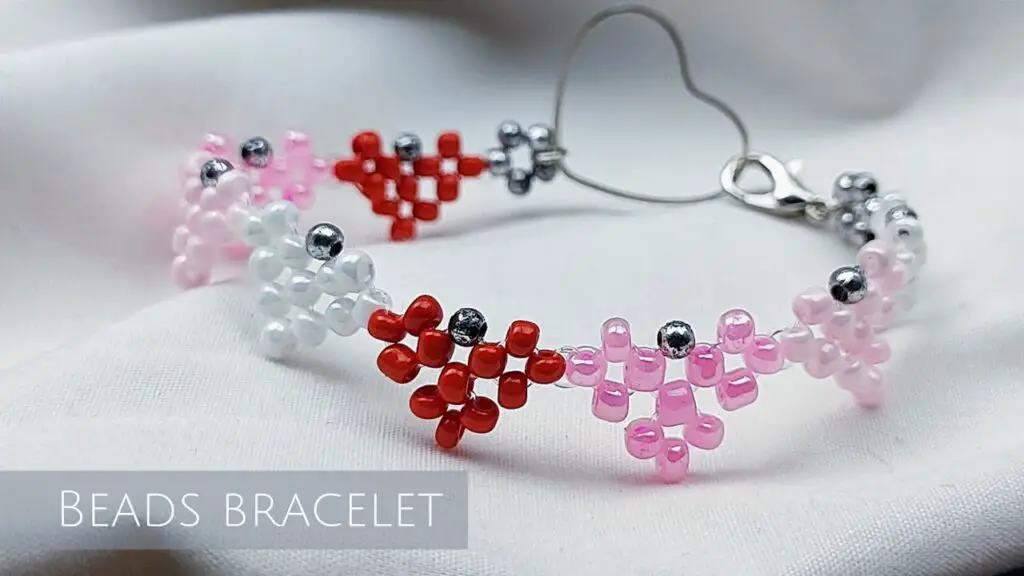
6. Love Seed Pattern Bracelet Tutorial
Skill level: Intermediate (peyote / bead weaving)
Time: 60–120 minutes
Finished size: Cuff style — 6–7.5″
Materials
- Seed beads 11/0 in two colors (A = background, B = heart) — 200–300 beads
- FireLine or Nymo thread, beading needle
- Slide clasp or toggle clasp
Step-by-step (even-count peyote summary)
- Chart your pattern: Decide bracelet width (e.g., 12 beads across) and draw a grid with heart motifs.
- Start base row: Pick up the first row of beads for the baseline (even number).
- Peyote weave: For each new bead, pass the needle under the next thread bridge and pick up a bead of the correct color; snug it into place. Build rows following the pattern so heart shapes appear row by row.
- Finish & attach clasp: Weave thread back through edge beads several times, stitch clasp plates securely by sewing through beads and clasp holes multiple times.
Troubleshooting
- Uneven edges: adjust tension — not too tight.
- Pattern shifting: count beads carefully each row.
Variations
- Use metallic beads to outline hearts.
- Make narrower cuff for delicate wrists.
Care
- Avoid rough wear; beadwork is beautiful but can snag.
7. Easy Decoden Style Beaded Bracelet Pattern
Skill level: Beginner → Intermediate
Time: 30–60 minutes
Finished size: ~7″ (adjust)
Materials
- Large statement beads (8–12 mm) + small fillers — 12–18 beads total
- Strong elastic cord (1 mm) OR blank cuff + E6000 glue for glued Decoden
- Cute cabochons, tiny charms (optional)
Step-by-step (elastic chunky version)
- Layout: Arrange big and small beads in a balanced sequence.
- String: Use thick elastic to string beads.
- Finish: Triple knot, add glue, hide knot, trim.
Decoden cuff option (non-elastic)
- Glue on base: Place cabochons and sweets on a blank cuff using E6000, building layers.
- Cure fully per glue instructions.
Tips
- For heavy beads, double the elastic or use wire + crimps.
- Keep large focal beads between two smaller beads to avoid rolling.
Care
- Avoid impact for glued pieces; glued Decoden needs gentle handling.
Final finishing & general tips
- Always measure the recipient’s wrist or aim for standard adult 6.5–7.5″ and adjust.
- For elastic knots, surgeon’s knot + glue is reliable. For wire, use crimp beads and covers for professional finish.
- Hide knots inside bead holes when possible for a neat look.
- Quality materials make big difference: good stretch cord, FireLine for bead weaving, and waxed cord for macramé.
- Packaged sets of beads are fine for beginners; for consistent work buy seed beads by color code (11/0).
Conclusion
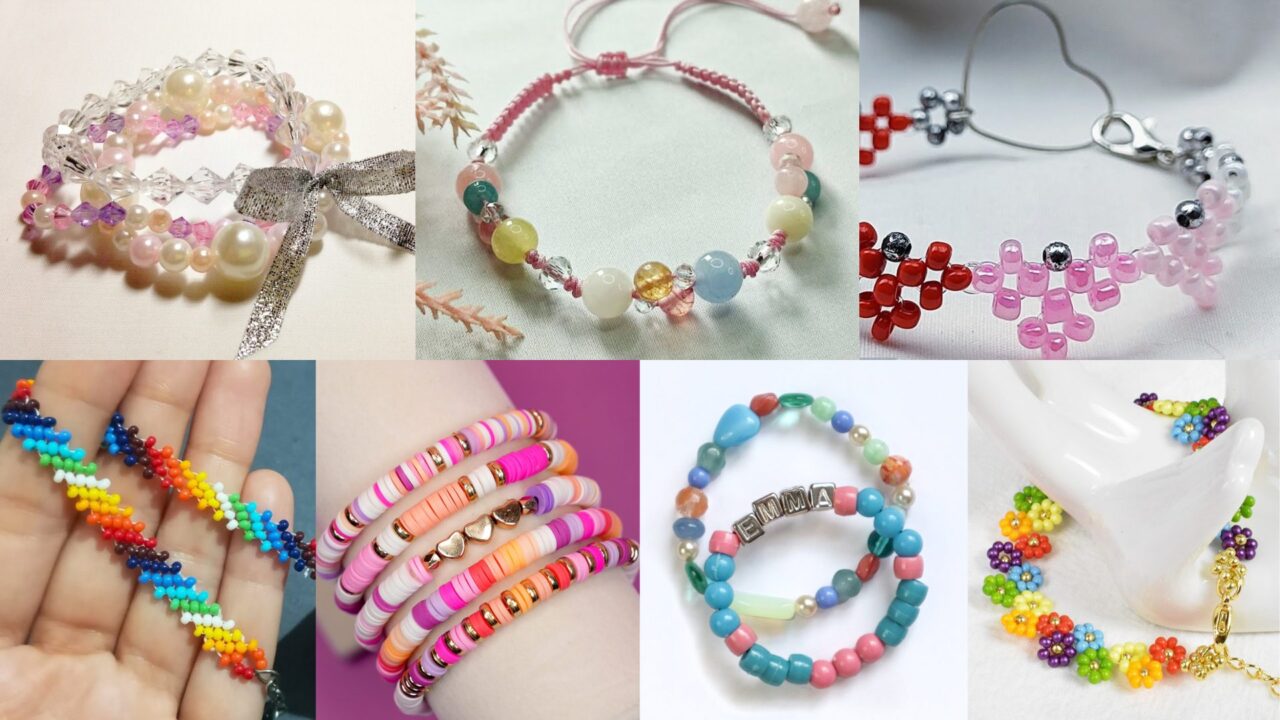
These seven colorful beaded bracelet patterns give you a full toolkit — quick, giftable pieces (stretchy & clay beads), meditative projects that build skill (peyote hearts and macramé), and bold statement options (flower chains and Decoden). Each design is highly customizable: change colors, bead sizes, and closures to match your style or seasonal trends. Pick one pattern to practice today and build a stack by the weekend — happy beading!