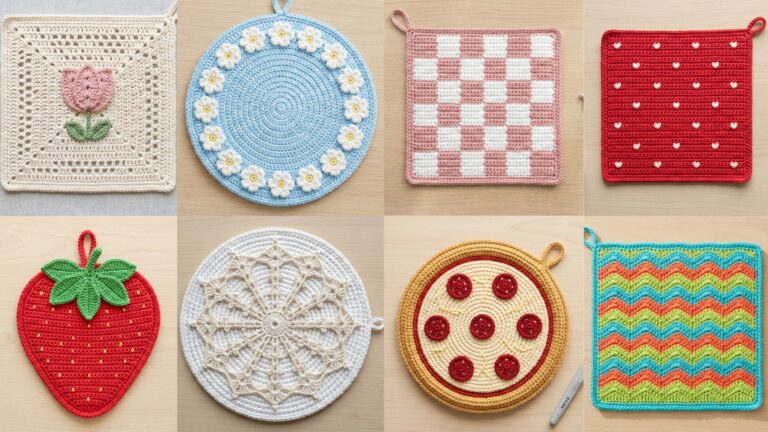
Handmade Christmas decorations give your tree, mantel and gifts a personal, cozy touch. This post contains one practical introduction (materials, safety, basic stitches and finishing tips) and seven fully detailed ornament patterns — each with skill level, exact materials, finished size, step-by-step construction, assembly, finishing, variation ideas, and care. All patterns use US crochet terms.
Make a cup of tea, pick a playlist of holiday tunes, and let’s make some ornaments you’ll be proud to hang or gift.
Before you start — materials, safety, stitches & finishing
Common materials & tools
- Yarn: 100% cotton, cotton blends, or DK weight acrylic for tidy stitches and good stitch definition. For small ornaments fingering or sport weight also works. Choose non-shedding yarn for ornaments that will be stored.
- Hooks: 2.25–3.5 mm depending on yarn weight and desired tightness. Use a smaller hook than the yarn label suggests for amigurumi-style tight fabric so stuffing won’t show.
- Stuffing: polyester fiberfill, scrap yarn stuffing, or felt inserts for flat ornaments.
- Notions: tapestry needle, small scissors, stitch markers, thin craft wire or pipe cleaners (if needed for spinner), small amount of craft glue (optional), tiny bells, embroidery floss for faces/details.
- Hardware: small split rings, ornament hooks, short lengths of ribbon or metallic thread for hanging loops.
- Extras: small beads (avoid for ornaments intended for young children), heat-set or fabric stiffener for wind spinners or coasters (optional).
Safety & storage
- Avoid glued-on small pieces if ornaments will be handled by young children—prefer embroidered features or sewn-on felt.
- Store ornaments in acid-free tissue or divided boxes to preserve shape and prevent snagging.
- If you include bells or metallic timbers, test that attachments are secure.
Basic stitches & techniques used (US terms)
- ch, sl st, sc, hdc, dc, tr; MR = magic ring; inc = 2 sc in same st; dec = sc2tog. Work in continuous rounds for amigurumi unless specified. Use invisible join or sl st to finish rounds for cleaner edges. Surface embroidery and appliqué techniques are used for faces and accents.
1. Crochet Mini Wind Spinner Christmas Tree Ornament Pattern
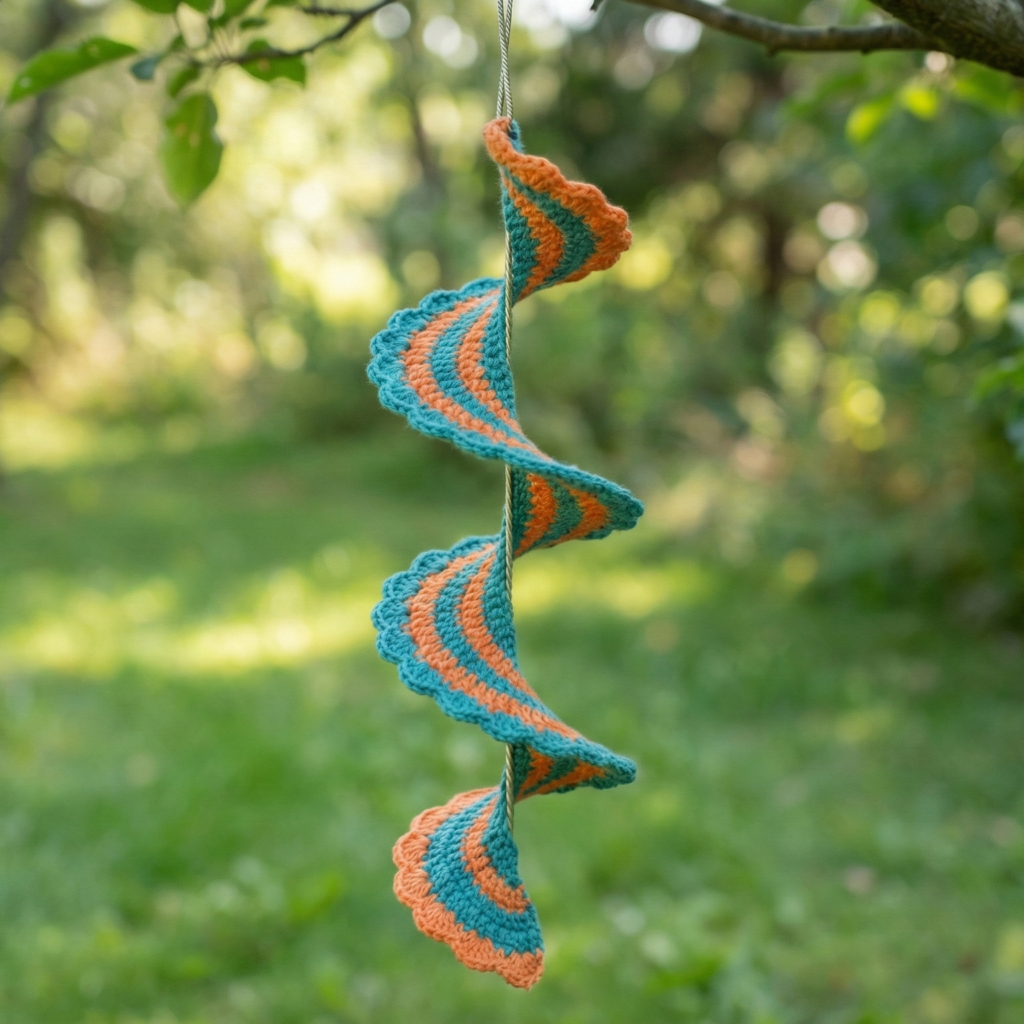
Skill level: Intermediate (mix of crochet + light wirework / stiffening)
Finished size: Tree disc ≈ 3–3.5 in diameter; spinner length ≈ 6–8 in with loop.
Materials
- Sport / DK cotton yarn: green ~10–15 yd, contrasting yarn for garland & star ~3–5 yd each.
- Hook: 3.0 mm.
- Thin craft wire or 18–20 gauge for inner spinner shaft (optional).
- Small wooden bead for top (optional).
- Fabric stiffener or diluted PVA (optional for rigid discs).
- Ribbon or metallic thread for hanging.
Concept
A two-sided crocheted tree disc (flat round with tree motif) is mounted on a slim wire shaft so it spins gently when hung. Discs are stiffened for good aero behavior.
Step-by-step
Disc (make 2, mirrored)
- MR. R1: 6 sc in MR — (6).
- R2: inc around — (12).
- R3: sc, inc rep around — (18).
- R4: sc x2, inc rep — (24).
- R5: sc x3, inc rep — (30). Continue increasing rounds until disc is ~3–3.5 in diameter (sample R6 → 36, R7 → 42). Stop at desired size.
Tree motif (surface crochet / applique)
6. Using green, work a small triangle tree applique separately or surface stitch tree onto disc: small triangle — ch 8, Row 1: sc in 2nd ch and across (7 sc). Row 2: ch1, sc6, Row 3: ch1 sc5 — continue to decrease for stacked triangle sections (or make three graduated triangles and sew them stacked on disc). Alternatively use surface slip stitch to embroider a stylized tree on top of the disc: mark center line and slip stitch rows outward to make branches.
Assembly prep
7. Make two discs identical. If you want spinner behavior, create a small pocket at the center of one disc by sewing a narrow ring of sc around center and leaving opening for wire. Alternatively, pre-bend a thin wire and thread a small wooden bead top with a knot to anchor.
Mounting
8. Insert wire through center of bottom disc; add small bead, then place top disc and secure with tight stitches around wire or use a small dab of craft glue if sewing impossible. The discs should be able to rotate slightly if you want spinning action — avoid gluing discs rigidly to wire.
Stiffening (optional)
9. To stiffen discs for better spin and shape, brush a thin layer of fabric stiffener over both discs, shape on a flat plate, and allow to dry. For eco-friendly option add diluted PVA and press between wax paper to dry flat.
Finishing
10. Embellish with tiny garland surface embroidery (metallic thread), French knot “lights” and a small star at top (crochet a 5-point star: MR, ch3, 3 dc in ring × 5 petals). Add hanging loop at top of wire with ribbon.
Variations
- Make snowflake discs instead of trees with white yarn.
- Combine 3 discs on a longer wire for a cascading spinner.
Care
- Dust with soft brush; do not machine wash if stiffened.
2. Crochet Christmas Amigurumi Pudding Ornament Pattern
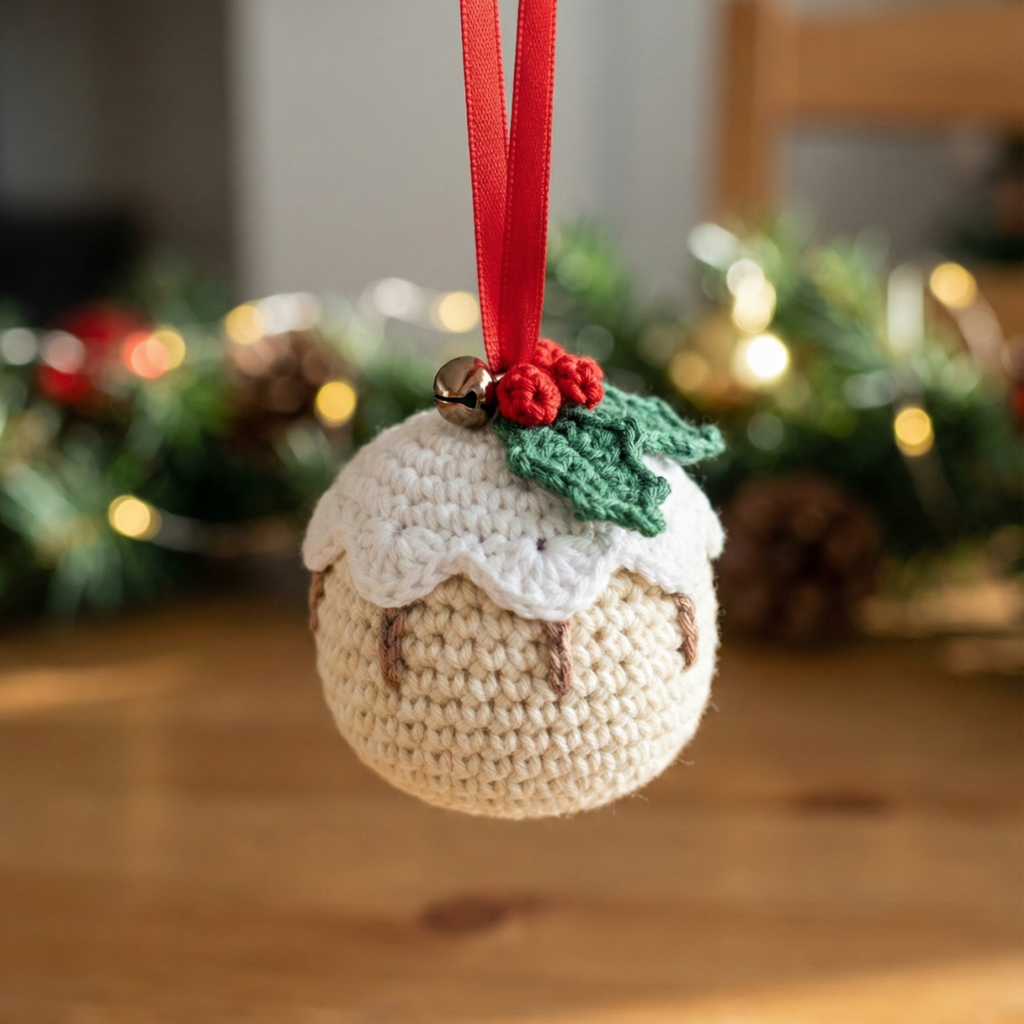
Skill level: Beginner–Intermediate (amigurumi shaping + simple embroidery)
Finished size: ≈ 1.75–2.25 in tall (small and cute).
Materials
- DK yarn in cream/ivory for pudding, brown for caramel, white for icing, red & green for holly accents.
- Hook: 2.75–3.25 mm.
- Small amount of fiberfill.
- Tapestry needle, stitch marker.
- Optional: tiny jingle bell or bead (not for baby toys).
- Ribbon loop for hanging.
Abbreviations & gauge
- Work tight to avoid stuffing showing; use hook 0.5 mm smaller than label suggests.
Step-by-step
Base pudding body
- MR R1: 6 sc (6).
- R2: inc around (12).
- R3: sc, inc → 18.
- R4: sc x2, inc → 24.
- R5–R8: sc around (24) — build height (4 rounds).
- R9: sc x2, dec → 18.
- R10: sc, dec → 12. Stuff lightly.
- R11: dec around to close to small hole (6), fasten off leaving tail.
Icing cap
9. With white yarn, attach at top edge. Ch 1, sc around top edge to join with an even round. Next round (ruffle): ch3, 3 dc in same st, sl st in next repeat around to create scalloped icing. Fasten off, weave ends.
Caramel drip (optional)
10. With brown yarn, embroider thin drips from icing edges down the pudding using satin stitch or small surface sl sts for a glossy look. Alternatively crochet tiny chains of 4–6 and tack them as drips.
Holly decoration
11. With green, make small crochet leaf (ch4; sc, hdc, dc across) or use tiny felt leaf. With red yarn make French knot berry cluster (3 tiny knots) and sew to top near opening.
Hanging loop
12. Secure a small ribbon loop into top center by sewing through stitch multiple times. Add small bell if desired.
Variations
- Make mini tag and embroider “Noel” or year on pudding base for gift tags.
- Make an entire set in varied sizes for a charming garland.
Care
- Spot clean; hand wash gently if necessary.
3. Crochet Minimalist Gnome Ornament Pattern
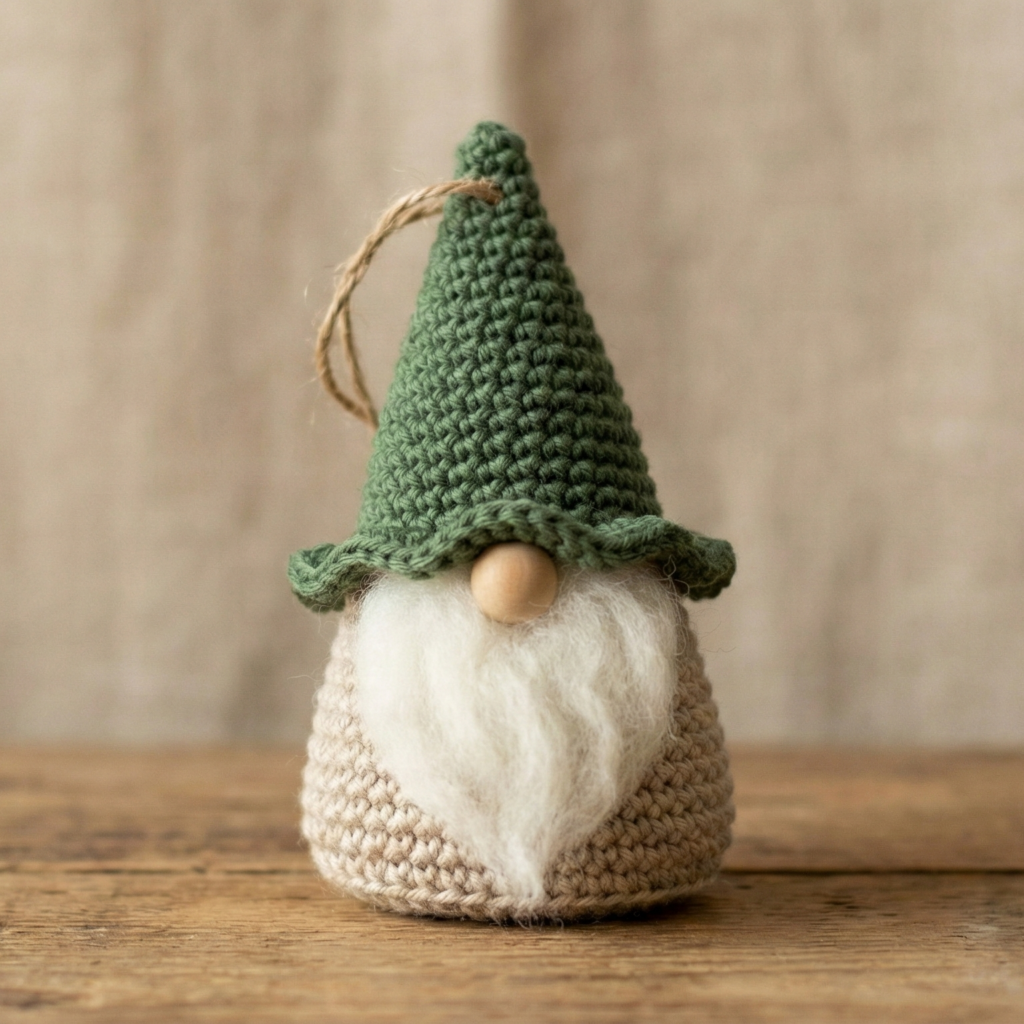
Skill level: Beginner (basic amigurumi + surface embroidery)
Finished size: 3–4 in tall depending on yarn.
Materials
- DK yarn: body color (neutral), hat color (red or forest green), flesh tone for nose.
- Hook: 3.5 mm.
- Small amount of stuffing, small wooden bead or crochet nose.
- Faux fur trim (optional) or embroidered beard with white yarn.
- Small loop of ribbon for hanging.
Step-by-step
Body cone (base)
- MR R1: 6 sc (6).
- R2: inc → 12.
- R3: sc, inc → 18.
- R4–R8: sc around to desired body height (for 3 in tall, do about 6 rounds). Stuff lightly.
Hat (worked top-down)
5. With hat color, MR R1: 6 sc. R2: sc, inc → 9; continue increasing every other round to create slightly conical hat or work a tapered cone with minimal increases so it fits snugly. Work enough rounds that when placed on body, brim falls near midline of body. Ruffle brim by working sc, picot, sc around or add faux fur trim.
Nose
6. Using a tiny wooden bead (6 mm) or MR with flesh yarn: MR 6 sc, fasten off leaving tail. Sew to body just below hat brim. If using bead, sew securely through bead multiple times into stuffing.
Beard
7. Option A (yarn beard): cut several lengths of white yarn, fold and loop-nitpick into place to create tufted beard; trim into shape. Option B (embroidered): use surface sl st in white to make moustache and beard outline.
Assembly
8. Slip hat over nose and tack hat to body with a few invisible stitches at the back. Insert hanging loop into the top of the hat and secure.
Variations
- Make Scandinavian-style gnome with long hat and no visible eyes.
- Mini gnome keychain use a stronger loop and a small clasp.
Care
- Spot clean; avoid machine washing if fur is used.
4. Crochet Trees and Stars Holiday Garland Ornament Pattern
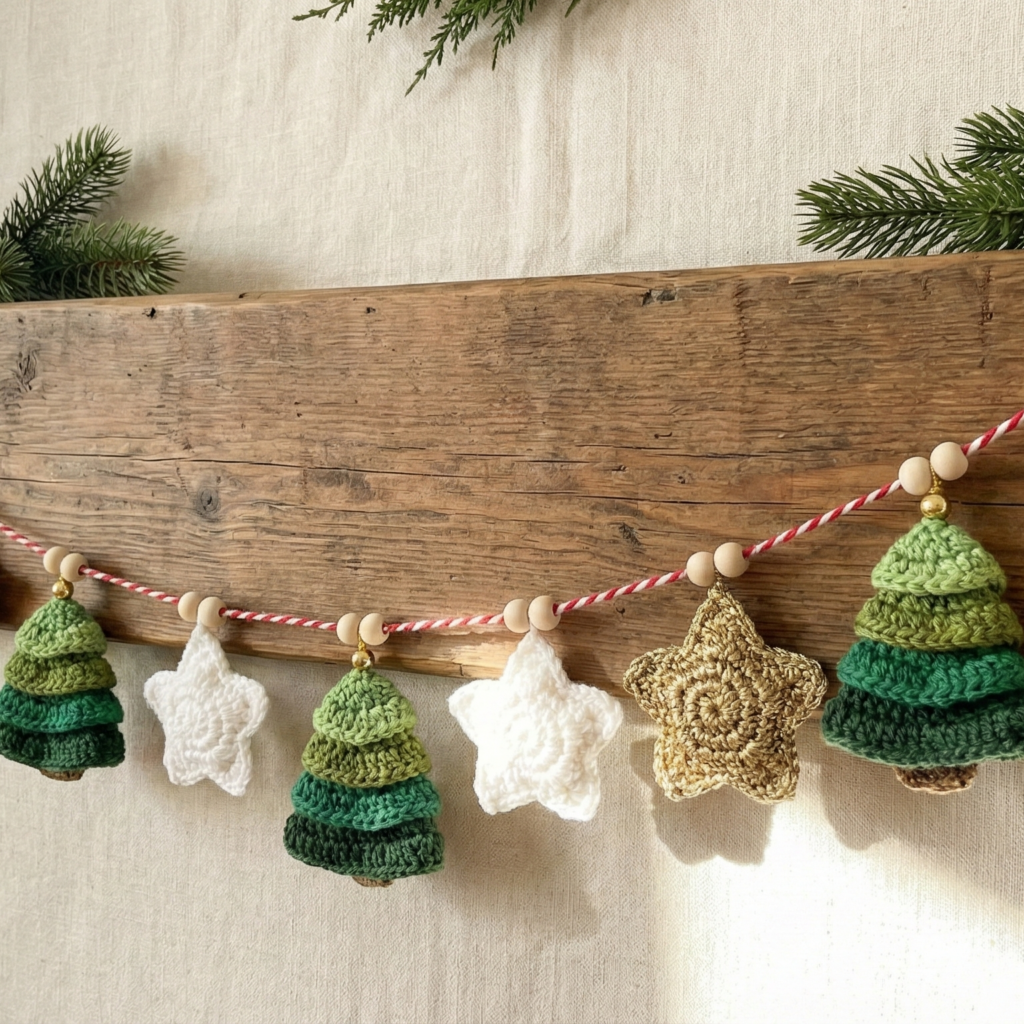
Skill level: Beginner–Confident Beginner (motifs & small assembly)
Finished size: trees ≈ 2.5–3 in tall; stars ≈ 2–2.5 in across.
Materials
- DK or fingering cotton in green, metallic gold, white for stars.
- Hook: 2.75–3.5 mm.
- Small bit of stuffing for 3D stars or flat stars worked in two layers.
- Ribbon for hangers.
Tree motif — flat layered tree (make 2 layers + backing)
Small tree (flat)
- Ch 6; Row1: sc in 2nd ch from hook and across (5 sc). Turn.
- Row2–4: ch1, sc across decreasing 1 stitch each end every second row to shape a triangle: Row2 sc5, Row3 sc4, Row4 sc3. Fasten off. Make three triangles (small, medium, large) to stack and sew together centered to make a stylized layered tree. Add tiny bead star at top or crochet small 5-pt star to sew on.
3D star
- MR R1: 10 sc in MR (10). R2: ch3, sl st in same st repeat to make 5 points — or crochet classic 5-point star: ch3, in ring dc3, ch2, sl st ×5 and shape. Make two star layers and sew edges leaving small opening to stuff lightly for dimension.
Assembly
2. If making a hanging tree, sandwich a small disc of felt or crocheted circle to back for stability and sew a ribbon loop at top before final stitching.
Variations
- Make tiny ornament sets: star + tree pairs in matching colorway for gift sets.
- Add metallic surface embroidery for lights.
Care
- Flat ornaments can be gently hand washed; dry flat.
5. Crochet Gingerbread Man Christmas Ornament Pattern
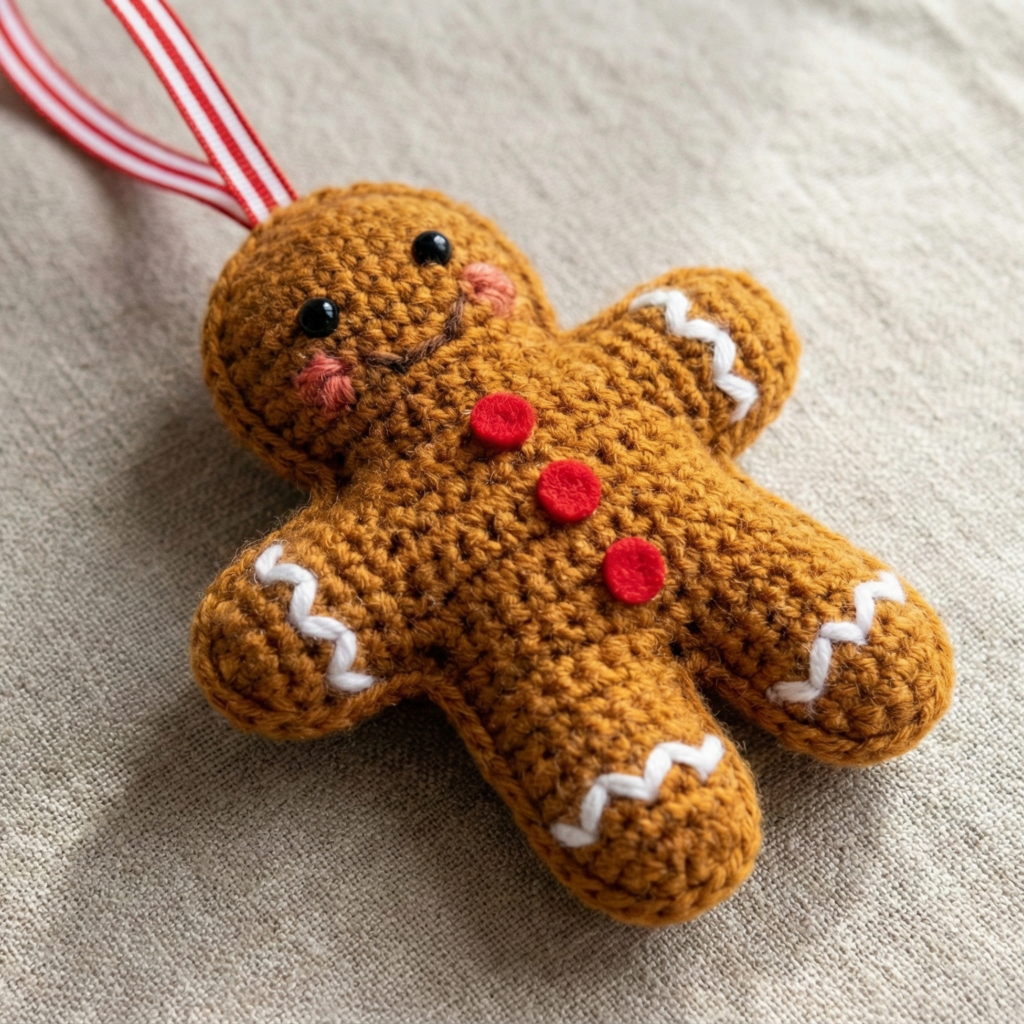
Skill level: Intermediate (small amigurumi shaping + embroidery)
Finished size: ≈ 3–3.5 in tall.
Materials
- DK yarn in warm brown, white, red, green for trim.
- Hook: 3.0 mm.
- Small amount of stuffing.
- Tapestry needle; small buttons (optional, sew-on felt dots recommended for safety).
- Hanging ribbon.
Step-by-step
Body
- MR R1: 6 sc. R2: inc → 12. R3: sc, inc → 18. R4: sc x2, inc → 24.
- R5–R9: sc around (24) to form torso height. At R9, place markers for arm openings: mark 6 sts, (arm space 4 sts), next 8 sts center, (arm 4 sts), last 6 sts. We will form arms by crocheting them separately and sewing on, or do simple front loop separation.
Head
3. Continue rounds for neck and head: R10: sc x3, inc → increase to shape shoulders if needed then increase for head. Create slight increase rounds to reach head circumference (~30 sts), then work even rounds for head height 4–6 rounds. Decrease to close, stuffing as you go.
Arms & legs
4. Easiest approach: make four small sausage shapes (for arms & legs) separately: MR6 R1; R2–R6 sc around to desired length; stuff lightly and sew into marked positions. Alternatively work sleeves by leaving gaps in body and crocheting into open stitches.
Icing & trim
5. With white yarn, surface embroider icing lines around arms and legs: chain-like scallops made by small arcs of chain-3 picots or small shells — sc, ch3, sl st in same st repeat to create wavy icing. Add three small felt buttons or embroidered French knots down the chest.
Face
6. Emphasize eyes with tiny French knots (black embroidery floss) and rosy cheeks with tiny blush of pink yarn stitched in a satin stitch. Smile with simple backstitch.
Hanging loop
7. Attach a ribbon loop at head top by sewing through remaining rounds and knotting inside.
Variations
- Make cookie set: gingerbread family with tiny bow or scarf accessories.
- Use felt for gumdrop buttons to improve durability.
Care
- Spot clean and air dry. Avoid machine because of stuffed interior.
6. Crochet Cute Mini Gift Box Amigurumi Pattern

Skill level: Beginner (small box + lid, color blocks)
Finished size: ≈ 1.5–2 in cube (perfect for tree or tiny trinket).
Materials
- DK or fingering yarn in main box color and ribbon color.
- Hook: 2.75–3.25 mm.
- Small amount of stuffing or leave hollow for tiny notes.
- Ribbon bow or crocheted bow.
Step-by-step
Box base (worked in round, but you can work flat & seam)
- MR R1: 6 sc (6). R2: inc → 12. R3: sc, inc → 18. R4: sc x2, inc → 24. R5–R8: sc around (24) — build cube height to about 6–8 rounds depending on gauge. For a squared look, work even rounds and then form corners by crocheting short surface gussets or seam with stitch alignment to make a box shape.
Lid
2. For lid, work same increases but stop 1 round smaller so lid fits snugly: MR 6, inc rounds to 20 or 22 stitches, work 2–3 rounds even for short lid height. Make it slightly deeper if you want it to cover more.
Bow & ribbon
3. Crochet a tiny bow: ch 20, sc back across to make narrow band; wrap leftover yarn around center to form bow; sew to lid top. Add a crocheted ribbon strip across both axes by sewing or surface stitching in contrasting yarn.
Hanging loop
4. Sew a small loop at corner or under bow for hanging. If you plan to use box as tiny gift container, leave ribbon long enough to tie.
Variations
- Add “gift tag” by embroidering initials on one face of box.
- Make tiny sets in coordinated colors for tree garland.
Care
- Handle gently; spot clean.
7. Crochet Tree Square Coaster Pattern

Skill level: Beginner–Confident Beginner (granny square variation)
Finished size: approx 4–4.5 in square (coaster).
Materials
- Cotton yarn worsted or DK in green & contrasting color for tree and background.
- Hook: 4.0 mm (or size to get ~4.5 in square).
- Optional: fabric stiffener, felt backing to protect surfaces.
Step-by-step
Granny square base
- MR Round 1: ch4 (counts as tr and ch1), 3 tr, ch1 × 3, join — this makes a small granny square center.
- Round 2: ch3, tr2 in corner space, ch1, (3 tr, ch1) in next corner etc. Continue rounds until coaster reaches desired size (4–5 rounds depending on yarn).
Tree applique
3. Crochet a small layered tree motif: make a triangle per earlier Tree motif pattern (small, medium, large) and stack center on granny square. Alternatively use tapestry crochet to create a tree silhouette in first color by working mosaic / color changes in the square rounds.
Backing & stiffening
4. Optionally sew a small piece of felt to the back and use fabric glue to attach for stain protection. For a sturdier coaster, block and coat lightly with diluted PVA (food-safe varnish alternatives exist) — if used on drinks, avoid chemical coatings; instead use tightly spun cotton and felt backing.
Finishing
5. Weave in ends and trim. Make a set of four with alternating colors as tree table décor.
Variations
- Add tiny sequin ornaments or French knot beads as “ornaments” on tree (sew securely).
Care
- Machine wash cotton coasters in cold gentle cycle if no stiffener used; air dry.
Conclusion
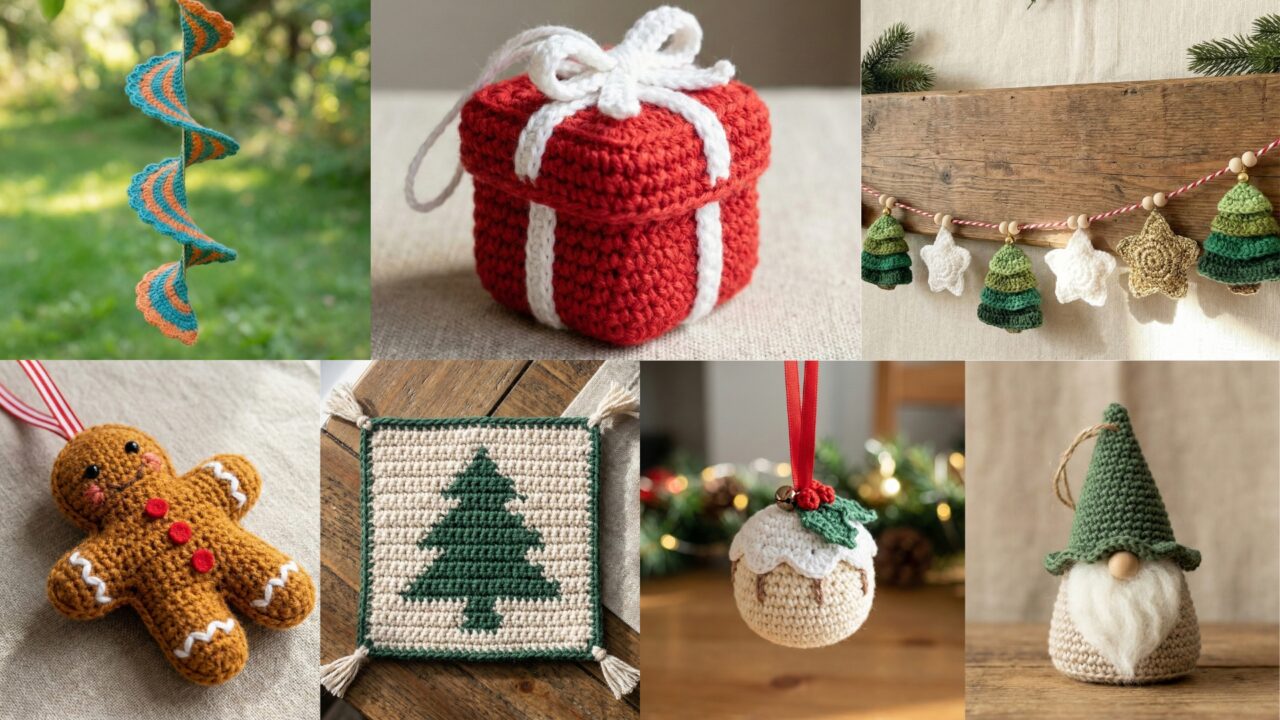
These seven ornaments cover a range of skills and styles: kinetic wind spinners, tiny amigurumi puddings, minimalist gnomes, classic stars & trees, gingerbread figures, mini gift boxes and functional festive coasters. A few final tips to make the most of this collection:
- Color stories: choose a color palette for a cohesive holiday set — for instance, forest greens + warm neutrals + gold accents, or red, white and mint for a retro feel.
- Gift sets: group 3–4 coordinating ornaments into small organza bags for charming handmade gifts. Add a small tag with the year or a short message.
- Durability: use cotton blends for ornaments that may be kept for years; avoid fuzzy novelty yarns on small ornaments that will be compressed in storage.
- Photography tips for your blog: style ornaments on a neutral wood background, include a cup of warm drink for scale, add twinkle light bokeh, and photograph close-ups of texture and embroidery details.
- Make-ahead planning: crocheting multiple ornaments is a great small-batch project — make a few each evening and you’ll have a whole set before holiday decorating time.