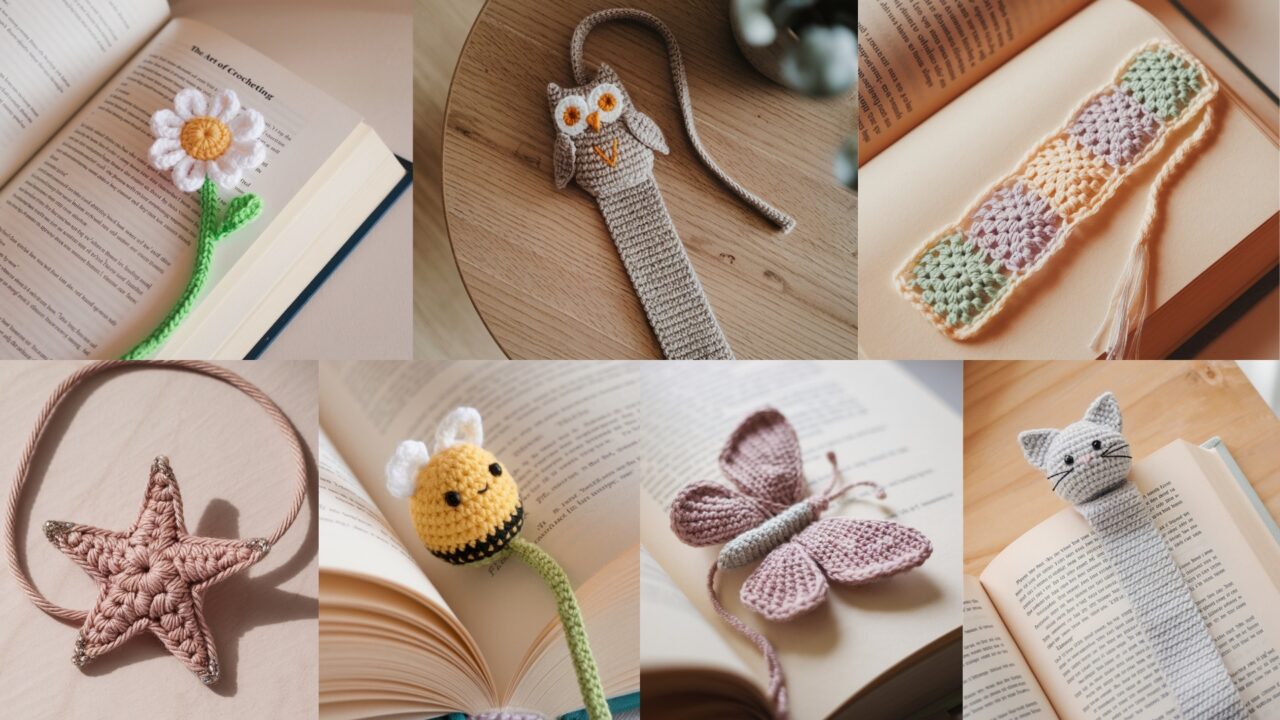
Bookmarks are the tiny trophy of readers: small, personal, and annoyingly easy to lose. Crochet bookmarks are fast, portable projects that make perfect gifts, craft fair items, or quick end-of-book rewards for yourself. Use scraps of cotton or fingering yarn for durability and to avoid stretched pages. Each of the seven patterns below is written so you can make one in about 15–60 minutes depending on complexity. Pick a favorite and make five while you still remember where you put your current bookmark.
1. Crochet Cat Bookmark Pattern
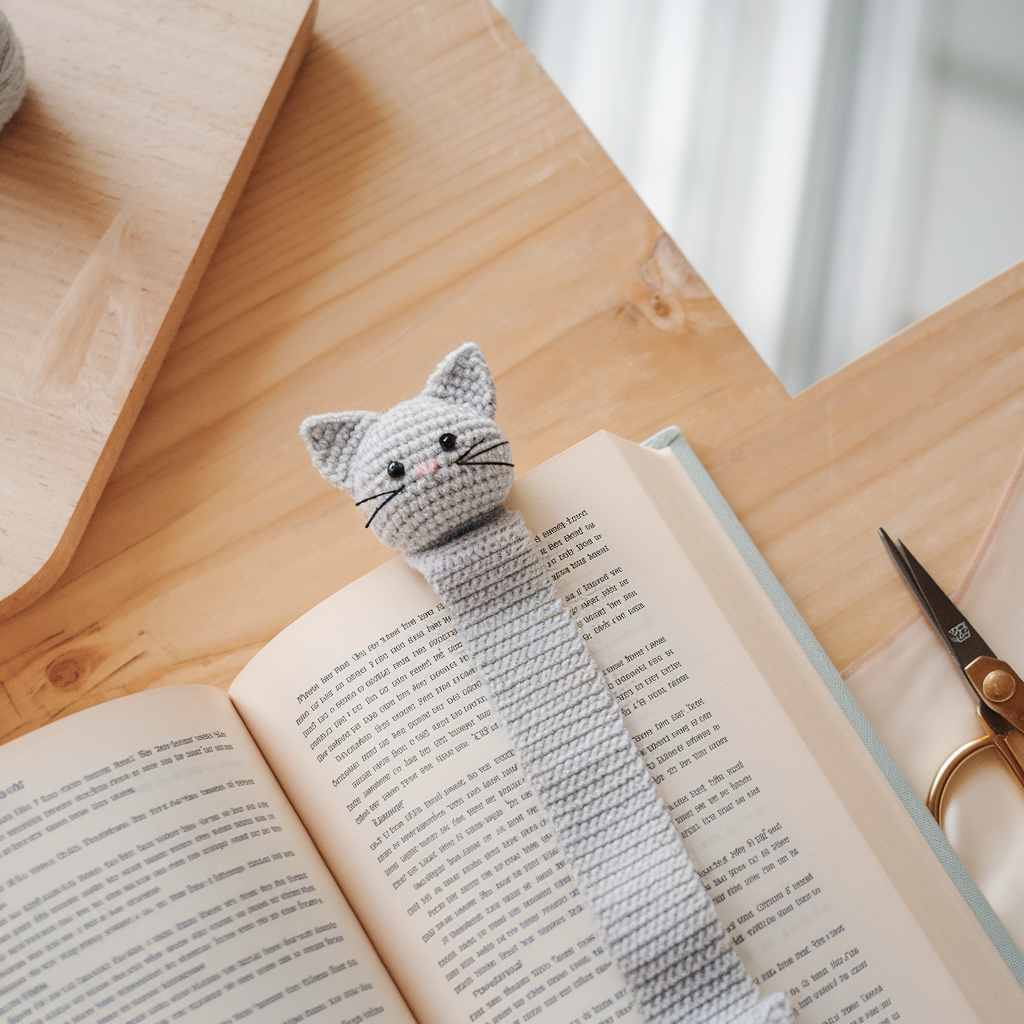
Skill level: Beginner–Intermediate (basic shaping + simple embroidery)
Materials: Fingering or light DK cotton; 2.5–3.5 mm hook (adjust for yarn); tapestry needle; small amount of black/white contrast yarn for face; scissors.
Finished size: About 1.5 in wide × 6–7 in long (including tail) depending on hook/yarn.
Abbreviations
ch — chain
sc — single crochet
hdc — half double crochet
dc — double crochet
sl st — slip stitch
st(s) — stitch(es)
inc — 2 sc in same st
dec — sc2tog (single crochet two together)
Notes: This pattern makes a flat cat head with a long tail strip to slip between pages. You can make it all in one color and add embroidered eyes and whiskers.
Pattern — Cat head & tail (step-by-step)
- Tail base (foundation strip): Ch 6. Row 1: Sc in 2nd ch from hook and across (5 sc). Work rows of sc until strip measures desired tail length (approx 4–5 in). Leave tail attached to continue head, or fasten off and reattach later.
- Join for head: When tail row count reaches ~4–5 in, continue on to head: ch2 at the end of tail row, turn and work across the edge to begin forming head base by adding 6 sc evenly along edge (you’ll make a wider section).
- Work head shaping: Make a rectangle about 1.5–2 in high (approx 6–8 rows) in sc. Then begin shaping top with decreases:
- Row: dec at each end every other row for 2–3 rows to make ears taper.
- Create ear points by finishing off two small triangles: fold corner, sc through both layers 3 times to single ear tip on each side OR crochet two small triangles separately and sew.
- Optional: Crochet ears separately:
- Make 2 ears: ch4, sc in 2nd ch and next, sc in last ch (3 sc). Row2: dec across (1 sc). Fasten off leaving tail to sew.
- Sew ears to top of head corners.
- Face embroidery: Using contrasting yarn, embroid small eyes (two French knots or tiny sl st), a small upside-down triangle nose (small satin stitch), and 3 whiskers each side (straight stitches). Keep details tiny so they don’t catch pages.
- Finishing: Weave in ends. Lightly block if desired by shaping on a flat surface.
Variations & tips
- Use fuzzy yarn for a soft kitten effect (but beware snagging pages).
- Add a little pompom at tail end for charm.
- Make a set: black cat + gray tabby + calico by switching yarn colors in head.
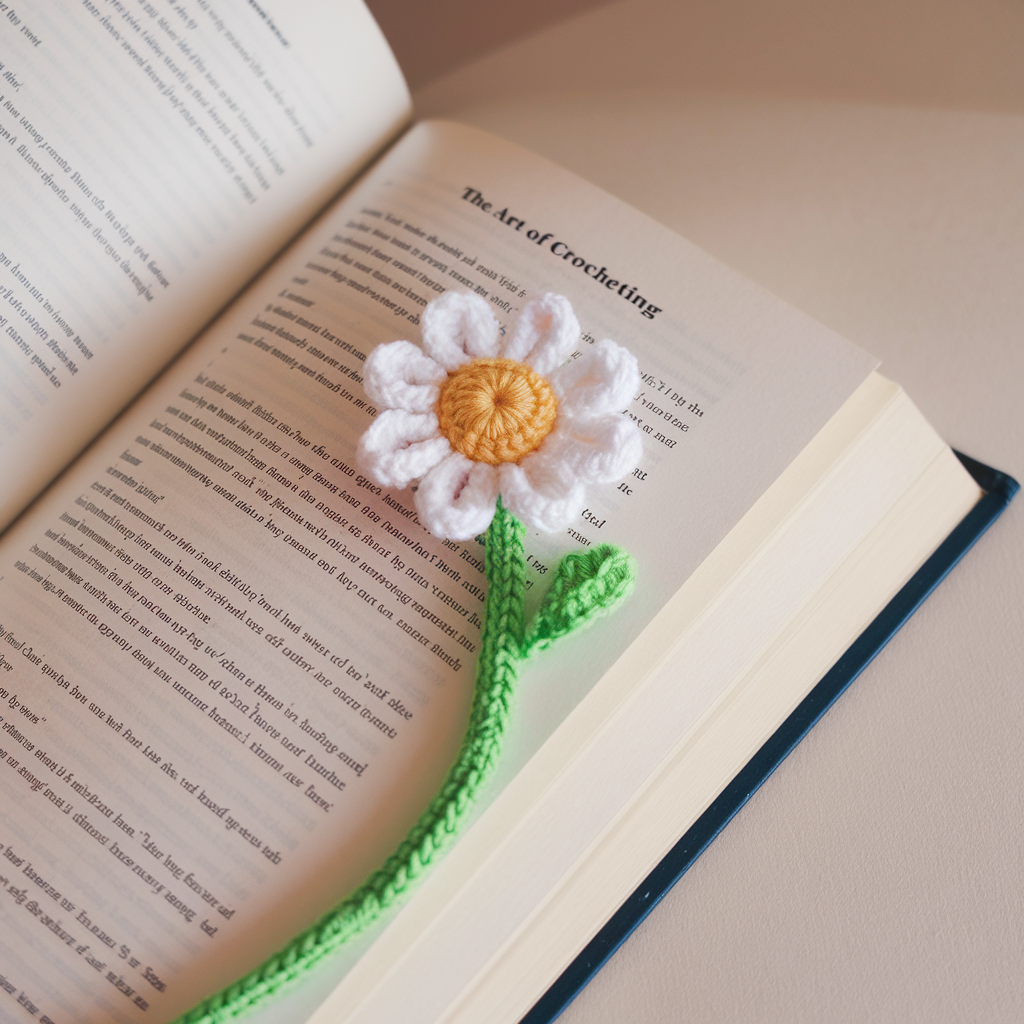
2. Crochet Daisy Flower Bookmark Pattern
Skill level: Beginner
Materials: Cotton or mercerized cotton thread (sport/fingering), 2.5–3.5 mm hook, yarn needle, small button or bead for center (optional).
Finished size: Flower approx 2–2.5 in diameter; stem/tail length 5–6 in.
Abbreviations
ch, sc, hdc, dc, tr, sl st, picot (ch3 sl st in 1st ch).
Pattern — Daisy with long stem (step-by-step)
- Stem (foundation): Ch 40 (or desired length). Row 1: sc in 2nd ch from hook and across. Fasten off leaving tail to join to flower base.
- Flower center: Using yellow or gold yarn: magic ring, ch1, 8 sc into ring. Pull tight, sl st to first sc. (8 sc)
- Petals (round): Switch to white (or color of choice). In each sc around: (ch3, 3 dc, ch3, sl st) into same sc — this creates a petal. Repeat 8 times around. Fasten off.
- Attach stem: Sew one end of stem strip to back center of the flower. Add a small bead or a French knot at flower center for detail.
- Optional leaf: Make a small leaf: ch8; sc in 2nd ch, hdc, 3 dc, hdc, sc, sl st. Sew to stem.
Finishing tips
- Stiffen flower center slightly with diluted PVA glue if you want it rigid (test on scrap).
- Use contrasting thread for stem to mimic green stalk.
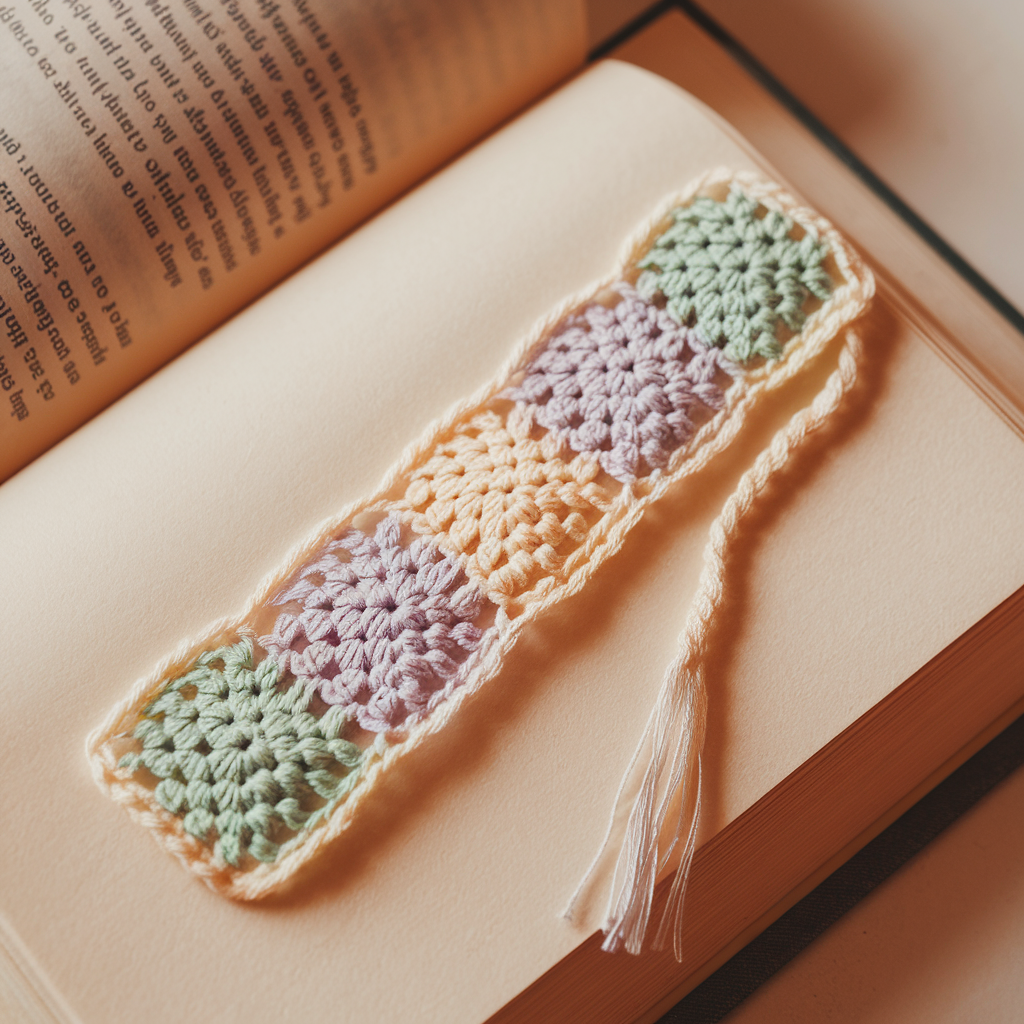
3. Crochet Granny Petite Bookmark Pattern
Skill level: Beginner (simple granny squares & finishing)
Materials: Small amounts of worsted or DK cotton, 3.5–4.0 mm hook, tapestry needle.
Finished size: Each granny square 1.5–2 in; bookmark made of 3–4 squares in a row ≈ 6–8 in.
Abbreviations
ch, sl st, sc, dc, sp — space.
Pattern — Petite granny strip (step-by-step)
- Make small granny squares (make 4):
- Round 1: Ch 4, sl st to form ring. Ch 3, 2 dc, ch2, 3 dc, ch2 repeat 3 times (4 clusters), join.
- Round 2: Sl st to ch-2 corner, ch3 (counts as dc), (2 dc, ch2, 3 dc) in same corner, ch1, (3 dc, ch2, 3 dc) in next corner repeat 3 times. Join. Fasten off.
- Join squares: Align squares and join using whip stitch or join-as-you-go method for cleaner knit-like look. Join three or four squares in a row.
- Edging & tail: Add a 1/2 in border of sc around the assembled strip for neatness. Attach a thin chain (ch 20) to one end as a tail if you want a long slender marker to tuck between pages.
- Finishing: Weave in ends and block to square shape.
Tips & ideas
- Use variegated yarn for a playful strip.
- For a lighter bookmark, make 3 squares; for more bookmark presence, do 5.
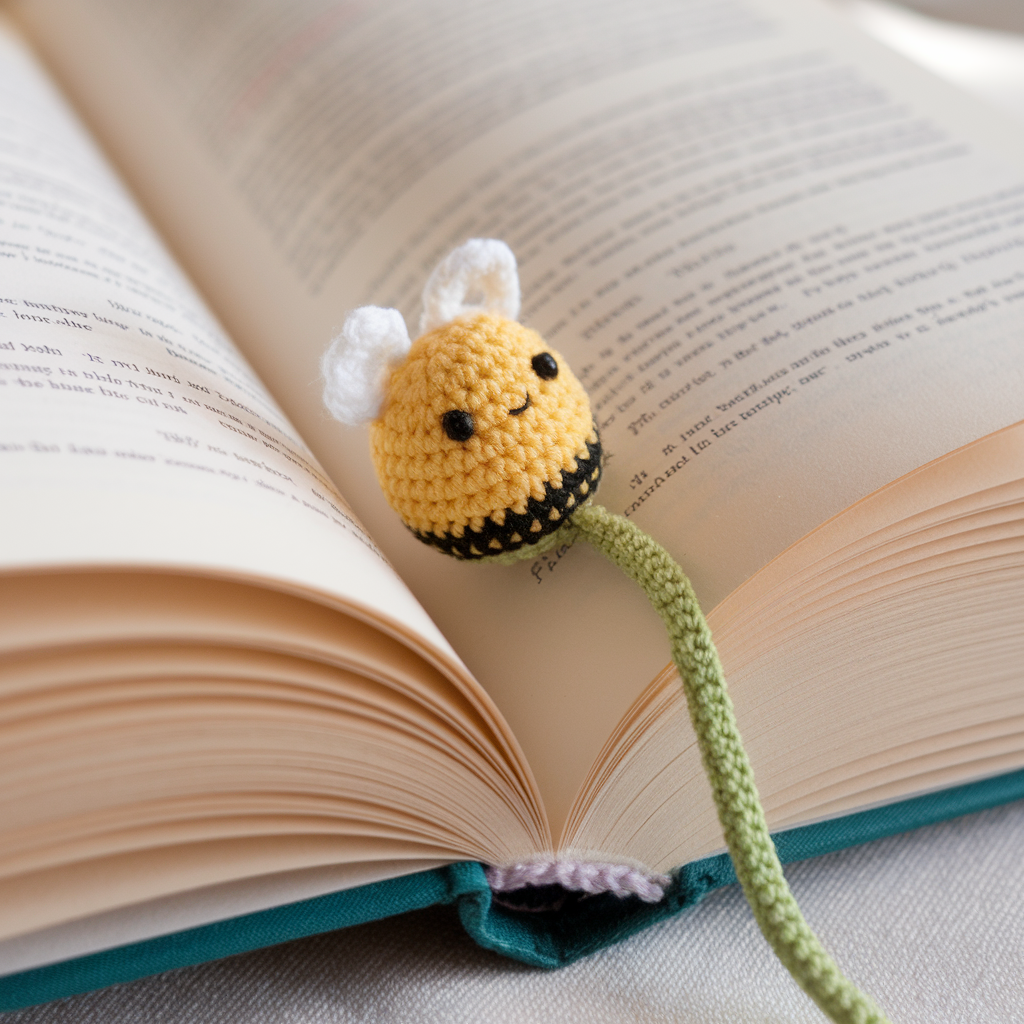
4. Crochet Bee Bookmark Pattern
Skill level: Beginner–Intermediate (amigurumi-style small motif + strip)
Materials: Fingering cotton, 2.5–3.0 mm hook, black & yellow yarn, small bit of white or cream for wings, tapestry needle.
Finished size: Bee head/body about 1.25–1.5 in; tail/stem approx 5–6 in.
Abbreviations
ch, sc, hdc, inc, dec, sl st.
Pattern — Bee motif + strip (step-by-step)
- Strip (tail): Ch 30. Row 1: sc across. Work until tail is 4–5 in long. Leave attached.
- Bee body (amigurumi flat disc): With yellow, magic ring, ch1: R1: 6 sc in ring (6)
R2: inc around (12)
R3: sc, inc around (18)
R4: sc around (18) — flatten disc for face - Add stripe: Switch to black and do one round sc around to create a stripe band. Return to yellow for next round if you want multi stripes (keep bee flat; you’re making a flattish coin).
- Wings: With white/cream, ch6, sc back along chain to make a small leaf-shaped wing. Make 2 and sew onto bee’s back.
- Eyes & face: Embroider tiny black eyes (two French knots) or use tiny seed beads sewn on. Add a small smile if desired.
- Attach bee: Sew bee to top end of strip. Reinforce with a couple of stitches through the base so it stays put when pages slide.
Variations & tips
- Make a matching hive by crocheting a honeycomb hexagon pendant on ribbon instead.
- Alternate black/yellow strip in tail for striped bookmark look.
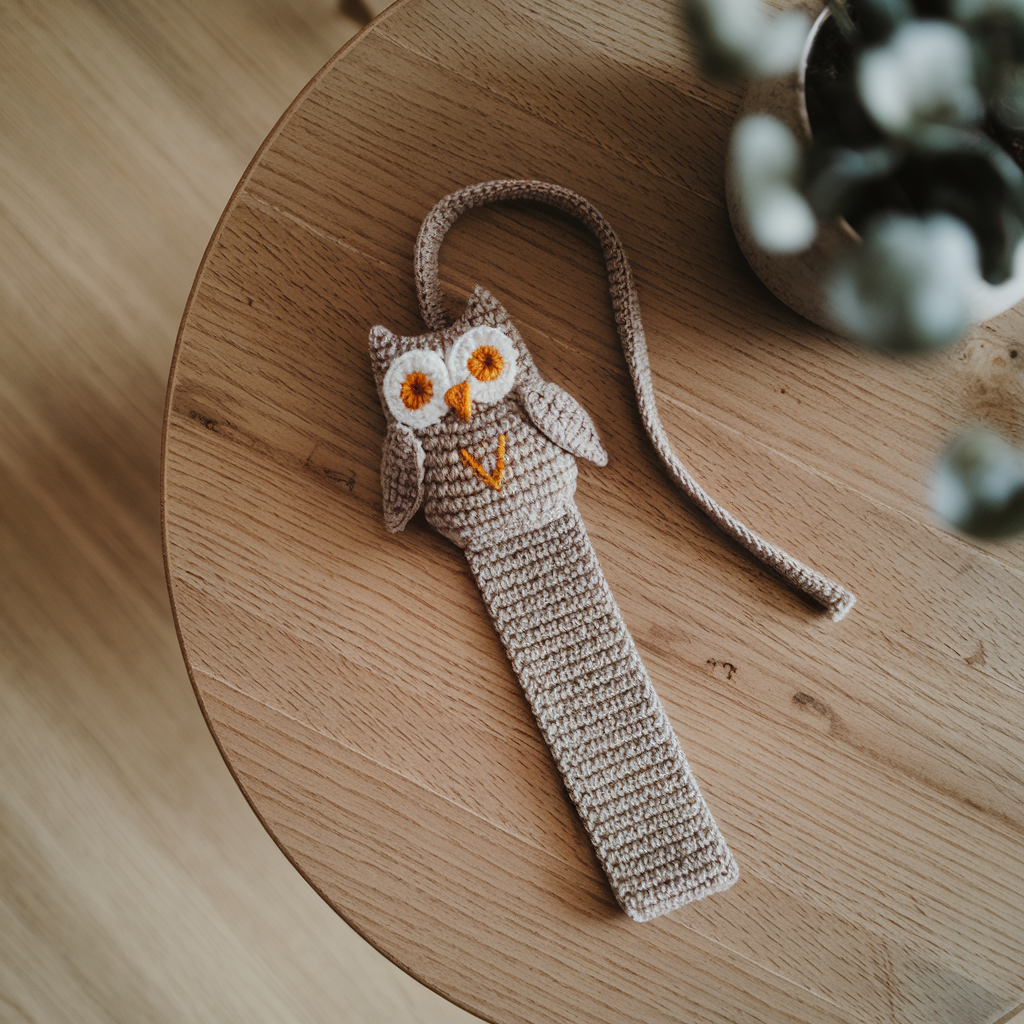
5. Crochet Owl Bookmark Pattern
Skill level: Intermediate (small shaping + layered pieces)
Materials: Fingering or sport-weight cotton, 3.0 mm hook, small quantity of white and amber for eyes, tapestry needle, optional button eyes.
Finished size: Owl body ~1.5–2 in tall, tail/stem 4–5 in.
Abbreviations
ch, sc, hdc, dc, sl st, inc, dec.
Pattern — Owl face + tail (step-by-step)
- Tail strip: Ch 36. Row 1: sc across (35 sc). Work to desired length. Leave attached or fasten off and reattach later.
- Owl body (flat oval): With main color, ch 6. Row 1: sc in 2nd ch and across (5 sc). Row 2–6: ch1, turn, sc across to make a rectangle 6 rows high. Row 7: begin decreasing at ends to round the top: dec once per row at each end for 3 rows until you have an oval. Fasten off.
- Eyes (make 2): With white, magic ring, 6 sc in ring. Fasten off leaving long tail to sew. Place amber or black bead in center and sew onto white circle to make iris. Sew eyes to face.
- Beak: Small triangle: ch4, sc 2 in next ch, sc in next, sc in last, fasten and sew beneath eyes.
- Wings: Make two small leaf shapes (ch8, sc back across) and sew to sides of body.
- Attach owl to strip: Sew securely along bottom edge, catch a few stitches through strip to anchor.
- Finish: Embroider small V-shaped feathers on belly using contrasting yarn.
Tips
- For a flat bookmark, keep the owl thin. For a plush charm, make front and back oval pieces, stuff lightly, and close. Avoid stuffing too much — it will bulk pages.
6. Crochet Butterfly Bookmark Pattern
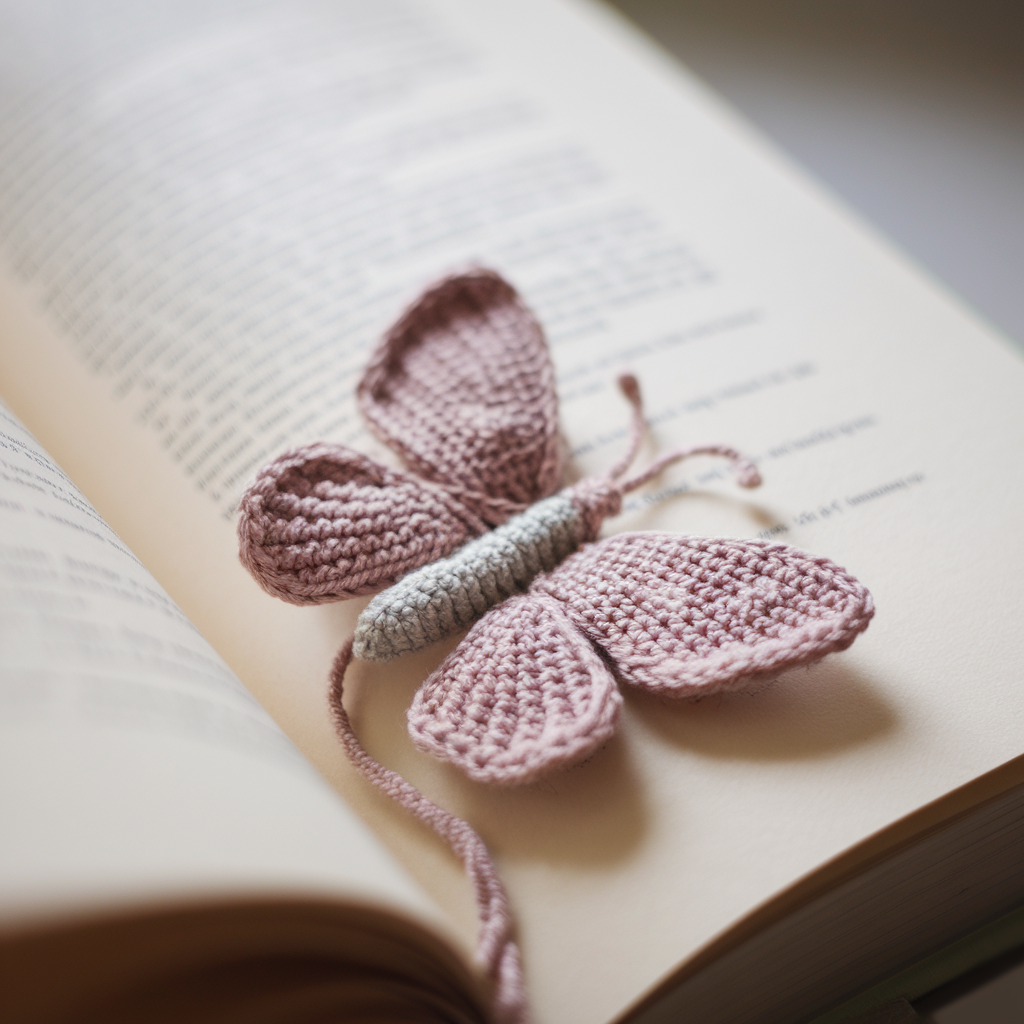
Skill level: Beginner–Intermediate (small shaping and scallops)
Materials: Fingering or sport cotton in two colors, 2.5–3.5 mm hook, tapestry needle.
Finished size: Butterfly wingspan ~2.5–3 in; tail/stem ~5–6 in.
Abbreviations
ch, sc, hdc, dc, tr, sl st, picot (ch3 sl st in 1st ch)
Pattern — Butterfly + stem (step-by-step)
- Stem: Ch 36, sc across. Fasten off or keep attached to butterfly base.
- Lower wings (pair): With contrasting color, ch6, sl st to form a ring. Round 1: ch3, 11 dc in ring, join (12 dc). Round 2: ch3, sl st in same dc repeat around to create loops. In each loop, work 4 dc to form scalloped lower wings. Make 2 and hold side-by-side.
- Upper wings (pair): Make two slightly larger wings: magic ring, ch3, 14 dc; work scallops of 5 dc in each loop for bigger top wings.
- Body: Use a thin strip of 6–8 sc stacked to form body; fold and sew at center of wings. Or use a small tube: ch6, sc across a couple rounds, fasten, and sew between wings.
- Assembly: Layer bottom wings under top wings and sew center. Sew body over seam to hide stitches.
- Antennae: With thin yarn, attach a 10–12 ch for each antenna and add tiny picot on tip.
- Attach to stem: Sew butterfly to one end of the strip, reinforce well.
Finishing & tips
- Use variegated yarn for dreamy wing gradients.
- Add small French knot dots on wings for texture using embroidery thread.
7. Crochet Star Bookmark Pattern
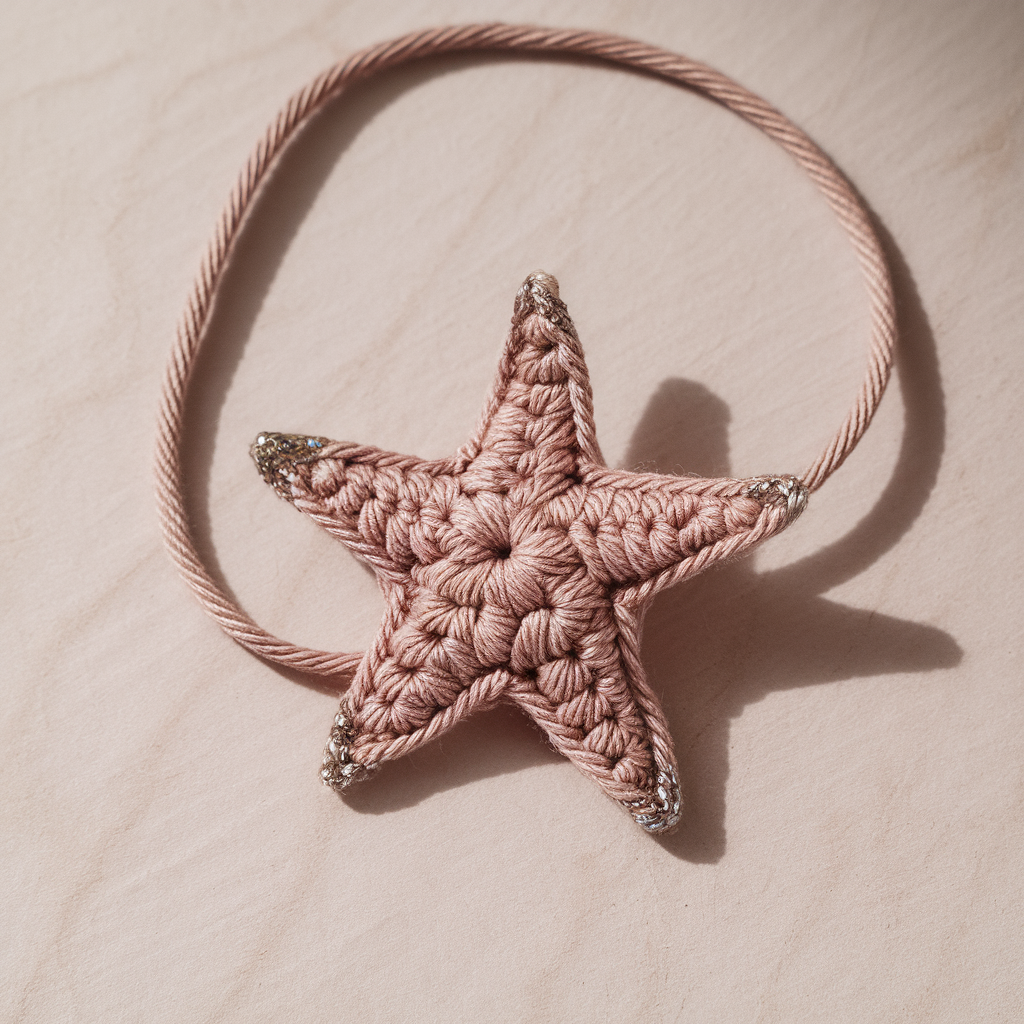
Skill level: Beginner
Materials: Fingering or cotton thread, 2.5–3.5 mm hook, optional metallic thread for sparkle.
Finished size: Star ~2 in across; tail/stem ~5–6 in.
Abbreviations
ch, sc, hdc, dc, tr, sl st, picot.
Pattern — 5-Point Star + tail (step-by-step)
- Tail: Ch 36, sc across. Fasten off leaving tail to join to star later if you prefer to make star separately.
- Star center: Magic ring, ch1, 10 sc in ring, sl st to join (10 sc).
- Star points (make 5, into each sc): Into each sc of round 1 work: (ch3, sc in next sc, ch2, dc in next sc, ch1, tr into same sc), sl st to base — that’s one stylized point. Repeat into each sc around to yield 5 points. Fasten off leaving long tail for sewing.
- Attach tail: Sew tail to back center of star. Reinforce and hide ends.
- Optional edging: Work a round of sc around entire star edge to neaten.
Variations
- Make a larger star by increasing chains and adding more height to each point.
- Use glitter thread or seed beads at point tips for holiday-themed bookmarks.
Finishing & General Tips (applies to all patterns)
- Yarn choice: For bookmarks, cotton or mercerized cotton is ideal — it lies flat, doesn’t stretch, and won’t snag pages. Acrylic is fine but can be a bit slippery. Avoid fuzzy yarns that catch paper.
- Hook size: Use slightly smaller hook than recommended for yarn if you want a firmer, more page-friendly bookmark.
- Blocking: Lightly steam or pin the bookmark into shape for crisp edges — cotton responds best to blocking. For 3D elements, attach after blocking to avoid misshaping.
- Securing attachments: Sew motifs with multiple passes and use a tapestry needle to hide knots inside the motif so they don’t scratch pages.
- Page-safe practice: Make sure any beads or buttons are sewn flat and secure — nothing should protrude that would damage paper.
- Personalization: Add initials with embroidery, change colors to match book covers or seasons, or add a thin ribbon loop at the top for hanging.
- Gift packaging idea: Slip a bookmark into a used book or a notebook — instant classy gift. (No promo, just obvious craft-world synergy.)
Conclusion
There. Seven practical, cute bookmarks you can make with scrap yarn and some patience. They’re fast, giftable, and actually useful — unlike half the craft projects that look good on an Instagram grid and then vanish into a bin. Pick a pattern, make multiples while you remember the stitch counts, and enjoy not losing your place for once. If you want, pick one now and make three different colorways — you’re going to lose at least one anyway, might as well lose a cute one.