There’s nothing more satisfying than turning tiny leftovers into beautiful, useful crochet items. Scraps are perfect for quick makes, color play, and bold texture experiments — and these seven projects use color changes, simple stitches, and easy finishing so you don’t waste a single tail. Each pattern includes materials, stitch abbreviations, step-by-step instructions, size/options, finishing tips, and variations. Ready your hooks and a cup of tea — let’s use every scrap!
Before you start — tips for working with scrap yarn
- Joining scraps: use the Russian join, weave-in join, or magic knot for minimal tails; or leave tails and weave them in as you go.
- Hook choice: choose a hook size slightly larger than the yarn would normally use — this makes mixing weights easier and gives a squishy fabric. Common: 4.5 mm / 5.0 mm for mixed worsted scraps; 3.5 mm for fingering/light sport. Adjust as needed.
- Tension & gauge: scrap projects aren’t rigid — don’t worry about exact gauge. Aim for an even fabric and consistent tension.
- Color planning: arrange scraps from dark → light or do entirely random stripes. Light colors show texture; dark colors hide detail.
- Weaving tails: stash a blunt tapestry needle and a few binder clips to hold tails while you weave them in later.
- Blocking: many finished pieces benefit from a light block (pin to shape and spray with water or steam lightly).
1. Crochet Scrap Yarn Blanket Pattern
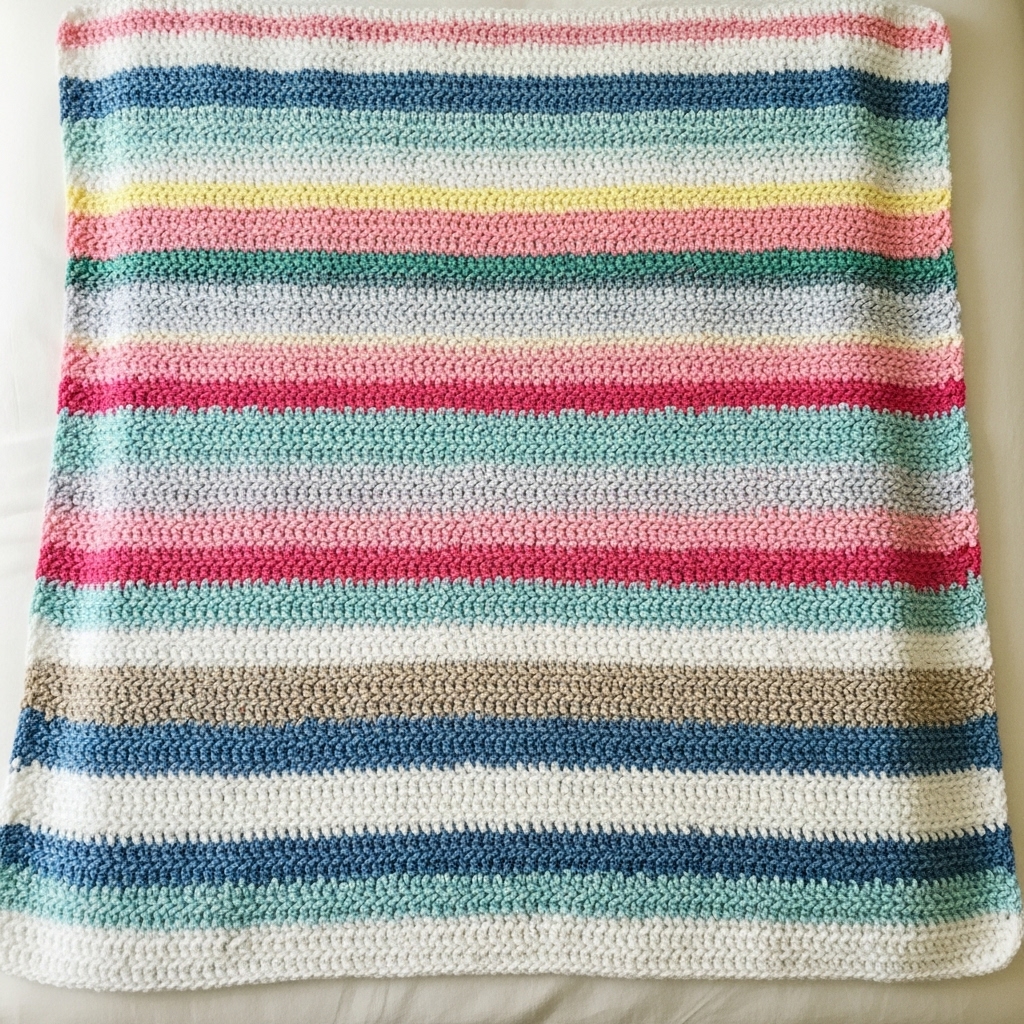
Finished size (approx): 40″ × 52″ (adjust by adding/subtracting rows)
Materials: Assorted scrap yarns (DK–worsted, about 1000–1500 yards total), 5.5 mm (I) hook, tapestry needle, scissors.
Stitches used: ch (chain), sc (single crochet), hdc (half double crochet), dc (double crochet), sl st (slip stitch)
Overview
This blanket uses wide color stripes of scraps and a simple texture panel so it’s fast and forgiving. Each color stripe is 6 rows of hdc worked in tapestry/stripe mode. Change yarn whenever you want a new color block.
Step-by-step
- Foundation chain: Ch 120 (or make any multiple for desired width). Don’t make it too tight—use a large hook if needed.
- Row 1 (base row): Sc in 2nd ch from hook and across. Ch 1, turn. This creates a tidy foundation.
- Rows 2–6 (stripe): Hdc in each st across. Ch 1, turn. Use the first scrap color for these 5 rows (so total 6 rows including Row 1 if you prefer).
- Change color: Fasten off the scrap and join the next piece with a slip knot or Russian join at the last st of Row 6 and continue. Repeat blocks of 6 hdc rows per scrap color.
- Texture row (optional): After several stripes, add a row of dc in BLO (back loop only) to make a ribbed effect — great for visual interest. To do this, dc in BLO across, ch 1, turn.
- Continue striping: Repeat stripe and occasional texture rows until blanket reaches desired length.
- Border: After final row, work 1 round sc evenly around, working 3 sc in each corner. Optional round: hdc in every st for a thicker border. Finish with a neat slip stitch and weave in tails.
Tips & variations
- Gradient throw: group scraps from light to dark to make an ombré effect.
- Random scrappy: pick scraps out of a bag without looking for a bohemian look.
- Chunky edge: add 3 rounds with bulky yarn for a statement border.
- Join-as-you-go: if you have pre-made squares, use join-as-you-go to assemble.
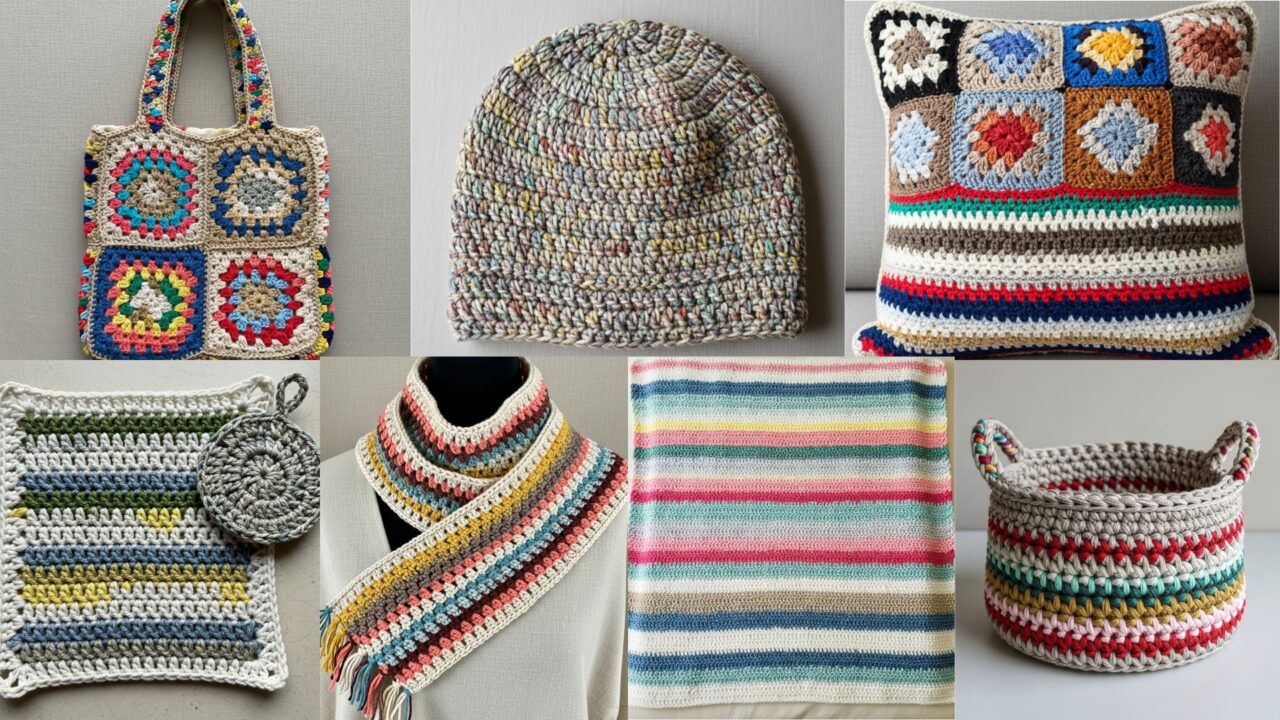
2. Crochet Scrap Yarn Mini Basket Pattern
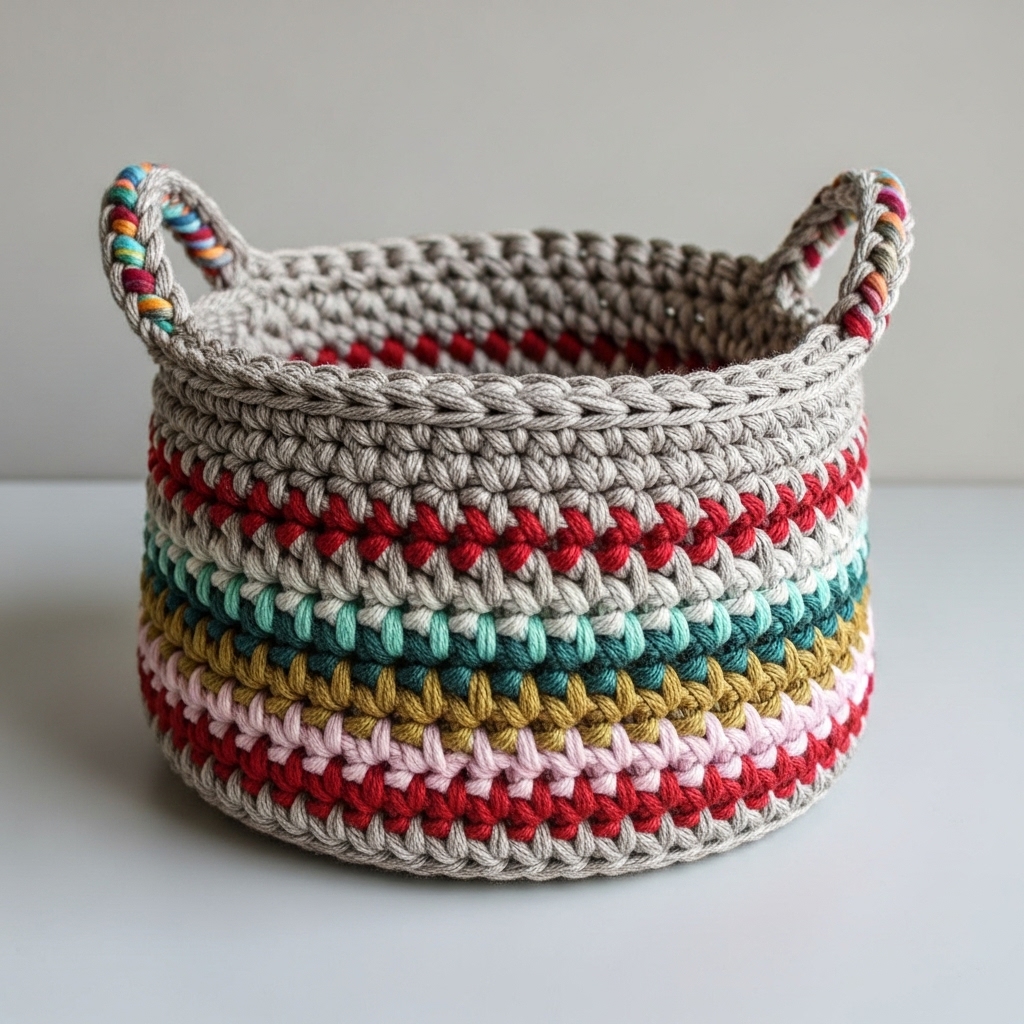
Finished size (approx): 5″ diameter × 4″ tall
Materials: Yarn scraps held double (to make sturdy fabric), 6.0 mm or 8.0 mm hook depending on thickness, tapestry needle, optional wire base or lid insert.
Stitches used: ch, sc, hdc, sl st
Overview
A small, squishy basket perfect for keys, jewelry, or more scraps. Holding yarn doubled creates stable sides. Work in rounds from the base up.
Step-by-step
- Make base (magic ring method): Ch 2, work 8 hdc into 2nd ch from hook; pull to close (or start with magic ring and 8 hdc). Join with sl st to first hdc. (8)
- Round 2: Ch 1, 2 hdc in each st around. Join. (16)
- Round 3: Ch 1, (hdc in next st, 2 hdc in next) repeat around. Join. (24)
- Round 4: Continue increasing rounds until base reaches ~5″ diameter. To calculate: increase evenly each round (add 8 stitches per round when using hdc increases).
- Sides (no increase): Once base diameter reached, work even hdc (1 hdc in each st) in continuous rounds or join-and-ch1 rounds until basket reaches desired height. For a rigid edge, finish with one round of sc.
- Handles (optional): Cut two slits opposite each other by working sc up a few stitches, ch 12, skip 12 sts, sc into next. Reinforce by working sc around the ch handles.
- Finishing: Fasten off, weave in ends. If more structure desired, insert a cardboard/metal/wooden base or add a liner.
Tips & variations
- Use cotton scraps for kitchen-friendly baskets.
- Make a set in graduated sizes.
- Use single yarn (no doubling) for a floppy basket good for yarn storage.
3. Crochet Beautiful Scrappy Yarn Scarf Pattern

Finished size (approx): 8″ × 68″ (long scarf)
Materials: Assorted scraps, 5.0 mm hook, tapestry needle.
Stitches used: ch, sc, hdc, dc, sl st
Overview
A diagonal (bias) scarf grows from a small triangle into a long strip, allowing continuous scrap-adding and color-shifting. The bias texture lies nicely around the neck.
Step-by-step
- Start: Ch 4, join with sl st to form loop. Ch 3 (counts as dc), 2 dc into ring, ch 1, 3 dc into ring. Turn. (two 3-dc clusters separated by ch1 create the first small triangle)
- Row 2: Ch 3, turn. Dc in next 3 sts, ch 1, dc in next 3. You will increase on one side each row to form bias.
- Increase rows: Each RS row, ch 3, turn, dc in each dc and in ch-1 spaces, then add 3 dc into the turning ch-1 space at the starting edge to increase; this continues to widen the scarf.
- Change colors: Join a new scrap whenever you want a stripe. Weave ends inside the triangle as you go or Russian join.
- Stop increase: When the triangle is as wide as you like (say ~12–14″ for a scarf), stop increasing and continue straight rows (dc across without adding 3 dc in the turning space) until length desired.
- Edge finishing: Once length reached, sc evenly around for a neat edge, work 3 sc in corners. Fasten off and weave ends.
Tips & variations
- For texture, alternate rows of hdc and dc every few inches.
- Add fringe using short scraps tied to the ends for a boho look.
- Use a moss stitch (sc, ch1) for a denser fabric if the scarf feels holey.
4. Crochet Scrap Yarn Pillow Pattern
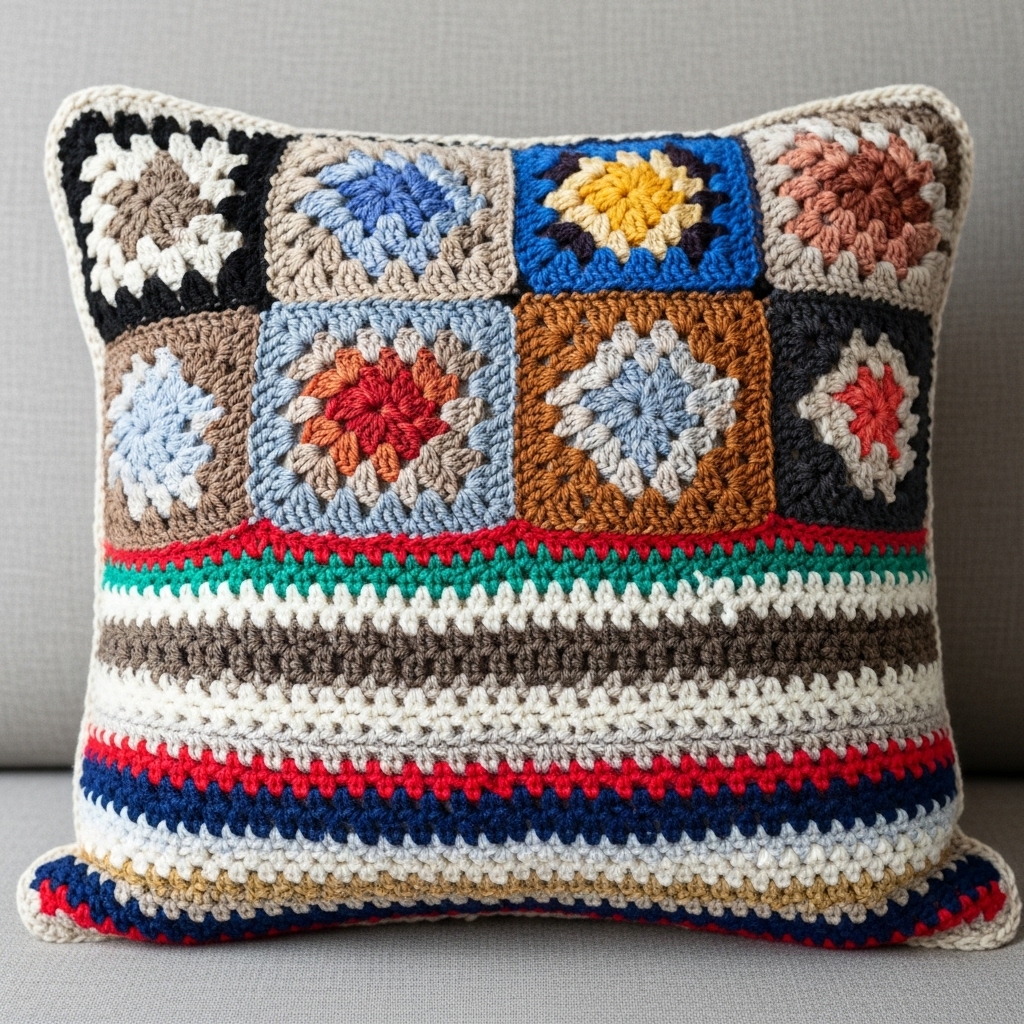
Finished size (approx): 16″ × 16″ pillow cover**
Materials: Scraps of similar weight (worsted gives stable result), 5.0 mm hook, pillow insert 16″, tapestry needle, stitch markers.
Stitches used: ch, sc, hdc, dc, granny cluster
Option A — Patchwork Granny Pillow (make squares and join)
- Make granny squares (classic 3-round granny):
- Magic ring, ch 3 (counts as dc), 2 dc, ch 2, 3 dc, ch 2 repeat 3 times, join to top of ch3. Round 2: slip into ch-2 space, ch 3, 2 dc, ch 2, 3 dc in same ch-2 space (corner made), 3 dc in next ch-2 space, ch 2, 3 dc in next around. Repeat Round 3 if you want larger square. Change colors each round if desired.
- Make 9 squares (3 × 3 grid) for a 16″ cover (adjust size by making larger/smaller squares).
- Join squares: Use slip-stitch join or single crochet join to make a 3×3 front panel.
- Back panel: Make either a single large rectangle (same size) in stripes or another grid.
- Assembly: Place front and back panels right sides together and sc around leaving a gap, or mattress stitch seam, insert pillow, then finish seam and weave ends.
Option B — Solid Scrappy Panel Pillow
- Foundation chain: Ch 44 (or any to reach ~16″ width).
- Row 1: Hdc across. Ch 1, turn.
- Rows 2–40: Alternate hdc and sc rows in stripes — 6 rows per color scrap. Continue until panel measures ~16″.
- Make second panel same way.
- Sew up with sc border or whip stitch, insert pillow, close.
Tips & variations
- Add a zipper in one side for removable covers.
- Use textured stitches (waffle, basketweave) for a luxe scrappy look.
- Mix cotton scraps for pillow that can be washed.
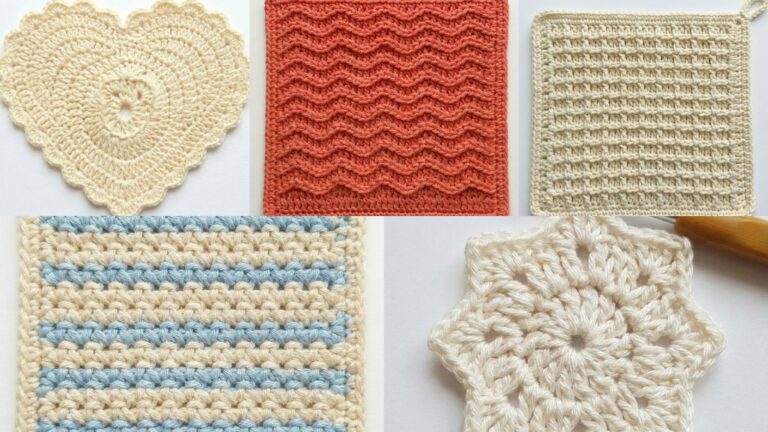
5. Crochet Scrap Yarn Dishcloth Pattern
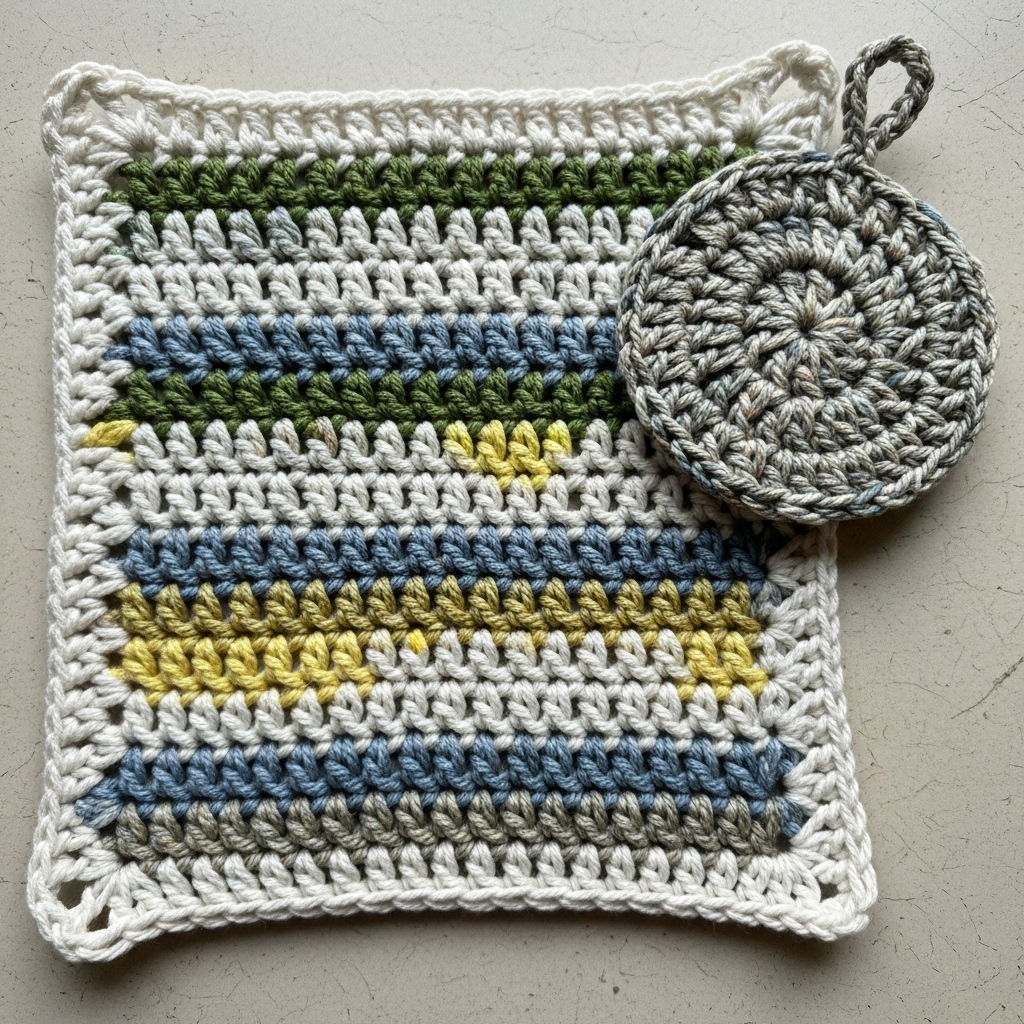
Finished size (approx): 8″ × 8″ square or 4–5″ scrubbie
Materials: Cotton scraps preferred (dishcloths need absorbency & heat), 4.0 mm hook for tight fabric.
Stitches used: ch, sc, hdc, moss (linen) stitch
Dishcloth (square) — step-by-step
- Foundation chain: Ch 33.
- Row 1: Sc in 2nd ch from hook and across. Ch 1, turn.
- Row 2 (moss stitch): Sl st into next st, sc into next st, ch 1, skip next st; repeat across; end sc in last st. Ch 1, turn.* This creates a dense, textured fabric good for scrubbing.
- Color changes: Change scrap every 6 rows or create a checkerboard by mixing small scraps within a row.
- Repeat Row 2 until square measures ~8″.
- Edge: Work sc around the edge with 3 sc in corners. Fasten off and weave in ends.
Scrubbie (round)
- Magic ring: 6 sc in ring. (6)
- Round 2: 2 sc in each st (12)
- Round 3: Sc in next st, 2 sc in next repeat (18)
- Round 4–6: Sc around for thickness (no increase). Optional: add a loop of ch10 for hanging. Use cotton for heat resistance.
Tips
- Compost cotton scraps responsibly if heavily soiled.
- Cotton makes the best dishcloth; acrylic can be used but is not as absorbent.
6. Crochet Scrap Yarn Beanie Pattern
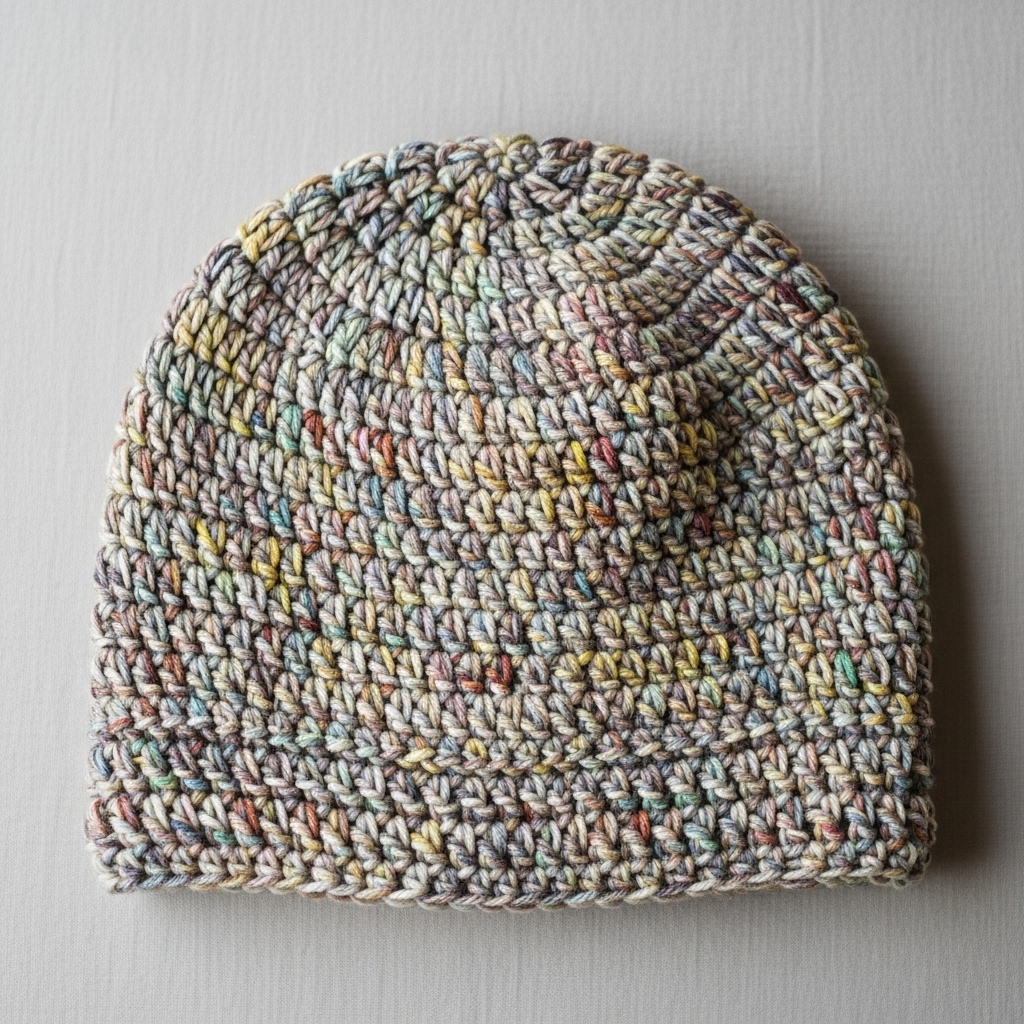
Finished size (approx): Adult medium 20–22″ head circumference (unstretched), slouchy style
Materials: Scraps (worsted-weight preferred), 5.5 mm hook, tapestry needle, stitch marker.
Stitches used: ch, sc, hdc, dc, sl st, inc (2 sts in same st)
Step-by-step (worked top-down)
- Crown (magic circle): Ch 2, work 8 hdc into 2nd ch from hook (or magic) and join. (8)
- Round 2: Ch 2, inc in each st around (16). Join.
- Round 3: Ch 2, (hdc in next st, inc in next) repeat around (24). Join.
- Round 4: Ch 2, (hdc in next 2, inc in next) continue — increase round evenly each round until crown circumference reaches about 6–7″ across (this dictates initial crown width) — typical increases continue adding 8 stitches each round if using hdc increases.
- Body: Once crown is wide enough, stop increasing and work even hdc (hdc in each st) in rounds until hat measures ~7–8″ from crown to brim for slouchy; shorter for beanie.
- Ribbed brim: Optional — switch to hdc in BLO for 2 rounds for a ribbed look, then fold edge and sl st or seam to inside to create a cuff. Or work sc rounds for a simple finish.
- Color changes: change scrap yarn every 2–6 rounds for bold stripes or at random.
- Finishing: Fasten off and weave in ends. Block lightly if needed.
Variations & tips
- For a snug beanie, use dc or sc for tighter fabric.
- Add a pompom from gathered scraps for fun.
- Use thicker yarn for winter hats by holding two scraps together.
7. Crochet Scrap Yarn Granny Square Tote Bag Pattern
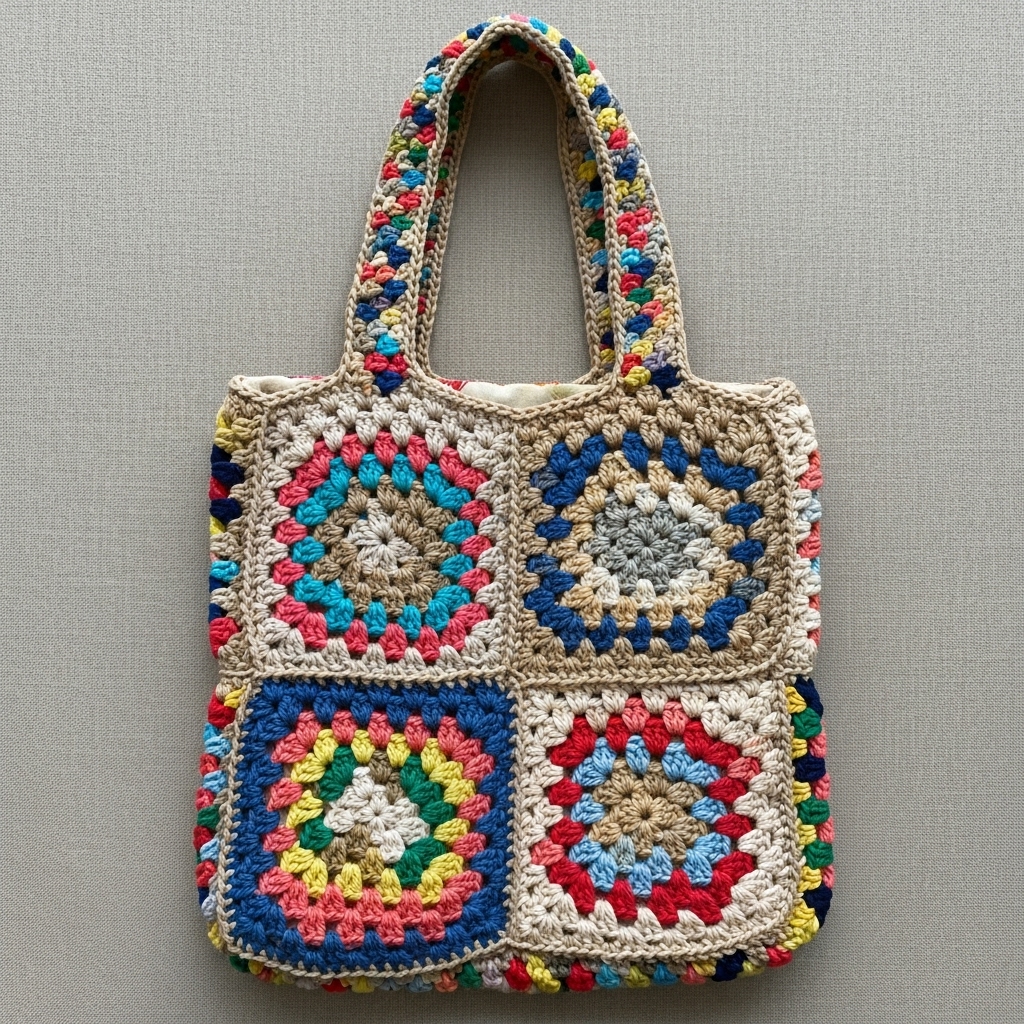
Finished size (approx): 12″ × 14″ body (without handles)
Materials: Scraps (DK–worsted), 5.0–6.0 mm hook, tapestry needle, lining fabric (optional), sewing needle & thread, handles or strap material.
Stitches used: ch, dc, sl st, sc, granny cluster
Step-by-step
- Make granny squares — classic or large 4-round granny squares. Make 8 squares (4 for front/back when joined in 2×2) to create the bag body — or 6 for a long tote (3×2). Aim for squares ~6″–7″.
- Arrange & join: lay out squares in desired layout; join with whipstitch, slip-stitch seam, or join-as-you-go. For sturdy tote, use sc join on RS so seam sits proudly and is reinforced.
- Add base (optional): crochet a rectangle in sc to match bottom width and sew to the square panels for a flat base.
- Handles: Crochet two straps: ch to desired length (e.g., 70 ch), turn and sc back each ch for strap thickness. Make two and attach to top edge with reinforced stitches (box stitch or multiple rounds of sc for strength). Alternatively sew leather/rope straps.
- Lining (optional): Cut fabric for inner bag, sew seams, slip into crochet bag and stitch top edge to secure. Lining prevents small items from poking through and stabilizes shape.
- Finish: Weave in ends, tidy blocked bag.
Variations & tips
- Make a drawstring closure by creating eyelet rounds near top and threading a crocheted cord.
- Use cotton scraps for a sturdy market tote.
- Embellish with crocheted flowers or tassels from scraps.
Weaving in ends & finishing tips (for all projects)
- Weave-in strategy: weave tails into the same-color stripe or into seam allowance. Use a sharp tapestry needle to follow stitch paths for secure ends.
- Knot-free joins: try Russian joins for aesthetics — especially helpful when you’re adding many scraps.
- Labeling: if making as gifts, attach a small tag with yarn content/care notes.
- Care: wash according to most delicate yarn in the project (handwash cool for mixed fibers). Cotton can take hotter water; wool needs cool water and flat drying.
Final Words
Scrap yarn projects are joyful, freeing, and deeply sustainable. These seven patterns — blanket, mini basket, scarf, pillow, dishcloth, beanie, and tote — let you mix colors, learn joins, and experiment with texture while using up odd balls. Start with the smaller projects (baskets and dishcloths) to practice joining and tension, then move on to larger makes like blankets and totes. Keep a small bag of trimmed tails and a tapestry needle nearby — once you get into the rhythm, scrap-making becomes a relaxing, creative habit.