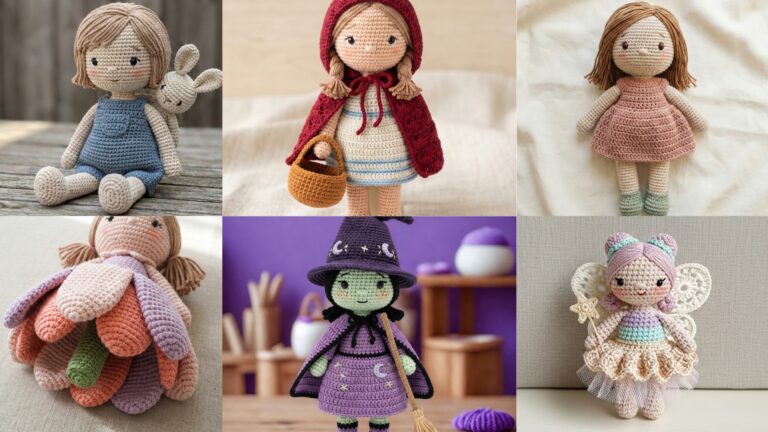
Granny squares are the ultimate modular crochet motif: versatile, fast, and endlessly customizable. From classic clusters to floral centers, spirals, and playful smiley faces, granny squares can be joined into blankets, bags, pillows, garments, or wall hangings. This article gives seven full granny-square patterns — Classic Granny, Daisy Granny, Sunshine Granny, Spiral Granny, African Flower Granny, Wagon Wheel Granny, and Smiley Granny — each with materials, skill level, clear round-by-round instructions, gauge, finishing and joining notes, variations, and care. Use them as single motifs or mix-and-match for vibrant projects.
Quick essentials (tools, yarn, abbreviations)
Tools & yarn
- Hook: 4.0 mm (G) is a good default for worsted-weight yarn; use whatever hook gets you the gauge you like. For sport/fingering use smaller hooks; for bulky yarn use larger hooks.
- Yarn: worsted-weight (category 4) cotton/acrylic blends are great for blankets and bags. For softer, drapier projects use a cotton–bamboo blend.
- Notions: tapestry needle, small scissors, stitch markers (optional), blocking mats & pins.
Abbreviations (US terms)
- MR = magic ring
- ch = chain
- sl st = slip stitch
- sc = single crochet
- hdc = half double crochet
- dc = double crochet
- tr = treble crochet
- st(s) = stitch(es)
- rep = repeat
- sk = skip
How to use these squares (planning & sizing)
A short worked example shows how to size a blanket from granny squares. First make a gauge square.
Gauge example: make one finished granny square and measure across after blocking. Suppose your finished granny square measures 4 inches. To make a 48-inch wide blanket you’ll need 48 ÷ 4 = 12 squares across. Do the arithmetic digit by digit:
- 48 divided by 4:
- 4 goes into 4 zero times (leading digit), into 48 → 4 × 12 = 48.
- 48 ÷ 4 = 12 squares across.
For a 60-inch long throw with 4-inch squares: 60 ÷ 4 = 15 squares down. So total squares = 12 × 15 = 180. Multiply digit by digit: 12 × 15 = (12 × 10) + (12 × 5) = 120 + 60 = 180.
If your square measures a different size, replace the 4 in the math above with your measured gauge in inches and repeat the calculations.
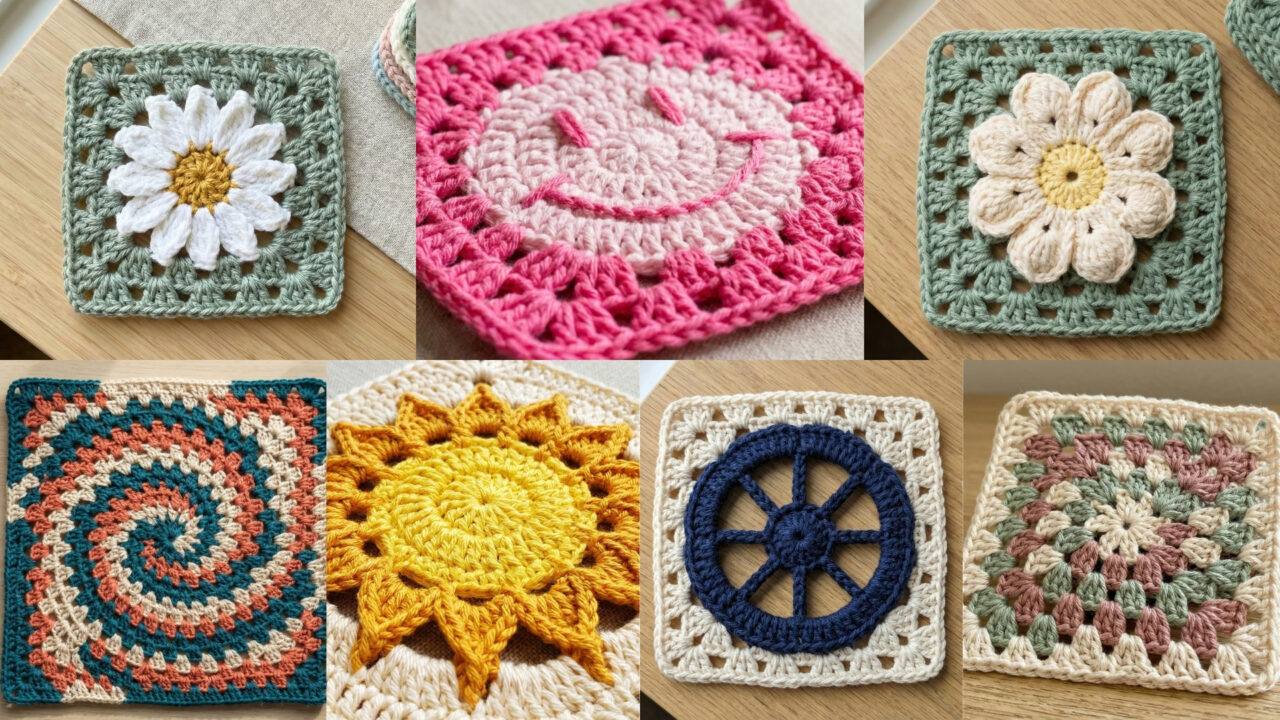
1. Crochet Classic Granny Square Pattern
Vibe: timeless cluster square made with corner chain spaces — perfect for blankets and pillows.
Skill level: beginner.
Finished size (example): ~4″ square (depends on yarn and hook).
Materials
- Worsted weight yarn, main color (MC) and optional contrasting rounds.
- 4.0 mm hook.
- Tapestry needle.
Pattern (classic clustered granny in joined-round style)
- Round 1: MR, ch 3 (counts as first dc), work 2 dc into ring, ch 2 (forms corner), 3 dc in ring, ch 2 rep twice more for a total of four 3-dc clusters separated by ch-2 corner spaces. Sl st to top of ch-3. (You will have 4 clusters; ch-2 corners.)
- Round 2: Sl st into next 2 dc to reach ch-2 corner space, sl st into corner space. (3 dc, ch 2, 3 dc) in same ch-2 space (this makes the corner). Ch 1, (3 dc, ch 2, 3 dc) in next ch-2 corner space — repeat around for 4 corners. Sl st to join. (Now there are 4 corner clusters with ch-1 side spaces between corners.)
- Round 3 and beyond: For each round, after joining yarn in any ch-2 corner, work (3 dc, ch 2, 3 dc) into that corner ch-2. Then ch 1, work (3 dc) into each ch-1 space along the side until you reach the next corner ch-2; then work (3 dc, ch 2, 3 dc) into that corner. Repeat for as many rounds as you want to grow the square. Finish off and weave in ends.
Finishing & tips
- Keep tension even — granny clusters should sit flat.
- Change color every round for a classic striped granny effect.
- Block to square the motif if needed.
Variations
- Use dc clusters of 4 dc instead of 3 for a larger, looser square.
- Work a final round of sc around the edge to stabilize squares before joining.
2. Crochet Daisy Granny Square Pattern
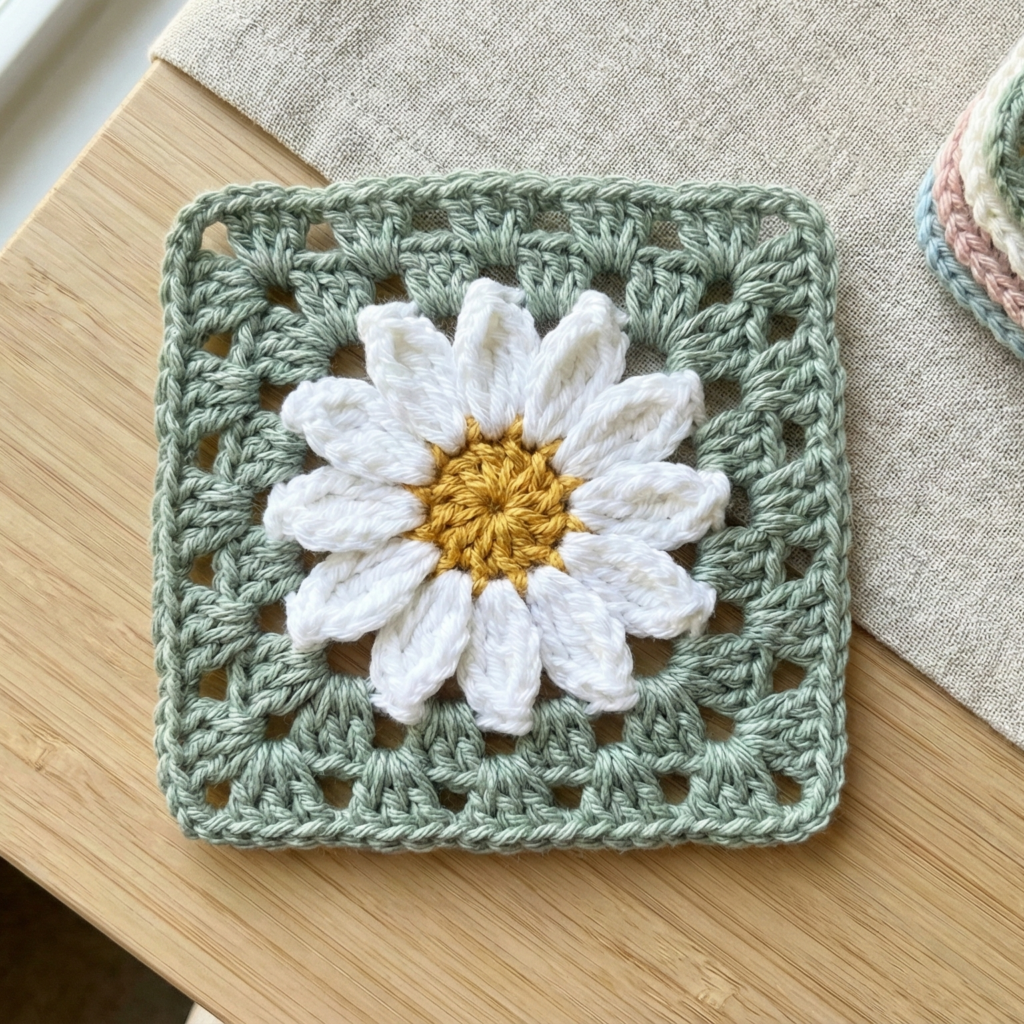
Vibe: a floral center with daisy petals blooming inside a square frame — great for feminine blankets or bags.
Skill level: intermediate (combines petals and granny joins).
Finished size: ~4–5″ depending on yarn.
Materials
- Two or three colors: center, petal color, and frame color.
- 3.5–4.0 mm hook for crisp petals.
Pattern (round-by-round)
- Center ring: MR, ch 1, work 8 sc in ring; sl st to first sc. (8 sc)
- Petal foundation: Ch 5, sl st into next sc — repeat around to make 8 chain loops. Sl st to join. You will have 8 ch-5 loops around the center.
- Petals: Into each ch-5 loop work: (sl st, sc, hdc, 3 dc, hdc, sc, sl st). This makes a full petal. Repeat in each loop around. Fasten off petal color; weave in ends.
- Frame round 1 (join color): Join frame color in any space between petals, ch 3 (counts as dc), ch 1, dc in same space, then ch 1, dc in gap between petals repeat to start forming a circular base for the square. Work until you have a round with evenly spaced stitches.
- Create corners: Convert the round of stitches into a square by creating four corner points: working rounds of clusters where each corner is (3 dc, ch 2, 3 dc) worked into one space; sides are filled with clusters of 3 dc separated by ch 1 or ch 2 depending on desired openness. Use the same method as the classic granny from Round 3 onward to form a square shape. Work 2–3 rounds of granny clusters to square off.
- Optionally finish with sc border to stabilize the square.
Tips & variations
- Petal size can be adjusted by changing chain length in step 2 (ch 4 for smaller petals).
- Work a small bead or French-knot-like embroidery into the center for extra detail.
3. Crochet Sunshine Granny Square Pattern
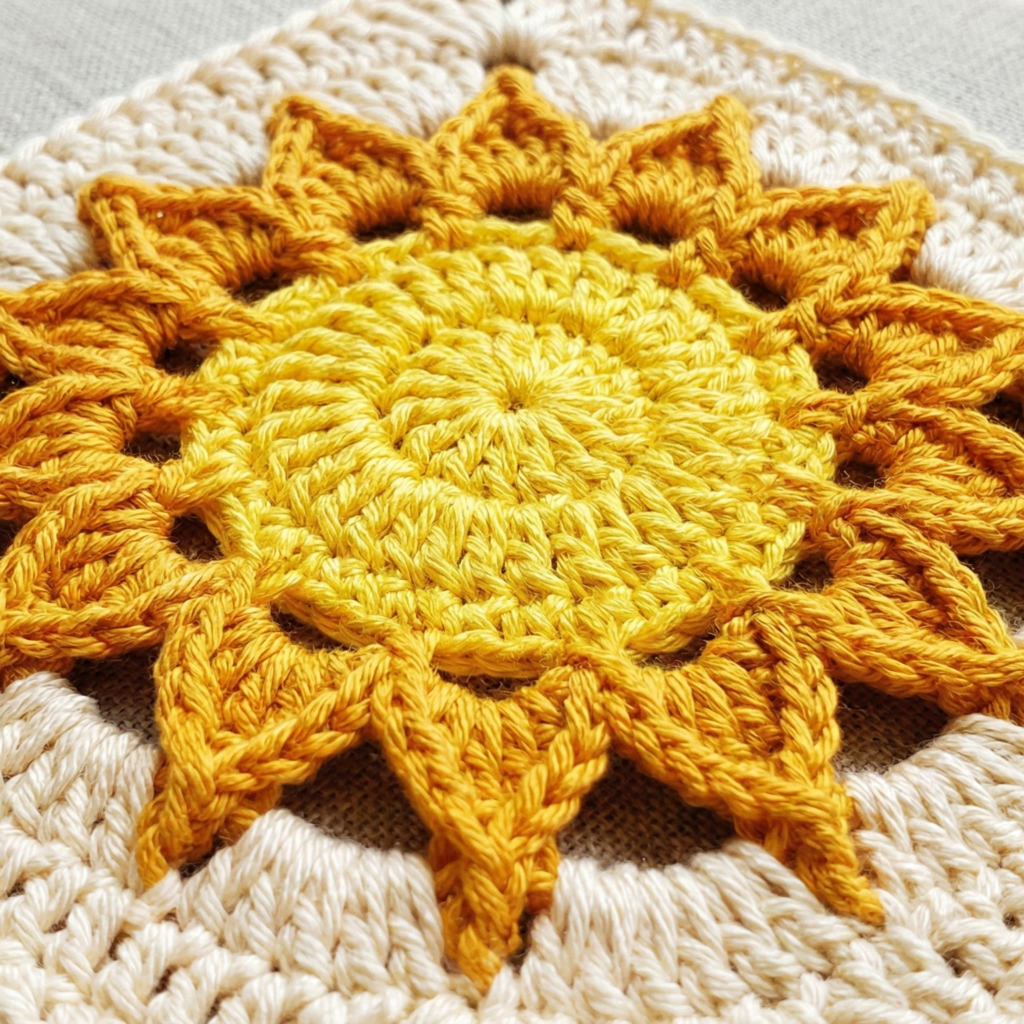
Vibe: radiant center with concentric rounds resembling sunbeams — bright, cheerful motifs for summer throws.
Skill level: confident beginner.
Finished size: ~4–5″ depending on yarn.
Materials
- Three colors: center (sun core), beams color, outer frame color.
- 4.0 mm hook.
Pattern (rounds)
- Center: MR, ch 3, 11 dc into MR (12 dc total). Sl st to join. Fasten off center color if desired.
- Sunbeams (round 2): Join beam color in any st, (ch 1, sc in next st, ch 3, sl st into next st) repeat around to create chain arches — this forms petal-like beams. Adjust spacing so you get 12 arches.
- Fill beams (round 3): Into each chain-3 arch work (sc, hdc, 3 dc, hdc, sc) to make a pointed beam. Sl st to join.
- Square frame rounds: Join frame color and work a round of sc between beam tips, creating evenly spaced side stitches. Then begin square-forming rounds similar to the classic granny: work (3 dc) clusters along sides separated by ch 1; in the four corner positions work (3 dc, ch 2, 3 dc). Continue for 2–4 rounds until square reaches desired size.
Variations
- Make tiny embroidered rays on the final border using backstitch in contrasting floss for a textured accent.
4. Crochet Spiral Granny Square Pattern
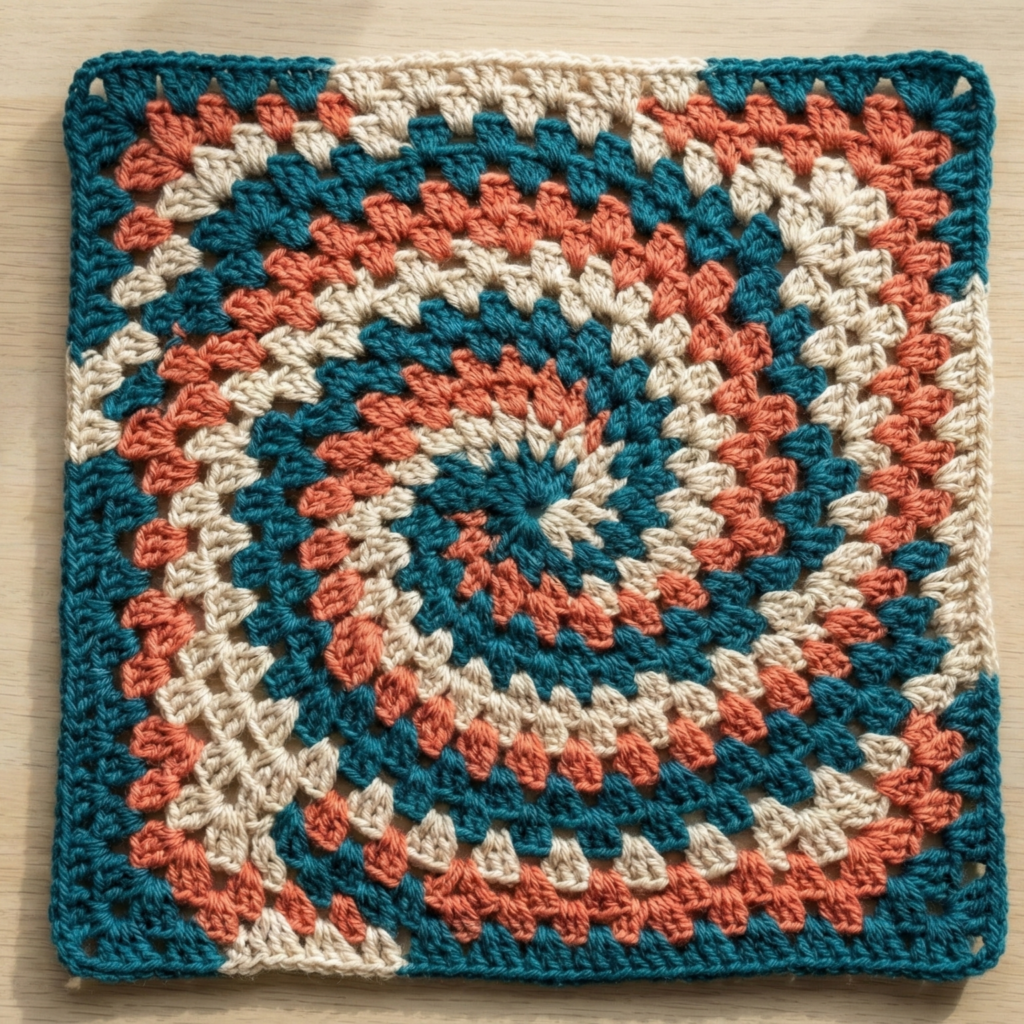
Vibe: hypnotic spiral that flows from center to corner — modern and graphic when worked in two or three colors.
Skill level: intermediate (continuous round increases and color control).
Finished size: variable depending on number of rounds.
Materials
- Two high-contrast colors recommended (Color A and Color B).
- 4.0 mm hook.
Pattern (continuous spiral approach)
- Foundation: MR, ch 3, 11 dc in ring, sl st to join (12 dc).
- Spiral technique: Instead of joining and starting new rounds in the usual way, work in a continuous spiral (do not sl st to join rounds). Alternate clusters so the spiral flows: for example, work 3 dc in each stitch for the first partial round, then begin offsetting clusters by inserting last dc of one cluster into the first stitch of the next cluster and so on.
A clearer method that yields a spiral effect while keeping structure:
- Round 1: as above (12 dc).
- Round 2: ch 3, (3 dc) in same st, skip next st, (3 dc) in next st repeat around but place clusters in alternating positions so the seam between rounds becomes a diagonal curve. Use Color A for Round 1 and Color B for Round 2.
- Round 3: change to Color A and work clusters positioned slightly offset from previous round so the visual line curves outward; keep working rounds, always offsetting where clusters sit relative to the previous round — this creates the spiral. Work a few rounds until you can begin to add corner increases.
- Turning spiral into a square: when you have enough diameter, begin working square-forming rounds: create corners by placing (3 dc, ch 2, 3 dc) at four points spaced evenly around the spiral ring. How to find spacing? Divide current round counts by 4 and place corners approximately every one-quarter of the round. From there continue classic granny rounds using cluster/side logic.
Tips
- Continuous spiral is easiest when you change colors by carrying yarn and pulling through when needed rather than fastening off.
- Use stitch markers to mark quarter points as the spiral grows and you plan corners.
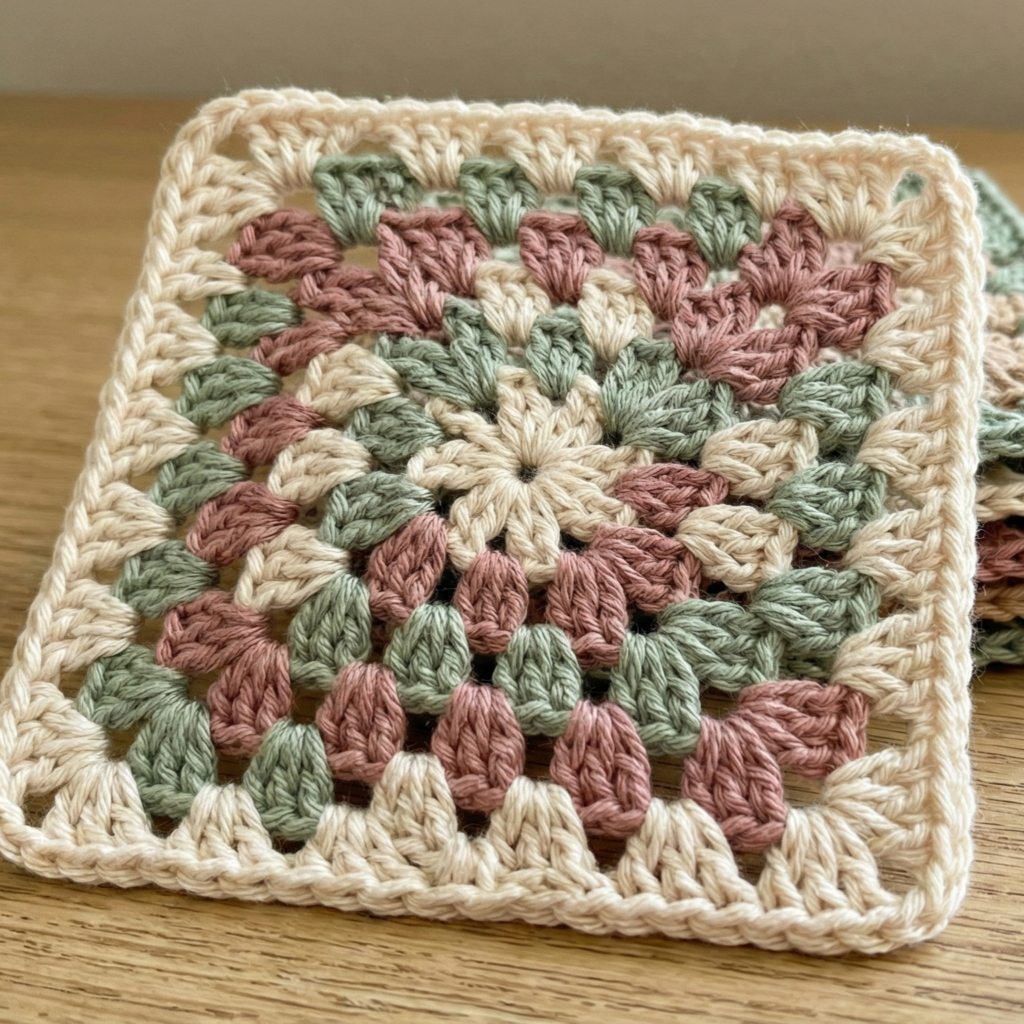
5. Crochet African Flower Granny Square Pattern
Vibe: classic African Flower motif uses a flower center formed of clusters joined into a square — iconic and richly textured.
Skill level: intermediate.
Finished size: commonly ~4–5″ for 1 round flower + 2 joining rounds.
Materials
- Two to three colors.
- 3.5–4.0 mm hook.
Pattern (one common African Flower construction — 8-petaled)
- Center petals (round 1): MR, ch 3 (counts as dc), work 11 dc into MR, sl st to join (12 dc).
- Petal loops (round 2): ch 5, sl st into next dc repeat around to create 12 chain loops; sl st to join. (You will have 12 loops.)
- Form petals: Into every alternate ch-5 loop (so you create 6 petals total), work: (sl st, sc, hdc, 3 dc, hdc, sc, sl st). Fasten off petal color.
- Square rounds (join color): Join background color in a space between petals and work a round of ch 2, sc in each gap to create an edging with small spaces. Then convert the round into a square by creating corners: find 4 equally spaced positions and work (3 dc, ch 2, 3 dc) in each corner space; fill sides with clusters as per granny pattern. Work 2–3 rounds to reach square size.
Variations & tips
- African flower can also be worked as a hexagon (6-sided) variant — check your layout if making a larger blanket.
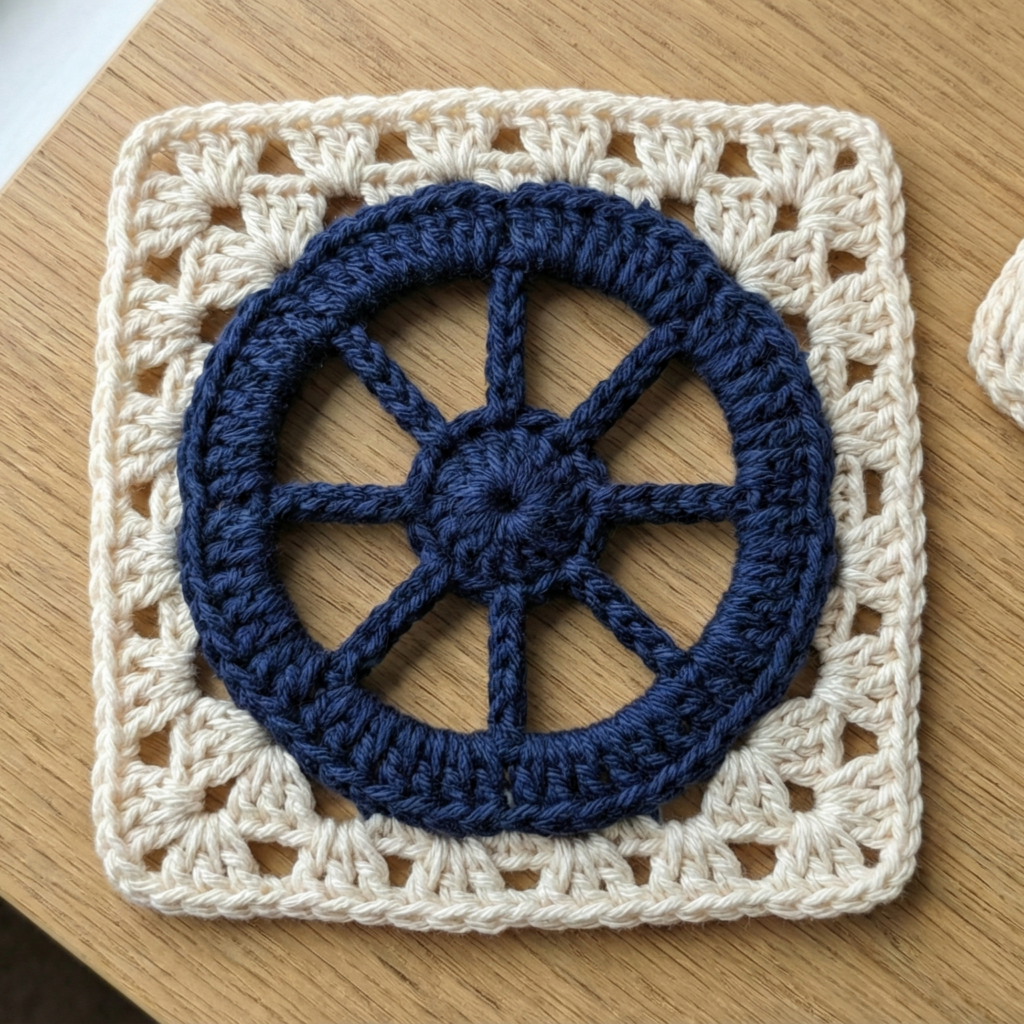
6. Crochet Wagon Wheel Granny Square Pattern
Vibe: bold circular center with spokes like a wagon wheel, framed into a square — graphic and dimensional.
Skill level: intermediate.
Finished size: ~4–6″ depending on yarn.
Materials
- Two colors: wheel color and background/frame color.
- 4.0 mm hook.
Pattern (rounds)
- Wheel hub: MR, ch 1, work 8 sc in MR; sl st to join. (8 sc)
- Spokes (round 2): Ch 4, sl st into next sc repeat around to create eight chain spokes. These chain loops form the spaces where spokes will be filled.
- Rim (round 3): Into each chain-4 loop work (sc, hdc, 3 dc, hdc, sc) to create a rounded spoke cap. This gives the wheel its rounded shape.
- Frame: Join a frame color and work one or two rounds of sc between spoke caps to create a base. Convert to square by working corners as (3 dc, ch 2, 3 dc) at four evenly spaced points and fill sides with clusters until you reach square size.
Variations
- Use contrasting colors for hub, spokes and rim for a folk-art look.
- Put an outer braided border for extra structure if you plan to use squares in a bag.
7. Crochet Smiley Granny Square Pattern
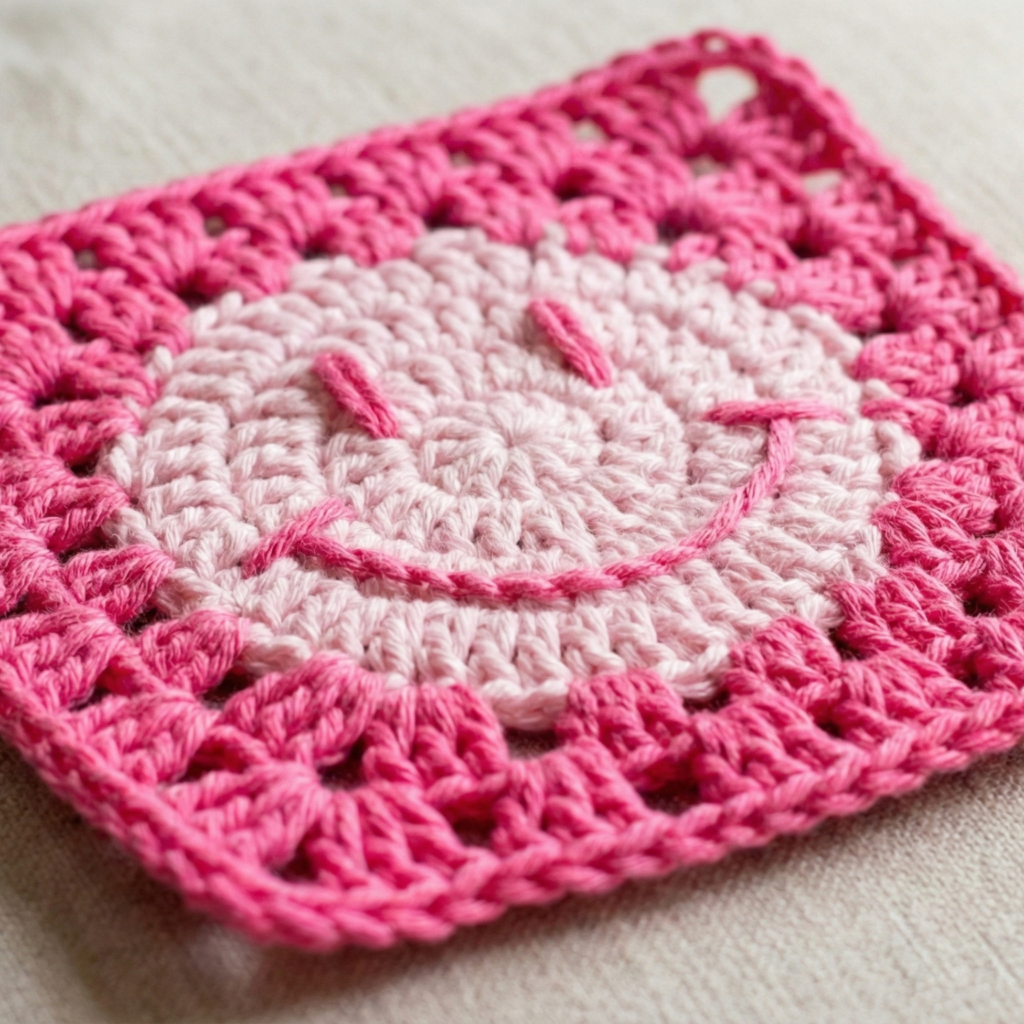
Vibe: playful smiley face square — perfect for quirky bags, kids’ blankets, or accent pillows.
Skill level: confident beginner → intermediate (simple embroidery for face).
Finished size: ~4–5″.
Materials
- Background color (face), contrast for eyes/mouth, small amount for cheeks.
- 4.0 mm hook.
- Tapestry needle and embroidery thread or thin yarn for facial details.
Pattern (body)
- Classic granny base: Work a classic granny square in your face color for 3–4 rounds to reach desired face field size. Block flat.
- Embroider the face: On the finished square, embroider two oval eyes using satin stitch or small French knots for pupils. For the mouth, use chain stitch or surface slip-stitch to create a gentle smiling curve. Add small embroidered circles for rosy cheeks using a lighter color if desired. Secure embroidery threads on the wrong side and weave in ends.
Tips
- Place embroidery before joining squares to make finishing easier.
- If creating a blanket for a child, use embroidered eyes instead of safety eyes for complete washability and safety.
Joining Granny Squares & Edging
Joining methods
- Whipstitch / Mattress stitch: creates neat, flat joins — ideal for blankets. Place squares RS together and seam through back loops for a tidy finish.
- Join-as-you-go (JAYG): seam squares while you work the last round — fast and neat for large projects.
- Slip-stitch join: creates a slightly raised ridge and is quick to do with RS facing you.
Seaming math (example)
- If you plan 12 squares across and 15 down (from earlier sizing example): total squares = 12 × 15 = 180.
- Multiply digit by digit: 12 × 15 = (10 + 2) × 15 = 150 + 30 = 180. Keep this number in mind when organizing colors and planning yardage.
Border ideas
- Round of sc to tidy edges, then 2–3 rounds of shell or picot for decoration.
- Ribbed border: work hdc BLO rounds to create a fluted edge that lies flat.
Blocking, care and finishing notes
Blocking
- Block each square if you want perfect alignment. Pin squares to exact dimensions on blocking mats, spray lightly and let dry. Blocking evens stitch tension and helps join squares neatly.
Weaving ends
- Weave ends into final square underside with tapestry needle. For blankets with many color changes, use a color management chart and weave ends as you go to avoid a pile of tails.
Care
- Choose washable yarn for blankets that see use. Most acrylic and cotton blends can be machine-washed on cold and dried low or air-dried. Always follow the yarn label.
Color planning & design tips (brief)
- Monochrome with accents: use one main color and add 1–2 bright rounds in each square for pops.
- Rainbow blanket: arrange squares by color families and create a gradient across the throw.
- Scrappy patch: use leftover yarn scraps for highly textured, fun blankets — no need to match gauges exactly, block squares to even size.
conclusion
Granny squares are endlessly adaptable: classic clusters, floral centers, radiating sunbursts, spirals, iconic African flowers, wagon-wheel spokes, and smiley faces all make compelling building blocks for blankets, bags, cushions and more. Use the patterns above individually or combine them for a mixed-motif project — plan with a swatch and square-count math, block for neat assembly, and pick a joining method and border that suit your final use.