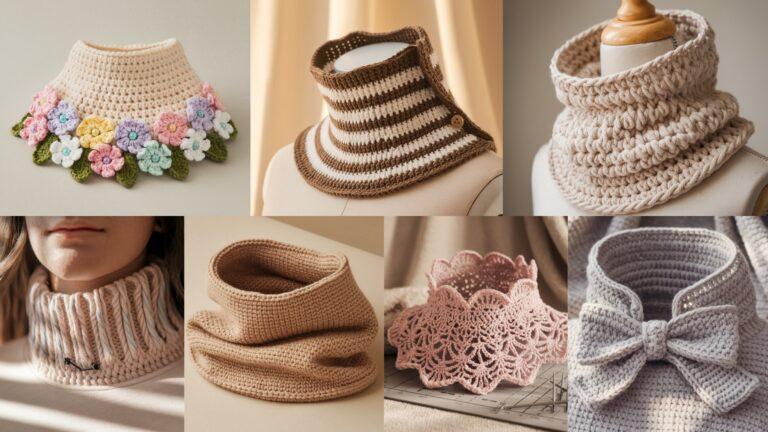
Pets deserve to look cute — and a handmade crochet collar is a delightful way to add personality to walks, photos, or special occasions. Below you’ll find a friendly, practical introduction (sizing, safety, materials, hardware) and seven full collar patterns with materials, skill level, exact step-by-step instructions, sizing math examples, finishing tips, and safety notes: Big Bow Lacy Dog Collar, Strawberry Floral Pet Collar, Watermelon Inspired Pet Collar, Victorian Ruffles Pet Collar, Real Coquette Pet Collar, Pastel Detachable Lacy Pet Collar, and Flower Pet Collar. Each pattern is written so you can make a safe, wearable collar for cats or dogs and adapt it to multiple sizes.
Quick Intro — what to measure, safety first, materials & hardware, gauge & basics
Measure the pet (do this first)
- Neck circumference — measure where the collar will sit (use a flexible tape). Add 1–2 inches (2.5–5 cm) for a comfortable fit for dogs; for cats allow looser fit if using breakaway hardware.
- Width preference — narrow (⅜–½″) for cats/small dogs; medium (¾–1″) for most dogs; wide (1–1½″) for large breeds or statement collars.
- Weight & temperament — small nervous dogs and most cats should have lightweight collars and breakaway safety features.
Safety rules (non-negotiable)
- Always use a breakaway buckle or quick-release hardware for cats and some small dogs that might get snagged. Breakaway buckles prevent strangulation.
- For large or strong dogs, use durable hardware (metal D-ring, sturdy buckle) — crocheted fabric alone is not adequate for holding a pulling force; stitch the crochet to a sturdy backing or integrate webbing.
- Avoid small glued beads or parts that could be chewed off and swallowed — sew on beads securely or use embroidery instead.
- Don’t leave a decorative collar unsupervised on pets if it has dangling bits that could be chewed.
- If you make a decorative detachable piece (bow, flowers), make it removable so the pet can wear a plain safe collar for daily wear.
Materials & tools
- Yarn: Choose cotton, cotton-blend, or soft nylon for comfortable collars. Use sport/DK for narrow collars, worsted for wider. Avoid fluffy yarns that mat with pet fur.
- Hook: match yarn (3.0–5.5 mm typical). Use a smaller hook for firm fabric.
- Hardware: breakaway buckles (cats), plastic/metal side-release buckles, metal D-ring for leash clip, adjustable slider if needed. For decorative collars you can sew crochet to a sewn nylon webbing strip and attach hardware to the webbing.
- Notions: tapestry needle, scissors, stitch markers, optional interfacing/fabric backing, strong upholstery thread for attaching hardware, small amount of felt for applique backing.
Gauge and sizing (practical)
Make a small sample swatch in the stitch you plan to use and measure stitches per inch (spi). Compute foundation stitches like this:
Example: target neck circumference = 12 in, spi = 4 sc = 1 in → 4 × 12 = 48 stitches around. If your pattern stitch needs a multiple (e.g., multiple of 3), round to nearest allowed multiple — then adjust by adding a few rows of tighter or looser stitches to fine-tune fit.
Construction approaches
- Crochet flat panel folded & lined — good for adding backing and securing hardware.
- Worked in the round — seamless, good for simple slip-over collars.
- Crochet over webbing — most durable: attach crochet as a decorative overlay to nylon webbing; fit hardware to webbing. Recommended for dog collars that will see real leash use.
1. Crochet Big Bow Lacy Dog Collar Pattern

Playful lacy collar with a removable oversized bow — perfect for photo ops and special walks.
Skill level: confident beginner → intermediate
Sizes: dog neck 10–20 in adjustable (pattern gives instructions to size down/up)
Materials (sample medium, 12–16 in finished)
- Sport/DK cotton yarn — ~50–70 yd.
- Hook: 3.5–4.5 mm.
- 1″ width nylon webbing (if making leash-ready) + side-release buckle & D-ring OR breakaway buckle for cat use.
- Tapestry needle, small snap or button & loop to attach bow removable.
Construction overview
Make a crocheted overlay band sized to fit the pet, either as a fully crocheted collar (light duty) or crocheted over webbing (recommended for dogs). Make a large bow that attaches by snaps or a small loop so it’s removable.
Step-by-step
A — Decide construction: overlay on webbing (recommended)
- Cut webbing to desired finished collar length: measure pet neck + 1.5–2 in for overlap for buckle and slider. Example for 14 in neck → webbing length ≈ 16 in (allowing ends for hardware). Mount buckle and D-ring to webbing using hardware instructions; set slider for adjustability.
B — Crochet overlay band
2. Calculate stitches: make a small sc swatch over 1 in; suppose 4 sc = 1 in and your webbing width is 1 in; decide to make overlay width 1 in: so you need foundation chain = 4 × collar length. Example collar length 16 in → 4 × 16 = 64 ch. But you’ll work across webbing lengthwise: instead of chaining that long, you’ll crochet a band the same length as the webbing — see method below.
- Method: make a long strip by chaining the correct number of stitches for the webbing length (or make shorter and seam). Row 1: sc across for a dense band; work 4–6 rows for a 1 in tall band (or 2–3 rows if you want thinner). Slip the band over the webbing and sew through with strong thread at regular intervals to secure overlay.
C — Lacy edge (optional)
4. Work one round of lacy scallops on top edge by picking up stitches along band: sc, skip 1, 5 dc in next st, sl st repeat to make decorative scallops. Keep edges flat.
D — Big bow (detachable)
5. Bow body: ch 30 (adjust for desired fullness). Row 1: sc in 2nd ch and across; repeat 3–4 rows to make a rectangular strip. Pinch center and wrap a narrow band (make ch10, sc rounds to make a knot). Sew knot around center to form a bow. Sew a small snap (one half onto the bow back, the other half onto the overlay band) so you can snap the bow on/off. Or make a fabric loop on the bow that slides over collar.
E — Finish & safety
6. Emphasize secure sewing of overlay to webbing at buckle area — avoid loose attachments there. Do not leave bow on unsupervised; remove bow for active play.
Variations
- Make a smaller bow for daily wear; large bow for special photos. Use contrast color for the knot.
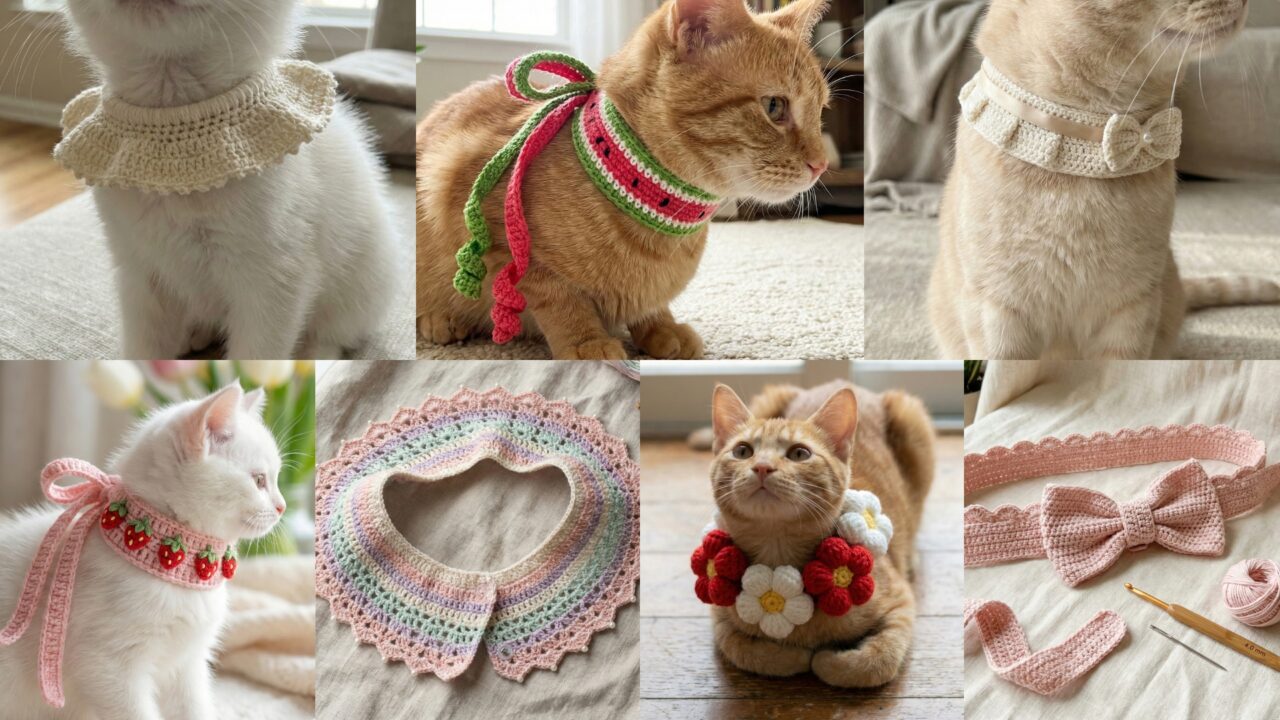
2. Crochet Cute Strawberry Floral Pet Collar Pattern
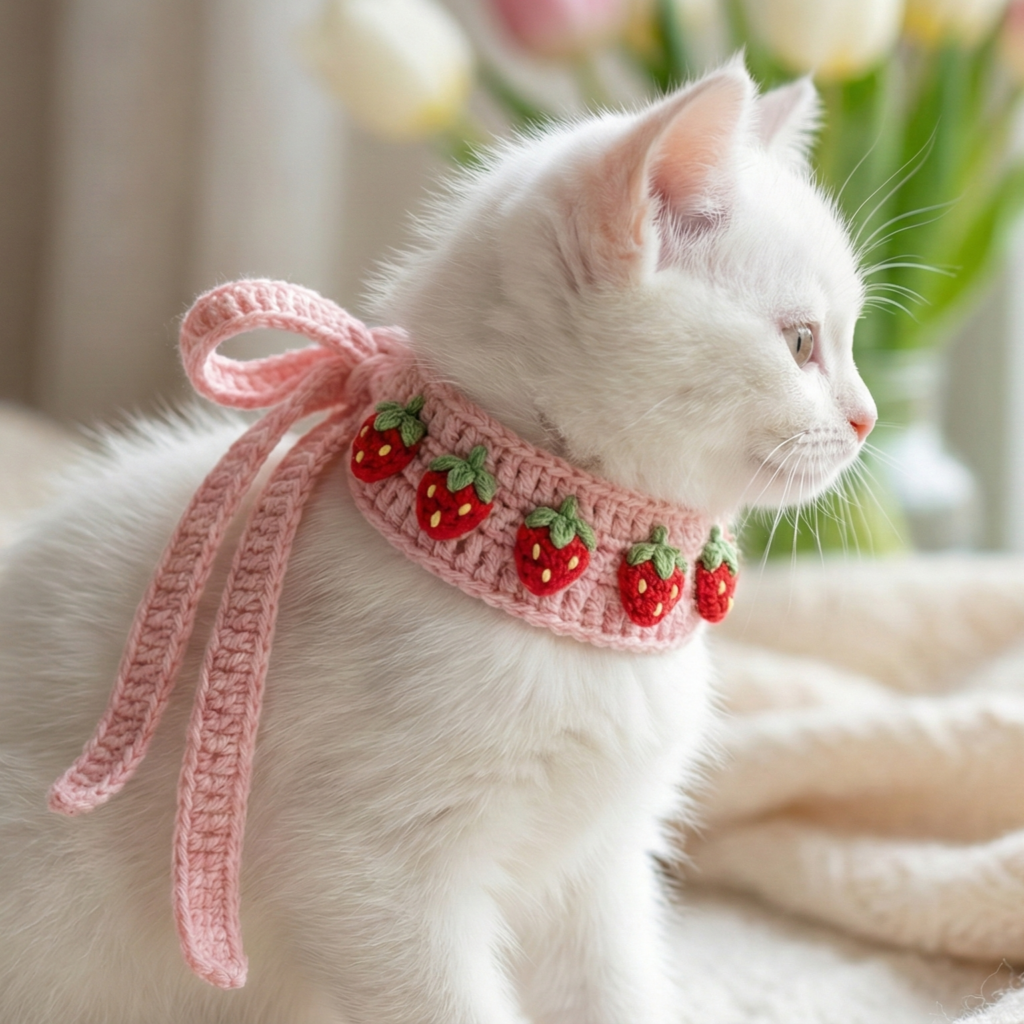
Sweet strawberry appliqués along a narrow collar — ideal for small dogs and cats (use breakaway hardware for cats).
Skill level: intermediate (appliqués + small sewing)
Materials (small collar 10–12 in)
- DK cotton in red, green, yellow (for seeds).
- Hook: 3.25–4.0 mm.
- 1/2″ or 3/4″ webbing + breakaway buckle for cats or side-release for dogs, small D-ring, or make full crochet collar for light use.
- Felt backing for appliqués, tapestry needle.
Construction overview
Make a narrow crocheted band/overlay, small strawberry appliqués, tiny embroidered seeds, and attach them securely.
Step-by-step
A — Narrow band
- Target width ¾″. Swatch: 4 sc = 1 in. For collar length 12 in → 4 × 12 = 48 ch. Chain 48 + 1, row 1: sc across (48 sc). Row 2–4: sc in BLO for a slight rib. Fold in half lengthwise and seam to form a rounded band OR sew to webbing.
B — Strawberry appliqué (make 5–7)
- MR, ch1, 6 sc in ring (6). R2: inc around → 12 sc. R3: sc 1, inc around → 18 sc (teardrop shape — decrease in last rounds to shape). Fasten off leaving tail. Embroider tiny yellow French knots or sew tiny seed beads (securely) as seeds. Make small green calyx: ch6, sc back to make leaf and attach.
C — Attach appliqués
2. Arrange strawberries evenly across the band, sew each down using the working tail and through felt backing to protect band stitches. Sew through webbing where possible, not just stitches, for strength.
D — Finish
3. Add slider & breakaway buckle for cat safety. For dogs, metal D-ring to clip leash; ensure hardware is attached to webbing, not just crochet.
Safety note: for kittens/small dogs use small lightweight appliqués and consider placing them only on one side so nothing dangles.
3. Crochet Watermelon Inspired Pet Collar Pattern
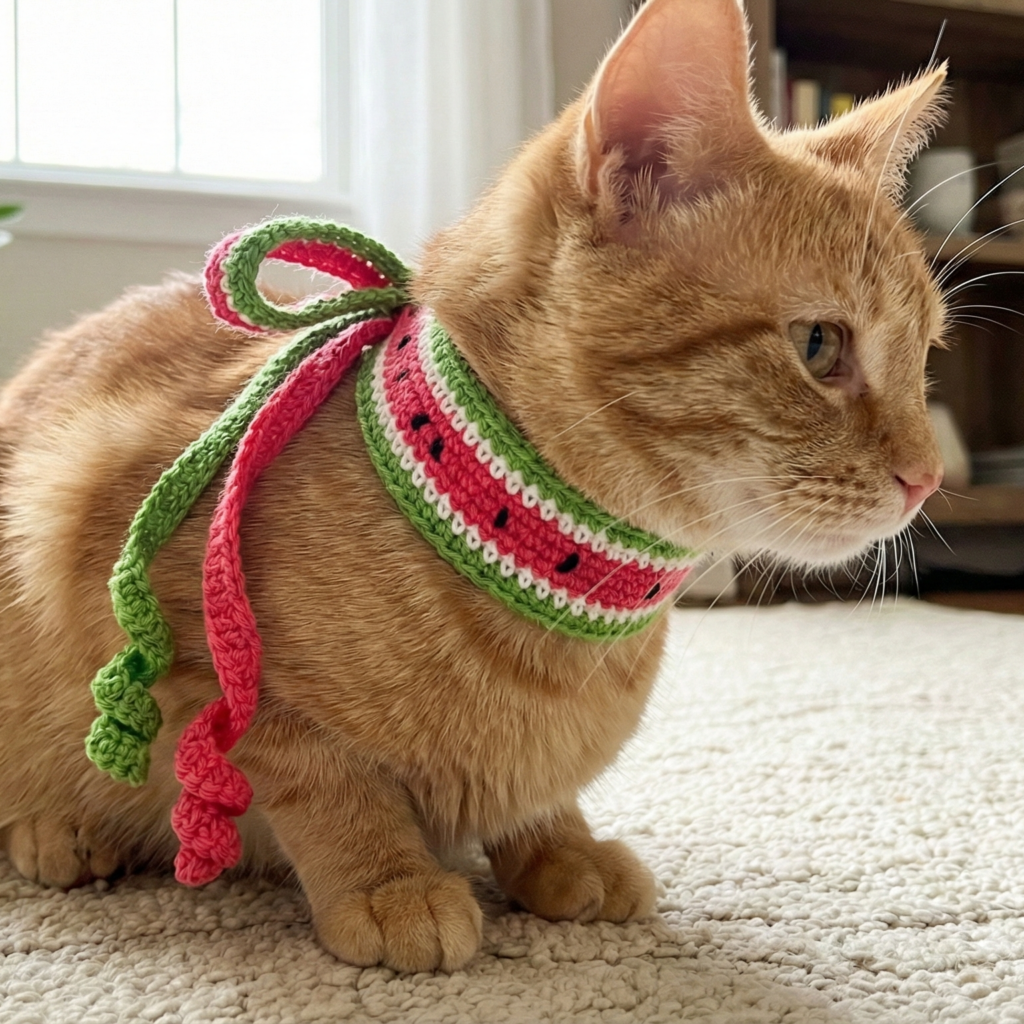
Bright, summery collar with watermelon stripe base and tiny seed embroidery — cheerful and easy to adapt.
Skill level: confident beginner
Materials
- DK cotton in pink/red, green, white, and small black thread for seeds.
- Hook: 3.5–4.0 mm.
- ¾″ webbing + hardware or full crochet overlay.
Construction overview
Striped band made of color changes to look like watermelon, plus tiny embroidered seeds. Optional small felt leaf accent.
Step-by-step
A — Build base band
- Make band as described in previous patterns. Work rounds in the round if you want a seamless tube: foundation chain = webbing length or calculated stitches (spi × collar length). Work sc rounds: start with green for outer rind (2–3 rounds), then white thin stripe (1 round), then pink/red for flesh (4–6 rounds).
B — Seeds
2. After completing band, embroider small short vertical satin stitches in black across the pink area to mimic seeds. Use two to three tiny stitches per seed and secure thread ends inside the lining.
C — Leaf accent
3. Optional small leaf appliqué made in green (ch8, sc back to create leaf point) and sewn near buckle or off to side (secure).
Finish & care
Machine wash gentle for cotton; re-check embroidered seeds occasionally.
4. Crochet Victorian Ruffles Pet Collar Pattern

Delicate layered ruffles for a vintage, dramatic look — beautiful as a detachable decorative collar for parties or photos.
Skill level: intermediate → advanced (ruffle shaping + layering)
Materials
- Sport or DK cotton (fine) or mercerized thread for small collars.
- Hook: 3.0–3.75 mm.
- Breakaway buckle for cats or make detachable slip-on ruffles that slide over a plain safety collar.
Construction overview
Work a snug inner band (fitted to pet neck) and then attach 1–3 tiers of ruffles worked in shell/stitch rounds. Make the ruffle detachable by making it a tube that slides over the plain collar, or attach with snaps.
Step-by-step
A — Inner band (safety first)
- For cats, use a plain breakaway collar for daily wear. For a decorative collar, make the inner band just large enough to slide over the breakaway collar (measure breakaway collar circumference). Make a tube: ch to length equal to breakaway collar; join and work sc rounds to create a sleeve.
B — Ruffle tiers
2. Tier 1 (closest to band): join yarn, R1: sc 2, ch2 repeat around (creates small arches). R2: in each arch work (sc, hdc, 5 dc, hdc, sc) to create small scalloped ruffles. Work one tier.
3. Tier 2: join below Tier 1 and repeat but increase the shell size (e.g., 7 dc for larger ruffle). For drama, add a third tier larger still.
C — Make detachable or sewn
4. To be safe, make ruffle as a separate tube that slides over the pet’s plain collar: with the collar in place on the pet, slide the ruffle sleeve over and position it. For photos, place ruffle on and remove for play. Do not leave heavy ruffles on a pet unsupervised.
D — Finish
5. Add tiny pearls or crochet picots to shell peaks for authentic Victorian vibe (sew beads on securely and avoid on small animals).
Safety
- Make detachable and remove when pet is unattended. Do not sew delicate ruffles onto the daily collar because they could be snag hazards.
5. Crochet Real Coquette Pet Collar Pattern
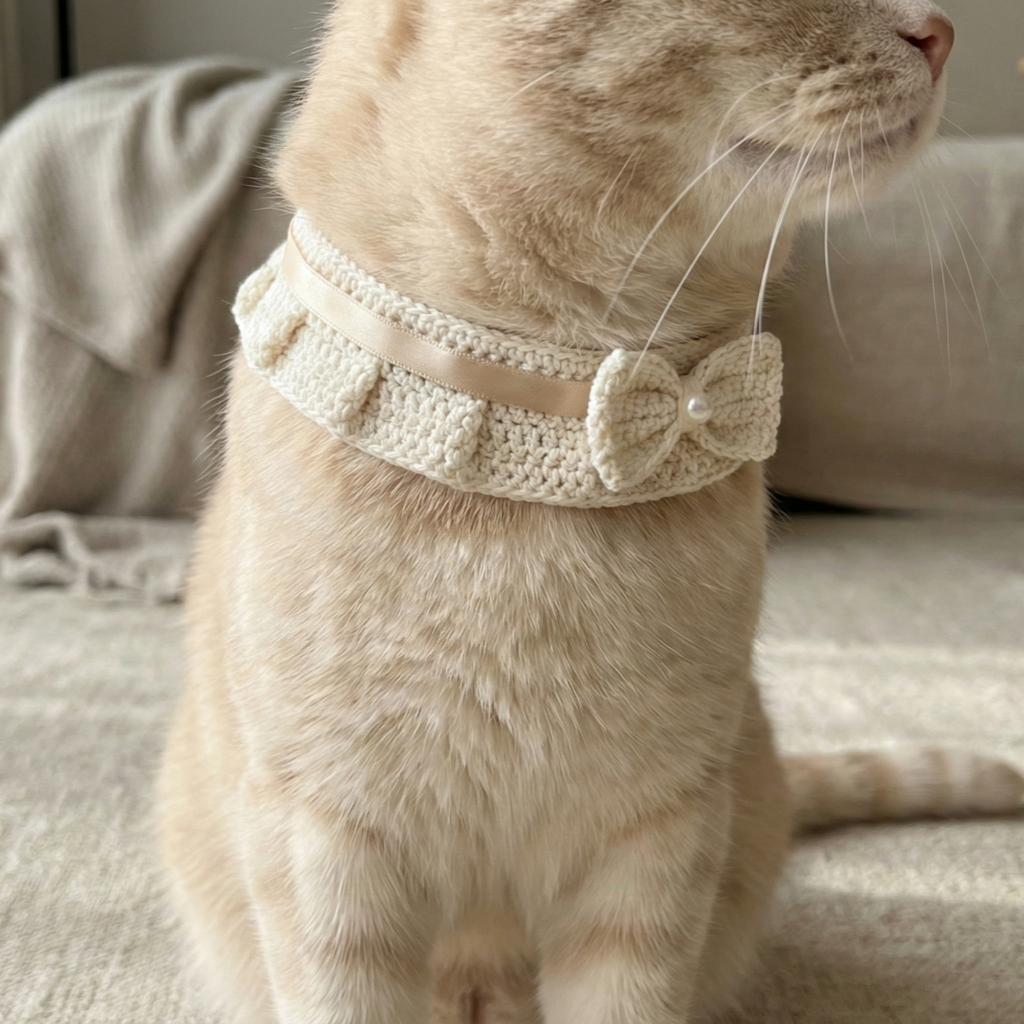
A chic, polished collar inspired by coquette aesthetic: small pleats, ribbon detail, and a removable bow. Great for cats and small dogs when made with a breakaway buckle.
Skill level: intermediate
Materials
- Fine DK or sport cotton; narrow satin ribbon for trim; small snap to attach bow.
- Hook: 3.25–4.0 mm.
- Breakaway buckle for cats or small side-release buckle for tiny dogs.
Construction overview
Make slim collar band, add small stitched pleats (worked as tiny folded crochet panels) and top-stitched ribbon. Bow is made separately and snaps on/off.
Step-by-step
A — Slim band
- Chain to the desired length for the collar (neck + adjust). Work 4–6 rounds of sc in the round to create a flexible band.
B — Pleats (decorative)
2. Make small pleat panels: pick up 6–8 stitches, work 4 tiny rows (sc rows) creating a short rectangle; fold and tack down to create a pleat; space pleats evenly along band. Sew pleats with hidden stitches for clean look.
C — Ribbon trim
3. Use a narrow satin ribbon and hand-stitch along the top edge of collar to cover seamlines; secure ribbon ends into interior of collar. Do not use glue.
D — Detachable bow
4. Make a small bow (ch 16, sc rows, wrap narrow band) and sew a small snap to the back of the bow and corresponding snap to the collar band so bow is removable.
E — Finish
5. Test collar adjustability and ensure ribbon and pleats are secured. Remove bow for rough play or unsupervised wear.
6. Crochet Pastel Detachable Lacy Pet Collar Pattern
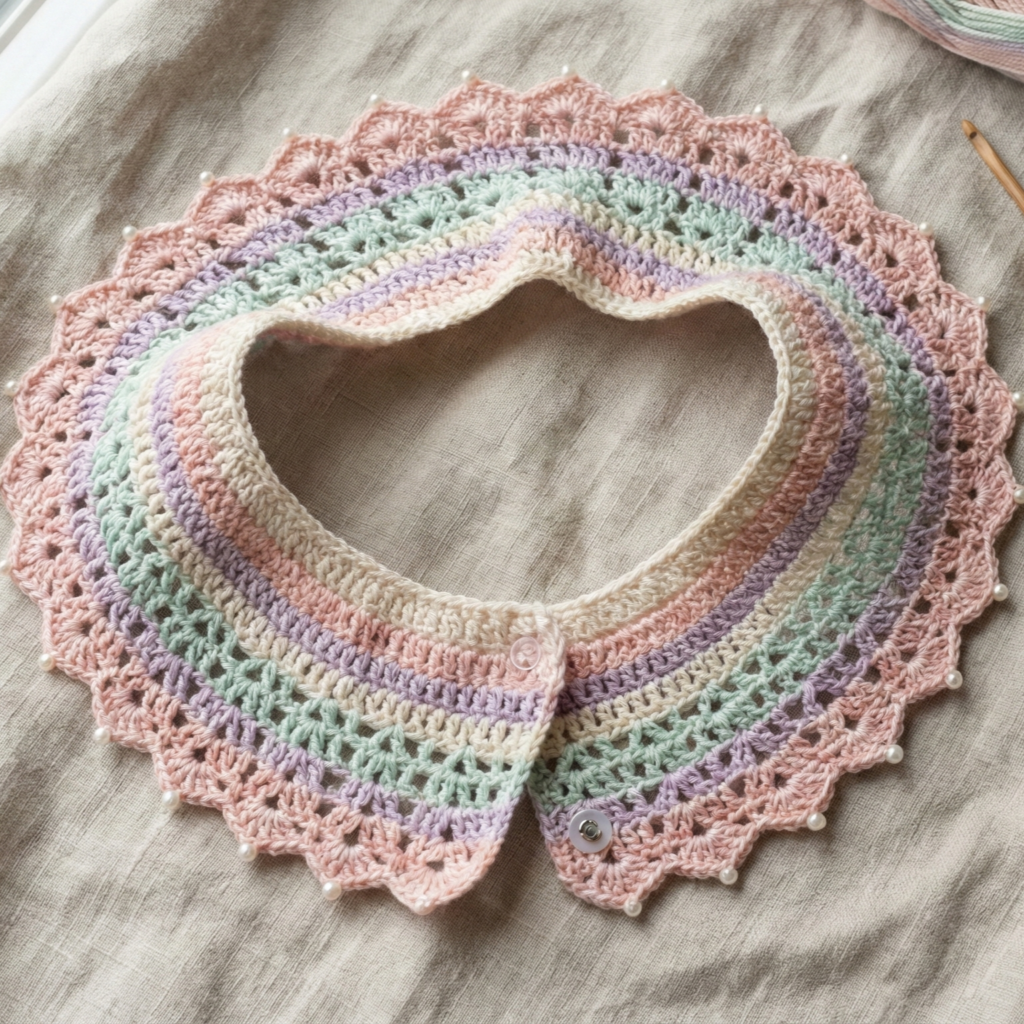
A soft pastel lace collar made as a detachable accessory — ideal for layering over the pet’s everyday safety collar and for photos.
Skill level: intermediate
Materials
- Fingering / sport weight cotton in pastel shades; tiny pearls optional.
- Hook: 2.5–3.5 mm.
- Plain safety collar to wear under detachable lace; small snaps or loop closures for detachable function.
Construction overview
Work a lacy band in the round sized to slide over the pet’s existing collar; add scalloped outer edge for prettiness. Make it a sleeve so it slides on/off easily.
Step-by-step
A — Measure collar & make sleeve
- Measure the outside circumference of the pet’s safety collar (with slider at mid-position). Add 0.25–0.5 in for wiggle room. Work a tube: foundation chain to match circumference (spi × length), join and work lace rounds until sleeve height covers the collar (about 1–2 in). The sleeve should slide snugly but not tight.
B — Lacy round example (multiple of 6)
2. Round pattern: ch3, skip 2, (5 dc in next) shell, sk 2, sc in next — repeat and stack for 3–4 rows, then finish with small picots.
C — Scallop picot edge
3. Final round: work sc, 5 dc shell, picot around for delicate edge. Optionally sew tiny faux pearls on scallop peaks for glam (securely sew and avoid small beads on cats).
D — Attach features
4. If you want the lace to be removable from the base collar rather than a sleeve, stitch small loops or snaps at both ends so it can open and close around the existing collar.
Safety note
Always remove any detachable decorative collar when leaving the pet unsupervised or during play.
7. Crochet Flower Pet Collar Pattern

A classic collar with repeated floral motifs integrated or pieced onto the band — versatile and fully customizable.
Skill level: intermediate (joins + applique)
Materials
- DK cotton in base color + flower accent colors — ~80 yd.
- Hook: 3.5–4.0 mm.
- Hardware as appropriate (breakaway for cats).
- Felt small circles to back flowers for durability.
Construction overview
Make base band as earlier; create several small 3-round flowers and attach them evenly around the band. Optionally make one centered focal flower and smaller side buds.
Step-by-step
A — Base band
- Make a band to fit collar length: chain foundation = spi × collar length; work sc rounds 4–6 for stability; attach to webbing or use as full crocheted collar for light duty.
B — Small flower motif (make 6–8)
2. MR, ch2, 10 dc in ring. Join. R2: ch3, sl st to next dc around to make loops. R3: (sc, hdc, 3 dc, hdc, sc) in each loop for petals. Fasten off.
C — Backing & attachment
3. Glue/sew a small felt circle to the flower back then sew through felt into the collar for strong attachment. Sew each flower in place along band using many passes.
D — Finishing touches
4. Add tiny bead or pearl to center (sewn). Make sure beads are sewn and not glued alone.
E — Variations
- Group flowers: cluster three close together on one side for an asymmetric look.
- Make embroidered vines between flowers for a more elaborate design.
Final finishing, care, and testing
- Hardware attachment: always attach the D-ring and buckle to the webbing rather than relying solely on crochet stitches if the collar will be used to attach a leash. Sew crochet to webbing for style, but hardware must bear load on webbing.
- Backing & strength: for decorative collars that will never be used for leash control, a nicely sewn felt backing and multiple attachment passes are fine. For safety, use nylon webbing for dog collars intended to be used on walks.
- Testing: before first wear, test fit and strength. Tug gently on D-ring after assembly and ensure no stitches slip. For cat collars, verify breakaway action works reliably.
- Care: cotton collars can be machine-washed gentle and air-dried; remove decorative bows/attachments before washing. Check hardware and sewn beads after washing.
- Sizing check: always measure pets again after assembly and allow owners to try collars on pets gently — collars should allow two fingers’ space under the collar for comfort.
conclusion
You now have seven fully detailed, safe, and stylish pet collar patterns to make for dogs and cats: from the statement Big Bow Lacy Dog Collar to sweet seasonal pieces like the Strawberry and Watermelon collars, from delicate Victorian Ruffles and Pastel Detachable Lace to tailored Real Coquette and classic Flower collars. Each pattern includes sizing math, safety notes, and options for webbing/hardware so your final collars look polished and — most importantly — keep pets safe.