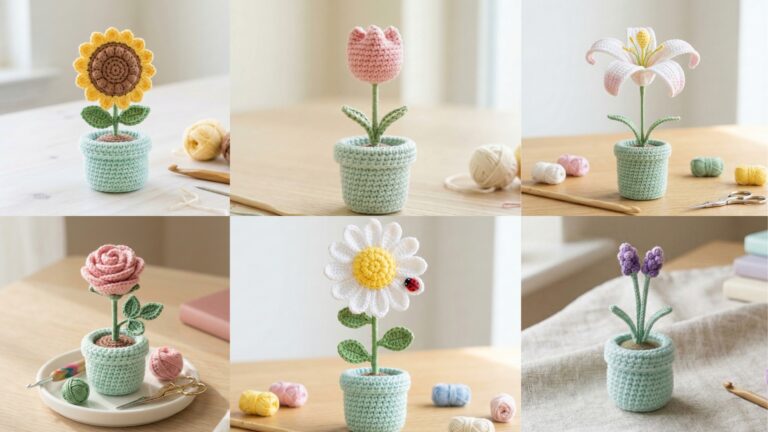
Have a basket of tiny yarn leftovers and don’t know what to do with them? Scrap-yarn projects are the perfect way to use stash bits, experiment with color, and crank out quick, satisfying makes. Below are six original, beginner-friendly — yet interesting — projects you can start today: a nesting bowl set, a cozy scrap cardigan, colorful coasters, a slouchy beanie, a drawstring pouch, and a tiny cat keychain.
I write in US crochet terms. Each project includes: materials, finished size + how to customize, an explicit step-by-step guide for the body + finishing touches (closures, straps, lining where helpful), and tips for working with scraps so your result looks intentional and beautiful. Ready? Let’s turn scraps into keepsakes.
Quick general notes for scrap projects (read first)
- Yarn & hook: Mix yarn weights freely for most scrap projects — that’s part of the charm. Use the heaviest yarn in each round to set the gauge; choose a hook 1–2 sizes larger than the heaviest yarn label if you want a looser, squishy fabric. For bowls and structural items, use bulky scraps + a smaller hook for a denser fabric. For wearables (cardigan, beanie) try to use scraps grouped by similar weight for each section (or alternate thin/thick for visual texture).
- Joining scraps: When joining a new yarn, leave a 6–8″ tail. Weave tails into surface texture later or carry them inside seams. For color changes, tidy joins: join with a slip stitch, or do a neat Russian join / spit-splice (for same-fiber yarns).
- Gauge: Not strict for scrap projects, but check shape: if bowl sides sag, use a smaller hook or thicker yarn; if fabric is too stiff for a cardigan, use a larger hook or lighter yarn.
- Finishing: Weave ends securely. Consider a fabric lining for loose-scrap cardigans or delicate sweaters. For children’s items and keychains, avoid tiny beads that can detach — embroider eyes instead.
- Safety: For anything a small child might handle, embroider features and avoid small detachable parts.
1. Crochet Scrap Yarn Nesting Bowl Pattern (set of 3)

Quick, practical, and great for using small odds-and-ends. Sturdy bowls are perfect for keys, jewelry, or yarn bits.
Finished sizes (sample set)
- Small: 4–4.5″ diameter × 2″ tall
- Medium: 5.5–6″ diameter × 2.5″ tall
- Large: 7–8″ diameter × 3″ tall
Materials
- Assorted scrap yarns (bulky + worsted recommended for structure). Aim for ~100–200 yds total per bowl (varies by size).
- Hooks: 4.5 mm–6.5 mm (use a smaller than usual hook for dense fabric; adjust by yarn weight).
- Tapestry needle, scissors. Optional: thin non-slip fabric dots for base.
Stitches used
MR, ch, sc, hdc, dc, inc (2 sc in same st), sl st. Work in continuous rounds for smooth look.
Construction concept
Crochet a flat circle (increasing rounds), then stop increasing to build height, and optionally work an angled flare for the rim. Use color changes every 2–4 rounds or carry colors in stripes.
Step-by-step (medium bowl example)
Base (flat circle)
- MR, 6 sc into ring. (6)
- inc in each st around. (12)
- sc 1, inc around. (18)
- sc 2, inc around. (24)
- sc 3, inc around. (30)
- Continue increasing in the same way (sc 4, inc → sc 5, inc…) until base diameter ≈ 5.5–6″ (measure as you go). Typical medium base ends around 60–72 sts depending on hook/yarn.
Side (build height)
7. Once base diameter reached, stop increasing. Work sc in each st around for 6–10 rounds to form straight sides (adjust by desired height).
8. For a slightly flared rim, work 2 rounds of hdc or sc, inc every 6th stitch (gentle outward flare). For a tighter rim, work sl st rounds.
Edge & finishing
9. Fasten off and weave in ends. If your bowl has holes (from large hook/yarn combos), consider working a round of single crochet in back loop only (BLO) with thicker yarn to tighten fabric.
10. Add optional non-slip dots to base or a small felt circle glued to bottom for stability.
Tips for intentional scrap stripes
- Group scraps into palettes (warm, cool, neutrals). Change color every 2–4 rounds. Cut/fasten tails at each change and weave inside seam, or carry the less bulky scraps along inside if colors are similar thickness.
- For a more rustic look, use random color changes with tidy tails tucked inside. For a planned look, pre-plan stripe order before you start.
2. Crochet Scrap Yarn Cardigan Pattern (one-weekend, relaxed fit)
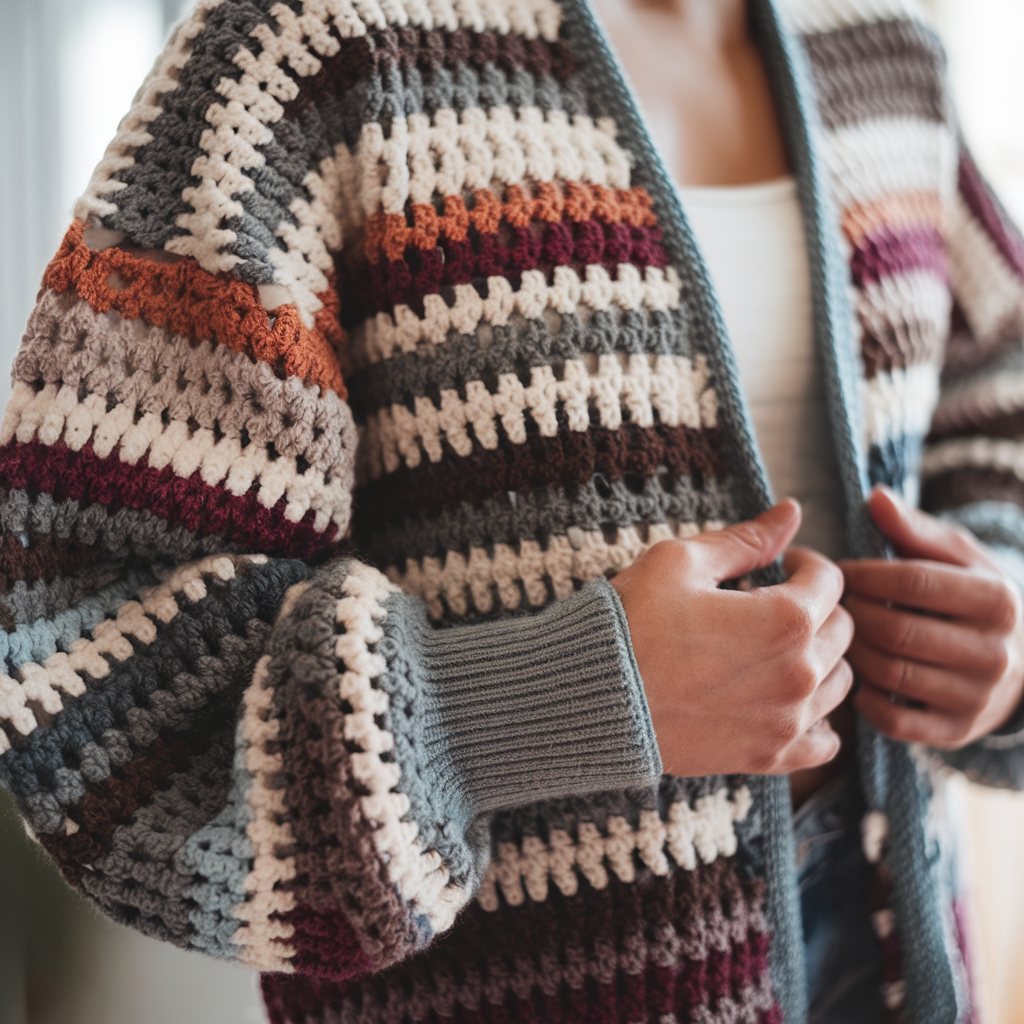
Make a cozy, oversized cardigan using scrap bands — perfect for a boho, patchwork look. This pattern is written as a simple rectangular/constructed cardigan that’s very forgiving and beginner-friendly.
Finished sizes (sample)
- Relaxed S/M: chest 38–44″ (oversized)
- Relaxed L/XL: chest 46–52″
You’ll customize by changing repeated band lengths.
Materials
- Lots of scrap yarn (worsted weight is easiest) — ~800–1400 yds total depending on size and length. Group scraps by similar weight for each band, or use intentionally mixed textures.
- Hooks: 5.0–6.5 mm depending on yarn.
- Tapestry needle, 4 buttons (optional), stitch markers.
Construction concept
Worked in panels: Back panel + two front panels + sleeves (optional tube sleeves or dropped sleeve made from shoulder seam). Use long horizontal color bands — each band is 6–10 rows of a chosen scrap yarn — join bands as you go for seamless color change.
Step-by-step (S/M)
Make a gauge & plan
- Make a 4″ swatch with your most common scrap yarn and chosen hook; note sts/rows per inch. Decide cardigan width: finished chest measurement = (back panel width × 2) + front panels overlap. For oversized S/M choose 42″ total chest.
Back panel
2. Chain foundation to reach back panel width: e.g., for 42″ chest, back panel = 21″ → with 4 spi chain 84. (Multiple not strict; chain to approximate width.)
3. Row 1: sc in 2nd ch and across (or dc for a drapey fabric). Turn.
4. Work horizontal color bands: Each band = 8 rows of chosen scrap yarn (sc or hdc or dc depending on desired drape). At end of band, tie/color change and continue. Repeat bands until back panel length reaches desired (e.g., 22–26″ for a hip-length cardigan). Fasten off.
Front panels (make 2)
5. Work two panels the same width as back panel / 2 (e.g., 21″ wide each for full chest). Chain foundation half the back panel width (or work half the sts). Work same band sequence and length as back panel or slightly shorter if you want front shorter. Optionally add 2–4″ extra at front for lapels.
Shoulder seaming
6. Place panels RS together. Seam shoulders leaving a neck opening (e.g., leave 7–9″ for neck). For neat joins, use whipstitch or mattress stitch.
Sleeves (two options)
Option A — Dropped sleeve (easy, no separate sleeve):
7A. After seaming shoulders, pick up stitches around the armhole and work in the round to desired sleeve length (10–15″ for 3/4 sleeves, 18–20″ for full). This keeps the boho oversized look.
Option B — Separate sleeves:
7B. Make 2 sleeve tubes: chain circumference to fit upper arm + 0.5–1″ ease, join and work in rounds to the desired length. Decrease slightly toward cuff if desired. Sew sleeves into armholes.
Edging & finishing
8. Pick up stitches around front openings and neck and work 4–6 rounds of sc or a 1×1 hdc rib (BLO rows) to create a neat border. Add buttonholes or sew buttons on the left front. Weave all ends, block lightly to even bands.
Customization & styling
- Length: Add more bands for long coatigan vibes.
- Pocket option: Crochet small rectangle pocket panels and sew onto front. Use contrasting color for pop.
- Texture: Mix bobble-stitch bands or herringbone bands for accents.
- Lining: If you used very scrappy slubby yarns, sew a lightweight fabric lining into the body for warmth and to prevent snagging.
Notes for working with scraps
- Keep a color plan (neutral base + accent colors) or embrace full rainbow; either way repetition helps the eye: repeat a few colors at intervals for balance.
- If yarn weights differ, compensate by changing hook sizes for those bands so row height is consistent.
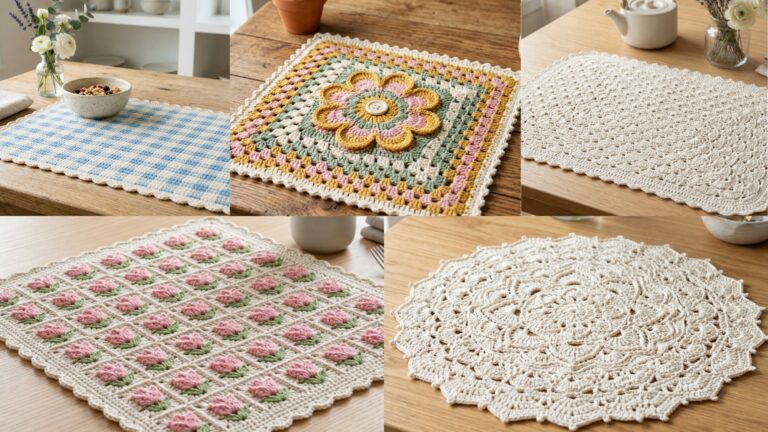
3. Crochet Scrap Yarn Coaster Pattern (set of 6)

Fast, useful, and a great way to practice round work and joining. Make a coordinated set from leftover bits.
Finished size
- Diameter: 4–4.5″ (standard). Make larger for teapots.
Materials
- Scraps in several colors — cotton or cotton-blend scraps are best (dish-friendly).
- Hook: 4.0–5.5 mm depending on yarn.
- Tapestry needle.
Stitches used
MR, sc, hdc, dc, inc, sl st, BLO for texture if desired.
Step-by-step (one coaster)
Round 1
- MR, 8 sc in ring. (8)
Round 2
2. inc around (16).
Round 3
3. sc 1, inc around (24).
Round 4 — Example textured round
4. hdc 2, inc around (30). Switch color here for stripe effect.
Round 5
5. sc around for one or two rounds for a flat surface. If you want a slightly cupped edge, do a round of sc, inc every 8th st to keep flat but with slight rim.
Optional decorative rim
6. One round of shell scallop: skip 2 sts, 5 dc in next, skip 2, sl st in next — gives an ornate coaster.
Finishing
7. Fasten off, weave ends. Make 6 coasters with coordinated color orders.
Tips
- Use dense stitches (sc or hdc) for a flat, absorbent coaster. For hot pots, increase rounds for insulation.
- If coasters curl, add one more round of sc in a tighter hook, or block with steam.
4. Crochet Scrap Yarn Beanie Pattern (slouchy, colorblock)
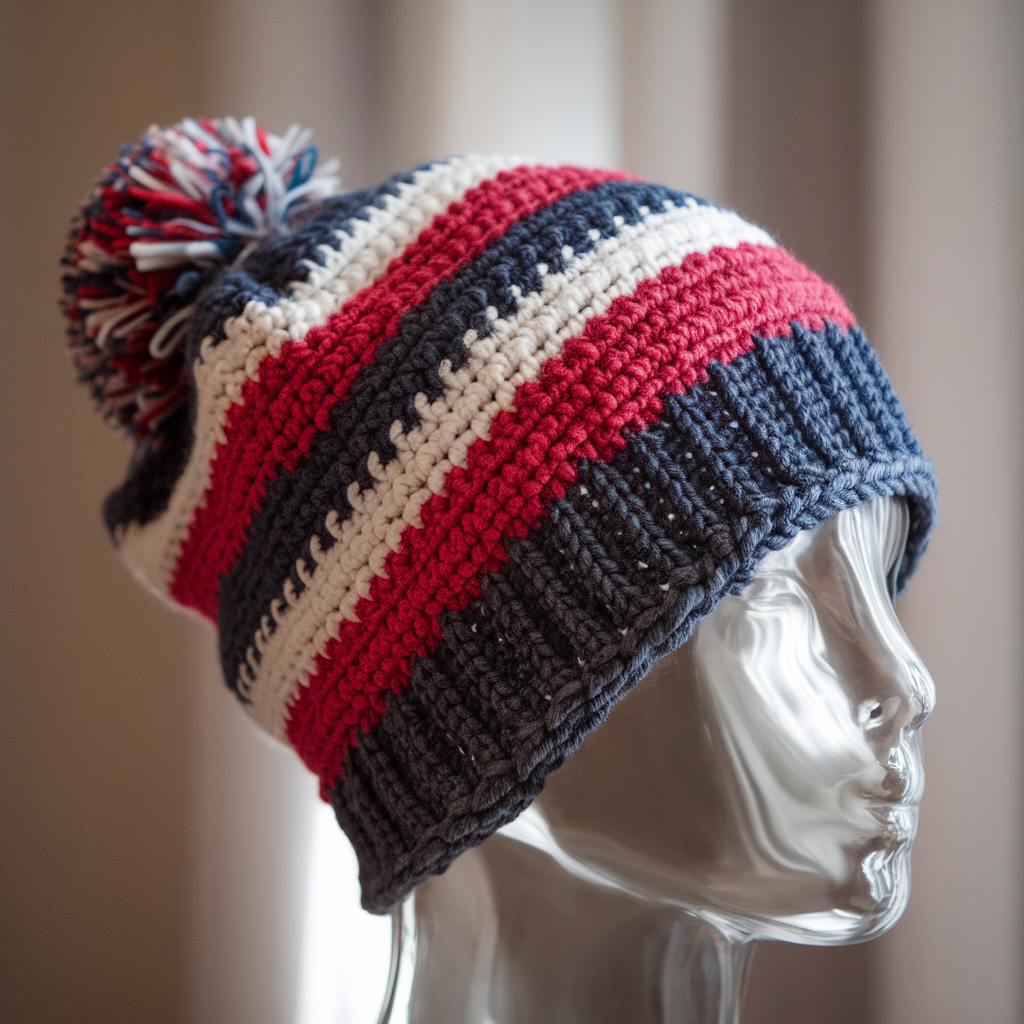
A slouchy beanie that uses long color bands for a joyful scrap look. Size easily customizable.
Finished sizes
- Adult: head circumference 20–22″ (slouchy up to 24–26″)
- Teen/child: reduce base chain/round counts accordingly
Materials
- Scraps in 3–6 colors (worsted-weight scraps are ideal). Approximately 150–250 yds total depending on slouch.
- Hook: 5.5–6.5 mm for worsted, adjust for yarn mix.
- Tapestry needle, measuring tape.
Stitches used
MR, ch, sc, hdc, dc, inc, dec, sl st.
Construction overview (worked top-down, easy to customize)
Crown (top)
- MR, 8 sc into ring. (8)
- inc around (16).
- sc 1, inc around (24).
- sc 2, inc around (32).
- sc 3, inc around (40). Continue increases until crown diameter ~6–7″ (measure flat) — this gives enough for head circumference when you stop increasing.
Body (color bands)
6. Once crown diameter reached, stop increasing. Work dc (or hdc for denser fabric) in each stitch around in continuous rounds. Change color every 6–8 rounds (or sooner if scraps are short) to make bold bands. Continue until hat height = 8–10″ measured from crown for a slouchy hat (trim height for snug beanie to 7–8″).
Brim
7. For a stretchy brim: pick up stitches and work 1×1 rib in hdc BLO (or sc BLO) for 4–6 rounds. Or fold brim up and seam for cuff style. For an easy snug brim, work 4 rounds of sc in smaller hook.
Finishing
8. Fasten off and weave ends. Block lightly if needed. Add a pompom from matching scraps for a playful touch.
Tips for scrap banding
- To avoid too many tails, change color every 6–8 rounds or use stranded carry-ins for similar-weight yarns.
- For a soft interior against the forehead, line the brim with a soft strip of fabric if you used coarse textured scraps.
5. Crochet Scrap Yarn Drawstring Pouch Pattern (gift-ready)

A quick, useful project — ideal for gift bags, project bags, or small storage.
Finished size
- Small pouch: 4 × 6″
- Medium: 6 × 8″
- Make taller for longer items.
Materials
- Scraps (worsted or DK) ~50–100 yds.
- Hook: 4.0–5.5 mm.
- Small cord or chain for drawstring (or make a crocheted cord).
- Tapestry needle, optional lining fabric and sewing needle/thread.
Stitches used
ch, sc, hdc, dc, sl st, foundation sc optional.
Step-by-step (medium 6×8″)
Bottom/base
- Chain 25 (for ~6″ width; change per spi). Join to make ring or work flat oval base (recommended oval for sturdier pouch): ch 25, sc in 2nd ch from hook to last ch, 3 sc in last ch; work along opposite side of chain sc back across, 3 sc in first ch to close oval. (Use even number for symmetry.)
Round body
2. Round 1: ch 1, sc in each st around (if oval base, continue in rounds). Join with sl st.
3. Rounds 2–18: (for 8″ height) work dc rounds or sc rounds depending on texture — dc will give faster height and vertical elegance. Change colors every 4–6 rounds.
4. At 6.5–7″ height, start drawstring channel: ch 2, skip 2, dc across or work 2 rounds of BLO dc to create a visible channel for a cord. Alternatively, skip a round of ch 1, skip 1 (eyelet round) for drawstring holes.
Edge & drawstring
5. Work 2–3 rounds of sc to finish rim. Fasten off.
6. Make a crocheted cord: ch 100 (or length to go around pouch + tie) and then make a 3-strand twist or an i-cord. Thread cord through eyelets and knot ends. You can attach small beads to cord ends.
Optional lining
7. If you like, cut lining from fabric slightly smaller than the interior, sew a folded seam at top, then stitch lining to inside top edge by hand to hide seam and reinforce drawstring holes.
Finishing touch
- Add a small tassel or charm to cord ends. If giving as gift, add a tiny crocheted flower sewn to front.
6. Crochet Scrap Yarn Cat Keychain Pattern (tiny amigurumi)
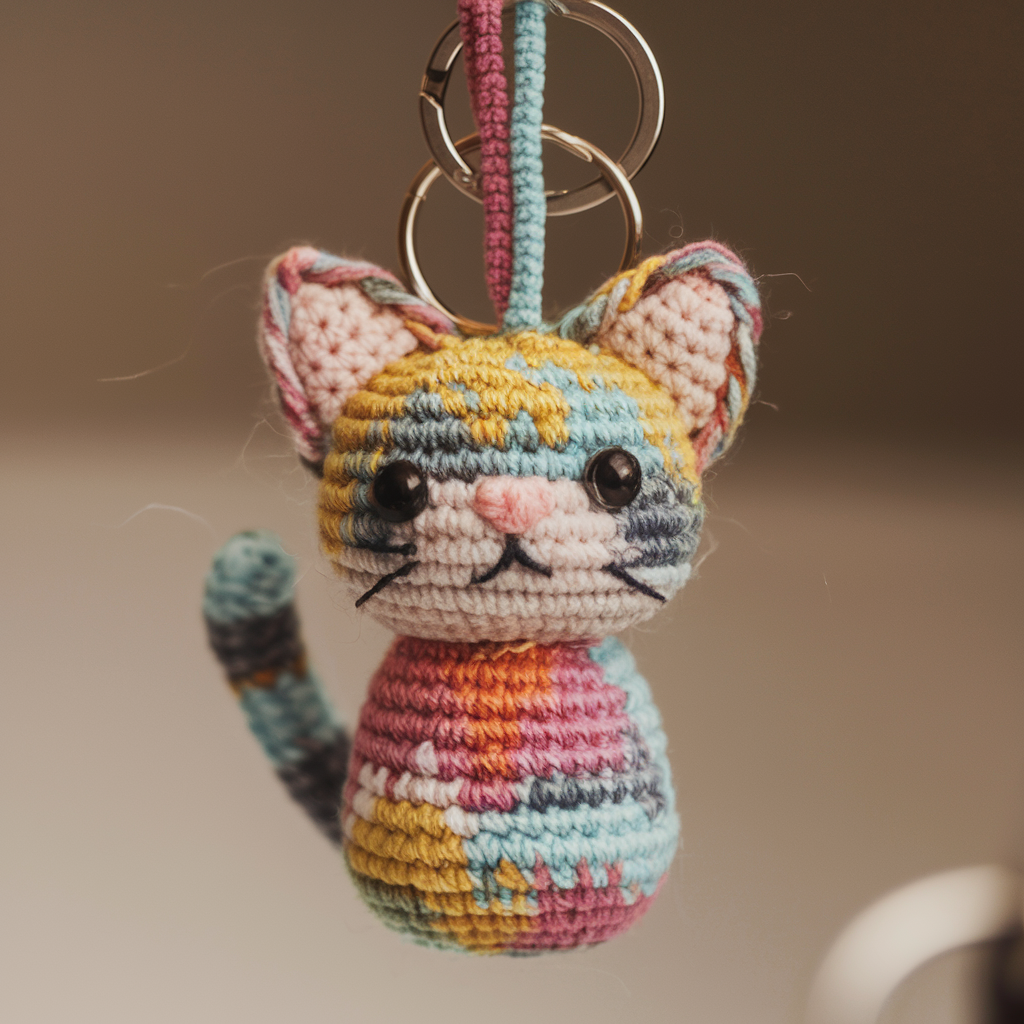
Tiny, adorable, and perfect for tiny scraps. Make a set of cats in different colors.
Finished size
- ~2.5–3.5″ tall (depending on yarn/hook).
Materials
- Tiny scraps of cotton or acrylic yarn (fingering/worsted), small hook 2.5–3.5 mm.
- Fiberfill, tapestry needle, key ring, jump ring, small embroidery thread for face. Safety eyes optional — for kids, embroider eyes.
- Stitch marker, scissors.
Stitches used
MR, sc, inc, dec, sl st, ch
Step-by-step (mini cat amigurumi)
Head & body (worked continuous)
- MR, 6 sc in ring (6).
- inc around (12).
- sc 1, inc around (18).
- sc 2, inc around (24).
- Sc around for 4–6 rounds (head height). Add safety eyes between rounds 4–5 about 6 sts apart (or embroider later).
- sc 2, dec around (18).
- sc 1, dec around (12). Start stuffing firmly.
- dec around (6). Do NOT fasten off — continue to body by making additional rounds with increases: inc across to make a short body base (12–18 sts), then work 3–4 rounds sc for body length, then decrease gradually to close. Stuff as you go and leave a small hole for keyring attachment.
Ears (2)
- MR, 4 sc (4)
- sc 1, inc around (6)
- sc 2 rounds, flatten and sew to top of head.
Tail (optional)
- Ch 6, sc back across to create small tube, stuff lightly and sew to back.
Assembly
- Attach a small loop of yarn at head top: insert tapestry needle through top center of head and out with a small length of yarn, tie yarn tail into a loop, and secure with extra stitches inside. Attach jump ring to this loop and add key ring. Alternatively, sew a small fabric loop or metal eyelet for a more robust attachment.
- Embroider mouth & nose with contrast yarn. Add whiskers if desired (thin fishing line is common for durability but avoid for child uses).
Variations
- Make different cats: sleepy (half-closed eyes), surprised (open embroidery), or colorblocked (tiny stripes). Add a tiny bell on the keyring for charm.
Final finishing & styling tips
- Weave ends creatively: If you have many short tails, instead of hiding them all, create a “fringe” border intentionally on a band of the cardigan or pouch for a boho touch.
- Balance color: For multi-color projects, repeat 2–3 colors regularly so the eye reads the piece as intentional, not chaotic.
- Mix textures carefully: Slubby and smooth yarns can look great together — but restrict extremes to separate bands to avoid uneven fabric.
- Blocking & shaping: For garments, pin and block panels lightly to even out stitches. For bowls, a very light steam-block on the outside can help set shape (test fiber first).
- Gift-ready: Small projects like pouches, coasters, and keychains are perfect for handmade gifts. Add a tiny card noting yarn types (useful for care).
Conclusion
Scrap-yarn projects are hugely satisfying: they use up leftover yarn, teach you to improvise with color, and produce beautiful, functional items in a few hours. Start with a set of nesting bowls (quick, practical) or the mini cat keychain for instant gratification. The cardigan and beanie scale up the challenge and transform your stash into wearable art. Keep a simple color plan, use sensible hooks for structure, and enjoy the creative freedom scraps offer — mistakes become texture, and surprise color combos become signature statements.