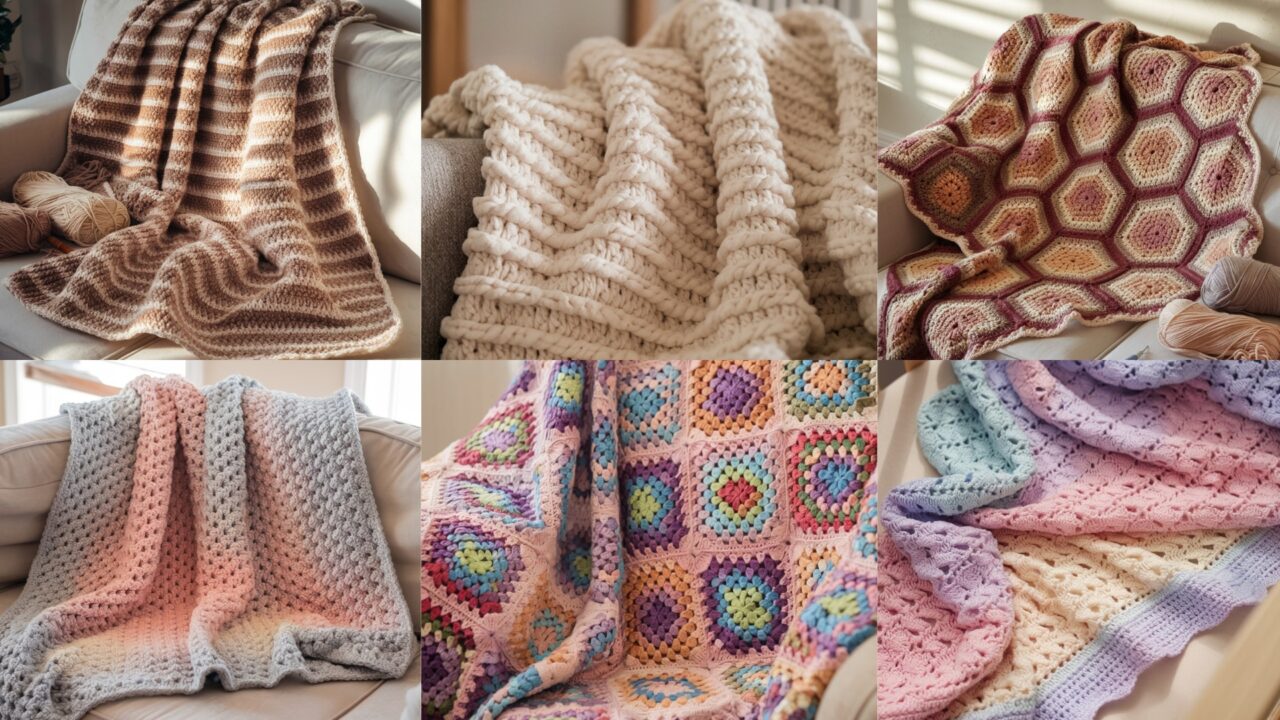
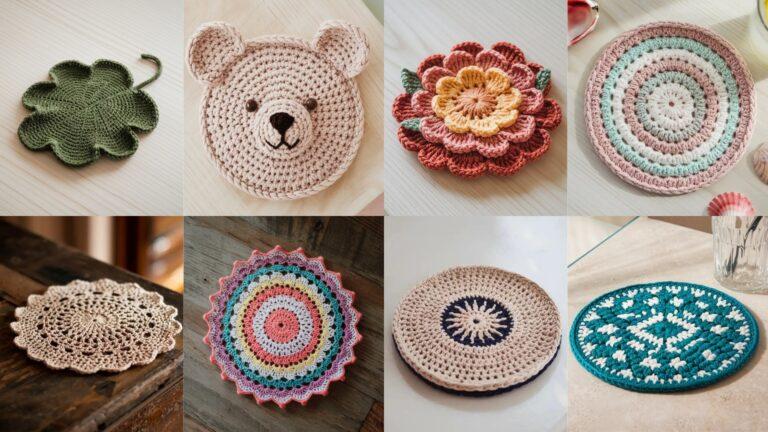
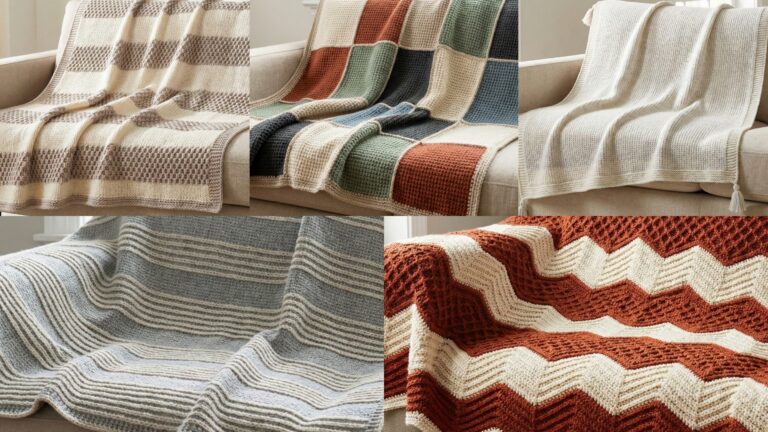
Blankets are the ultimate cozy project: they’re functional, comforting, and an excellent way to show off stitch texture, color work, and yarn choice. In this post you’ll find six distinctive crochet blanket patterns — each with a different look and technique so you can pick a project that matches your time, skill, and style. Let’s make something warm and beautiful.
General notes before you begin
- Abbreviations (US terms): ch = chain, sl st = slip stitch, sc = single crochet, hdc = half double crochet, dc = double crochet, tr = treble (UK: tr = treble = US dc? — we’re using US), sk = skip, st(s) = stitch(es), RS = right side, WS = wrong side.
- Yarn & hook guidance: I’ll assume worsted weight (#4) cotton/acrylic/wool blends for throws and afghans (but where I propose lace or baby blankets, DK or sport-weight is suggested). Typical hooks: 5.0–6.5 mm for worsted, 4.0–4.5 mm for DK, and 8.0–12.0 mm for chunky. Adjust as needed for your tension.
- Gauge: Blankets are forgiving, but gauge matters if you want a particular finished size. If sizing precisely, always swatch and measure.
- Sizing notes: “Throw” = ~48″ × 60″ (122 × 152 cm). “Baby” = ~30″ × 36″ (76 × 91 cm). I’ll give finished sizes as approximate.
1. Granny Weave Crochet Blanket Pattern
Skill Level
Easy → Beginner comfortable with clusters and reading repeats
Finished Size
Approx 48″ × 60″ (throw); make wider/narrower by adding more stitch repeats
Materials
- Worsted weight yarn (#4) — approx 1500–2000 yards (depending on size and border)
- 5.5–6.5 mm hook (use the one that gives a nice fabric — looser for drape, tighter for warmth)
- Tapestry needle, scissors, stitch markers (optional)
Step-by-step Assembly
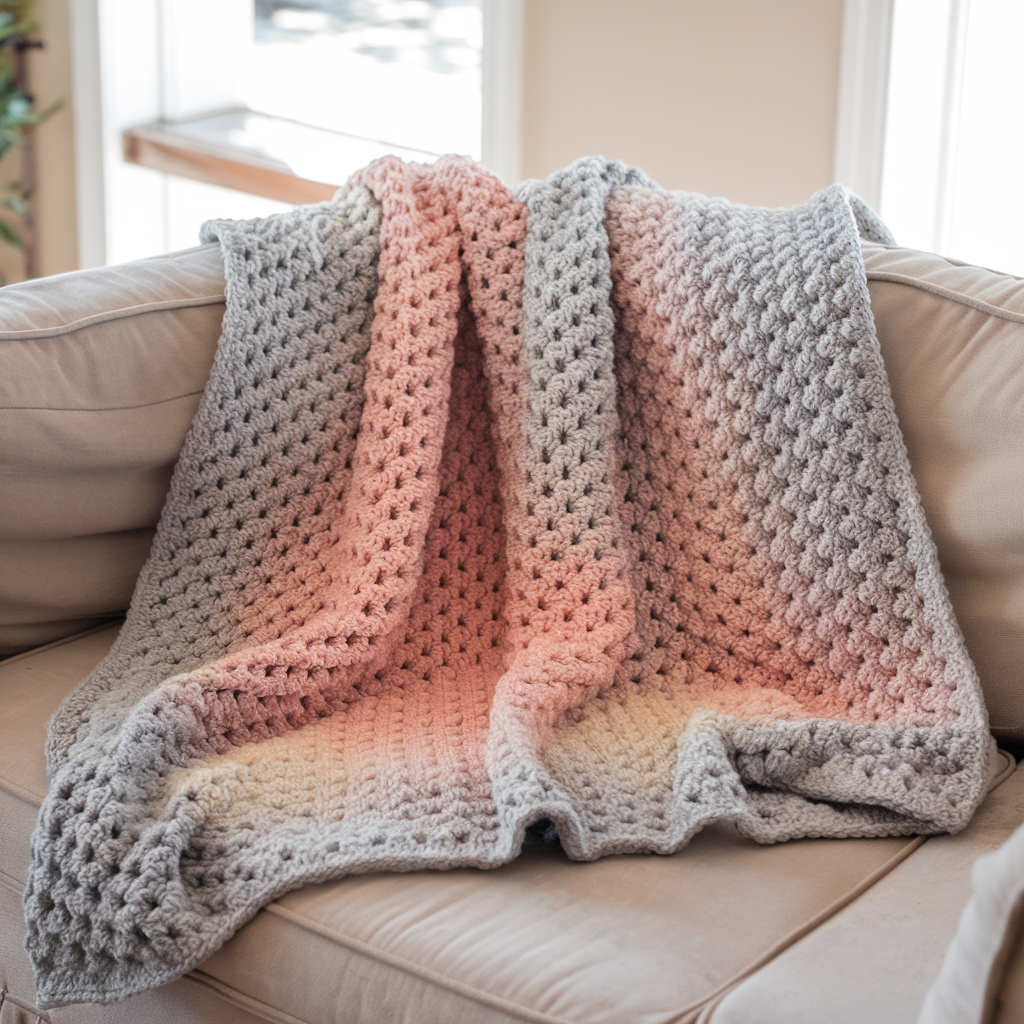
This pattern uses a granny-style cluster but arranged in vertical “weave” columns for a modern textured blanket.
- Foundation chain: Chain a multiple of 12 + 3. For a 48″ throw with average gauge, chain 201 (that’s 12×16 + 9 — adjust to your gauge). (If you want exactness, make a swatch: 20 sts = ~8″. Multiply to reach desired width.)
- Row 1 (set-up row): Dc in 4th ch from hook (counts as dc and first ch-1 space), ch 1, sk 2 ch, (3 dc) into next ch (cluster), ch 1, sk 2 ch, dc into next ch — repeat across, ending with a dc in the last chain. Turn.
- Explanation: We create repeating clusters and single dc columns. The “weave” effect comes from offsetting clusters in later rows.
- Row 2 (start weave): Ch 3 (counts as dc), in ch-1 space of previous row work (3 dc) cluster, ch 1, dc in the top of the single dc from previous row; repeat across. Turn.
- Row 3: Ch 3, dc in the top of previous dc, ch 1, (3 dc) in ch-1 space — now the cluster positions alternate with the dc columns. Turn.
- Repeat Rows 2–3 until blanket measures approximately 60″ long (or desired length). The alternating rows of clusters and single dcs create vertical columns that visually “weave.”
- Border: Work 3 rounds of sc around the whole blanket to neaten. In corners work (sc, ch 2, sc) to keep corners from puckering. Optionally add a picot or shell round for a decorative edge.
Tips & Variations
- Yarn pools & color: This pattern looks fantastic with variegated yarn (the vertical columns show pooling beautifully) or with planned stripes every 6–10 rows.
- Texture swap: Swap the single dc columns for hdc if you want a denser fabric.
- Granny-square inspired: Use the same cluster/dc logic but work in joined strips and seam them for an alternative assembly method.
- Lightweight version: Use DK yarn and a smaller hook for a lighter coverlet.
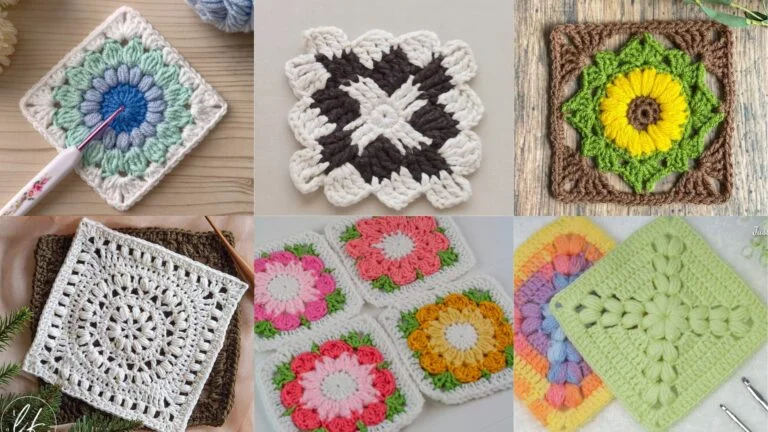
2. Crochet Granny Square Blanket Pattern
Skill Level
Easy → Classic, perfect for beginners who want modular work
Finished Size
Baby: 36″ × 36″ with 25 squares (5×5) — scale up by adding rows/columns
Materials
- Worsted or DK weight yarn (for baby, ~800–1200 yards worsted; more for throws)
- 5.0 mm hook for worsted, 4.0 mm for DK
- Darning needle, scissors, stitch markers (helpful)
Step-by-step Assembly
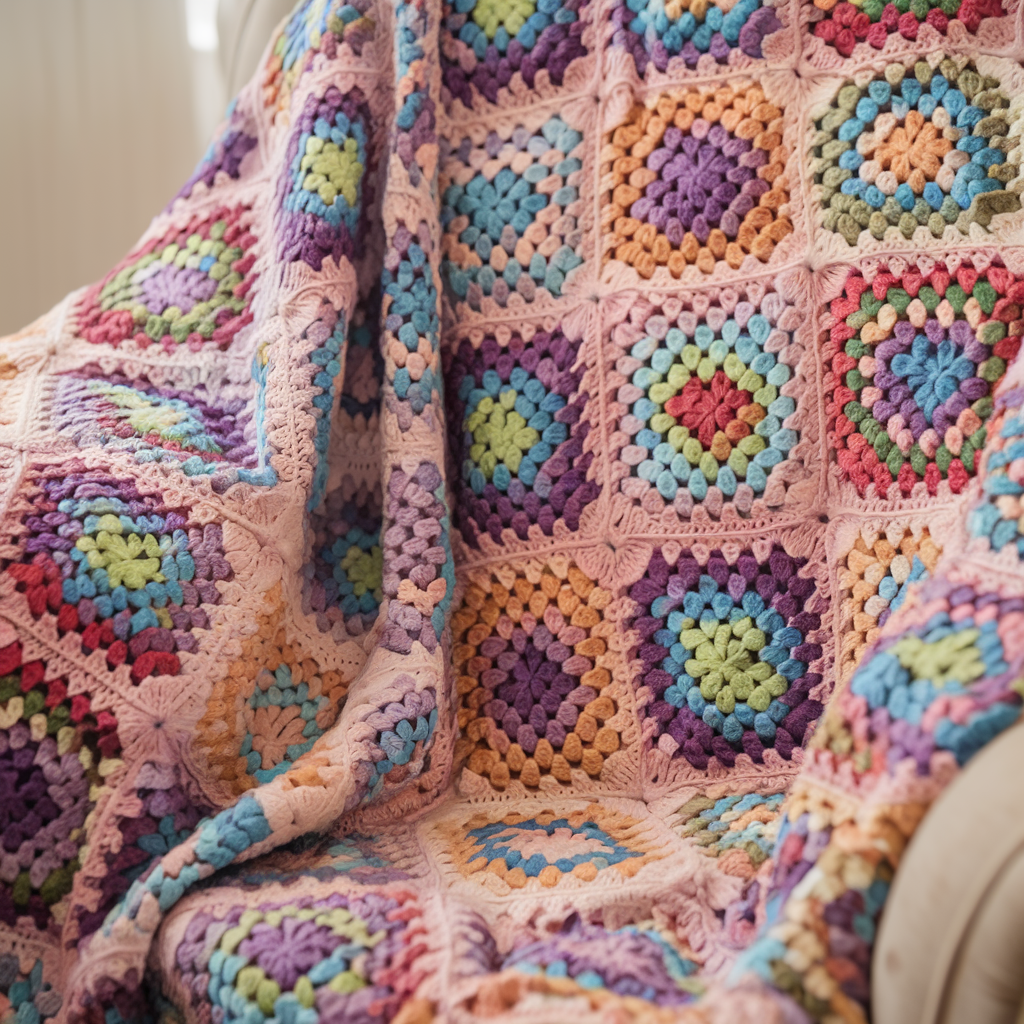
A modular classic — make individual granny squares and join.
- Make a magic ring (or ch 4 and sl st to form ring). Work the classic granny: (ch 3 [counts as dc], 2 dc, ch 2, 3 dc) into the ring — this is round 1 (four clusters separated by ch-2 corners). Sl st to top of starting ch-3 to join.
- Round 2: Sl st into the corner ch-2 space, ch 3 (counts as dc), 2 dc, ch 2, 3 dc — in each corner; between corners work (3 dc) in the ch-1 space that lies between clusters of previous round if present. Join and fasten off color if changing.
- Rounds 3–N: Continue adding rounds: in each corner do (3 dc, ch 2, 3 dc); on sides work three-dc clusters separated by ch-1 spaces (or 3 dc directly against previous cluster depending on look). Work until square is desired size (e.g., 5–7 rounds for a 6–8″ square with worsted yarn).
- Make squares: Make as many squares as needed for your blanket layout (e.g., for a 36″ baby blanket with 6″ squares you need 36 / 6 = 6 per side → 36 squares for 6×6 layout — adjust numbers accordingly).
- Joining: Block squares lightly. Join using whip stitch (mattress stitch for invisible seam), join-as-you-go slip-stitch method, or a decorative join (e.g., join with sc through both loops for a ridge). Join all rows of squares, then seam rows together.
- Border: After joining, add 2–4 rounds of sc or hdc around the outer edge to frame the blanket. A shell or granny-style edging gives a pretty finish.
Tips & Variations
- Color planning: Granny squares are perfect for using scraps. Plan a palette so the blanket reads cohesively.
- Layout: Before joining, lay out the squares on the floor to arrange color balance.
- Joining choice: Join-as-you-go yields a softer join, while whip stitch is sturdier and faster.
- Alternate size: Work larger centers for oversized granny squares and fewer seams.
3. Modern Lace Crochet Baby Blanket Pattern
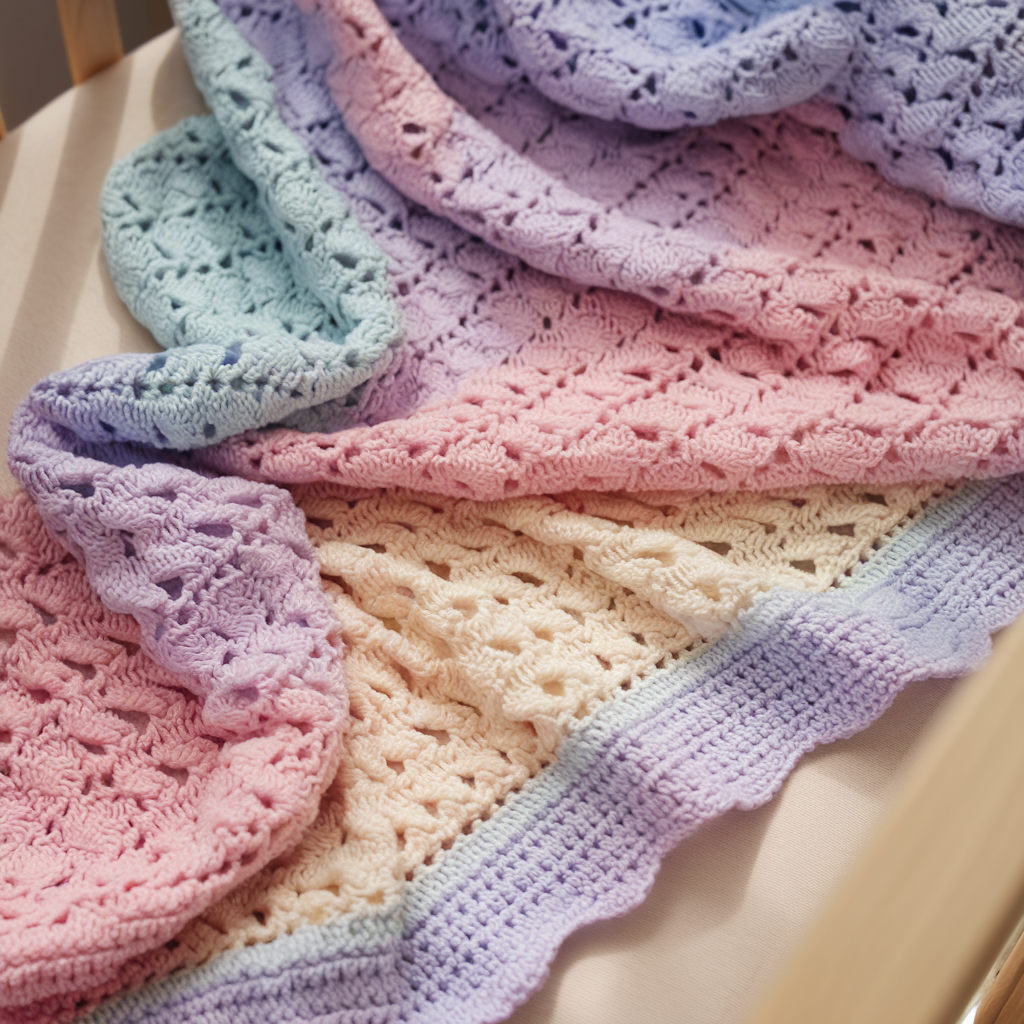
Skill Level
Easy–Intermediate → good if you’re comfortable with lace repeats and reading charts/row repeats
Finished Size
Approx 30″ × 36″ (baby blanket)
Materials
- Soft DK (light worsted) yarn or baby-specific yarn — approx 700–900 yards
- 4.0–4.5 mm hook (see yarn label)
- Tapestry needle, blocking pins
Step-by-step Assembly
This lace pattern is airy but still cozy — ideal for baby, nursery decor, or a light summer throw.
- Foundation chain: Chain a multiple of 12 + 3. For sample baby blanket chain 123 (this gives a width around 30″ depending on tension).
- Row 1 (foundation): Dc in 4th ch from hook (counts as dc + ch-1 space), ch 1, sk 2, dc in next ch across. Turn.
- Row 2 (lace set-up): Ch 3 (counts as dc), ch 2, sk next ch-2 space, (dc, ch 1, dc) into next dc — this creates alternating openwork and shell motif. Turn.
- Row 3: Ch 3, dc into ch-1 space from previous row, ch 2, dc into next ch-2 space — this alternates the holes to form a mesh-lace pattern. Turn.
- Repeat Rows 2–3 for an elegant staggered lace pattern until blanket reaches desired length.
- Optional scallop border: Work one round of sc around to stabilize, then a scallop: (5 dc) in one st, skip 2 sts, sl st in next repeat for a delicate edge. Block lightly to open the lace and square the corners.
Tips & Variations
- Yarn choice for baby: Choose baby-safe, hypoallergenic yarn. Use machine-washable yarn for practicality.
- Blocking: Lace looks best when blocked — pin the blanket to open stitches and allow to dry.
- Denser option: Use the same stitch pattern but with smaller hooks for a warmer result.
- Color: Pastels are classic for baby blankets, but a single saturated color shows lace beautifully, too.
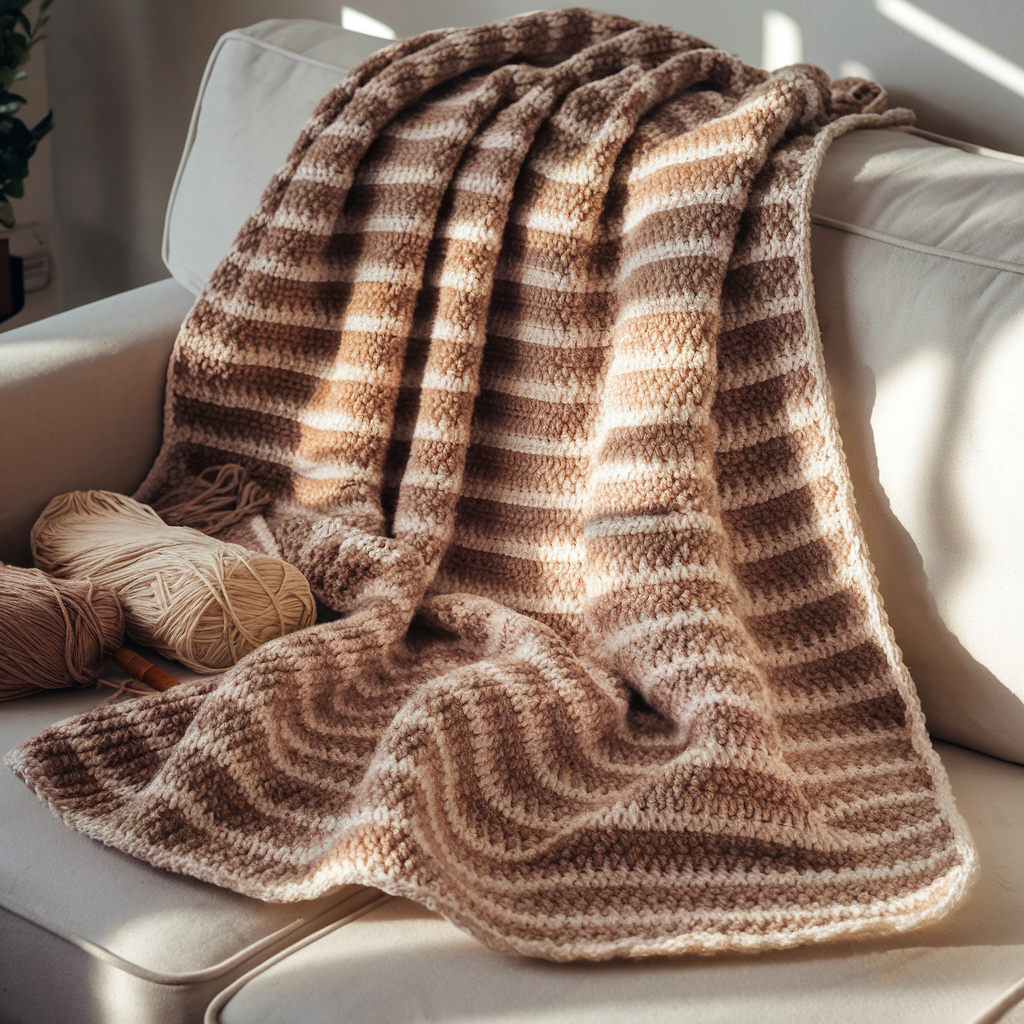
4. Easy Afghan Blanket Crochet Pattern
Skill Level
Beginner → repetitive rows, great for TV knitting/crocheting
Finished Size
Throw: ~50″ × 65″ (adjust repeats for size)
Materials
- Worsted weight yarn — approx 1800–2400 yards for a generous throw
- 6.0–8.0 mm hook (depending on how quickly you want it to work up)
- Yarn needle, optional stitch markers
Step-by-step Assembly
A relaxed, cozy afghan using a simple ripple/chevron or graduated stripe pattern — perfect for practicing rhythm stitches.
Option A — Ripple (Chevron) Afghan
- Foundation: Chain a multiple of 14 + 3. For a 50″ blanket, chain 201 (adjust to your gauge).
- Row 1: Dc in 4th ch from hook dc in next 3 ch, (skip 2 ch, 3 dc in next ch) twice for the peak, dc in next 3 ch, (dc2tog) twice for the valley — many ripple patterns use dc2tog (decrease) to make valleys. Work across, ending with dc in last chain. Turn.
- Row 2+: Ch 3, follow stitch pattern: where you see a (3 dc) into a single base you make 3 dc into the corresponding stitch below; where decreases are needed work dc2tog over two stitches. Continue repeating this row until desired length.
- Stripe idea: Change color every 6–10 rows for bold stripes. Carry yarn or cut and weave ends.
Option B — Simple Textured Rows (for very easy make-up)
- Foundation: Chain desired width.
- Row 1: Hdc across.
- Row 2: Ch 2, hdc in blo across (back loop only) — this creates a ridge repeat.
- Repeat Row 2 until length reached. Add 2–3 rounds sc border.
Tips & Variations
- Gauge & density: A larger hook yields a drapier afghan; a smaller hook gives warmth.
- Make as you go border: For a clean finish, add 1 round of sc then 1 round of reverse single crochet (crab stitch) for a tidy edge.
- Color planning: For ripple, plot stripe widths on paper before starting to avoid surprises.
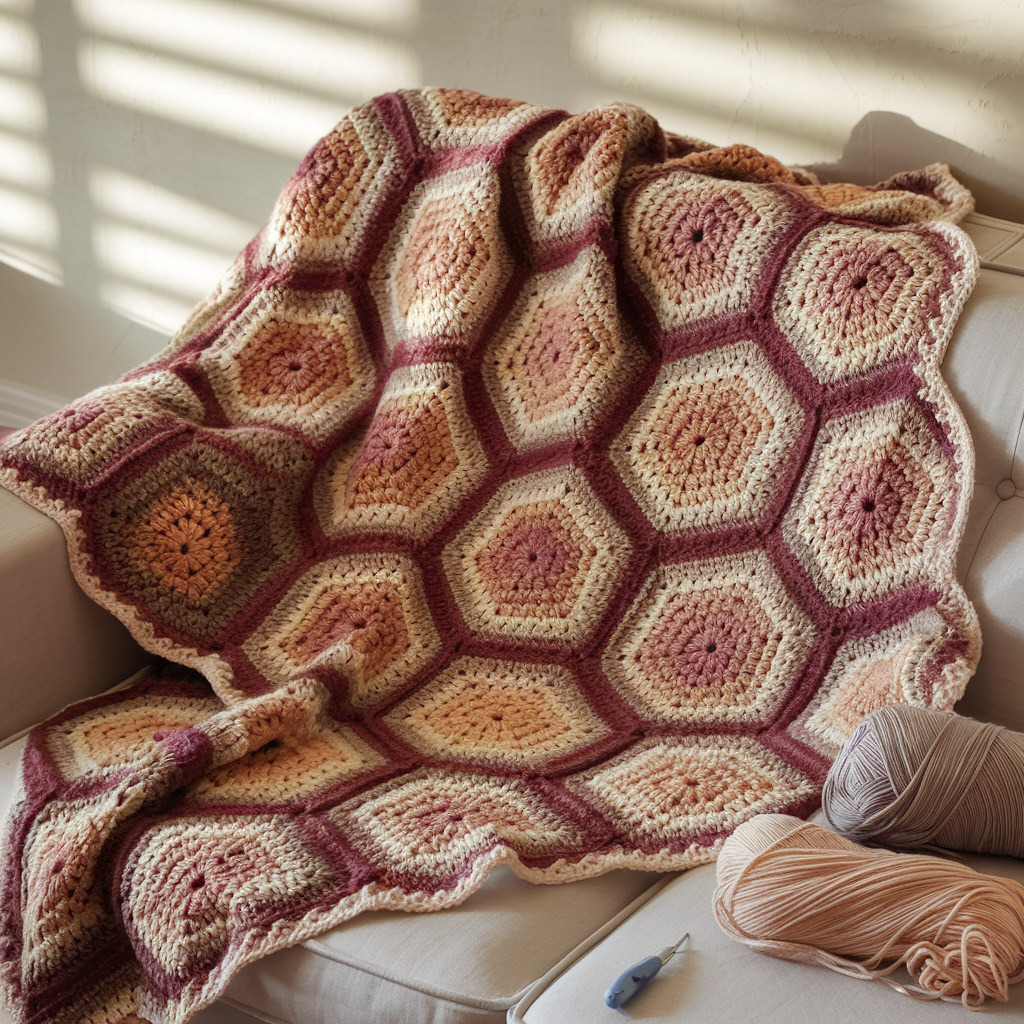
5. Crochet Hexagon Throw Blanket Pattern
Skill Level
Intermediate → modular, geometry + joining
Finished Size
48″ × 60″ throw (using ~ 7–8″ hexagons: ~70–80 hexes depending on layout)
Materials
- Worsted weight yarn — approx 1500–2000 yards
- 5.0–6.0 mm hook
- Darning needle, blocking mats, tapestry needle
Step-by-step Assembly
Hexagons create a beehive aesthetic — they can be a great way to use leftovers while producing a sophisticated blanket.
- Make hexagon motif (standard): Magic ring, ch 3 (counts as dc), work 11 dc into ring, join (12 dc). Round 2: Ch 3, dc in same st, 2 dc in next around (24 dc). Round 3: Ch 2, (dc, ch 1, dc) in next st, dc in next 2 — this makes the six sides. Round 4: Expand as needed with groups of dc and ch 1 to keep hex flat and reach desired hex size (e.g., 4–6 rounds total to reach ~7–8″ across).
- Make many hexes: Produce the number required for your layout. For a 48×60 throw with 8″ hexes, you’ll need roughly 6 hexes across × 8 hexes down = 48 hexes; include extra for border shaping.
- Blocking: Block each hex flat and to consistent size to make joining easier.
- Joining: Join hexes using one of these methods:
- Whip stitch through back loops for invisible join.
- Slip stitch join on RS for a purl-like ridge.
- Join-as-you-go while worked in final round — slip stitch into adjacent hexs’ edge loops to attach in place (gives a continuous look).
- Edge finish: After joining, add a round of sc or a scallop for a neat border.
Tips & Variations
- Color honeycomb: Use a central color for each hex and a uniform border color for cohesiveness.
- Gradient throw: Make hexes in graduated tones and arrange for an ombré effect.
- Fringe or tassels: Add tassels to hex vertices for a boho finish.
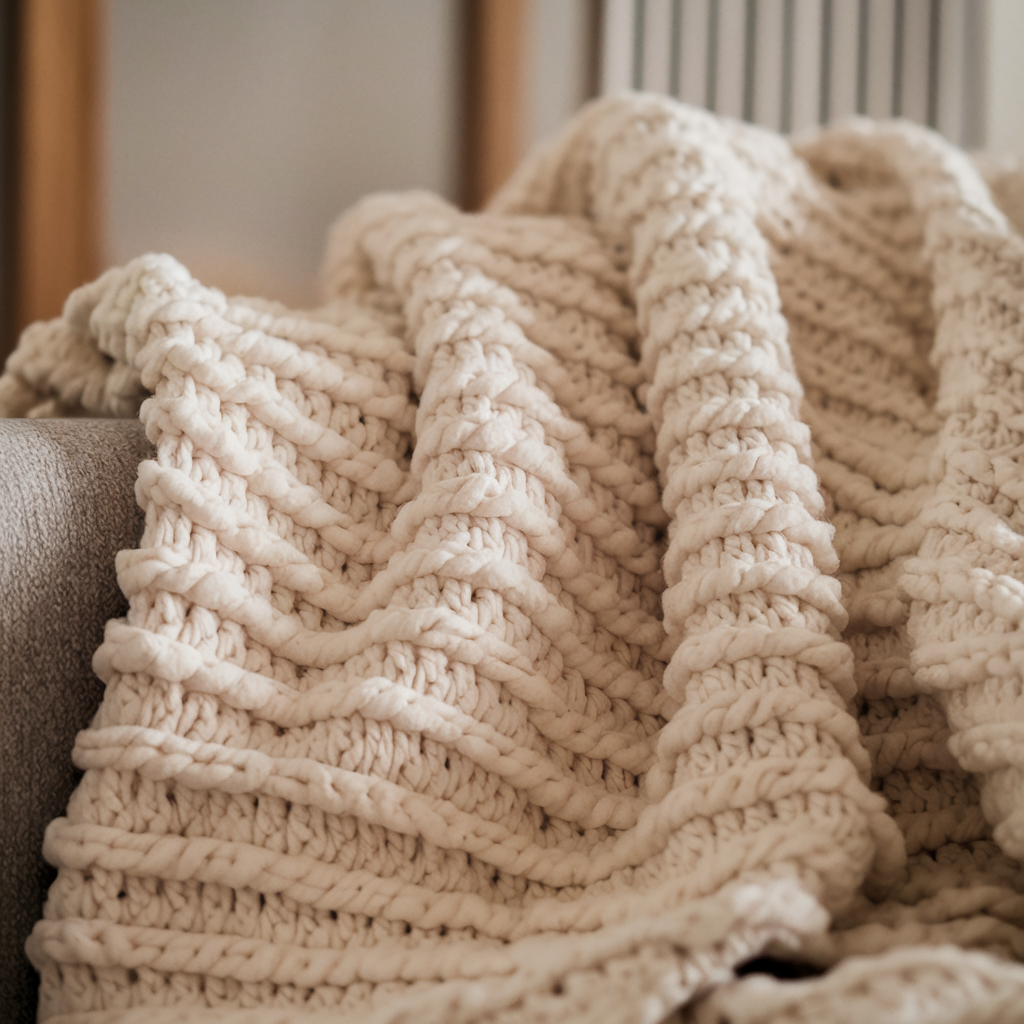
6. Chunky Crochet Blanket Pattern
Skill Level
Beginner → super fast and satisfying to make
Finished Size
Lap blanket: 36″ × 50″ (or larger if you want a bed throw)
Materials
- Super bulky / jumbo yarn (super chunky; e.g., super bulky #6 or roving) — approx 800–1400 yards depending on size
- 12–15 mm hook for roving; or use your hands for arm-knit look
- Tapestry needle (large eye), scissors
Step-by-step Assembly
Chunky blankets are tactile, fast, and hugely popular. Here’s a classic giant single-stitch throw.
- Foundation: Chain 50–60 using jumbo yarn and large hook (make fewer chains if you want a narrower blanket; each chain is large).
- Row 1: Hdc (or if using roving with a big hook, use dc for quicker build) across — each stitch is giant so the row works up quickly.
- Row 2+: Ch 2, turn, hdc (or dc) across in every st. Repeat until the blanket reaches desired length.
- Alternative (ripple or stitch variation): Use v-stitch (dc, ch 1, dc in same st) for a more open, squishy fabric. Or work half double crochets in back loop only every other row for a ribbed texture.
- Border: Work 1–2 rounds of sc or hdc to even the edges. Because of yarn bulk, corners may be bulky — use ch 2 in corners instead of 3 to reduce bloat.
Tips & Variations
- Weight & warmth: Using roving or wool gives an incredibly warm blanket but can be heavier. Choose fiber based on how you’ll use it.
- Care: Many chunky yarns are dry-clean only or require delicate hand washing. Check yarn label.
- Speed hack: Use an arm-knit or no-needle method if you prefer — this is functionally similar to super-chunky crochet and even faster.
Conclusion
Six very different blankets — six ways to practice stitches, explore color, and make something that will be loved (and used) daily. Whether you want the rhythmic comfort of a granny-square blanket, the modern vertical texture of the Granny Weave, the lacy charm of a baby blanket, the easy, binge-watch-friendly Afghan, the geometric sophistication of hexagons, or the instant gratification of a chunky throw — there’s a project here for every mood and moment.
Before you start: pick your yarn (weight and fiber change how the pattern behaves), swatch for size if you need precise measurements, and decide whether you want a monochrome calm or a color-packed statement. Blankets are also excellent gifts — they travel well in small pieces (like hexes or squares) and give you flexibility on when and where you work.


