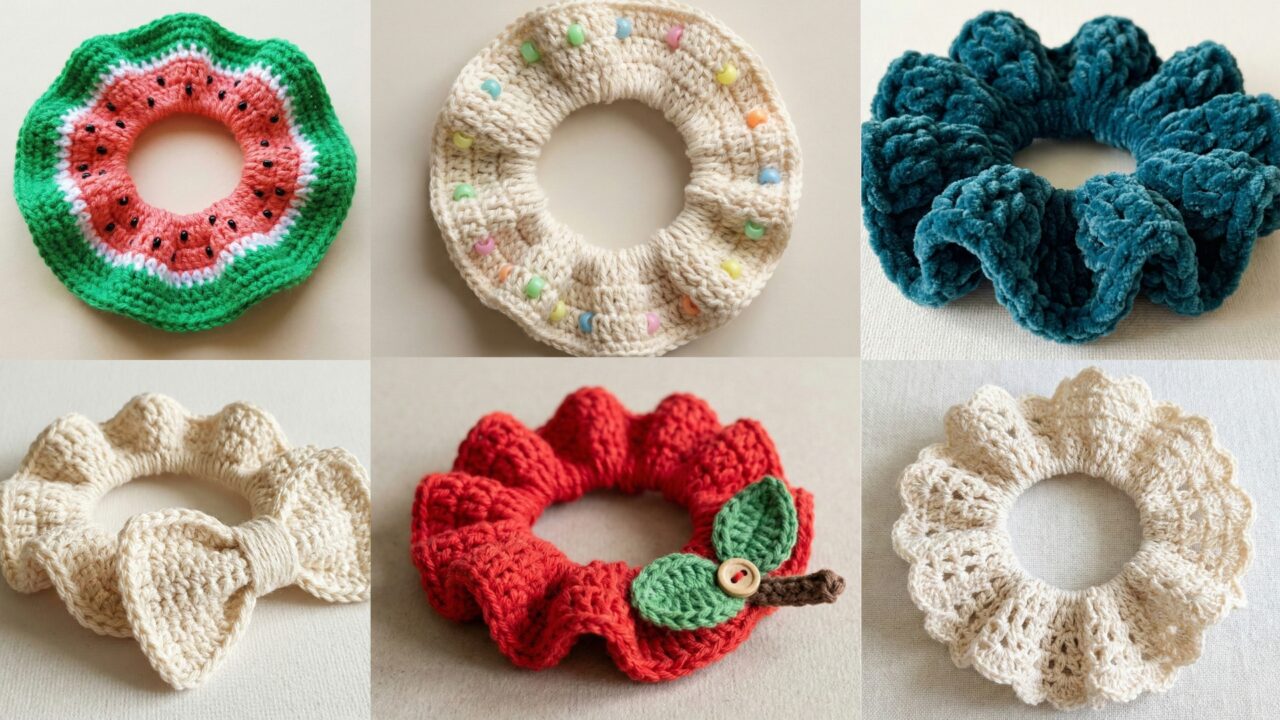
Scrunchies are deceptively simple—but when you make them yourself you control the fabric, the hold, and the style. This guide gives you one practical introduction (materials, sizing, gauge, elastic choices and construction options) and then six full, detailed scrunchie patterns designed for both thick and thin hair: Glow-in-the-Dark Beads, Apple-Inspired, Mesh Lacey, Woven Watermelon, Jumbo Lace, and Handmade Bow. Each pattern includes skill level, materials, precise step-by-step instructions, finishing, styling/variation ideas, and care tips.
Read the intro first (it will save time and prevent fitting problems), then jump to whichever scrunchie you want to make.
materials, elastic, sizing, gauge and methods
Yarn & thread choices
- Thin hair (recommended yarn): lightweight / sport / DK or even size 10 thread for delicate scrunchies. These make smaller, neater scrunchies that don’t overwhelm fine hair.
- Thick hair (recommended yarn): worsted/aran or bulky yarn produces fuller scrunchies with more body and stronger hold.
- Fiber choices: cotton & cotton blends — good for absorbency and structure; acrylic — springy and budget-friendly; bamboo blends — silky and smooth on hair; chenille or velvet — plush, very gentle on hair (but can stretch).
- Beads & embellishments: use seed beads, glass pearls, or wood beads with bead hole sizes that fit the yarn/thread. For children’s scrunchies avoid loose small beads: sew beads on securely or use larger bezels.
Hooks & notions
- Typical hooks: 2.5–3.5 mm for thread/sport; 3.5–5.0 mm for DK/worsted; 6.0–8.0 mm for bulky/chenille. Use what gives correct fabric density.
- Elastic / hair tie: flat elastic band or pre-made hair elastic loop (6–8 in circumference unstretched depending on desired gather). Choose a strong elastic that won’t break with repeated stretching. For thick hair you may prefer a longer elastic and for thin hair a shorter or smaller-breadth elastic.
- Other tools: tapestry needle, stitch marker, scissors, small pliers (for beads/end caps), optional end caps or crimps for tidy closures.
How to size scrunchies & compute stitches
A scrunchie is usually a tube or band gathered around an elastic loop. You need:
- Elastic circumference (E) — typical elastic circumference when looped (unstretched) is about 6–8 inches. Choose based on hair thickness and desired gather.
- Target fabric circumference (C) — how many stitches around the scrunchie tube. Fabric should be slightly larger than elastic so the scrunchie gathers. Example targets:
- Thin hair scrub: elastic E = 6 in (unstretched) and target fabric C = 6.5–7 in.
- Thick hair scrub: E = 8 in and target C = 9–10 in for a fuller look.
Digit-by-digit stitch math example (do this every time):
- Suppose target fabric circumference C = 8 inches and your swatch shows 4 stitches per inch (spi = 4). Multiply 8 × 4 step by step:
- Break 8 into (5 + 3) or simply compute 8 × 4 = (8 × 2) × 2 = 16 × 2 = 32.
- So you need 32 stitches around.
Round this number to match your stitch multiple requirement (many patterns use multiples like 4, 6, or 8). If the repeat requires a multiple of 4 and you have 32, you’re good; if it requires a multiple of 6 you’d round to 30 or 36 after checking fit.
Two main construction methods (choose one)
- Tube method (worked in the round): Crochet a flat circle for base, then work even rounds to form a tube, fold or seam and insert elastic inside. Pros: strong, tidy, versatile for textured stitches.
- Strip method (worked flat): Crochet a rectangular strip to the correct length, wrap around elastic and seam ends. Pros: easier to work surface textures and beadwork; simple for beginners.
Both methods are shown across patterns; I’ll indicate which to use per design.
Elastic insertion options
- Sew the scrunchie fabric over a pre-tied elastic loop: easiest—stitch fabric around elastic and hide seam.
- Thread elastic and tie: thread elastic through the tube, overlap ends and stitch with several passes or use a small crimp/connector (not metal that can snap yarn). Trim excess and hide in fabric.
- No elastic (tie closure): use a hair tie cord that can be knotted — useful for scrunchie styles that double as decorative hair wraps.
Safety and bead notes
- If making for toddlers or small children, avoid small/separate bead elements that could be chewed off. Secure beads tightly and consider embroidered or crocheted bead substitutes.
1. Crochet Glow-in-the-Dark Beads Scrunchie Pattern
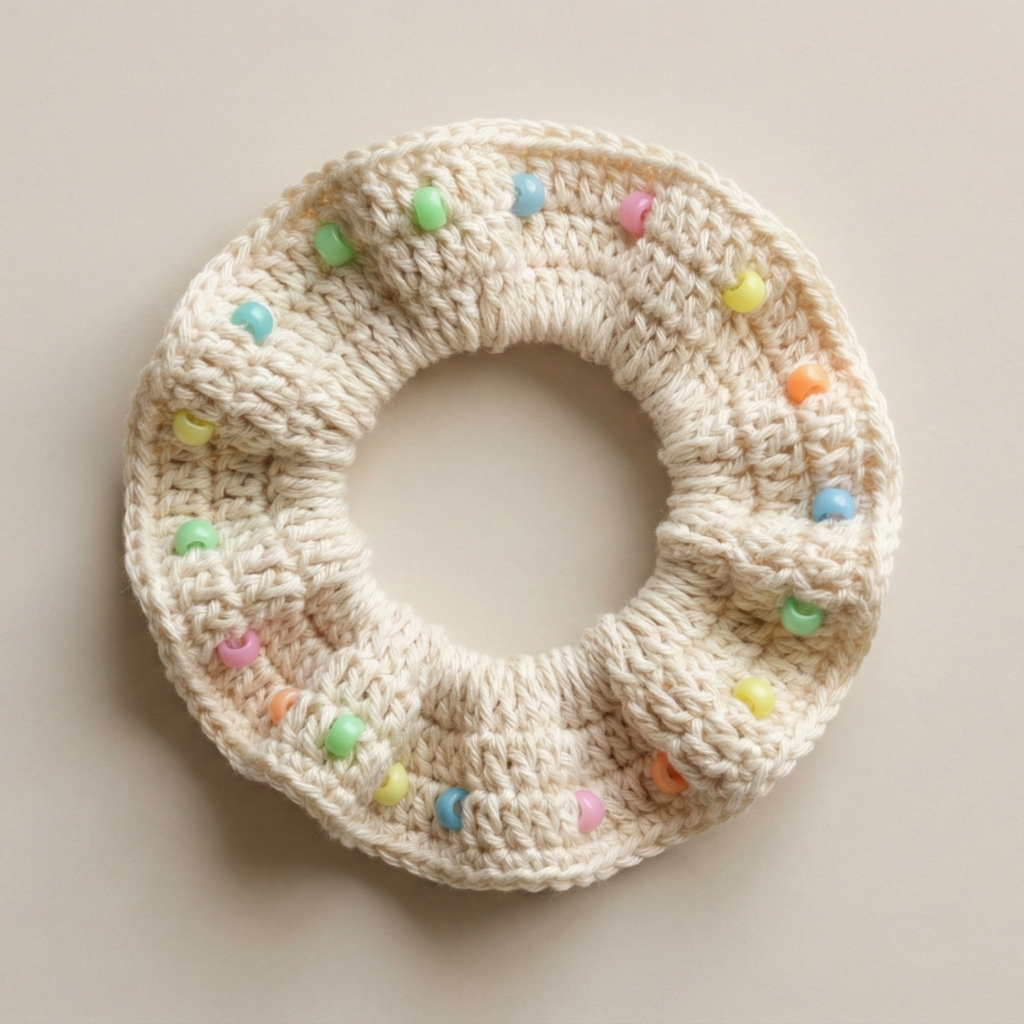
Skill level: Beginner–Confident beginner
Best for: Novelty, night events, playful styling. Works well on both thick and thin hair depending on yarn choice.
Materials (sample — tube method)
- Sport or DK yarn (glow-in-the-dark yarn if you can source, or standard yarn + glow beads) — ~20–30 yd. For a thicker scrunchie use worsted yarn ~30–40 yd.
- Glow-in-the-dark plastic beads (4–6 mm, pre-strung on yarn) or seed beads with good glow pigment. Pre-string beads onto yarn if you plan to incorporate them while crocheting.
- 4.0 mm hook (adjust based on yarn).
- 7 in hair elastic loop (adjust size for thick/thin hair).
- Tapestry needle, stitch marker.
Gauge & stitch multiple
- Example: 4 sc = 1 in (using DK with 4.0 mm). Multiple: any; choose a stitch count divisible by 4 or 8 for even bead spacing.
Construction overview
Work a short tube in single crochet with occasional integrated beads to sit on the scrunchie “ruffle” surface. Insert elastic and secure.
Step-by-step (tube method)
Pre-stringing beads
- Use a beading needle and pre-string 20–30 glow beads onto your yarn before starting (slide beads down so they’re out of the way). You can also add beads on the fly, but pre-stringing is faster.
Base round
2. MR; R1: 8 sc in MR — (8). Tighten ring.
3. R2: inc around — (16).
4. R3: sc, inc around — (24).
5. R4: sc x2, inc around — (32). Stop when base is approximately the expected diameter (see intro math).
Tube rounds
6. R5–R10 (or until tube height ~1.25–1.5″): sc around (32 sc). Place a stitch marker at start of round. For DK this will create a slightly firm tube.
Bead row / ruffle
7. R11 (bead/ruffle row): In this round incorporate beads: slide 1 bead up, sc in next st catching bead so it sits on the outside; sc in next 3 sts — repeat across so beads sit every 4 stitches. This is subtle sparkle rather than continuous. If you want a denser beaded ruffle, place bead in every 2nd sc.
8. R12–R14: sc rounds to build slight volume above bead row.
Finish tube
9. Fasten off leaving long tail.
Insert elastic
10. Using a yarn needle or safety pin, thread the elastic loop through the tube. Overlap elastic ends if needed and stitch securely (sew several tight passes if tying). Pull seam inside tube and close hole with whipstitch.
Final ruffle
11. To make the scrunchier ruffle appearance, you can optionally work one round of sc in BLO (back loop only) around the outer edge, then work a round of 2 sc in each st to increase and produce a ruffle. This increases volume around beads.
Variations & styling
- Use glow yarn for full self-glow scrunchie; combine yarn and beads for maximum effect.
- For thin hair use fewer beads and lighter yarn so scrunchie doesn’t slip; for thick hair use worsted/ larger elastic and more increases for a dramatic ruffle.
Tips for security
- Secure bead by stitching the yarn tail through the bead holes and knotting inside the scrunchie before weaving in. Use a small drop of fabric glue inside if the scrunchie is decorative only.
Care
- Hand wash gentle in cold water if using glow pigment beads; lay flat to dry. Do not boil; some glow finishes can degrade.
2. Crochet Apple-Inspired Scrunchie Pattern
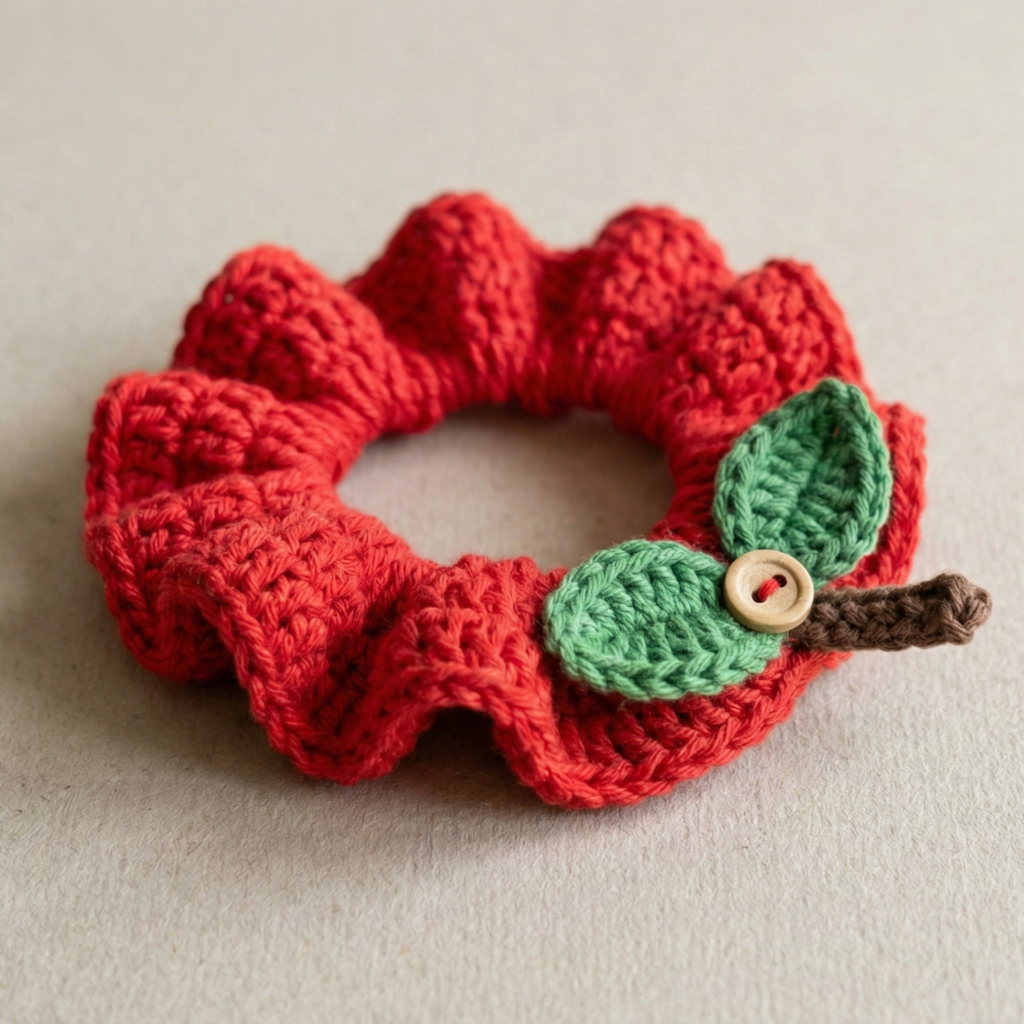
Skill level: Confident beginner (color changes + small applique)
Best for: Cute, seasonal desk-to-hair accessory. Works well on both thick & thin hair — choose yarn accordingly.
Materials (strip method recommended)
- DK cotton or acrylic in Red (apple), Green (leaf), Brown (stem) — small amounts ~10–15 yd each.
- 3.5–4.0 mm hook.
- 6.5–7 in hair elastic loop.
- Tapestry needle, stitch marker, optional small button (for center sparkle).
Gauge & multiple
- Example: 4 sc = 1 in; target fabric circumference approx 7–8 in → 28–32 sc around.
Construction overview
Make a strip with apple red body, then add small leaves and a stem appliqué sewn on; seam around elastic.
Step-by-step (strip method)
Strip base
- Foundation: chain 28 (example — compute using spi × circumference).
- Row 1: sc in 2nd ch from hook and across (27 sc). Turn.
- Rows 2–6 (or as many rows to reach about 1.25 in height): sc across in red. For thicker hair make more rows (1.5 in).
Apple texture (optional)
4. To suggest apple shape add a small textured line using front post hdc lines: Alternate rows of sc and a row where you place a line of fpdc across the center to create slight ridge — this is optional.
Leaves & stem (appliqués)
5. Make small leaf: With green, MR, ch1, 6 sc in MR. R2: [ch3, sl st into base] × 3 to make 3 small lobes OR ch5, sc back along chain to create elongated leaf. Make 1–2 leaves.
6. Stem: With brown, ch6, sl st back to make a short tube; fasten off leaving tail.
Assembly
7. Fold strip in half lengthwise around elastic and whipstitch short ends together leaving space for elastic. Insert elastic if not pre-looped then finish seam tightly.
8. Sew leaves and stem to outer gathered edge so they stick out as a small apple accent. Optionally sew a small button or bead into leaf base for sparkle.
Variations & styling
- Make a green apple by swapping body color or add tiny speckle stitches in lighter green for Granny Smith look.
- For thin hair make this scrunchie narrower (chain 20) and use smaller elastic so it sits snugly.
Care
- Machine wash gentle if cotton/acrylic; remove scrap embellishments prior to washing if unsure.
3. Crochet Mesh Lacey Scrunchie Pattern

Skill level: Intermediate (lace stitches and airy construction)
Best for: Lightweight, elegant look — great for thin hair (gentle hold) and as a decorative tie for ponytails.
Materials (tube or strip method; tube recommended for stability)
- Sport/DK cotton thread ~20–30 yd or fingering yarn for very airy look.
- 3.0–3.5 mm hook.
- 6 in hair elastic loop for thin hair; use larger elastic for thicker hair.
- Tapestry needle, stitch marker.
Gauge & stitch multiple
- Lace stitch example: V-stitch repeat (multiple of 4 + 2). Make a 4″ swatch to determine spi. The tube circumference will be smaller because mesh is open; plan accordingly.
Construction overview
A tube worked in an open V-stitch creates lots of loft without bulk. The V-stitch naturally gathers and looks lacy when sewn over elastic.
Step-by-step (tube method)
Base circle
- MR; R1: 8 sc in MR. R2: inc around to 16. R3: sc, inc → 24. R4: sc2, inc → 32 (or compute to required circumference).
V-stitch body
2. R5 (RS): ch3 (counts as dc), dc, ch1, dc all into next st (V-stitch), skip next st repeat around. Adjust spacing to keep stitch count consistent (if pattern multiple is 4, keep total stitches as appropriate). Join and continue rounds.
3. R6: V-stitch in each ch-1 space from previous round — continue until tube is ~1.5–2 in tall (shorter for thin hair to avoid slipping).
Ruffle edge
4. For delicate lace, finish with a scalloped edge: sl st, ch3, 3 dc in same st, sl st around. This gives a lacy scallop.
Insert elastic
5. Thread elastic through tube, overlap ends and stitch, then close opening and hide seam.
Variations & styling
- Make double-layer scrunchie: inner tube in elastic-wrap for hold and outer wider tube in lace for volume. This is perfect for thick hair because the outer layer gives the look while inner provides grip.
- Embellish with small sewn pearls or beads along V-stitch points (secure tightly).
Tips
- Mesh scrunchies are gentle on hair but may slip on very fine hair — add a second smaller elastic inside for grip or use a scrunchie with inner elastic knot tightened.
Care
- Hand wash, reshape while damp, and dry flat to keep scallops even.
4. Crochet Woven Watermelon Inspired Scrunchie Pattern
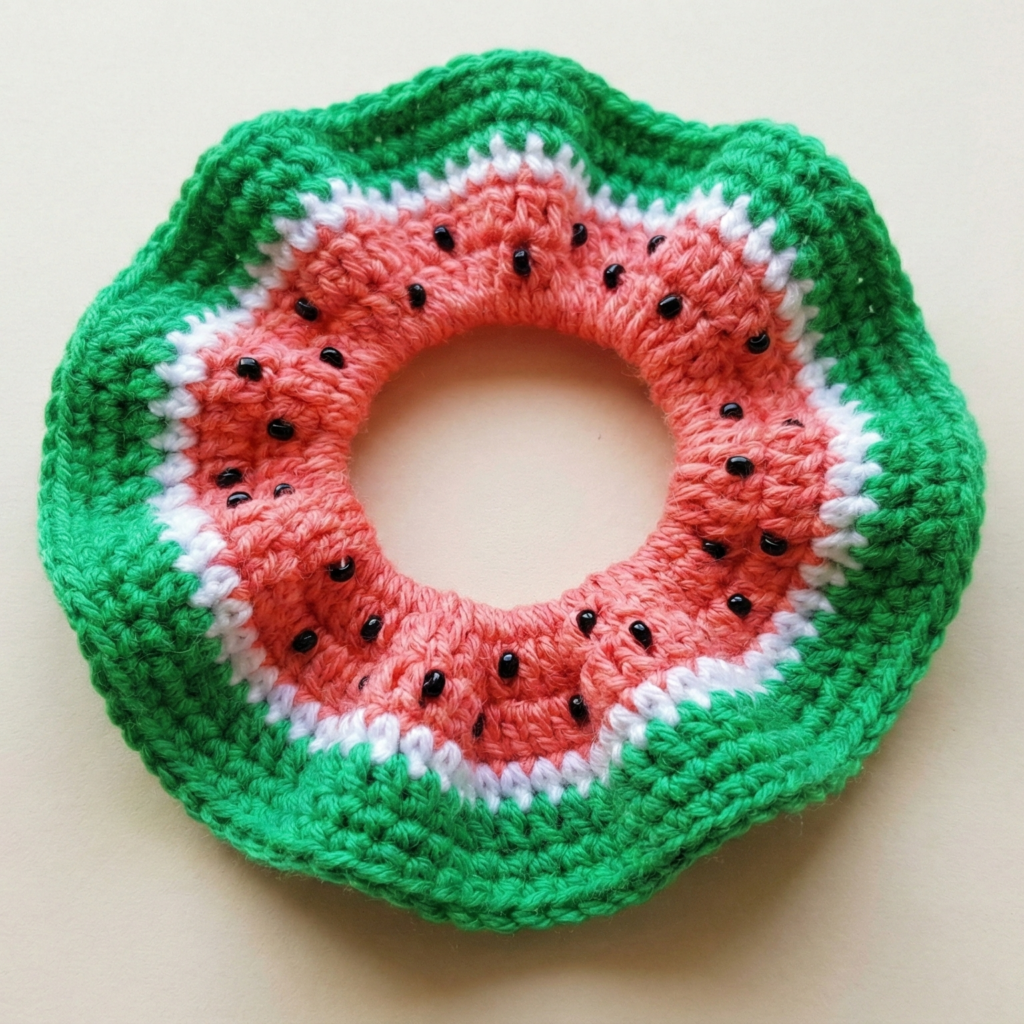
Skill level: Confident beginner (color changes & surface decoration)
Best for: Fun summer accessory — works for both hair types depending on thickness.
Materials (strip method)
- DK yarn: Coral/Pink (flesh), Dark Pink (rim), Green (outer rind), small black beads or embroidery thread for seeds.
- 3.5–4.0 mm hook.
- 7 in hair elastic loop (for fuller scrunchie use 8 in).
- Tapestry needle, small beads for seeds (optional).
Gauge & multiple
- For a plump scrunchie go heavier (worsted) with more rows. For a subtle version use DK.
Construction overview
Make a rectangular strip with horizontal color bands (green rim, pink flesh), join into a loop around elastic, sew seed beads/embroider seeds on the flesh area.
Step-by-step (strip method)
Strip base
- Chain 36 (example for 9 in circumference / adjust with calculations). Row 1: sc in 2nd ch across (35 sc). Turn.
- Rows 2–6: sc in dark pink (these are the rind rows—two small rows create a color contrast).
- Switch to coral/pink for the flesh: Rows 7–12 work in coral/pink (or more rows for fuller look).
- If you want interior white stripe, add one row of white or pale pink between rind and flesh.
Seed decoration
5. Using black embroidery thread or small black beads sew tiny seeds on coral rows in a staggered pattern. If using beads, pre-stringing is not necessary: sew beads on individually and secure with multiple passes and a knot inside scrap tail.
Assembly
6. Fold strip around pre-tied elastic and seam short ends together with whipstitch. Insert elastic if not pre-looped and close core securely. Make sure bead embellishments are well inside seam so nothing pulls loose.
Variations & styling
- Make multiple tiny watermelon scrunchies as fruit set.
- For thin hair make the strip narrower (less rows) and use smaller elastic.
Care
- Hand wash to protect beads; if machine washing, use a mesh bag and gentle cycle and test one sample first.
5. Crochet Jumbo Lace Scrunchie Pattern
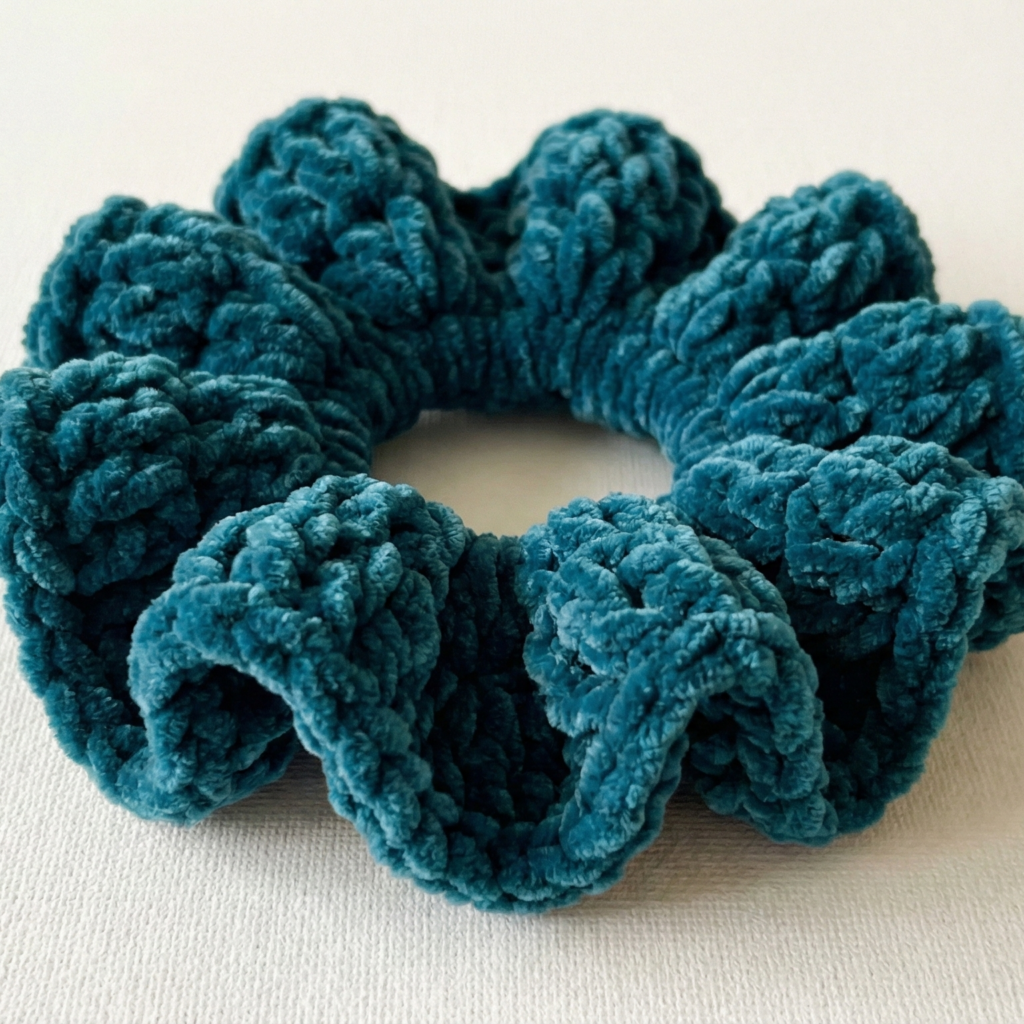
Skill level: Intermediate (working large shells/puff stitches)
Best for: Statement pieces and thick hair — jumbo scrunchie looks fabulous on a bun.
Materials (tube method or double-layer)
- Bulky chenille or velvet yarn or hold two strands of worsted together for a plush effect — ~30–50 yd.
- Hook: 6.0–8.0 mm (depending on yarn).
- 8 in hair elastic loop for thick hair; for thin hair use smaller elastic (it will still sit large).
- Tapestry needle, stitch marker.
Gauge & stitch multiple
- Shell/puff repeat: often multiple of 6 + 2. Do a 4 in swatch in your chosen stitch to find spi.
Construction overview
A large ruffled scrunchie uses big shell or puff stitch rounds to create lots of volume. Use the tube method and increase in a ruffle round for dramatic fullness.
Step-by-step (tube + ruffle)
Base circle
- MR; R1: 8 sc in MR. R2: inc around (16). R3: sc, inc around (24). R4: sc2, inc (32). Adjust to get base large enough to hold desired elastic.
Tube body
2. R5–R8: sc around (32 sc) to create stable base.
Ruffle / jumbo shells
3. R9 (ruffle round): in next st work (dc, ch2, dc, ch2, dc) — big shell, skip 1 st, sl st in next st to anchor (or sc). Repeat around and you’ll see shells producing big loops. Alternatively use puff stitch clusters: make 5-loop puff into next st, ch1 repeat. This is your ruffle row.
4. R10: Sl st across shell centers to stabilize shell edge; if you prefer more volume, add another ruffle round (double shells).
Finish tube
5. Make one or two rounds of sc to stabilize outer edge.
Insert elastic and close
6. Thread elastic through tube and secure ends (see intro elastic instructions). Tuck seam in and sew closed with yarn tail.
Variations & styling
- Fold inside-out slightly for a different ruffle profile.
- Use a contrasting inner band (work small inner tube and larger outer tube for a two-layer scrunchie).
Tips for thick hair
- Use wider elastic and more voluminous ruffle rounds. For thin hair, make only one ruffle round and choose lighter yarn to avoid slipping.
Care
- Chenille and velvet: hand wash cold, gently squeeze out water and dry flat; do not wring or machine dry.
6. Crochet Handmade Bow Scrunchie Pattern
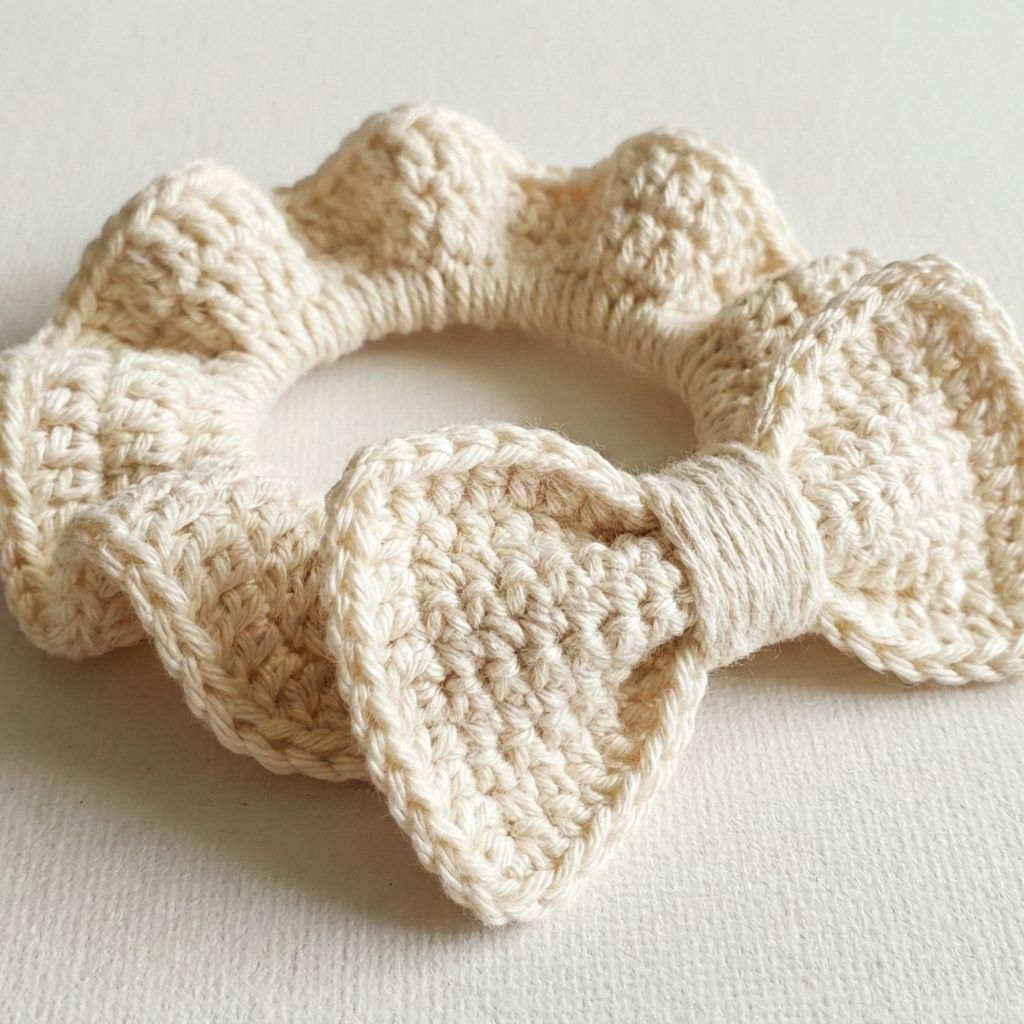
Skill level: Beginner (bow application + simple strip)
Best for: Classic, feminine look — works on all hair types.
Materials (strip method with separate bow)
- DK or worsted yarn depending on desired bulk — 20–30 yd.
- 4.0–5.0 mm hook.
- 6–8 in hair elastic loop (choose based on hair thickness).
- Tapestry needle, optional small button to attach bow center.
Construction overview
Make a basic scrunchie tube or strip, create a separate bow piece, sew bow to exterior and hide center with a narrow crocheted band or button.
Step-by-step
Scrunchie strip
- Chain 30 (or compute for circumference). Row 1: sc across. Rows 2–6: sc across until desired height (~1–1.5 in). Fold around elastic and seam. Insert elastic and close.
Bow
2. Make a rectangle: chain 18, Row 1 sc across, continue for 6–8 rows to make bow width ~1.5–2 in and length ~4–5 in depending on scale. Fasten off leaving long tail for wrapping.
3. Pinch center of rectangle to form bow shape and wrap long tail tightly around the center several times; secure tail by weaving in or stitch to underside.
4. Make narrow center band: ch 6 and sl st back to make small loop to cover wrapped center, sew ends on underside of bow to secure or sew bar directly to scrunchie.
Attach
5. Sew bow onto scrunchie firmly with multiple passes so it won’t detach with pulling. If you plan to wash frequently, attach with a removable tiny snap or button so bow can be removed and rewash scrunchie.
Variations & styling
- Make a double bow (stack two bows in contrasting color).
- Add a small charm or brooch to the bow center for a dressy touch.
Tips for thin hair
- Make the bow slightly smaller and use lighter yarn so scrunchie remains functional not too heavy.
Care
- Machine wash gentle if yarn permits; remove bow if it has non-washable embellishments.
conclusion
You now have six complete scrunchie patterns that span novelty, seasonal, elegant, and everyday looks. Final practical tips to make them polished and durable:
- Secure elastic well. Elastic is the wear point. Sew it with several passes and knot inside the seam. If you want professional finish use small crimps or fabric end caps designed for jewelry elastic.
- Weave in ends invisibly. Hide tails inside the scrunchie tube or under the seam to avoid snagging hair.
- Reinforce beadwork. If you add beads, stitch each bead with at least two passes and tie off inside the fabric. Consider sewing a tiny felt patch behind bead clusters to protect yarn.
- Double-layer for function + fashion. Combine an inner tight-grip scrunchie with an outer decorative ruffle layer for maximum hold on thick hair while keeping a pretty silhouette.
- Photographing for your blog: show scrunchie on both a wrist and in hair (bun & ponytail), include close-ups of stitches and embellishments, use consistent natural light and neutral background for color accuracy. A short GIF or 3-frame image showing stretchy action helps readers see elasticity.
- Care labels: provide simple care instructions with each pattern: e.g., “Hand wash cold, reshape and dry flat. Do not machine dry (chenille).”