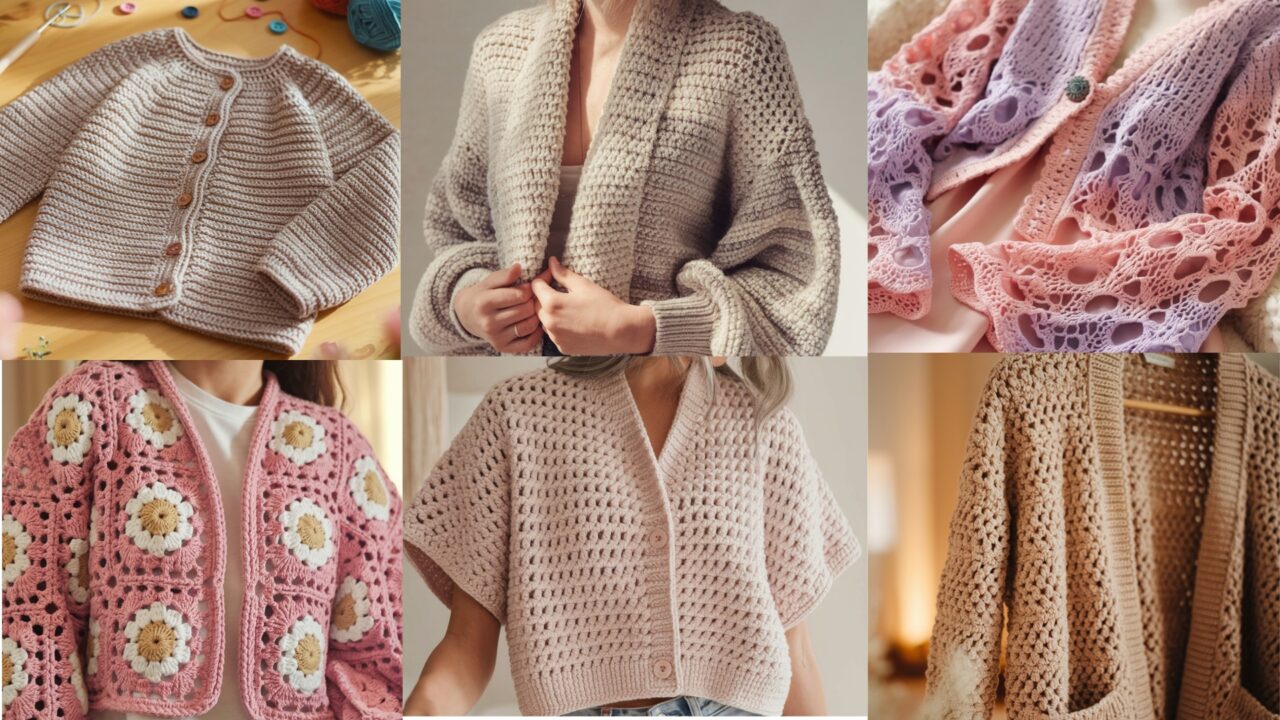
Want a classic buttoned cardigan? A cozy oversized cropped jacket? A vintage granny-daisy cover-up or a lacy drapey layering piece? This collection covers six looks: utilitarian pockets, retro crochet motifs, modern drape, and delicate lacy stitches. Each pattern is designed to be approachable — modular panels, simple shaping, and smart finishes make these weekend projects realistic.
Pick the one that matches your wardrobe, grab two skeins of main yarn and a contrasting trim yarn (if you like), and let’s make a cardigan you’ll actually wear.
1. Crochet Celsea Button Up Cardigan Pattern
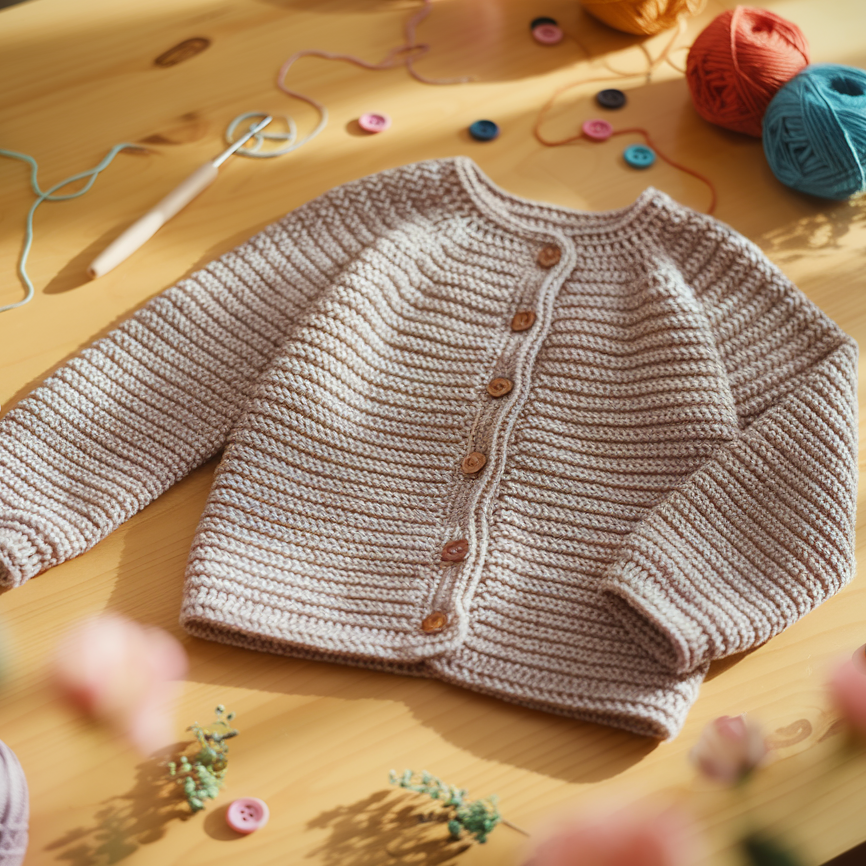
A tailored, slightly fitted cardigan with a neat button band. Classic shaping, comfortable drape—great for everyday wear.
Skill
Beginner to Intermediate (basic shaping and seaming)
Materials
- Worsted weight yarn (#4), 800–1200 yds depending on size and length
- Hook: 5.0 mm (H) — adjust for gauge
- 5–7 buttons (15–20 mm)
- Tapestry needle, stitch markers, measuring tape
Gauge
18 dc × 10 rows = 4″ in dc (adjust hook to meet gauge)
Sizing & stitch counts (approx.)
- S: cast on panel width = 42 dc across (front panels + back)
- M: 48 dc
- L: 54 dc
Pattern uses modular panels: Back panel + 2 Front panels + Sleeves.
Construction overview
Worked flat in rows: make back panel, two front panels, seamed at shoulders, pick up stitches for sleeves worked in the round or flat and seamed, add button band and collar.
Step-by-step
Back panel
- Foundation chain: ch 42 (S), 48 (M), 54 (L) + 2 for turning.
- Row 1 (RS): dc in 3rd ch from hook and across, turn. (Counts including turning ch as dc)
- Rows 2–40 (or desired length to underarm): ch 2, dc across. Repeat until panel length from base to underarm = 15″ (S), 16″ (M), 17″ (L). (Adjust for preferred torso length.)
- Fasten off.
Front panels (make 2)
Each front panel is half the back width minus a center front opening and overlap for button band.
- Foundation chain: ch 22 (S), 25 (M), 28 (L) + 2 turning.
- Row 1 (RS): dc in 3rd ch and across. Turn.
- Rows 2–40: ch 2, dc across until same height as back minus shoulder seam allowance (measure).
- On the right front panel (if wearing facing), shape button band later. Leave.
Shoulder shaping
- Seam shoulders by aligning RS of back and front panels. Seam about 5 dc from each top edge for modest shoulder width; leave neck opening in center.
Sleeves (worked flat then seamed)
- Foundation chain: ch 28 (S), 30 (M), 32 (L) + 2.
- Row 1: dc across. Work even for 6–8″ depending on arm length.
- Increase rows for sleeve cap (if you want a shaped cap): on first 2 rows decrease 1 st at each end (sc2tog at ends) until desired cap shape, or keep simple straight sleeve and seam into armhole.
- Seam underarm.
Button band & collar
- With RS facing, pick up stitches along right front edge (for left-handed mirror if needed) using a smaller hook 4.5 mm: ch 1, sc in each row end to the shoulder—work 4–6 rows of sc for a stable band.
- On the opposite front side (buttonholes): work band the same but in Row 3 make buttonholes: sc in next X sts, ch 2, skip 2 rows, sc — space holes evenly for 5–7 buttons.
- Collar: join yarn at back neck edge, pick up stitches along neck, work 4–8 rows of hdc for a neat collar or use dc for taller collar.
Finishing
- Weave in ends, block lightly to even stitches.
- Sew buttons securely, stitch seams tidy and press flat.
Tips & variations
- Add ribbed edge by working BLO hdc rounds on the cuff and bottom for a stretchy, classic finish.
- Make it longer for a duster by extending back panel length.
- Use a textured stitch (e.g., moss or waffle stitch) for extra interest: a moss-stitch body with dc bands looks classy.
2. Crochet Easy Pocket Cardigan Pattern
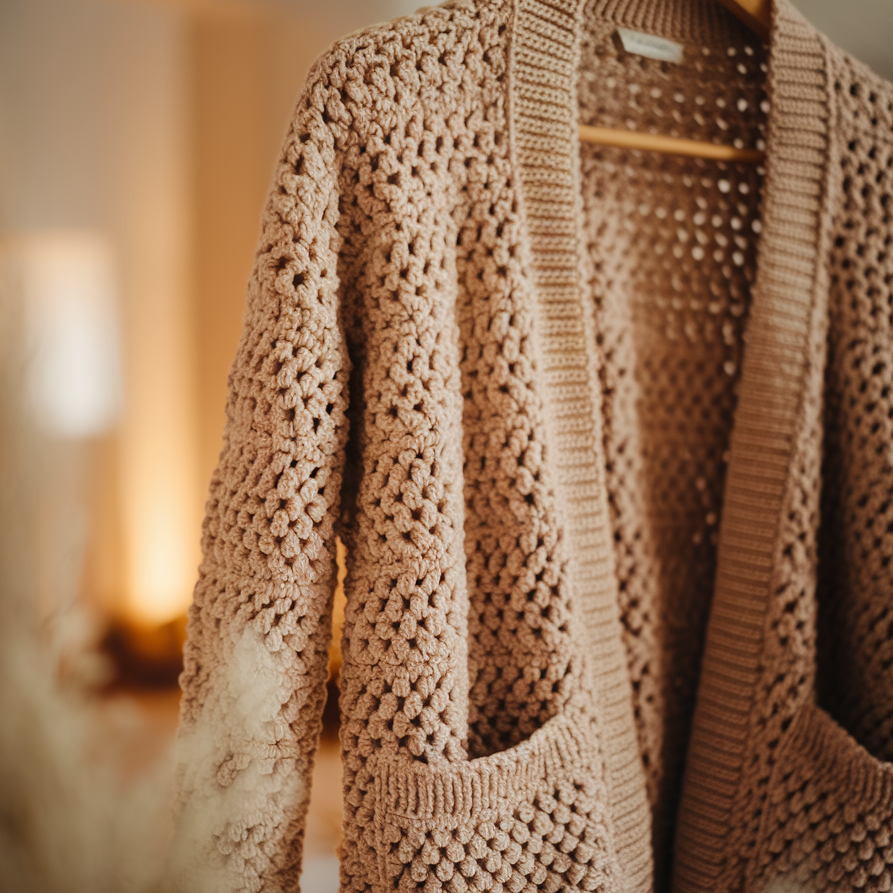
A practical, comfy cardigan with patch pockets—great for layering and gift making.
Skill
Beginner (worked mostly in simple stitches and seamed)
Materials
- Aran/worsted yarn, 900–1400 yds depending on size
- Hook: 5.5 mm (I) for drapey coverage
- Tapestry needle, stitch markers, 2 small buttons (optional for pockets)
Gauge
16 hdc × 10 rows = 4″ (hdc worked in rows)
Construction overview
Worked flat in three main pieces (Back + 2 Fronts), pockets made separately and sewn on, sleeves worked flat and seamed.
Step-by-step
Back
- Chain: ch 44 (S) / 50 (M) / 56 (L) + 2.
- Row 1: hdc in 2nd ch from hook and across. Turn.
- Rows 2–48: ch 1, hdc across. Work until back measures 16″ (S), 17″ (M), 18″ (L) from bottom hem to underarm.
Fronts (make 2)
- Chain: ch 24 (S) / 28 (M) / 32 (L) + 2.
- Row 1: hdc across; Repeat Row 1 until same back height.
- Optional pocket flap area: Leave extra stitches (2–3 rows) before finishing for a neat top pocket seam.
Pockets (make 2)
- Chain: ch 18 (or desired pocket width).
- Row 1: hdc across 17 sts; turn.
- Rows 2–10: hdc across until pocket height ~4″.
- Finish, leaving tail to sew.
Sleeves
- Chain: ch 28 (S)/30 (M)/32 (L) + 2.
- Row 1: hdc across. Work in rows until sleeve length ~17–18″ for long sleeve or 14″ for 3/4.
- Shaping (optional): decrease 1 st at each end every 6th row for tapered sleeve; otherwise keep straight.
Assembly
- Seam shoulders: mattress stitch or whipstitch.
- Set sleeves into armholes and seam underarms.
- Sew side seams.
- Fold pockets and stitch securely to front panels (center pockets 6–8″ above hem). Add small button for decorative tuck or keep open.
Hem & front band
- For a neat edge, pick up along bottom and work 2 rounds of sc.
- For button closure: add buttons and corresponding buttonholes on band (optional) or leave open as cardigan.
Styling
- Make pockets in a contrasting color for a modern look.
- Add a shawl collar by picking up stitches and working hdc rib rows (BLO then sc reverse).
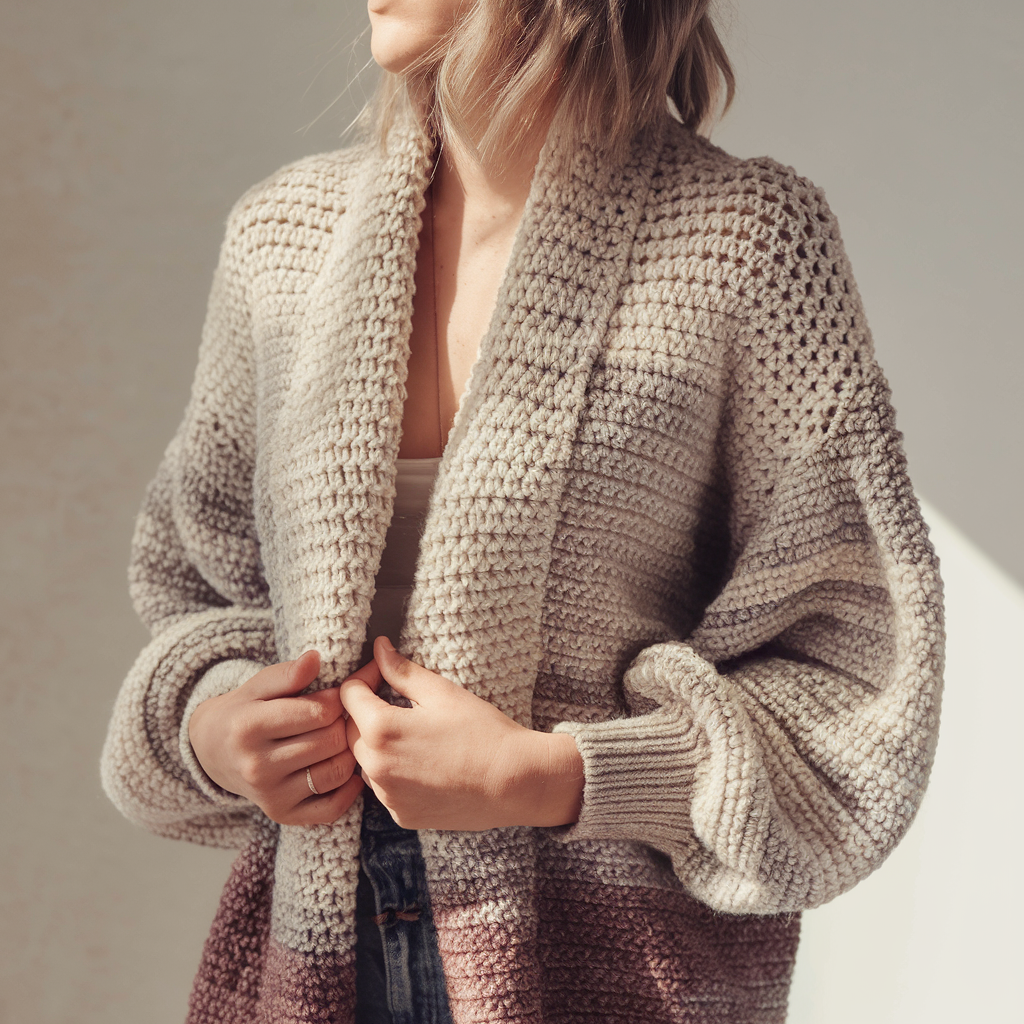
3. Crochet Beginner Oversized Cropped Cardigan Pattern
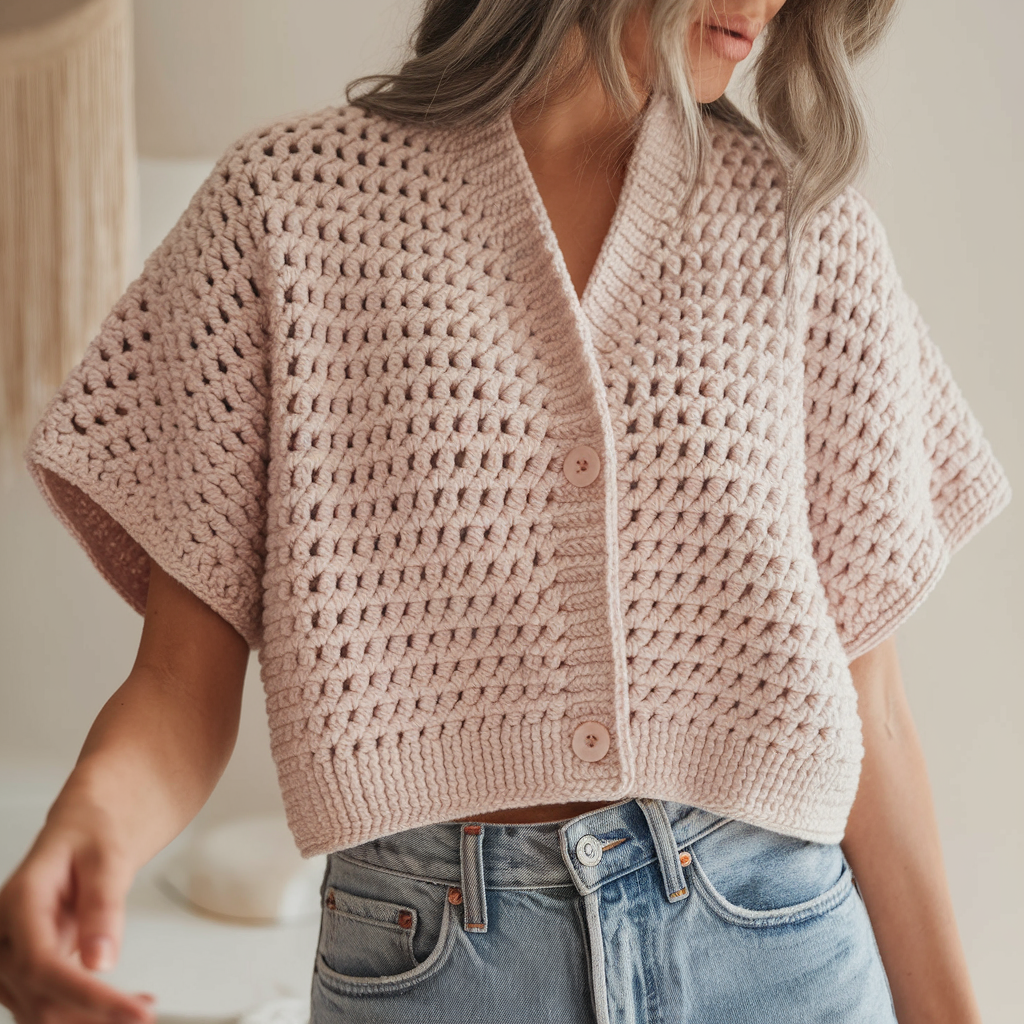
An oversized cropped cardigan—super fast, stylish, and forgiving sizing. Perfect for beginners because fit is relaxed.
Skill
Beginner (large gauge, minimal shaping)
Materials
- Bulky yarn (#5) or super bulky (#6) for very fast weekend finishes; 700–1000 yds
- Hook: 8.0 mm (L) for bulky, 10.0 mm (N) for super bulky
- Tapestry needle
Gauge
10 sc × 8 rows = 4″ in sc when using bulky yarn
Construction overview
Worked in three pieces or even as one-piece with back + two fronts joined at shoulders. Cropped length makes it quick.
Step-by-step
Back
- Chain: ch 30 (S)/34 (M)/38 (L) + 1 for sc start (bulky gauge means fewer chains).
- Row 1: sc across. Turn.
- Rows 2–12: sc across until back height = 12″ (cropped).
- Fasten off.
Fronts (2)
- Chain: ch 16 (S)/18 (M)/20 (L) + 1.
- Rows 1–12: sc across until same height as back.
- For button band: pick up additional rows of sc along center front for 2–4 rows to create folded button band effect.
Sleeves (optional drop shoulder)
- For drop shoulder look, sleeves are small simple tubes:
- Chain: ch 14 (S)/16 (M)/18 (L) + 1.
- Rows: sc across for 8–10 rows to create short sleeve or longer if desired.
Assembly
- Seam shoulders with 4–5″ left open for neck.
- Sew side seams leaving wide armholes for oversized look.
- Add ribbing: pick up stitches along bottom and work 2–4 rows of BLO hdc for folded effect.
Variations & styling
- Add tassel ties or chunky buttons.
- Make cropped + high-waist to pair with skirts or high-waisted jeans.
- Use a halo yarn (mohair blend) carried over main yarn for softness and ethereal look.
4. Crochet Daisy Granny Square Cardigan Pattern
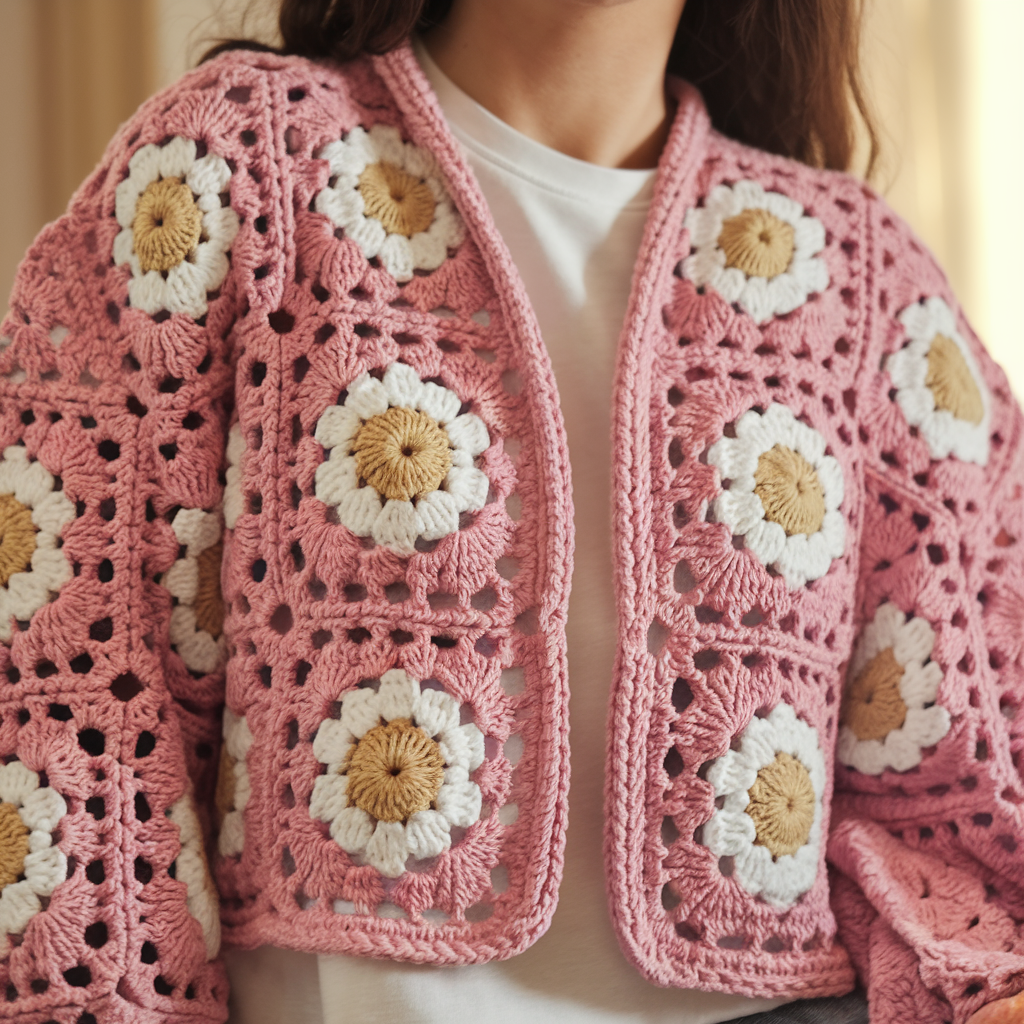
A charming granny-cardigan made of daisy granny squares joined into a retro-modern jacket. This is modular and perfect for stash-busting.
Skill
Beginner → Intermediate (joining squares)
Materials
- DK to worsted yarn in main color and contrast for daisy centers (approx 900–1400 yds depending on size and number of squares)
- Hook: 4.0–5.0 mm depending on yarn
- Tapestry needle
Gauge
Square size ~4–5″ for a 16-round granny square in worsted on 5.0 mm (make a sample square to determine)
Layout & squares needed
Create a grid layout such as 4 squares across × 3 squares down for a cropped cardi or 5 × 4 for full-length. For S (4×3), you need 12 squares; M (5×3) = 15; L (6×4) = 24 — adapt.
Daisy granny square pattern (single square)
- Round 1: MR, ch 2, 12 dc in ring, sl st to join. (12 dc)
- Round 2 (petals): ch 3, sk next st, sl st in next st around to create small loops (6 loops). Join and fasten off. (You can make more or fewer petals, or do 12 small loops.)
- Round 3 (petals filled): Join contrast color in each loop: (sc, hdc, 3 dc, hdc, sc) in each loop to form raised petals.
- Round 4: Join main color and make a square round: ch 3, 2 dc in chain corner, ch 2, 3 dc in same corner, sk to next corner pattern — create 4 corners over 4 rounds to create square frame.
- Rounds 5–8: Work granny rounds (3 dc cluster, ch 1) into corners 4 times until square measures ~4–5″.
Make required number of squares.
Assembly
- Lay out squares in chosen grid pattern.
- Join squares with whipstitch or join-as-you-go slip stitch for flat seams. Use contrasting join color for dramatic seams or same color for invisible seaming.
- After joining panels for front and back, leave armhole gaps between rows for sleeves. Add side seams leaving 7–9″ for armholes.
- Pick up stitches around neck and work 2–3 rounds of sc or hdc for collar/band. Add button band or tie.
Sleeves
- For a seamless look, crochet rectangular sleeve panels (2 squares wide × desired length) and seam into armholes.
- Or make sleeve rounds by picking up loops around armhole and working in rounds.
Styling
- Use pastel daisy colors for spring, or earthy tones for a cottagecore vibe.
- Add lace trim or scalloped edging to hem.
5. Crochet Cascade Mountain Cardigan Pattern
A dramatic drape with waterfall front and deep ribbed band for boho-chic layering. Perfect in DK yarn for elegant drape.
Skill
Intermediate (long panels, shaping)
Materials
- DK weight yarn, 1000–1500 yds depending on length
- Hook: 4.5 mm (7) for drape
- Tapestry needle, optional belt ring for waist tie
Gauge
18 hdc × 10 rows = 4″ in hdc — aim for a flexible fabric
Construction overview
Worked as two long front panels attached to a rectangular back — panels are intentionally longer at front to create waterfall effect. Sleeves are set-in or dropped depending on style.
Step-by-step
Back panel (shorter)
- Chain: ch 60 (S)/66 (M)/72 (L) + 2.
- Row 1: hdc across. Turn.
- Rows 2–36 (or desired back length): hdc across until back length = 20″ (S), 21″ (M), 22″ (L). Fasten off.
Front panels (make 2; longer)
- Chain: ch 30 (S)/33 (M)/36 (L) + 2 (each front).
- Row 1: hdc across.
- Rows 2–48: hdc across until front panels are 10–12″ longer than back (this creates cascaded waterfall fronts). You may taper the inner front edge slightly by decreasing 1 st every 8th row for a subtle curve.
Join
- Lay the back panel centered; align each front panel and seam shoulders (3–4″ seam) leaving a deep neck opening.
- Seam sides leaving armholes large for droopy sleeves.
Sleeves
- For dropped sleeve minimal seaming: pick up stitches along armhole and work rounds of hdc for sleeve tube until desired length (7–18″ depending on short or long sleeve).
- Alternatively, make separate sleeves and sew in.
Edge finishing
- For a deep rib band: pick up stitches along front edge and work BLO hdc rows in back-and-forth until band width = 3–4″ to weight cascade and create structure.
- Add a tie belt loop at side if desired for adjustable silhouette.
Styling & variations
- Use a lacy stitch for body (shell or V-stitch) for lightweight summer cardigan with dramatic fall.
- Use gradient yarn cakes for mountain-peak color transitions.
6. Crochet Lace Cardigan Pattern
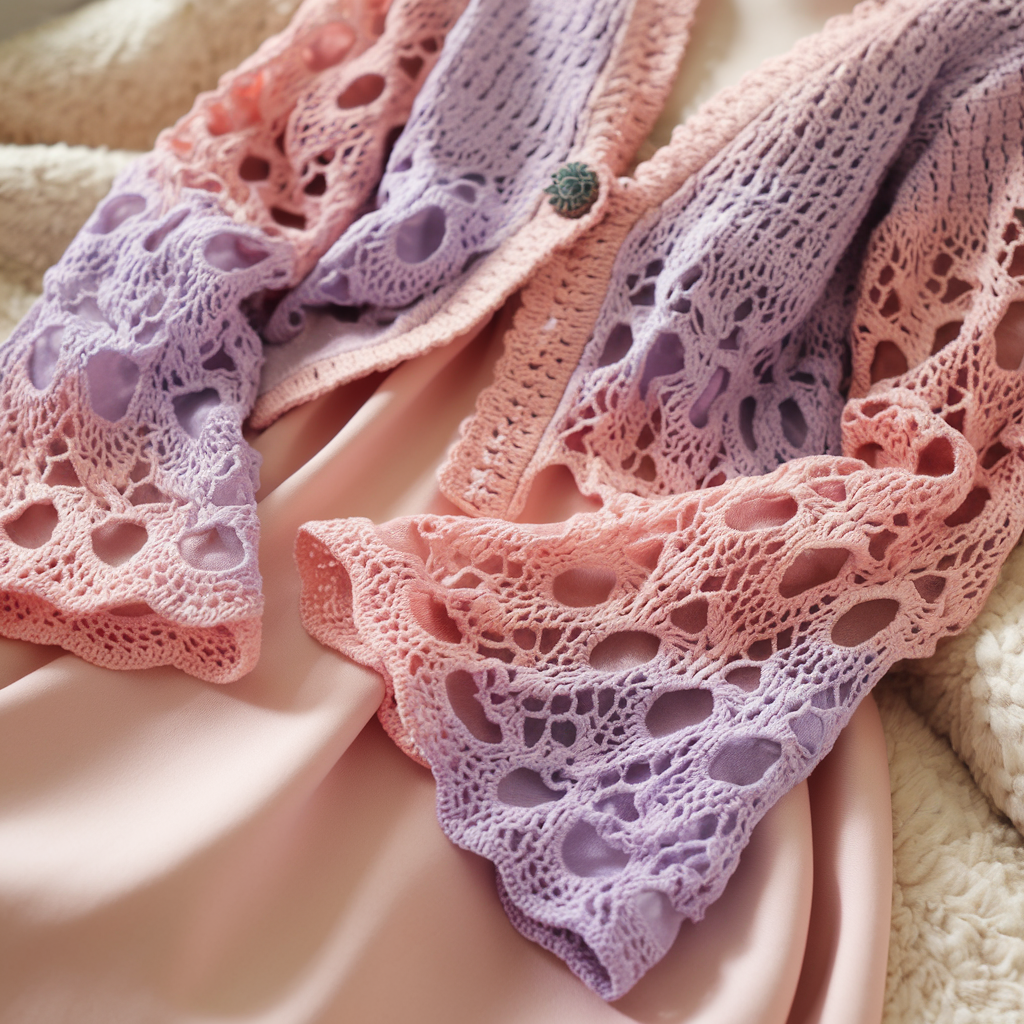
A delicate openwork lace cardigan — light, romantic, and perfect for layering over summer dresses or evening wear.
Skill
Intermediate (lace repeats, blocking recommended)
Materials
- Sport/DK yarn for airy lace (or fingering for a filigree cardi) — 900–1400 yds depending on length and yarn weight
- Hook: 3.5–4.5 mm depending on yarn
- Blocking pins, large blocking surface
Gauge
Pattern gauge will vary by lace pattern; sample swatch 24 dc lace pattern = 4″
Lace stitch sample (easy shell + chain openwork)
Repeat (multiple of 6 sts + 4):
- Row 1: sc in next st, ch 3, sk 2, sc in next st across
- Row 2: ch 3 (counts as dc), 5 dc in ch-3 sp, ch 3, sc in top of next sc across — shells intersecting for lacy field.
Construction overview
Worked as back + two fronts in lace repeat. Optional scalloped hem, long bell sleeves or 3/4 sleeve.
Step-by-step
Back
- Chain: based on repeat: ch 64 (S)/70 (M)/76 (L) + 4.
- Row 1: sc in next st, ch 3, sk 2, sc in next st — set up base.
- Row 2: ch 3, shell in ch-3 space: (5 dc), ch 3, sc; repeat across.
- Continue lace repeat rows until back measures 20–22″ or desired length.
Fronts (2)
- Chain half the back width plus band allowance: ch 34 (S)/38 (M)/40 (L) + 4.
- Work lace repeats for same number of rows as back but stop 3–4″ earlier for shaping if you want smaller overlap at front. Left front will include a band.
Sleeves
- Work two rectangular panels in lace stitch for sleeves: chain base equal to armhole width and row until sleeve length desired, seam sides leaving armhole curve.
- Alternatively pick up around the armhole and work rounds of lace until sleeve length.
Edging & band
- For a refined look, pick up stitches along front opening with a smaller hook and work 4–6 rows of sc or picot for a delicate edged band. For a decorative finish, work a scalloped shell border: sk 2, 5 dc in next st, sk 2, sl st.
Blocking
Block gently to open lace and set pattern: pin to measurements and spray or wet block.
Styling
- Add a tie at the waist or a single decorative button at bust line.
- Make in sunrise pastels for wedding cover-ups or in black/navy for evening layering.
FINISHING TIPS FOR ALL CARDIGANS
- Seams: mattress stitch creates invisible joins on flat pieces. Weave ends into seam for stability.
- Blocking: especially crucial for lace and Granny cardigans — wet block to final measurements to even stitches. Use pins and a surface that breathes.
- Edges & bands: pick-up technique: insert hook under the horizontal bars along edge to create neat bands. Use smaller hook for tighter band.
- Buttons: reinforce button area with a short strip of fabric (optional) or work an extra row of sc for a stable button band.
- Care: follow yarn label. For handwash-only wool, be gentle and dry flat. Superwash blends are machine-washable and great for wearable everyday pieces.
Conclusion
All six cardigans above are designed to be approachable weekend makes — pick a bulky yarn for speed or a DK/fingering yarn for a lighter piece. Start with a swatch to lock in gauge, choose the silhouette that matches your wardrobe, and set aside a focused weekend (or two relaxed evenings) to complete your project. Cardigans are wardrobe heroes: they layer, they style, and they make fantastic handmade gifts.