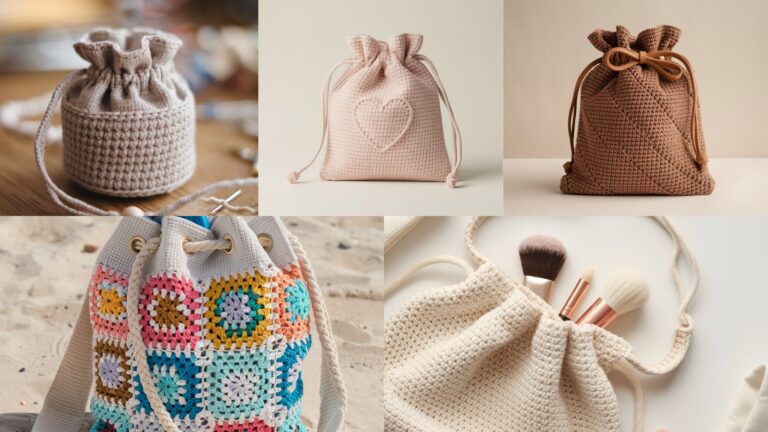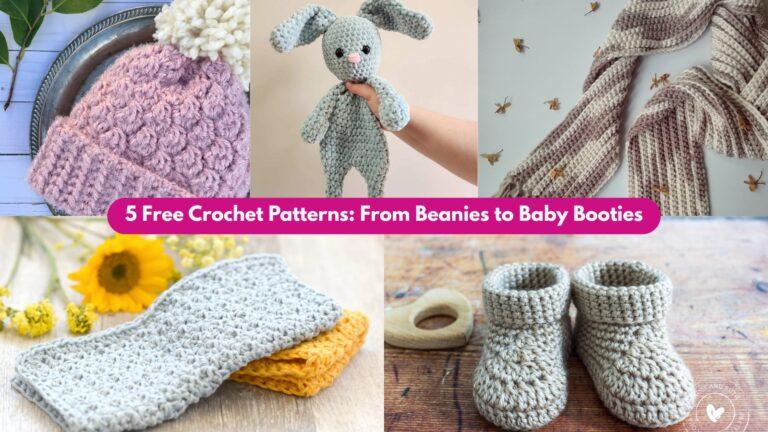
Small crocheted wallets are perfect little gifts: practical, portable, and a fun way to show off texture, colorwork, and tiny finishing skills. Below you’ll find a friendly introduction that covers yarn, hooks, measurements, and construction approaches, followed by six complete wallet patterns with materials lists, skill levels, exact step-by-step instructions (including stitch-count math examples), finishing and lining tips, variations, care instructions, and styling ideas. Each pattern is written so you can make a polished wallet start-to-finish.
Quick Intro — materials, tools, sizes, and construction approaches
Typical finished sizes
- Card wallet / coin wallet: ~4″ × 3″ (10 × 7.5 cm) — fits a few cards + cash.
- Slim wallet / phone pouch: ~7″ × 4″ (18 × 10 cm) — fits phone or more cards.
Decide the target size first and swatch your stitch to compute stitch counts.
Yarn & fiber choices
- Cotton / mercerized cotton — best for crisp edges, structure, and washability.
- DK / worsted cotton-blend or acrylic — good for a softer, slightly stretchy wallet.
- T-shirt yarn or rope — makes a sturdy, structured pouch (no lining needed).
- For a vintage or fancy finish, use cotton thread (#10) and a small hook for lace details (but line the wallet for durability).
Hooks & notions
- Crochet hooks (3.0–5.5 mm depending on yarn), tapestry needle, stitch markers.
- Small zipper (4–7 in / 10–18 cm) or snaps/magnetic closure, interfacing fabric for lining (optional), lining fabric (cotton or canvas), small D-ring or keyring if you want a wristlet.
- Optional: small beads, pearls, or sequins for embellishment (sew on, do not glue).
Gauge & math (always swatch)
Make a small swatch in your chosen stitch and measure stitches per inch (spi) horizontally and rows per inch (rpi) vertically. Use those numbers to compute foundation chains.
Example (digit-by-digit):
- If your swatch measures 16 sc = 4 in, stitches-per-inch = 16 ÷ 4 = 4 sc/in.
- For a wallet width target of 4 in you need 4 × 4 = ?
- 4 × 4 = 16 stitches.
- If your stitch repeat requires a multiple (e.g., multiple of 3), round to the nearest multiple and adjust length slightly.
Construction approaches
- Flat rectangle, folded & seamed — crochet a rectangle equal to twice the wallet height + flap. Fold and seam sides; add zipper or button. Easiest for beginners.
- Worked in the round as a tube — seamless tube with bottom circle or closed round; good for coin pouches.
- Motif assembly — granny squares or hex motifs joined together for a patchwork wallet; fun and decorative.
- Embellished applique — crochet a plain wallet base and add flowers, cherries, beads, or embroidery.
1. Crochet Grape Inspired Shell Stitch Wallet Pattern
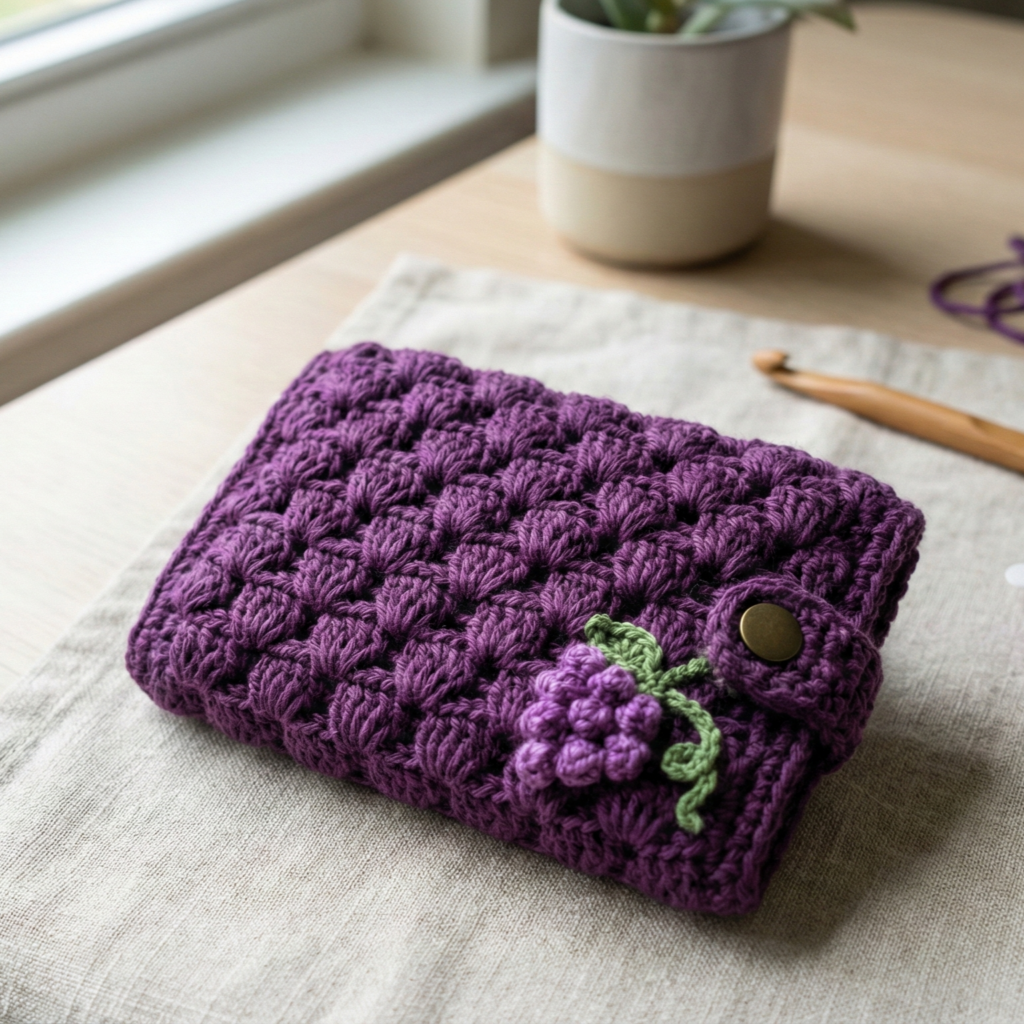
A textured, feminine wallet with shell-stitch body that reads like grape clusters. The shell stitch gives a pleasing scalloped look and a soft squashy fabric that’s great for a small card wallet.
Skill level: confident beginner → intermediate
Finished size (sample): 4″ wide × 3.5″ tall (folded)
Materials
- DK cotton yarn — ~70 yd.
- Hook: 4.0 mm.
- 4″ zipper (optional), tapestry needle, fabric for lining (cotton), spray-starch (optional).
Stitch notes
Shell stitch used here: (5 dc) in same stitch, skip 2, sc in next — adjust fan size for tighter/looser shell.
Step-by-step
A — Swatch & compute (example)
- Swatch 20 shells across and measure width. Suppose gauge = 4 shells = 2 in → shells-per-inch = 4 ÷ 2 = 2 shells/in. For target width (open) of 8 in (so folded width 4 in), you need 2 × 8 = 16 shells across. If each shell uses 6 foundation chains, chain 16 × 6 = 96 foundation chains. (You can also work base in sc then convert; choose which is easier.)
B — Make the rectangle base
2. Foundation: ch 96 (or foundation chain matching your shell repeat). R1: sc across, turn. R2: ch3 (counts as dc), skip 2, 5 dc in next st (shell made), skip 2, sc in next st repeat across. End with sc. Continue R2 for 8–10 rows until rectangle height = 7 in (so when folded you’ll have ≈3.5 in pocket height). Adjust rows for your yarn and hook.
C — Fold & seam
3. Fold rectangle so shells face outward and edges align. Using yarn and tapestry needle, whipstitch sides together leaving top open (or insert zipper before seaming: see finishing). Weave ends.
D — Optional lining
4. Cut lining fabric slightly smaller than pocket interior and hand-stitch lining inside the wallet for polish. Use small backstitches for durability.
E — Closure
5. For zipper: after making rectangle, with wrong sides out, place zipper along fold and sew by hand (small whipstitches), then seam sides leaving zipper ends accessible. Or add a snap/magnetic button centered on flap.
Finishing & variations
- Add small grape-style bead cluster appliqué in one corner: crochet 5 tiny popcorns and sew them as grapes + tiny leaf.
- Make mini versions as coin pouches by reducing row count and adding a zipper on top.
Care
Machine wash gentle for cotton; reshape when damp.
2. Crochet Granny Stripes Wallet Pattern
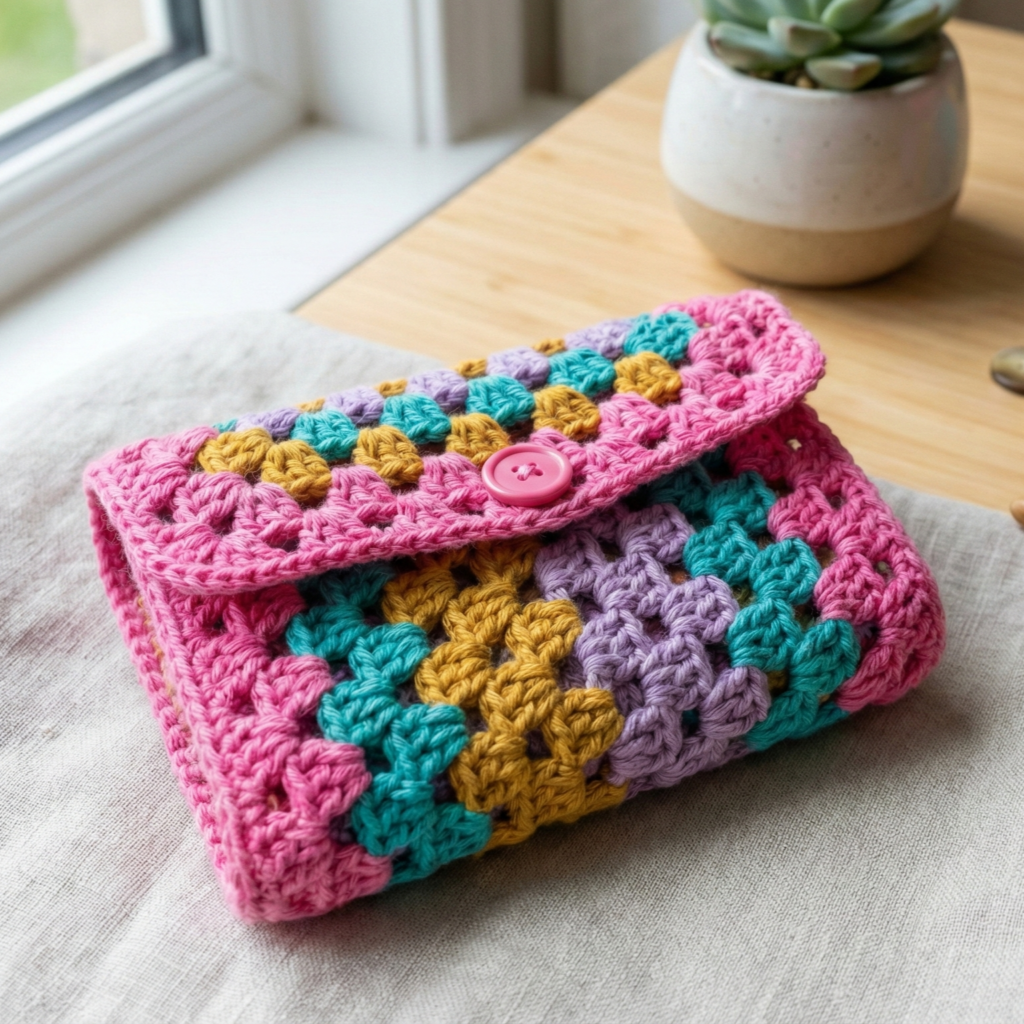
Retro granny-stripe vibes make this wallet bright and stash-friendly. Use stripes of granny stitch (clusters) for quick texture and bold color.
Skill level: confident beginner
Finished size (sample): 4″ × 3.5″ folded wallet (two panels)
Materials
- DK yarn in 3–4 contrasting colors — ~80–100 yd.
- Hook: 4.0 mm.
- Small snap or button, lining fabric (optional).
Step-by-step
A — Make two granny stripe panels
- Each panel will be about 4″ wide × 3.5″ tall folded (so make 8″ × 3.5″ rectangle so you can fold in half for a flap) OR crochet one long rectangle and fold in half to make two interiors plus flap.
- Foundation: ch foundation for desired width. Example: if gauge in sc = 4 sc = 1 in and target open width = 8 in → 4 × 8 = 32 stitches. Ch 32 + 2 turning ch.
- Row 1 (granny stripe base): sc across. Row 2: ch3, skip 2, 3 dc in next st (granny cluster), ch2, 3 dc in next, skip 2 repeat for granny cluster columns; adjust to fit width. Work 6–10 rows for rectangle height, changing color every 2 rows for stripes. Block lightly.
B — Fold, seam & flap
4. Fold rectangle so top third becomes flap (e.g., fold bottom 4″ up and leave 1.5–2″ flap). Sew sides leaving pocket. Add snap or button to close flap.
C — Lining & edge
5. Optional: add fabric lining sewn to inside edges. Topstitch with sc around flap edge using contrasting yarn for a playful look.
Variations
- Add tiny granny square appliqués to flap for extra retro charm.
- Make vertical stripes instead of horizontal by changing striping direction.
Care
- Cotton/granny textures: machine wash gentle, lay flat to dry.
3. Crochet Cherry Amigurumi Wallet Pattern
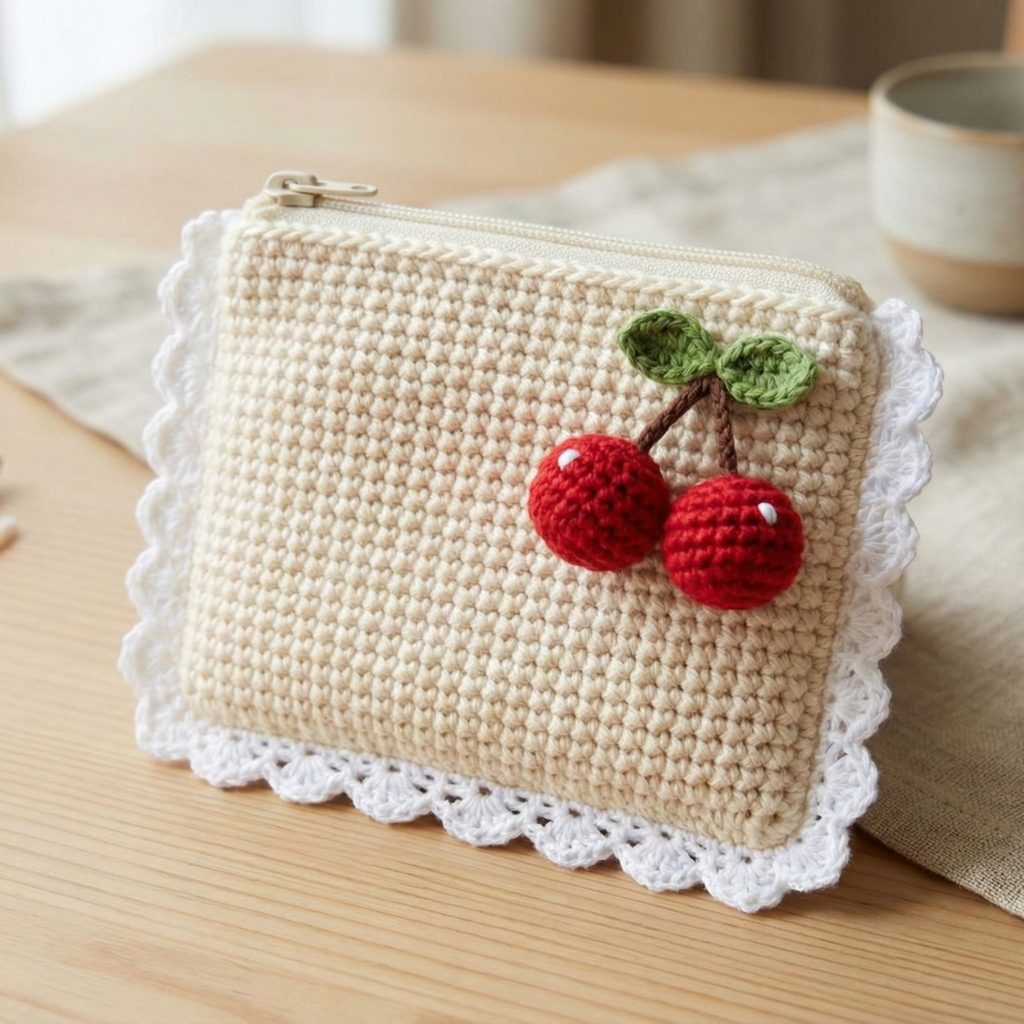
A cute, playful wallet shaped like a cherry pair — perfect for kids or themed gifting. This is a small amigurumi-style pouch with a zipper along the back or top.
Skill level: intermediate (amigurumi shaping + assembly)
Finished size (sample): ~4″ diameter cherry pair pouch, about 1.5–2″ depth
Materials
- DK cotton: red (body), green (leaf/stem), brown (stem) — small amounts ~80 yd total.
- Hook: 3.5 mm.
- 4″ zipper, stuffing (small amount), tapestry needle, small beads or embroidered detail for seed/shine.
Step-by-step
A — Make two cherry spheres (amigurumi)
- Make each cherry: MR, 6 sc in ring. R2: inc around → 12. R3: sc1, inc → 18. R4: sc2, inc → 24. R5–R7: sc around (3 rounds) for body. R8: sc2, dec → 18. R9: sc1, dec → 12. Stuff lightly. R10: dec around → 6. Fasten and leave tail with which you’ll sew to base. Repeat for second cherry.
B — Join cherries together into a small pouch
2. Sew cherries side-by-side, leaving the joined seam as the back/top seam to insert a small zipper. Alternatively, crochet a small flat bottom disc (make a circle) and sew each cherry to the disc so they form a twin cherry pouch with a small cavity between them for cards/coins.
C — Add zipper
3. For zipper on the back seam: before fully closing seam, position zipper with teeth aligned to seam opening and sew in by hand using strong thread. Make sure zipper pulls are outside and can be opened easily.
D — Stem & leaf
4. Stem: ch8, sc back along chain to make small tube; attach at top center between cherries. Leaf: ch8, sc in 2nd ch and across tapering decreases to shape leaf; attach near stem.
E — Lining
5. Because of seams and zipper, line interior with small fabric piece cut to fit cherry cavity. Sew lining inside around zipper seam to hide stitches.
F — Finishing
6. Add tiny embroidered shine dots on cherries with white thread or sew on small seed beads (securely).
Variations
- Make single-berry coin pouch by crocheting one sphere with a flat back and zipper across the back.
- Scale up for a larger novelty purse.
Care
Hand wash recommended because of stuffed elements and zipper; air dry.
4. Crochet Pearl and Flower Vintage Wallet Pattern
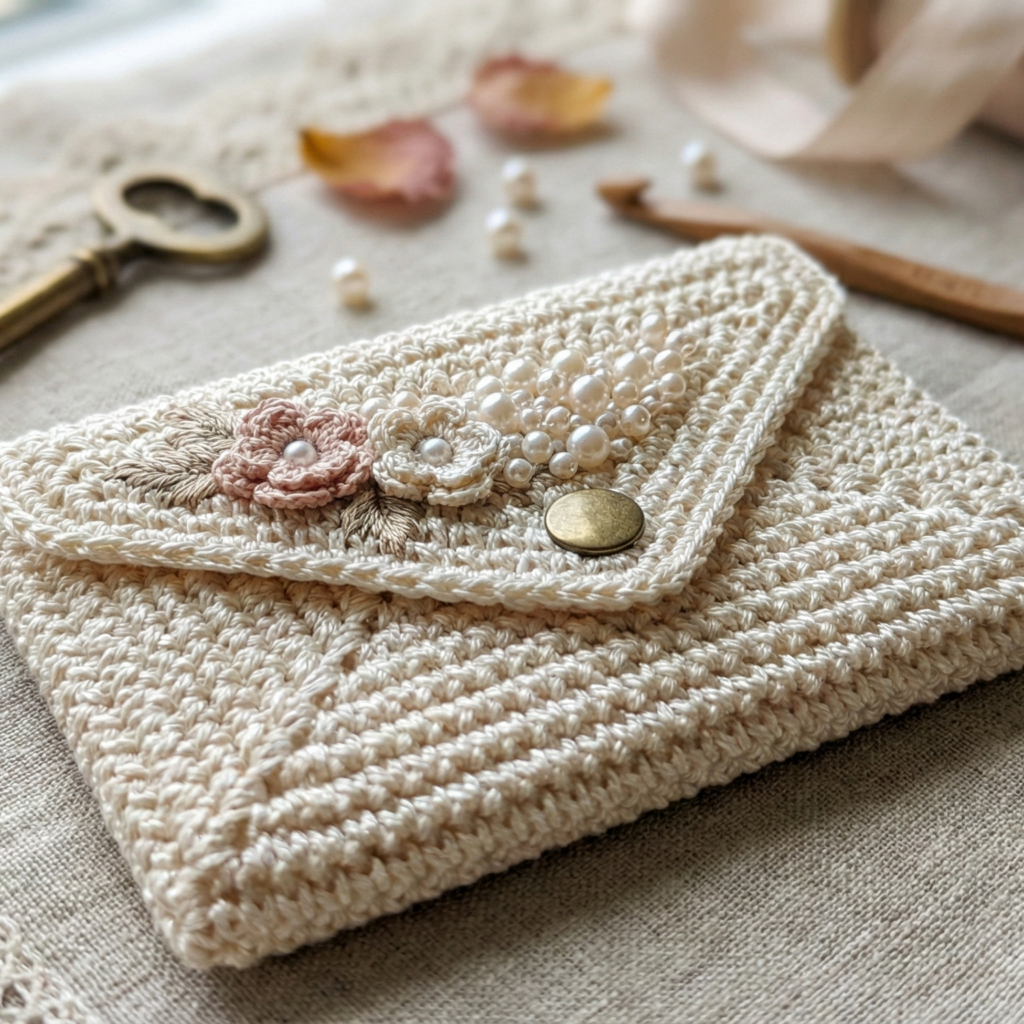
An elegant, vintage-inspired wallet that combines beadwork and a small crocheted flower on a simple envelope-style base. Perfect for special occasions or bridesmaid gifts.
Skill level: intermediate (beading + applique + lining)
Finished size (sample): 4″ × 3″ folded wallet
Materials
- Sport/DK mercerized cotton for sheen — 80–100 yd.
- Small seed pearls or pearl beads (10–20).
- Hook: 3.5 mm.
- Small snap or magnetic clasp, lining fabric (silk or cotton), interfacing for structure.
Step-by-step
A — Make the envelope body (flat rectangle)
- Decide open rectangle size. Example: for folded 4″ width × 3″ height folded, open rectangle should be 8″ × 3.5″ (add seam allowance). If gauge is 4 sc = 1 in, and you need 8 in width → 4 × 8 = 32 stitches foundation. Chain 32 + 1.
- R1: sc across; continue sc rows until rectangle height ≈ 3.5″. Finish.
B — Add pearl embellishment
3. Option 1: sew pearls onto front before lining — mark a gentle cluster or a diagonal line and attach pearls with normal sewing thread, passing through yarn several times per bead.
- Option 2: crochet a chain and intersperse beads while working (use a beading needle to slide bead onto yarn then crochet over it).
C — Flower applique
5. Small crochet flower: MR, ch1, 6 sc in MR; join. R2: ch4, sl st into next st around to make loops; R3: in each loop work (sc, hdc, 3 dc, hdc, sc). Make one or two small flowers and sew near pearl cluster.
D — Fold & lining
6. Fold rectangle and sew sides leaving flap. Add interfacing to lining fabric for structure; hand-stitch lining into interior. Sew in a small magnetic clasp or snap in center for closure (sew both halves through the lining and the wallet base so the metal doesn’t chafe yarn).
E — Finishing
7. Edge topstitch with sc around flap for crisp edge. For extra polish, embroider a tiny vine or leaf stem from which pearls & flower appear to grow.
Variations
- Use a single larger focal pearl in the center of a rosette.
- Make a matching coin pocket inside (small rectangle with button closure).
Care
Spot clean for beadwork; hand-wash lining carefully.
5. Crochet Checkered Strawberry Wallet Pattern
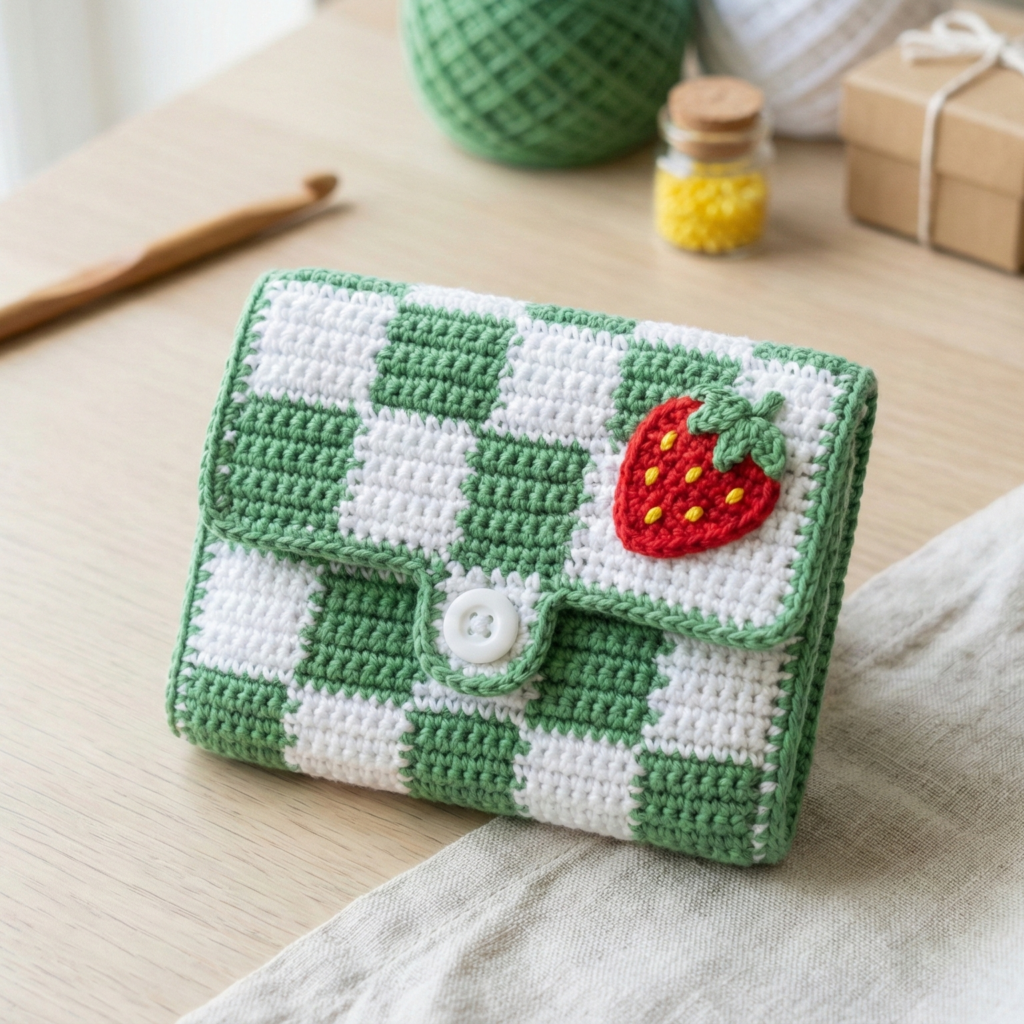
A fun combination of colorwork checkboard and small strawberry appliqué for a summery themed wallet.
Skill level: intermediate (tapestry crochet or color changes + applique)
Finished size (sample): 4″ × 3.5″ folded wallet
Materials
- DK cotton in white, green, red — ~80 yd total.
- Hook: 4.0 mm.
- Small snap or button, lining (optional), tapestry needle.
Step-by-step
A — Make checkered rectangle
- Work a flat rectangle in single crochet using tapestry (carry) technique or frequent color changes to make small squares. Determine the number of stitches per square from your gauge. Example: if you want 8 squares across and open width is 8 in, then each square is 1 in; if gauge 4 sc/in → 4 sc per square. Chain accordingly.
- Row pattern: for each square, change color after sc count for square width, carry unused yarn inside or tie off (weave ends later). Continue rows alternating colors to make a checkboard.
B — Fold & seam
3. Fold rectangle and seam sides leaving top open for pocket. Add snap or button.
C — Strawberry applique
4. Mini strawberry: MR, ch1, 6 sc in ring; R2: inc around → 12 sc. R3: sc1, inc around → 18 sc (shape into teardrop). Fasten off leaving long tail. Sew onto front pocket. Add little French knot seeds with yellow thread or tiny yellow seed beads.
D — Leaf cap
5. Make a small leaf with green yarn: ch6, sc back along chain with tapering decreases to form leaf. Sew at strawberry top.
E — Lining
6. Add lining if you like to avoid color carry showing through; this also hides ends.
Variations
- Use pastel colors for a softer aesthetic or bold red/black checks for a retro look.
- Make a matching keychain pouch using the same motif.
Care
Machine wash gentle for cotton, reshape damp.
6. Crochet Retro Heart Wallet Pattern
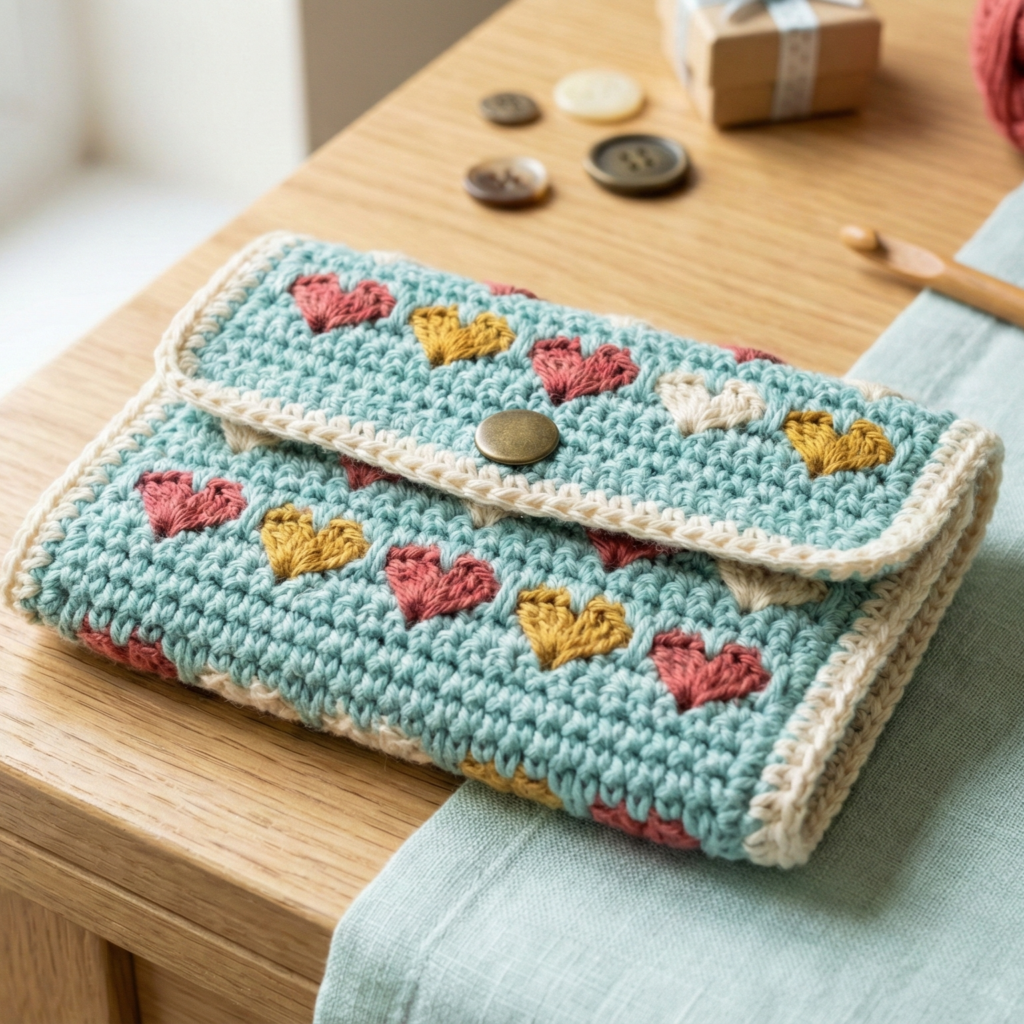
Classic, playful hearts integrated in a retro palette — a bright small wallet that’s great for teen markets or seasonal gifting.
Skill level: confident beginner → intermediate
Finished size (sample): 4″ × 3.5″ folded
Materials
- DK yarn in background + heart color(s) — ~80 yd.
- Hook: 4.0 mm.
- Small snap or magnetic clasp, lining fabric.
Step-by-step
A — Chart hearts or make appliqués
Option 1 — Tapestry hearts in fabric: plan a small heart graph (e.g., hearts 7 × 7 blocks). Work rectangle in sc and change colors per grid, following the heart chart. Example: if each heart block is 5 sc wide and you want 6 hearts across, compute width accordingly from gauge.
Option 2 — Make applique hearts: Crochet small heart motifs (MR, ch3, 3 dc in ring, ch1, sl st etc. or small hearts patterns available), then sew them onto a plain wallet base. This is simpler and avoids color-carry inside.
B — Make base rectangle
2. Using gauge and desired open width, chain foundation and work sc rows until rectangle height fits folded wallet. Fold, seam sides.
C — Attach hearts & finish
3. Sew hearts evenly spaced on flap or front. Add small piping of contrast color sc around edges to frame hearts. Install snap or magnetic closure.
D — Variations
- Ombre hearts (gradient yarn) for a modern twist.
- Add a wristlet: crochet a strap, sew into side seam and attach small D-ring.
Care
Wash gentle; line dry.
Final finishing tips — lining, closures, and presentation
- Lining: adds structure and longevity. Cut lining fabric slightly smaller than crochet interior, turn edges under, and sew in place using small invisible stitches. Use light interfacing for extra stiffness on wallets that hold cards.
- Closures: zippers give security for coins; snaps or magnets give clean envelope styles; buttons are decorative — reinforce with felt or interfacing to avoid yarn stretching.
- Reinforce corners and stress points with a couple of extra stitches through lining and exterior yarn.
- Blocking: block flat rectangles before folding — this evens edges and helps seams line up.
- Presentation: tuck wallet into a small kraft gift box with tissue paper and a care note (fiber content + cleaning). Small gift sets (wallet + scrunchie + keychain) make great bundles.
conclusion
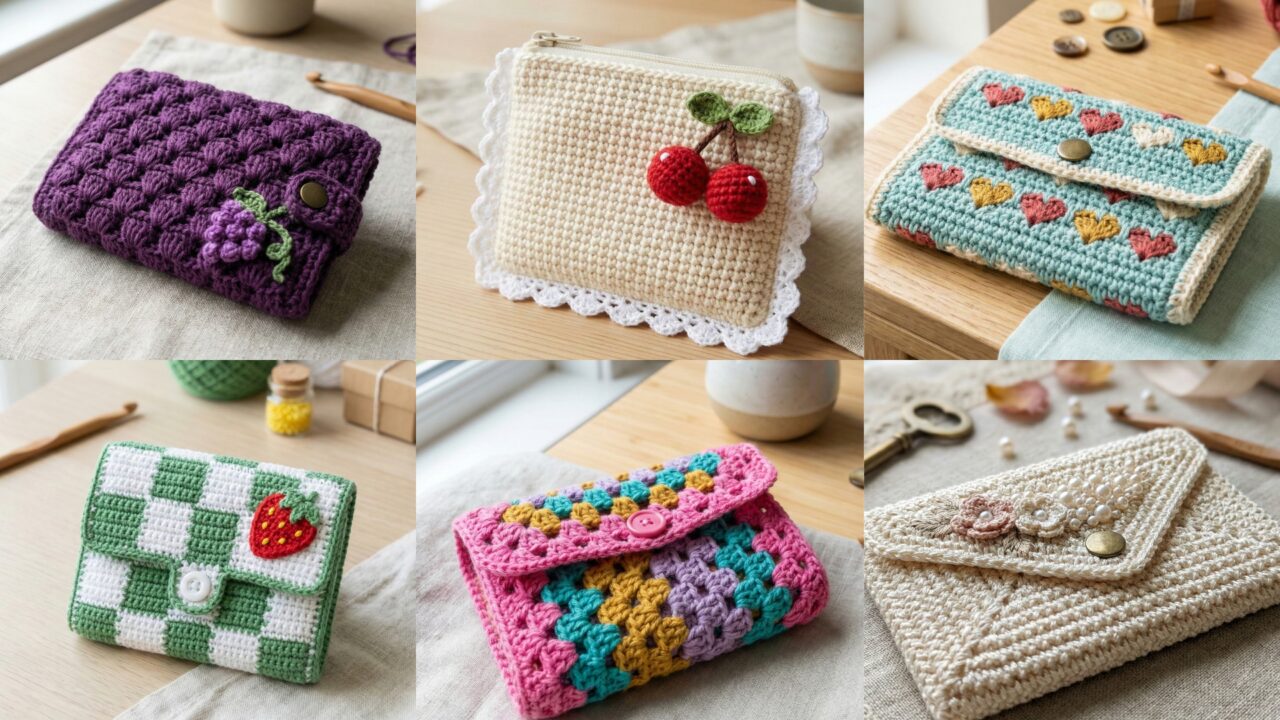
You now have six polished small wallet patterns to add to your blog: the textured Grape Shell Wallet, the colorful Granny Stripes Wallet, the playful Cherry Amigurumi Pouch, the refined Pearl & Flower Vintage Wallet, the summery Checkered Strawberry Wallet, and the cheerful Retro Heart Wallet. Each pattern includes sizing examples, stitch math, step-by-step construction, finishing and lining tips, and gifting ideas — everything a reader needs to make lovely, functional little wallets.