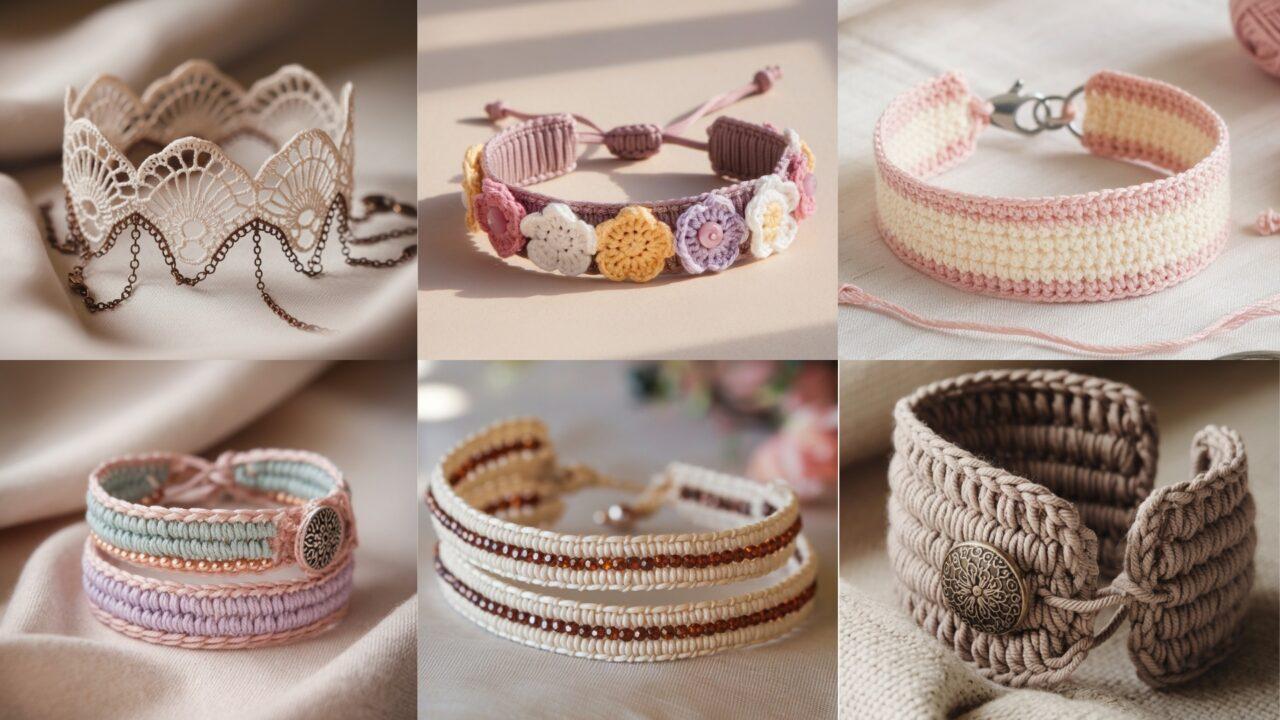
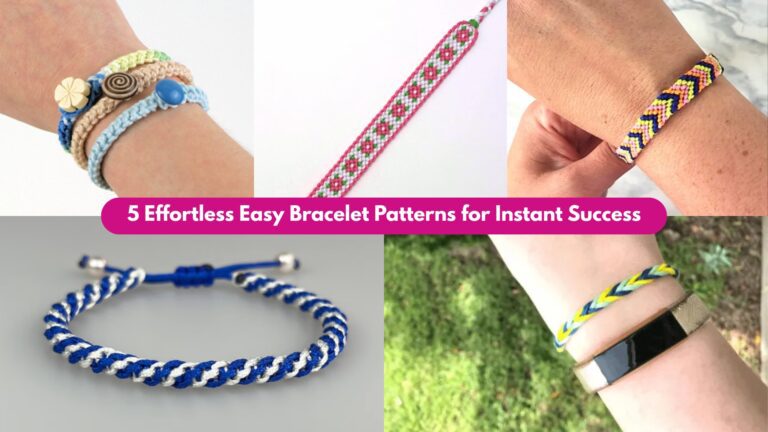
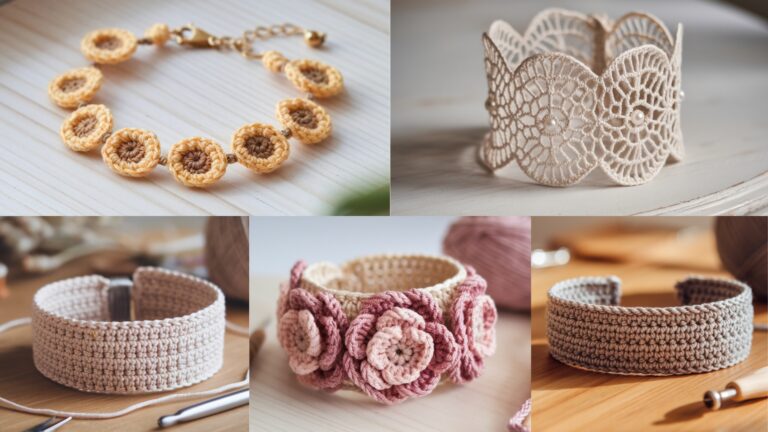
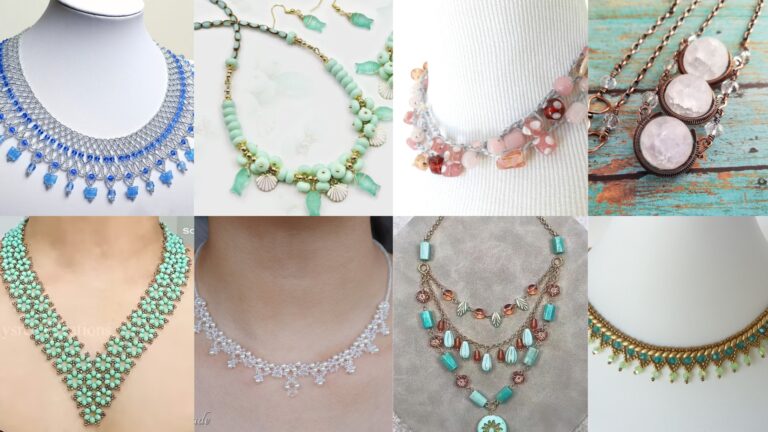
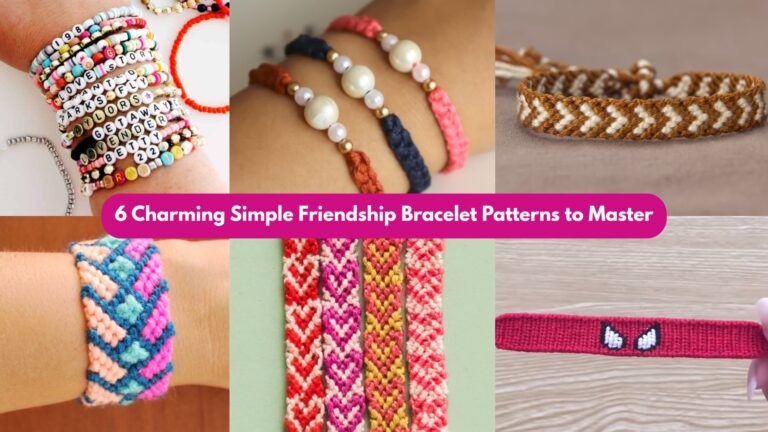
Crochet bracelets are tiny wins: fast to make, perfectly portable, and endlessly customizable. They’re great for practicing small stitch repeats, using up leftover yarn or thread, and making thoughtful gifts. In this post you’ll find six bracelet styles — from beaded elegance to chunky cuffs — each written with clear, step-by-step instructions and practical notes so you can make them right away. Every pattern includes: Skill level → Finished size → Materials → Step-by-step guide → Finishing & fastening → Tips & variations → Care.
Quick sizing note: average adult wrist circumference ≈ 6–7.5 in (15–19 cm). I give suggested base chain lengths — always check fit on the wrist and adjust in 0.25–0.5 in (6–12 mm) increments for comfort.
1. Two-Toned Crochet Bracelet Pattern
Skill level
Beginner — simple chains, single crochet (sc) and color changes.
Finished size
Adult wrist: 6.5–7.5 in (16.5–19 cm) circumference; width ≈ 0.4–0.6 in (1–1.5 cm). Easily adjusted.
Materials
- Two contrasting fingering or light-worsted weight threads/yarns (or two colors of crochet cotton/thread). For a dainty bracelet use size 10 crochet thread.
- 1.5–3.5 mm hook depending on yarn; smaller for thread.
- Small lobster clasp & jump rings, or button.
- Tapestry needle, scissors.
Step-by-step guide (striped band, worked flat and joined)
- Decide wrist size. Measure wrist and add 0.25–0.5 in for comfort. Example target circumference = 7 in. For sample with fingering yarn, chain 40 (this makes ~7 in — test your gauge). If you’re using thread, chains will be longer; swatch a 10–ch section to estimate.
- Row 1 (Color A): Sc in 2nd ch from hook and across. Turn. (39 sc)
- Row 2 (Color A): Ch 1, sc in BLO (back loop only) across to create a tidy ridge. Turn.
- Row 3 (Color B): Join Color B on the WS by slip-knot and slip-stitch into first stitch, ch 1, sc across. Turn.
- Rows 4–8: Alternate 1–2 rows Color A / Color B to create two-tone stripes. For a subtler two-tone effect use one row per color; for bolder stripes use three rows. Work until band width is 0.4–0.6 in (adjust by adding additional rows).
- Final row: Work one round of sc around the perimeter: sc evenly along long edges and 3 sc in each short corner for a neat finish. Fasten off and weave in ends.
Finishing & fastening
- Fold band with RS facing out and seam short ends with sl st or mattress stitch leaving a little overlap for clasp. Sew a jump ring on one end and a lobster clasp on the other.
- For a button closure: sew a small decorative button to one end and make a tiny loop (ch 5, sl st into base) on the other to fasten.
Tips & variations
- Use metallic thread for one color to add sparkle.
- Try a chevron stripe by alternating rows of sc with hdc for texture.
- Make double wrap: chain double the wrist circumference and seam into a long band to wrap twice around the wrist.
Care
- Machine wash gentle for acrylic/cotton; hand wash for delicate threads. Lay flat to dry.
2. Beaded Crochet Bracelet Pattern
Skill level
Intermediate — requires working beads into crochet (pre-stringing beads recommended).
Finished size
Adult wrist: 6.5–7.5 in (16.5–19 cm) circumference; width mainly 0.2–0.5 in depending on bead density.
Materials
- Fingering weight cotton, silk, or nylon thread.
- Small seed beads (size 8/0 or 11/0) — ~60–120 depending on bracelet and bead frequency.
- 1.5–2.5 mm hook (thin enough to pass thread and beads); beading needle or pre-stringing technique.
- Lobster clasp & jump rings or magnetic clasp.
- Tapestry needle, scissors.
Step-by-step guide (beaded crocheted rope — tubular/spiral style)
- Pre-string beads: Slide beads onto yarn/thread in the order you want them to appear. You can string all beads you plan to use. For example, pre-string 80 seed beads.
- Foundation: Chain 12 (or small multiple — this will be hidden inside rope). Join to form ring (be careful not to twist).
- Round 1: Ch 1, sc in each ch around to create a small tube — join. (12 sc)
- Round 2 (bead placement): For a spiral beaded rope: slide one bead up to hook, insert hook in next st, pull bead through, complete sc — this secures a bead on the front surface. Repeat with one bead per stitch around. Join.
- Rounds 3–10: Repeat Round 2 until the bracelet reaches the desired circumference and width (the rope will bulk up as beads accumulate). For a single beaded row, you might only need 4–6 rounds.
- Measure: Wrap around wrist to check length. Add/remove rounds as needed.
Finishing & fastening
- Fasten off leaving a 6 in tail. Use tapestry needle to thread tail through last round and weave securely.
- Attach jump rings at tube ends (you may need to sew a few tight stitches to create a small tab to anchor the jump ring). Attach clasp.
Tips & variations
- For an elegant look use pearlescent beads with silk thread.
- Create patterns with bead colors (chevrons, stripes).
- For sturdiness, use a thin clear beading thread (e.g., Nymo or FireLine) for the core and wrap with decorative crochet thread.
Care
- Hand wash. Avoid pulling beads; check bead holes for fraying thread and reinforce if needed.
3. Crochet Flower Friendship Bracelet Pattern
Skill level
Easy → Intermediate (small motifs, joining, simple embroidery)
Finished size
Adjustable: base band 7–8 in (18–20 cm) before flowers; total width varies with flowers (about 0.8–1.5 in).
Materials
- Fingering/worsted yarn (cotton for a crisp flower; acrylic for fluff).
- 2.5–4.0 mm hook depending on yarn.
- Small buttons or snaps for closure, or ribbon ties.
- Tapestry needle, scissors.
Step-by-step guide (band + appliqué flowers)
Band
- Chain to wrist length minus overlap; e.g., ch 38 for ~7 in (sample with fingering). Join to work in the round (or work flat and seam).
- Round 1: sc in each ch around. Join.
- Rounds 2–6: ch 1, sc in BLO for a ribbed band, or hdc around for a taller band. Work until band height ~0.6–0.8 in (or desired). Fasten off.
Flower motif (small five-petal) — make several (4–6 depending on band length)
- Magic ring, ch 1, (sc, ch 3, 4 dc, ch 3, sc) in ring — repeat this petal sequence 5 times; pull ring tight and join. (You have 5 petals)
- Fasten off leaving tail to stitch flower to band.
Assembly
- Arrange flowers across the front of the band, overlapping slightly for a friendship-bracelet look. Sew each flower securely to the band with matching thread, stitching around the center. Add a small bead or button in each center if you like.
- Closure: Add snap (one side on band end), or sew a small button and create a chain loop for a handmade look. Alternatively, attach a short ribbon to each end to tie.
Tips & variations
- Mix yarns: little wool flowers on a cotton band create texture contrast.
- For a children’s version use felted centers instead of beads for safety.
- To make it adjustable, add several buttonholes or a short extension chain.
Care
- Machine wash on gentle for cotton/acrylic; hand wash delicate yarns with care.
4. Crochet Lace Bracelet Pattern
Skill level
Intermediate — lace stitches, picots, and blocking recommended.
Finished size
Width ≈ 0.5–1.25 in, circumference adjustable to wrist size + 0.25–0.5 in for comfort.
Materials
- Size 10 crochet thread or fingering yarn for delicate lace.
- 1.25–2.5 mm hook (choose to match thread).
- Small jewelry clasp (lobster or toggle) & jump rings.
- Blocking pins & mat, tapestry needle.
Step-by-step guide (delicate scallop lace in the round or flat)
- Foundation: Chain wrist length in a multiple suited to lace pattern (example: multiple of 6 + 2). For sample adult wrist (7 in) with thread, ch 80 (do a swatch to confirm). Join into round carefully.
- Round 1 (stabilizer): Ch 1, sc in each ch around; join.
- Round 2 (lace set): Ch 5, skip 2, sc in next st — rep around to make chain arches. Join.
- Round 3 (shells): Into each ch-5 arch work (sc, ch 2, 5 dc, ch 2, sc) — this creates mini scallop shells. Join.
- Round 4 (anchor): Ch 1, sc into the top of each shell and into chain spaces to anchor the pattern. Join.
- Repeat Rounds 2–4 until band height measures desired (e.g., 3 shells tall for ~0.75–1 in width). End with a round of sc for stability.
Finishing & fastening
- Block the bracelet flat to open lace and set shape; pin shells gently to even edges.
- Attach jump rings at each end and add clasp. If lace is fragile, sew a tiny ribbon or fabric tab inside each end to anchor the jump ring without distorting lace.
Tips & variations
- Add a picot edge (ch 3, sl st) along top or bottom round for vintage charm.
- Thread a fine metallic chain through the arch spaces for mixed media sparkle.
- To make wider lace cuffs, repeat the lace pattern for more vertical repeats.
Care
- Hand wash and reshape while damp. Store flat to keep scallops intact.
5. Crochet Cuff Bracelet Pattern
Skill level
Beginner → Intermediate (solid fabric, optionally with post stitches for texture)
Finished size
Cuff circumference: 7–8 in unstretched for adult; width options 1–2 in or wider; make wider by adding rows.
Materials
- Bulky or worsted yarn for structured cuff, or crochet leather cord for rustic style.
- 4.0–6.5 mm hook depending on yarn.
- Snap closure set (or button & loop), fabric interfacing (optional).
- Tapestry needle.
Step-by-step guide (solid cuff, worked flat and seamed)
- Measure and chain: Chain to wrist circumference minus ~0.25 in to allow stretch; e.g., ch 36 for sample (test your gauge). Leave 1 in extra for seam allowance if using non-stretch yarn. Join to work in rounds OR work flat and seam.
- Row 1: Sc in 2nd ch from hook and across; turn (if working flat). If working in rounds, sc around.
- Rows 2–10: Repeat sc (or hdc for taller cuff) until cuff height is 1–2 in (or desired). For more texture, do BLO sc for a knitlike ridge or alternate fpdc / bpdc for big ribs.
- If you want a tapered look, decrease 1 stitch each end on alternate rows for a subtle curve.
Finishing & fastening
- Button/loop: On one short end leave a loop: ch 6 and fasten to create button loop. Sew a decorative button to the opposite end.
- Snap: Install snap closure (male/female) with snap pliers. Reinforce area with small rectangle of interfacing inside cuff for durability.
- Seam: Use mattress stitch for invisible seam or whipstitch for speed.
Tips & variations
- Back-loop only rows create a ribbed cuff that hugs the wrist.
- Add an embroidered initial or metal charm sewn into center.
- Make an open cuff by leaving a 1–1.5 in gap and adding end tabs with snaps for adjustable fit.
Care
- Machine wash acrylic/cotton; check snaps before washing. Hand wash and dry flat for leather or delicate yarn.
6. Crochet Wrap Bracelet Pattern
Skill level
Beginner to Intermediate depending on beading / button closure complexity.
Finished size
Wraps 2–3 times around wrist depending on length. For double wrap on 7 in wrist, aim for 14.5–15 in finished length; for triple wrap ~22–23 in. Width typically 0.3–1 in.
Materials
- Fingering to sport yarn (or leather cord) — ~30–60 yd depending on wraps.
- 2.5–3.5 mm hook (or size to produce desired width).
- Small beads, spacers or charms (optional).
- Button closure (large decorative button) or toggle, jump ring.
- Tapestry needle.
Step-by-step guide (simple wrap with bead accents)
- Decide wrap count. Measure wrist and multiply by desired wraps (for double wrap on 7 in wrist: 14 in + 0.5–1 in for fastening).
- Chain foundation: Ch to required length. Example for double wrap: ch 60 (estimate chain length then test around wrist).
- Row 1: Sc in 2nd ch and across for a narrow band, or make a slightly wider band by working hdc across 2–4 rows.
- Bead accents: Slide a bead onto yarn and work sc into stitch so the bead sits on front. Space beads every 5–8 sts for a dotted look.
- Finish band: Fasten off leaving tail.
Finishing & fastening
- Button loop: At one end create 3–4 ch to form a small button loop and secure. Sew a decorative button on the other end positioned to let the band wrap and button neatly. For multiple wrap bracelets, the button should catch at a point that allows the wrap to overlap correctly (test on wrist while sewing).
- Tuck ends: Weave in tails and optionally glue with fabric glue for security.
Tips & variations
- Make a macramé style closure by adding a small length of braided cord and adjustable sliding knot.
- Mix thin leather cord with crochet band for boho wrap.
- For a bold look, make a multi-strand wrap: create 2–3 narrow bands and join ends so they wrap together.
Care
- Remove before showering if leather or beads are delicate. Hand wash crocheted parts and dry flat.
Conclusion
Bracelets are the perfect small crochet project: quick to make, fun to experiment with, and ideal for creative gift sets. These six patterns span delicate lace, textured cuffs, beaded elegance, and playful motifs — each designed so you can finish one in an evening or two. A few final tips to keep your bracelets looking great:
- Fit first: always check length on a wrist (yours or recipient’s) before finishing. Small adjustments make a big difference in comfort.
- Anchor hardware: reinforce areas where you attach jump rings, snaps, or buttons with a small fabric or canvas patch on the inside.
- Mix materials: combine thread, thin chain, beads, leather, or ribbon to make a hybrid bracelet that wears like jewelry.
- Give options: make a set — lace + cuff + wrap — as a thoughtful, handmade gift bundle.


