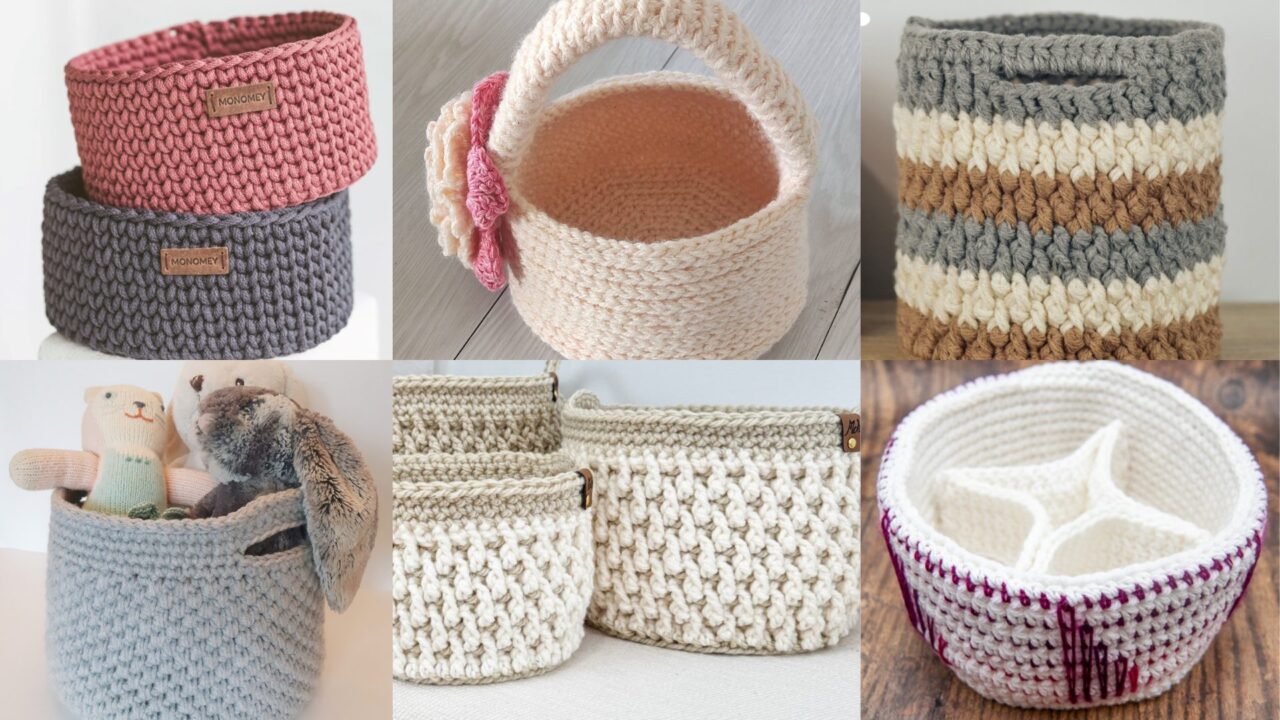
Handmade baskets are one of the most useful — and satisfying — crochet projects you can make. They add instant texture and organization to a room, use up bulky yarn (or eco-friendly rope), and work up quickly so you get a finished, functional item the same day. Below are six modern basket patterns for different tastes and uses: farmhouse storage bins, striped cottage baskets, a spike-stitch basket with a removable divider, simple quick baskets, Easter-style baskets, and nesting baskets for tidy home organization. Each pattern includes a Skill level, Materials, a clear Step-by-step guide you can follow, plus Variations and Final tips so your finished baskets look polished and hold up in daily life.
1. Farmhouse Crochet Basket Pattern
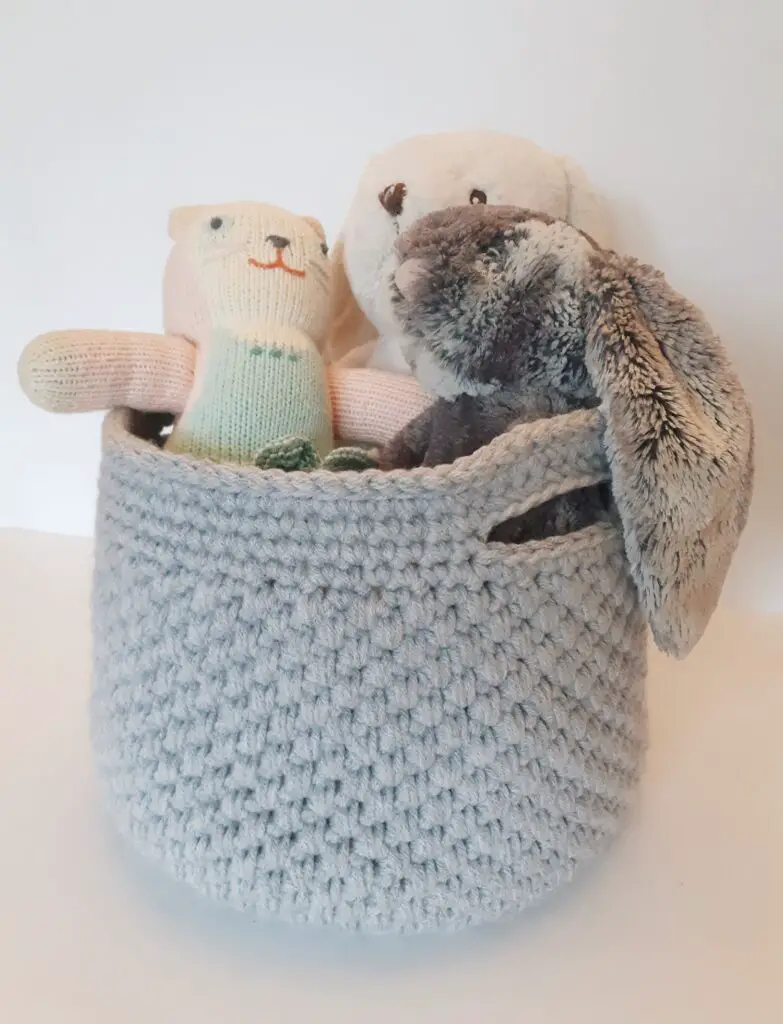
Skill level: Beginner → Intermediate
Finished size (example): about 10″ diameter × 6″ high (medium basket) — scale easily by changing yarn/hook.
Materials
- Bulky cotton yarn or T-shirt yarn (approx. 300–450 yards depending on size)
- Crochet hook 8.0–10.0 mm (or size recommended for chosen cord)
- Yarn needle, stitch marker, scissors
- Optional: non-slip felt dots for base
Step-by-step
- Make a sturdy base (worked in continuous rounds).
- Start with a magic ring. Rnd 1: ch 1, 8 sc into ring; pull tight. (8)
- Rnd 2: 2 sc in each st around. (16)
- Rnd 3: sc in next st, inc around. (24)
- Rnd 4: sc in next 2, inc around. (32)
- Continue increasing rounds in the same manner (sc in next N sts, inc) until base reaches desired diameter (for ~10″ aim for 48–56 sts depending on yarn). Work in continuous (spiral) rounds or join each round — either is fine.
- Build up the sides (no increases = straight sides).
- Once base is the right size, stop increasing. Work sc (or hdc for a taller stitch) evenly around in rounds. For extra stability work sc in BLO (back loop only) for 6–8 rounds to create a neat ridge, then switch to sc in both loops. Continue until sides are your desired height (example 6″).
- Create a reinforced rim.
- To make the rim hold its shape, work 2–3 rounds of hdc in back loop only (BLO) or work a round of crab stitch (reverse sc) for a clean finish. Optionally add a round of slip-stitch binding and then fold the top under and slip-stitch through both layers to make a doubled rim.
- Finish.
- Fasten off, weave in ends. Add non-slip felt dots or a circular felt base glued to the bottom if you want floor protection.
Variations
- Use a neutral palette (cream, taupe) for classic farmhouse look; add a contrasting thin stripe at the top for subtle detail.
- Make a shallow tray by reducing side rounds — perfect for coffee-table corrals.
- Add leather handles by sewing two small leather straps to opposite sides.
Final tips
- Use cotton or thick recycled yarn for structure — acrylic can be too slippery unless doubled.
- If the basket wobbles, add an inner cardboard disc (cut to base diameter) and stitch the basket to it, or use a non-slip felt base.
2. Country Cottage Striped Basket Crochet Tutorial
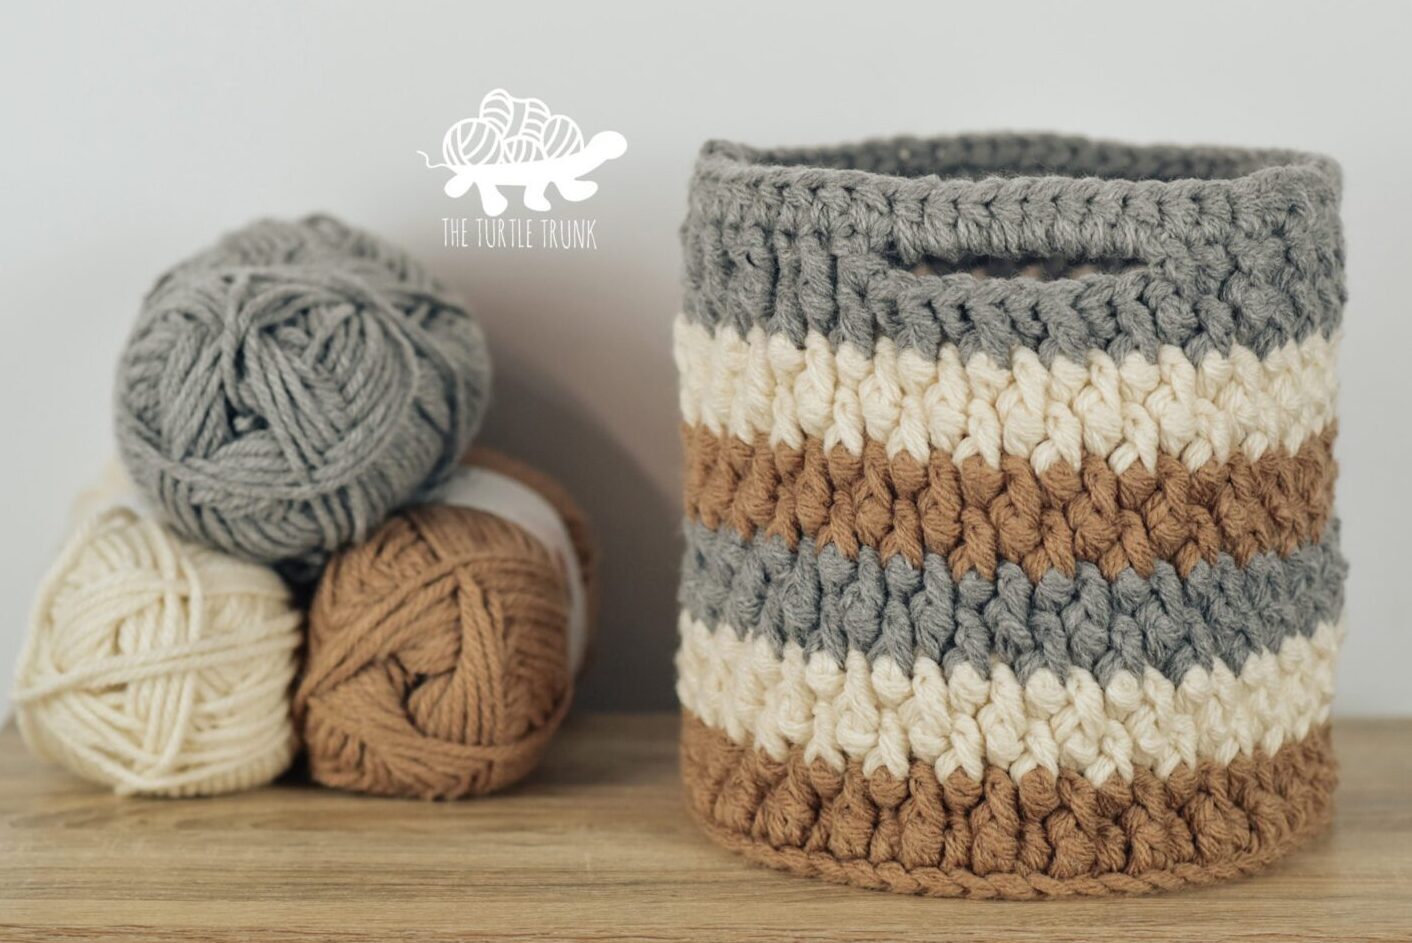
Skill level: Beginner → Intermediate
Finished size: approx. 8–9″ diameter × 5–6″ high (small-to-medium shelf basket)
Materials
- 2 colors bulky cotton or chunky yarn (e.g., cream + pastel) — approx. 250–350 yards total
- Crochet hook 8.0–9.0 mm
- Yarn needle, scissors, stitch marker
Step-by-step
- Base (worked same as farmhouse, but a bit smaller).
- Magic ring → 8 sc, then increase rounds (use the same increase formula) until base ≈ 8–9″ diameter.
- Striped sides.
- Work 2–3 rounds sc in Color A (background).
- Switch to Color B and work 2 rounds sc. Change colors every 2 rounds to get clean stripes. Carry yarn up the inside for small gaps — because yarn is bulky, sticking with color changes every 2–3 rounds keeps joins tidy. Use a Russian join or weave in ends for neatness.
- Add subtle texture (optional).
- To add a cottage textured band, work one round of shell stitch (e.g., skip 2, 5 dc in next st, skip 2, sc in next) in a single contrast round about 1–2″ from the rim.
- Rim & finish.
- Finish with 2 rounds of hdc BLO for a framed top, or fold a double rim as in Farmhouse pattern.
Variations
- Make thinner stripes (1 round each) for a modern look; pick colors from the same family for an ombré effect.
- Add small crocheted flower appliqués sewn to the exterior for extra cottage charm.
Final tips
- When changing colors, switch at the start of a round and pull the new color through the last loop of the previous stitch to keep joins invisible.
- Block slightly by pressing with a damp cloth if the basket flares; reshaping while wet helps it keep a disk-like base.
3. Spike Stitch Basket with Removable Divider Crochet Pattern
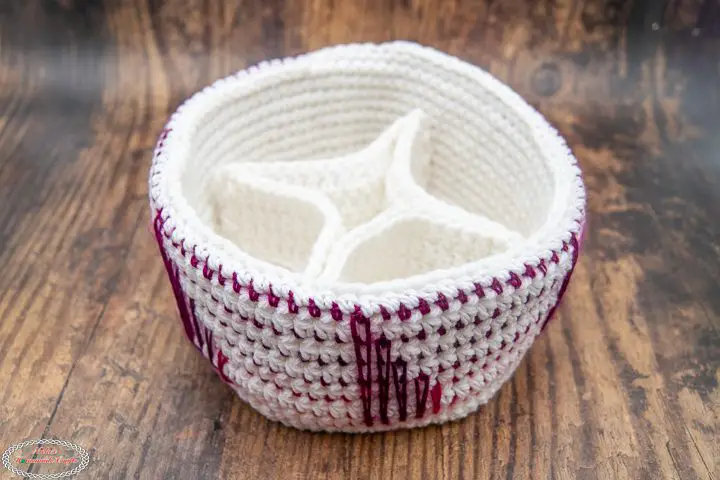
Skill level: Intermediate
Finished size: approx. 10″ diameter × 7″ high; removable divider about 3″ tall × 10″ around
Materials
- Bulky cotton or cotton-blend yarn (300–450 yards)
- Crochet hook 8–10 mm (for bulky yarn)
- Stiff interfacing (optional) or thin corrugated cardboard for removable divider base
- Yarn needle, scissors, stitch marker
About the spike stitch: Spike stitch works by inserting your hook into the round below (or several rounds below) to create elongated stitches that give a vertical rib or spike texture — great for a modern sculptural basket.
Step-by-step
- Base: make round base like Farmhouse until diameter desired.
- Set up spike texture:
- Rnd 1 (first side round): sc around for one round to stabilize.
- Rnd 2 (spike row): ch 1, spike stitch (insert hook 2 rounds below, yo and pull up loop, complete sc) — essentially, insert hook into stitch two rounds below the current working round, pull up loop and complete single crochet. This pulls vertical bars into the current fabric. Repeat around.
- Continue alternating rounds:
- For strong vertical ribs, alternate 1 round sc + 1 round spike stitch. This gives an organized rib texture that reads modern and architectural. Work side rounds until basket height is about 7″.
- Removable divider (optional):
- Create a round flat disc using sturdy material (cardboard or interfaced fabric) cut to base diameter for the divider bottom. Crocheted sleeve: ch enough to fit around disc circumference, join, then work 4–6 rounds of sc to make a low wall (height ~3″). Slip the sleeve over the disc. The divider slides into the basket and can be removed for washing/transport.
- Rim & finish: finishing as above — fold rim or do BLO rounds to stiffen.
Variations
- Vary the depth of spike by inserting the hook 3–4 rounds below for longer spikes and bolder texture.
- Use two-tone spikes: spike in a contrasting color round, then sc in main color to highlight the verticals.
Final tips
- Spike stitch consumes yarn; make a swatch to estimate yardage.
- Keep your tension consistent — spikes that are too loose will snag and those too tight will pull the sides inward.
4. Easy Crochet Basket Tutorial
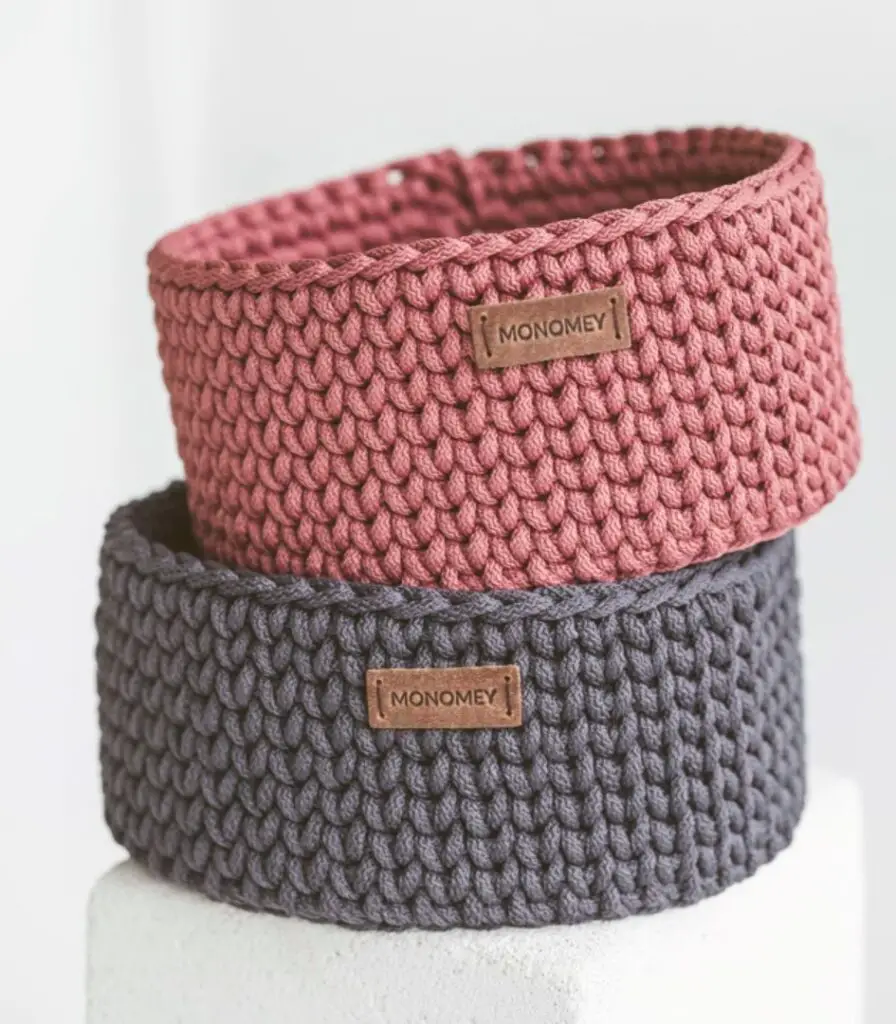
youtube.com/@simonacrochet
Skill level: Beginner
Finished size: variable — example 6″ diameter × 4″ high (small catch-all)
Materials
- Super bulky yarn or 2 strands worsted held together (approx. 150–250 yards)
- Crochet hook 10–12 mm (or size to match doubled yarn)
- Yarn needle, scissors
Step-by-step
- Quick base: Magic ring → 6 sc into ring.
- Increase rounds: Rnd 2: 2 sc in each st (12). Rnd 3: sc in next st, inc (18). Continue increasing until desired base diameter (a small basket may stop at 24–30 sts for 6–8″ diameter).
- Build sides quickly: With super bulky yarn your sides will grow fast — work sc around for 6–8 rounds, or until height desired. Because yarn is thick, this basket is sturdy and holds shape well without extra reinforcement.
- Top edge: Work one round of sc in BLO, then one round of slst for a tidy finish.
- Finish: Fasten off and weave in ends.
Variations
- Make coiled rope baskets by crocheting tightly with rope or jute; use a smaller hook for very tight stitching.
- Add a color-block base by changing color after the base is completed.
Final tips
- Super bulky projects are fast and perfect for markets/gifts. Keep a sturdy hook and a relaxed wrist — these projects can be heavy in the hand.
5. Crochet Easter Basket Pattern
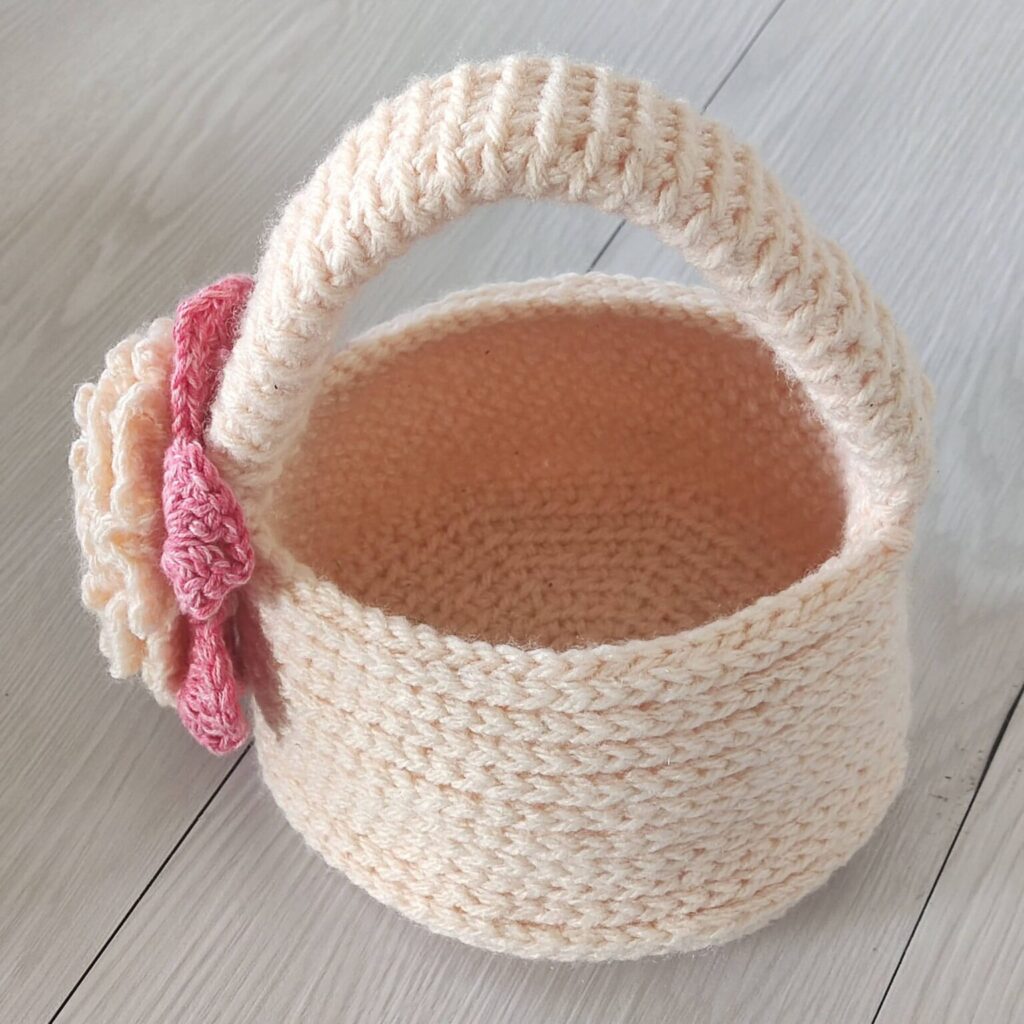
Skill level: Beginner → Intermediate
Finished size: approx. 8–9″ diameter × 4–5″ high; handle span ~12–14″ (across rim)
Materials
- Worsted or bulky cotton in spring colors, approx. 250–350 yards
- Crochet hook 6.0–8.0 mm (depends on yarn)
- Yarn needle, small amount of floral or ribbon for decoration
Step-by-step
- Base and sides: Create base as usual using increases until base ≈ 8–9″. Work sides in sc or hdc to desired height (4–5″).
- Add handle:
- Option 1 (crocheted handle): On one side seam, count midpoints and ch a length that equals desired handle span (e.g., ch 30–40). Join to opposite side with sl st and work several rounds of sc around chain to make a sturdy handle. Fasten securely with extra stitches and weave ends.
- Option 2 (wooden handle): sew the basket to fit around a wooden/metal handle and stitch the rim closed.
- Decorate: Add crocheted flowers, pom-poms, or tie a ribbon bow. Sew small felt eggs or attach small charms for an Easter set.
- Finish: Secure handle ends carefully — these get stress when carried with contents.
Variations
- Make mini Easter baskets (6″ base) as egg-hunting cups.
- Work a scalloped rim (shell stitch) for a decorative edge.
Final tips
- Reinforce the handle base with extra rows or a stitched patch inside the basket.
- For kids, keep handle low and wide so small hands can carry it easily.
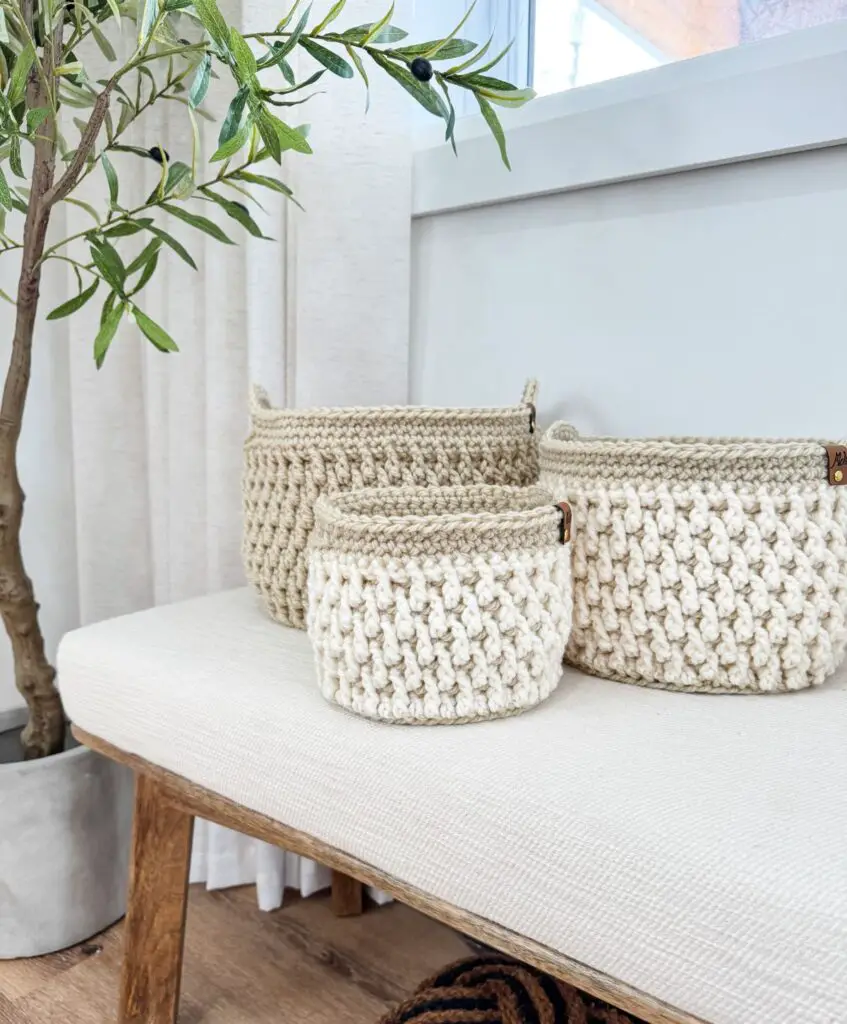
6. Homebody Nesting Basket Crochet Tutorial
Skill level: Intermediate
Finished sizes: Set of three nesting baskets — small (~6″ dia × 4″ high), medium (~9″ × 6″), large (~12″ × 8″)
Materials
- Bulky cotton yarn or jute rope (for rustic look), approx. 800–1200 yards total for set (depends heavily on size and rope thickness)
- Crochet hook 10–12 mm (or size appropriate for rope)
- Yarn needle, scissors
Step-by-step
- Make the small basket following base + sides instructions (stop at small dimensions). This becomes your sizing template.
- Increase for medium and large: For each larger basket, continue the base increases for more rounds before switching to sides; maintain increase pattern so base remains flat.
- Consistency is key: Keep the same stitch counts per inch across baskets so they nest neatly. When base of medium equals outer diameter of small + seam allowance (~1/4″), your sizing is on track.
- Finish with uniform rims: Work the same rim treatment on all three (e.g., two rounds BLO then one round slst) so they stack and look cohesive.
Variations
- Color-block nesting: small neutral, medium muted, large bold for a graded set.
- Add glued felt bottoms on the inside of each basket for extra structure and to protect surfaces.
Final tips
- Test nesting as you go so the medium can easily take the small inside (not too tight).
- Jute/rope sets make lovely rustic décor but can be abrasive — sand or bind ends to avoid loose fibers.
Conclusion
Modern crochet baskets are functional decor that add warmth and order to any space. From speedy, chunky catch-alls to structured farmhouse bins, these six patterns give you a variety of textures, construction techniques, and finishes to suit every room. Choose your yarn/cord based on the basket’s intended use (soft cotton for delicate linens, sturdy nylon or rope for toy bins), and don’t be afraid to mix stitches and colors to create a set that’s uniquely yours.


