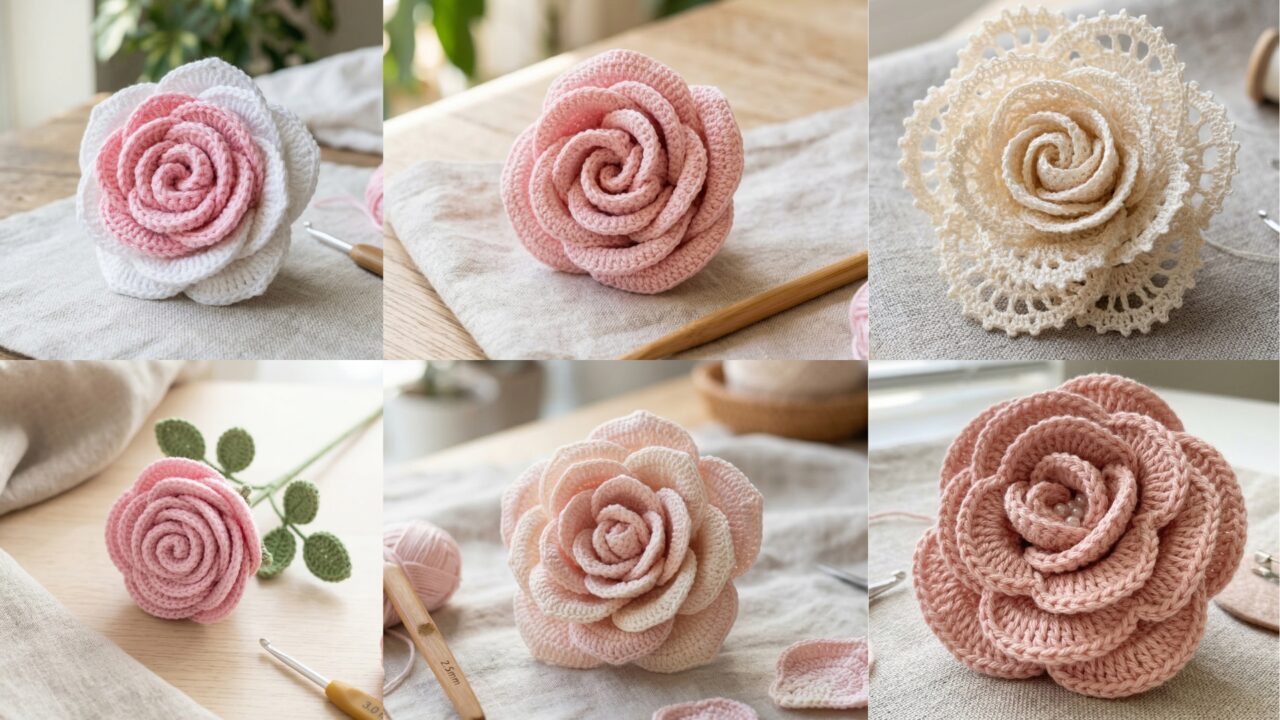
Flowers are the perfect small crochet project: quick to make, endlessly customizable, and instantly giftable. Roses in particular are timeless — they can decorate headbands, keychains, bags, cushions, brooches, or the corner of a blanket. Below are six beginner-friendly rose patterns with full, very-detailed step-by-step instructions: Origami Rose, Thai Rose, Floyd Rose, China Rose, Lacy Rose, and Lafitte Rose. For each pattern I include: skill level, finished size, materials, abbreviations, an exact step sequence, assembly/finishing, variations, and troubleshooting tips so you — or your readers — can make beautiful roses right away.
Quick universal notes before we start:
- Abbreviations use US terms: ch, sc, hdc, dc, tr, sl st, st(s), MR = magic ring, inc = increase (2 sc in same st), dec = decrease (sc2tog).
- For small flowers, use tight tension so stuffing and gaps don’t show. If your stitches look loose, go down one hook size.
- Cotton or cotton-blend yarn gives crisp petals; acrylic or wool give softer, more pillowy petals; acrylic is easiest to wash. Fingering/sport yields small delicate roses; DK/worsted yields medium roses.
- Use safety eyes only for non-child items; for small decorations prefer embroidered centers or beads sewn on securely.
- Block petals lightly if you want crisp shaping (spritz with water, shape, let dry).
1. Crochet Origami Rose Pattern
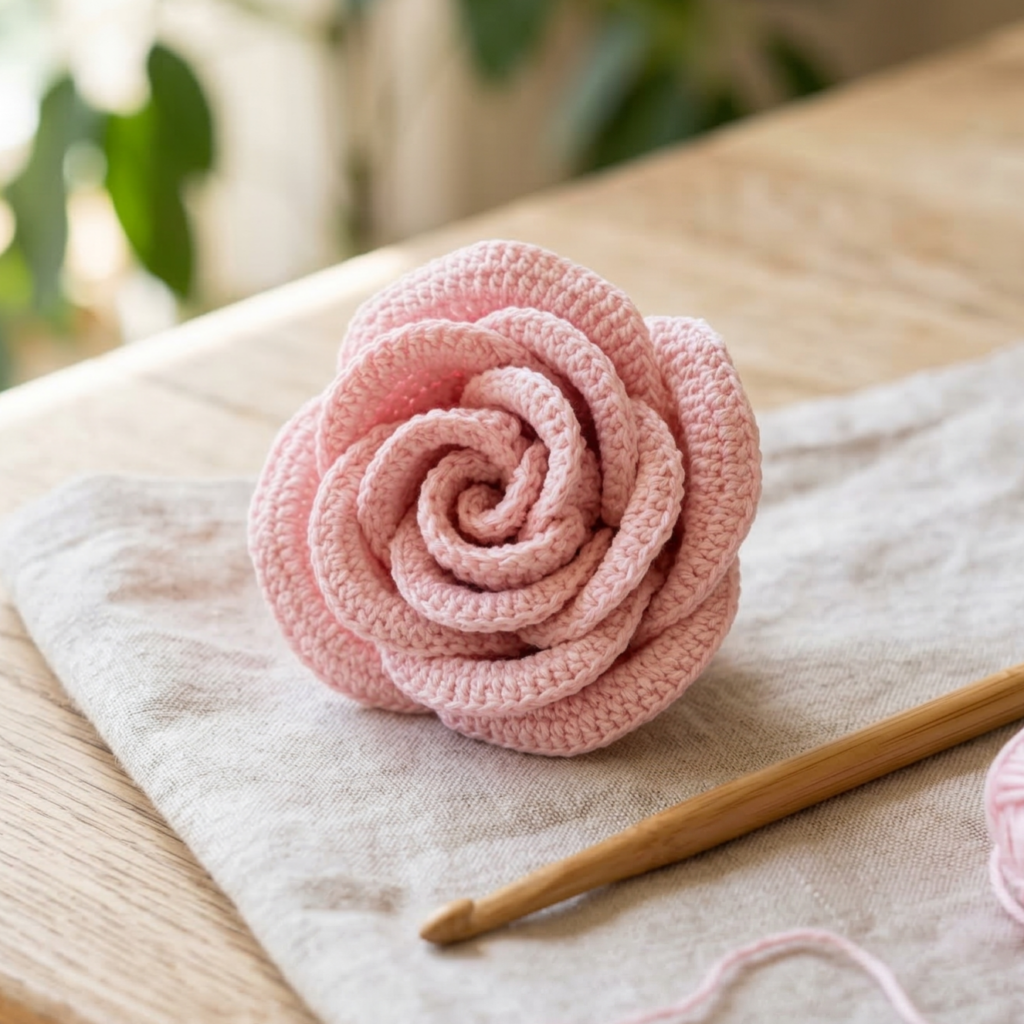
A compact, spiraled rose that looks like a folded paper origami rose — great for applique and bouquets.
Skill level: Beginner
Finished size: ~1.5–2.5″ (4–6 cm) depending on yarn/hook
Time: 15–30 minutes per rose
Materials
- Fingering / sport yarn (small amounts, ~5–15 yds) or DK for larger roses
- Hook: 2.5–3.5 mm (adjust to yarn)
- Tapestry needle, small bit of stuffing (optional), scissors, optional floral wire + green floral tape if making stems
Abbreviations
- ch, sc, hdc, dc, tr, sl st, MR
origami spiral rose
- Foundation chain (petal strip): Ch 36 (or ch 24 for a smaller rose). This long chain is the “paper strip” you’ll fold into a spiral. Turn.
- Row 1 (base): Sc in 2nd ch from hook and across. (35 sc) Turn.
- Row 2 (petal shaping row): Ch3, skip 1 st, sc in next st across the strip to create little loops — or for fuller petals do: sc, hdc, dc into alternating stitches to create little petal bumps. For a simple rose, 1 round of sc base is fine.
- Forming the spiral: Lay the strip flat with RS facing up. Starting at one short end, roll/spiral the strip tightly to form a rose shape, overlapping as you go to create petal layers. Use a few pins or your fingers to hold layers as you sew.
- Sewing the spiral: With tapestry needle and the yarn tail from the strip, stitch through the base of the spiral across several points to hold the petals snugly. Take small, invisible whipstitches through the base layers, sewing inner to outer as you go until secure. Fasten off and weave in ends.
- Add stem (optional): Wrap a short floral wire with green yarn or floral tape and sew the wire into the underside of the rose (stitch through the base several times), then wrap with tape.
Finishing
- If you like a puffier look, stuff a tiny bit of polyfill in the center before final sewing.
- Block lightly by misting and shaping petals with fingers.
Variations & uses
- Make multiple roses in different sizes and glue onto a hairband for a floral crown.
- Use small metallic yarn for holiday roses with sparkle.
Troubleshooting
- If the spiral flattens, tighten the stitches that anchor the base and add a few more secure stitches through the base layers.
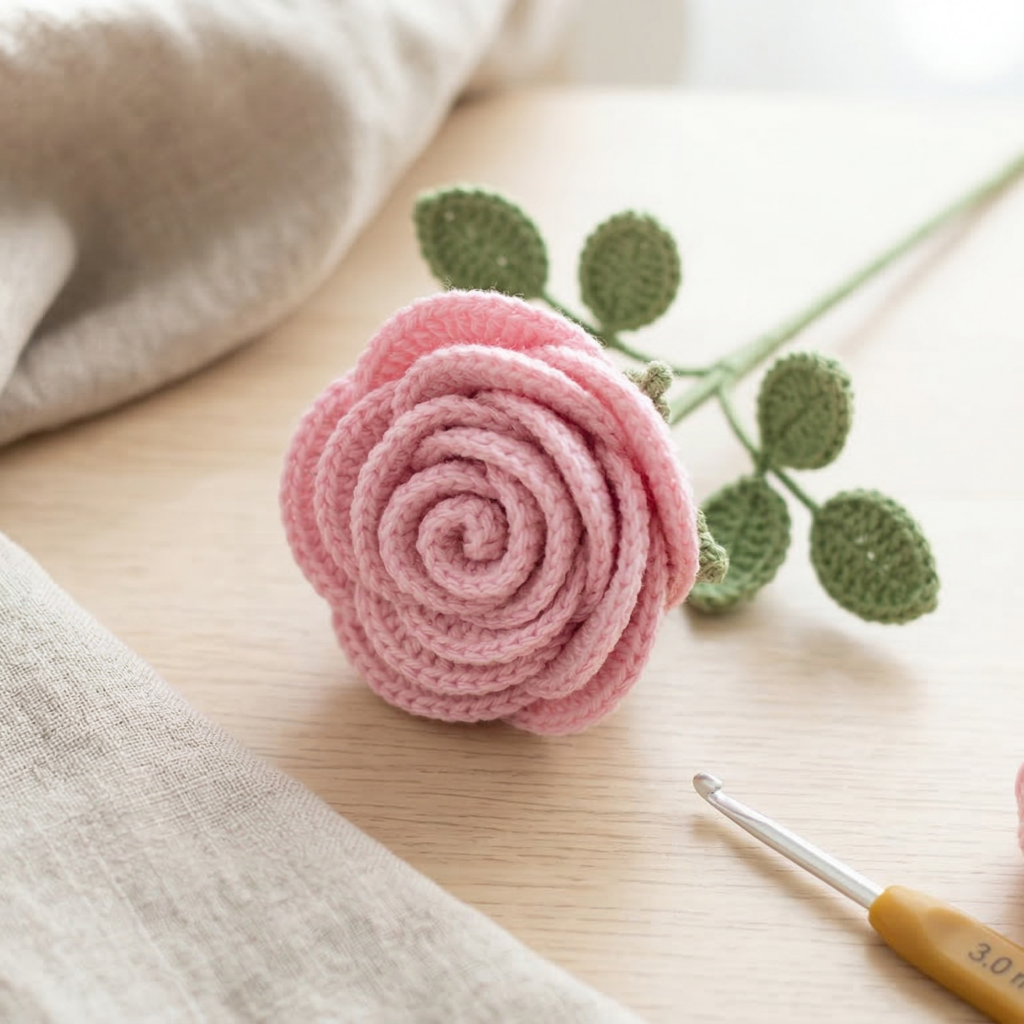
2. Crochet Thai Rose Pattern
The Thai Rose is sculptural with thick curled petals — a good small amigurumi-style rose that holds shape well.
Skill level: Beginner–Intermediate (requires working in rounds and curling petals)
Finished size: ~2–3″ (5–8 cm) depending on yarn weight
Time: 30–45 minutes
Materials
- DK / worsted yarn for sturdier petals (small amount, 10–20 yds)
- Hook: 3.5–4.5 mm
- Tapestry needle, small needle-nose pliers (for floral wire), optional floral wire & tape, tiny bit stuffing
Abbreviations
- MR, sc, hdc, dc, tr, inc, sl st
Thai rose (rolled petal cone)
- Start the cone base (worked flat as a spiral): MR, ch1, 6 sc in MR (6). Pull tight. Do not join — continue in continuous spiral.
- Round 2: inc in each st around → 12 sc.
- Rounds 3–5 (expand): (sc in next st, inc) repeat around to increase to about 24–30 sts depending on desired base width. Stop when base diameter ≈ 1–1.5″ for a small rose.
- Petal roll formation: Now we make a long strip by working alternating crochet stitches outward that will be curled to form petals. Do 6–10 rounds of this sequence to create a long scalloped edge:
- Round A: ch3, dc in each st around (this widens and creates a loopy outer edge).
- Round B (curl round): in each dc work (sc, hdc, dc, hdc, sc) — this forms a tall petal-like ridge. Repeat Round A and B alternately until your strip is long enough to roll into a rose.
- Curl & roll: Lay the strip flat and roll from one side into a tight spiral, making sure the scalloped edge forms exposed petal rims. As you roll, tighten and adjust petal spacing.
- Sewing/anchoring: Use a tapestry needle and long tail to stitch the layers through the base every 1/4″ (6 mm) to secure the rolled rose. Weave tail inside.
- Finish & optional stem: If adding a stem, insert short floral wire into the base and sew through a couple of times, then wrap with floral tape.
Finishing & shaping
- Pinch outer petals slightly outward to open the rose. Use a mist of water and gentle shaping to set the curl.
Variations
- Work the petal rounds in a gradient (two colors held together) for a bicolor bloom.
- Make a mini bud by using fewer rounds and rolling tighter.
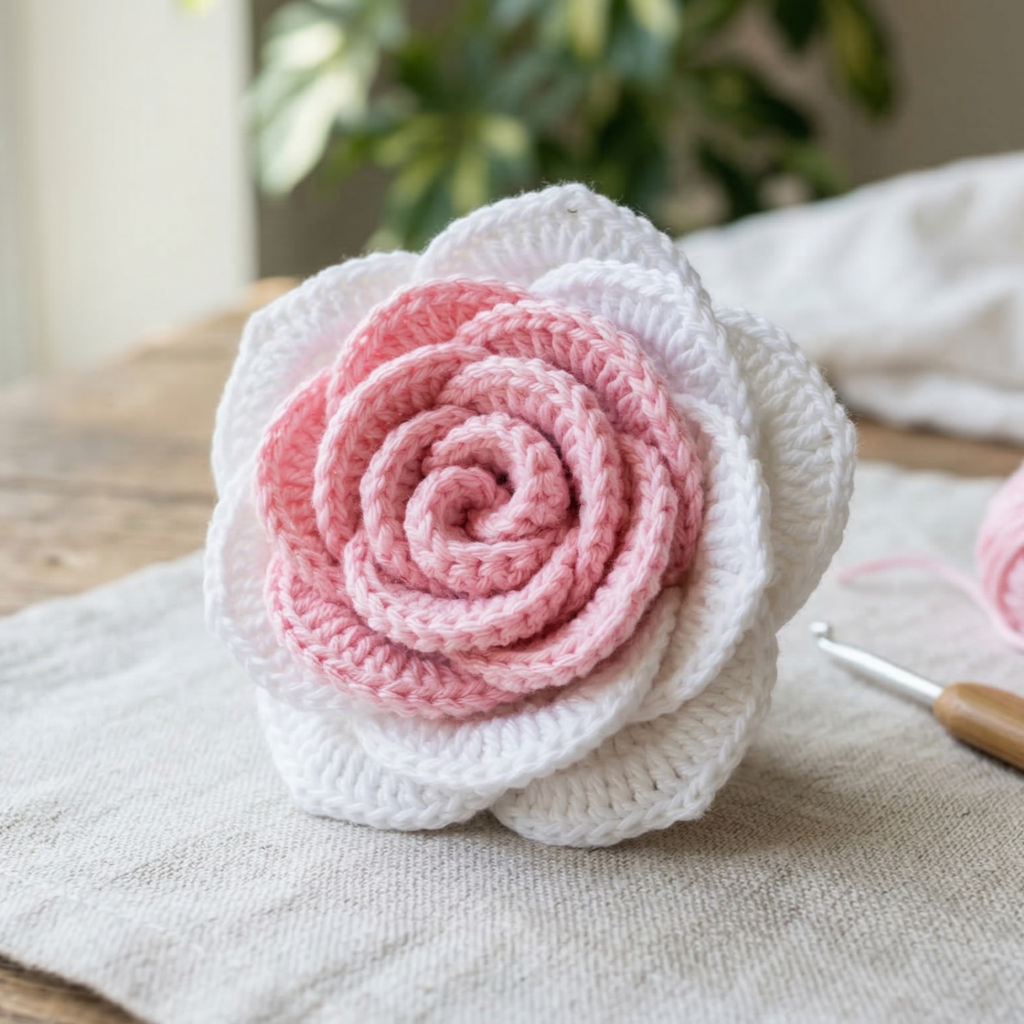
3. Crochet Floyd Rose Pattern
Inspired by layered, tight-facing petals — the Floyd Rose is a classic spiral rose that sits flat and looks good on brooches and headbands.
Skill level: Beginner–Intermediate
Finished size: ~1.5–3″ (4–8 cm) depending on hook and yarn
Time: 20–40 minutes
Materials
- Fingering/DK yarn; hook 2.5–4.0 mm
- Tapestry needle, brooch back or hair clip if making accessory, small jump ring for keychain
Abbreviations
- ch, sc, hdc, dc, tr, sl st
Floyd spiral rose (flat spiraled strip method)
- Make long petal strip: Ch 50 (adjust for desired size — longer = larger rose). Turn.
- Row 1: Sc in 2nd ch from hook and across. Turn.
- Row 2 (petal bumps): Ch3, sl st into next sc across to make 25 little loops (or do sc, hdc, dc in alternating stitches for more volume).
- Optional Round for fullness: Fasten off and join other end to make long chain if you want a looped spiral; otherwise proceed to roll.
- Roll the strip: From one end, roll the strip tightly into a spiral. As you roll, use small whipstitches through the base layers to hold it in place. Make sure each coil sits slightly above the previous for petal depth.
- Anchor: After rolling, fasten off and sew the base completely around with hidden stitches to secure.
- Mounting & use: For a brooch, stitch a brooch pin to the back; for a headband, sew to band; for a keychain attach jump ring.
Tips
- A little hot glue (fabric glue) inside the base speeds assembly but sewing is stronger for wearable items.
- For a 3D effect, make several strips of different lengths and stack them while sewing.
4. Crochet China Rose Pattern

The China Rose is a traditional crochet rose with layered, rounded petals — airy and delicate when made in light yarn.
Skill level: Intermediate (petal shaping and assembly)
Finished size: ~2–4″ (5–10 cm)
Time: 30–60 minutes
Materials
- Fingering or light DK cotton for delicate look; hook 2.5–3.5 mm
- Tapestry needle, optional starch spray for crisp petals, craft wire + floral tape for stem option
Abbreviations
- MR, ch, sc, hdc, dc, tr, sl st
layered petal method (China rose)
- Make a petal strip (long): Ch 36–60 (longer = bigger rose). Turn.
- Row 1 (base): Sc across strip. Turn.
- Row 2 (first petal row): Ch3, dc in next st, ch3, sl st in same st — creates little scallops along edge.
- Row 3 (petal shaping rounds): Into each ch3 loop work (sc, hdc, dc, hdc, sc). This forms small petals.
- Repeat rounds to create three escalated tiers: small inner petals, medium middle petals, and larger outer petals. To make larger outer petals, use (sc, hdc, 3 dc, hdc, sc) for fuller petals and increase row height.
- Roll & assemble: Starting from inner small petals, roll up and stitch base together. Add middle petals by sewing them offset to the outside and finally the outer tier.
- Finishing touches: Tuck and stitch ends inside base; for a potted look glue a small felt circle to back.
Styling and uses
- China roses look gorgeous as boutonnieres — stitch to long floral wire and wrap with floral tape.
- Make a cluster of 3 in soft pastel shades and attach to a bag strap.
Troubleshooting
- If petals look floppy, starch lightly (spritz with diluted starch and shape, then dry). If they’re too stiff, loosen stitch pattern (use fewer dc).
5. Crochet Lacy Rose Pattern
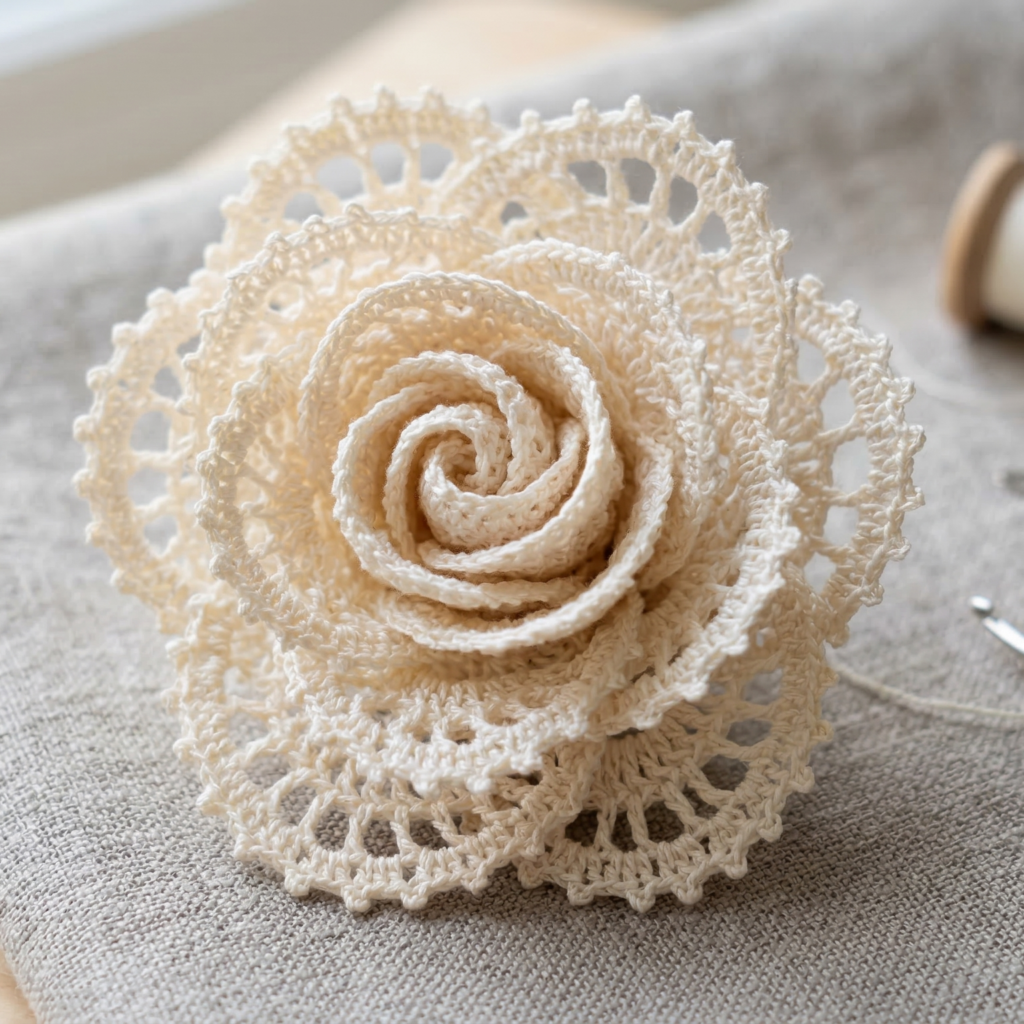
A delicate, openwork rose made with lacy loops and picot edges — beautiful for bridal accessories and heirloom trims.
Skill level: Intermediate (lace stitches + blocking)
Finished size: ~2–4″ (5–10 cm) depending on yarn & hook
Time: 30–60 minutes
Materials
- Fingering weight cotton or crochet thread for heirloom laces; hook 1.75–3.0 mm depending on thread
- Blocking pins & mat, tapestry needle
Abbreviations
- ch, sc, dc, tr, picot (ch3, sl st into first ch), sl st
lacy spiral rose
- Make a foundation chain: Ch 40 (or longer for larger lacy rose). Turn.
- Row 1 (lace foundation): sc, ch3, skip 2, sc across to create airy arches. Turn.
- Row 2 (petal loops): Into each ch3 arch work (sc, hdc, dc, hdc, sc) — forms delicate loops. Turn.
- Row 3 (lace detail): ch5, sl st into center of petal across to make higher loops (optional for height).
- Form rose: Fold/spiral strip from one end into a rose, but because the petals are airy you will want to pin the rose into shape on a blocking mat and then stitch through the edges to secure. After sewing, block to open the lace petals: pin out each outer loop and mist until fully dry — this creates crisp lacy petals.
- Add picot trim (optional): Work tiny picot points on outer edge before rolling for decorative tiny tips.
Finishing & presentation
- Lacy roses benefit greatly from careful blocking to show the openwork. Attach to hair combs, bridal sashes, or sew onto a lace collar.
Variations
- Work lacy rose small for earring pairs: attach each to a small stud or wire hoop (ensure secure stitching).
6. Crochet Lafitte Rose Pattern
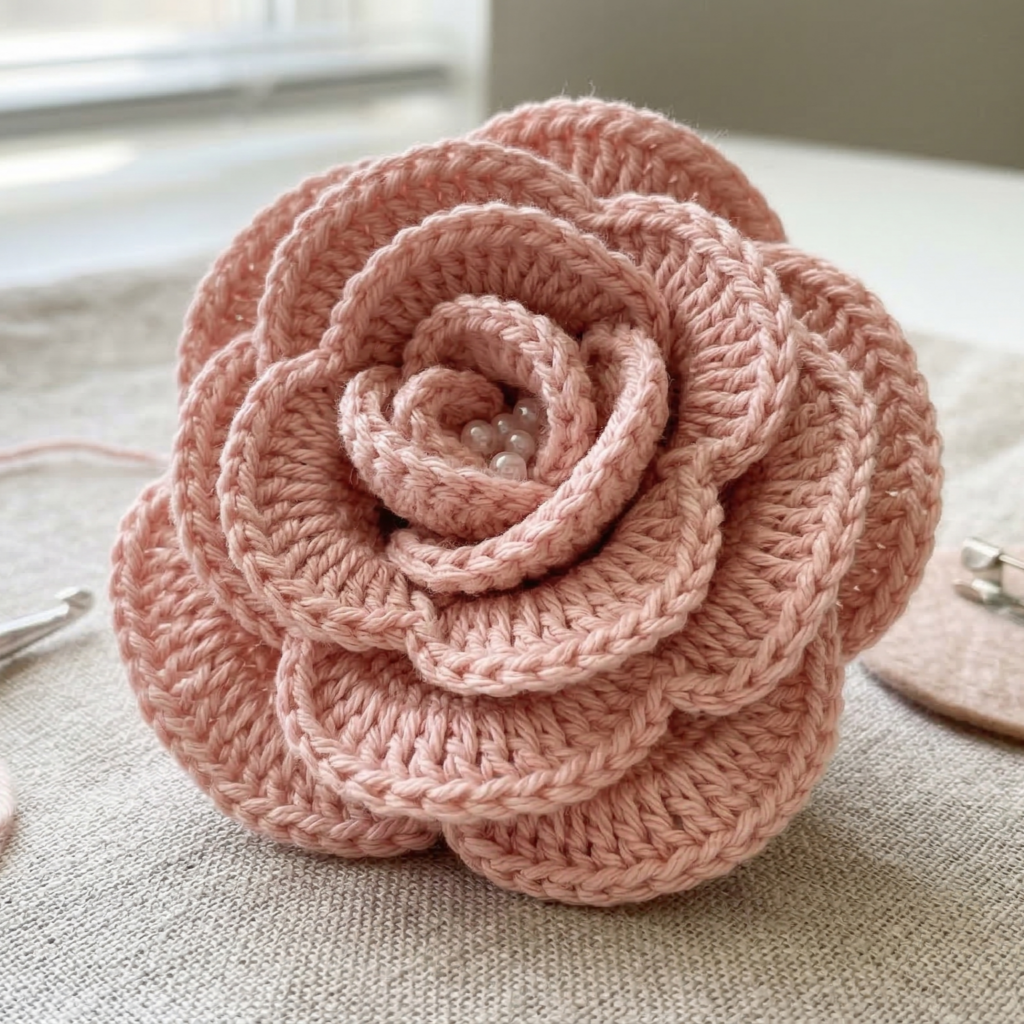
The Lafitte Rose is a sculpted, layered rose named here for its lush, thick petals — ideal for statement brooches and focal motifs.
Skill level: Intermediate (layer assembly + shaping)
Finished size: ~3–5″ (7–13 cm) — makes a dramat ic floral focal
Time: 45–90 minutes
Materials
- DK or worsted cotton for body (larger flower), hook 3.5–5.0 mm depending on yarn
- Tapestry needle, optional small amount of wired ribbon or floral wire for support
Abbreviations
- MR, ch, sc, hdc, dc, tr, sl st
layered petal technique (Lafitte)
- Make three concentric petal strips: small inner, medium middle, and large outer.
- Inner strip (small tight petals): Ch 20; Row: sc across. Petal row: (sc, hdc, dc, hdc, sc) into alternating stitches to make tiny dense petals. Make one 20-st strip.
- Middle strip (rounded petals): Ch 30; Row: sc across. Petal row: (sc, hdc, 2 dc, hdc, sc) to make broader petals. Make one strip.
- Outer strip (large dramatic petals): Ch 40; Row: sc across. Petal row: (sc, hdc, 3 dc, hdc, sc) or use 5-dc shells for big ruffles.
- Curl & shape each strip: Slightly curve the strip by steaming or by rolling while stitching the base. For more sculptural petals you can work a short slip-stitch row along one edge to bias curl.
- Assemble layers: Roll the innermost strip into a tight spiral and secure with stitches. Wrap the mid strip around that and secure every few wraps with stitches. Wrap outer strip as final layer. The outer layer may be pinned and stitched into a slightly looser spiral to create large open petals.
- Stiffen & shape: For a stiffer structure, apply a thin fabric stiffener or diluted white glue to outer petals and shape while drying. For soft petals, leave untreated.
- Mount & use: Attach to a large brooch pin or sew to a bag strap. For a corsage, sew the base to a felt disk and add a pin back.
Finishing touches
- Add bead or seed-bead cluster to the center for sparkle. Sew a few decorative French knots of contrasting thread for texture.
Variations
- Use two-strand held together in contrasting colors for a variegated look.
- Make a cluster (3 Lafitte roses) for a dramatic corsage.
Conclusion
These six rose patterns give you a full bouquet of possibilities — from tiny Origami roses for keychains to large Lafitte roses for statement brooches. A few final practical tips to make every rose a success:
Yarn & hook: small roses (2–3″) — use fingering/sport and small hooks (2–3 mm). Medium roses — DK with 3–4 mm. Large statement roses — worsted with 4–5 mm. Use cotton for crisp petals and acrylic/wool blends for softer petals.
Blocking & shaping: delicate and lacy roses must be blocked to show their structure. Pin each petal out and spritz or steam carefully; let dry completely.
Making stems: for floral arrangements, anchor a short floral wire into the base and wrap with floral tape or yarn. Hide the wire entry by stitching a felt circle over the base.
Attaching & securing: when sewing petals together, use many small stitches through base layers; these flowers will be handled. For wearables, back your flower with a small felt circle to protect the garment and to give a sturdy surface for sewing pins, clips, or brooch hardware.
Care: most yarn roses can be spot cleaned. For washable yarns, hand wash gently and reshape while damp. Avoid hot water or vigorous wringing.
Projects & gifting ideas
- Make a set of 3 sizes (origami, Floyd, Lafitte) as a boxed gift.
- Attach lacy roses to bridal hair combs or sashes.
- Sew several China and Thai roses together for a textured pillow corner.
- Use small lacy roses as applique on baby blankets (embroider securely instead of using pins).