

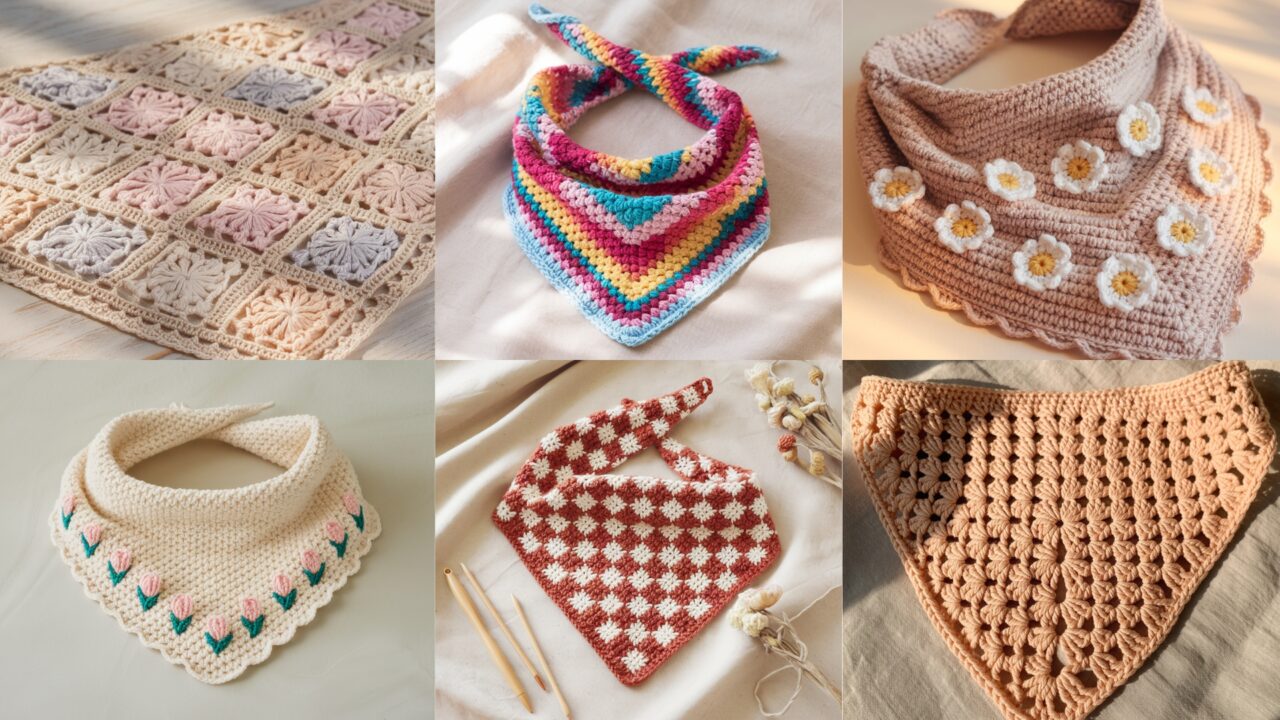
A crochet bandana is one of the quickest, most satisfying accessories to make — it’s small, uses little yarn, and instantly adds a handcrafted, boho edge to any outfit. Bandanas can be worn as neck scarves, hair wraps, bag accents, or face-framing headpieces. In this post you’ll find six full bandana patterns that span from graphic checkers to lacy granny-squares and floral motifs. Each pattern includes: materials, suggested yarn & hook, gauge notes, a step-by-step pattern written in US terms, clear measurements and how to alter size, finishing/assembly, styling ideas, and variations.
Before we begin: use a small gauge swatch for projects where drape matters (lacy bandanas), but most of these patterns are forgiving — if it looks good on your measuring board or fits your neck when you try it on, you’re good. All patterns assume a standard adult/teen bandana unless noted; I’ll give simple instructions to scale up or down.
Abbreviations (US terms used throughout)
- CH — chain
- SL ST — slip stitch
- SC — single crochet
- HDC — half double crochet
- DC — double crochet
- TR — treble crochet
- BLO — back loop only
- FLO — front loop only
- ST(S) — stitch(es)
- INC — increase (2 sts in same st)
- DEC — decrease (sc2tog, dc2tog, etc.)
- RS — right side, WS — wrong side
1. Crochet Checkered Bandana Pattern
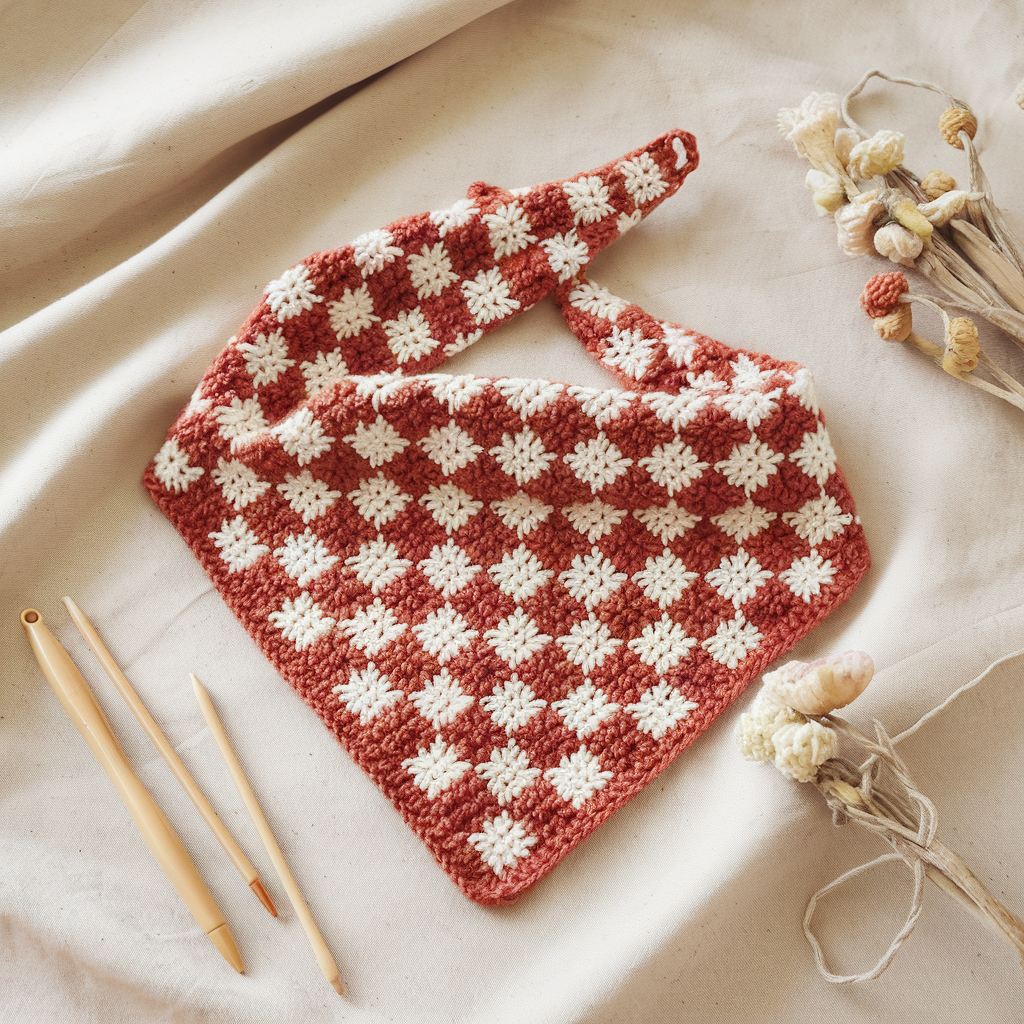
Skill level: Confident beginner
Finished size (standard): approx 20 × 20 in square when folded diagonally into a triangle (makes a generous triangular bandana). For a smaller headband-style bandana, see adjustments.
Materials
- Worsted weight (Category 4) cotton or cotton-blend yarn — 150–200 yds total across two colors (Color A + Color B).
- 5.0 mm (H) crochet hook (adjust for your tension)
- Tapestry needle, scissors, blocking mats/pins
Gauge & notes
- Gauge is flexible for this project; sample gauge: 12 DC × 8 rows = 4 in. Check if you want precise finished dimensions. Cotton gives crisp check motif; acrylic softens drape.
Concept
Work a square in alternating color blocks (mosaic/overlay or basic color-change squares) then fold into the classic triangular bandana. This pattern uses a simple graph-like approach: alternating color stripes that are worked row-by-row to create checker squares.
Stitch multiple
Work in multiples of 8 sts for an even checker effect (each square is 4 × 4 stitches in pattern).
Instructions — Square bandana (approx 20 in square)
Foundation: CH 84 (multiple of 8 plus 4 for turning — adjust for larger smaller sizes; each 8-ch block ~ 1.5–2 in depending on gauge). Turn.
Row 1 (Color A): DC in 4th CH from hook and across. Turn.
Row 2 (Color A): CH 3 (counts as DC), DC across. Turn.
Row 3: Join Color B with a standing DC in first st (or carry color). Work 4 DC in Color B, then switch to Color A for next 4 DC — continue alternating every 4 sts across row so blocks of 4 stitches form vertical columns. Turn.
Row 4: Repeat Row 2 in the color of the first DC of Row 3 (so color blocks form 4×4 squares when repeated for 4 rows).
Row 5–8: Repeat Rows 3–4 but offset the color pattern by starting with the alternate color so the squares form a checkerboard (the offset every 4 rows creates horizontal blocks). Continue repeating these 8-row sequences until the square reaches desired size (approx 20 in).
Finishing the square: End with two rounds of SC around the outside to neaten edges; make 3 SC in each corner to keep it flat. Block to square if desired.
Assembly to triangular bandana
Fold the finished square once diagonally into a triangle (corner to opposite corner). Optionally seam the two short ends together at the back if you prefer a loop bandana; otherwise tie the two long ends for classic bandana wear.
Variations & styling
- Use variegated yarn as Color B for a soft-mottled check.
- Create smaller checks by using 2 × 2 stitch blocks for a pixellated look.
- For a softer, drapier bandana, use a DK cotton and a 4 mm hook.
Care
- Cotton bandanas can usually be machine washed on gentle and air-dried to keep crispness. Acrylic may soften but is easier to care for.
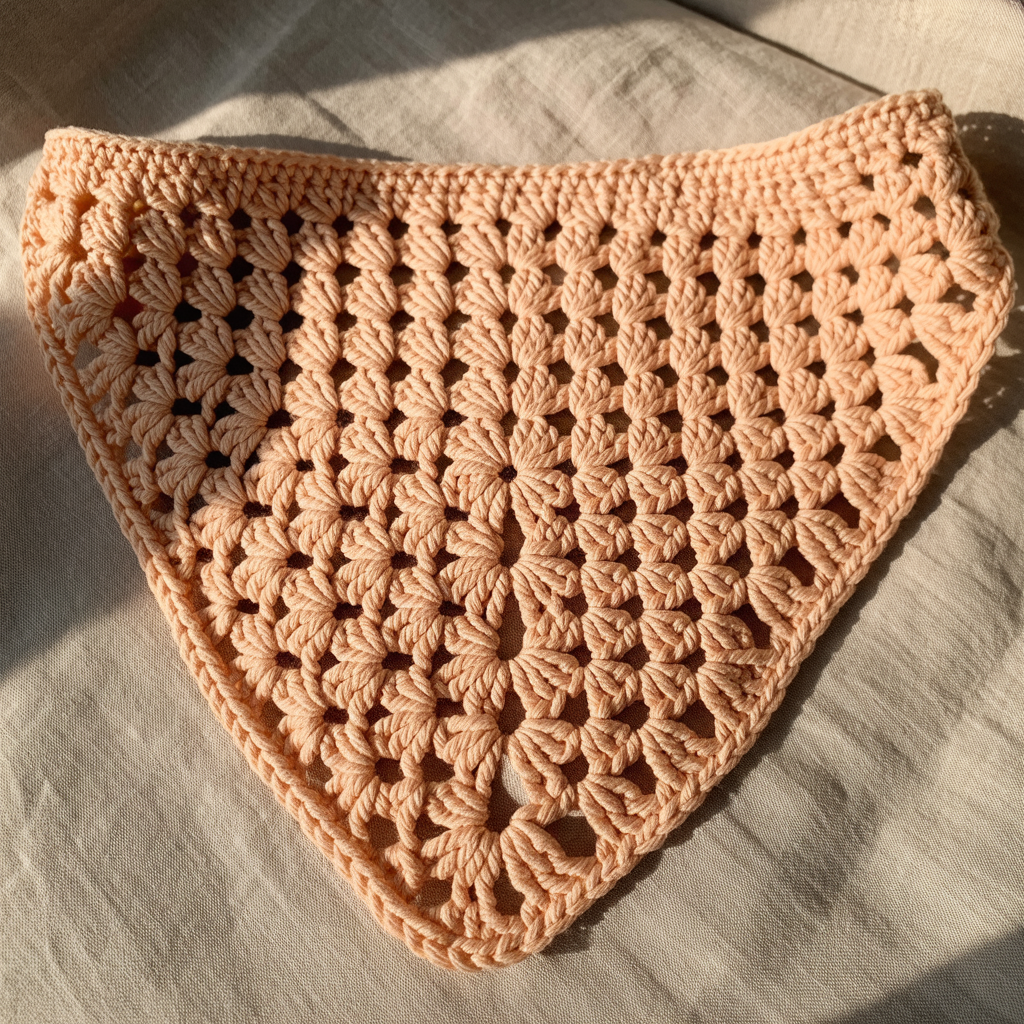
2. Crochet Oopsy Daisy Bandana Pattern
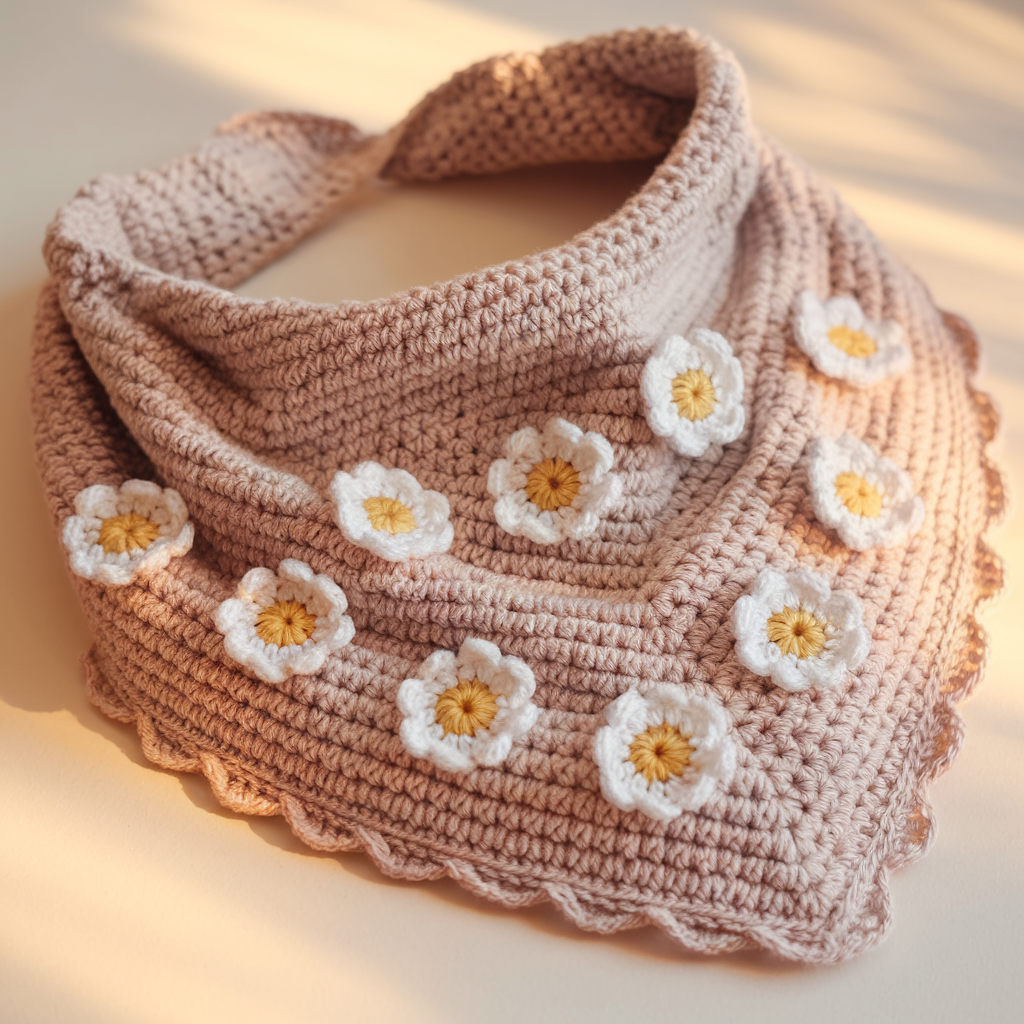
Skill level: Beginner–Intermediate
Finished size: Triangle base approx 22 in × 11 in (folded triangle height 11 in), adjustable.
Materials
- DK or light worsted yarn in main color plus small amounts of white and yellow for daisies — ~150–200 yds total.
- 4.0 mm (G) crochet hook
- Tapestry needle, stitch markers
Concept
A triangular bandana with an all-over field worked in simple stitches (HDC/DC) and decorated with applied or embroidered little daisy motifs — “oopsy daisies” in scattered placement for a playful boho effect.
Stitch multiple
Work in any even number of stitches; pattern below uses multiples of 2 for symmetry.
Instructions — Triangle bandana (top-down triangle method)
Foundation: CH 3, join with SL ST to form ring.
Row 1 (triangle start): CH 3 (counts as DC), work 2 DC into ring, turn. (3 DC — center point)
Row 2 (increase): CH 3, DC in same st, DC in next 2 sts, DC in last st (increase both edges) — effectively increase by 2 each row by working 2 DC in first and last stitch of each row. Turn.
Row n: Continue increasing by working 2 DC in first stitch, DC across, 2 DC in last stitch each row. The triangle will widen; continue until the base measures about 44 in across (this yields a 22 in fold height across center when folded into a triangle). More commonly, stop when you reach about 44–48 stitches across depending on gauge and desired tie length.
Body texture: For a more textured fabric, alternate DC rows with HDC rows or add a row of DC, CH 1, skip for slight lace.
Daisy motif (make 16–24 depending on scatter)
Small daisy (fast appliqué):
- With yellow, MR, CH 1, make 6 SC into ring, SL ST to join. Fasten off, switch to white.
- In each SC (round), work (SL ST, CH 3, SL ST) to create tiny petals (or work (SC, HDC, 3 DC, HDC, SC) for larger petals). Fasten off leaving long tail to sew on.
Placement & assembly
- After completing the triangle, arrange daisies randomly across the field (concentrate near one corner for a cluster, or evenly spaced). Sew on daisies through centers using the yellow tail.
- For a lighter look, embroider simple French knot centers and chain-stitch stems/leaves with green floss.
Edging
Work 2 rounds of SC around the triangle and finish with a picot scallop: SC, CH 3, SL ST in same SC every 3–4 sts for a dainty edge.
Variations & tips
- Make the daisies all along the lower edge only to create a border bandana.
- Combine with an eyelet row for breathable summer style: DC, CH 1, skip 1 as a decorative row.
3. Crochet Tulip Bandana Pattern
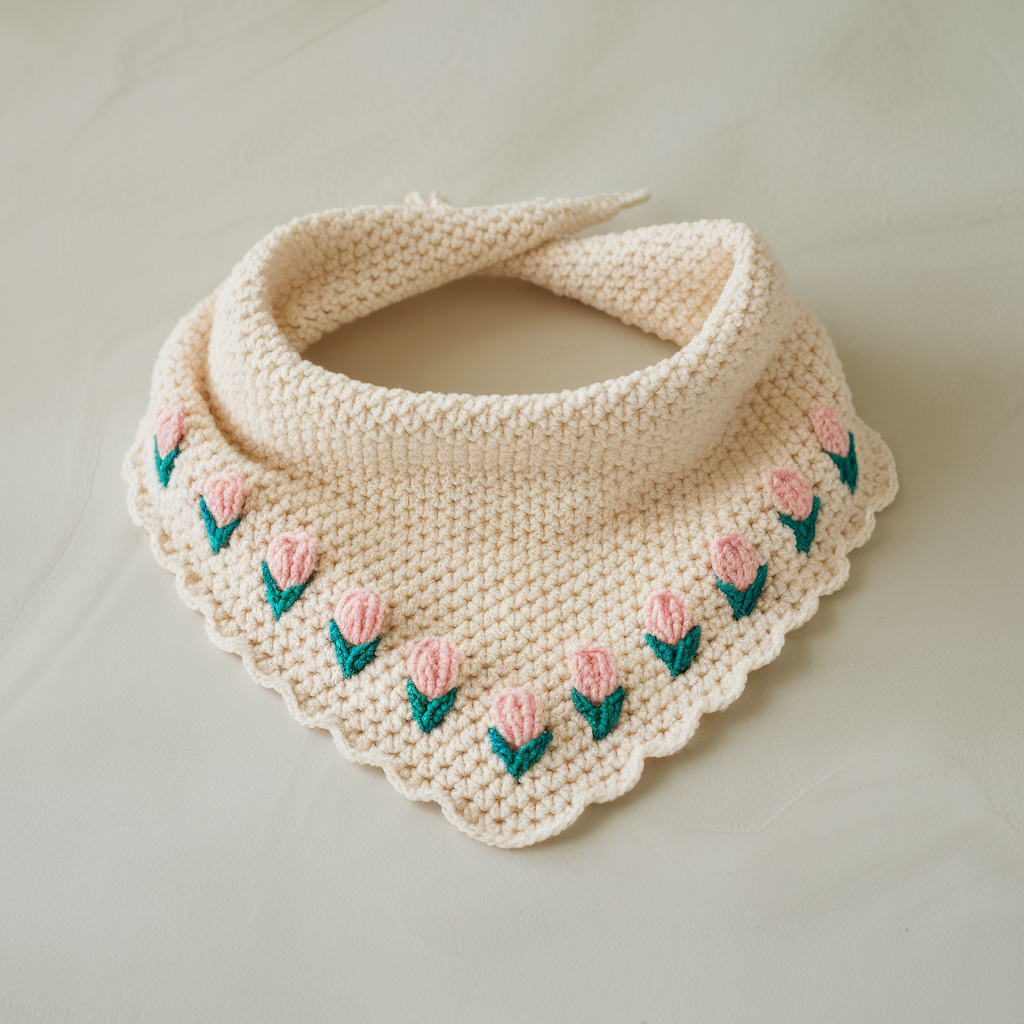
Skill level: Intermediate (small motifs + assembly)
Finished size: Triangle base approx 20–24 in depending on preference.
Materials
- DK yarn main background color ~150 yds; tulip colors (pink/ red/ yellow) small amounts; green for stems/leaves.
- 4.0 mm hook, tapestry needle
Concept
A triangular bandana with a repeating tulip motif worked as small appliqués or mosaic inserts along the bottom edge — floral and boho.
Tulip motif (make 8–12)
Mini tulip applique (flat back)
- Magic ring, CH 1; R1: 6 SC in ring, SL ST to join. (6)
- R2: INC in each st — 12. (this forms small bloom base)
- Petal shaping: attach petal color with slip stitch into top of bloom and work CH 3, 3 DC, CH 3, SL ST as a loop around bloom — repeat 3 times to make 3 petal lobes; fasten off.
- Stem & leaf: with green yarn, CH 6 and SC back to form a tiny leaf/ stem and sew into position.
Bandana body — top-down triangle (simple textured base)
- Start CH 3 join method as previous triangle bandana (increase 2 DC at edges each row) until base width is desired (about 44–48 DC across for a medium bandana).
- Work 1–2 rows of DC or HDC for structure. Place tulips along the lower two rows by sewing them on or by making small openings and slipping the motifs through.
Placement: Sew tulips so their stems align with the lower edge and bloom toward the center; place every 3–4 in depending on motif size.
Edging & finishing
Work a decorative scallop along the lower edge or a simple SC border. Block gently to shape.
Variation & styling
- Use tonal colors (ombre tulips) for an elegant look.
- For a subtle version, make the tulip motifs in the same color family as the bandana body for a textural effect.
4. Crochet Lacy Bandana with Flower Squares Pattern
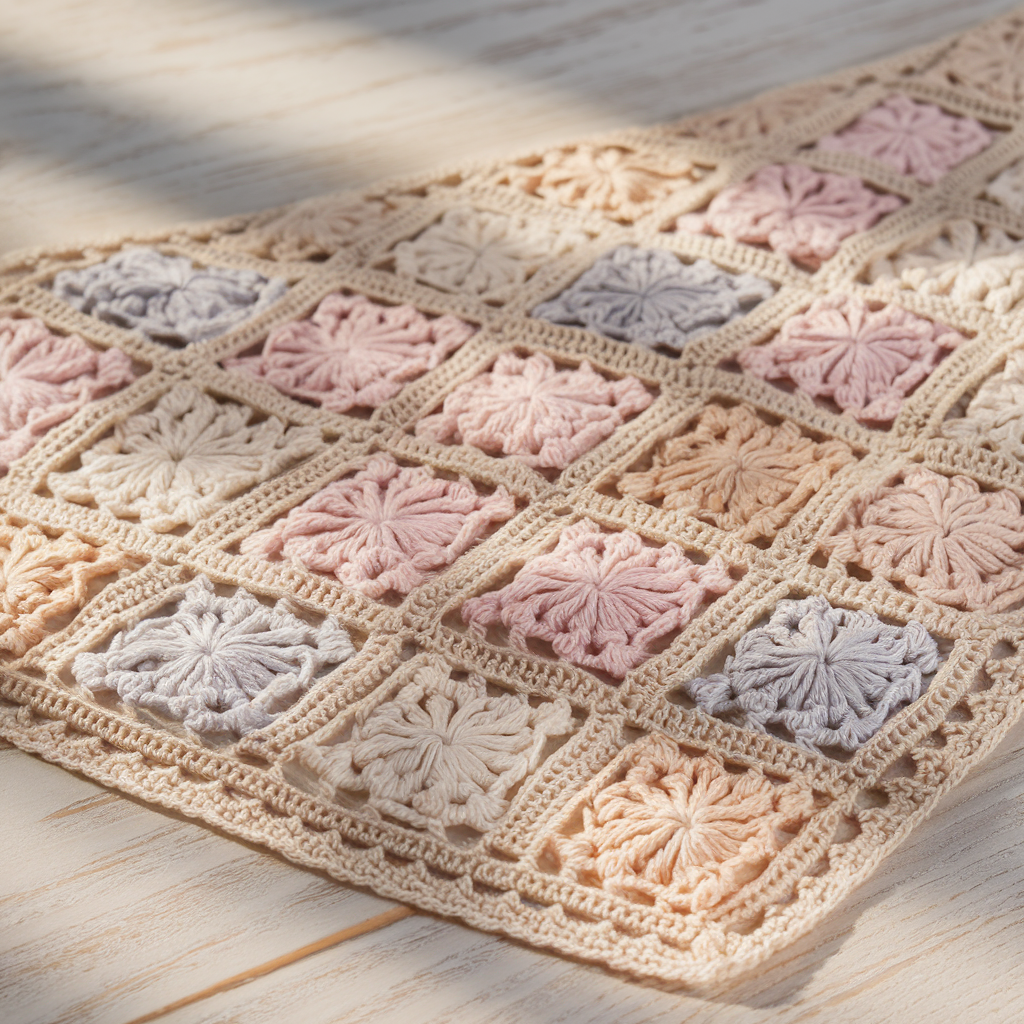
Skill level: Intermediate
Finished size: Each flower square approx 3–4 in; assemble into a triangle roughly 20–22 in height when joined.
Materials
- Fingering or DK cotton yarn in 2–3 colors (flower + background) — 200–250 yds total.
- 3.5–4.0 mm hook, tapestry needle, blocking tools
Concept
Make multiple lacy flower granny squares (small floral centers with lacy borders), join them into a triangular bandana, add a lacy scalloped border.
Flower square (one motif; make 6–9 and join)
Flower center
- Magic ring. R1: CH 1, 8 SC into ring; SL ST to join. (8)
- R2: CH 3, SL ST into next SC repeat 8 times to create 8 picot/loops. Join.
Petal round
3. Into each loop work (SC, HDC, 3 DC, HDC, SC) to create 8 petals. Fasten off flower color.
Square border
4. With background color, join to any petal tip and work: CH 3, SL ST into next petal tip around to form corner loops, then work 2 rounds of DC clusters and chain spaces to square off into a 3–4 in square (standard granny-square technique but with lace). Make 6–9 squares.
Assembly — triangular layout
- Lay squares in a triangular arrangement: Row 1 = 1 square, Row 2 = 2 squares, Row 3 = 3 squares (for a 6-square bandana), or expand to 4 rows for a larger piece.
- Join squares with whipstitch or join-as-you-go (SL ST method) with WS facing for a flat seam.
Border
Work a lacy scallop around the outer edge: SC, CH 3, 5 TR in next st, CH 3, SC every 3–4 sts. Block to open the lace.
Finishing & tips
- Flower square bandana is a beautiful photo prop. Use lighter yarn and block aggressively for the lacy look.
- For a sturdier wearable, single-crochet around and add a few HDC rows to stabilize.
5. Crochet Traditional Triangular Granny Square Bandana with Lacy Border Pattern
Skill level: Beginner–Intermediate
Finished size: Triangle base about 20–22 in (depends on number of granny rounds).
Materials
- Worsted or DK yarn for granny squares — 150–200 yds.
- 4.0–5.0 mm hook, tapestry needle
Concept
Start with a classic granny square, work it into a triangle by halving, or make a full granny square and fold into a triangle. Add a lacy scalloped border to finish.
Classic method — make a large granny square and fold
Make granny square
- Magic ring, CH 3 (counts as DC), work (2 DC, CH 2, 3 DC) into ring four times to make first round; join.
- Round 2: Into each corner-ch-2 space work (3 DC, CH 2, 3 DC); between corners work CH 1 or 3 DC cluster depending on desired openness. Continue rounds until square measures about 20–22 in across (for triangle fold).
Fold into triangle
- Fold square along diagonal and match edges so that the folded square forms a triangular bandana. Optionally seam the two short ends slightly to form a loop bandana or leave open and tie.
Lacy border
- Add a 2–3 round border: SC round, then HDC round, then a scallop: (SC, CH 3, SL ST in same SC) every 3–4 sts.
Alternative — half-granny triangle
- Start with CH 5, work into a triangular granny by increasing only on two edges (similar to triangle shawl construction) until desired size.
Styling
- Pair a triangular granny bandana with fringe tassels on the two ends for festival vibes.
- Use ombré yarn for a retro look.
6. Crochet Granny Stripe Bandana Pattern
Skill level: Beginner
Finished size: Approx 20 × 20 in square (fold to triangle)
Materials
- Worsted weight yarn in 3–6 colors for stripes — 150–200 yds total.
- 5.0 mm hook, tapestry needle
Concept
Working classic granny clusters in short rows creates colorful stripe blocks that give a modern granny-stripe bandana. This is a fast stash-buster and beginner-friendly.
Instructions — striping strip to square
Foundation chain: CH 55 (or width you want; multiple of 3 for granny cluster). Turn.
Row 1: DC in 4th CH from hook and across (or make a row of HDC to set base). Turn.
Granny stripe rows (cluster method):
- Join Color A in first ch-space, work (3 DC cluster in same space, CH 1, skip next 2 chs) across to create a row of clusters.
- On the return join Color B and work the next row of clusters offset so clusters sit between previous clusters. Continue alternating colors every 2 rows for stripe definition.
- Keep working until the piece is roughly square (measure to desired size 20 in).
Finish: SC around edges, add small tassels or fringe at corners.
Variations & tips
- Use neutral ground with colorful stripes for a boho minimalist vibe.
- Add a contrasting border in a darker or metallic color for definition.
Final finishing tips (applies to all bandanas)
- Blocking: Lacy bandanas and granny-square assemblies benefit greatly from blocking — pin to shape while damp and let dry to open lace and square seams.
- Seaming: For joining squares, use mattress stitch for an invisible join or whipstitch for speed. Join-as-you-go saves weaving later.
- Edging: A single crochet round cleans up raw edges; picots or scallops give a delicate finish. For heavier yarn, 1–2 HDC rounds stabilize the bandana.
- Sizing adjustments: To make a child size, reduce foundation chains by 20–30% or stop increases 1–2 rounds earlier; for an oversized long scarf/bandana, add extra rounds or make rectangles and angle the edges.
- Yarn choices: Cotton or cotton-blend gives crisp structure; blends with bamboo give better drape; acrylic is easy-care and soft. For summer bandanas choose lighter yarn (DK, fingering); for winter choose worsted to double as neck wrap.
- Care: Follow yarn label. Cotton: machine washable gentle; block while damp. Delicate threads: hand-wash and lay flat.
Conclusion
These six crochet bandana patterns cover a wide boho spectrum — from structured checkers and graphic granny stripes to lacy, floral, and tulip motifs. Each pattern is designed to be adaptable: scale the stitches for different head sizes, switch yarns for new textures, or combine motifs for a unique patchwork bandana. Bandanas are perfect small projects for market stalls, gifts, or seasonal styling photos.
nhà cái 188v Bạn sẽ có cảm giác như đang trở lại tuổi thơ khi điều khiển những chiếc súng bắn cá, săn lùng các loài cá quý hiếm để ghi điểm. Đây là trò chơi không chỉ giúp bạn giải trí mà còn rèn luyện sự khéo léo và nhanh nhạy.
Can you be more specific about the content of your article? After reading it, I still have some doubts. Hope you can help me.
Thank you for your sharing. I am worried that I lack creative ideas. It is your article that makes me full of hope. Thank you. But, I have a question, can you help me? https://www.binance.com/da-DK/register?ref=V3MG69RO
Trong quá trình sử dụng dịch vụ, sản phẩm giải trí do game 66b cung cấp, nếu thắc mắc hay gặp phải vấn đề bất cập, bạn hoàn toàn có thể liên hệ ngay với đội ngũ CSKH để được giải đáp và xử lý hiệu quả thông qua: Live Chat, Hotline, Facebook, Telegram và Zalo.
Thank you for your sharing. I am worried that I lack creative ideas. It is your article that makes me full of hope. Thank you. But, I have a question, can you help me? https://www.binance.info/register?ref=IHJUI7TF
Your article helped me a lot, is there any more related content? Thanks!
Thank you for your sharing. I am worried that I lack creative ideas. It is your article that makes me full of hope. Thank you. But, I have a question, can you help me?
Your point of view caught my eye and was very interesting. Thanks. I have a question for you.
Thanks for sharing. I read many of your blog posts, cool, your blog is very good.
Can you be more specific about the content of your article? After reading it, I still have some doubts. Hope you can help me.
Your article helped me a lot, is there any more related content? Thanks!
Thanks for sharing. I read many of your blog posts, cool, your blog is very good.
Can you be more specific about the content of your article? After reading it, I still have some doubts. Hope you can help me.
Can you be more specific about the content of your article? After reading it, I still have some doubts. Hope you can help me. https://accounts.binance.com/register-person?ref=IHJUI7TF
Thanks for sharing. I read many of your blog posts, cool, your blog is very good. https://www.binance.com/en-IN/register?ref=A80YTPZ1