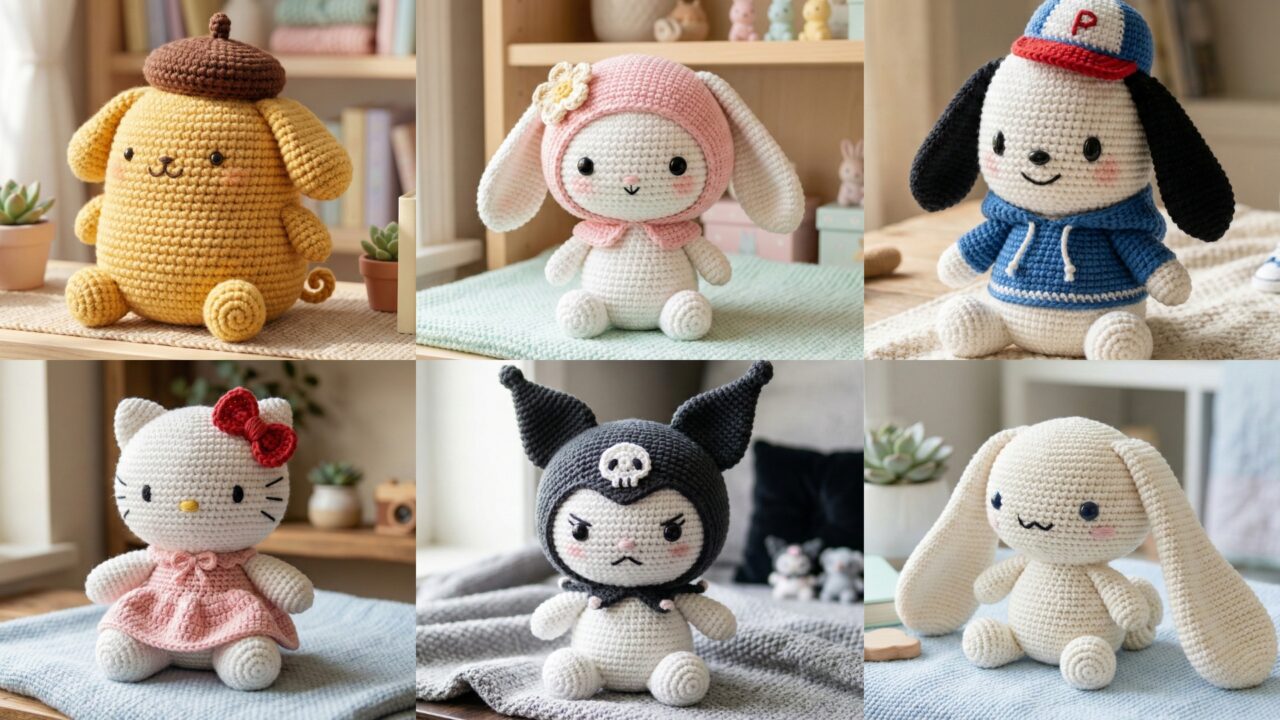
Sanrio characters are irresistibly cute — perfect inspiration for small amigurumi plushies that make excellent gifts, shelf friends, or market items. Below you’ll find a friendly introduction (materials, safety, general shaping & assembly tips), then six complete plush recipes for: Cinnamoroll, Hello Kitty, My Melody, Kuromi, Pompompurin, and Pochacco. Each pattern section includes materials, finished size, stitch list, step-by-step construction (head/body + ears/arms/legs/accessories), finishing and safety notes, and quick variations.
Important safety note (read first): if you make plush for babies or toddlers, do not use glued or loose small parts (safety eyes, beads, buttons) — embroider faces and securely sew all attachments. Always state age recommendations if you sell or gift.
Quick primer — materials, sizing, common stitches & safety
Materials (per plush, approximate)
- 50–100 g DK / worsted cotton or cotton-blend yarn (cotton gives neat stitch definition and is washable). For very plush look, use acrylic / acrylic blends but avoid near mouths of young children.
- Hook: 2.5–4.5 mm depending on yarn and how firm you want the fabric. Use a smaller hook than the yarn label to make tight stitches for stuffing.
- Polyester toy stuffing (grade-A), tapestry needle, stitch marker, small scissors.
- Safety eyes 6–10 mm (optional) OR embroidery thread for eyes (recommended for kids).
- Small scraps of felt for accessories, or contrasting yarn for embroidered details.
- Optional: pipe cleaner or floral wire for poseable elements (never for toys for young children).
Finished sizes (sample)
- Small plush (keychain): 3–4″ tall
- Pocket plush: 6–8″ tall (most patterns here target ~6–8″ finished with DK yarn and 3.5 mm hook)
Common abbreviations (US)
- MR = magic ring
- ch = chain
- sc = single crochet
- hdc = half double crochet
- dc = double crochet
- inc = 2 sc in same st (increase)
- dec = sc2tog (decrease)
- sl st = slip stitch
- BLO / FLO = back/front loop only
- rep = repeat
General shaping & assembly tips
- Work tightly (smaller hook) to avoid stuffing showing through.
- Use stitch markers to mark the first stitch of rounds.
- Stuff firmly but don’t overstuff to avoid seams splitting.
- Flatten and whip-stitch openings closed; weave in tails deeply.
- Assemble with long tails so you can sew pieces with secure mattress-stitch passes.
Safety & labeling
- For items intended for children under 3: embroidered eyes/nose only, no beads, buttons, or glued trims.
- If you use safety eyes for older kids or collectors, install washers firmly and add an embroidered safety stitch behind them for insurance.
- Label: age suggestion, washing instructions (usually hand wash or gentle machine wash in a bag, air dry).
1. Crochet Cinnamoroll-Style Plush Pattern
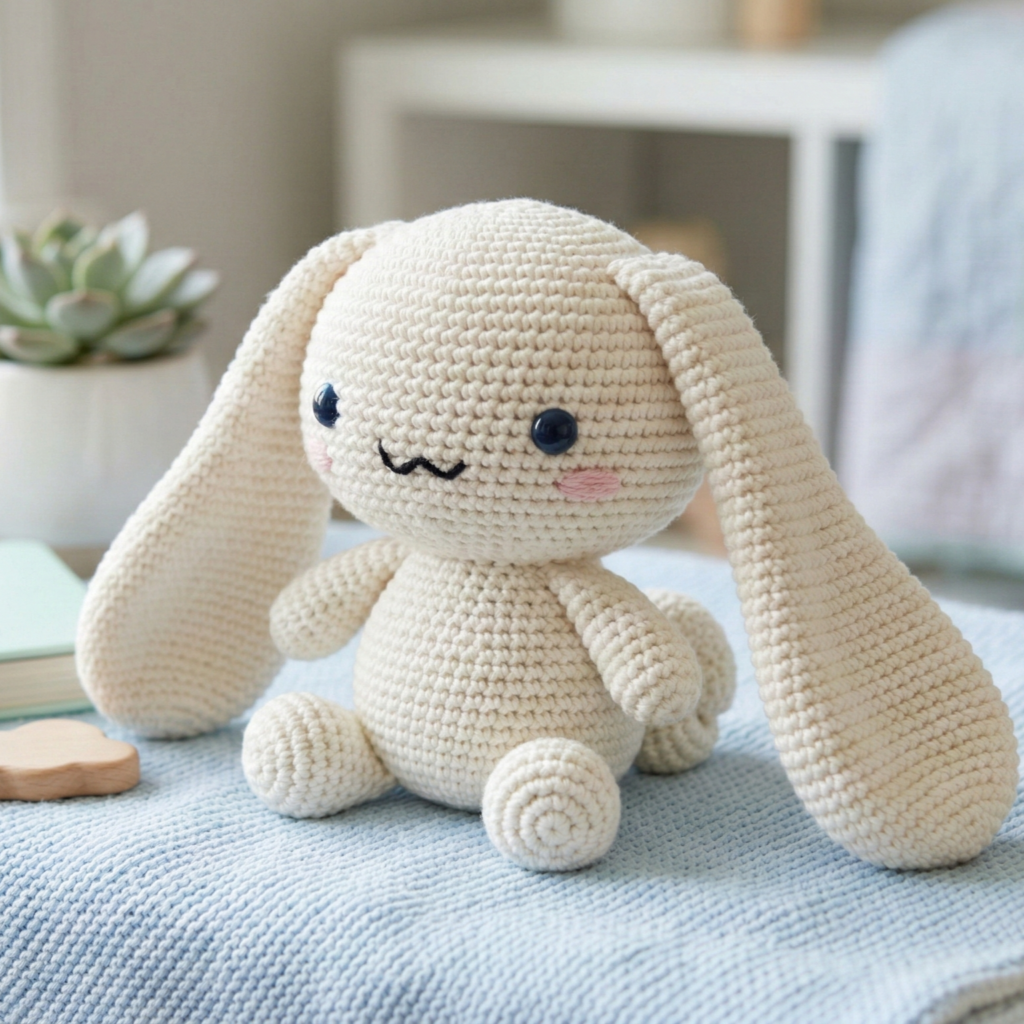
Playful floppy-eared dog with rounded body and a gentle smile.
Skill level: intermediate (floppy ears shaping + sewing)
Finished size: ~6–7″ tall (body sitting), 8–9″ from ear tip to ear tip
Materials
- DK cotton main color (white/ivory) ~70–90 g
- Small amounts blush pink (cheeks) and baby blue (optional scarf)
- Hook 3.5 mm (adjust for tight fabric)
- Polyester stuffing, 8–10 mm safety eyes or embroidered eyes, tapestry needle
Stitches used
sc, inc, dec, hdc (for smoother curves), sl st for details
Head & body (worked as two parts or joined for seamless look)
This plush is easiest worked as separate head and body then joined.
Head
- MR, 6 sc in ring. (6)
- R2: inc around → 12
- R3: sc1, inc ×6 → 18
- R4: sc2, inc ×6 → 24
- R5: sc3, inc ×6 → 30
- R6–R11: sc around (30) — lengthen to make a round head.
- Begin decreases: sc3, dec ×6 → 24
- sc2, dec ×6 → 18
- Insert safety eyes between R8–R9 about 8–10 sts apart (or mark for embroidered eyes). Add light stuffing.
- sc1, dec ×6 → 12. Stuff firmly. Close with decs and finishing.
Body (slightly pear-shaped)
- MR, 6 sc. R2: inc →12. R3: sc1, inc ×6 →18. R4: sc2, inc×6 →24.
- R5–R10: sc around to build height.
- Decrease rounds to narrow top where head will join: reduce gradually to 12–14 sts, stop stuffing before fully closed — leave top open for neck join.
Join head + body
- Place head on body opening, whipstitch through front loops for a neat join; or sew with mattress stitches catching the head and body rounds simultaneously for secure seam.
Ears (make 2)
- Ch10, sc back along chain to make a flat tapered strip, then shape into a floppy ear by folding the chain and sewing base. Alternatively make a rounded ear: MR, 6 sc, inc rounds to get a tear drop shape; flatten base and sew.
Attach ears at sides of head using long tail, sew underside to hide ends, and secure base well. Make them floppy by sewing only a small base and leaving rest loose.
Limbs (arms & tail)
- Arms: MR, 6 sc; increase to 10–12 then sc in rounds to length ~1.75–2″, stuff lightly, sew to body sides lower than neck.
- Tail: short bobble tail: MR, 6 sc then 2 rounds sc, sew at back bottom.
Face & cheeks
- Stitch mouth: use a thin black/gray yarn to make a small curved smile with backstitches. Add tiny blush circles of pink yarn or an airbrushed fabric-safe marker.
Accessories
- Tiny crocheted scarf: ch20, sc back across 3 rows, tie around neck.
Finishing
- Weave in ends, trim excess yarn. Block ears gently by steam if desired (cotton-friendly).
2. Crochet Hello Kitty-Style Plush Pattern
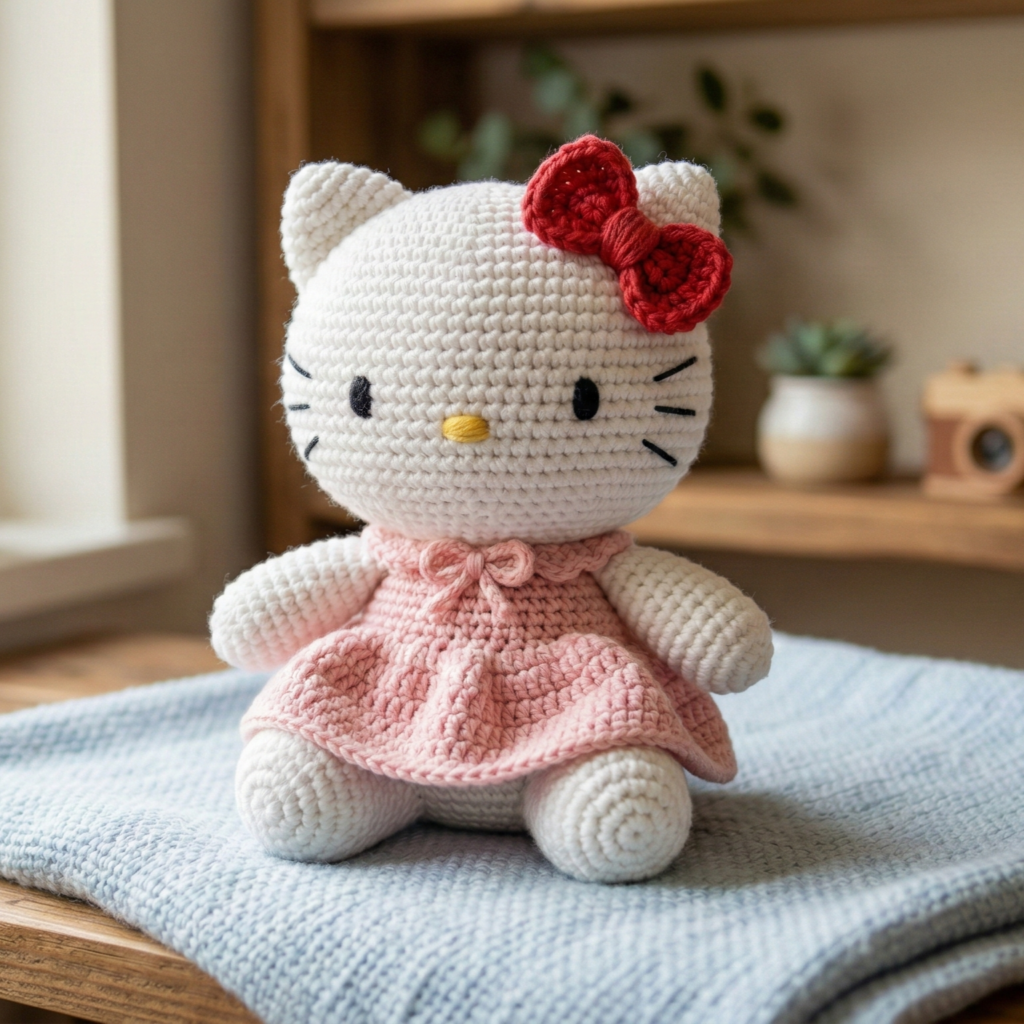
Simple, iconic, and perfect for embroidery-style faces.
Skill level: confident beginner
Finished size: ~6″ tall (sitting figure) — larger if you use thicker yarn
Materials
- DK white yarn for body, small amount black (whiskers) and yellow (nose) and red/pink for bow
- Hook 3.5 mm, safety eyes 6 mm or embroidered eyes, stuffing
Head (worked in rounds)
- MR, 6 sc. (6)
- R2: inc → 12
- R3: sc1, inc → 18
- R4: sc2, inc → 24
- R5–R8: sc around (24) — make head taller for sitting.
- Start decreases mirroring increases to close; add eyes between R6–R7 spaced ~7–9 sts apart. Stuff.
Ears (make 2)
- MR, 6 sc, inc round to 10–12, sc 2–3 rounds then fasten leaving tail. Flatten and sew on top corners of head at slight angle.
Body (simple oval or rounded cylinder)
- MR, 6 sc; increase rounds to ~20–24 sts to make base, then sc rounds for torso height ~3–4″. Stuff and sew head to body.
Arms & legs
- Arms: MR 6 sc, sc rounds to length ~1.5–2″, lightly stuff, sew to sides.
- Legs: two wider short legs: MR 8 sc, increase to 12–14, sc 2–3 rounds, flatten and attach at base so plush sits.
Bow
- Make an oval bow: ch 10, sc across for 2–3 rows, fold and cinch center with a small band; sew to top-left ear.
Face (embroidery recommended for kids)
- Nose: small horizontal satin stitch with yellow yarn.
- Eyes & whiskers: tiny black stitches for eyes and three straight whisker stitches on each side.
Finishing
- Weave ends; reinforce attachments with at least 6 secure passes per limb.
3. Crochet My Melody-Style Plush Pattern
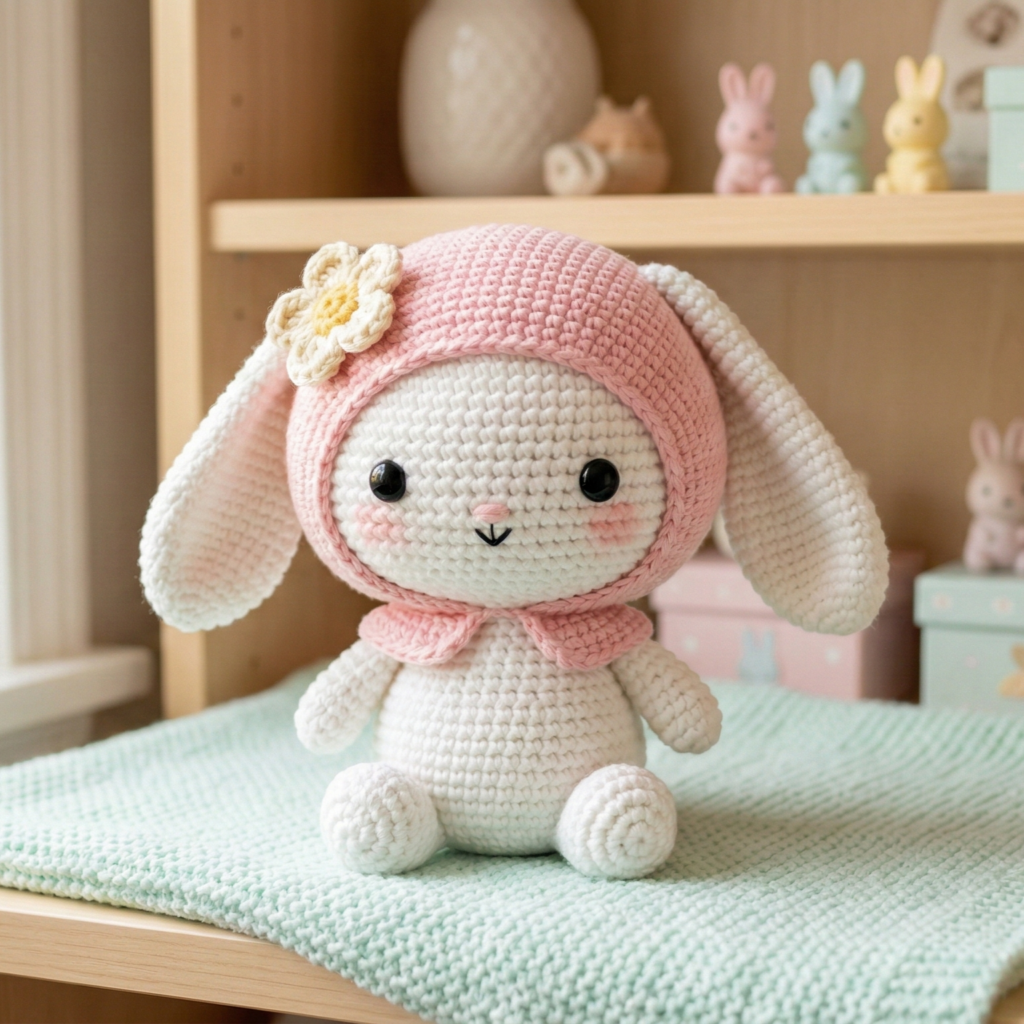
Hooded bunny with a sweet hood and floral accessory.
Skill level: intermediate
Finished size: ~6–8″ tall (hood makes it appear larger)
Materials
- DK white (face/body) and pink (hood), small floral color for hood bow, hook 3.5 mm
- Stuffing, tapestry needle, embroidered face recommended for toy safety
Head & integrated hood
Best approach: make head first in white, then crochet hood separately and pull over the head.
Head (white)
- MR, 6 sc; inc rounds to 24; sc rounds until head length achieved; place eyes (or embroider) and stuff; close partially leaving neck opening.
Hood (pink) — worked flat or in rounds
- Chain wide enough to go from under one ear to under other ear across front (measure head). Join and work in rows or rounds with sc, shaping a softly rounded hood top with increases at top center and decreases toward the back to shape the hood. Alternatively work circular cap to fit head and add front border.
- Attach hood over head by sewing inner edge to head seam or make removable hood by leaving it unsewn and tucking under chin.
Ears (white beneath hood)
- Make long bunny ears (slim teardrops): MR, 6 sc, increase to 12–14, sc several rows, decrease to tip. Attach to head and top of hood if you like the My Melody look where ears stick out of hood.
Body & limbs
- Small rounded body worked as cylinder; arms & legs small tubular shapes sewn on.
Hood bow & flower
- Crochet a small flower or bow and sew to one side of hood.
Face
- Embroider round eyes and tiny “v” for nose; add blush.
4. Crochet Kuromi Plush Pattern
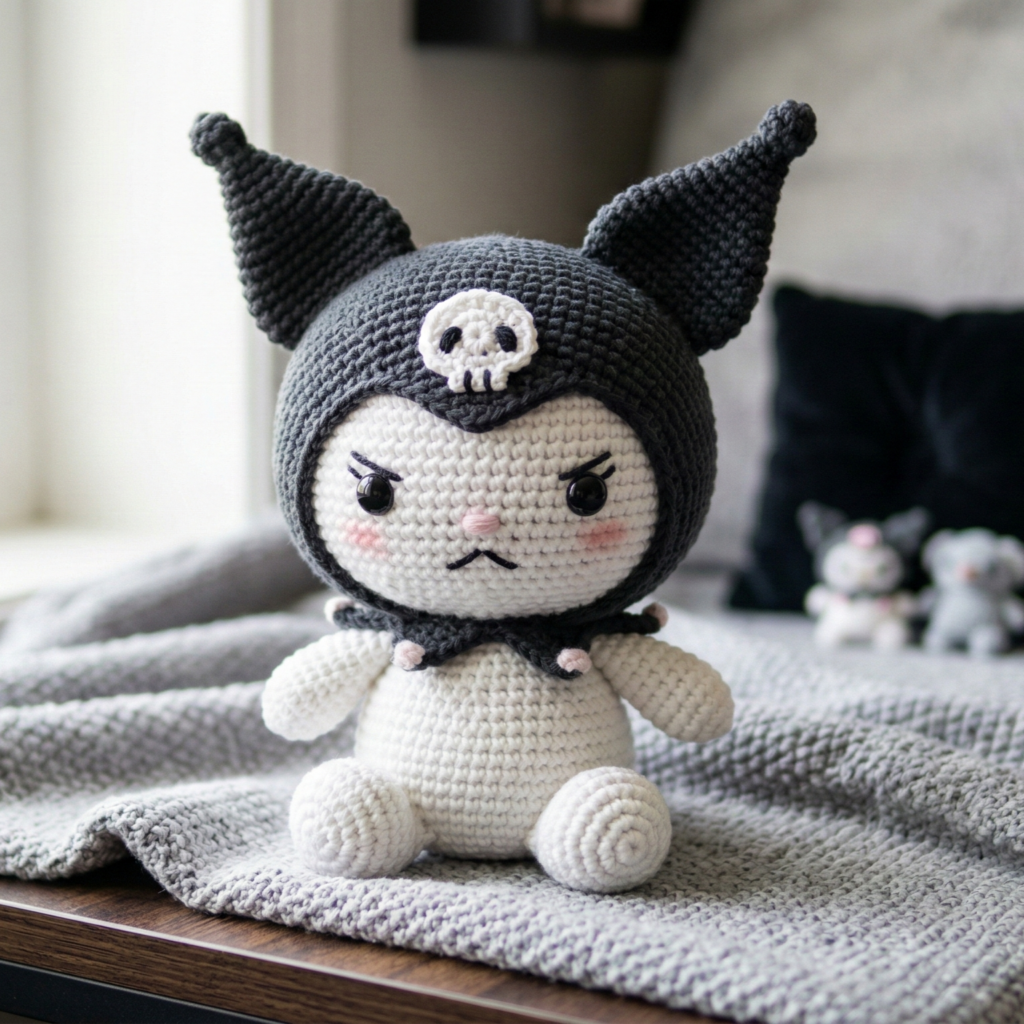
Kuromi has a hood and a little skull accent — create a slightly edgier amigurumi.
Skill level: intermediate
Finished size: ~6–8″ tall
Materials
- Black or dark gray for hood, cream or pink for face, white for skull accent, hook 3.5 mm
- Embroidered face recommended for safety
Construction overview
Same as My Melody-style method: make a face/head and a separate hood that fits over. The hood should include Kuromi’s iconic point and skull appliqué.
Skull appliqué
- MR, 6 sc for skull base; small rectangle for crossbones. Sew skull centered on hood.
Horn/point
- Make small triangular point at top of hood: ch6, sc back to make pointed triangle, sew in place.
Face & ears
- Ears peaked and stick through hood. Embroidered frown/eyebrow for mischievous expression.
Body & outfit
- Body in darker tones to match character; tiny tail or tutu optional.
5. Crochet Pompompurin Plush Pattern
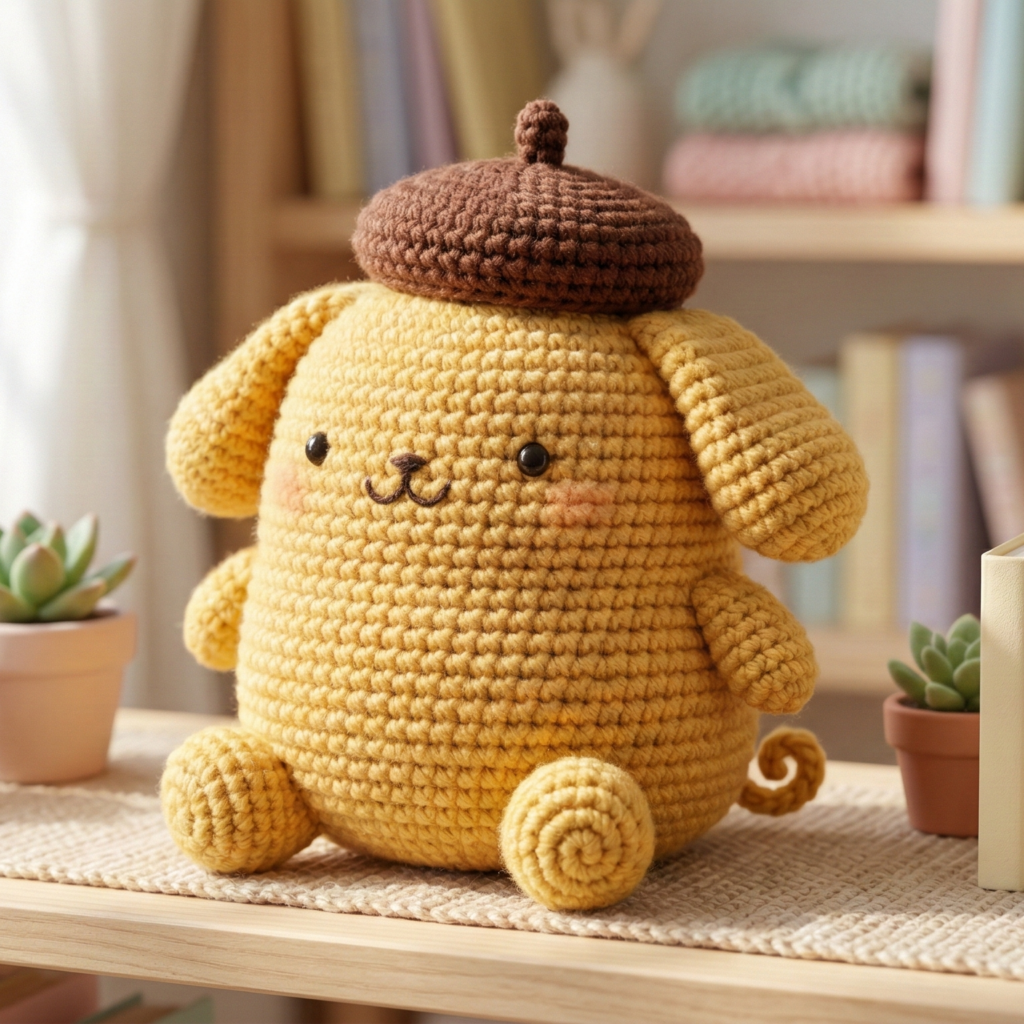
Chunky, squishy pudding-dog with beret hat.
Skill level: confident beginner → intermediate
Finished size: ~6–8″ tall (sitting)
Materials
- DK golden yarn for body, darker brown for beret and tail accents, 3.5–4.0 mm hook
- Stuffing, embroidered features, small felt for beret badge optionally
Head & body
- Head: MR 6 sc, increase rounds to 24–30 sts, sc rounds for height then decrease to close — place eyes lower and sew small nose.
- Body: MR, expand to a flat base about 4–5″ then build walls sc rounds upward to form squat body — stuff and close.
Beret
- Work a small shallow dome: MR, 6 sc; increase to about 20–24 sts, sc a couple rounds, finish with a short little stem in center (ch3, sl st back). Sew atop head — tilt slightly for charm.
Ears & tail
- Ears: flappy semicircles (ch6, sc back) sewn to sides.
- Tail: tiny puff or crocheted spiral, sewn to base.
Finishing details
- Patches: add embroidered mouth and cheek blushing with peach yarn or fabric marker.
6. Crochet Pochacco Plush Pattern
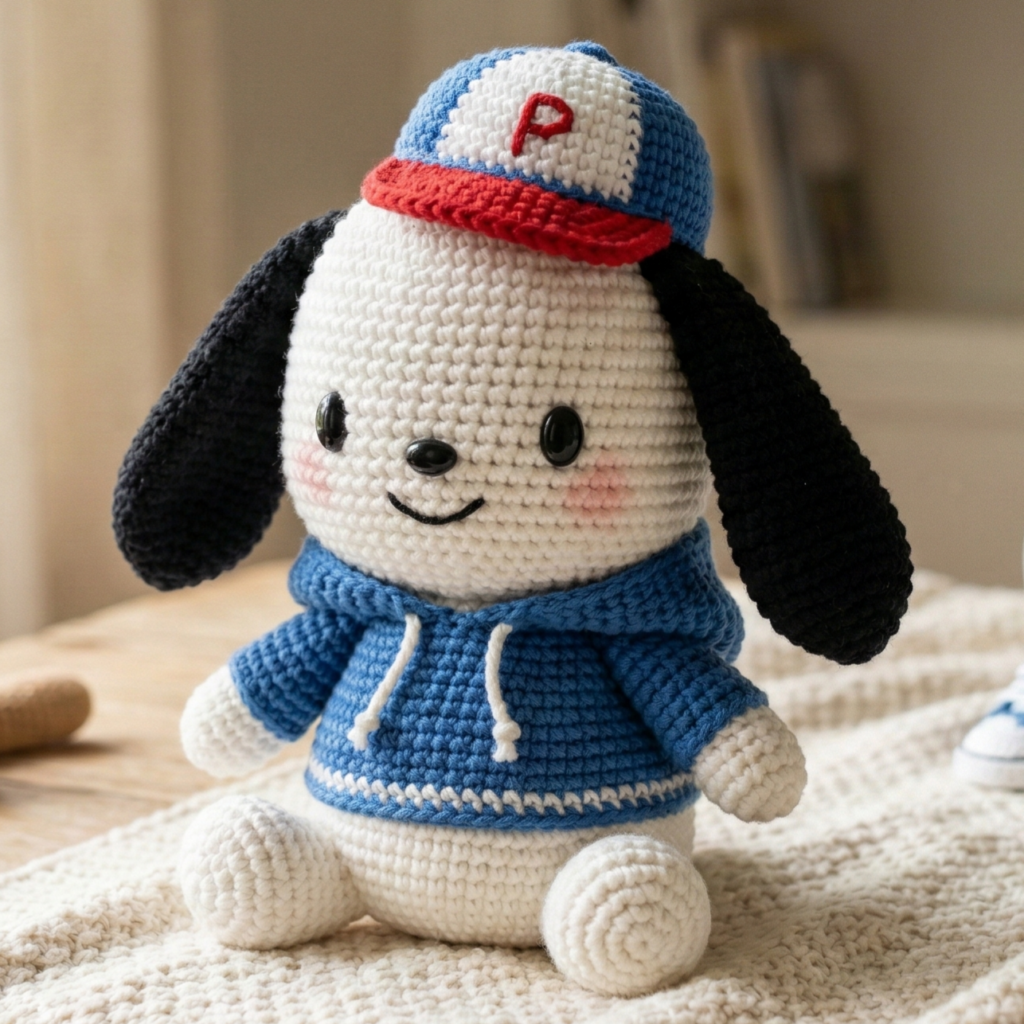
Cute pup with floppy ears and a cap or little hoodie.
Skill level: intermediate
Finished size: ~6–8″ tall
Materials
- White for base, black for ears, accent color for cap/hood, hook 3.5 mm
- Stuffing, embroidery floss
Head & body
- Head: standard sphere MR increases to ~24–30 sts and sc rounds.
- Body: cylinder as before.
Cap/hood option
- Small cap: ch8–10 foundation, sc in rows to create a tiny baseball cap brim (short rectangle with slight curve) and a dome worked as hood; sew to head.
Ears
- Floppy ear teardrops in black or spot colors sewn low on head.
Face
- Embroider oval eyes, small nose, and a friendly smile. Add little freckles or blush.
Final finishing & care (applies to all plush)
- Weaving & stitching: weave ends deep inside the toy and finish with a couple of secure knots.
- Washing: hand-wash gently in cool water; for cotton/acrylic you can use a gentle machine cycle inside a mesh laundry bag and air dry flat. Remove any non-washable trims before laundering.
- Labeling: if making for sale, include fiber content and age recommendations: “Suitable 3+ with embroidered features; 0+ only with embroidered eyes and securely sewn parts.”
Quick Variations & Customization Ideas
- Make keychain minis by using 1.75–2.5 mm hooks and fingering yarn; add a small metal keyring.
- Create seasonal accessories: tiny scarves, felt pumpkins, mini Santa hats — swap colors and trims.
- Use plush (chenille) yarn for ultra-soft collectors’ plush — but avoid for baby toys as eye stitching and fuzz can become loose; advise for display only.
Conclusion
These six Sanrio-inspired amigurumi plush patterns give you a complete, friendly set of character styles — from the floppy-eared sweetness of Cinnamoroll to the classic simplicity of Hello Kitty, the hooded charm of My Melody and Kuromi, the pudding-y warmth of Pompompurin, and sporty appeal of Pochacco. Each pattern emphasizes safe assembly, washable materials, and step-by-step construction so you can make a lovable plush for gifting, selling, or keeping.