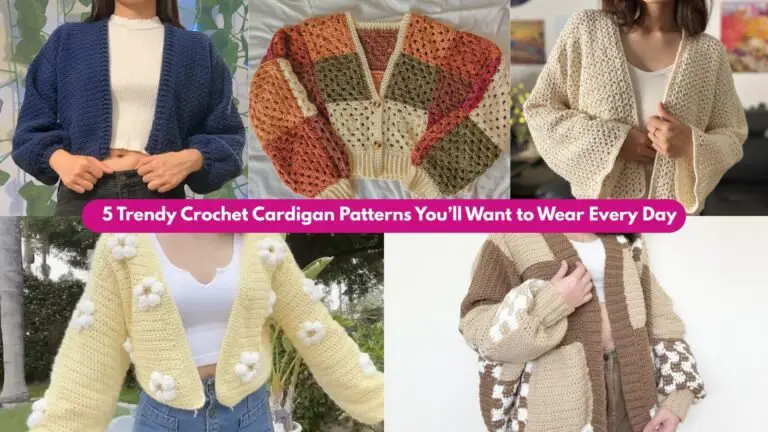
Scrunchies are tiny miracles: they’re fast to make, use small amounts of yarn, and sell like hotcakes at craft fairs. A handmade scrunchie is a great way to show off texture — lace, bobbles, shells, even Tunisian panels — while staying totally practical. This post gives you six scrunchie patterns (Boho Caribbean, Sassy Lace, Sunflower, Tunisian, Lily of the Valley, and Easy) with full step-by-step instructions, materials, stitch counts, finishing tips, variations for style, and care notes so each scrunchie looks professional and lasts.
Notes before you start
- Abbreviations (US): ch = chain, sl st = slip stitch, sc = single crochet, hdc = half double crochet, dc = double crochet, tr = treble, fp = front post, bp = back post, puff = puff stitch, picot = ch 3, sl st in first ch, … = repeat.
- Most patterns show an example worked with worsted weight yarn and a 3.5–4.5 mm hook. I give quick adjustment notes for thinner/thicker yarns.
- Use a hair elastic (standard 1/4″–1/2″ wide hair tie) inside each scrunchie for structure. Typical elastic circumference (unstretched) is about 4–5 in — but measure your elastic and choose stitches to fit (I provide a target stitch count around the elastic: ~24–36 sc for worsted yarn; adjust up for finer yarn).
General assembly method (use this with any pattern)
- Thread the hair elastic onto your yarn so the elastic sits inside your working ring (some people hold it in place with a stitch marker or safety pin).
- Work a foundation round around the elastic (single crochet is most common) to create a base covering for the elastic. Count stitches — this is your round count (e.g., 30 sc). Most patterns below use 30 sc as an example count for worsted yarn; adjust as needed.
- Work the pattern rounds over that base (shells, lace, petals, etc.).
- Finish by sewing or sl st the final round to the first round if working flat; weave in ends and, optionally, add a decorative wrap or tassel.
If your first round is too tight or too loose on the elastic, frog and rework the foundation with ±4 stitches.
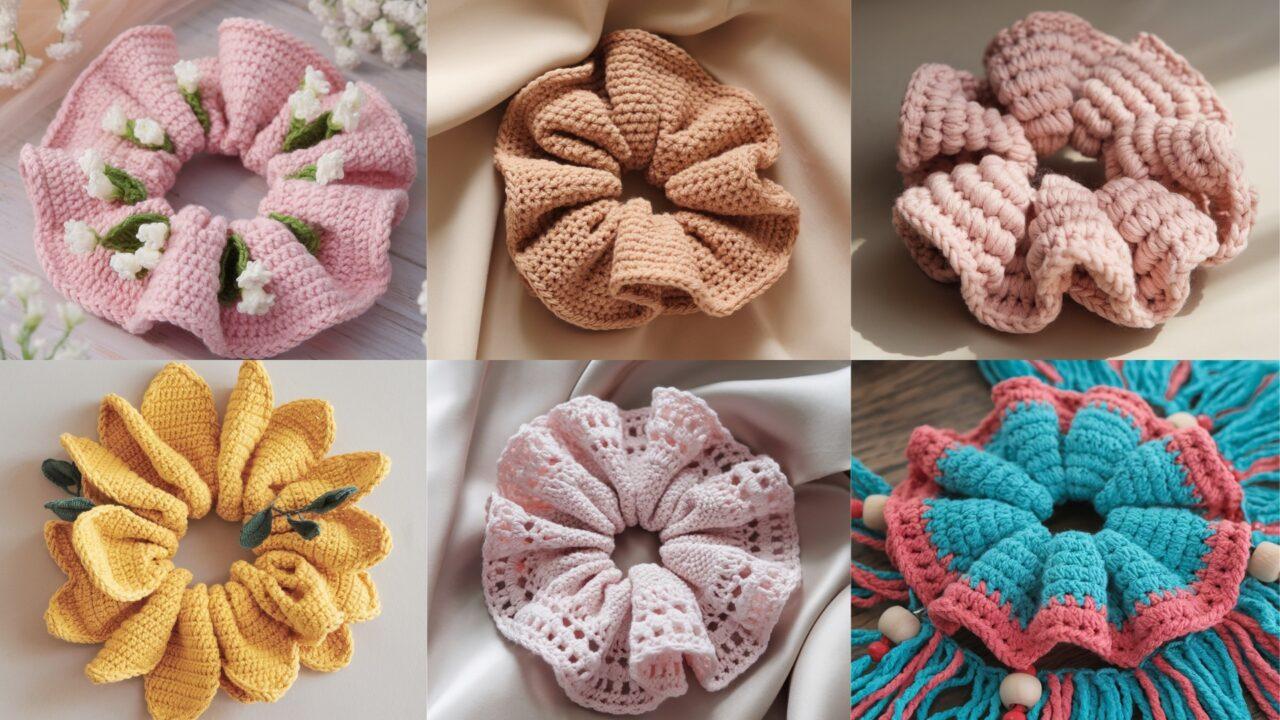
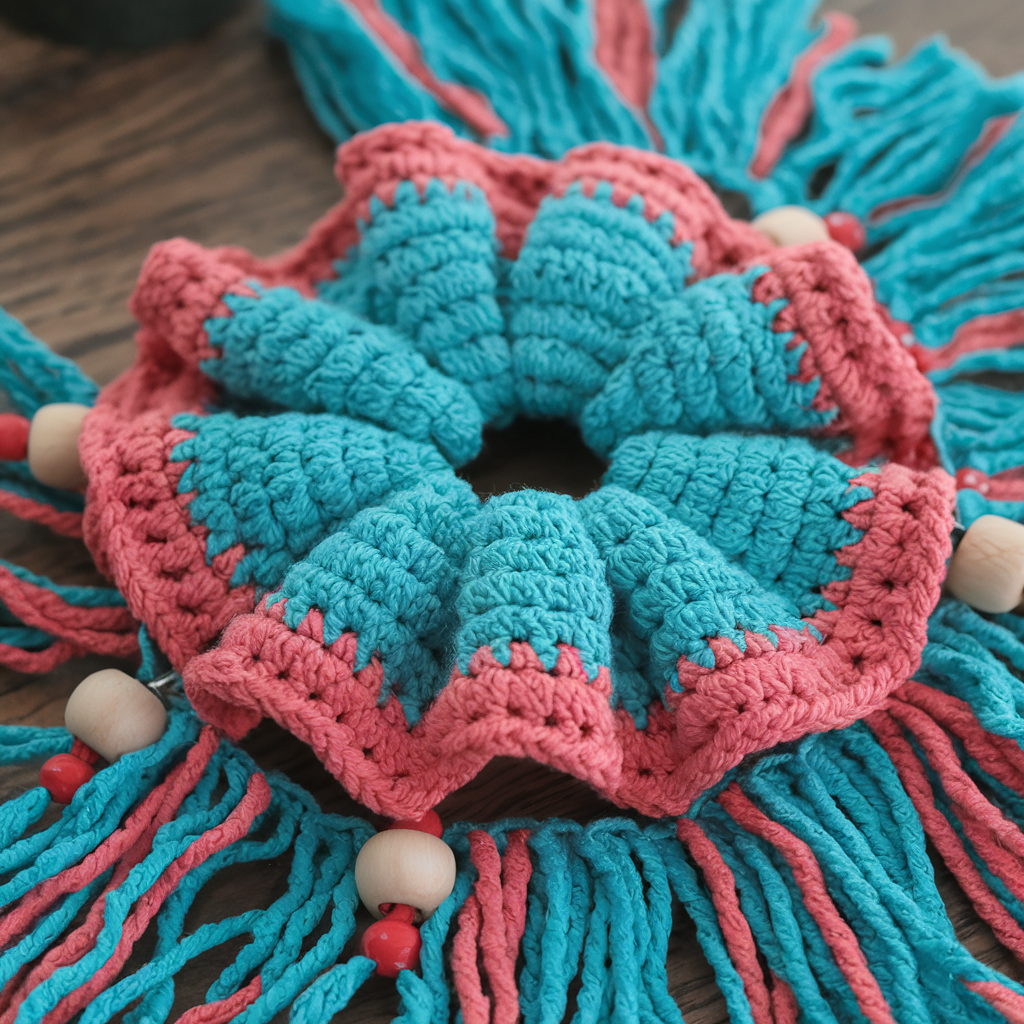
1. Boho Caribbean Crochet Hair Scrunchie Pattern
Skill level
Easy → Intermediate (basic stitches + optional fringe/beads)
Finished size
Diameter (unstretched): 3–4 in; scrunchy fullness depends on yarn. Example shown: ~3.5 in.
Materials
- Worsted weight cotton or cotton blend in 2 contrasting colors (A = main, B = accent), ~15–25 yd total
- 4.0 mm hook
- Standard hair elastic (approx 4–5 in circumference)
- Scissors, tapestry needle, (optional) small wooden beads and thin cord/tie for fringe
Step-by-step (example uses 30 sc foundation)
Foundation round (cover the elastic)
- Place elastic on yarn and hold. Ch 1, work 30 sc evenly around the elastic, making sure stitches are neither too tight nor too loose. Join with sl st to first sc. (30 sc)
Round 2 (build body)
2. Ch 1, sc in each st around. Join. (30 sc)
Round 3 (Caribbean shell row)
3. Ch 3 (counts as dc), skip next st, shell in next st (5 dc in same st), skip next st, dc in next st — repeat around so shells are spaced with single dc anchors. Join. (You’ll have ~10 shells if working shells into 30-st round).
Round 4 (anchor & neat edge)
4. Ch 1, sc in each st and in the top of each shell cluster to anchor; join. Fasten off and weave ends.
Optional boho fringe/bead detail
5. Cut 12–16 strands of yarn ~6–8 in. Fold in half, use lark’s head knot at the base between shells to attach fringe. Add wooden beads to several fringe strands before knotting for a Caribbean vibe. Trim fringe to even length.
Finishing & assembly
- Weave in ends thoroughly. Give the scrunchie a final shape by stretching around your fingers to distribute shells evenly.
- If fringe is heavy, tack a few strands to lining with a couple of hidden stitches to keep them in place.
Tips & variations
- Use linen or rope yarn for a true boho look; choose a slightly larger hook to create an airy fabric.
- Make shells larger (7 dc) for more dramatic waves, or smaller (3 dc) for a tidier look.
- Add a tiny tassel hanging from one side as a signature craft-fair finish.
Care
- Cotton scrunchies: machine wash on gentle; reshape and air dry. Remove wooden beads before machine washing if possible.
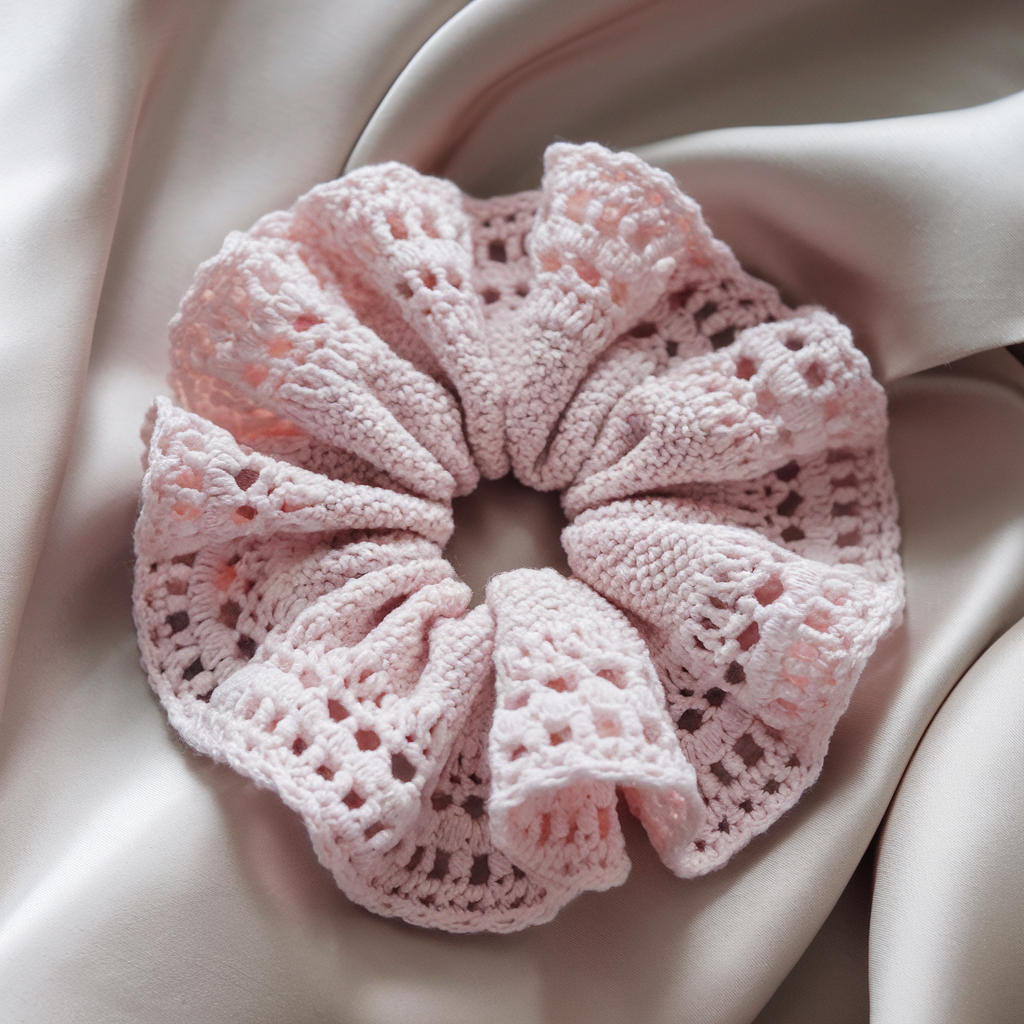
2. Sassy Lace Scrunchie Crochet Pattern
Skill level
Intermediate — lace repeats and picots; blocking recommended for best look
Finished size
Delicate lace ruffle: 3–4 in diameter; ruffle depth 1–1.5 in.
Materials
- Fingering to sport weight yarn (bamboo or mercerized cotton shows lace nicely), ~20–30 yd
- 3.0–3.5 mm hook
- Hair elastic, tapestry needle
Step-by-step (example: 36 sc foundation for a lighter yarn)
Foundation
- Ch 1, work 36 sc around elastic (or adjust to fit your elastic and yarn). Join. (36 sc)
Round 1 (stabilizer)
2. Ch 1, sc in each st around. Join. (36 sc)
Round 2 (lacy picot arches)
3. Ch 4, skip 1 st, sc in next st — repeat around. Join. This creates small chain arches.
Round 3 (scallop shells into arches)
4. Sl st into first ch-4 arch space, then work (sc, hdc, 3 dc, hdc, sc) into the ch-4 space to make shell. Sl st into next foundation sc and continue shell into each arch space. Join.
Round 4 (picot edging)
5. Ch 1, sc around shells placing a picot (ch 3, sl st in base) at the top of every 2nd dc for delicate points. Join and fasten off.
Finishing & assembly
- Block gently on a straw/mat to set the shell shapes: pin shells out and spray lightly with water (or steam) to set.
- Weave in ends on the inside/back so picot points look clean on the right side.
Tips & variations
- Make the lace taller with an extra shell row for a bolder ruffle.
- Add metallic thread for special-occasion scrunchies (pre-string a fine metallic filament and carry it along one round for sparkle).
Care
- Hand wash or machine wash in mesh bag on delicate; reshape and dry flat.
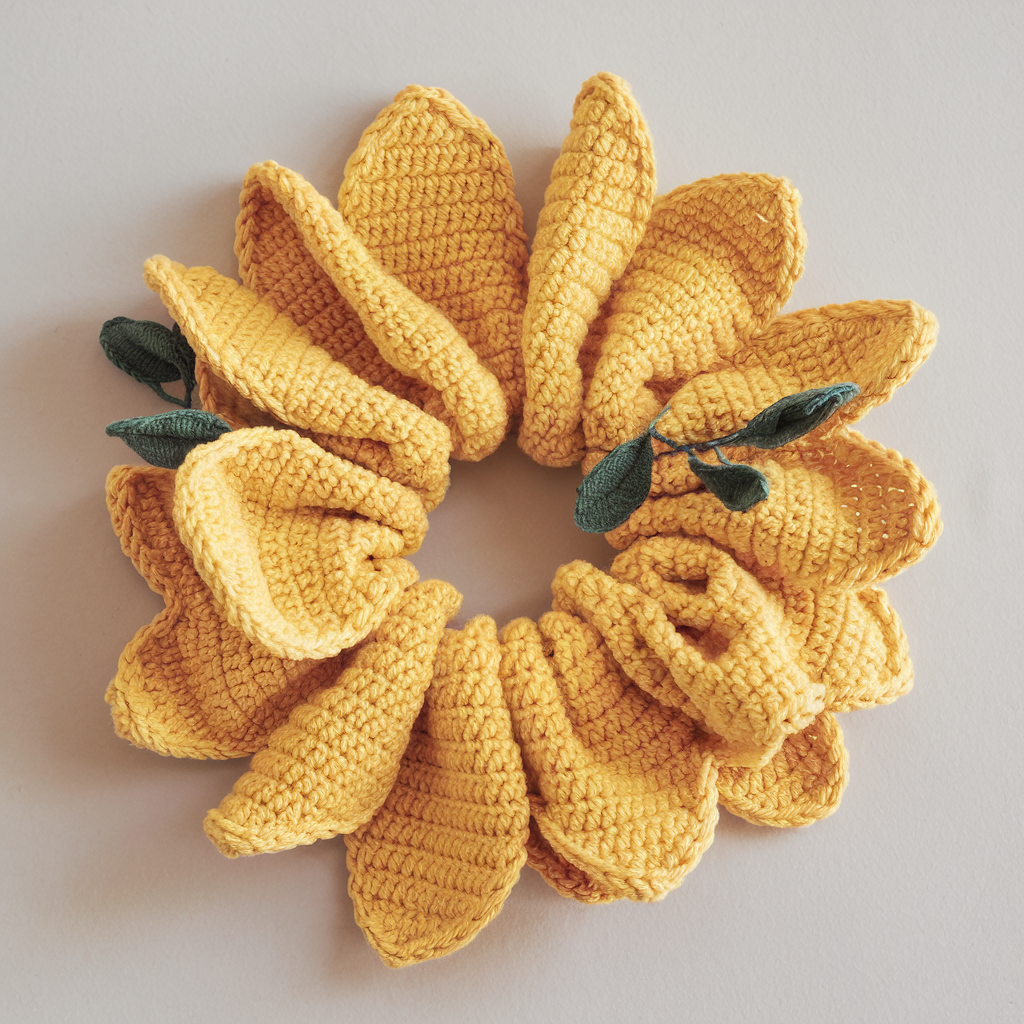
3. Sunflower Scrunchie Crochet Pattern
Skill level
Easy → Intermediate — small motif petals; beginner-friendly if you follow counts
Finished size
Sunflower head about 2.5–3 in across; overall scrunchie ~3.5–4 in.
Materials
- Worsted weight cotton: Yellow (petals), Brown (center), Green (optional leaf), ~30–40 yd total
- 3.5–4.0 mm hook
- Hair elastic, tapestry needle
Step-by-step
Foundation & center (worked flat as small circle then joined around elastic)
- With Brown (center): magic ring, ch 1, 6 sc into ring. Pull tight and join. (6 sc)
- Round 2: ch 1, 2 sc in each st around. (12 sc)
- Round 3: ch 1, sc in next st, 2 sc in next repeat around. (18 sc) — fasten off brown leaving tail for sewing.
Petal round (attach petals around center)
4. Join Yellow to any st on round 3. Ch 2, (sc, hdc, 3 dc, hdc, sc) into next st, ch 2, sl st into next st — repeat around to form 9–10 petals (if your center has 18 sc, placing 2 petals per every other st gives 9 petals). Adjust petal counts so they sit evenly. Fasten off leaving tail.
Attach to scrunchie base
5. Make a simple elastic cover: ch 1, sc 30 (or match your elastic count) around elastic for a neat base (2 rounds). Slip the sunflower onto the base and sew the brown center securely through the base to anchor the flower. Reinforce with a few reverse stitches.
Optional leaves
6. Add a tiny leaf: With green, ch 6, sc in 2nd ch, hdc, dc, hdc, sc, sl st to base to form a tiny leaf and sew between two petals.
Finishing & assembly
- Secure the flower to the scrunchie base with several passes so it won’t detach in use.
- Weave in ends into the back of sunflower and inside scrunchie.
Tips & variations
- Make a cluster of three mini sunflowers across the scrunchie for a fuller bracelet-style look.
- For a softer petal, use acrylic or acrylic-cotton blends and steam gently to shape petals.
Care
- Cotton sunflowers are machine washable on gentle; reshape petals while damp.
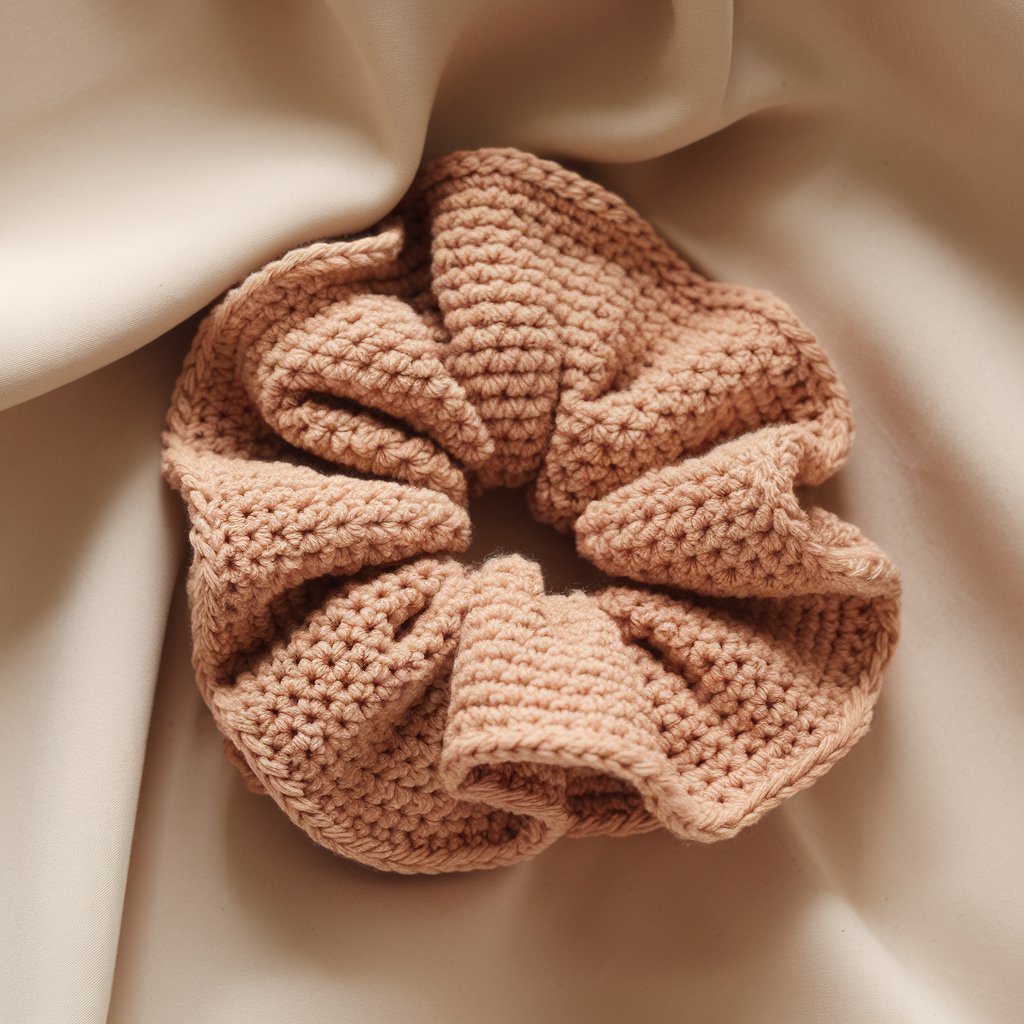
4. Tunisian Crochet Scrunchie Pattern
Skill level
Intermediate — uses Tunisian simple stitch (TSS) and requires a Tunisian hook
Finished size
Dense, squishy scrunchie: ~3–4 in diameter. Tunisian fabric is thicker so fewer rounds needed.
Materials
- Worsted weight yarn or bulky (for a loftier scrunchie) — ~20–30 yd
- Tunisian crochet hook size 5.0–6.0 mm (longer shaft if you prefer)
- Hair elastic, tapestry needle
Step-by-step
Method (make a small rectangular TSS panel, join into tube, insert elastic)
Panel
- Chain 16. (This sets panel width; for thicker yarn or bigger elastic ch 18–20.)
- Forward pass: insert hook in 2nd ch from hook, yarn over and pull up loop; repeat across — you will have 15+ loops on hook.
- Return pass: yarn over, pull through 1 loop once, then yarn over, pull through 2 loops across until one loop remains. This completes one TSS row.
- Repeat forward & return passes for 10–14 rows (depending on yarn and desired depth). The TSS fabric will be dense — aim for a rectangle about 2.5–3 in tall.
Finish panel into tube
5. Fold short ends together, whipstitch the side seam or slip-stitch seam through both loops to make a tube. Turn RS out.
Insert elastic
6. Thread elastic through the tube and sew ends of elastic together with multiple passes. Tuck elastic seam inside and stitch the TSS seam closed if needed. Close the tube seam neatly and weave in ends.
Finishing & assembly
- The Tunisian tube holds shape well and produces a plush scrunchie without additional embellishment.
- For a decorative edge, add one round of sc around seam or work a picot round.
Tips & variations
- Use bulky yarn for an ultra-squishy, 30-minute scrunchie.
- Make a two-tone tube by changing yarn at middle row; join seam where color changes for a striped finish.
Care
- Tunisian fabric is dense; machine wash gentle for acrylic/cotton; block to revive shape.
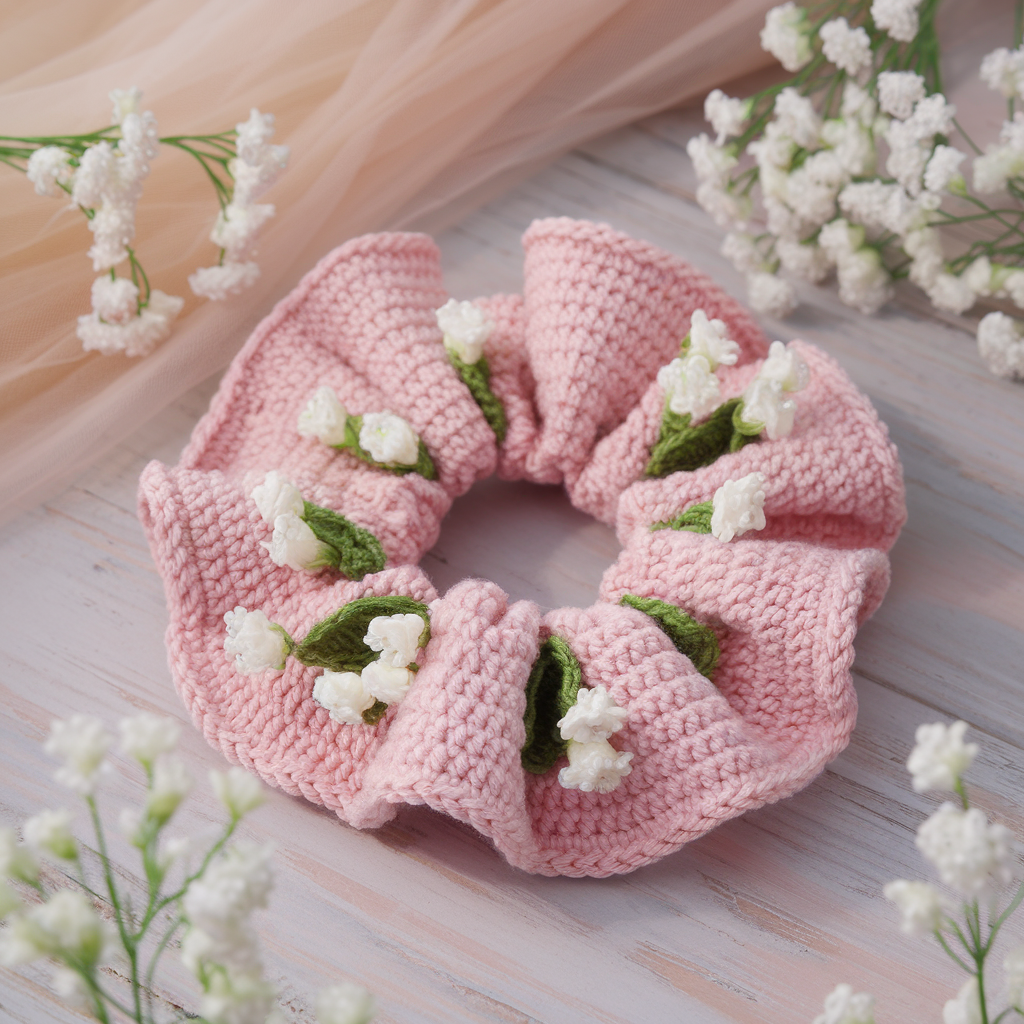
5. Lily of the Valley Crochet Scrunchie Pattern
Skill level
Intermediate — small bell/petal motifs (picot & cluster stitches)
Finished size
Delicate floral ruffle: 3–4 in diameter; little bell flowers ~0.5–1 in each.
Materials
- Fingering or sport weight yarn in white (flowers) and green (tiny leaves), ~30 yd
- 3.0 mm hook
- Hair elastic, tapestry needle, small beads for flower centers (optional)
Step-by-step
Foundation base
- Ch 1, sc 36 around elastic (36 sc). Join. (36 sc) — use a finer yarn so more stitches fit around the elastic.
Round 1 (anchor)
2. Ch 1, sc in each st around to stabilize. Join. (36 sc)
Round 2 (flower loop bases)
3. Ch 6, sl st into next st — repeat around to create 36 little loops (or reduce to every other st if loops are too many). Join.
Round 3 (make tiny lily bell)
4. Into each ch-6 loop work: (sc, ch 2, 3 dc, ch 2, sc) then sl st into next sc base — this makes a tiny bell-shaped blossom. If 36 is too many, make bells in every other loop for 18 bells. Add a tiny bead inside each bell before finishing for a dewy center (slip bead onto yarn and work last yarn-over to lock bead inside).
Round 4 (leaf detail)
5. With green, pick up stitches between some bells and work small leaves: ch 6, sc, hdc, dc, hdc, sc into chain then sl st to base. Repeat between selected bells for greenery.
Finishing & assembly
- Gently steam or wet-block the tiny bells to open them slightly. Do not over-block or the bells will lose shape.
- Weave ends through inside to hide. Secure beads well.
Tips & variations
- Make the bells in pastel shades for a spring market set.
- Use pearl beads for a bridal scrunchie version.
Care
- Hand wash and lay flat to dry to protect delicate bell shapes and bead glue.
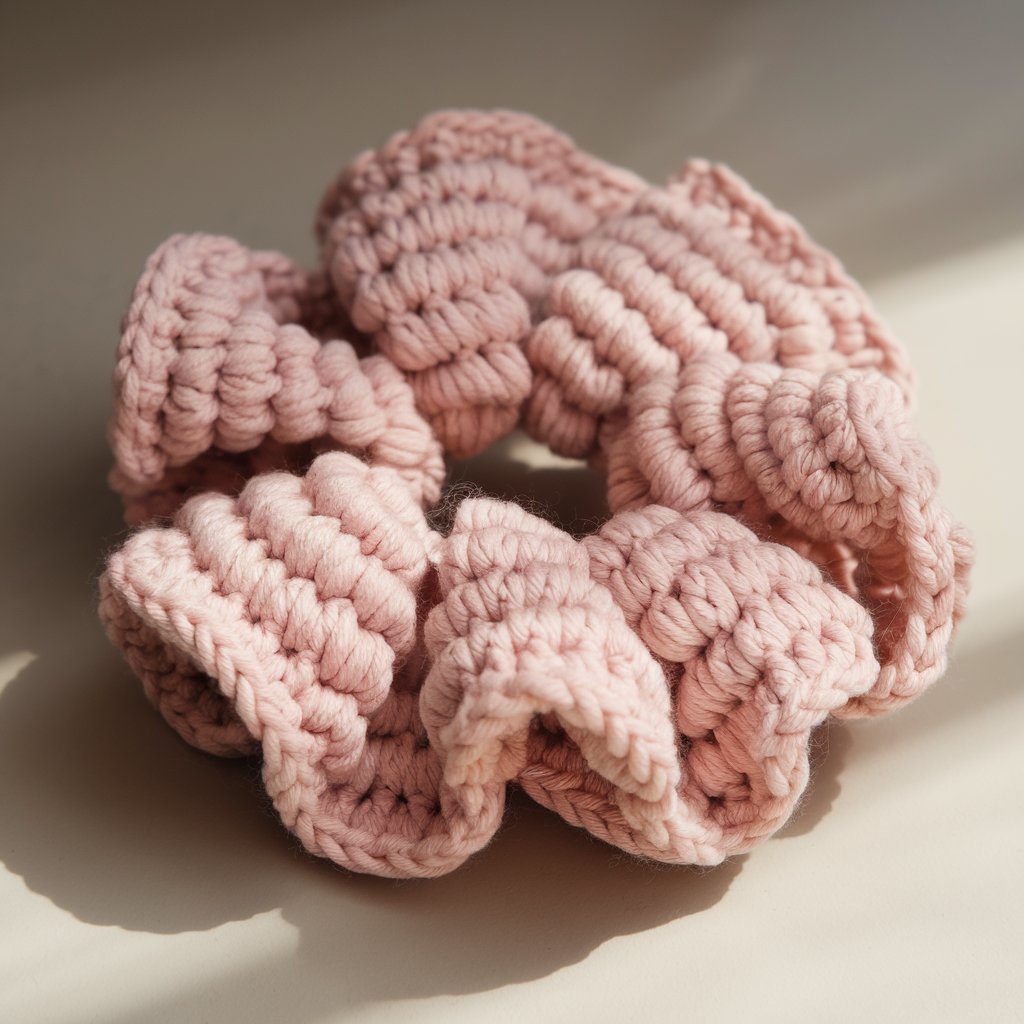
6. Easy Crochet Scrunchie Pattern
Skill level
Beginner — fast, minimal stitches, great for bulk production
Finished size
Classic scrunchie: 3–4 in diameter; fullness varies by yarn.
Materials
- Any bulky/worsted yarn (leftover skeins work great) — ~10–20 yd
- 5.0–6.5 mm hook (use larger hook for slouchier scrunchie)
- Hair elastic, tapestry needle
Step-by-step (very fast, two-round method)
Method A — Two-round puff ruffle (quick & fluffy)
- Place elastic on yarn. Ch 1, work 24–32 sc evenly around elastic to cover it (target ~24 for bulky, ~30 for worsted). Join with sl st. (24–32 sc)
- Round 2 (puff ruffle): [yarn over, insert hook, pull up loop] 3 times in next st (3 loops on hook), yarn over and pull through all loops — this is a 3-dc puff; ch 1 to secure. Repeat puff in every st around (or every other st for less bulk). Join and fasten off.
Method B — Basic sc scrunchie
- Round 1: sc around elastic 24–32 sc. Join.
- Round 2–4: sc in each st around (3 rounds total) for a neat band with modest ruffle. Join and finish.
Finishing & assembly
- Weave in ends and give the scrunchie a few gentle stretches to even puffs.
- Tidy by trimming any long tail loops before weaving in.
Tips & variations
- Use novelty yarn (chenille, eyelash) for fluffy results — skip additional ruffle rounds.
- Make “tiny” scrunchies for bracelets by using a smaller elastic and thinner yarn.
Care
- Follow yarn label; most acrylic/worsted scrunchies machine wash fine in mesh bag.
Conclusion
Scrunchies are small, satisfying projects that show big returns: they’re fast to make, use little yarn, and appeal to every market — from kids and teens to bridal parties and eco-minded shoppers wanting reusable hair ties. Use these six patterns to build a craft-fair collection with variety: boho fringe pieces, delicate lace for special occasions, bright novelty sunflower scrunchies, enduring Tunisian tubes, floral Lily-of-the-Valley pieces for spring, and quick bulk-production easy scrunchies.
Quick production & selling tips
- Make sets of 3 (mix textures) and package in clear cello with a branded tag showing fiber content and care instructions.
- Price by time + materials; scrunchies usually sell well as impulse buys (small price point) or as gift set add-ons.
- Include a tiny card with fiber details and washing instructions — customers appreciate care guidance, especially for novelty yarns or beaded scrunchies.