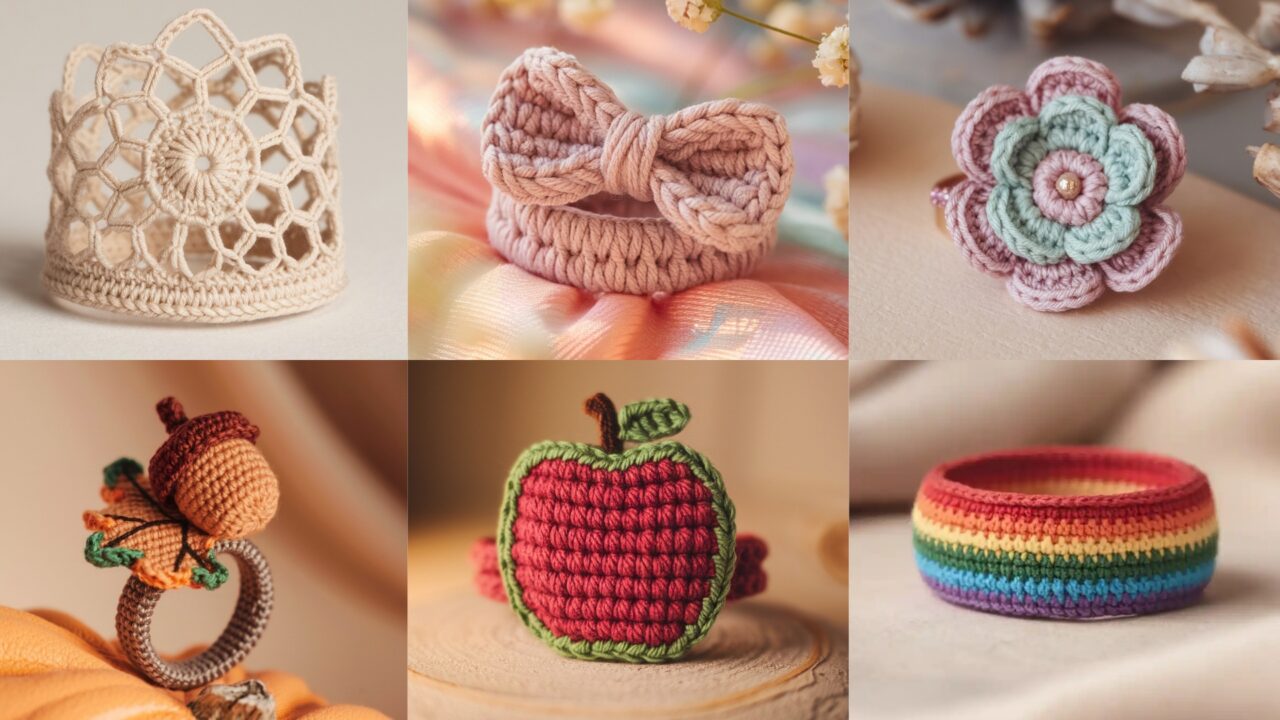
Handmade rings are the cheapest piece of jewelry that reliably gets compliments. They’re pocket-sized, fast to make, and ideal for using up leftover thread or scrap yarn. These six patterns cover tasteful basics: a mini bow, fall-themed ring with leaf & acorn, a tiny apple, a rainbow stacker, a classic flower, and a lacy filigree ring for dressier looks. Each pattern includes two ways to make the band (adjustable chain band or metal ring base) and step-by-step rounds so you can follow precisely.
Yes, they’re small. No, they’re not fiddly if you follow the math. Swatch once, measure once, and you’ll avoid making a ring that fits a toddler.
Quick common notes (read this; then start)
Materials & tools (baseline):
- Crochet thread size 8–10 or sport-weight yarn for chunkier rings. Thread makes delicate rings; sport/worsted makes statement rings.
- Hooks: steel or 2.0–2.75 mm for thread; 2.75–3.5 mm for sport. I specify per pattern when something different helps.
- Small amount of yarn/thread for embellishments (10–20 yd).
- Tapestry needle, small scissors, optional small jewelry jump ring and metal ring base (8–12 mm inner diameter), glue (fabric/glue for reinforcing), stitch marker.
- Optional: tiny beads, seed beads, flat-back pearls.
Safety & wearability
- Rings made from yarn will stretch. Use tighter stitch tension for durability or a metal ring base for stability.
- If you plan to sell rings, add a small tag: “Not water-proof, avoid heavy hand work.” Don’t promise dishwasher-safe jewelry.
Abbreviations (US terms)
- ch = chain
- sc = single crochet
- hdc = half double crochet
- dc = double crochet
- tr = treble (UK: treble; US: treble)
- sl st = slip stitch
- st(s) = stitch(es)
- inc = 2 sc in same st
- dec = sc2tog (use invisible decrease for nicer joins)
- MR = magic ring
- BLO / FLO = back/front loop only
Two band methods (pick one per ring)
- Adjustable crochet band (no metal): Chain-to-fit method — easiest and totally adjustable.
- Measure finger circumference (in inches) or use a string and measure. Convert to stitches using a small swatch (explained below).
- Example calculation (step-by-step):
- Make a 4″ swatch in sc and count stitches across. Suppose you count 28 stitches across 4″.
- Divide: 28 ÷ 4 = 7 stitches per inch.
- If finger circumference = 2.25 inches, multiply: 2.25 × 7 = 15.75 → round to 16 stitches. Chain 16 + 1 turning chain; join to form a ring.
- (That math: 28 ÷ 4 = 7; 2.25 × 7 = 15.75 → 16.)
- Metal ring base (stable): Slipcover method — crochet a tube or whip-stitch cover over an 8–12 mm metal ring inner diameter. Great if you want no stretch.
How to swatch for rings (quick):
- With chosen yarn/thread and hook, make a 4″ square in the stitch you’ll use (sc for dense band; dc/mesh for airy tops). Block gently, lay flat, measure stitches across 4″.
- Calculate stitches-per-inch and use that to compute chain count for your finger circumference as above. Rounding: round to nearest whole stitch that matches pattern repeat (e.g., if design repeats in 3s, round to nearest multiple of 3).
1. Crochet Mini Bow Ring Pattern
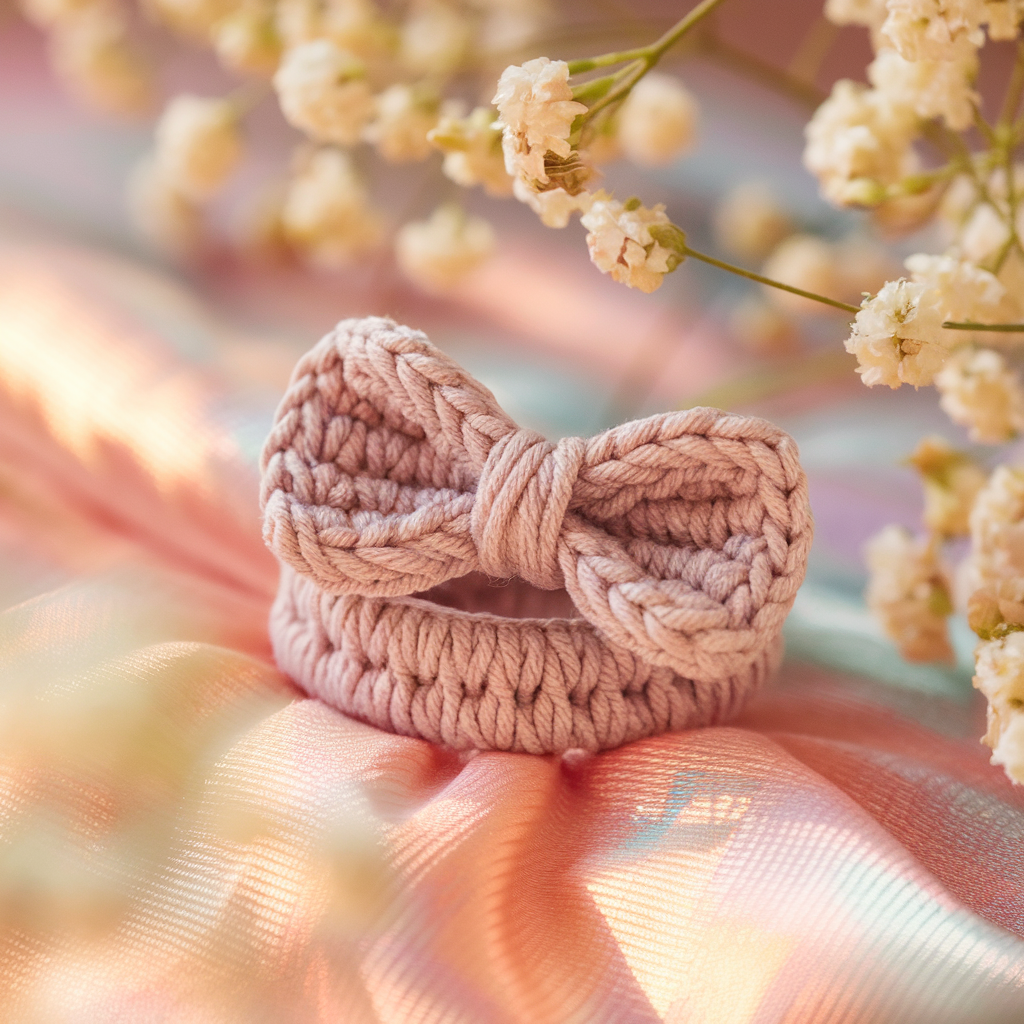
Cute, feminine, and stupidly quick. Two options: a tiny bow sitting on an adjustable band, or a wrapped bow over a metal ring base.
Skill level: Beginner
Finished size: bow ~1.0–1.25″ wide; band sized to finger per swatch.
Materials:
- Crochet thread size 8 or fine sport cotton (one color for band + small contrasting for bow center), 2.25–3.0 mm hook.
- Optional metal ring 8–10 mm for stability.
- Tapestry needle, small scissors.
Band (adjustable chain method — example counts use your swatch)
- Measure finger, compute stitches-per-inch as explained above, chain calculated number + 1, sl st to join (no twist). Example: 16 ch → join → ring.
Bow (make 1)
- Ch 12. Row1: sc in 2nd ch from hook and across (11 sc). Turn.
- Row2–Row5: ch1, sc across 11 (4 rows total). Fasten off leaving long tail to wrap.
- Pinch the rectangle in the middle to form a bow shape. Wrap the contrasting yarn tightly around the center several times (6–10 wraps depending on thickness). Secure ends by stitching the tail through the back and weaving in.
- Sew bow to front of band (opposite seam if you used metal ring), stitch through band multiple times to anchor. Add a tiny dab of fabric glue inside the wrap if you want insurance.
Metal ring version (slipcover)
- Make a short tube: ch (number to fit around ring inner circumference according to swatch; e.g., 12 ch), join, work sc rounds until tube length equals ring width, then flatten and stitch onto ring, or simply slip tube over ring. Sew bow onto tube.
Variations & finishing
- Make double-layer bow by stacking two rectangles.
- Add a bead center instead of wrapped yarn for a polished look.
- Care: hand wash, reshape, dry flat.
2. Crochet Fall Themed Ring Pattern
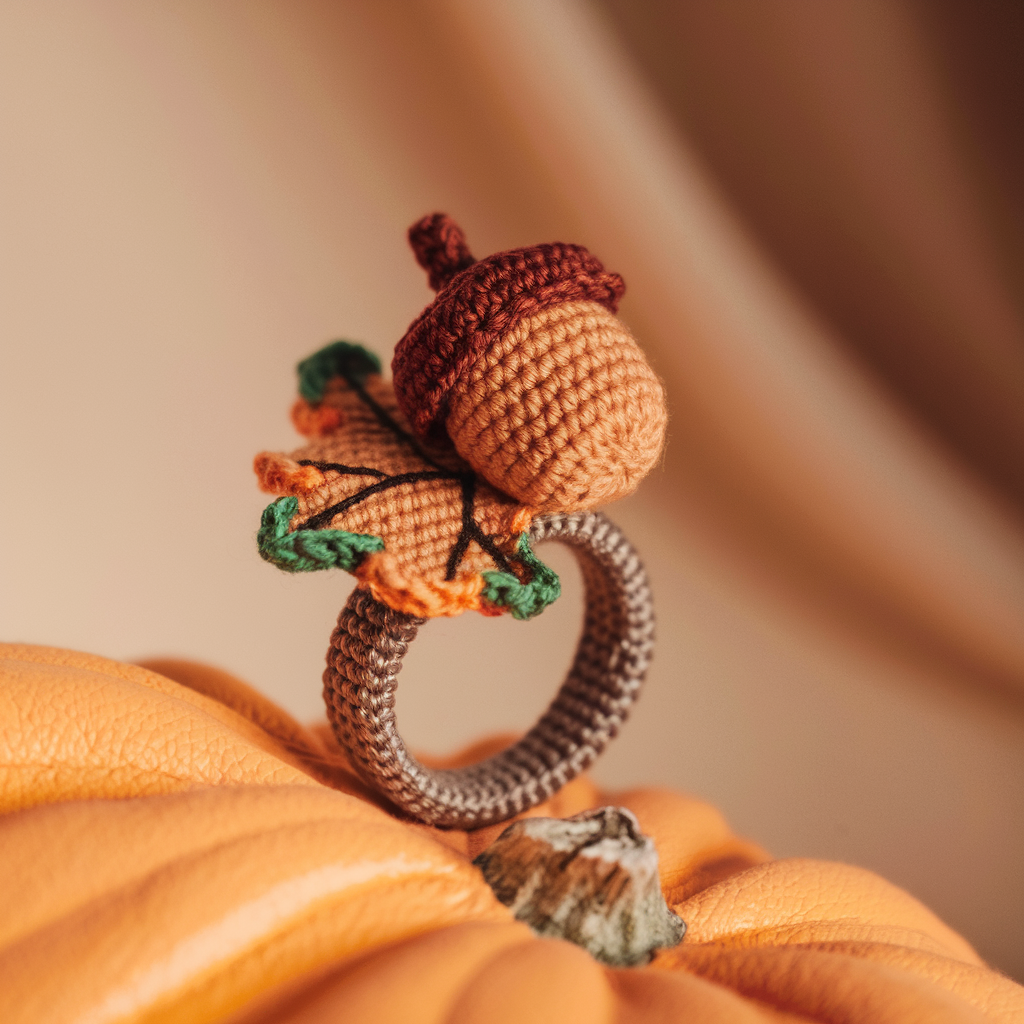
Autumn jewelry that reads like pumpkin spice but not sad. Small leaf motif + tiny acorn cap sits on a neat band.
Skill level: Confident Beginner
Finished size: leaf ~1″, acorn ~0.5″, band per swatch.
Materials: fine cotton or thread in fall colors: brown (acorn cap), tan (acorn body), green/orange for leaf. 2.25–3.0 mm hook.
Band (metal-ring preferred for durability)
I recommend a small metal ring base (8–10 mm) covered with sc for a clean base; acorn and leaf sewn to top.
Slipcover tube (for metal ring):
- Chain number to match inner circumference (compute as swatch suggests) — e.g., ch 12; join. R1: sc around; R2–R4: sc around until tube length fits ring width. Slip tube over metal ring and secure seam with invisible stitch.
Acorn (small stuffed)
- With tan (body): MR, R1: 6 sc (6). R2: inc around → 12. R3: (sc, inc) ×6 → 18. R4–R5: sc around 2 rounds (18). R6: (sc, dec) ×6 → 12. Stuff lightly. R7: dec around → 6. Fasten off leaving tail for sewing.
- Cap (brown): MR, R1: 6 sc into MR (6). R2: (sc, inc) ×3 → 9. R3: BLO, sc around (9) — creates a cap edge. Sl st into top of cap to gather opposite side if needed and sew cap onto body. Sew acorn onto band.
Leaf (flat applique)
- Ch 6. Row1: sc in 2nd ch from hook, hdc, dc, hdc, sc (5 sts total). Turn to work along the other edge: sl st in next 2 sts along chain base, sc in last to close, or more simply: MR method — (optional) use small picot edges for leaf serration.
- Block leaf flat and sew to band near acorn.
Assembly
- Arrange leaf slightly angled, sew both pieces securely with multiple passes through the band/tube. Use a drop of fabric glue hidden under the acorn cap for extra hold if you plan to wear it often.
Variations & care
- Add tiny embroidered veins on leaf.
- For a less bulky ring, skip stuffing the acorn; instead flatten and leave cap open as a charm.
3. Crochet Apple Ring Pattern
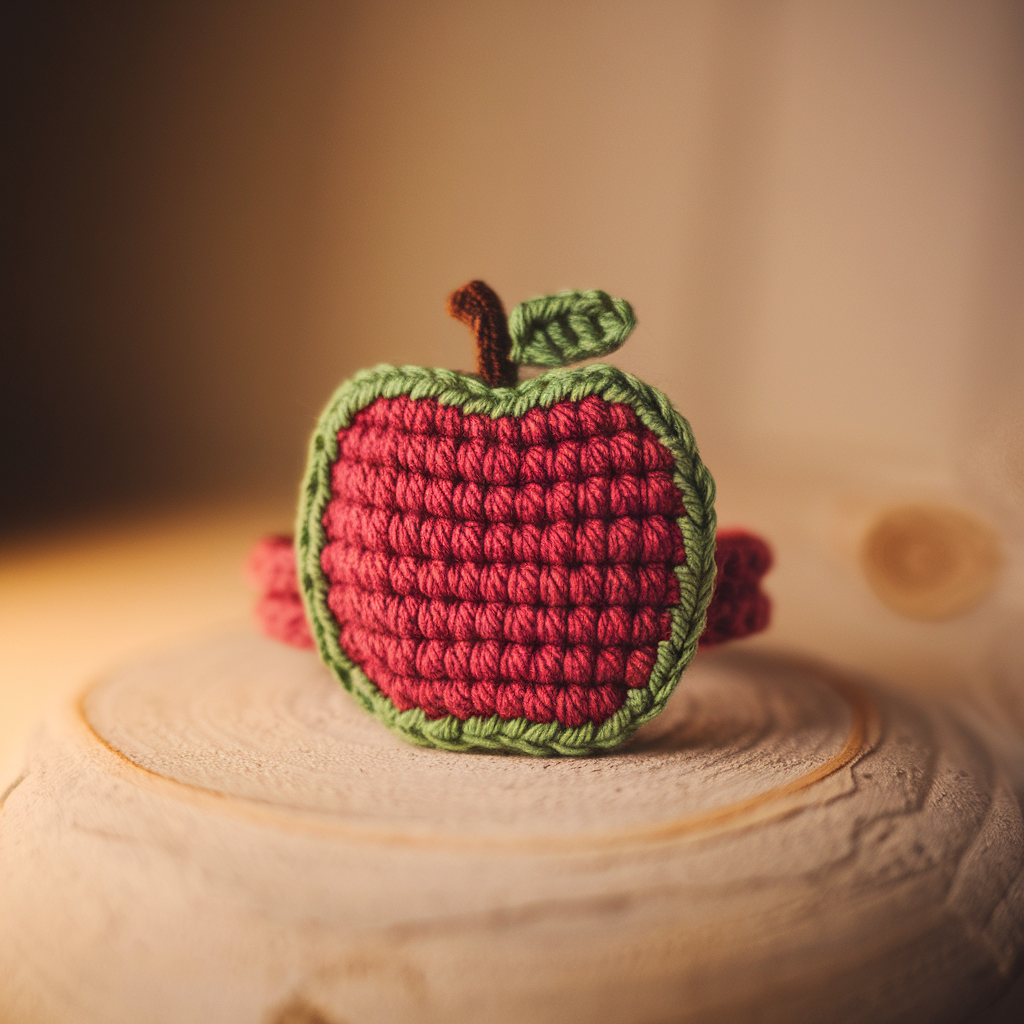
A miniature apple for mood-lifting fruit jewelry. Round apple body, tiny leaf and stem.
Skill level: Beginner → Confident Beginner
Finished size: apple ~0.6–0.9″ diameter; band adjustable.
Materials: red (or green) thread, small brown for stem, green for leaf, 2.25–3.0 mm hook.
Band (adjustable chain or metal base)
Either method works. For small round motifs I prefer a metal ring slipcover for stability if the apple is heavy-ish.
Apple body
- MR, R1: 6 sc — 6.
- R2: inc around → 12.
- R3: (sc, inc) ×6 → 18.
- R4: (2 sc, inc) ×6 → 24.
- R5: sc around (one round) → 24. (This gives slightly flattened apple.)
- R6: (2 sc, dec) ×6 → reduces 6 → 18.
- R7: (sc, dec) ×6 → reduces 6 → 12. Stuff lightly.
- R8: dec around → 6. Fasten off, weave tail to close.
Stem & leaf
Stem: Brown, ch4, sc back across (3 sc), fasten off leaving tail; pinch and sew to top center.
Leaf: Small teardrop: ch6, sc in 2nd ch from hook and across (5 sc), sl st to base to form a teardrop or use small shell. Sew next to stem.
Assembly
- Sew apple to band with multiple passes. If using metal ring, sew apple to the slipcover or for extra strength, stitch through the ring and tie inside.
Variations
- Add tiny embroidered highlight or seeds for realism.
- Turn into a set with matching earrings (tiny, unstuffed apple charms on studs).
4. Crochet Rainbow Ring Pattern
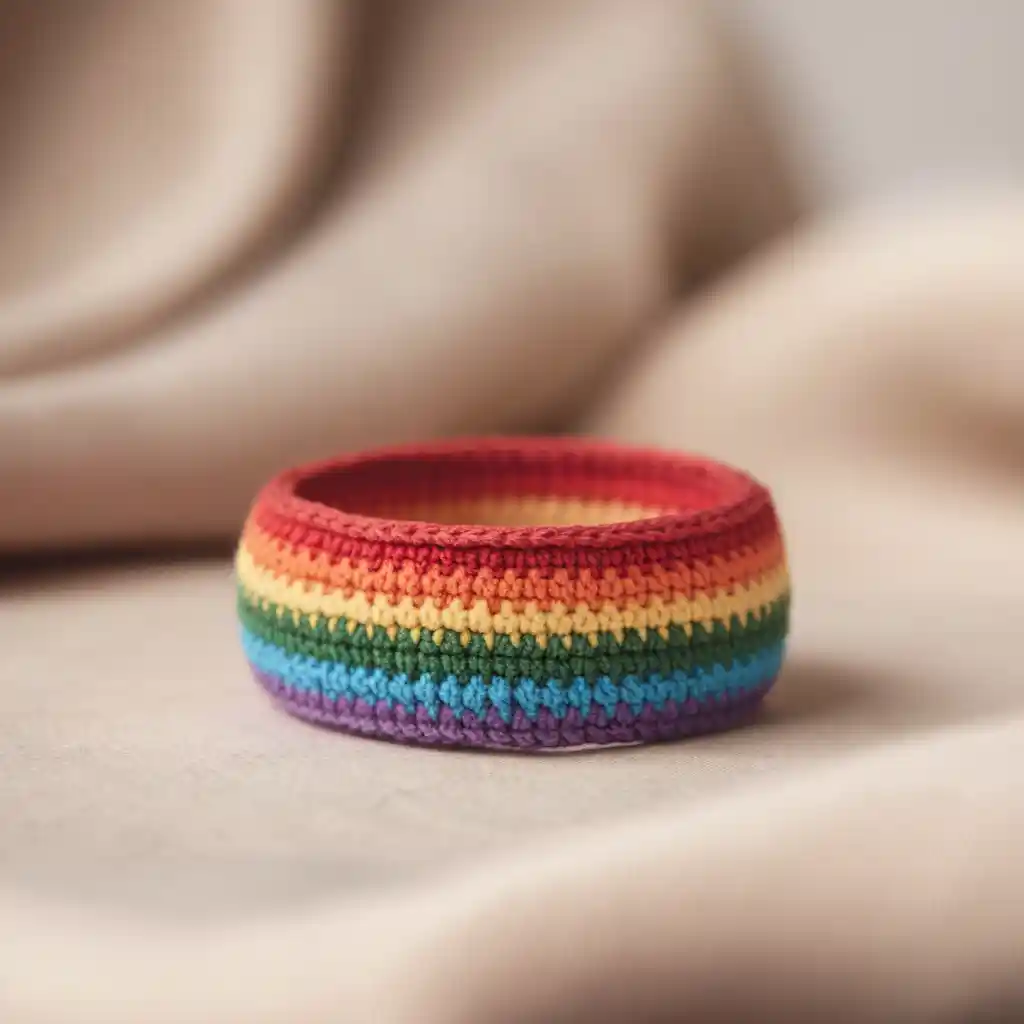
Stackable, colorful, and great as a set. You’ll make 3–5 tiny semi-circle arcs that stack on a slim band. Pop colors make it fun.
Skill level: Beginner
Finished size: each arc ~0.6–1.0″ wide depending on yarn; stack 3–4 arcs.
Materials: small amounts of cotton thread in rainbow colors, 2.25–3.0 mm hook, slim band (metal ring recommended for stackables).
Band (metal ring recommended)
Use an 8–10 mm metal ring base slipcovered with sc in a neutral or matching color so arcs slide on and off.
Arc motif (make 3–5, small to large for layered stack)
Make arcs in increasing widths for stacking (smallest on top).
Small arc (example)
- Ch 6. Row1: sc in 2nd ch from hook across (5 sc). Turn.
- Row2: ch1, (sc 2, inc) in next, sc until last 3 sts, (inc, sc 2) — creates slight curve. Fasten off leaving tail. Flatten into a small arc by sewing ends together at a slight angle so the piece curves. Repeat for larger arcs with longer starting chains (ch8 → 7 sc; ch10 → 9 sc).
Alternative semi-circle in rounds
- MR, R1: 6 sc in MR (6). R2: (sc, inc) ×3 = 9. R3: (2 sc, inc) ×3 = 12. Stop and flatten to create half-arc; cut and sew through shorter edge to create crescent. This gives rounded arc.
Assembly
- Stack arcs on metal slipcover band: largest at bottom, smallest at top. Sew arcs together at the seam not to the band so arcs appear layered but remain removable. Or sew them fixed to the band if you want a permanent stacked ring.
Variations & finishing
- Add tiny bead accents on arc edges like “raindrops.”
- Make monochrome ombré stackers for a modern look.
5. Crochet Flower Ring Pattern
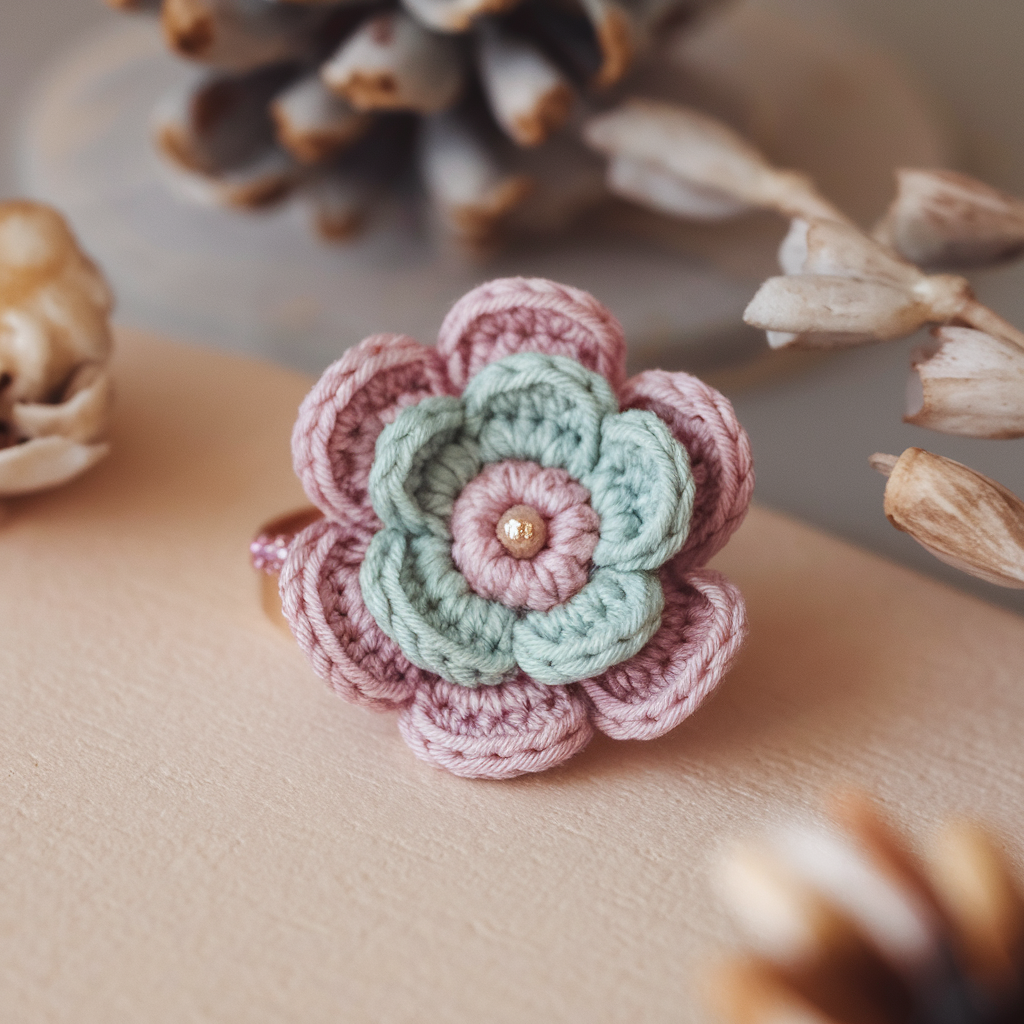
A classic: small layered flower sitting on a slim band. Works with thread or lightweight yarn; very customizable.
Skill level: Beginner → Confident Beginner
Finished size: flower ~1.0–1.4″ diameter; band per swatch.
Materials: main color for band, contrasting color(s) for petals, 2.25–3.5 mm hook.
Band (either method)
For a delicate flower, an adjustable chain band is fine. For something you’ll wear daily, use a metal slipcover.
Flower (layered petals)
Layer 1 — center
- MR, ch1, 6 sc in MR; pull tight; join with sl st. (6)
- R2: ch2, (2 dc, ch2, sl st) in next bead? — but simpler: ch1, sc in next st, picot to texture. For tidy center: sc around 6, fasten off but leave tail.
Layer 2 — small petals
- Join petal color into any st: (ch3, 3 dc in same st, ch3, sl st back into same st) for each petal around each of 6 base stitches. You’ll have 6 small petals. Fasten off and weave tail.
Layer 3 — larger petals
- Attach larger color behind small petals into round spaces: sl st to between petals, ch4, (3 tr, ch2, 3 tr) in space for dramatic petals. Repeat around (6 petals). Fasten off.
Finishing
- Weave ends neatly to back. Sew flower to band with multiple passes through base of petals and through band so flower sits flat and secure. Option: add a button or bead center for polish.
Variations & care
- Make two-toned petals: alternate colors per petal.
- Use braided metallic thread for a festive center.
6. Crochet Lacy Ring Pattern
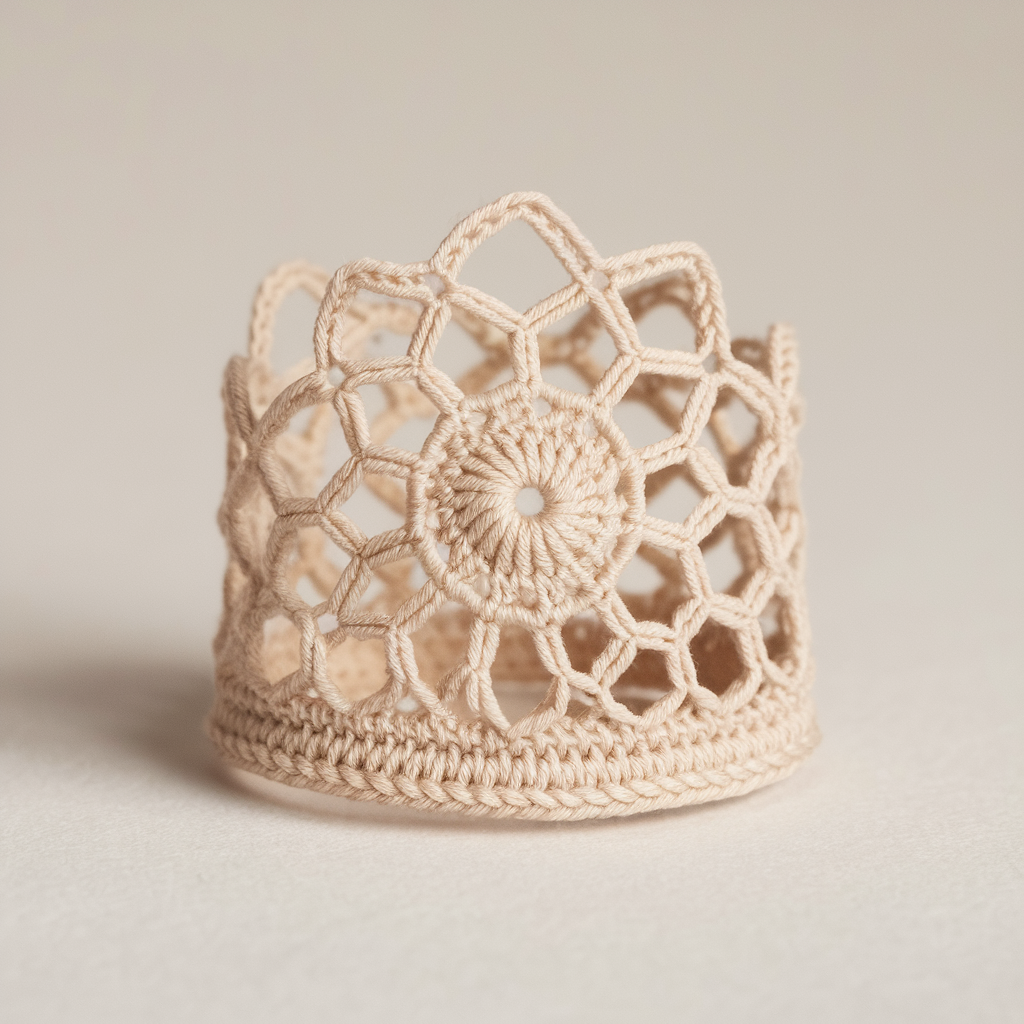
Delicate filigree ring made of mesh rounds that read like metal lace. Works best with crochet thread size 8–10 and a tight hook.
Skill level: Intermediate (precision & small motifs)
Finished size: lace disc ~1.0–1.5″ diameter; attach to slim band.
Materials: crochet thread size 8–10, 2.0–2.5 mm hook, metal ring base 8–10 mm or chain band.
Band (metal ring preferred)
Metal ring for stability; slipcover with a few sc rounds or leave bare and sew lace onto it.
Lacy medallion (worked flat from center)
- MR, R1: ch1, 8 sc in MR; pull tight; sl st to join. (8)
- R2: ch1, sc in same st, ch3 repeat around into chain loops — 8 ch-3 loops; sl st join.
- R3: Into each ch-3 loop work (2 dc, ch3, 2 dc) — creates 8 small shells; sl st join.
- R4: ch1, sl st into top of shell, ch4, sl st into picot to make airy arches — or work (sc, ch3, sc) between shells for delicate lace.
- R5: Add picots or small picot-edge for a distinct filigree finish. Final round should be small and neat so medallion diameter ~1–1.5″. Fasten off leaving tail for sewing.
Attachment
- Center medallion over metal ring and sew through medallion rounds into ring several times. Alternatively, make a small tube and slip medallion over tube anchored to the metal ring.
Variations & finishing
- Add tiny seed beads between arches for sparkle.
- Make slightly larger medallion and use as cocktail ring statement piece.
Universal finishing, durability & care
- Secure everything. For any decorative topper (bow, apple, flower), stitch through the band and the motif multiple times. Tie off inside and weave tails through many stitches.
- Reinforce with glue if you plan to wear rings while washing hands often. Put a small dab of fabric glue or clear jewelry glue into the knot before tucking it invisibly inside the band — test on scrap first.
- Water & wear: Crochet rings will show wear (pilling, color loss) if worn during heavy handwork. Take them off for dishes and chores.
- Washing: Hand-wash in cool water, reshape and dry flat. Avoid heat.
- Storage: Store flat or on a ring cone to keep shape, especially for flower and arch designs.
Quick troubleshooting (so you don’t frog six tiny rings)
- If band stretches on wear: use smaller hook / tighter tension / metal ring base.
- If motif flops: add a small dab of fabric stiffener inside the back, or sew a tiny felt circle behind motif to flatten it.
- If two rings don’t stack: check band thickness—metal ring bases stack best.
Conclusion — practical & blunt
There. Six small, high-impact crochet ring patterns that don’t look like novelty fluff. The trick is the band: pick a stable base (metal slipcover) for everyday wear, or use an adjustable chain for lightweight, comfy rings. Always swatch, measure, and do the little stitches that lock pieces together — that’s the difference between “cute” and “actually wearable.”