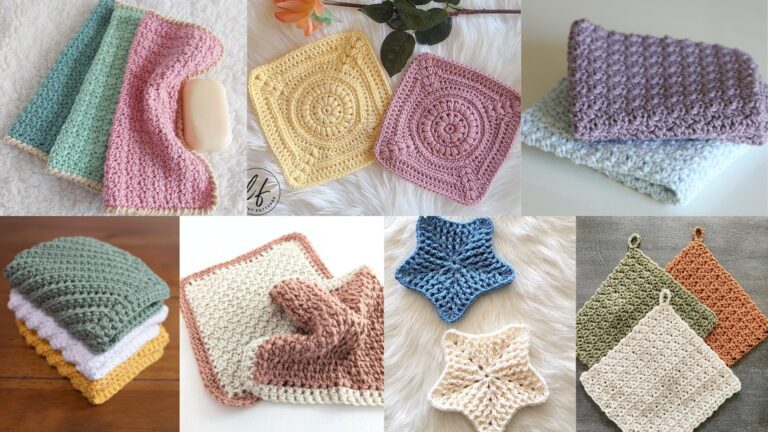
A handmade pen holder is a tiny functional project that adds color, texture and personality to any desk. They’re fast to make, use small yarn leftovers, and make perfect gifts for students, teachers, and coworkers. Below you’ll find a single practical introduction (materials, measurements, construction options, and abbreviations) followed by six full patterns. Each pattern includes: skill level, exact materials for a sample holder, a finished-size target, a clear step-by-step build (foundation, body, base, finishing), variations, tips for durability, and care instructions.
All instructions use US crochet terms.
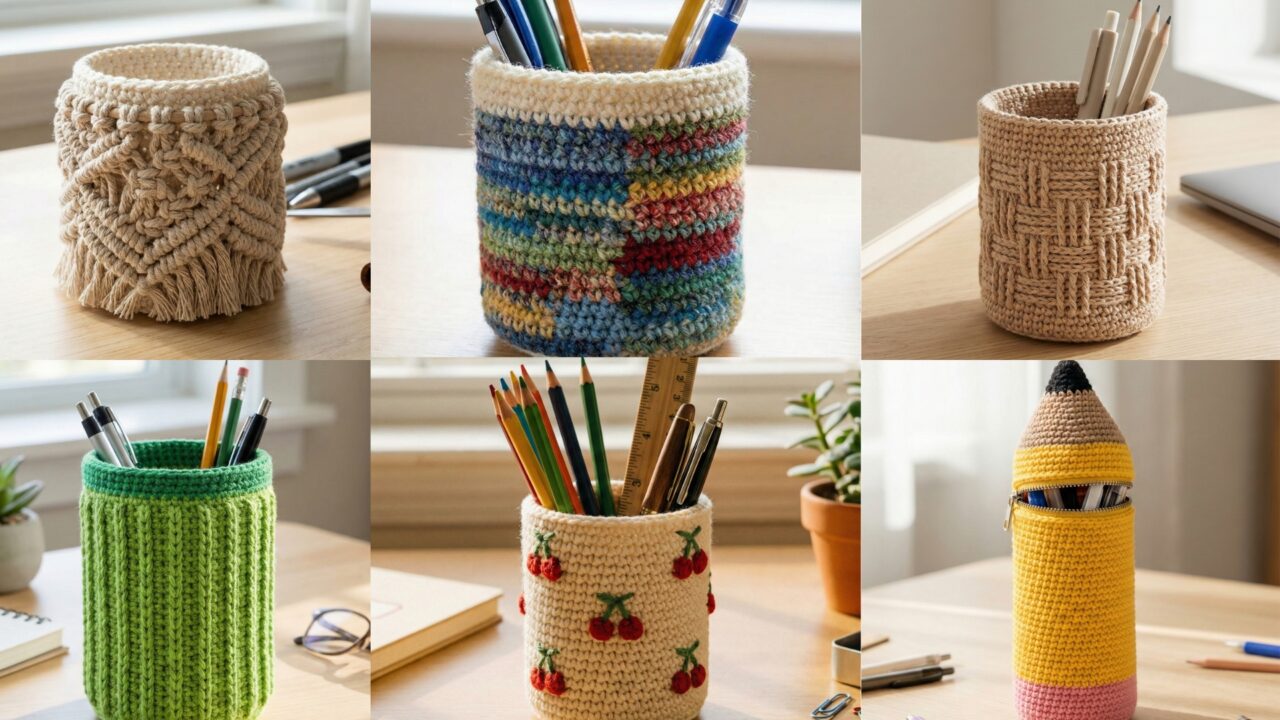
materials, tools, sizing, and construction notes
Materials & tools (general)
- Yarn: worsted weight (category 4) cotton or cotton-blend is a great all-purpose choice — sturdy, washable, and holds shape. Sport/DK or bulky will change scale and texture. For tiny holders use size 10 crochet thread and a small hook.
- Hook: choose per yarn label; for worsted use 4.0–5.5 mm (G–I) depending on tension and desired fabric density.
- Notions: tapestry needle, stitch marker, small piece of cardboard or plastic for a reinforced base (optional), hot glue or fabric glue (optional), small amount of stuffing (optional), scissors.
- Optional hardware: removable base — a cardboard circle or wooden coaster, small non-slip felt pad for bottom, snaps or buttons if you make closures.
Size targets and how to scale
Most pen holders are cylindrical cups sized to hold pens/pencils upright.
- Common finished diameters: 2.5–3 in (6–7.5 cm) — holds 8–12 pens comfortably.
- Common finished heights: 3–4.5 in (7.5–11.5 cm) — desk-friendly.
To scale: work a gauge swatch in the stitch pattern, measure stitches per inch (spi), then calculate circumference: desired diameter × π ≈ circumference. Multiply circumference (in inches) × spi = total stitches around. Round to nearest stitch-multiple required by the stitch pattern.
Example (quick math): target diameter 3 in → circumference ≈ 3 × 3.1416 ≈ 9.42 in. If your stitch pattern is 4 sc/in → 9.42 × 4 ≈ 37.7 → round to 38 stitches (choose a stitch multiple that fits the pattern).
Construction approaches
- Worked in continuous rounds from bottom up: crochet a flat circle base using increases, then work even rounds up to the desired height.
- Made from a rectangle joined into a tube: crocheted panel seamed into a tube and bottom closed (good for tapestry or tapestry-style colorwork).
- Motif-based: join granny or hex motifs into a cylindrical shape and add a base.
- Reinforced base option: insert a cut cardboard or plastic circle into the bottom for stability; secure with a glue dot or slip-in pocket.
Abbreviations (US)
- ch = chain
- sc = single crochet
- hdc = half double crochet
- dc = double crochet
- sl st = slip stitch
- st(s) = stitch(es)
- inc = increase (2 sc in same st)
- dec = decrease (sc2tog)
- MR = magic ring
- BLO = back loop only
- FLO = front loop only
1. Crochet Pencil-Shaped DIY Pencil Holder Pattern
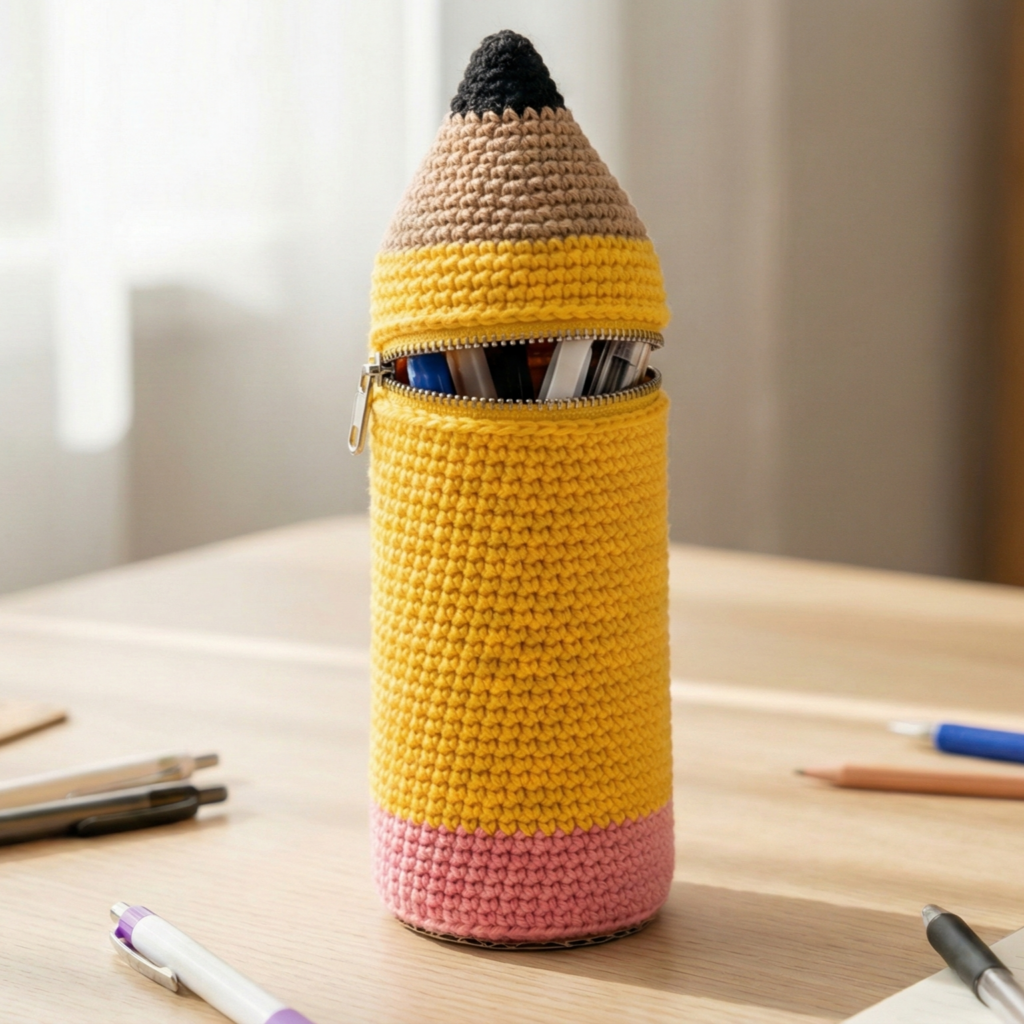
Style: tall, tapered “pencil” shape with a pointed top and eraser band — whimsical desk accent.
Skill level: Confident beginner (worked in rounds + simple color changes)
Finished size (sample): Height ~6.5 in; bottom diameter ~2.25 in (pencil body narrows slightly toward top).
Materials (sample)
- Worsted cotton: main color (yellow) ~120 yd, accent (pink for eraser) ~15 yd, brown/black for tip ~10 yd.
- 4.0 mm (G) hook.
- Small disc of cardboard or plastic for base (~2.25 in).
- Tapestry needle, stitch marker.
Gauge & planning
- Example gauge: 4 sc = 1 in. Using base diameter 2.25 in → circumference ≈ 7.07 in → 7.07 × 4 ≈ 28.3 → use 28 sts around as the base count (choose multiple suited to your increases).
Step-by-step
Base (flat circle)
- MR; R1: 6 sc in MR — (6). Pull ring closed.
- R2: inc around — (12).
- R3: sc, inc around — (18).
- R4: sc x2, inc around — (24).
- R5: sc x3, inc around — (28). This gives approx 28 sts — check diameter. If smaller/larger, add/subtract a round of increases.
Body (tapered cylinder)
- Switch to pencil yellow. R6–R16: sc around (28 sc) — work even to build height. For a gradual taper begin every 4–6 rounds doing one dec round: sc x3, sc2tog across to reduce stitch count by the number of decreases. For a gentle pencil taper, do one dec round at R10 to take 28→24, then continue even. Try the piece on your pencil insert (or measure) as you go.
Pointed tip (pencil lead)
- When height ~5.25 in, change to brown/black. Rn: sc x2, sc2tog repeat to shape (24→18). Next round sc x1, sc2tog (18→12). Next round sc2tog around until closed; fasten off and weave tail through top to close. For a neat tip, stuff lightly before final pulls.
Eraser band
- On the top of the body (near the top edge, before you closed tip), switch to pink and work 2–3 rounds of sc to create the eraser band. Then continue with the tip shaping.
Reinforce base
- Insert cardboard circle into bottom. Optionally crochet a small pocket: before base finish, work a round of sc in BLO to create an inner lip; after base is inserted, stitch final round over the edge to secure.
Finishing
- Weave in ends and block lightly if needed.
Variations
- Make a set of different colored pencils by changing yarn color.
- Keep the tip open and insert a real pencil as a decorative sleeve (do not wash when pencil inserted).
Care
- Spot clean or hand wash; reshape and air dry. Remove cardboard base before washing.
2. Crochet Retro Cherry Pencil Holder Pattern
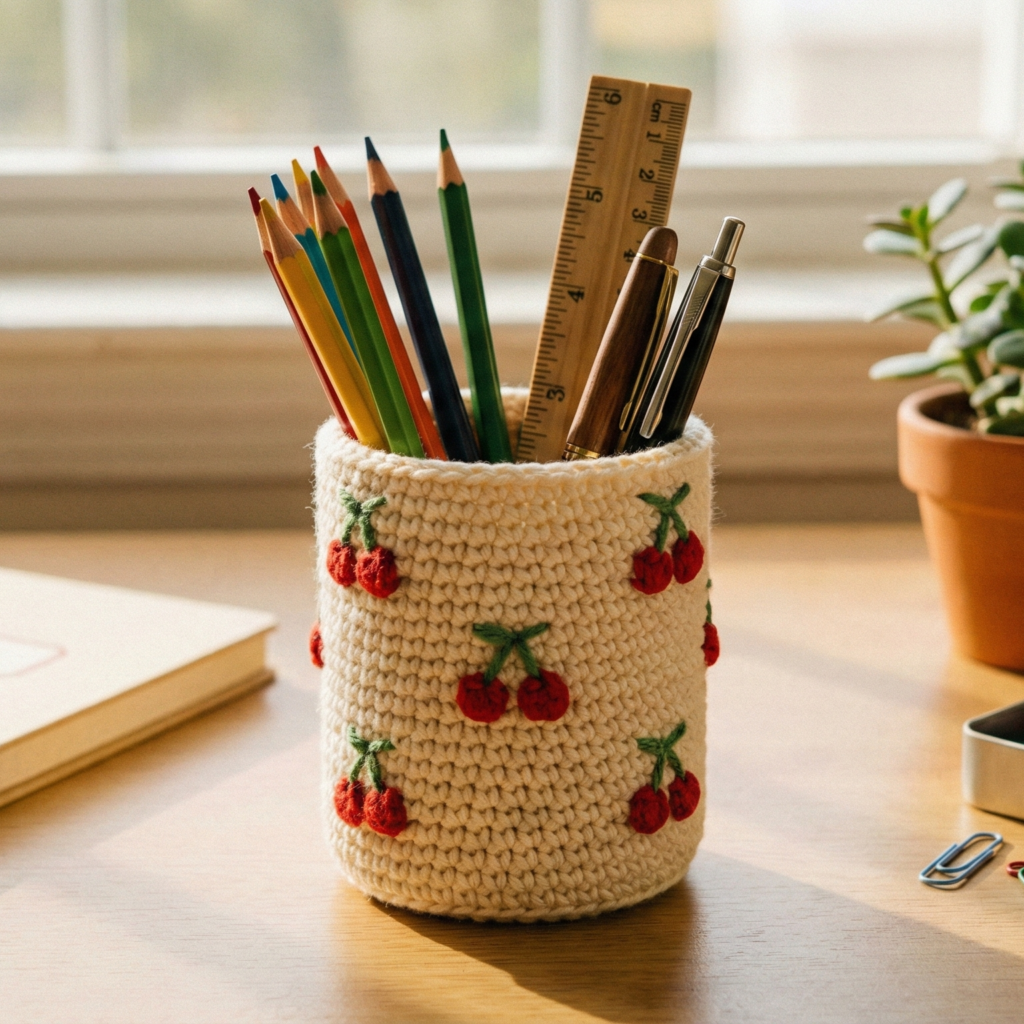
Style: decorative cylinder decorated with a retro cherry motif — pairs well with bright desk accessories.
Skill level: Confident beginner (tapestry colorwork or surface embroidery)
Finished size (sample): Diameter 2.5 in; height 4 in.
Materials
- Worsted cotton in background color (cream) ~100 yd; red and green scraps for cherries & stems.
- 3.75–4.0 mm hook.
- Tapestry needle for surface embroidery or for color changes.
- Optional plastic base disc.
Gauge & multiple
- Swatch tapestry sc (tighter fabric): example 3.5 sc/in. Calculate base circumference for 2.5 in diameter: circumference ≈ 7.85 in → 7.85 × 3.5 ≈ 27.5 → choose 28 sts around.
Step-by-step
Base & body (worked in rounds)
- Crochet base circle to reach 28 sts as in Base steps from pattern 1 (work increases until you reach 28).
- Rounds: switch to cream background and work sc rounds even until height ~1.25 in.
Cherry motif — two methods
A. Tapestry colorwork (embedded cherries)
3A. Pre-plan a simple 8×8 pixel cherry chart (a little round red blob with green stem) and follow it while crocheting sc rounds, carrying unused color on WS and catching floats every 4 sts. Place cherries spaced around the cylinder.
B. Surface embroidery / appliqué
3B. Work plain rounds in background color for the full height. After body is made, embroider cherries with red yarn using satin stitch or attach small round cherry appliqués sewn on, and embroider stems with green chain stitch (use tapestry needle to stitch onto fabric).
Upper rounds & rim
- Work additional sc rounds until total height is ~4 in. Finish with one round of sc in BLO to create inner lip for base insertion, or add fringe/bead trim around top edge.
Base reinforcement
- Insert optional base disc and secure with whipstitch through final rounds.
Variations & styling
- Add a little leaf charm (tiny green appliqué) near cherries.
- Use a retro palette (avocado green background, burnt orange cherries) for a mid-century feel.
Care
- Machine wash gentle with similar colors; remove base disc before washing if made from cardboard.
3. Crochet Scallion Pen Holder Pattern
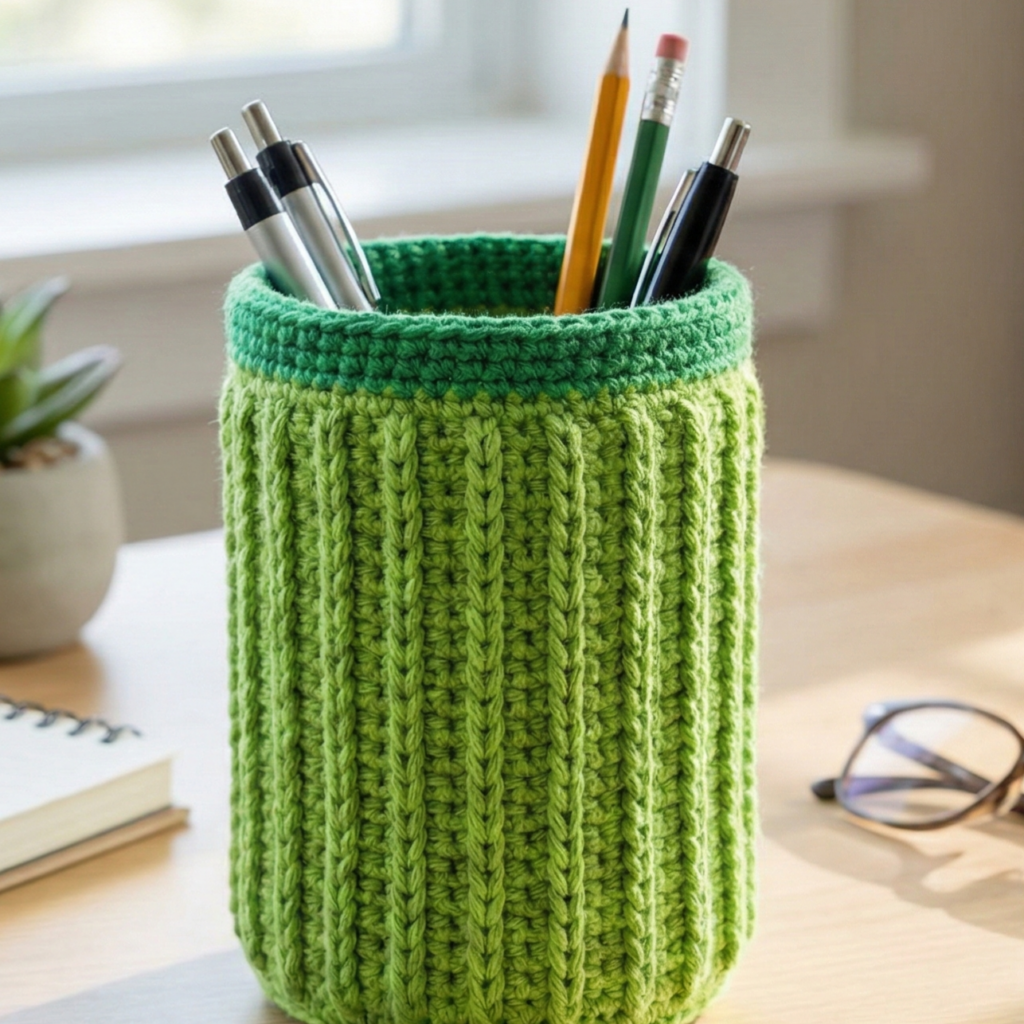
Style: tall cylindrical holder mimicking a scallion (green stalk) — playful and vertical with ribbed texture.
Skill level: Confident beginner (post stitches for ribs)
Finished size (sample): Height 6 in; diameter 2.25 in.
Materials
- Worsted cotton in bright green ~120 yd; darker green for top accent ~10 yd.
- 4.0 mm hook.
- Optional stiffener or cardboard base.
Gauge & plan
- Example gauge 4 sc/in. Base circumference target ~28 sts (like earlier patterns).
Step-by-step
Base
- Work base to 28 sts as in pattern 1.
Ribbed stalk (texture)
- Join yarn and work Rounds 1–2: sc around for foundation.
- Ribbing: R3: fpdc in next st, bpdc in next st repeat around — creates vertical rib. R4: sc in tops of posts (or keep alternating posts every row to maintain vigorous ribbing). Continue rib pattern until height ~5.5 in.
- For a tapered top (to mimic tapered scallion), reduce stitches slowly: every 6–8 rounds do sc x3, sc2tog across to narrow slightly.
Scallion top (light fluff)
- Join darker green and work a round of long loop stitches or elongated dc clusters around the top edge to create feathery leaves:
- Make loops: yo, insert in st, pull up long loop about 1.25 in, yo, pull through 2; repeat and secure—trim loops to form leaf-like fringe.
- Optionally, crochet two long thin leaves and sew to the inside top for fuller effect.
Base reinforcement & finishing
- Insert cardboard disc and finish seam. Weave ends.
Variations
- Make a set: scallion, carrot, and beet pen holders in a grouped desk orchard.
- For a sturdier holder, double the yarn held together or line interior with fabric.
Care
- Spot clean or hand wash; reshape and dry flat. Remove base disc prior to cleaning if it’s not waterproof.
4. Crochet Stash Buster Pen Holder Pattern
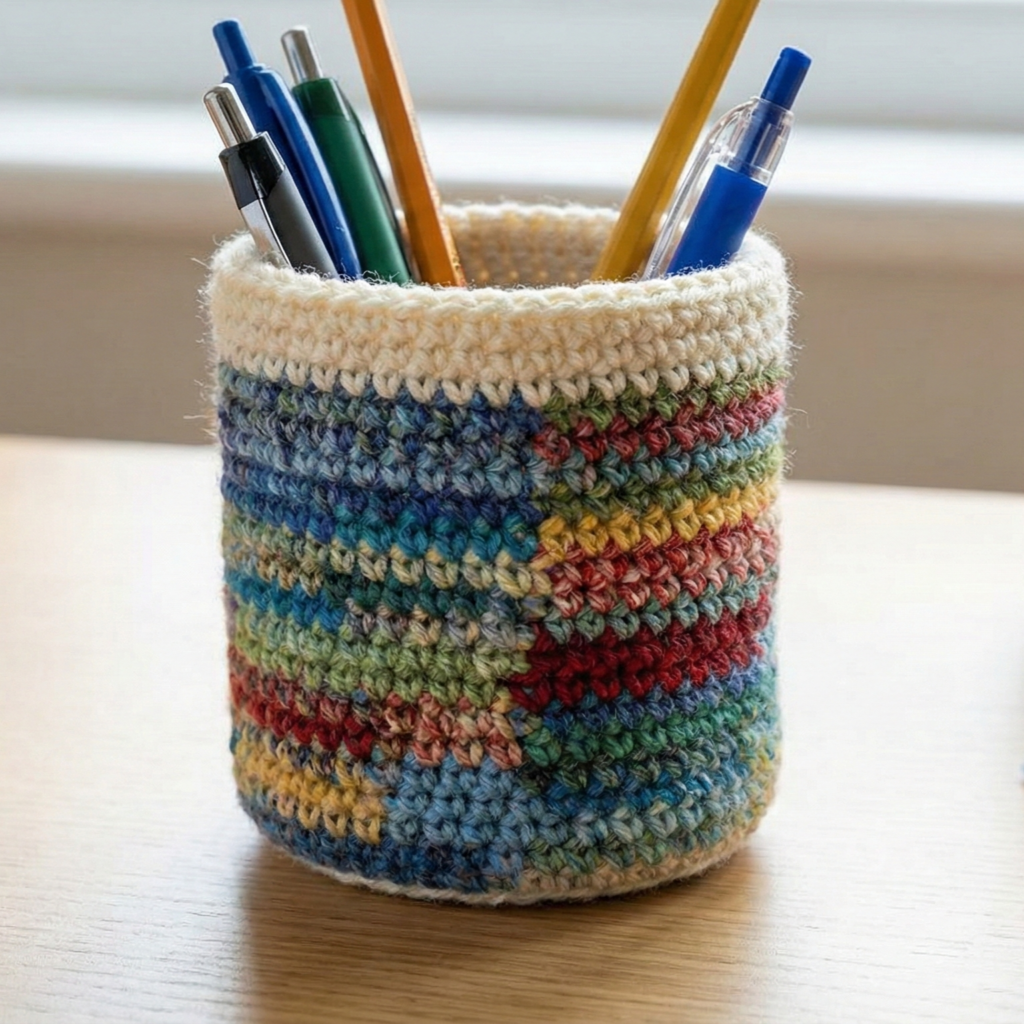
Style: scrappy, mosaic-looking holder worked from leftover yarns — great for stash busting and eco-friendly craft.
Skill level: Beginner–Confident beginner (joins & color changes)
Finished size (sample): Diameter 3 in; height 4 in.
Materials
- Small amounts of multiple leftover yarns (worsted or a mix) — total ~150 yd.
- 4.5 mm (7) hook works well for variegated thickness.
- Tapestry needle, optional stiffening insert.
Gauge & approach
- No strict gauge — make a swatch to decide base stitches. For a 3 in diameter target, aim ~36 sts around at 4 sc/in if using that gauge; if you use larger hook expect fewer stitches per inch — adjust.
Step-by-step
Base — flat circle (worked with color changes)
- MR; R1: 6 sc in MR. R2: inc around (12). R3: sc, inc around (18). R4: sc x2, inc (24). Keep increasing in rounds until you have circumference that approximates your desired diameter (e.g., 36 sts for 3 in @ 4 spi). Change color at each round or every few rounds to use scraps.
- To avoid long floats when changing yarn, fasten off each round and join next color by slip-stitch (fast & tidy).
Body — scrappy tube
- Once base size is reached, work even rounds of sc using scrap yarns, joining new color frequently for a mosaic/stash-buster effect. Work until height ~4 in.
Optional texture & patchwork
- Add surface crochet: slip-stitch rows in contrasting colors to create stripes or geometric banding. Alternatively, add small granny-square patches sewn to the outside for texture: crochet small 3–4 round squares and whipstitch them onto the tube.
Reinforce & finish
- Add cardboard base or sew lining for durability; finish top edge with a tidy round of sc in a single color to unify the look.
Variations
- Make a matching desk set (pencil pot, small basket, coasters) using same scraps.
- Use a single color top band with scallops for a cleaner finish.
Care
- Machine wash gentle if all yarns are machine-washable; use mesh bag to avoid snagging. Remove non-washable base first.
5. Crochet Macrame Cord Pen Holder Pattern
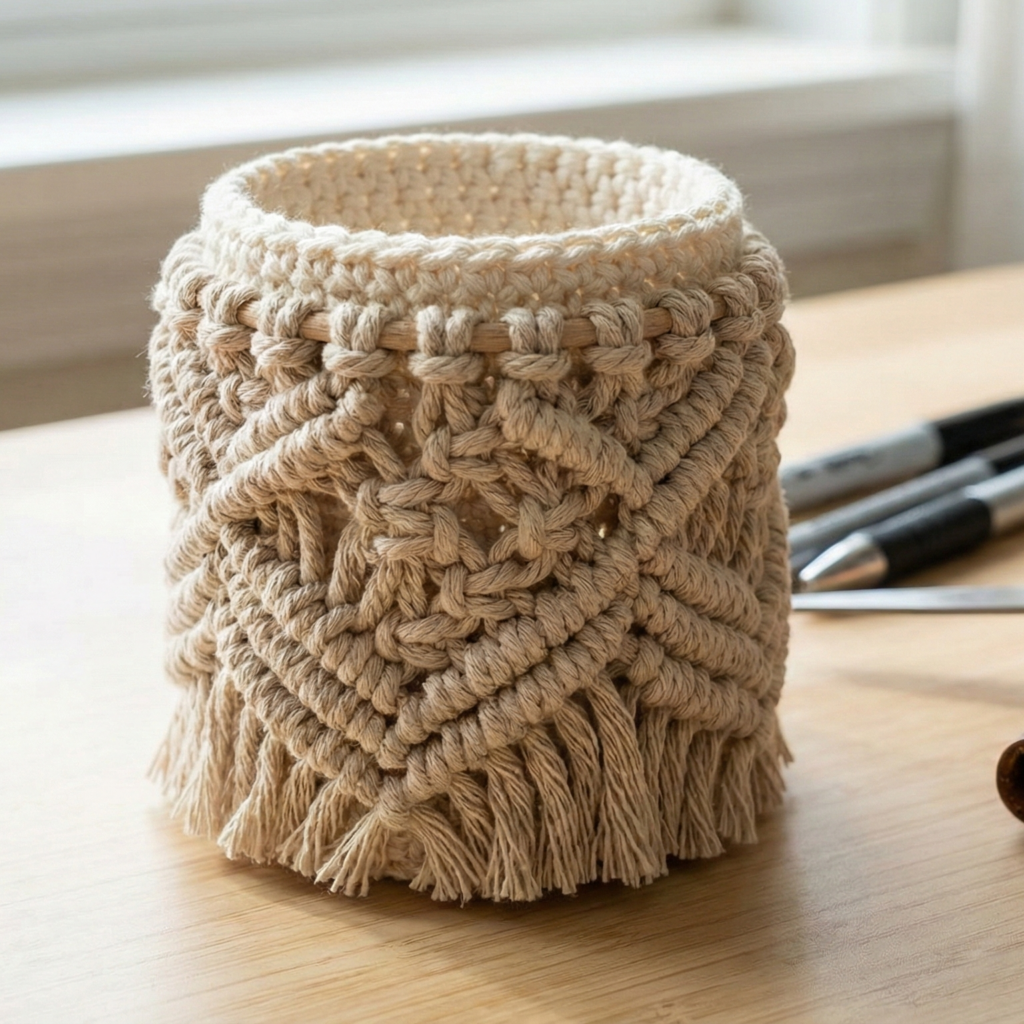
Style: hybrid — crochet combined with macramé cord wrapping for a chunky boho holder. The body is crocheted then wrapped or accented with macramé cord (or reversible: crocheted cord macramé).
Skill level: Intermediate (mixed technique)
Finished size (sample): Diameter 3 in; height 4 in.
Materials
- Thick macramé cord (3–4 mm) ~60–80 yd for wrapping or accents.
- Worsted cotton yarn to crochet inner tube ~150 yd.
- 6.0–8.0 mm hook for chunky crocheted base (or use worsted and 5 mm).
- Hot glue (optional), tapestry needle, scissors, wooden base (optional).
Two ways to make:
A. Crochet inner cup + wrap with macramé cord
B. Crochet a large single-strand cord and macramé knot panels around it
I’ll outline A, which is more approachable.
Step-by-step (Method A)
Inner crochet cup
- Crochet a base circle using worsted yarn and 5 mm hook until base diameter ~2.75 in (increase rounds to approx 34–36 sts around depending on gauge).
- Work sc rounds up to desired height (~4 in). This will be hidden by the macramé wrap but provides structure.
Macramé wrap
- Cut several lengths of macramé cord long enough to wrap around height (wrap perimeter × 2 + extra for knots). For a 3 in diameter, circumference ≈ 9.4 in; for 4 in height you might cut lengths of ~30–40 in.
- Use simple lark’s head knots to attach cords around the top rim of the crochet cup evenly spaced (fold cord in half, loop at rim and pull ends through).
- Use square knot or spiral half knot patterns to create a decorative panel around the body — leave bottom few inches as a fringe or continue knotting to base.
- Once wrapped, trim fringe or adjust knots so the macramé panel sits snug. Use a thin line of hot glue along top/preferred seam inside to keep cord from slipping (optional).
Finish
- Tuck ends inside the crochet cup; hide with hot glue or stitch securely. Add a non-slip felt bottom.
Variations
- Make full macramé pot with a wooden coaster base and crochet nothing — good as a craft experiment.
- Use colored macramé cord for a striped effect.
Care
- Spot clean macramé cord. Remove crochet inner cup when washing (if possible). Air dry.
6. Crochet Serenity Pen Holder Pattern
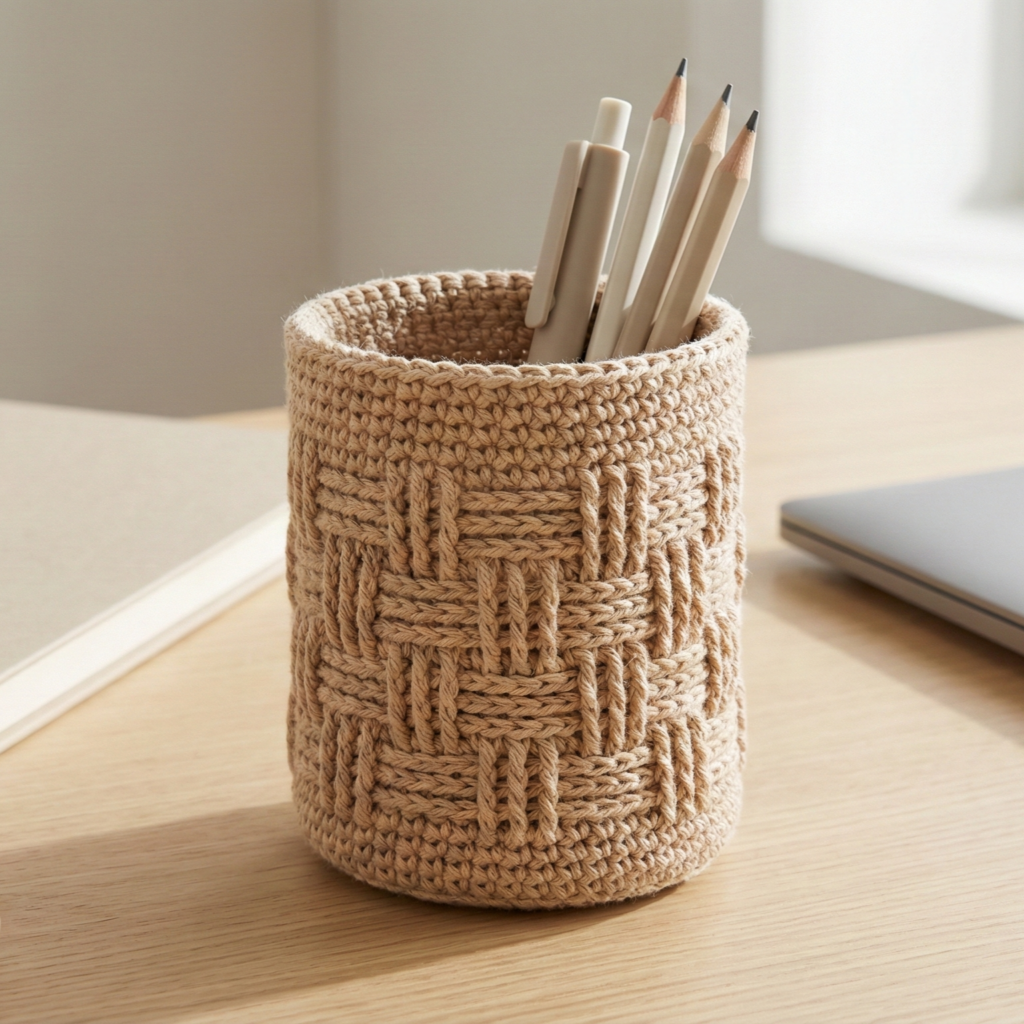
Style: calm, neutral textured holder with a woven-look lattice (serenity = subtle texture & neutral palette). Great for office spaces.
Skill level: Intermediate (post-stitches + textured repeats)
Finished size (sample): Diameter 2.75 in; height 4 in.
Materials
- Cotton or cotton-blend yarn in neutral tone ~150 yd.
- Hook 4.0 mm.
- Tapestry needle, optional stiff base.
Stitch & gauge
- Use a textured lattice repeat that alternates post stitches and sc: e.g., dc in next st, fpdc around 2nd st below, sc repeats make subtle raised texture. Swatch to find spi; aim for base 32–36 sts depending on gauge for 2.75 in diameter.
Step-by-step
Base
- Work base circle using increases to reach desired circumference (e.g., 32–36 sts).
Serenity lattice body
- Round 1 after base: sc across one round.
- Round 2: ch2, skip 1 st, sc in next, fpdc around the post two rounds below (creates a woven look); repeat around. This creates a pattern of raised vertical links.
- Round 3: sc across, aligning with ch2 spaces. Repeat Rounds 2–3 for height until ~3.75–4 in.
- For tidy top finish: sc around in BLO or FLO for contrasted rim.
Reinforce & finish
- Insert base disc and secure if desired. Weave in ends and block lightly.
Variations
- Add a thin leather strap across front as a label (glue or stitch).
- Make in a soft grey or sage for a calming desk set.
Care
- Machine wash gentle; reshape and dry flat.
conclusion
Small home-organizing crochet projects like these pen holders are satisfying and fast. A few final tips to make your holders look professional and last longer:
- Reinforce bases: a thin plastic coaster, sturdy cardboard, or laser-cut wood circle gives stability and prevents sagging. If you want the holder fully washable, slip a felt bottom inside or make a removable base instead of gluing.
- Line if needed: for very flexible stitches (open lace or large motif joins) sew a cotton lining inside to stop pens snagging and to keep shape.
- Seam invisibly: mattress stitch or slipstitch seam from WS for tidy joins.
- Scale with gauge: remember that changing hook or yarn changes required stitches; always swatch and compute circumference before starting.
- Gift set ideas: pair a pen holder with a matching small notebook cover, a coaster, or a tiny pouch for clips — great teacher gifts or desk bundles.
- Photo tips for your blog: shoot flat-lay on neutral desk or wood, include a few pens for scale, show an interior shot of the base, and a detail close-up of texture. Natural window light makes fiber colors true.
- Care labels to include: “Machine wash cold gentle or hand wash; reshape and air dry. Remove any non-waterproof base before washing.”