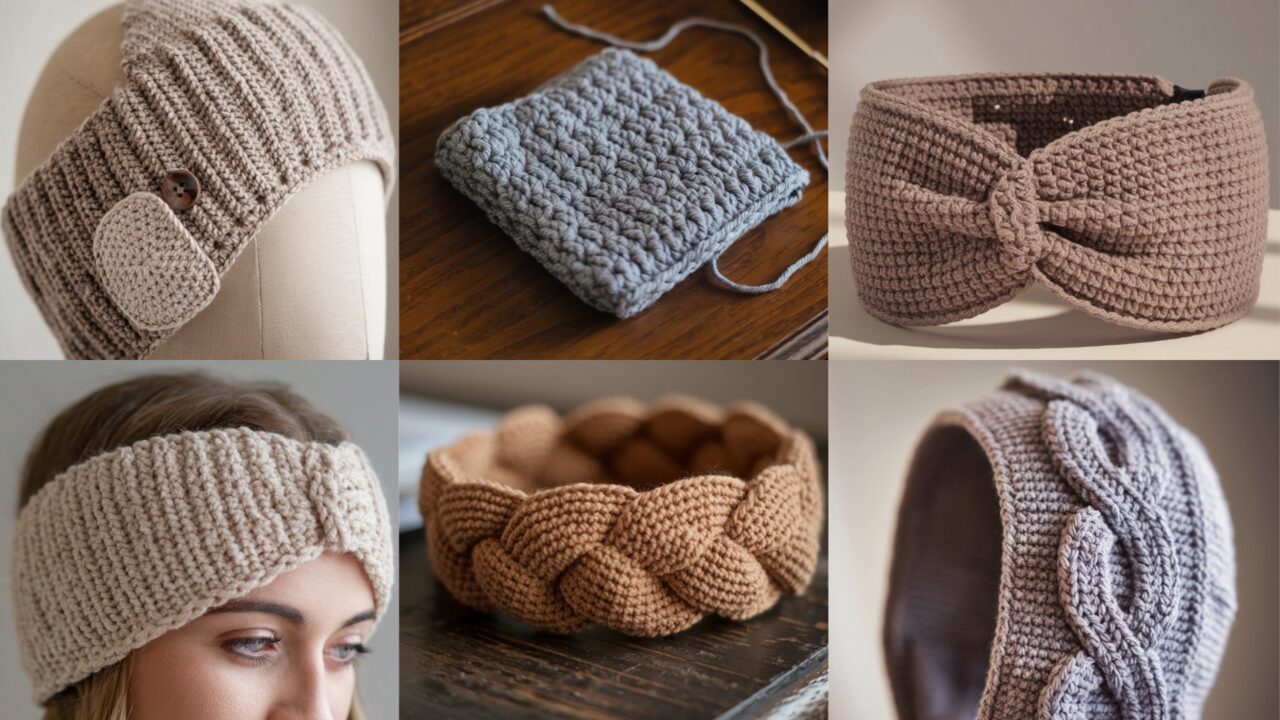
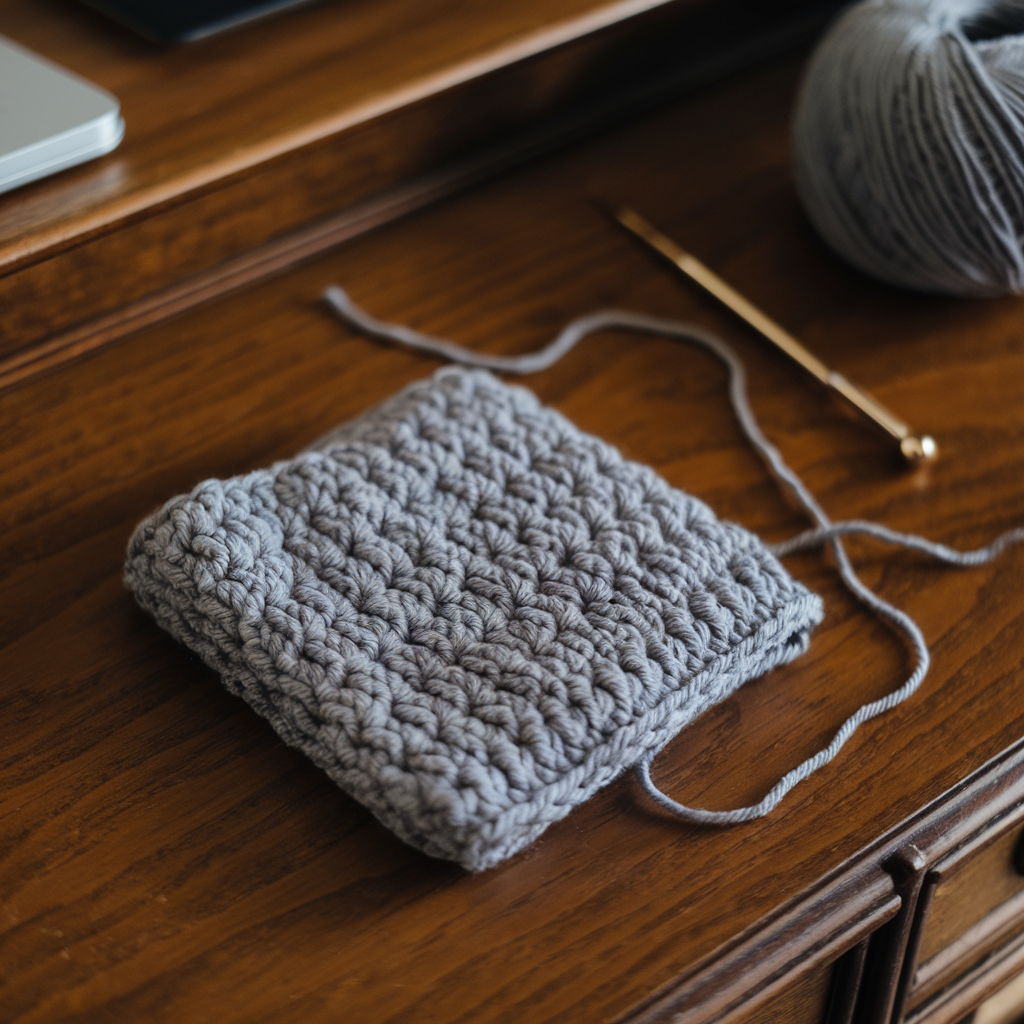
Ear warmers are the no-nonsense winter accessory: less bulk than a hat, neater under a hood, and actually useful when you want to keep ears warm without ruining your hair. These patterns cover classic cable texture, adjustable closures, chunky braided style, a close-fitting cozy rib, Tunisian density, and an easy stylish twist. Each pattern includes: Skill level, yarn & tools, target sizes and gauge, exact stitch-by-stitch instructions (including stitch counts), finishing & fit tips, variations, and care. Use the yarn weights and hook sizes shown for similar results; if you change yarn weight, swatch and recalc.
Quick common notes (read this)
- Head circumference targets (finished ear warmer circumference):
- Small — 19–20 in (48–51 cm) (teens / petite heads)
- Medium — 21–22 in (53–56 cm) (average adult) default
- Large — 23–24 in (58–61 cm) (large heads / hats-over)
- Yarn & hook baseline used: Most samples use worsted weight (#4) yarn and a 5.0 mm (H) hook unless otherwise specified. Tunisians use Tunisian hooks as noted. Adjust hook for your tension.
- Gauge references (when given): work a 4″ (10 cm) swatch in pattern if sizing critical. If your gauge differs, change hook or adjust stitch counts per circumference math: stitches-per-inch × target circumference = number of stitches in round (round to nearest whole repeat).
- Construction logic: All patterns are worked in joined rounds (sl st join) unless specified otherwise. Use a stitch marker to mark round starts. If a pattern needs a seam (e.g., braid strips), instructions note how to close securely.
- Abbreviations (US): ch, sc, hdc, dc, tr, sl st, st(s), sk, BLO/FLO (back/front loop only), fpdc = front-post double crochet, bpdc = back-post double crochet, Tss = Tunisian simple stitch. inc = 2 sc in same st, dec = sc2tog.
- Finishing tip that saves lives: anchor any decorative join (buttons, seams, braid ends) by sewing through both the fabric and the elastic/inner band (if any) or adding a felt backing — do not rely on a single surface stitch.
1. Cable Crochet Ear Warmer Pattern

Classic, chunky-cable look without knitting. Uses post stitches to simulate knitted cables; stretchy, warm, very stylish.
Skill level: Intermediate (post stitches + reading cable crossing)
Yarn & tools: worsted weight yarn (approx. 120–180 yds total depending on size), 5.0 mm (H) hook, tapestry needle, stitch marker. Optional small button if you want a faux or functional side-tab.
Finished widths: 3.5″–4″ (9–10 cm) wide; circumferences per size listed below.
Gauge (sample): 14 sc rounds = about 4″ in plain sc; cable stitch will be denser — swatch 4″ in cable pattern and measure.
Pattern logic & repeats
This ear warmer is a band worked in the round with a 12-st cable panel repeat. You’ll create regular rounds of sc for a base and work a cable pattern (fpdc / bpdc crossing) to form twists. The crossing sequence spans 12 stitches and crosses every 6 rounds. Adjust total stitches to be a multiple of 12 (plus any edging counts).
Stitch counts for typical head sizes (use these as your starting round counts)
- Small (19–20″): 72 sts (12 × 6 repeats)
- Medium (21–22″): 84 sts (12 × 7 repeats)
- Large (23–24″): 96 sts (12 × 8 repeats)
If your gauge differs, recalc: (stitches-per-inch) × circumference → nearest multiple of 12.
Directions (worked in joined rounds)
Base rounds
- Ch enough to reach your stitch count (e.g., 84 ch for medium). Join to form ring careful not to twist. OR begin with magic loop and ch to st count.
- R1: ch1, sc in each ch around; join with sl st to first sc. (This evens your foundation.)
- R2–R4: ch1, sc in each st around, join. (3 rounds for stable base.)
Cable panel setup
We’ll work the cable pattern over the same round width. Cable uses 12-st cable repeat: 3-st panel A (fpdc / bpdc combos), spacer sc columns.
Cable pattern (over 12 sts) — repeat across round
Use these 12 sts sequence across the band:
- Row A (round 5): sc 2; fpdc around next 2 sts; sc 2; bpdc around next 2 sts; sc 2; repeat across. Join.
- Row B (round 6): ch1, sc around all sts (this is a rest row).
- Row C (round 7): ch1, sc 2; cross cable — to create a left-twist: fpdc around the 2 sts that belong to the right cable from two rounds earlier by inserting hook from front to back around post and holding them aside, then work the other cable posts, then complete cross — OK, that sentence is messy. Follow explicit step below.
Explicit cable crossing sequence (simpler practical method)
Every 6th round do this crossing operation across each 12-st panel:
- Identify the two 2-st post-fpdc columns and the two 2-st bpdc columns between them. You will swap their order.
- To left-cross (LC): fpdc around next 2 posts (hold these post stitches on needle or use scrap dowel to hold them), then fpdc around the following 2 posts (the ones to cross), then go back and complete the held posts. In crochet you simulate by working fpdc into later posts first, then into earlier posts so the appearance crosses. (If this is your first cable, practice on a 12-st swatch to see the crossing visual.)
- Work a rest round of sc between cable cross rounds.
Simpler cable method (if post-crossing is giving you rage)
If you don’t want to hold posts: use fpdc / bpdc clustered shells that alternate direction each cable-row to give a cable illusion without wrestling posts. It’s slightly flatter but still very cable-like.
Edge rounds
After desired height (about 5–6 cable repeats; total height ~3.5–4″), work 2–3 rounds sc to tidy top and bottom. Finish with slip-stitch joining and weave in ends.
Optional button tab
Sew a small strap (ch 10, sc back) to one edge, fold and stitch to form a loop over a small ¾” button on the opposite side so the ear warmer connects under low hair or behind head.
Finishing & blocking
- Block lightly to settle cables. Use pins over a head-shaped bowl if you want natural curve.
- Weave ends through cable base for invisibility.
Variations
- Use chunkier yarn and larger hook for a bolder cable.
- Make the band narrower (2.5″) for a sleek look; widen to 5″ for earmuffs-style.
2. Crochet Adjustable Ear Warmer Pattern
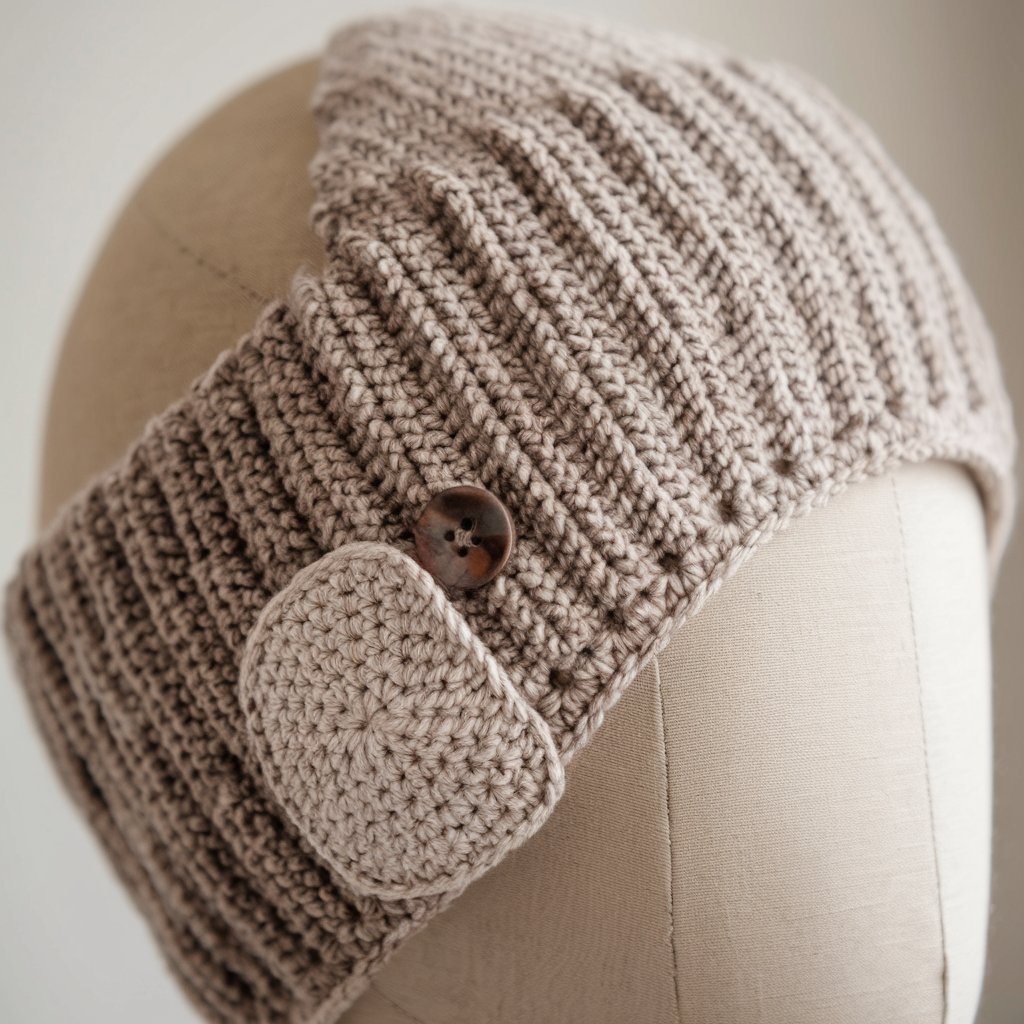
You asked for wearable — here’s practical: an ear warmer with a buttoned strap so you can tighten/loosen over hats, braids, or your bad-hair day.
Skill level: Confident Beginner
Yarn & tools: worsted yarn (~120–160 yds), 5.0 mm hook, 1.25″–1.5″ button, tapestry needle. Optional elastic loop for secure hold.
Sizes: fits small–large by tightening with the button; recommended finished circumference is about 1–2″ longer than head size for overlap range.
Construction plan
Work a wide ribbed band in hdc or sc in BLO forming a stretchable fabric; create a button loop strap on one end (or a small strap with buttonholes) so you can adjust fit.
Directions (worked flat, then seamed)
Make band
- Ch enough to measure target (e.g., 60 ch for sample). Work back and forth rows to create a rectangular band that’s roughly head_circumference + 1–2″ long and 3.5–4″ high. (Example — for medium: ch 68; Row1: hdc in 2nd ch and across; Row2+: ch2, hdc BLO across for a rib look; repeat until height = 3.5–4″.)
- For adjustable fit, make the band longer than your head by 1–3″ so the strap can overlap. You will seam ends leaving about 2–3″ open for strap area if you want a gap.
Button strap (two options)
- Loop option (simpler): On one short end, ch 20 (long enough to form a loop that reaches the other side), sl st back to base to form a narrow strap. Sew the strap securely to the back of that short end, run a few reinforcing stitches. Attach button to opposite short end. The loop will stretch over button — choose stretchy yarn or make loop slightly larger.
- Buttonhole strap (neater): On one short end: fold 2″ strip and sew to form a tab with buttonhole (or create ch loop built-in) — on opposite side sew a sewn-on button. Or work a small slit (ch 4 and sk 4) row in the seam area to form buttonhole before finishing.
Seaming
3. With the right side facing, fold band into loop and whip-stitch or mattress stitch ends together leaving strap area as designed (if using loop option, stitch strap end to base with many passes). Try on and adjust strap length; add extra stitches to reinforce.
Optional elastic insert
If you want more retention without tightening, sew a short piece of 1/4″ elastic into seam area before final seaming — invisible and forgiving.
Finishing
- Button choices: use a wide, slightly domed button so loop slips over easily.
- Weave and secure all ends; if you used elastic, stitch through it with many passes to anchor.
Variations
- Add a decorative bow or small flower on the button side for style.
- Make the whole band in two-tone stripes so you can wrap the strap to show the reverse color.
3. Chunky Crochet Braided Ear Warmer Pattern
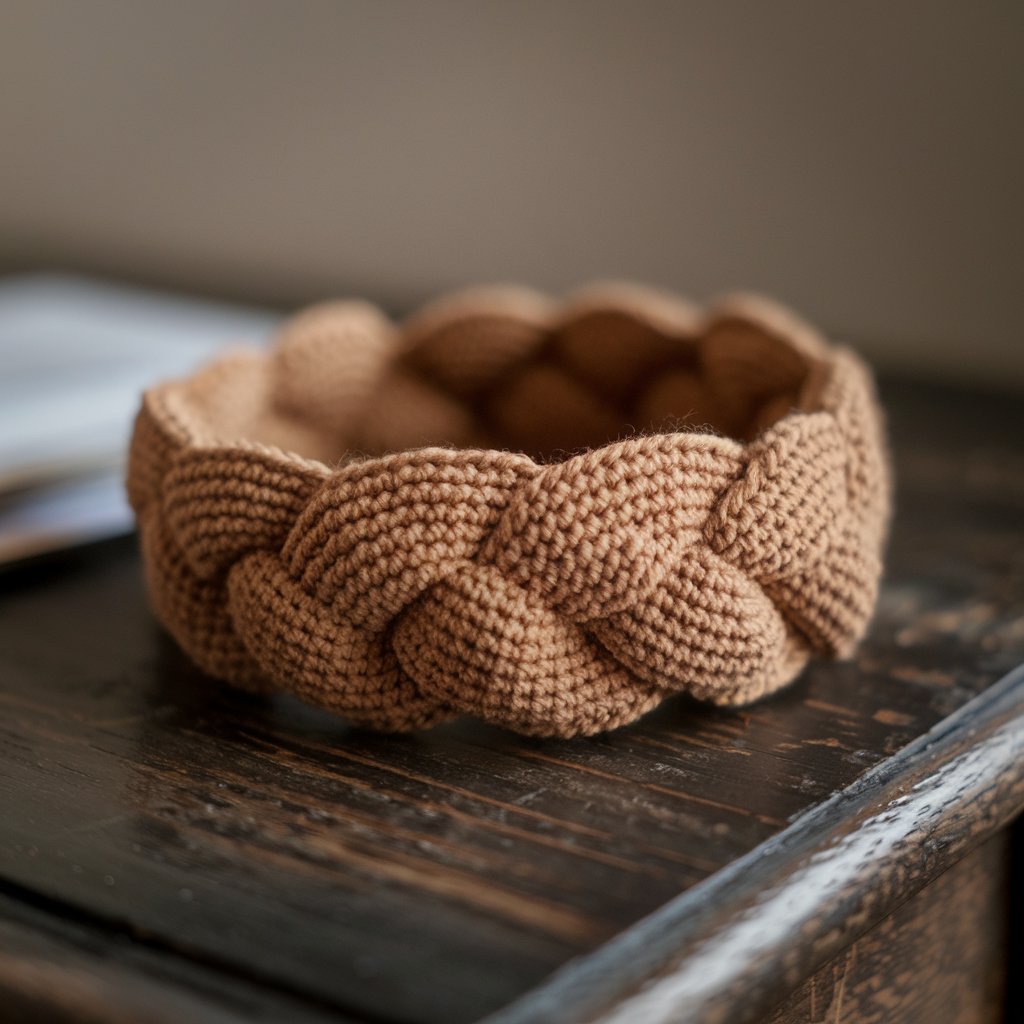
Three crocheted strips braided and seamed for a dramatic, tactile headband. Fast results, super warm.
Skill level: Confident Beginner (braiding & seaming)
Yarn & tools: bulky yarn (#5) or super bulky (#6) for chunky effect, 8.0 mm hook (or as yarn label), approx. 100–170 yds depending on size, tapestry needle.
Finished width: wide braid ~3.5–5″ depending thickness of strips.
Construction logic
Make three identical strips (flat rectangles) in a dense stitch (hdc or htr) sized to desired width and length; braid them and seam ends together into a loop.
Directions — three-strip braid (flat strips)
Strip size & stitch gauge
- For medium head: each strip length ≈ 22–24″ long by 2–2.5″ wide (remember when braided the circumference shortens; make each strip longer than half head circumference—make test braid to measure).
- Example: ch 12; Row1: hdc in 2nd ch from hook across (11 hdc); Row2–Row10: ch2, hdc back across until strip width ≈ 2.25″. Continue rows until strip length = 22–24″. Fasten off and make two more identical strips.
Braid assembly
- Lay strips parallel and braid: pin one end down, braid like hair (cross left over center, right over center). Tighten gently but don’t stretch.
- When braid complete, shape into loop and overlap ends by 1″–1.5″ so seam has material to stitch securely. Use tapestry needle and yarn to whip-stitch overlapped ends through multiple layers (6–10 passes) to secure. Turn seam to inside.
Optional padded lining
For comfort and to hide seam bulk, cut a matching felt strip, glue or sew inside across seam area.
Finishing & care
- Because bulky yarn can pill, choose a wool-blend or acrylic that tolerates friction and wash per label. Hand wash if unsure.
Variations
- Make 5-strip braid for thicker cuff.
- Use different colors for each strip for striped braid effect.
4. Crochet Cozy Ear Warmer Pattern
The straightforward, no-nonsense ribbed headband. Comfy, stretchy, and fast. Ideal for beginners who still want a polished result.
Skill level: Beginner (BLO ribbing)
Yarn & tools: worsted yarn (#4) 120–160 yds, 5.0 mm hook. Finished width ~3–4″.
Sizes & counts (worked flat then seamed):
- Small: ch 58; Medium: ch 64; Large: ch 70 (adjust if your gauge differs).
Construction (flat rib strip, seam ends)
- Ch to your starting count (see above). Row1: hdc in 2nd ch from hook and across. Turn.
- Row2+: ch2 (counts as hdc), hdc in BLO in each st across. The BLO creates deep ribs. Repeat until strip height = 3–4″ (measure against ear height). For a snug slouchier fit make 3″; for fuller coverage make 4″.
- Finish with 2 rows of hdc across both loops to neaten. Fasten off leaving long tail for seaming.
Seaming to make a band
- Fold strip with right sides together and seam with hidden mattress stitch along lengthwise short ends, then join ends to circle by mattress stitch. Hide seam inside.
Optional twist (appeal upgrade)
- Before seaming into a circle, give the strip a single twist (like making a Möbius) so the front shows a twist. Then seam ends; this produces a polished single-twist headband look without complicated shaping.
Finishing & care
- Block lightly to flatten rib if stitches look lopsided.
- Weave in ends, reinforce seam with extra stitches.
Variations
- Use bamboo or superwash wool for extra softness.
- Make it narrower as earband that peeks under a hood.
5. Tunisian Crochet Ear Warmer Pattern
Dense, stable, and very warm — Tunisian stitch gives a fabric that’s nearly as warm as knitting but faster. Excellent for cold climates.
Skill level: Intermediate (basic Tunisian skills)
Yarn & tools: DK or worsted yarn (DK gives slightly neater fabric) — ~150–200 yds depending on size; Tunisian hook (size 4.0–5.5 mm depending on yarn). Tun-style fabric is thick, so fewer rounds needed.
Construction plan
Work a flat Tunisian panel in Tss or TSA (Tunisian simple stitch or alternate) and seam into a loop with a reinforced seam. For stretch, include a ribbed edge.
Directions (flat panel)
- Chain (foundation) length to match desired circumference accounting for seam (for medium head, ch 44–48).
- Forward pass: pick up long loops across chain (one loop in each ch). Return pass: yarn over and pull through 1 loop (chain 1 is used at edge) then work purl-like returns across. Repeat forward/back passes until panel height = 3.5–4″. For a neat finishing edge, do 1–2 rounds of Tunisian rib (alternate tss/tps) or work a few sc rows.
Seaming & optional shaping
- Fold panel so inner edges meet, mattress stitch seam through vertical bars (not the surface loops) to give neat seam. If you want curved ear shape, shape the band by adding short decreases at back but usually unnecessary due to fabric stretch.
Extra warmth: fleece lining
- Sew a thin fleece strip inside for windproofing — stitch through both layers at intervals to anchor.
Finishing & care
- Tunisian holds heat well but can be stiff — block gently. Hand wash if yarn sensitive.
Variations
- Try Tunisian waffle stitch for extra loft.
- Make a narrower headband for sports use (with elastic sewn in for bounce).
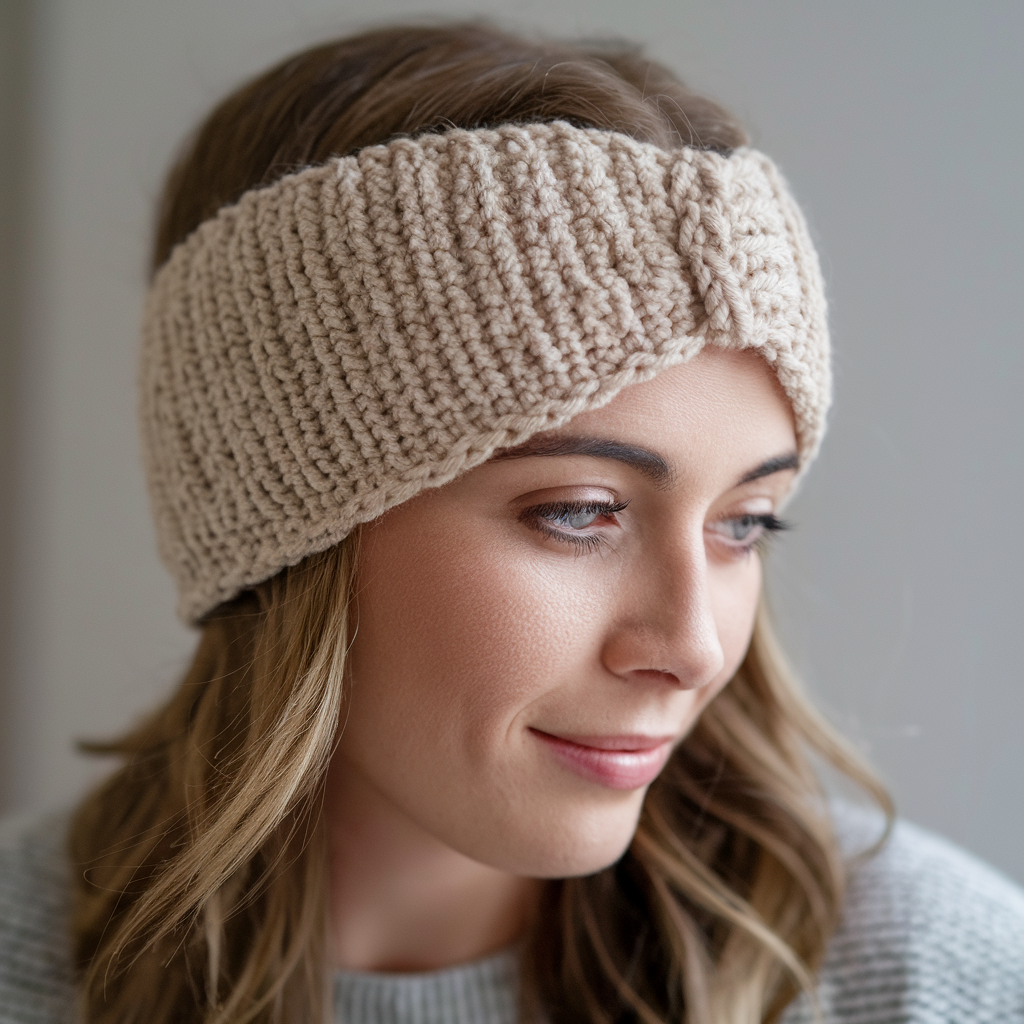
6. Crochet Twisted Ear Warmer Pattern

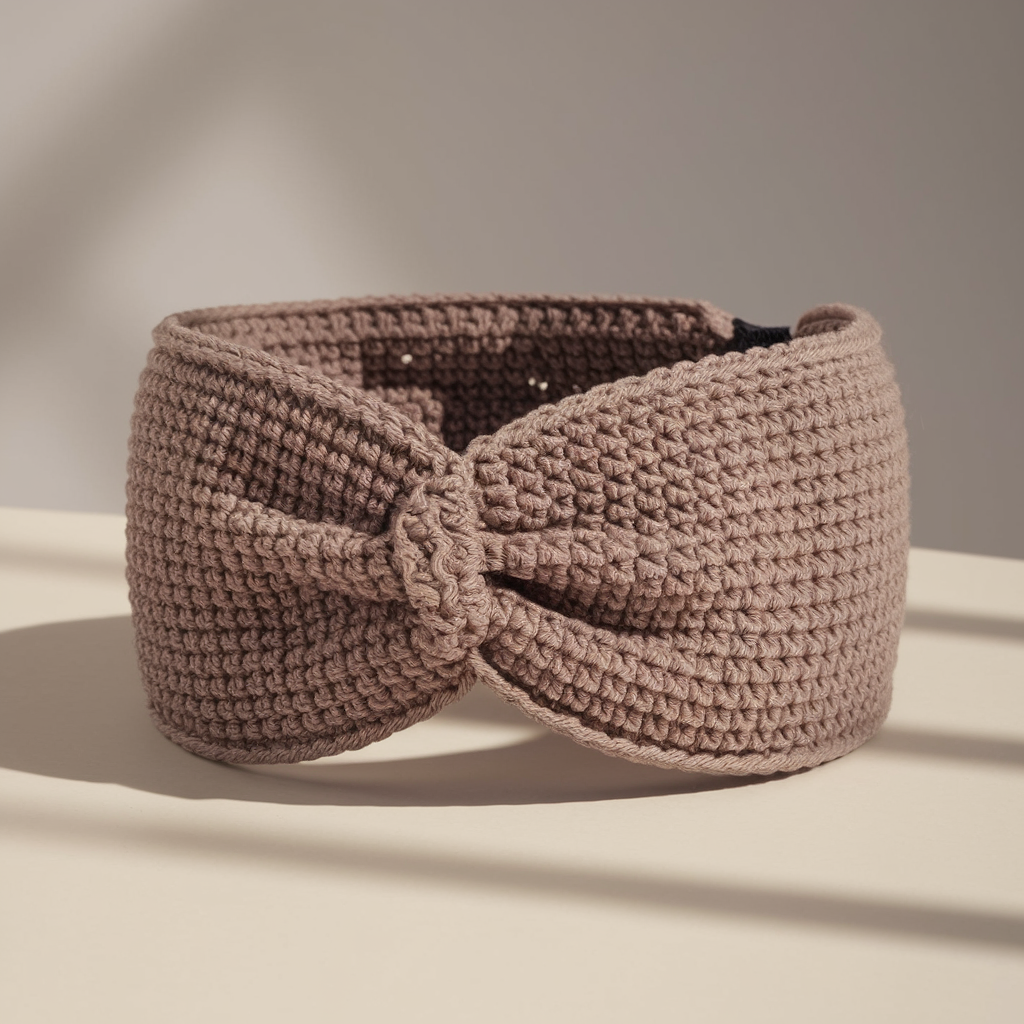
A twist-front ear warmer (looks like a turban knot) that’s modern and flattering. Achieves a neat twist without complex seaming.
Skill level: Confident Beginner
Yarn & tools: worsted yarn (~120–160 yds), 5.0 mm hook, tapestry needle. Finished width 3–4″.
Construction logic
Work a long ribbed strip, then seam ends into a loop with a twist before joining so the front forms a neat twisted knot. The twist distributes bulk nicely and looks intentional.
Stitch counts (worked flat)
- Small: ch 58; Medium: ch 64; Large: ch 70. Row pattern: hdc BLO for ribs.
Directions
- Ch your count. Row1: hdc in 2nd ch from hook across. Row2+: ch2, hdc BLO across for rib effect. Repeat until strip height = 3.5–4″. End with 2 even hdc rows. Fasten off leaving long tails.
- Lay strip flat with right side up. Fold strip in half lengthwise so edges align; place one short end over the other short end but with a single 180° twist in the center (so it forms a figure-8). Bring the ends together so they overlap and seam them together with mattress stitch — you are seaming end-to-end but with the twist, giving the turban knot look at front. Turn seam to inside.
Alternative “pretzel” technique (no seaming on the front)
- Make strip, fold into loop by overlapping ends by 3–4″, then thread ends through loop created by folding (a little like tying a ribbon), and slip-stitch or sew to lock. Results in a flatter, neater front twist.
Finishing & styling
- After seaming, flip band so seam is at back. The front will show a neat twist/plek. This style sits nicely under hair and looks contemporary.
Variations
- Use a wide cable panel for the strip to create a textured twist.
- Make in fur or boucle yarn for luxe visuals.
Universal finishing & fit tips (serious, practical)
- Always try on as you go. Make one repeat, measure around your head, adjust counts before spending more yarn.
- Use a test elastic if you plan to insert one. Elastics vary; insert the elastic early to confirm fit.
- Seams matter more than pattern. A weak seam will let the whole piece fail. Reinforce seams with multiple passes and hide knots inside.
- Blocking equals professionalism. Even simple bands look better with a quick block to even stitches. Don’t over-steam acrylic — use damp shaping, not heat.
- Label your specimen. If you make several prototypes, note yarn, hook, stitch counts, and final circumference on a sticky note. Your future self will bless you.
Care summary
- Wool/Alpaca: Hand wash cold, lay flat to dry. Avoid felting.
- Superwash/ acrylic blends: Machine wash gentle; tumble may be okay but air-dry to preserve shape.
- Cotton: Machine wash gentle; reshape and block while damp.
- Faux fur / novelty: Spot clean and air-dry only.
conclusion
There. Six headband patterns that do something other than look cute on the screen: cables that read high-end, an adjustable button strap for reality, a braided statement cuff, a classic rib that works under hoods, a dense Tunisian piece for Arctic commutes, and a twist-front that flatters. Pick the one that matches your knitting-skill tolerance and climate; swatch for gauge if you’re fussy about fit; and reinforce seams and attachments like you mean it.