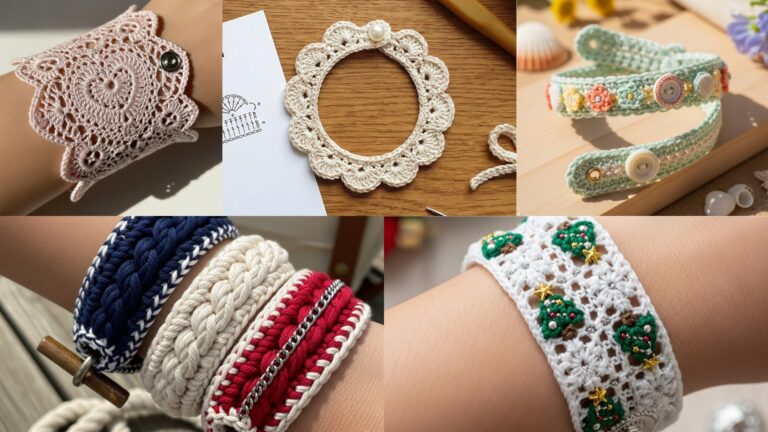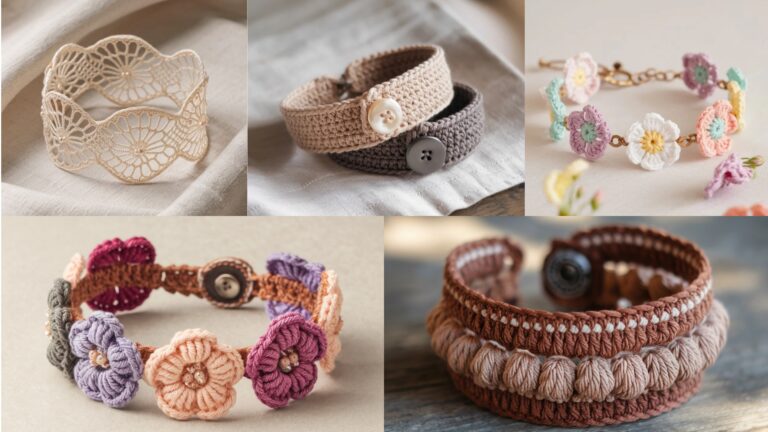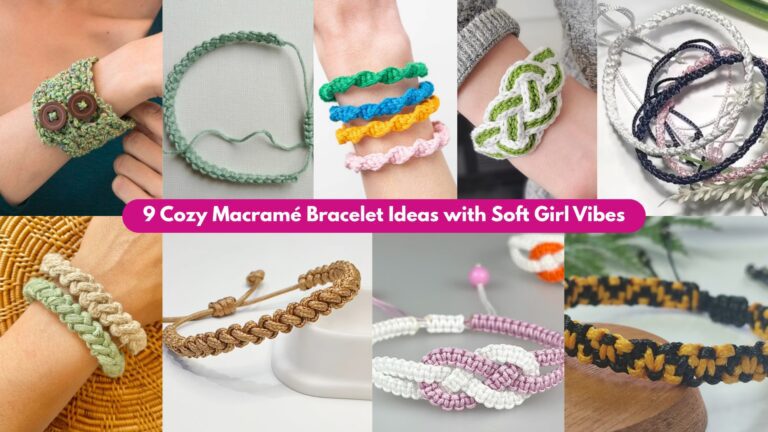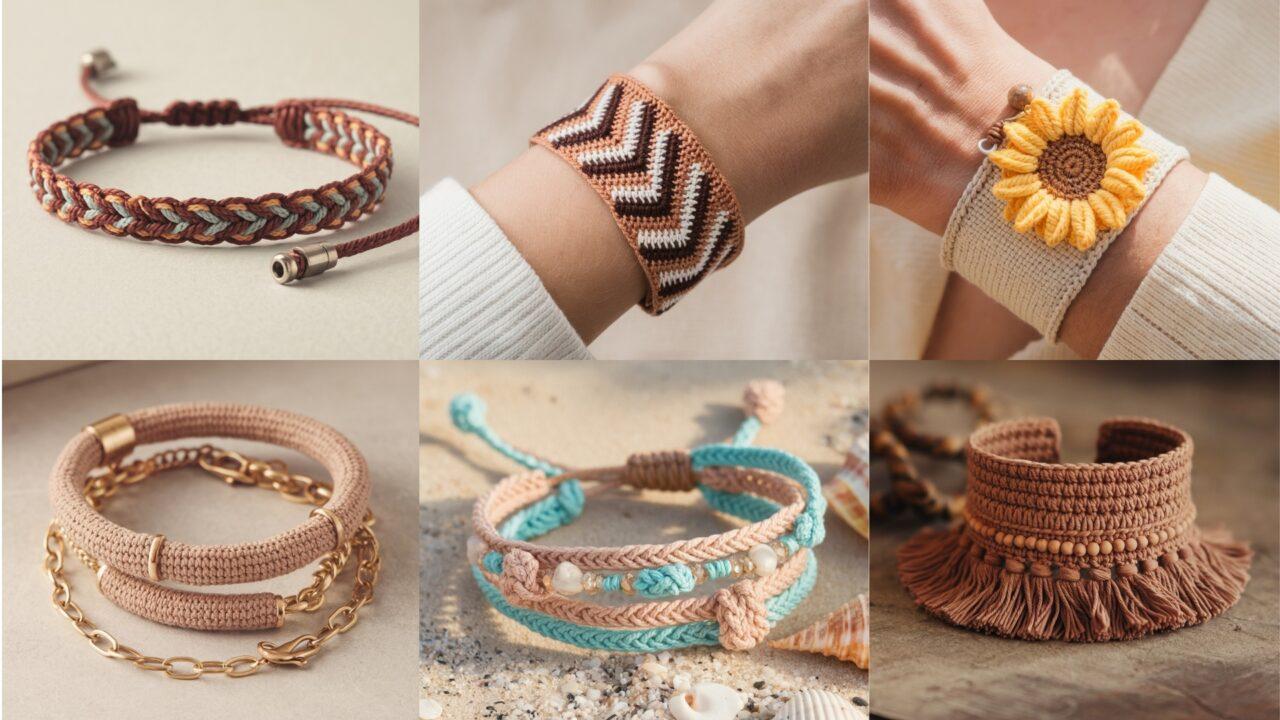
Small, colorful, and addictive to make — crochet bracelets are perfect weekend projects, gift extras, or ways to use yarn scraps. Below are six distinct bracelet patterns you can stitch quickly: Boho Sunflower Cuff, La Plage (beach) Bracelet, Simple Chevron Bracelet, Chain Wrap Bracelet, Bohemian Cuff, and Braid Bracelet. Each pattern is written in US crochet terms and includes materials, finished size & how to customize, a full step-by-step guide for the bracelet body + strap + closure, finishing tips (lining, hardware), and styling variations.
If you’re new to crochet, read the quick tools & techniques section first — otherwise jump to your chosen pattern and start stitching.
Quick tools, yarn & general notes (read first)
- Yarn: For bracelets use cotton, mercerized cotton, or cotton-blend sport/worsted yarn for durability and less stretch. Crochet thread (#10) gives delicate bracelets; sport or DK gives chunkier, bold bracelets.
- Hook: 1.75–4.0 mm for thread/light yarn; 3.5–5.0 mm for sport/DK. Use a smaller hook than the yarn label suggests for denser fabric that won’t sag.
- Notions: tapestry needle, small scissors, measuring tape/ruler, stitch markers, decorative beads/buttons/charms, jump rings, lobster/clasp hardware or snap buttons, thin leather cord (optional), small sewing snaps or magnetic clasps for easy fastening.
- Finishing glue (optional): clear jewelry glue to secure knots or caps.
- Sizing: Most bracelets are 6–8.5 inches circumference. Measure wrist snugly and add 0.25–0.5″ for comfort and 0.5–1.0″ for overlap depending on closure method.
- Abbreviations (US): ch = chain, sc = single crochet, hdc = half double crochet, dc = double crochet, tr = treble (UK tr = US dc), sl st = slip stitch, st(s) = stitch(es), MR = magic ring, inc = increase, dec = decrease.
General tips:
- Work a test strip to check width and fit before committing to length.
- If you plan to wear a bracelet daily, reinforce ends with a small drop of clear glue and weave tails deep into the work.
- For metal hardware, use thin fabric or felt backing inside the bracelet to prevent rubbing the skin.
1. Crochet Bracelet: Boho Sunflower Cuff Pattern
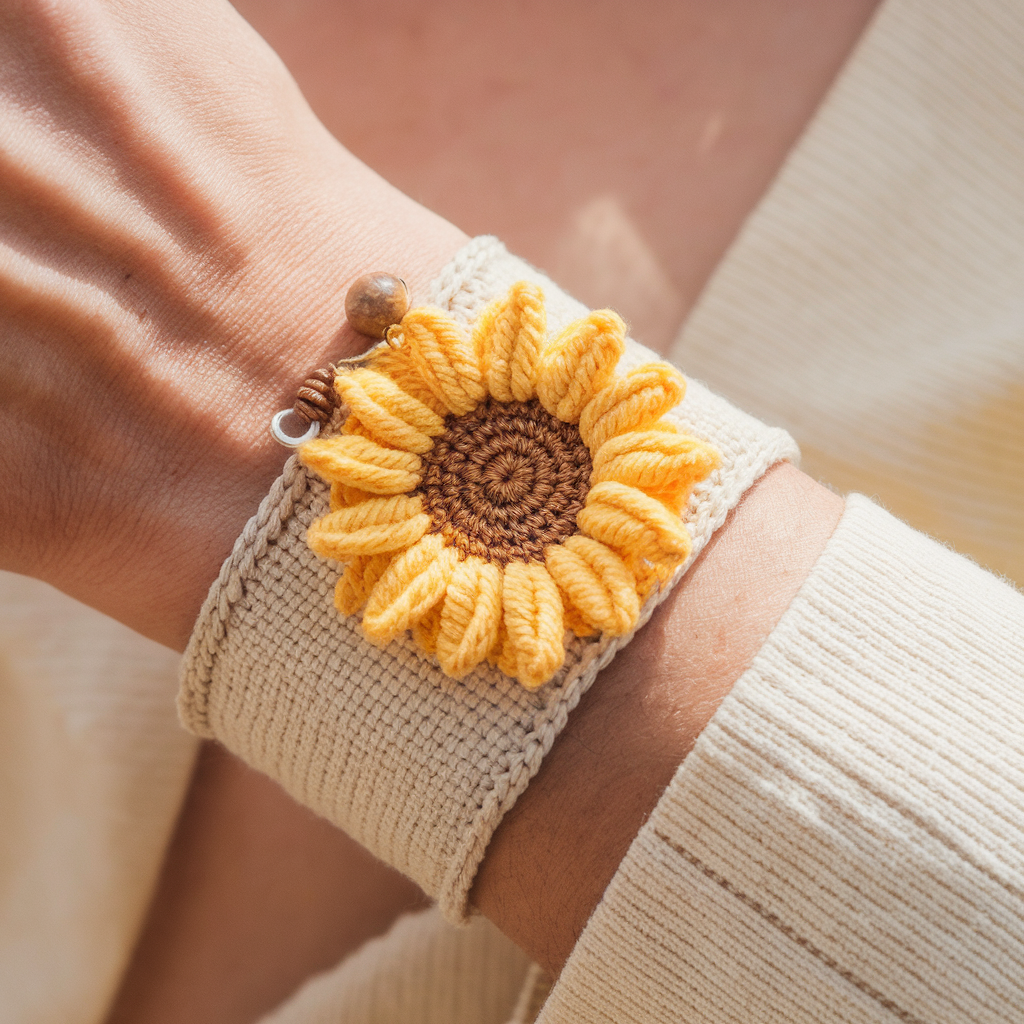
Sunny, cheerful and great for stacking — this cuff features a centered sunflower applique sewn to a simple cuff.
Finished size & customization
- Sample size: 7.25″ wrist (adjust by measuring wrist and adding 0.5″ for overlap).
- Cuff width: ~1.25″ (3 rows of textured stitch). Change hook/yarn to adjust width.
- Make sunflower larger or smaller by changing petal count and size.
Materials
- Cotton DK (main color for cuff) ~30 yds; contrast for sunflower petals and center ~10–15 yds each.
- 3.5 mm hook (or size giving dense fabric).
- Tapestry needle, small sew-on snap or button (for closure), optional small bead for center.
Stitches used
ch, sc, hdc, dc, sl st, MR, picot (optional)
Step-by-step — cuff body
- Measure wrist and decide bracelet length L (wrist + 0.5″). Chain L × spi (stitches per inch) or chain loosely to that length then join with sl st to make a ring (no twist). Example: for 7.25″ wrist and 6 spi → chain 44 and join.
- Round 1: ch 1, sc in each ch around. Join with sl st to first sc. (This gives a neat reversible edge.)
- Round 2–6 (adjust for width): ch 1, hdc in each st around. Join. (5 rounds gives ~1.25″ width; add or remove rounds to adjust.)
- Repeat until cuff reaches desired width. Fasten off leaving a long tail for sewing closure.
Sunflower applique (make 1)
Center
- MR, ch 1, work 6 sc into ring. Pull tight. (6)
- inc around — 12 sc. Fasten off and change yarn color for petals.
Petals (make 8–10)
- Join petal color in a chain space or at a base stitch: ch 5, sl st in the same stitch/petal base for short petals OR for fuller petals: dc, tr, dc in a small loop. Repeat to create a ring of petals around center. Fasten off.
Optional bead center: Sew a small bead over center and secure with a few stitches.
Assembly & closure
- Position the sunflower centered on cuff; pin in place. Using tapestry needle and matching yarn, sew through the cuff and the back of the flower across several points to secure. Tie and weave in tails.
- Close cuff ends with a small snap: align cuff ends for comfortable closure (overlap should match snap placement), sew snap parts into place through the fabric or attach a small button and create a tiny loop of chain for closure. For cleaner finish, glue felt backing to inner cuff and sew snap through felt+fabric.
Finishing tips
- Add a felt backing under flower to smooth seams and protect wrist.
- Use metallic embroidery thread for accent rays or French knots around the center for sparkle.
Styling
- Make several in different colors for an eclectic boho stack.
- Swap sunflower for a lace mandala or tiny pom for a playful look.
2. Crochet La Plage Bracelet Pattern (beachy + breezy)
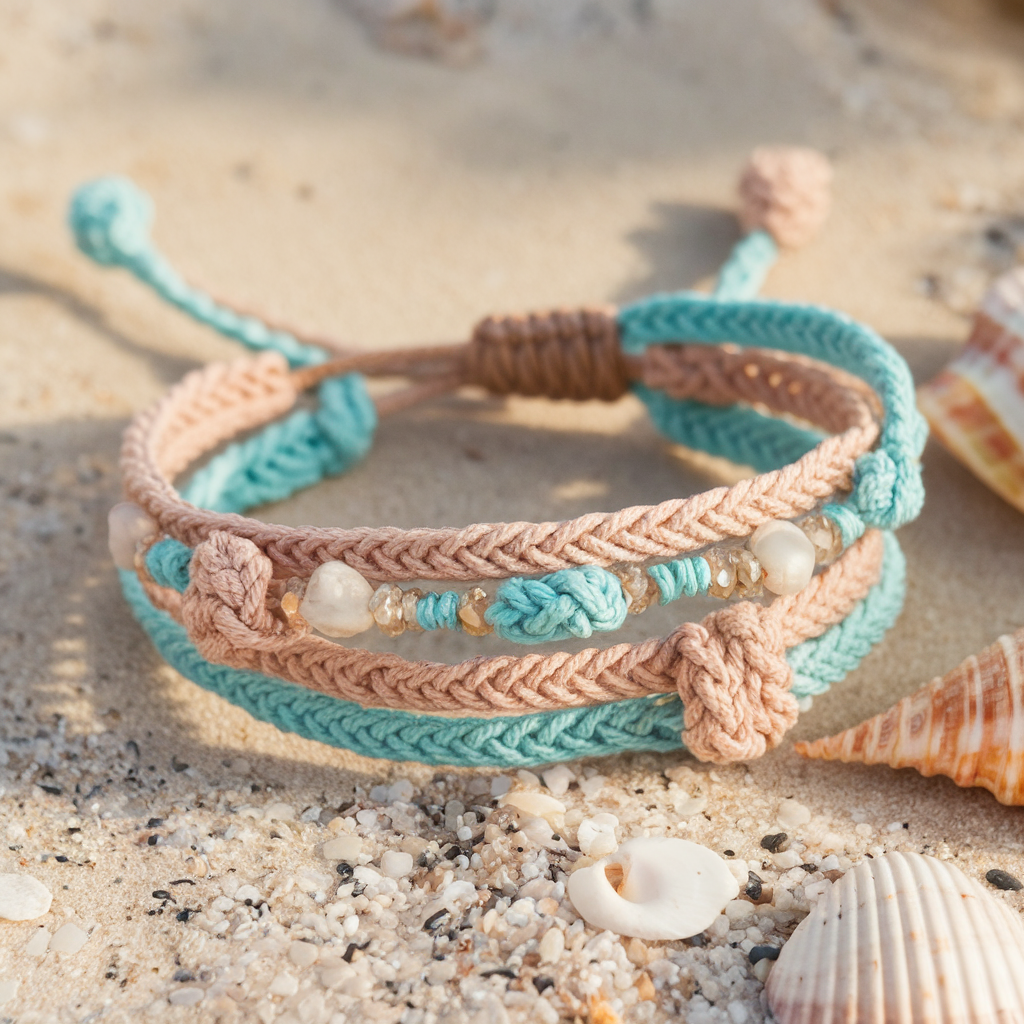
Inspired by sand and surf — knotted rope texture with shell or bead accents. Works great with cotton or linen blends.
Finished size & customization
- Wrap style: single cuff 7″ or double-wrap 14–15″ depending on wrist.
- Use two colors for ombré beach vibe or natural linen for neutral look.
Materials
- Sport weight cotton or linen blend ~40–60 yds.
- 3.0–3.5 mm hook (or small for tighter rope).
- 8–12 small shell beads or glass beads.
- Lobster clasp + 2 jump rings (or button closure).
- Tapestry needle.
Stitches used
ch, sc, hdc, dc, sl st, surface slip stitch (for braid texture)
Step-by-step — rope cord (foundation)
- Chain cord: Ch 60 for a double wrap on a 7″ wrist (adjust). For single wrap, measure wrist and chain length accordingly.
- Row 1: sc in 2nd ch from hook and across (this thickens chain). Fasten off leaving long tail. Fold chain lengthwise and slip stitch along the long edge to make a neat tube (or use i-cord technique — sc in rounds to make a tube). The result is a stout crochet rope.
Beach knots & bead placement
- Slide beads onto rope at intervals: measure rope and mark points for 3–5 beads. Pass needle through rope and sew beads to sit on top — or thread beads onto yarn before making rope so beads are integrated.
- Make a simple decorative “square knot” accent with thin leather or macramé cord between beads for nautical flair:
- Cut a 6–8″ piece of thin cord, wrap it around the rope, tie a square knot, and tack knot ends discreetly beneath rope.
Closure
- For a wrap bracelet, attach lobster clasp at one end and a jump ring on the other; reinforce attachment by folding rope end and sewing into itself for strength.
- Alternatively, add a button and loop: sew a small natural shell button to one end and create an 8-10 ch loop at the other end to fasten.
Finishing tips
- Add a tiny dab of clear glue at knot ends to prevent fraying.
- Use a small metal crimp if attaching to clasp for a more professional finish.
Styling
- Pair with anklets and toe rings for full beach look.
- Make matching earrings with leftover beads.
3. Crochet Simple Chevron Bracelet Pattern

Graphic, modern and quick — chevrons worked in rows and seamed into a cuff or a flat strip with snaps.
Finished size & customization
- Width: ~0.5–1.25″ depending on stitch repeat and yarn.
- Length: wrist + 0.5″ overlap. Repeat chevron shorter for narrow band or increase repeats for wide statement cuff.
Materials
- Sport/DK cotton in 2–3 contrasting colors — small amounts (15–30 yds per color).
- 3.5–4.0 mm hook.
- Small sew-on snap or button.
- Tapestry needle.
Stitches used
ch, sc, dc, tr (for longer V), sl st.
Stitch multiple
Multiple of 12 + 1 (example; adjust based on your chevron chart).
Step-by-step — foundation & chevron rows
- Chain foundation to desired length L based on wrist measurement × spi and the multiple required (e.g., multiple of 12 + 1). Example: chain 73 for a narrow band.
- Row 1: dc in 4th ch from hook and across (build base for chevrons). Turn.
- Row 2 (chevron shaping): dc in next 4 sts, dc3tog (over next 3 sts) to create valley, dc in next 4 sts, 2 dc in next st (peak) repeat across, ending with dc in last sts. Turn.
- Row 3: Ch 3, dc across, placing increases/decreases to continue chevron pattern. Continue in pattern until strip is wide enough (1–4 chevron repeats vertically depending on desired width).
- Fasten off.
Assembly & closure
- If you worked a flat strip, fold into a ring and seam with whipstitch, keeping pattern matched at the seam.
- Add a small snap or sew button+loop for closure. Reinforce ends by folding fabric over and stitching a short tab to insert snap or attach jump ring.
Finishing tips
- Block the strip lightly to straighten chevrons before seaming.
- To make edges softer, add a round of sc around the cuff before seaming.
Styling
- Use tonal yarns for subtle chevrons or neon + neutral for contrast.
- Make a set in decreasing widths for nested bracelets.
4. Crochet Chain Wrap Bracelet Pattern
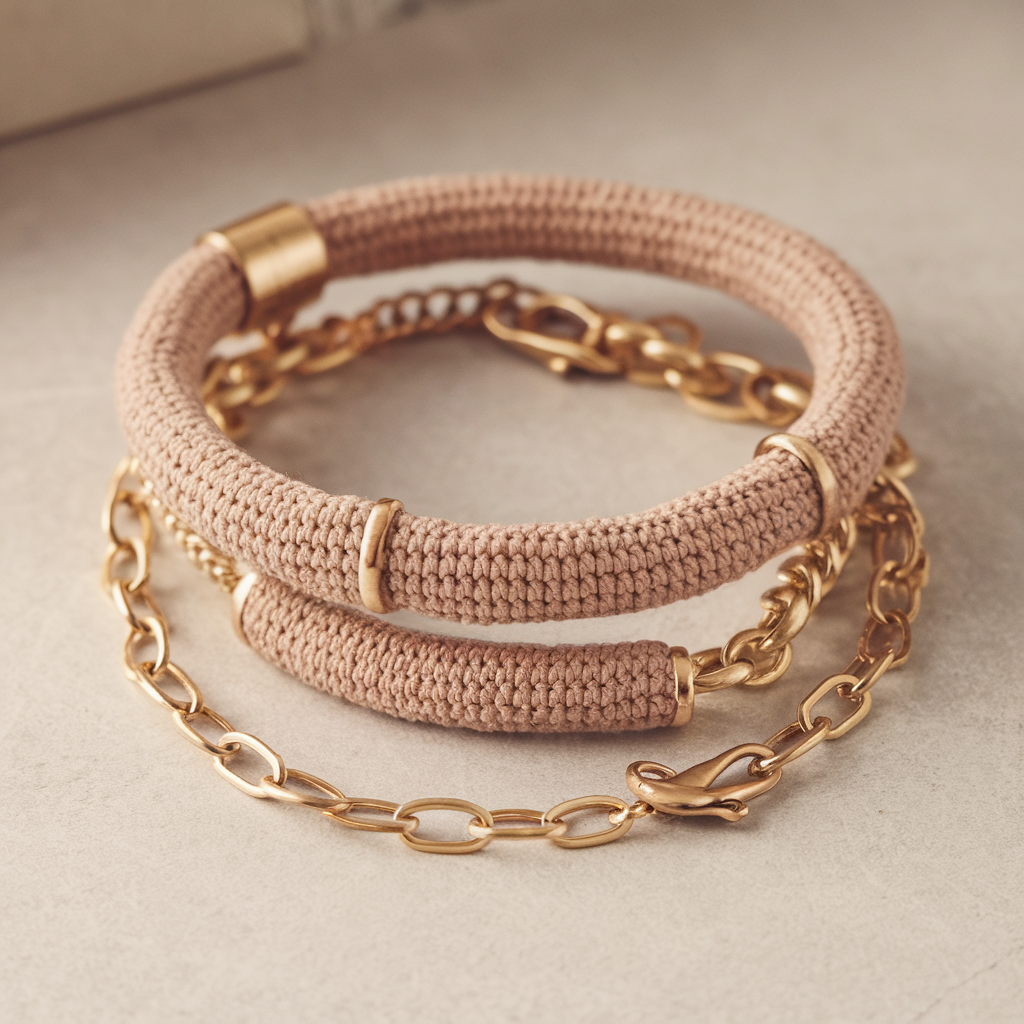
A boho-chic wrap that combines crochet cord and metal chain for textural contrast — easy to wear and adjustable.
Finished size & customization
- Wraps twice around wrist (~14–15″ cord) or thrice if you prefer.
- Adjust length by adding/removing chain sections.
Materials
- Skinny cotton yarn or crochet thread #10 for a refined cord.
- 2–3 mm hook (to make a small tight tube).
- 6–8″ lightweight metal chain (matching tone – gold/silver/bronze), 1 clasp, 1 jump ring.
- Tapestry needle.
Stitches used
ch, sc (tube in continuous rounds), sl st.
Step-by-step — crocheted tube cord
- Ch 6; join to make a ring (no twist), sc in each ch around to make tube (6 sts). Mark start and continue sc in continuous rounds (spiral) until cord reaches desired length for wrapping (e.g., 14–16″ for double wrap). Keep tension firm. Fasten off leaving tail. Thread tail into tube and weave to hide.
Chain integration
- Measure metal chain to match cord length and desired drape — you can stitch chain to cord at intervals or attach chain to ends as an extender.
- To attach chain decoratively: using thin matching thread, whip-stitch chain links to the outside of cord at 1–1.5″ intervals, or use small jump rings to attach chain segments to cord ends (for a half-chain, half-cord wrap). Secure with tiny stitches and glue if needed.
Closure
- Attach a lobster clasp to one end of the chain with a jump ring; add a jump ring to the opposite cord end for clasp closure. If cord is the only closure, create a small loop of cord at one end and a bead knot at other to slip over the loop.
Finishing tips
- Use a small bead at the cord end as a stopper to keep loop from slipping off.
- For extra polish, add a tiny metal end cap to cord ends (glue inside and clamp).
Styling
- Mix two cords (one metal chain + one crocheted tube) for layered look.
- Add charms or tiny shells for personality.
5. Crochet Bohemian Cuff Pattern
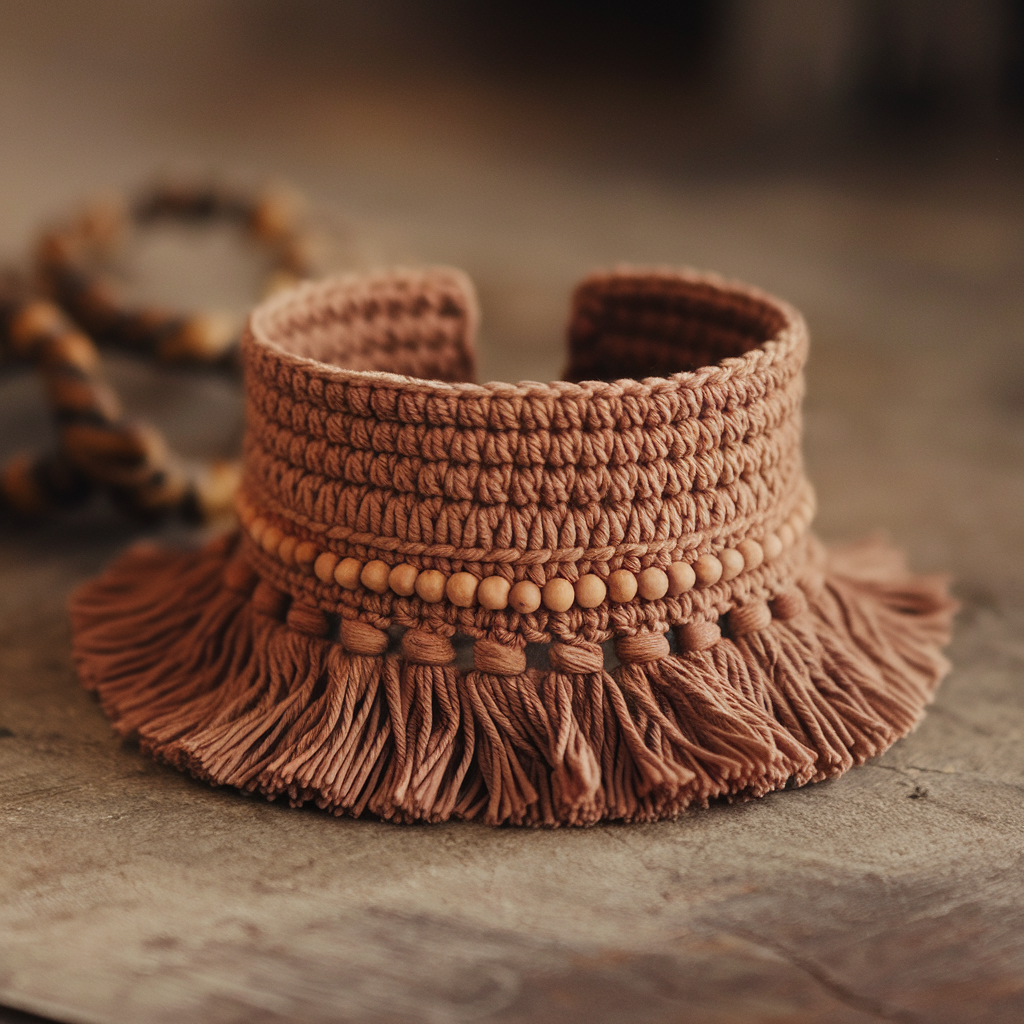
Textured stitches, fringed edges, and subtle beadwork make this a statement cuff — think festival-ready and warm.
Finished size & customization
- Width: 1.5–2.5″ typical for cuff.
- Length: wrist circumference + 0.5–1″ overlap. Fringe length customizable.
Materials
- Worsted cotton or acrylic in 1–2 colors ~50–70 yds.
- 4.0 mm hook.
- 10–15 small seed beads or wooden beads.
- Snap/button or magnetic clasp.
- Tapestry needle.
Stitches used
ch, sc, hdc, fpdc (front post double crochet), bpdc (back post double crochet), shell stitch (for decorative top), sl st.
Step-by-step — textured cuff body
- Chain foundation to wrist length L (example 44 ch for 7.25″ wrist at 6 spi). Join to work in rounds.
- Round 1: ch 1, sc in each ch around. Join.
- Round 2–4: ch 2, fpdc in next st, bpdc in next st repeat around to create ribbed raised texture. Adjust number of rounds to desired cuff height (3–6 rounds for moderate width).
- Decorative round: switch to shell stitch for one round along top edge — skip 2 sts, 5 dc in next st, skip 2, sl st in next st repeat to create scalloped edge. Fasten off.
Beadwork & fringe
- If you want beads entwined into shells: before inserting shell dc, thread a bead on the working yarn; slide bead into place and work shell so bead sits at center.
- Fringe: cut 6–8″ lengths of yarn (double length desired) and attach with lark’s head knots across the cuff base if you want a fringe bottom. Trim evenly.
Closure
- Create small tabs at ends for snap placement — fold short segments and whipstitch to form reinforced tab. Sew snap into tabs.
- For magnetic clasp, sew one magnet half into each tab, ensure proper alignment and secure with glue.
Finishing tips
- Glue the inside tabs with a small felt lining to hide hardware and add comfort.
- For boho vibe, add a few small feather charms or beads to fringe ends.
Styling
- Great paired with leather bracelets and rings for a festival stack.
- Make mini versions for child-friendly bracelets (reduce width to 0.75″).
6. Crochet Braid Bracelet Pattern
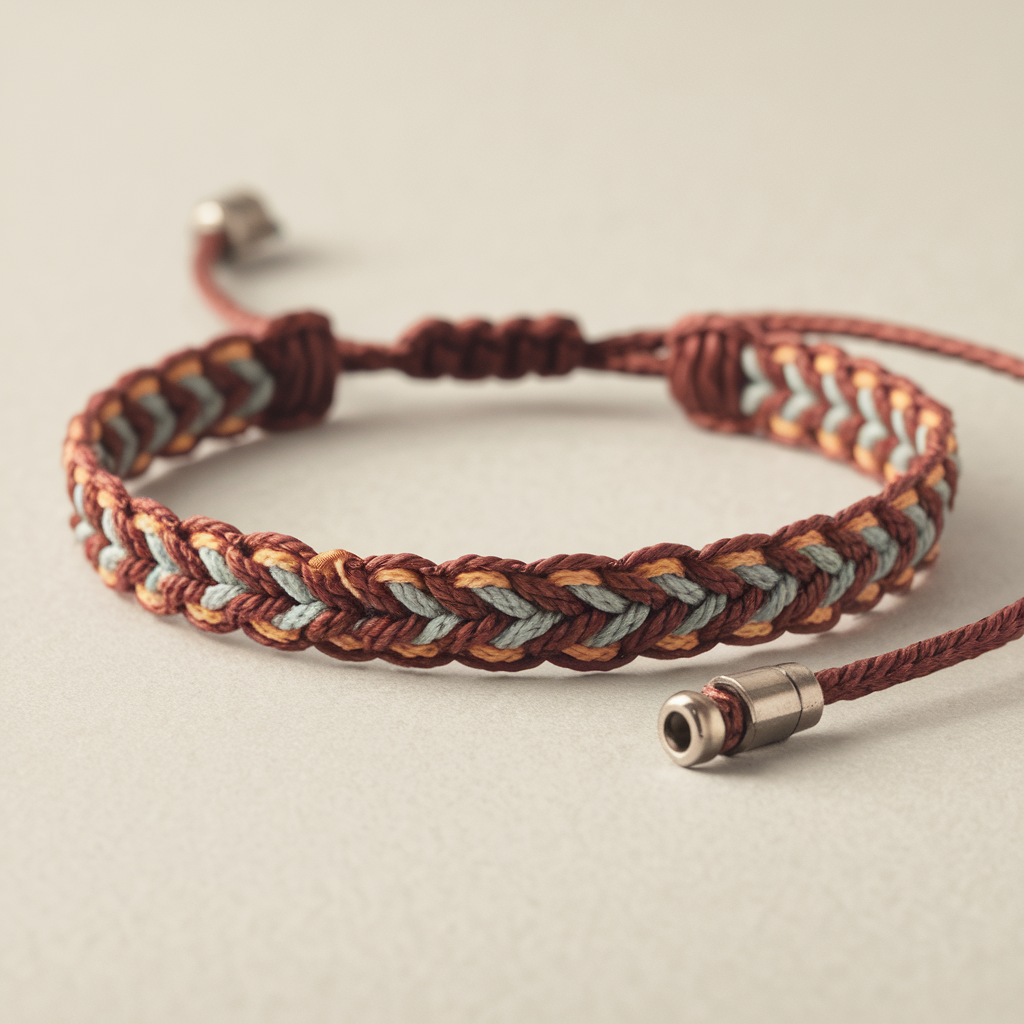
A simple braided band worked entirely in crochet — looks woven but is quick and durable.
Finished size & customization
- Classic slim bracelet ~0.5–0.75″ wide.
- Make multiple strands and braid for thicker band.
Materials
- Sport/DK cotton or embroidery floss alternates (3 colors for braid, or 1 color for subtle texture).
- 3.0 mm hook (or matching to yarn).
- Clasp or button closure.
Stitches used
chain, sc, single crochet slip-stitch tube or i-cord technique
Step-by-step — make three cords
- Make three narrow crocheted cords (tubes) of equal length:
- Ch 20 (or length = wrist ÷ 3 if making bracelet in one go). Join to form ring, sc in each ch around to form a small tube (6 sc) and continue in spiral to length L (one third of final length if braiding slack). Make three cords in chosen colors. Fasten off and weave tails inside each tube.
- Braid cords:
- Lay cords parallel with one end even and the other end even. Tie a temporary knot near one end to hold. Braid tightly as you would hair — cross right cord over middle, left cord over middle, repeat. Continue until braided the full length (allow 0.5–1″ for closure ends). Tie off braid with secure knot.
- Finish by sewing or gluing braid ends into metal end caps or wrapping tightly with matching yarn to form tab; attach jump rings and clasp.
Alternative single-piece method
- Chain long cord and make 3 equal loops by folding and sewing into 3 tubes attached to each other; braid without separate cords — more advanced shaping but possible.
Finishing tips
- Keep braid tension even for polished look.
- Add a dab of glue inside end caps for longevity.
Styling
- Use metallic thread mixed with cotton for subtle sparkle.
- Make thicker braids by using 6 cords braided into a wider pattern (use larger end caps).
Final finishing & wearability tips (applies to all bracelets)
- Reinforce stress points: where clasps/jump rings attach, stitch multiple times and hide tails. Add a drop of clear jewelry glue inside stitches if you expect heavy wear.
- Backing & comfort: if bracelet has hardware or rough seams, glue a small felt patch inside the bracelet at that spot to prevent irritation.
- Wash & care: cotton bracelets can be hand-washed gently and reshaped; avoid tumble drying.
- Safety for kids: avoid small beads and use embroidered or felt appliqués; securely sew all parts and avoid detachable charms.
- Gifting: include a small care card (hand wash only, avoid prolonged water exposure) and a matching earring or charm for an elegant combo.
Conclusion
Crochet bracelets are a fantastic, low-commitment way to practice stitches, mix colors, and make wearable art — whether you want one statement cuff or a stack of boho, beachy bands. Start simple (Chevron or Braid) if you’re new, and graduate to appliqué and beadwork (Sunflower, Bohemian Cuff) once you feel comfortable. All six patterns are designed to be completed in an evening and customized with leftover yarn, beads, or charms.