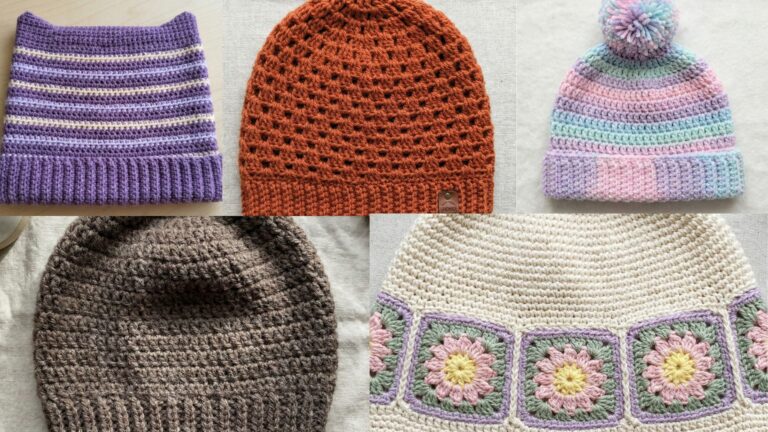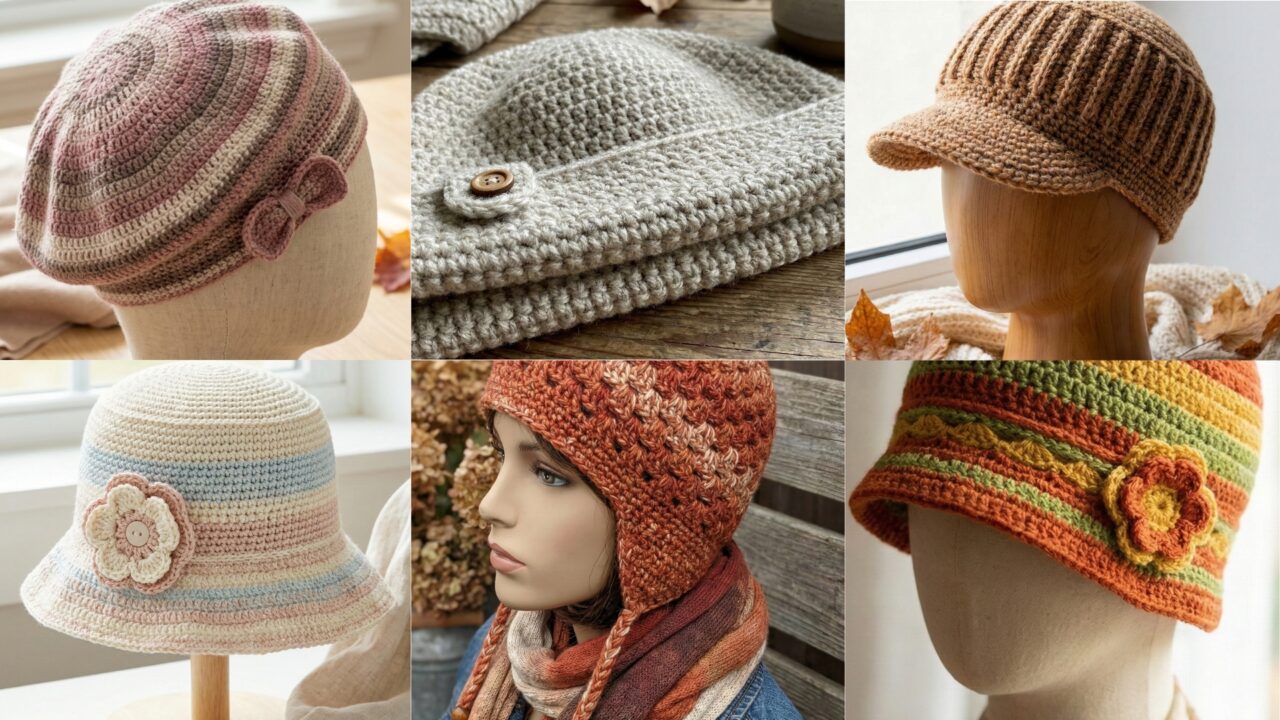
A handmade hat is one of the most satisfying quick-to-finish crochet projects: small, wearable, and instantly gratifying. In this post you’ll get a single practical introduction (materials, gauge, sizing basics you can use for all six hats) followed by six long, detailed hat patterns. Each pattern contains: skill level, exact materials & yardage, gauge and how to convert to your head size (I show digit-by-digit math), stitch multiple info, step-by-step construction (with options where useful), shaping notes, finishing, blocking, styling suggestions and variation ideas.
Read the short sizing & gauge primer first — it will save you a lot of trial-and-error — then jump to the hat you want to crochet.
Quick sizing & gauge primer (read this before starting)
- Measure head circumference (HC) where the hat will sit (typical adult head = 21–23 inches; child/head sizes vary). Decide finished fit: snug (negative ease), standard (0–0.5″ ease) or slouchy (+1–3″ ease).
- Example targets: snug adult = 21 in, standard adult = 22 in, slouchy adult = 24 in.
- Make a 4″ × 4″ swatch in the stitch used for the hat, blocked as you plan to finish it. Measure stitches per inch (spi) horizontally and rows per inch (rpi) vertically.
- Convert circumference to stitches
- Stitches needed (S) = Finished circumference × spi.
- Digit-by-digit example: desired finished circumference = 22 in, spi = 4 sts/in → multiply 22 × 4 = (20 × 4) + (2 × 4) = 80 + 8 = 88 stitches. Round this to the stitch multiple required by the pattern (I list multiples per pattern).
- Crown decreases & rounds
- If you’re working top-down in rounds, plan crown increases to reach desired stitch count for the brim conversion; if working brim-up, work the brim first then increase for crown decreases. I give both approaches in patterns when appropriate.
- Length/height calculation
- Decide hat height (crown to brim). Example adult beanie height ~8.5–9.5″. Convert using rows per inch: Rows required = Height × rpi. Example height 9″ × rpi 7 = (9 × 7) = 63 rounds/rows.
Using the above method you can adapt every pattern to any head size.
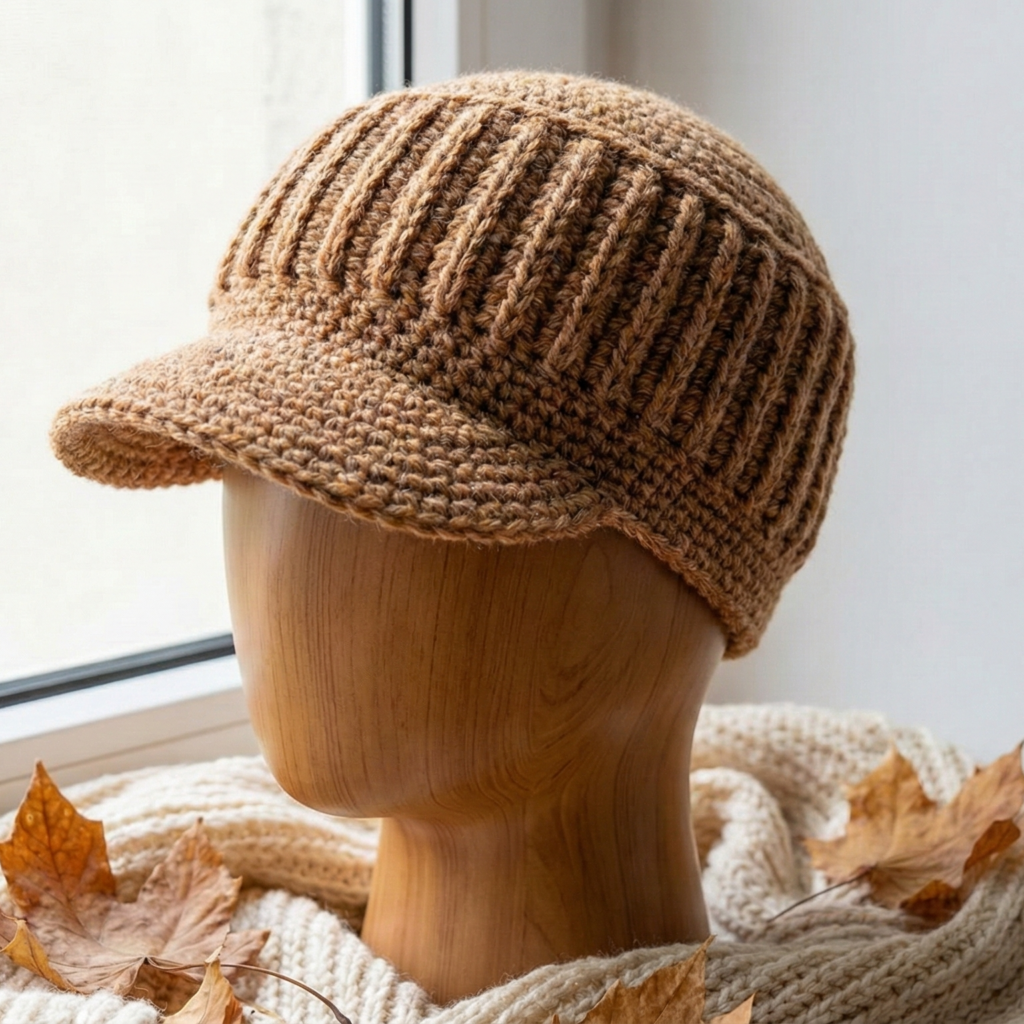
1. Crochet Elegant Adjustable Rolled Brim Hat Pattern
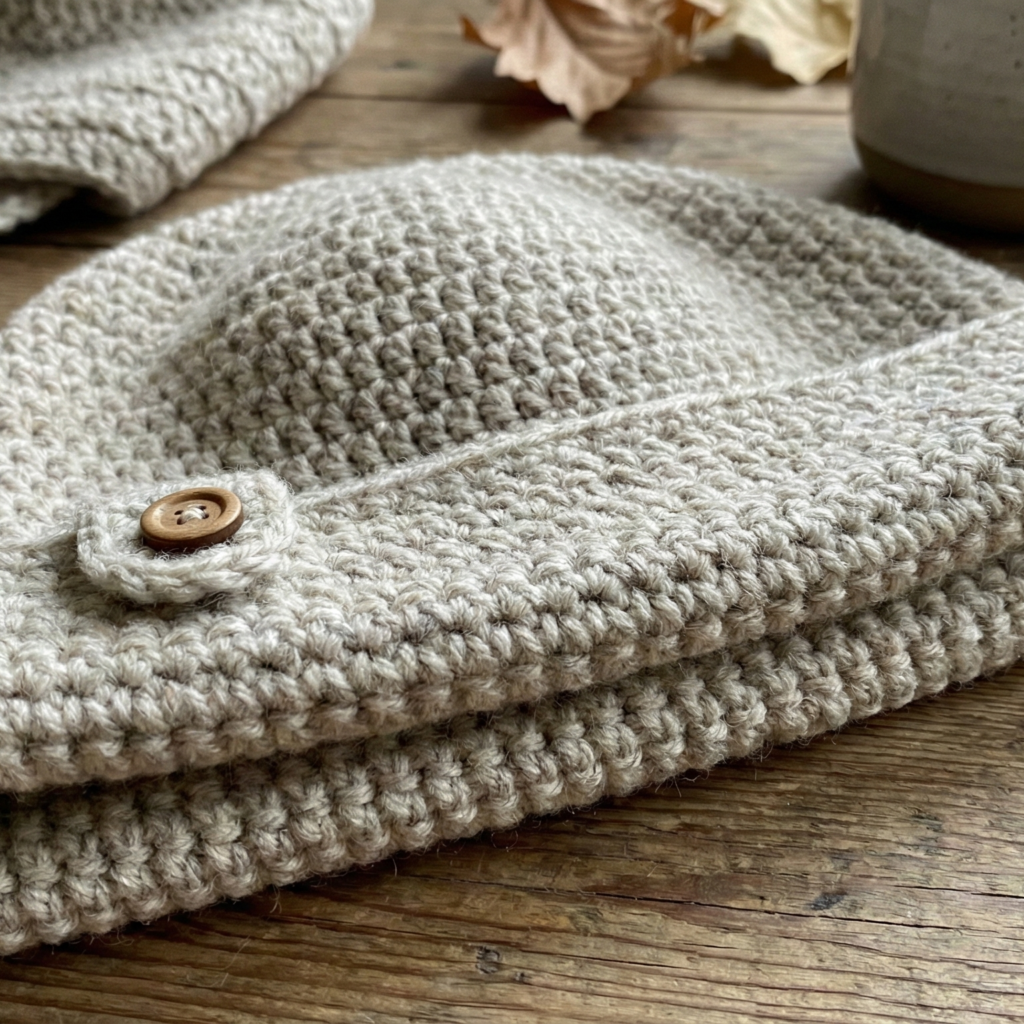
Vibe: Classic with a modern, adjustable rolled brim — elegant and versatile.
Skill level: Confident beginner (basic increases, rolled brim technique).
Yarn & tools (adult sample):
- Yarn: Worsted/Aran weight (100% wool or acrylic blend) — 200–300 yd.
- Hook: 5.0 mm recommended (adjust to match gauge).
- Notions: tapestry needle, stitch marker, small elastic or button (for adjustable tab), measuring tape.
Sample gauge: 16 sc = 4 inches in single crochet (spi = 4). Use a 4″ swatch.
Stitch multiple: This hat is worked in rounds and likes multiples of 2 for brim patterns; final body count will be multiple-of-2 friendly.
Concept
Work the hat top-down or brim-up — I provide top-down instructions here. The unique feature is a rolled brim that can be worn down for warmth or rolled up and secured with a small tab/button for a dressier look.
Step-by-step (Top-down method — Adult standard 22″ finished)
Crown start
- MR: R1 — 6 sc in MR (6). Place marker.
- R2 — inc in each st around (12).
- R3 — sc in next, inc rep around (18).
- R4 — sc in next 2, inc rep (24).
- Continue increasing rounds with pattern sc in next n, inc where n increases by 1 every round until your stitch count approximates the circumference you need for the crown before the brim. Use the conversion: desired circumference part for crown measured across the head at top might be ~12–13″ across (half the full circumference) depending on shaping — but simpler: increase until you have about S_body stitches where S_body = finished circumference × spi (earlier example S = 88). For top-down, stop increasing when you reach about 80% of S to allow brim shaping later; but a practical method is to measure across the hat flat from ear to ear.
Work the body
6. Once crown increases end, work even rounds of sc until hat height (from crown top to where brim begins) reaches desired length minus brim width. Example total height 9″ and desired brim roll 1.5″ → body height = 9 – 1.5 = 7.5″. Convert to rows: 7.5 × rpi (if rpi = 7) = (7 × 7) + (0.5 × 7) = 49 + 3.5 = 52.5 → round to 53 rounds from crown to brim start (count carefully).
Start the rolled brim
7. Work a firm band to anchor the roll first: 2 rounds of sc in back loop only (BLO) to create a ridge. Then switch to a decorative ridge round to help the roll. To create roll: use a sequence of shorter hook rounds: work 6–8 rounds of smaller stitch height (sc) but with a slightly smaller hook (drop one size) to encourage the fabric to curl outward naturally. The natural curl of tightly worked single crochet will form the roll.
Adjustable tab
8. At one point on the brim seam, crochet a small rectangular tab: chain 10, join to the brim with a sl st, sc back along the chain for 4 rows, fasten off leaving tail. Sew a small button at the corresponding brim position so the roll can be rolled and the tab looped over the button to hold the roll up. Optionally work a tiny elastic loop instead of a tab.
Finishing
9. Weave in ends, block gently if using wool to soften roll, but be careful — blocking can relax the roll and reduce curl (so block lightly). Attach label or decorative narrow ribbon inside if making a gift.
Variations & styling
- Make brim wider (2–3″) for dramatic rolled look.
- Use a heathered yarn for elegant texture.
- For warmer version, double-up strand and increase hook by 1 mm for loft.
2. Crochet Textured Fable Hat Cap Pattern
Vibe: Short cap with deep textured stitch pattern — modern + cozy.
Skill level: Intermediate (post stitches, texture repeats).
Yarn & tools (adult sample):
- Yarn: DK weight (soft wool blend) — 180–240 yd.
- Hook: 4.0 mm.
- Notions: tapestry needle, stitch marker.
Sample gauge: 18 sts × 22 rows = 4″ in textured stitch (spi = 4.5 rounded to 4–5 depending on tension). Measure swatch.
Stitch multiple: Multiple of 3 for the texture repeat.
Concept
This cap uses a dramatic textured stitch — a combination of front-post double crochet (fpdc), back-post double crochet (bpdc) and chain spaces — to create a sculptural ribbing and visible ridges. It’s worked top-down, shaped to fit close to the head with a short body and slightly sloped crown.
Step-by-step (Top-down, adult medium)
Crown
- MR: R1 8 sc in MR (8). (Use 8 for a more stable base with textured increases.)
- R2 inc around → 16.
- R3 sc, inc → 24.
- R4 sc x2, inc → 32.
- When you reach ~48–56 stitches (depending on head desired), stop increases. For digit math: if desired final S = 88 stitches (from earlier), you may progress increases until 88; but because texture may change counts, watch mapping: aim to reach about 80–90% of S then transition to texture rounds.
Texture setup
6. Work 1 round of sc to establish a round boundary. Then begin texture rounds:
- Round pattern example: [fpdc around the corresponding dc two rounds below], ch1, bpdc around the next dc repeat around. This builds ridges.
- Repeat texture rounds until hat body (from crown to brim start) measures desired body height (example 6–7″ for cap style). Convert to rows using rpi from your swatch.
Ear shaping (optional)
8. If you want short ear cover, add 2–3 rounds of extra depth on each side by working extra rounds after marking ear positions and adding 4–6 rounds only in those segments.
Edge finishing
9. Finish with 2 rounds of sc or 1 round of crab stitch (reverse sc) for polished edge.
Finishing
10. Weave ends; block gently to settle post-stitches. Because front-/back-post stitches produce vertical ribbing, avoid overly aggressive blocking that flattens texture.
Variations & styling
- Make a slouch version by working body taller before finishing.
- For contrast, work the final two rounds in a contrasting color.
3. Crochet Boho Hippy Beanie Hat with Ties Pattern
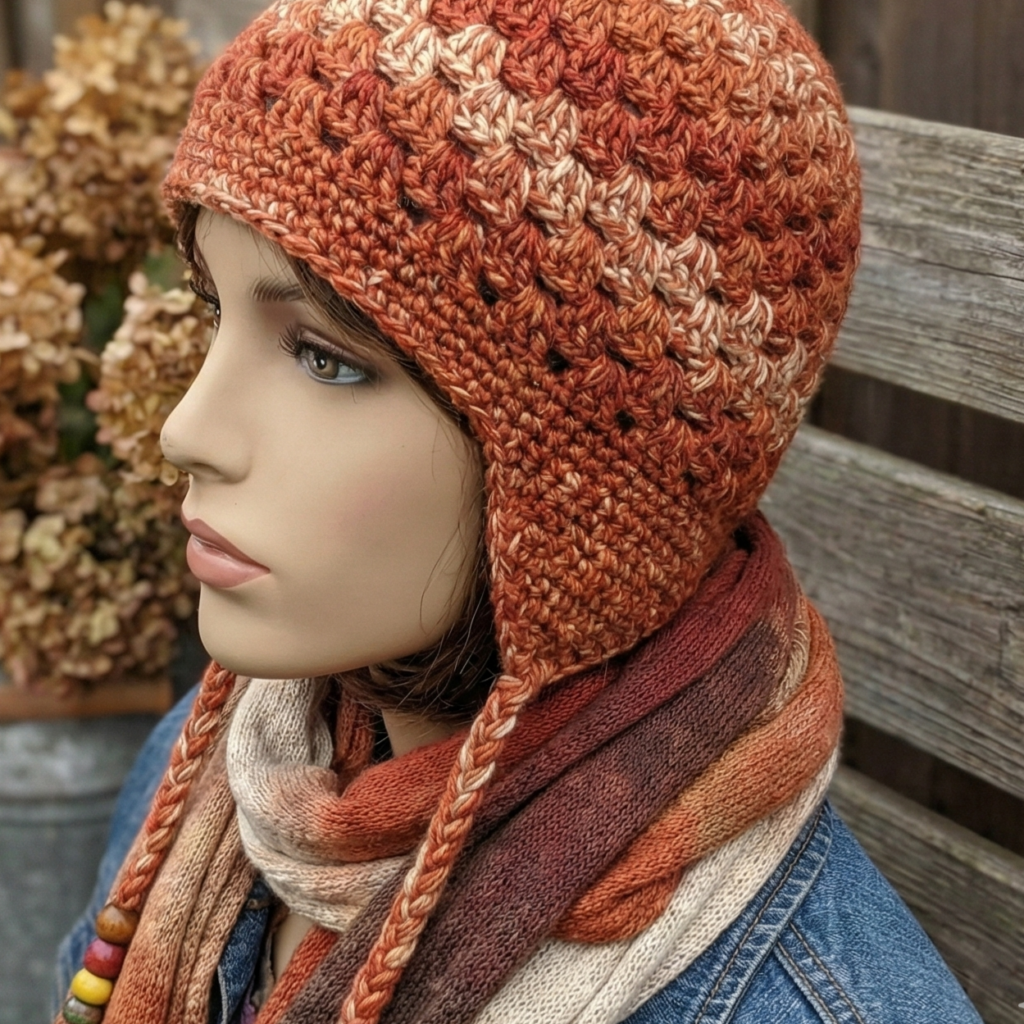
Vibe: Casual boho beanie with playful ties (great for layering & festivals).
Skill level: Confident beginner / intermediate (colorwork optional).
Yarn & tools (adult sample):
- Yarn: Worst ed weight or acrylic blend for easy care — 200–250 yd.
- Hook: 5.0 mm.
- Notions: tapestry needle, optional beads for tie ends.
Sample gauge: 16 sc = 4″ (spi = 4). Confirm.
Stitch multiple: Multiple of 4 for the shell pattern variant.
Concept
A simple beanie with a slightly rounded top, worked in a textured shell (or granny-like) stitch for a boho vibe. Two ties are worked into the earflap area (or as long cords attached to the sides) and can be braided, tied, and bead-decorated.
Step-by-step (Top-down beanie with optional ear ties)
Crown & body
- MR: R1 6 sc (6).
- R2 inc around → 12.
- R3 sc, inc → 18.
- Continue increases in the standard fashion: produce rounds until you reach S_target (convert HC × spi). For adult 22″ and spi 4 → 88 stitches target. For top-down, stop increasing once you reach 88 stitches.
- Switch to shell stitch pattern for boho texture: shell = (2 dc, ch1, 2 dc) in next stitch, skip 2 etc., or for simpler shell: (2 dc in same st, skip 1, sc in next) — pick a shell pattern that works in your stitch multiple. Work shell pattern in rounds until the body reaches desired height (about 8–9″).
Ear ties
6. Mark ear positions on sides (approx at 90° from center front/back). Attach yarn and chain 60–80 for tie length; sc back along chain to make flat cord, or make i-cord style by chaining and slip-stitching to make narrow rope. Repeat on other side.
Optional earflaps
7. To make earflaps instead of just ties: with marker at ear positions, work small triangular earflap: pick up ~10–12 sts, work short rows decreasing by 1 st each row until you reach tip. Attach tie to bottom corner of each flap.
Finishing
8. Add beads to tie ends or knot to secure. Weave in ends and block lightly.
Variations & styling
- Add long tassel at top for festival look.
- Use variegated yarn or stripes for hippie color.
4. Crochet Vintage Cloche Hat 70s Acrylic Yarn Pattern
Vibe: Retro cloche inspired by vintage 1920s/70s aesthetic but worked in modern acrylic for easy care.
Skill level: Intermediate (shaping to sit low on brow, small decorative band).
Yarn & tools (adult sample):
- Yarn: Acrylic or acrylic/wool blend worsted — 220–300 yd.
- Hook: 4.0–5.0 mm depending on yarn.
- Notions: tapestry needle, optional vintage button or brooch for decoration.
Sample gauge: 16–18 sts = 4″ in dc pattern (spi = 4–4.5). Check swatch.
Stitch multiple: Multiple of 3 often works well for cloche lace patterns.
Concept
A close-fitting cloche sits lower on the forehead with a subtle brim and decorative band. This pattern is worked top-down with careful crown shaping for a smooth dome and a short subtle visor (brim) that tilts down.
Step-by-step (Top-down cloche)
Crown
- MR: R1 8 sc (8).
- R2 inc every stitch → 16.
- R3 sc, inc → 24.
- Continue increase rounds until you reach a stitch count close to the circumference target S (e.g., 88). Because the cloche’s sides are more vertical than a typical beanie, stop increasing slightly earlier (approx when you reach 85% of S), then work several “rise” rounds with no increases to build vertical depth.
Side shaping
5. Work even rounds for the crown rise to create the fitted shape that sits low on the brow; aim for crown-to-brow distance ~6–6.5″ for adult standard. Convert to rows with rpi.
Visor/brim
6. Create short visor by working a few decreases and front post stitches to build a slight outward curve:
- Round pattern for brim base: work 1–2 rounds of sc in BLO to set boundary.
- Next 2–4 rounds: hdc, dc in same st repeat to create a firmer, slightly wider brim. Increase the stitch height slightly to create a gentle tilt. Add a narrow wired ribbon insert optional for shape (do not use for infants).
Decorative band
7. Crochet a separate band (long rectangle) to wrap around the base of the crown; embellish with retro buttons or a crocheted flower, then stitch in place. The band can also be attached as a tie to cinch for fit.
Finishing
8. Block into shape: dampen lightly and fit over a round bowl or a hat block to set tilt. Dry thoroughly.
Variations & styling
- Make in bright 70s acrylic colors (burnt orange, mustard, avocado green) for authentic throwback.
- Add a faux leather band for chic modern vintage.
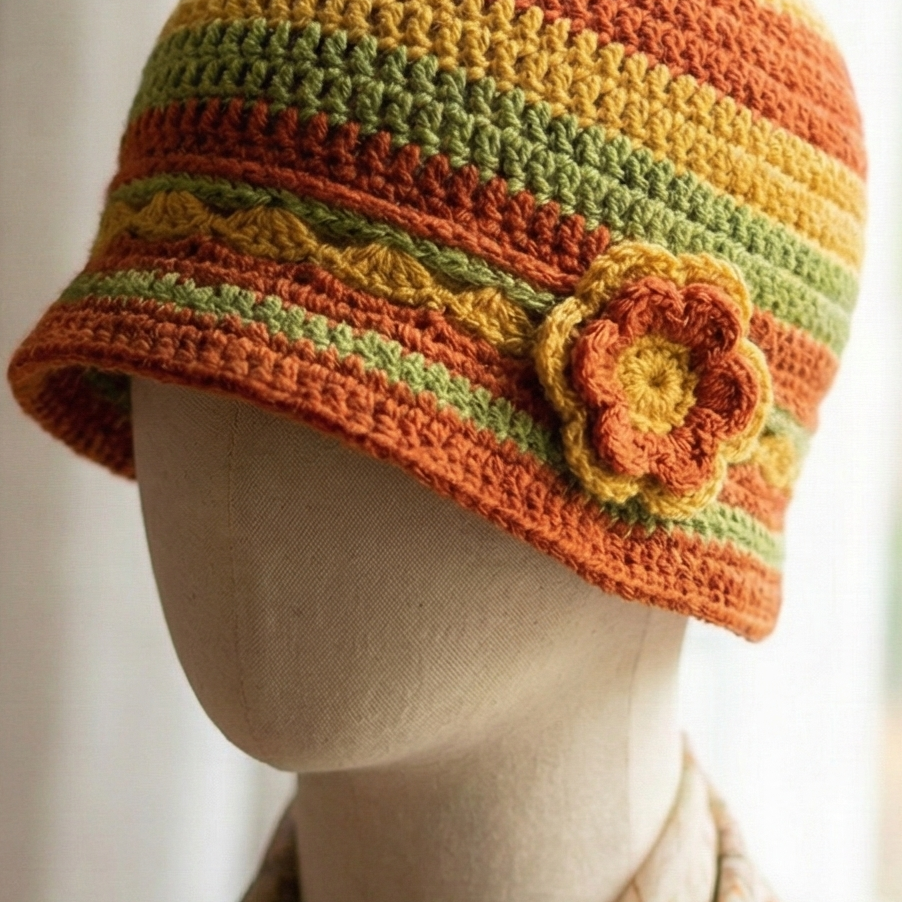
5. Crochet Bucket Hat with a Flower Pattern
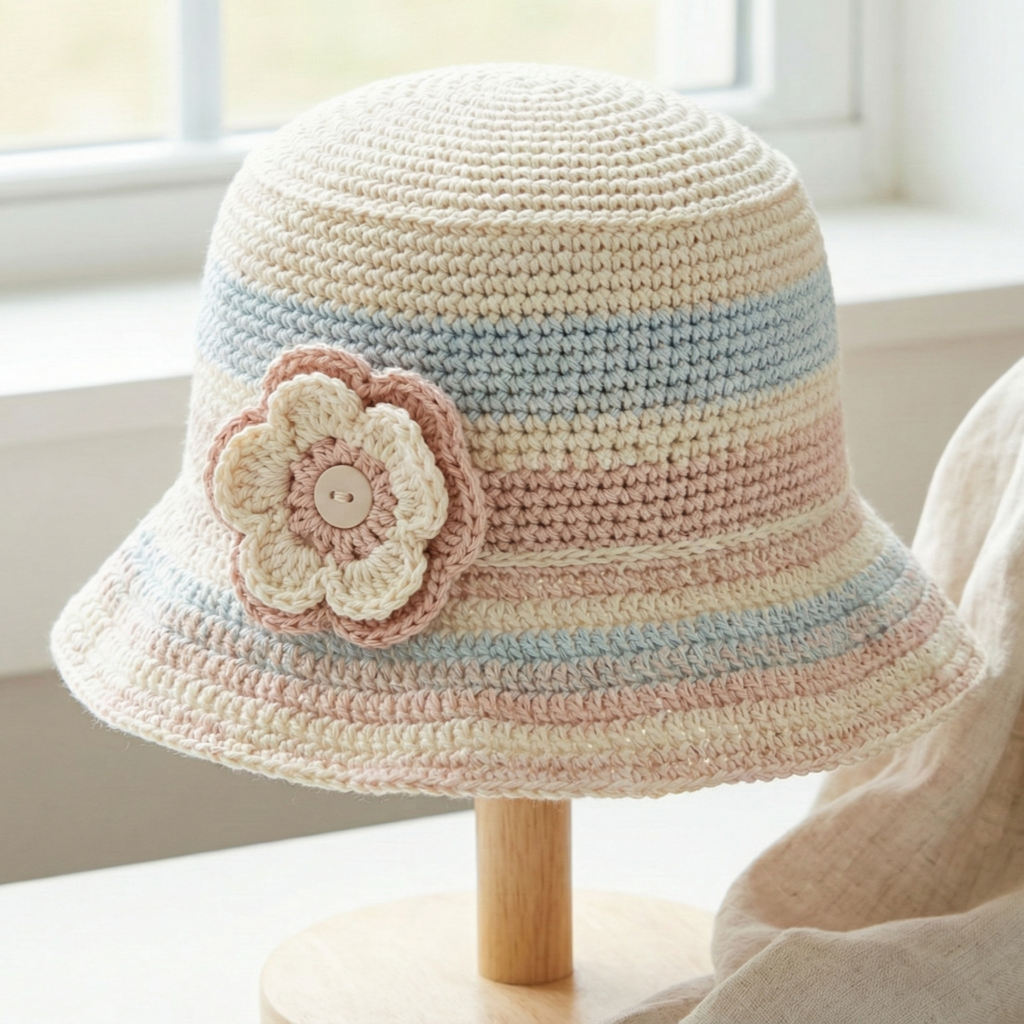
Vibe: Casual bucket hat with a sweet removable flower accent — perfect for sunny days.
Skill level: Confident beginner (easy shaping, optional appliqué).
Yarn & tools (adult sample):
- Yarn: Cotton or cotton-blend worsted for sun hats — 200–260 yd.
- Hook: 4.5–5.5 mm.
- Notions: tapestry needle, stitch marker, optional hat stiffener or light interfacing for brim.
Sample gauge: 14–16 sc = 4″ (spi = 3.5–4). Make swatch.
Stitch multiple: No strict multiple; bucket hat uses increases to create brim.
Concept
A classic bucket hat with a round crown, straight sides, and a downward-sloping brim. A detachable flower or cluster of petals adds charm and makes the hat giftable.
Step-by-step (Top-down bucket)
Crown
- MR R1 6 sc (6).
- R2 inc → 12.
- R3 sc, inc → 18.
- R4 sc x2, inc → 24.
- Continue increasing until your crown diameter matches a comfortable top width (convert using S_target). For adult 22″ × spi 4 = 88 stitches final; when working top-down, you may stop increasing around 80% and then work side rounds.
Sides
6. After increases, work even rounds of sc or hdc to build vertical sides to 2.5–3.5″ tall (standard bucket side height). Use row count conversions.
Brim
7. To make downward sloping brim, increase at a slower rate than crown increases: Work 1 round sc even, then Increase round: sc in next 5, 2 sc in next repeat (adjust spacing) to add flare. Work 6–10 rounds increasing gradually to get brim width (2–3″). For a floppy brim use looser tension or a larger hook on brim rounds. For a stiffer brim use a smaller hook or lightly starch/stiffen after finishing.
Flower appliqué
8. Crochet a flower separately:
- MR; Round 1: ch3, 10 dc in ring, sl st. Round 2: ch3, sl st in next to form petals and dc in loops for fullness. Make size to taste (3–4″ diameter for adult hat).
- Attach with a small snap or sew a button on back so flower is removable for washing.
Finishing
9. Weave in ends, block lightly. Optionally apply a spray fabric stiffener to brim for shape retention.
Variations & styling
- Make a sun-protective version with wider brim (4–5″) and add UPF fabric lining.
- Add a chin tie for windy days (use narrow crocheted tie).
6. Crochet Chemo Fall Slouch Beret Hat Pattern
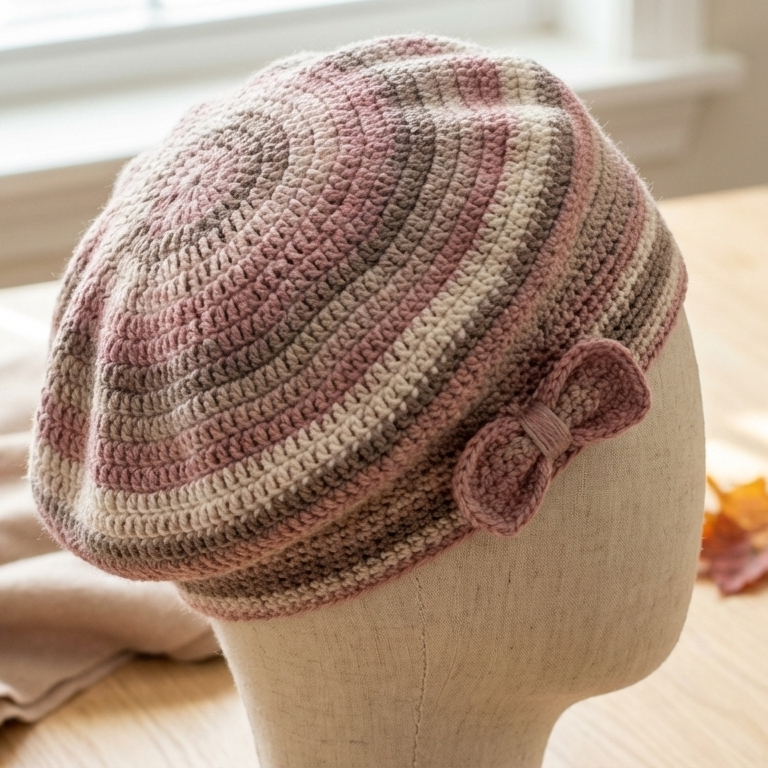
Vibe: Soft, slouchy beret designed for warmth and comfort — great for chemo patients and anyone seeking gentle, head-friendly shapes. Emphasis on soft fibers and flat seams.
Skill level: Confident beginner (basic shaping).
Yarn & tools (adult sample):
- Yarn: Soft acrylic, bamboo, or superwash wool (hypoallergenic option) — 250–350 yd.
- Hook: 4.5–5.5 mm.
- Notions: tapestry needle, optional satin lining for comfort.
Sample gauge: 15 sc = 4″ (spi = 3.75 rounded to 4) — check swatch.
Stitch multiple: Multiple of 4 for even shaping.
Concept
A loose, flattened beret with slouch and wide band that sits softly. Constructed top-down with gradual increases, then a long flat crown and a gentle elastic or ribbed inner band for a comfortable, non-restrictive fit.
Step-by-step (Top-down slouch beret)
Crown
- MR R1 8 sc (8).
- R2 inc every st → 16.
- R3 sc, inc → 24.
- Continue regular increases to reach a crown circumference that when flattened will create the desired slouch volume: for a roomy slouch you might stop increasing when you reach about 30–40 stitches across in the round (i.e. around 96–120 total stitches) depending on gauge.
Flat crown
5. Work several rounds even (no increases) to widen the crown until the top of head coverage is achieved; this creates the slouch body area (work 4–6″ downward in body depth depending on desired slouch).
Band
6. Work a wide band using ribbing (hdc in BLO or fp/bpdc rib) for a soft non-binding edge. Band width ~1.25–1.5″ is comfortable. To make band gentle, use a smaller hook than body (e.g., body 5.5 mm, band 4.5 mm) to help the fabric grip without tightness.
Optional satin lining
7. For chemo-friendly hats, add a soft satin fabric lining: cut a circular inner lining slightly smaller than band opening and hand-stitch into inside of band to prevent friction on sensitive scalps.
Finishing
8. Weave in ends. Do not block aggressively — just gently steam to relax stitches.
Variations & styling
- Add a small crocheted bow or cameo that can be removed.
- Knit or crochet an inner sweatband for extra warmth or moisture-wicking.
Final finishing tips (applies to all six hats)
- Try on or measure as you go: For fitted hats (rolled brim, cloche), try on during construction to ensure correct length and shaping.
- Weave in ends securely and stitch through inside rows to prevent unraveling.
- Blocking: Use gentle blocking for stitches to relax and even texture, but be mindful: post stitches and rolls may flatten with heavy blocking—block lightly.
- Care labels: If you’re gifting, include care instructions (machine wash or hand wash depending on yarn).
- Yarn choice matters: Wool for warmth and shaping; acrylic for easy care; cotton for summer hats but cotton has less elasticity so consider adding ribbed bands.
Conclusion
These six classic hat patterns — Elegant Adjustable Rolled Brim, Textured Fable Cap, Boho Hippy Beanie with Ties, Vintage Cloche (70s Acrylic), Bucket Hat with Flower, and Chemo Fall Slouch Beret — give you a comprehensive toolbox for crochet headwear. Each pattern is flexible: scale by gauge, swap yarns for different seasons, and personalize trims and colors to match your aesthetic or gifting needs.