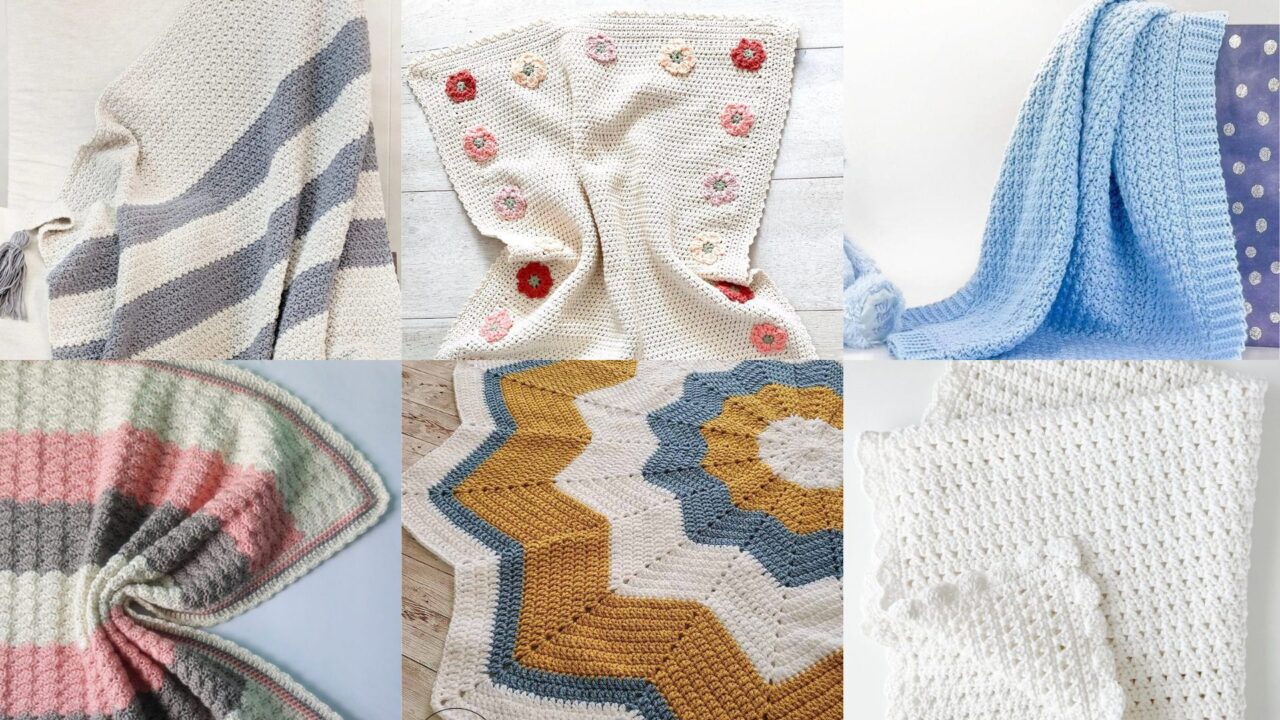
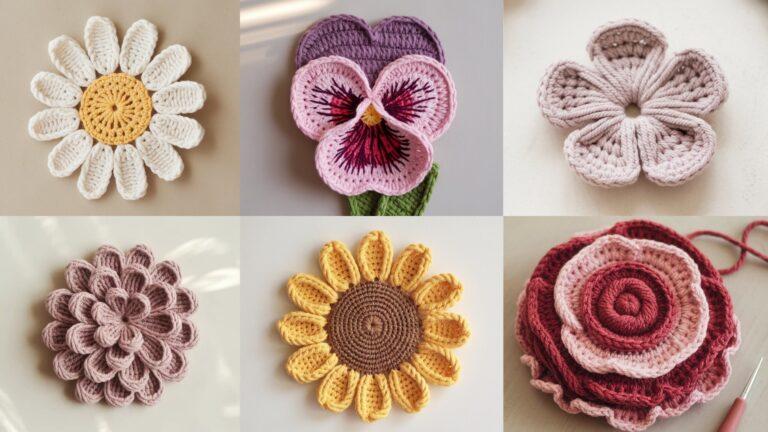
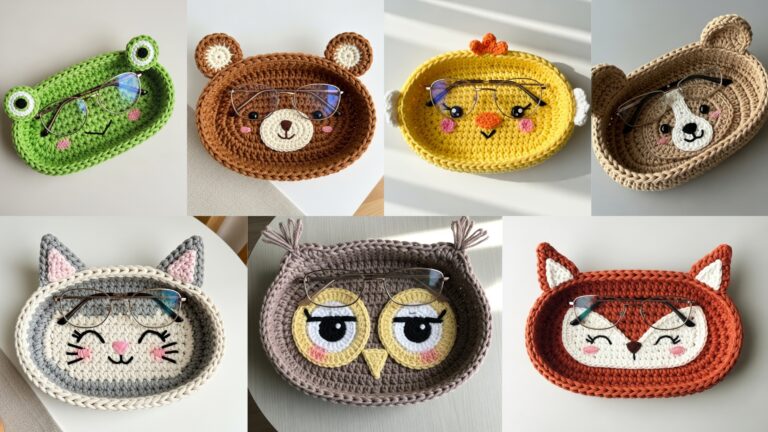
Soft, handmade baby blankets are one of the most meaningful gifts you can make — they wrap tiny humans in warmth and keep for years as keepsakes. This collection gives you six different newborn-friendly blanket patterns: some are quick and beginner-friendly, others are textured keepsakes with delicate details. Each pattern includes materials, gauge, abbreviations, a clear step-by-step construction (US terms), finishing notes, and easy variations so you can adapt yarn, size, and color to your taste.
Quick notes (applies across patterns)
- Yarn suggestions: For newborns choose a soft, machine-washable yarn labeled DK (light #3) or light worsted (aran/#4) that’s safe for babies (acrylic blends, superwash merino, or cotton blends). Avoid scratchy wool next to delicate skin unless you line the blanket.
- Finished size: I target a newborn blanket of approx. 28–32” (71–81 cm) square / rectangular — plenty of room for swaddling, stroller, or crib use. Each pattern lists how to change size.
- Hook sizes: I give recommended hooks; always check gauge. If your tension is tight/loose, go up or down a hook size.
- Washing: Always follow yarn manufacturer care instructions; most baby blankets benefit from gentle machine wash and tumble low or air dry.
Stitch legend (US terms used throughout)
- ch = chain
- sl st = slip stitch
- sc = single crochet
- hdc = half double crochet
- dc = double crochet
- tr = treble (UK = tr)
- bobble = 5-dc bobble (see pattern)
- st(s) = stitch(es)
- sk = skip
- RS = right side
- WS = wrong side
1. Crochet Aurora Blanket Pattern
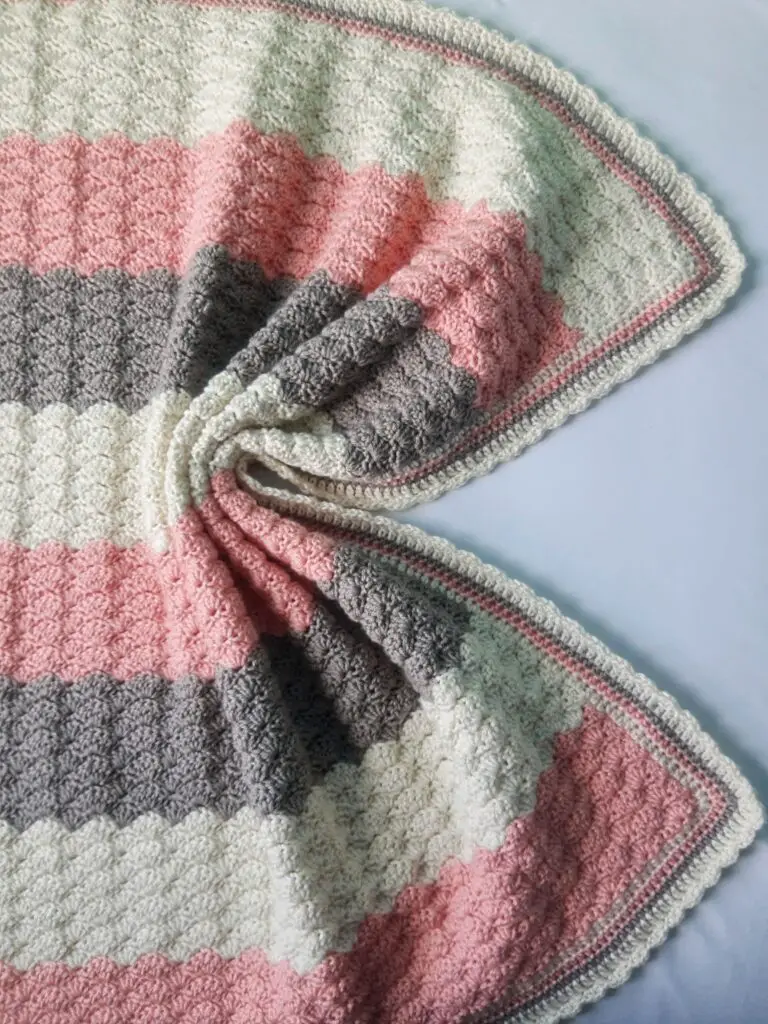
A soft, ombré ripple that looks like dawn colors flowing across the sky. The Aurora Blanket uses long, gentle ripples with a delicate shell border — great for showing gradient or self-striping yarn.
Skill level: Beginner → Intermediate
Finished size: ~30″ × 30″ (adjust by number of pattern repeats)
Materials
- DK/light worsted yarn (approx. 800–1000 yards / 730–915 m). Use a gradient cake or 3–4 coordinating colors.
- Hook: 4.0 mm (G-6) — adjust for gauge
- Tapestry needle, scissors, blocking pins (optional)
Gauge
- 14 dc × 8 rows = 4″ in pattern — aim for similar gauge or change hook.
Stitch method (overview)
- Ripple (shell/cluster peaks and valleys) worked in rows; shell clusters form the peaks; chain spaces create valleys. Border of shell picots.
Pattern notes
- Foundation chain multiple: multiple of 14 + 2 (pattern repeat), to make 30″ start with about 14 repeats (14 × 14 = 196 + 2 = ch 198) — but precise chain depends on your tension. I give counts for ~30″.
Step-by-step
- Foundation: Ch 198 (multiple of 14 + 2). (This will make about a 30″ blanket with DK and 4.0 mm; reduce/increase multiples to change width.)
- Row 1 (RS): Dc in 4th ch from hook (counts as dc + ch-skip), ch 2, sk 2 ch, 7 dc in next ch, sk 2 ch, ch 2, dc in next ch — repeat across to last ch, end with turning dc in final ch. (You’ll be working shell clusters of 7 dc to make peaks.)
- Row 2: Ch 3 (counts as dc), turn. Dc in next 3 sts across until you come to the center top of a 7-dc shell from row below; work 7 dc into center st of shell to make a peak; continue dc across, placing shells centered above previous shells. Finish row.
- Rows 3–X: Repeat Row 2, changing yarn color when you like to create gentle gradient bands. Carry yarn up side or fasten off and join new color with sl st. Continue until blanket length ≈ 30″.
- Last row: Work one tidy round of sc evenly around the blanket edge (working 3 sc in each valley to keep corners square).
Shell picot border (optional, 2 rounds)
- Round 1: With RS facing, join yarn at any edge, ch 1, sc evenly around, placing 3 sc in each corner. Join.
- Round 2: ch 3, sl st in 3rd ch from hook to make picot; sc 3, picot; sc 4 across to end, adjust spacing so picots sit above shell peaks. Fasten off and weave ends.
Variations
- Use a 3-color gradient cake for a true aurora effect.
- Make narrower by using fewer foundation repeats, wider by adding repeats.
- For a cozier throw, use worsted yarn and larger hook for bigger ripple waves.
Finishing
- Weave in ends neatly. Block lightly (spritz and pin) to even waves. Machine wash gentle if yarn allows.
2. Crochet Blessing Blanket Tutorial
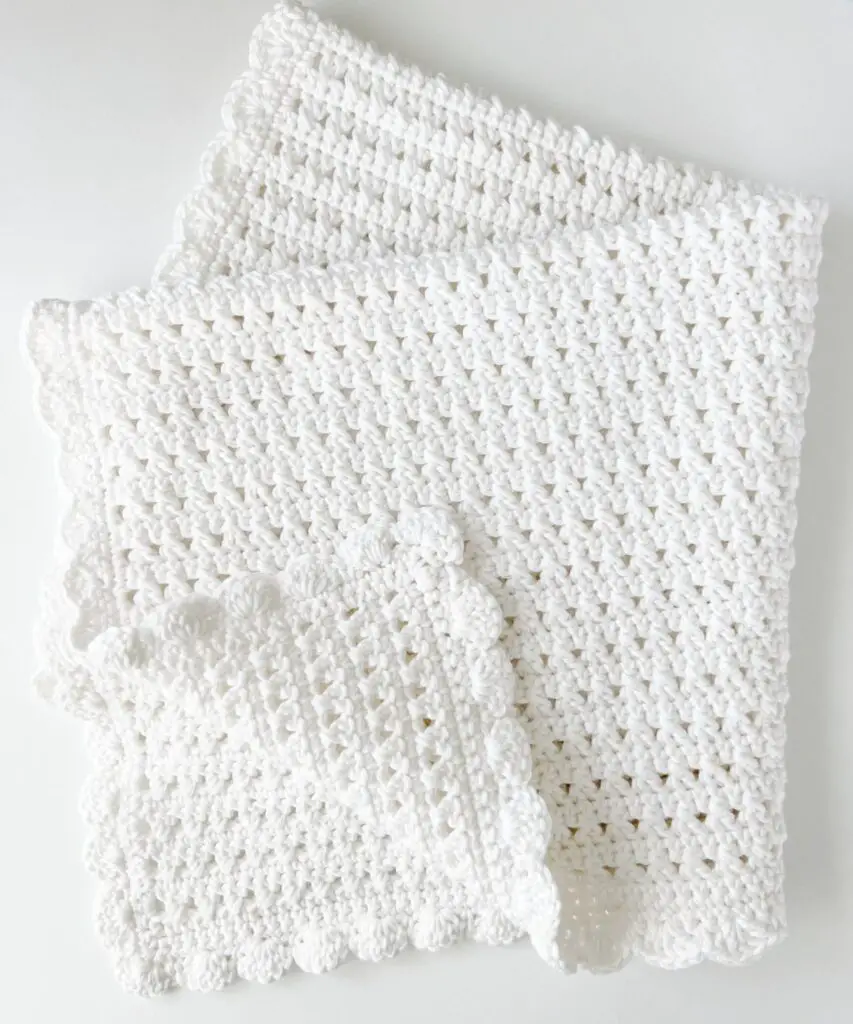
A lacy, heirloom-style blanket where tiny bobbles (blessing “dots”) are placed on a delicate mesh — good for gifting as a “blessing blanket.”
Skill level: Intermediate (bobble stitch + lace)
Finished size: ~30″ × 32″
Materials
- DK yarn (approx. 900 yards / 825 m) — soft acrylic/cotton blend recommended
- Hook: 4.0 mm (G-6)
- Tapestry needle, stitch markers
Gauge
- 16 hdc × 10 rows = 4″ in pattern (approx)
Stitch method (overview)
- Mesh ground: alternating rows of dc and chains to form lacy grid; bobbles (5-dc bobble) are placed at predetermined grid intersections.
Abbreviated bobble
- Bobble: (yo, draw up loop, yo, draw through 2) × 5 times in same st, yo and draw through all loops, ch 1 to close. (Equivalent to 5 dc cluster that forms a bobble.)
Step-by-step
- Foundation chain: Ch 122 (or multiple of 10 + 2; change multiples for width).
- Row 1 (RS): Dc in 4th ch from hook and in each ch across. Turn.
- Row 2: Ch 3 (counts as dc), ch 2, sk 2, dc in next st — repeat across to create a chain-space mesh. Turn.
- Row 3: Ch 3, dc into each dc across and in each ch-space from previous row (work 1 dc in the ch-2 spaces) — this creates a filled row. Turn.
- Row 4: Repeat Row 2. This 4-row mesh repeat gives a checked fabric.
- Placing bobbles: Decide your bobble grid — e.g., on every 4th mesh intersection across and every 6th row down to form evenly spaced bumps. On the row where a bobble occurs, work the bobble into the center of the chosen ch-2 space rather than a dc: ch 3, bobble in ch-2 space, ch 1, continue mesh. Make sure to ch 1 after bobble to keep spacing.
- Repeat mesh & bobble rows until length reaches desired blanket size.
Border (3 rounds)
- Round 1: Sc evenly around blanket (work 3 sc in each corner).
- Round 2: hdc in next 2 sts, ch 2, skip 1 st around for a slight lacy edge.
- Round 3: Sc around to tidy.
Variations
- Use bobbles to spell initials or create a simple heart by positioning bobble clusters.
- Skip bobbles and use full mesh for a simpler look suitable for newborns.
Finishing
- Weave ends; block gently to open lace and even bobbles. Because this is lacy, blocking makes a big difference.
3. Crochet Rising Star Blanket Pattern
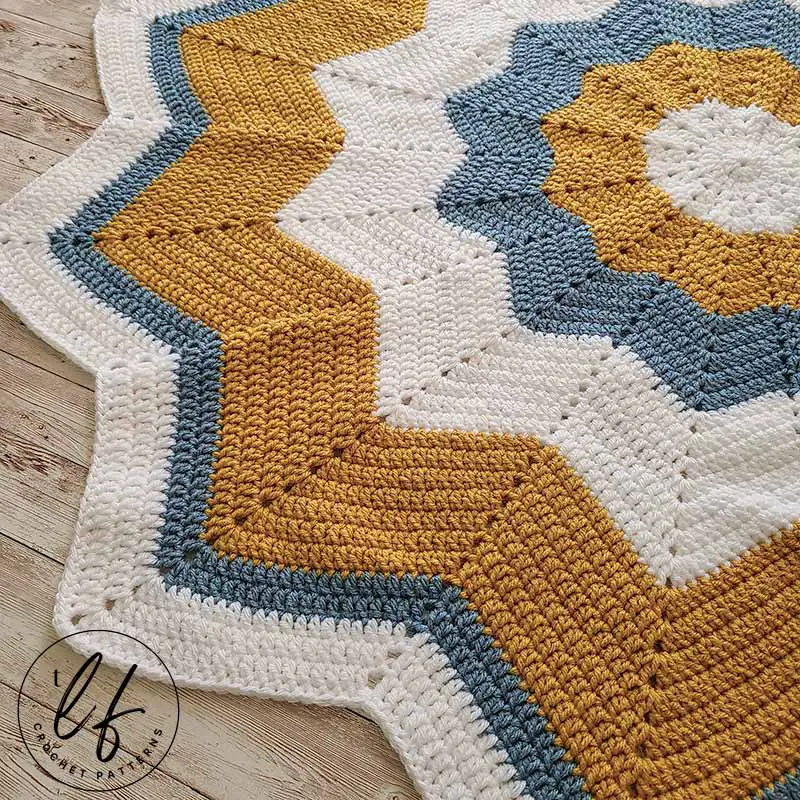
A stunning geometric blanket built from star stitch blocks that “rise” across the fabric — excellent texture without heavy bulk.
Skill level: Intermediate (star stitch familiarity helpful)
Finished size: ~28–32″ square
Materials
- DK yarn or light worsted (800–900 yards)
- Hook: 4.0 mm (G-6) or 4.5 mm for airier look
- Tapestry needle
Gauge
- 10 stars × 8 rows ≈ 4″ — star stitch is dense so gauge varies substantially; check swatch.
Stitch method (overview)
- Star stitch (also called jasmine/star cluster) used in worked-in-rows blocks; stars form raised diamonds; blocks joined as you go or made continuous.
Star stitch refresher (worked over 2 sts)
- Step: Insert hook in next st, yo and pull up loop; insert hook in next st, yo and pull up loop; yo and pull through all loops on hook; ch 1 to close (creates a star). Pattern uses chains and single crochets between stars.
Step-by-step
- Foundation chain: Ch 122 (multiple of 4 + 2 to make full width).
- Row 1 (RS): Sc in 2nd ch from hook and across; turn.
- Row 2: Ch 1, star in next 2 sts, sc in next 2 sts — repeat across; turn. The star uses pairs of stitches so your repeat of star + sc gives textured pattern.
- Row 3: Ch 1, sc across, placing sc between stars from row below to anchor them.
- Rows 4–X: Repeat Rows 2–3 alternating stars and sc rows; you’ll see diamond-like rising star texture. Continue until blanket measures ~30″.
- If you prefer blocks: Make star stitch squares (e.g., 20 sts × 20 rows) and seam by whipstitch or mattress stitch to form larger blanket.
Border
- Round 1: Sc around, 3 sc in corners.
- Round 2: Reverse sc (sc in BLO around) for a subtle ridge.
- Round 3: Picot or shell edge if desired.
Variations
- Color block by changing color every 6–8 rows to create rising bands.
- Make a smaller baby sized blankie by decreasing foundation chain.
Finishing
- Weave in ends; block to relax stars so the fabric lies flat. Star stitch can be a little stiff — a gentle steam block softens it.
4. Crochet Adorable Baby Blanket Tutorial
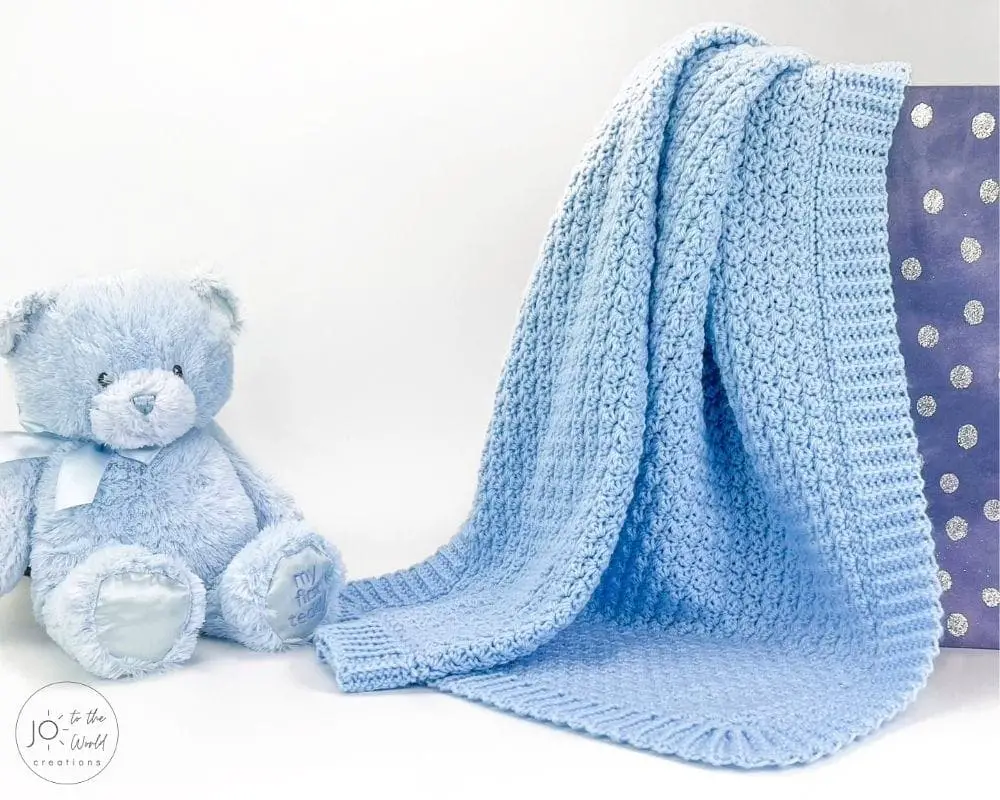
This pattern is designed to be beginner-friendly: simple rows of alternating texture (hdc and shell accents) that create a sweet, cuddly blanket without complicated stitchwork.
Skill level: Beginner
Finished size: ~30″ × 30″
Materials
- DK or worsted (lighter worsted) yarn ~750–900 yards
- Hook: 4.5 mm (7) for a squishy fabric (use smaller for tighter stitch)
- Tapestry needle
Gauge
- 14 hdc × 10 rows ≈ 4″
Stitch method (overview)
- Simple hdc rows with occasional shell rows for visual interest.
Step-by-step
- Foundation chain: Ch 152 (multiple of 4; adjust for desired width).
- Row 1: Hdc in 3rd ch from hook and in each ch across. Turn.
- Row 2: Ch 2 (counts as hdc), hdc across. Turn. Repeat Row 2 for 4 rows to make a comfortable base.
- Row 6 (shell accent): ch 2, sk 1 st, shell (5 dc) in next st, sk 1 st, ch 2, hdc in next 4 sts repeat across. This creates small shells spaced evenly. Turn.
- Rows 7–10: Hdc across for 4 rows to highlight shells. Repeat shell row every 8 rows (or at intervals you like) until desired length.
- Final rows: End with 4 rows of hdc, then a tidy sc round.
Border (simple 2-round)
- Round 1: Sc evenly around, 3 sc in corner sts.
- Round 2: Hdc in same st and across, join, fasten off.
Variations
- Make shell rows every 6 rows for denser texture.
- Change color for border to frame the blanket.
Finishing
- Weave ends; block lightly. This blanket works well in soft, washable acrylic for easy care.
5. Crochet Flower Fairy Blanket Pattern
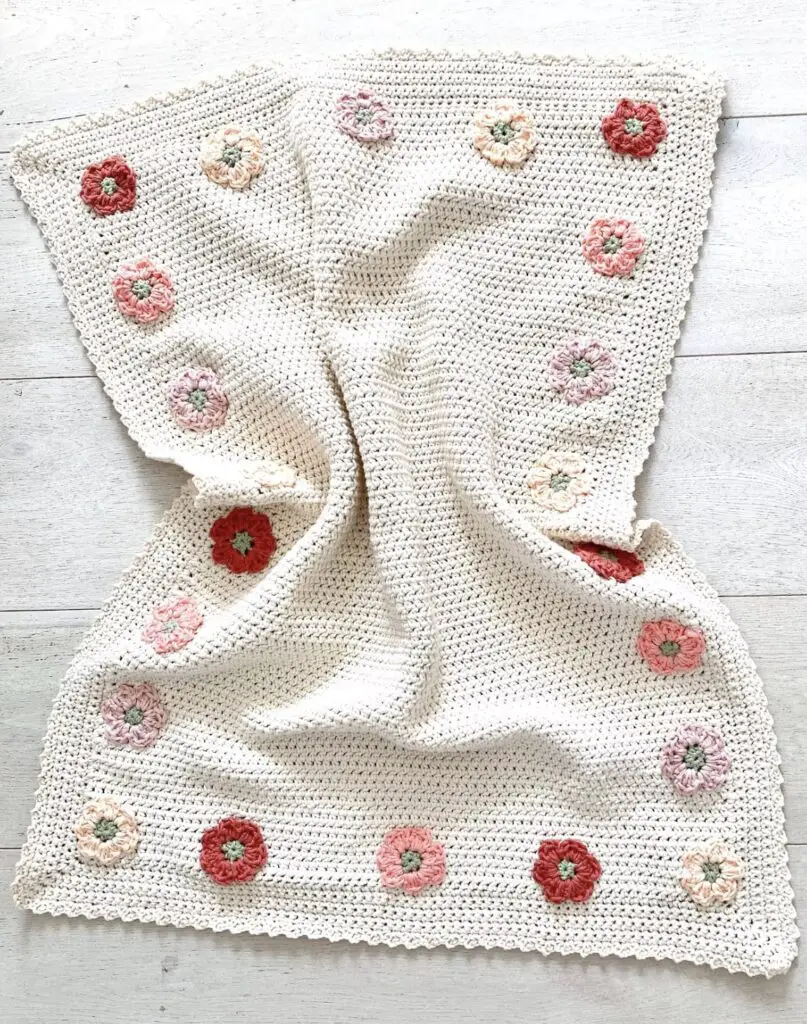
A charming blanket of joined floral motifs — each flower is a small appliqué joined as you go or sewn together — perfect for a delicate, heirloom look.
Skill level: Intermediate (motif join + sewing)
Finished size: ~30″ square when motifs are joined in a 6 × 6 grid (36 motifs)
Materials
- DK yarn in main color + contrasting petal colors (approx. 900–1000 yards total)
- Hook: 3.5–4.0 mm
- Tapestry needle, blocking board
Flower motif (single square with central flower)
- Each motif ~5″ finished; adjust number of motifs to reach desired size.
Step-by-step (motif)
- Center: MR, ch 1, 6 sc in ring; join. (6)
- Round 2 (petal loops): ch 3, sl st in next st around to form 6 loops; join.
- Round 3 (petals): In each loop work (sc, hdc, 3 dc, hdc, sc) — you’ll have 6 petals. Fasten off.
- Square background: Rejoin background color at any petal base. Ch 6 and sl st across to begin squaring off petals so you can build a square: work sc rounds around the flower, making 3 sc in petal points and sc along edges until you have a 5″ square. Fasten off and block flat.
Assembly
- Block all motifs to the same size. Join motifs using join-as-you-go slip stitch or mattress stitch for near-invisible seams. For a seamless look, join with whipstitch using same color as background, or join with a contrasting join for a decorative grid.
Border
- Once all motifs are joined into a 6 × 6 grid (or size you prefer), work two rounds of sc all around, then a scalloped shell round: 5 dc in next st, skip 2, sl st in next repeated for airy scallops.
Variations
- Make flowers two-toned (center + petal color) or multi-colored petals for rainbow look.
- Use a lacy join for lighter drape or denser join for warmth.
Finishing
- Block after joining so seams lie flat. Weave in all ends; add a satin ribbon edge (optional) for a polished, giftable finish.
6. Crochet Modern Striped Blanket Tutorial
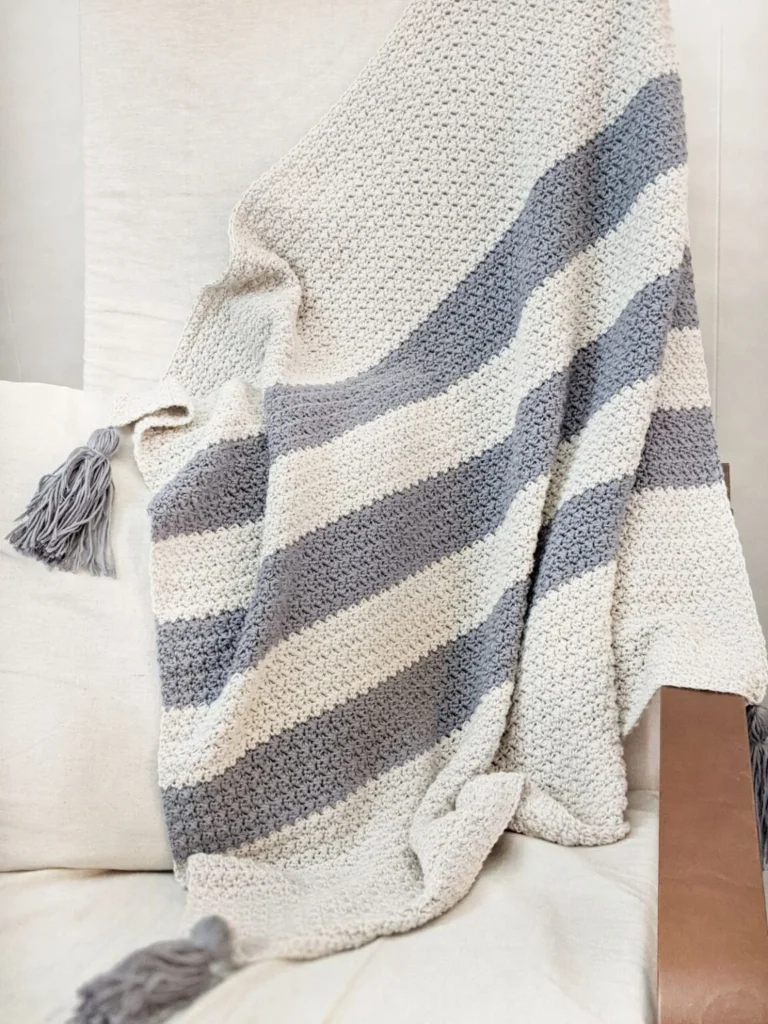
A clean, contemporary blanket using wide color blocks and a neat linen or moss stitch for visual texture. Great if you want modern nursery colors.
Skill level: Beginner → Intermediate
Finished size: ~30″ × 30″ (adjust by block lengths)
Materials
- DK or light worsted yarn in 3–6 colors (approx. 800–900 yards total)
- Hook: 4.0–4.5 mm
- Tapestry needle
Gauge
- 14 moss stitches × 10 rows ≈ 4″ (moss/linen stitch is slightly dense)
Stitch method (overview)
- Linen (moss) stitch: (sc, ch 1, sk 1) across; turn; sc in each ch 1 and the sc below — produces woven look.
Step-by-step
- Foundation: Ch 152 (or multiple to get desired width).
- Row 1: Sc in 2nd ch from hook; ch 1, skip next ch, sc in next ch across; turn.
- Row 2: Ch 1 (does not count), sc in first ch-1 space, ch 1, sc in next ch-1 space across; turn. (You’re always working sc into the chain space created on previous row.)
- Rows 3–X: Repeat Row 2 until you have a block of color about 6–8 rows tall (or taller for bolder stripes). Change color by fastening off and joining new color at the start of next row. Continue alternating color blocks to create modern stripes until blanket reaches length.
- Edge tidy: Work a round of sc in your main color around, working 3 sc in corner sts to keep shape.
Variations
- Use very wide blocks (20–30 rows) for bold stripes or thin bands (4–6 rows) for skinnier stripes.
- Add a final border of two rounds of hdc and a thin contrasting bind-off.
Finishing
- Weave in ends well since many color changes produce many ends — use a small length of contrasting yarn in the same color family to avoid bobbles. Block lightly.
Conclusion
These six newborn blanket patterns give you a range of styles — from quick and cuddly to heirloom and decorative. Pick a project that matches your time and skill: the Adorable Baby Blanket and Modern Striped Blanket are friendly and fast, while the Flower Fairy and Blessing Blanket make beautiful keepsakes with more detail. Whatever you choose, use soft, washable yarn and take your time finishing edges and weaving in ends — those final steps make a handmade blanket worth holding onto.


