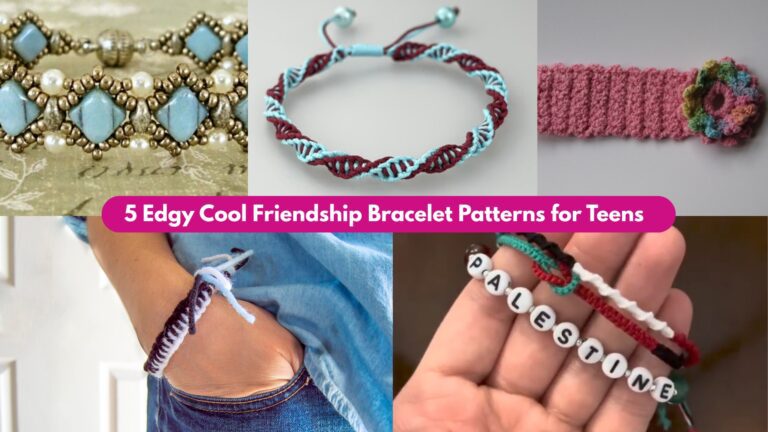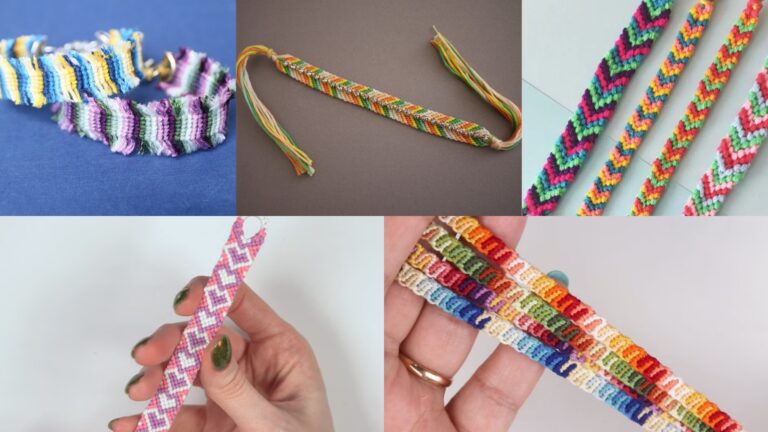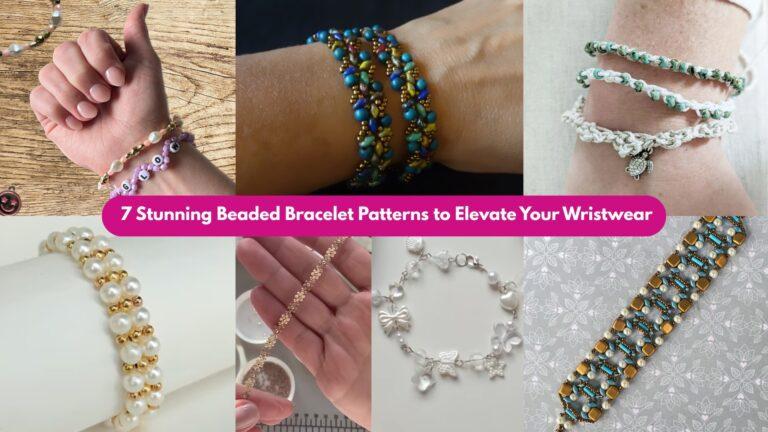
There’s nothing quite like the thrill of crafting a friendship bracelet together—sharing laughter, memories, and the satisfaction of creating something beautiful by hand. Beaded friendship bracelets elevate the classic knotted design with pops of color, texture, and even personalization. Whether you’re planning a cozy craft night or a beachside beading session, these six patterns will suit every skill level and style. From simple bead strings to intricate ladder stitches and even braided designs, you and your bestie can whip up matching wrist candy in an afternoon. Grab your beads, thread, and hooks (or needles)—it’s time to bond over beads!
1. Simple Beaded Friendship Bracelet Pattern

Skill Level: Beginner
Materials:
- 11/0 seed beads (2–3 colors, about 50 beads each)
- Nylon beading thread or elastic cord (about 24″)
- Scissors
- Optional: crimp beads and jewelry clasp
Instructions:
- Measure & Cut: Wrap the thread around your wrist, adding 2″ for tying. Cut two lengths.
- Stringing Beads: Decide on a repeating color sequence (e.g., A–B–A–C). String beads until you leave 2″ of thread at each end.
- Finishing:
- Tie-Off: Bring the two ends together and tie a secure double knot. Add a dab of clear-drying glue for longevity.
- Clasp Option: Slide a crimp bead onto both ends, loop through clasp, then back through the crimp and clamp.
Quick Tip: Elastic cord makes for an easy slip-on bracelet—no knots needed once it’s tied securely!
2. Beaded Friendship Bracelet using Ladder Stitch Tutorial
Skill Level: Beginner–Plus
Materials:
- 3 mm pony beads (30 pcs)
- 11/0 seed beads (200 pcs)
- Beading thread and size 10 needle
- Scissors
Instructions:
- Foundation Row: Thread 20 seed beads onto the thread; tie into a loop to form your base ring.
- Ladder Stitch Build:
- Step 1: Pick up 1 pony bead, then 2 seed beads; pass the needle under the next 2 seed beads of the base ring and back up through the 2 seed beads you just added.
- Step 2: Pick up 2 seed beads, pass through the pony bead, then pick up 2 more seed beads and pass back under the next 2 base beads.
- Repeat until you’ve added all pony beads in a horizontal “ladder.”
- Securing the End: Weave the thread back through the ladder beads in a zig-zag to reinforce. Tie off and trim.
Pro Tip: Keep even tension so the ladder edges remain straight and flat against your wrist.
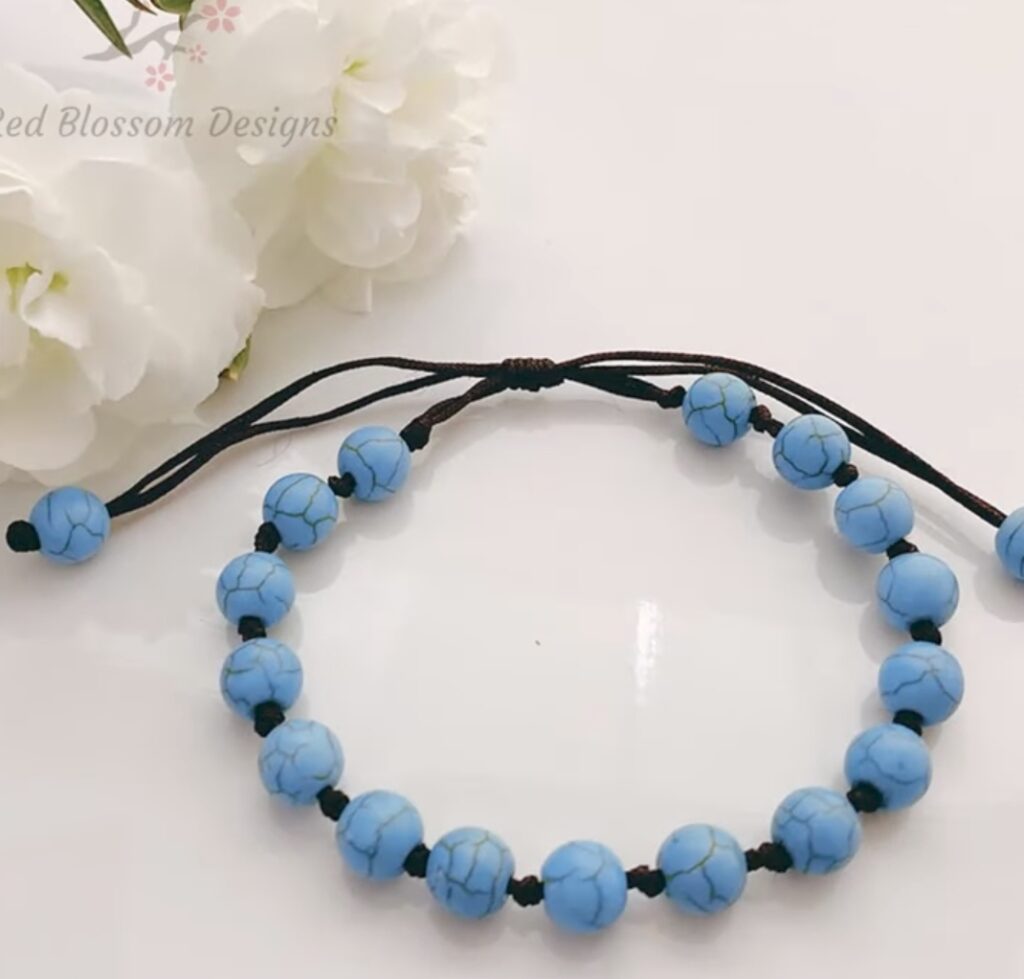
3. Beaded Friendship Bracelet for Adults Pattern
Skill Level: Intermediate
Materials:
- 4 mm glass or gemstone beads (20 pcs)
- 11/0 seed beads (150 pcs)
- Nylon-coated beading wire
- Crimp beads, crimping pliers, lobster clasp
Instructions:
- Prepare Wire: Cut a 12″ length of wire. Thread on a crimp bead, then one half of the clasp. Loop wire back and crimp.
- Stringing Sequence:
- Alternate 1 large bead + 3 seed beads until you reach about 6″ of beaded length.
- Mirror & Finish: Add a final crimp bead, loop through the other clasp half, crimp, and trim the tail.
Style Note: This adult version uses muted tones like matte black and pearl for a sophisticated look. Swap in faceted gemstone beads (e.g., jasper or lava) for a wellness-inspired twist.
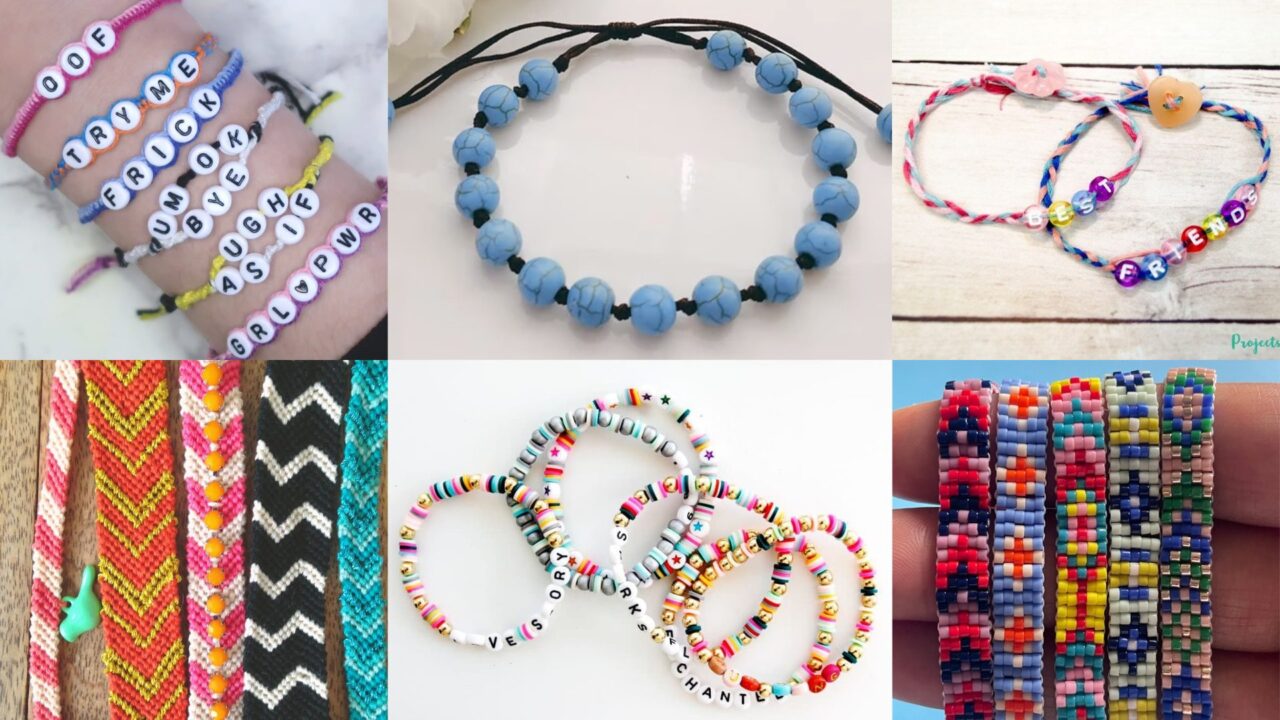
4. Good Luck Beaded Friendship Bracelet Tutorial
Skill Level: Beginner
Materials:
- 8–10 large accent beads (6–8 mm, any shape)
- Embroidery floss or nylon cord in two contrasting colors (each about 24″)
- Scissors
Instructions:
- Prepare Your Strands: Cut two lengths of thread, each about 24″. Tie them together in a simple overhand knot, leaving a 2″ tail for tying later. Secure the knot under tape or with a clipboard.
- String Beads: Slide your large accent beads onto both strands, centering them so they sit at the knot. Space them evenly—leave about 1 cm of thread between each bead.
- Knotting Between Beads: After each bead, tie a double overhand knot around both strands to lock the bead in place. Pull knots snug but not so tight they deform the bead.
- Continue Beading: Repeat bead + double-knot steps until all beads are secured.
- Finish: Leave another 2″ tail after the last bead. Untape or unclip, wrap the ends around your wrist, and tie the tails in a secure double knot. Trim excess, leaving small tails for a playful, boho look.
Pro Tip: Use wooden or clay beads with carved “lucky” symbols, or mix matte and glossy finishes for a textured effect.
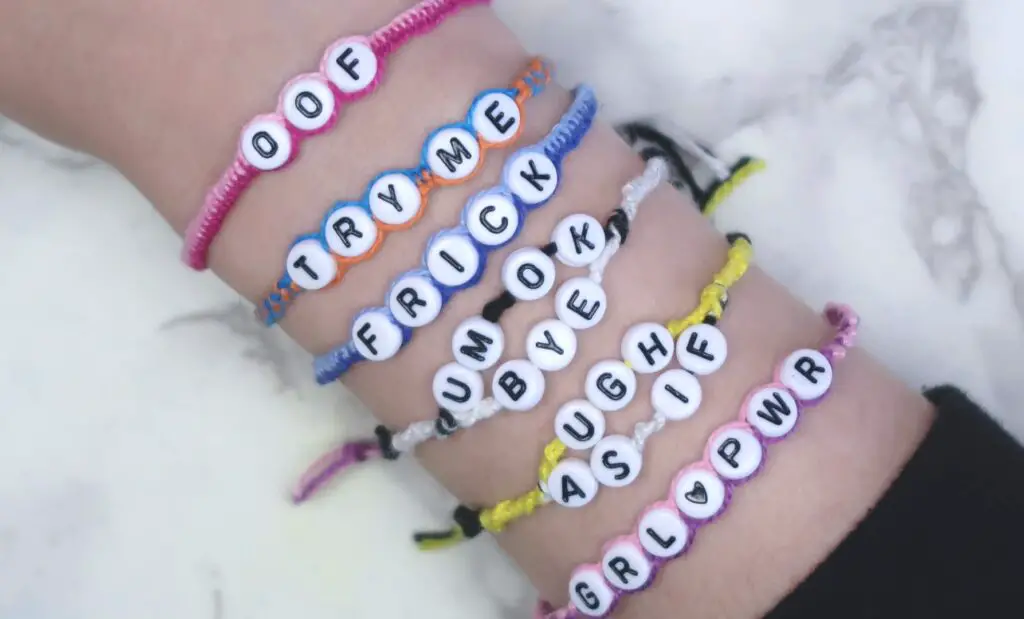
5. Braided Friendship Bracelet with Letter Beads Pattern
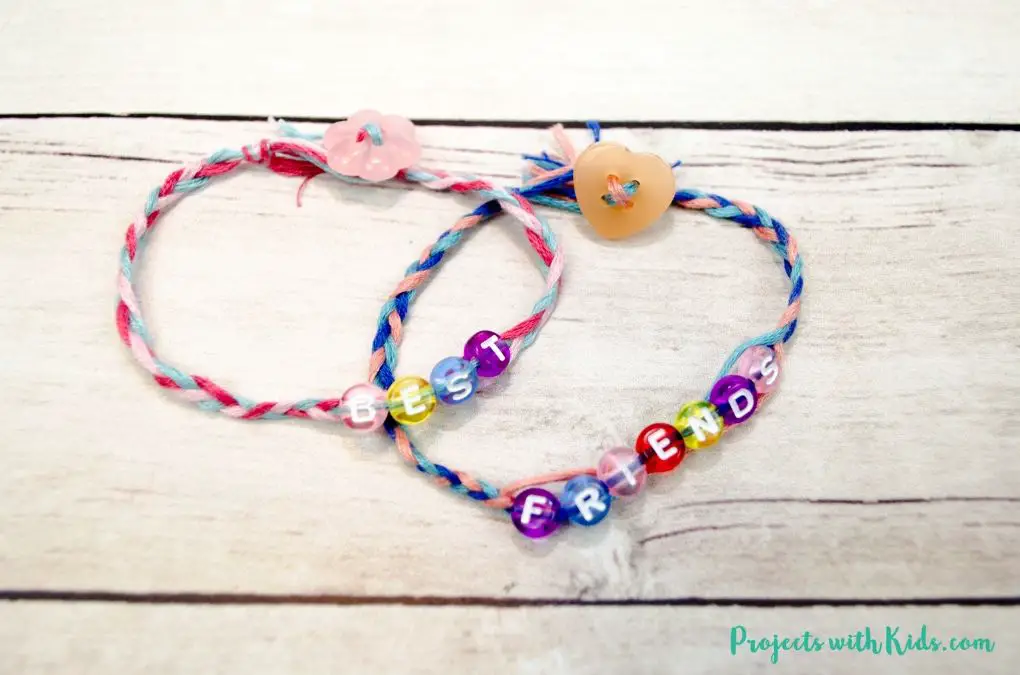
Skill Level: Beginner
Materials:
- Three colors of embroidery floss (18″ each)
- Letter beads spelling initials or a word (optional)
- Scissors
Instructions:
- Attach Strands: Knot the three floss colors together at one end, securing under tape or a clipboard.
- Add Letter Beads (Optional): Slide one letter bead onto the center strand if personalizing initials.
- Braid: Simply braid the three strands, sliding any letter bead into position as you go. Braid until only about 1″ remains.
- Tie-Off: Knot the end, and trim the tails. Tie the bracelet closed around your wrist.
Pro Tip: Use contrasting floss to make each letter pop, or go tone-on-tone for a subtle look.
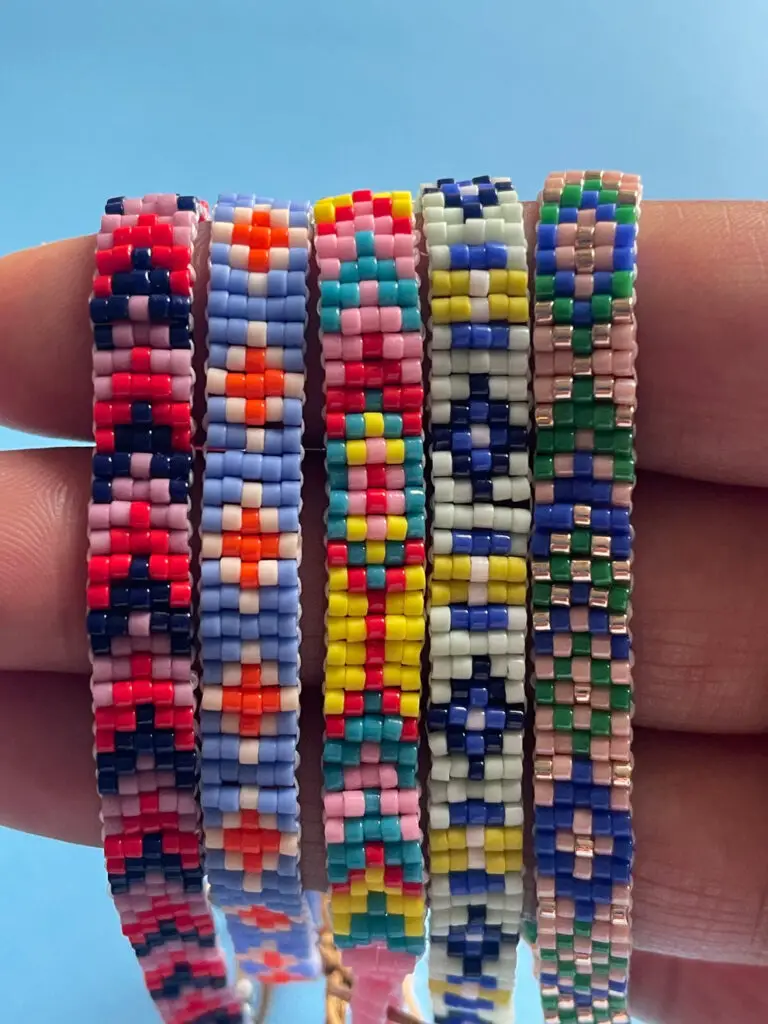
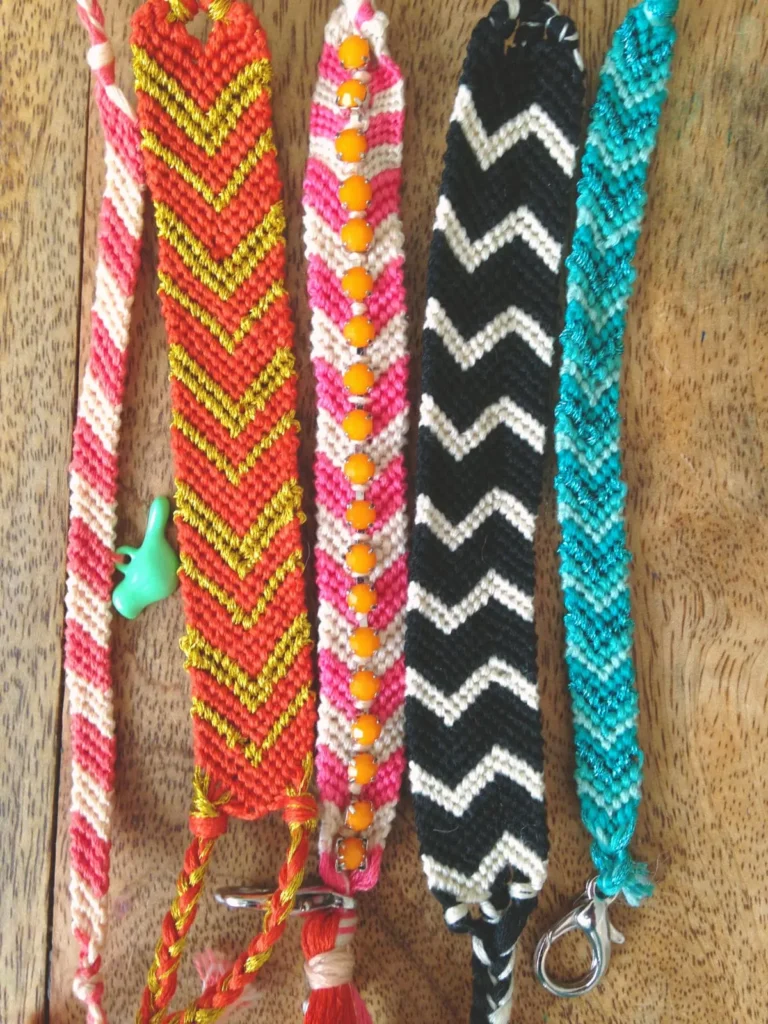
6. VSCO-Inspired Friendship Bracelet Tutorial
Skill Level: Beginner–Plus
Materials:
- Pastel-colored embroidery floss (5–7 strands, 18″ each)
- 2 mm seed beads in matching or metallic tones (optional)
- Scissors
Instructions:
- Knot Base: Secure all strands in a knot at the top.
- Chevron Pattern:
- Left Side: Use the outermost left strand and tie forward knots over each strand to the center.
- Right Side: Use the outermost right strand and tie backward knots to the center.
- Continue pairing outer knots into the center to create “V” shapes.
- Bead Accent (Optional): Before tying each knot, slide a seed bead up on the working strand for a dotted effect.
- Finish: When the bracelet reaches your desired length, knot and trim the ends.
VSCO Vibe: Mix in ivory, peach, mint, and lavender floss for that effortless, beachy VSCO aesthetic.
Conclusion
Friendship bracelets have always been a timeless symbol of connection, and beaded versions take that sentiment up a notch with color, sparkle, and personalization. These six patterns—ranging from quick string-and-go styles to more intricate ladder and chevron stitches—offer something for every duo of crafting besties. So pick your favorite, gather your materials, cue up a crafting playlist, and get ready to make memories (and wrist candy) together. After all, the best bracelets aren’t just about the beads—they’re about the bond!