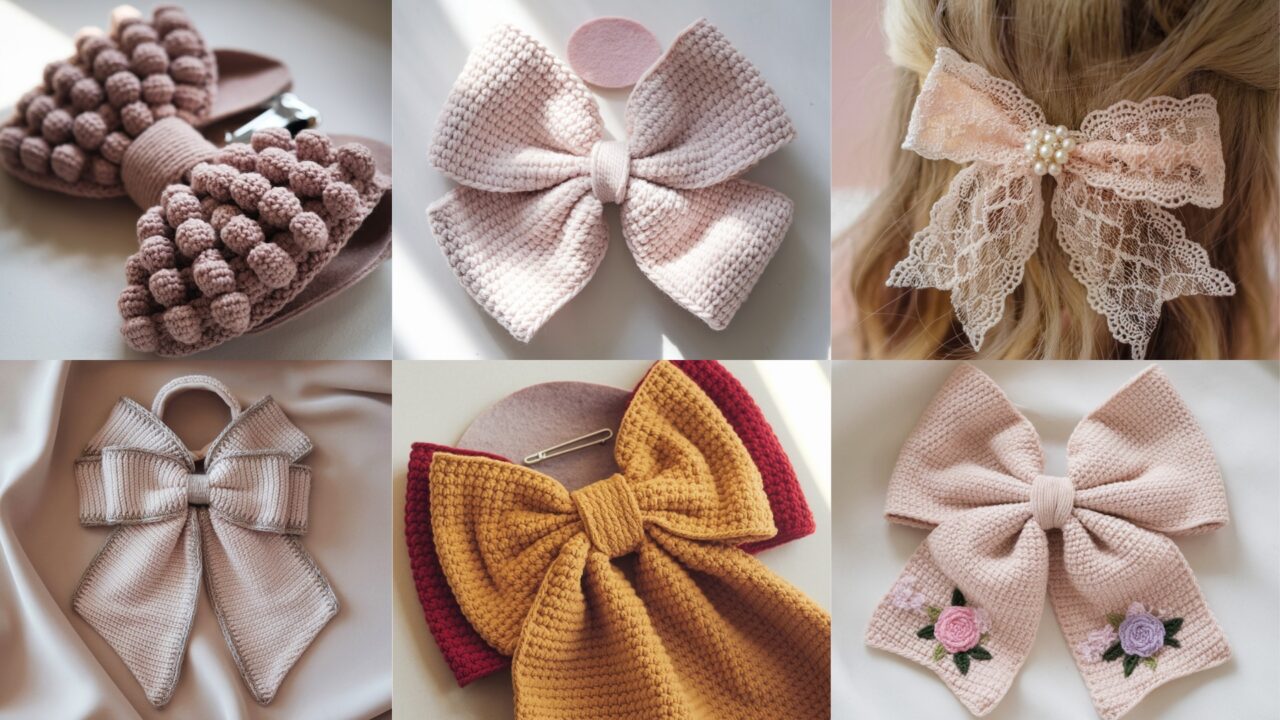
Good. You want hair bows that actually look like they were made by someone with taste — not a lumpy cotton pancake with a safety pin. Below you get one complete, blog-ready post: a compact intro, universal must-read notes, and six full, ready-to-paste patterns (skill level, materials, sizing math, exact step-by-step instructions, assembly, clip attachment, finishing, variations). Each pattern is scalable (child→adult). Make a swatch first. Yes, every time. The difference between a “cute gift” and “back-of-the-closet regret” is two stitches per inch.
Quick universal notes (read this once; it matters)
- Abbreviations (US): ch = chain, sc = single crochet, hdc = half-double crochet, dc = double crochet, tr = treble, sl st = slip stitch, st(s) = stitch(es), MR = magic ring, BLO/FLO = back/front loop only, inc = 2 sc in same st, dec = sc2tog.
- Yarn & hooks (baseline):
- Crisp bows: cotton mercerized (#3 DK or #4 worsted) → hook 3.5–4.5 mm.
- Chunky bows: bulky (#5) or hold two strands → hook 6.5–8.0 mm.
- Delicate bows: thread/fingering → 1.75–2.5 mm.
- Swatch & gauge (do it): Make a 4″ swatch in the stitch you’ll use; count stitches-per-inch and rows-per-inch. I’ll use 4 sts/in & 4 rows/in as a running example to show the arithmetic — replace with your swatch numbers.
- Sizing logic: Bow width (in inches) × sts/in = stitches needed. Add or reduce rows using rows/in for height. I’ll give sample counts for adult-medium bows; scale by your gauge.
- Hardware & reinforcement: Use a felt backing under clips/barrettes and sew through felt + yarn layers with strong thread. For barrettes or larger clips, reinforce with a short strip of webbing inside if the bow will be pulled on.
- Attachment safety: For children, embroider eyes etc.; avoid glued-on small parts.
- Finishing: Weave ends well, use felt backing for a tidy underside, steam or block where appropriate.
1. Crochet Sailor Bow Pattern
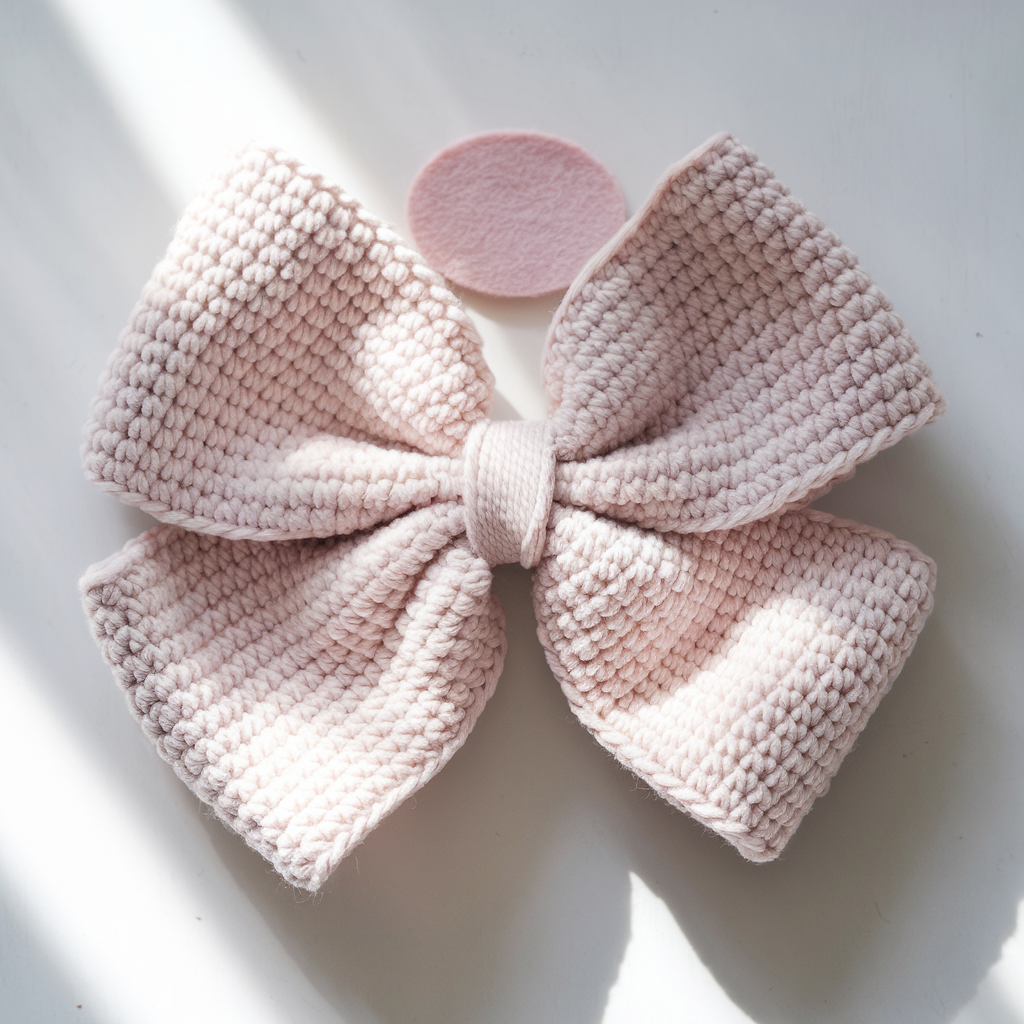
Classic, neat, and wearable for any age.
Skill level: Confident Beginner
Finished sample: 5.5″ wide × 3″ tall
Materials: worsted (#4) cotton or acrylic, 4.0 mm hook, felt oval, alligator clip or 2″ barrette, tapestry needle, scissors. ~20–30 yds.
Sizing math (example)
Target width 5.5″ → 5.5 × 4 sts/in = 22 sts. Chain 23 to work 22 sc across (or ch22 + turning ch).
Pattern — bow body (flat rectangle)
- Ch 23. R1: sc in 2nd ch from hook and across (22 sc). Turn.
- R2–R10: ch1, sc across 22 sts until rectangle measures ~3″ tall (use your rows/in to calculate exact number). Fasten off, leaving tail.
Center wrap
- Ch 8; sc across (7 sc). Work rows until strip long enough to wrap center (~3–3.5″). Fasten off, leave tail.
Assembly
- Fold rectangle in half lengthwise or pinch center to form bow shape. Wrap center band tightly, sew ends at back and hide tail.
- Cut felt oval slightly smaller than bow back; sew felt to back through center for clip base. Stitch clip to felt thoroughly (multiple passes). Weave ends.
Variations / Tips
- Double-layered: make two rectangles and stack for more volume.
- Center wrap alternatives: ribbon, leather, or narrow crocheted band.
2. Crochet Big Bow Pattern
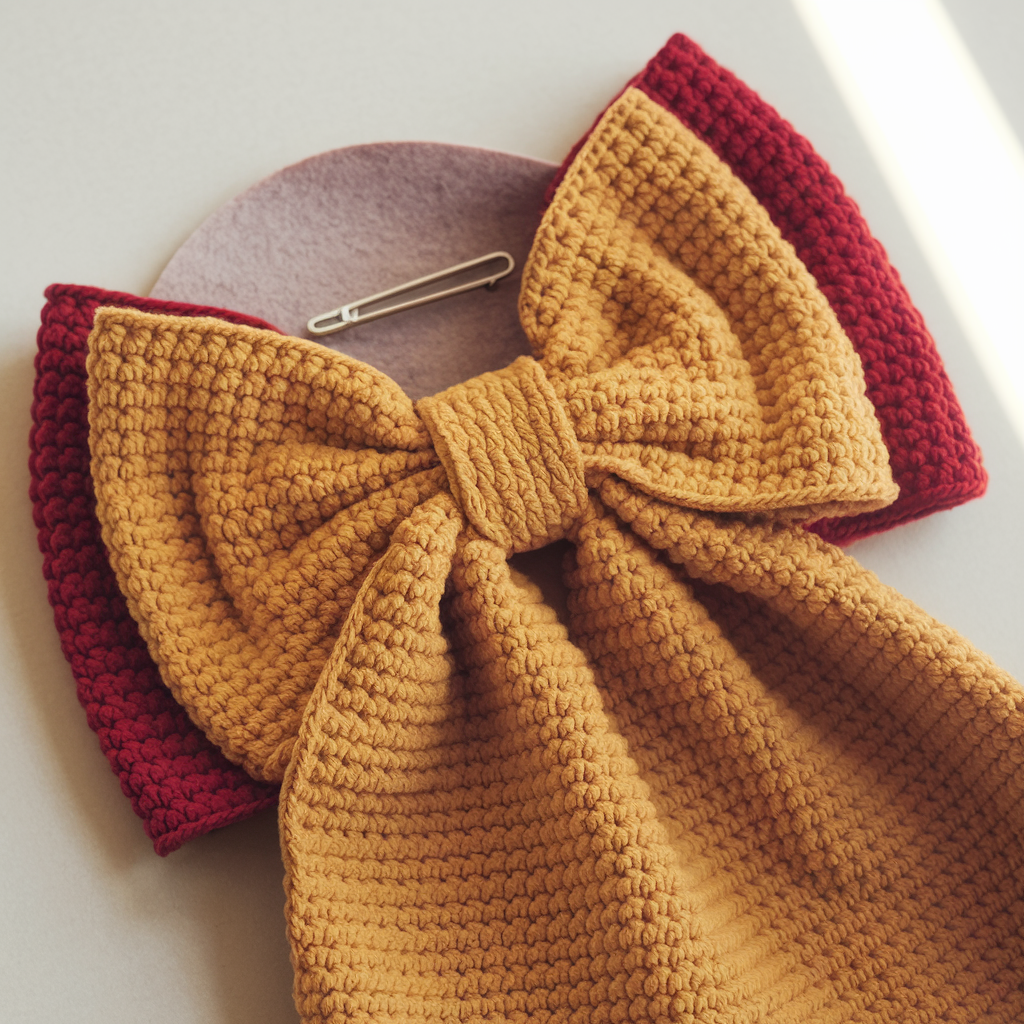
For when subtlety is not the point.
Skill level: Intermediate
Finished sample: 8–9″ wide × 4–5″ tall
Materials: bulky yarn OR two strands worsted held together, 6.5–8.0 mm hook, felt, 2–3″ barrette, sturdy thread. ~50–80 yds.
Sizing math (example with thicker gauge)
If held-double gives 3.5 sts/in, target 9″ → 9 × 3.5 = 31.5 → round to 32 sts. Chain 33.
Pattern
- Ch 33. R1: sc in 2nd ch from hook across (32 sc). Turn.
- R2–R16: ch1, sc across until panel height ~5″ (measure while working). Make two panels for more fullness (optional). Fasten off.
Assembly
- Stack panels (if two), pinch center and cinch with long yarn tail. Wrap with a wide center band (crocheted hdc strip or fabric/interfacing wrapped in yarn) and sew securely. Attach felt and barrette with multiple passes of strong thread through felt and bow.
Tip: Use interfacing inside the center wrap for sharp look.
3. Crochet Floral Hair Bow Pattern
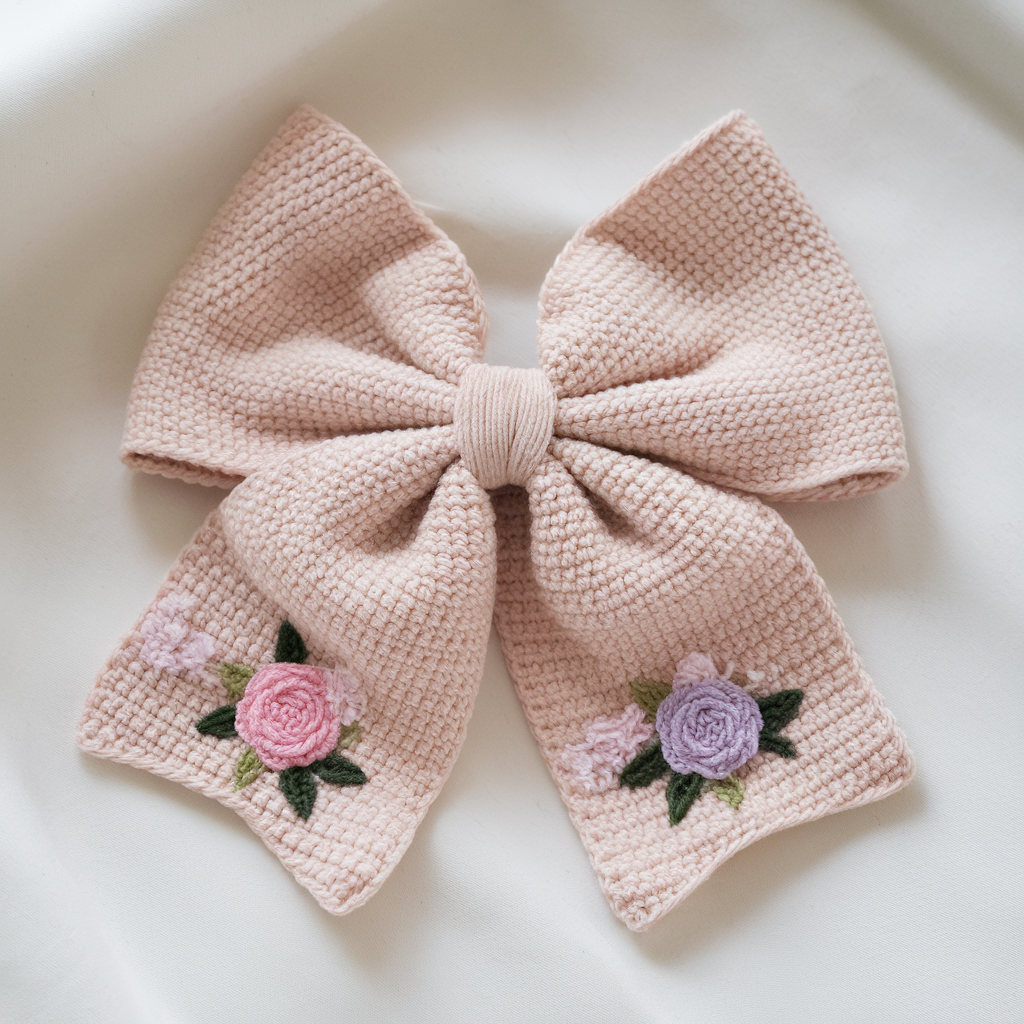
Bow plus small flowers — romantic and giftable.
Skill level: Intermediate
Finished sample: ~5.5″ wide with 1–3 small flowers.
Materials: worsted/DK for bow, contrast for flowers, 4.0–5.0 mm hooks, felt, clip. ~30–50 yds total.
Bow base
Make Sailor Bow rectangle (ch23, 22 sc) sized to ~3″ tall.
Flower (layered rose — quick)
- Ch 31. R1: sc in 2nd ch from hook and across (30 sc). Turn.
- R2: Along long edge make sc, hdc, 3 dc, hdc, sc along each stitch to create scallops (or make a scalloped edge using ch loops). Fasten off.
- Roll scalloped strip tightly, sewing base as you go to form a rose. Make 1–3 roses.
Assembly
Sew roses to one side of bow, add felt backing, and attach clip via felt. Secure with heavy stitching.
Variation: Use daisies (MR + petal clusters) instead of roses for a lighter look.
4. Crochet Chunky Bobble Hair Bow Pattern
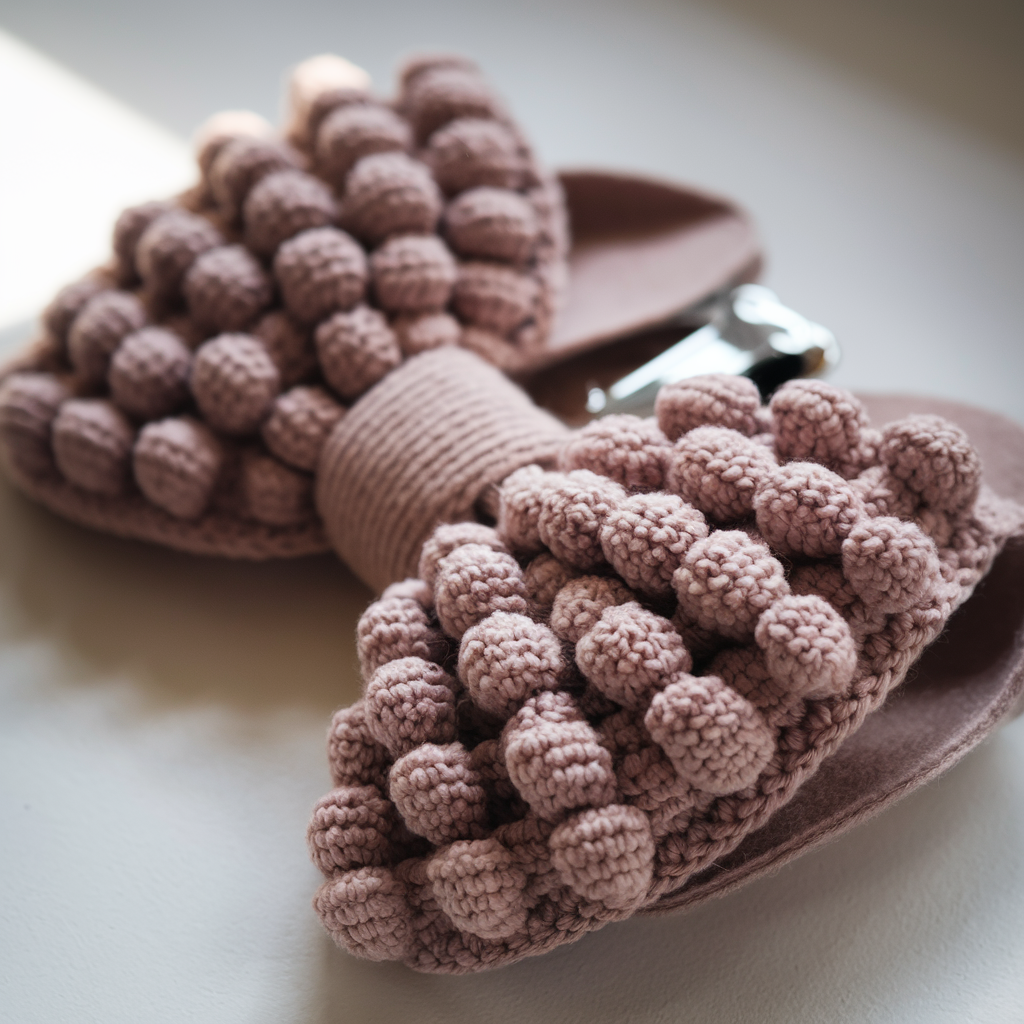
Texture-forward, quick — bobbles are dramatic.
Skill level: Confident Beginner
Finished sample: ~6″ wide (depends on yarn)
Materials: chunky yarn (#5–6) or held doubles, 6.5–8.0 mm hook, felt, clip. ~40–60 yds.
Bobble refresher
Bobble (5-loop): YO, insert into st, pull up loop — repeat 5 times, YO, pull through all loops, ch1 to close bobble.
Pattern
- Ch 25 (example). R1: sc across 24 sc. Turn.
- R2: ch1, sc2, bobble in next st repeat across, ending with scs to fill. Turn.
- R3: sc across to anchor bobbles. Repeat R2–R3 until rectangle ~3–4″ tall. Fasten off.
Assembly
Fold and cinch center, wrap band, sew felt, attach clip. For extra structure, make a double layer (two rectangles) and sew together.
Tip: If bobbles sag, try a tighter hook or a second backing layer.
5. Crochet Decorative Long Bow Pattern
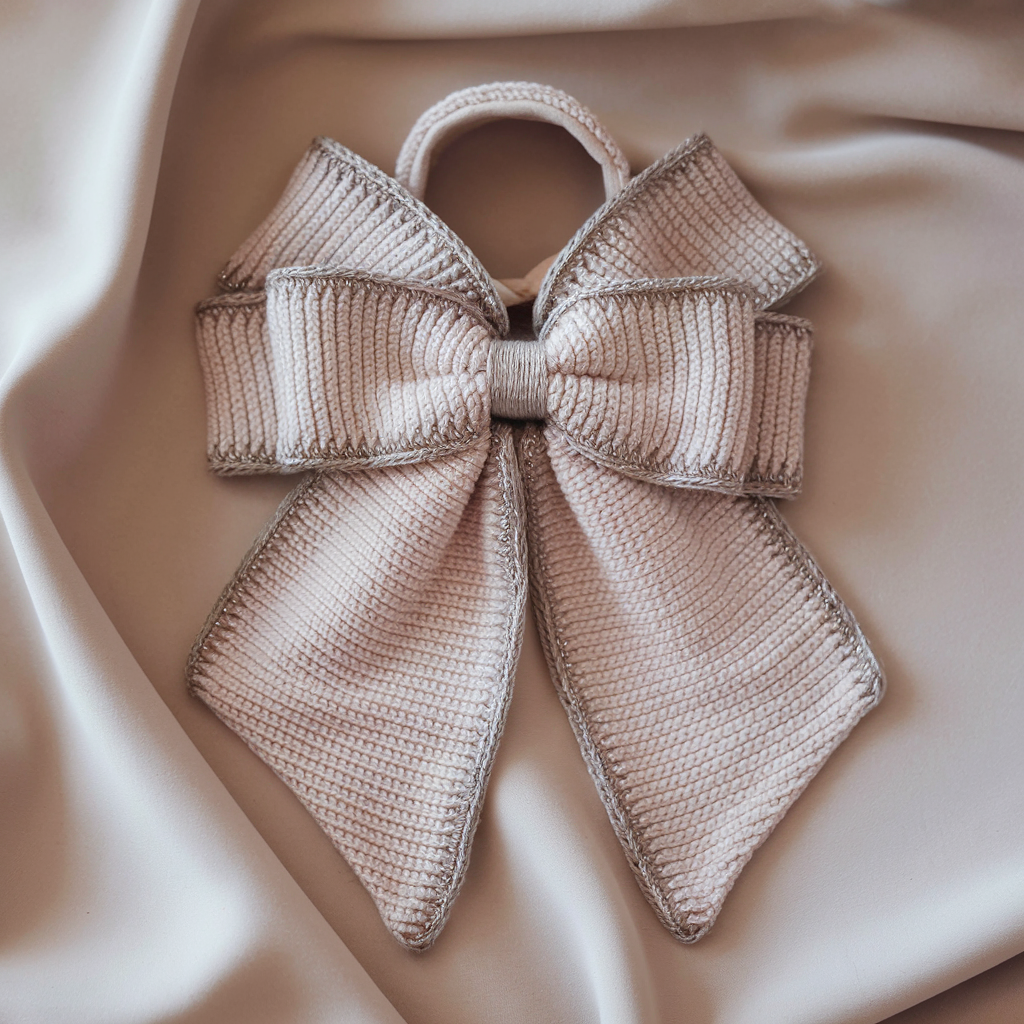
Long tails, elegant drape — looks high-end.
Skill level: Intermediate
Finished sample: overall length ~10–12″ including tails
Materials: DK or light worsted, 4.0–4.5 mm hook, felt, clip/headband base. ~40–70 yds.
Pattern — loop + tails
Loop rectangle: ch31, hdc across 30 hdc; work rows until loop height 5–6″.
Two tails: ch9 (narrow) or ch15 (wide); sc across; work rows until tail length 4–6″. Make two tails and point ends by decreasing to a tip or cut angled ends.
Assembly
Pinch loop to form bow shape, wrap center with band, position tails behind or over front. Sew band closed at back. Add felt and clip.
Variation: Add metallic thread along tail edges for sparkle.
6. Crochet Delicate Hair Bow Pattern
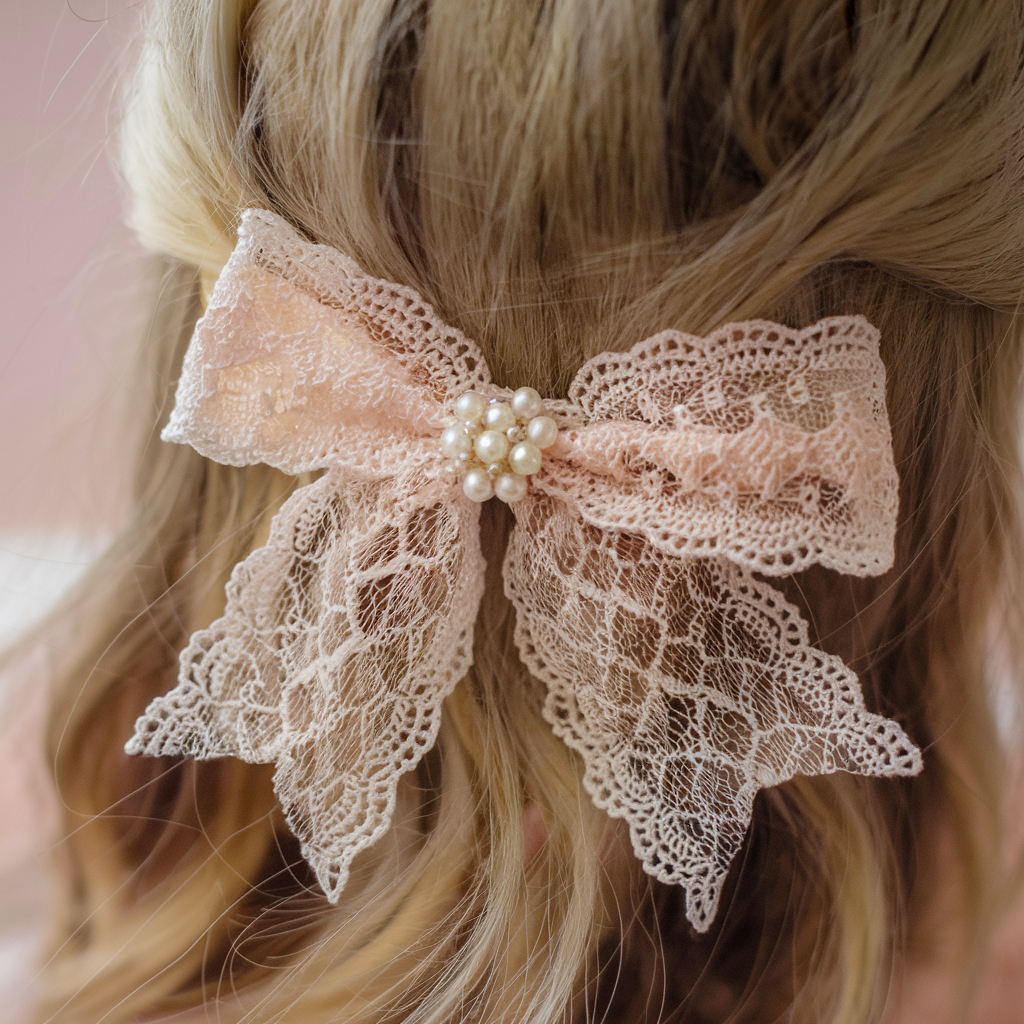
Tiny lace bow — bridal or dainty gifts.
Skill level: Intermediate (thread work)
Finished sample: ~3″ wide × 1.5″ tall
Materials: crochet thread size 10 or fingering yarn, 1.75–2.5 mm hook, micro alligator clip, tiny pearls/seed beads optional. ~10–20 yds.
Pattern
- Ch30. R1: sc in 2nd ch, ch2, skip2, sc across (mesh). Turn.
- R2: ch1, sc into ch-2 spaces to anchor. Repeat R1–R2 until rectangle ~1.5″ tall. Fasten off.
- Optional scallop: work shell row along long edges (5 dc in next st, skip1) for lacy trim.
Assembly
Pinch center, wrap with narrow crocheted band or ribbon, add small pearl cluster sewn to center. Attach clip with felt backing, sew through felt for security.
Tip: Wet block lightly for crispness.
Common assembly & attachment details (do not skip)
- Felt backing: Cut a felt oval for every bow; it hides stitches and is the anchor for the clip. Glue is not enough — stitch the clip to felt and the felt to the bow with multiple passes.
- Sewing clips: Use strong upholstery or polyester thread. Stitch through clip slots or holes and felt multiple times (X-box pattern) for strength. Test by gently tugging.
- Center band: A tidy band hides cinch and finishes the bow. Use a crocheted strip, leather, or ribbon. Sew band securely at back through felt.
- Reinforcement: For big bows, sew a short strip of cotton webbing inside under the center to prevent stretching if the bow is grabbed.
- Weave ends & hide tails: Tuck into center or underside; secure with a dot of clear craft glue inside felt if you must (avoid visible glue).
- Care: Cotton/acrylic bows are machine wash gentle inside a mesh bag; reshape and air-dry. Delicate thread bows — hand wash.
Troubleshooting (common issues)
- Bow too floppy: Use thicker yarn, a smaller hook, or double up strands. Add interfacing or a second lining layer.
- Bows don’t sit upright: Make a firmer center band or add a small felt stiffener under the center.
- Center slips: Sew a few hidden stitches through the wrapped band and bow base — don’t rely on a knot alone.
- Clip pulls away: Reinforce with felt + multiple passes of heavy thread; consider a dab of glue under stitches (hidden) but rely on stitches.
Quick variations & bundle ideas
- Make a set: one big bow, two medium, three tiny delicate — packaged with a care tag.
- Mix textures: smooth cotton base + fuzzy center band (chenille) or metallic thread edges.
- Seasonal bows: add tiny crochet holly, mini flowers, or metallic yarn for holiday glamour.
conclusion
There. Six ready-to-go bow patterns that actually behave: classic Sailor Bow, dramatic Big Bow, romantic Floral Bow, textural Chunky Bobble, elegant Long Bow, and a Delicate Lace Bow. Swatch first, do the math (width × sts/in), reinforce clips with felt and heavy stitching, and pick yarn that matches how you expect the bow to be used. Make one in an evening; make a dozen for gifts.